
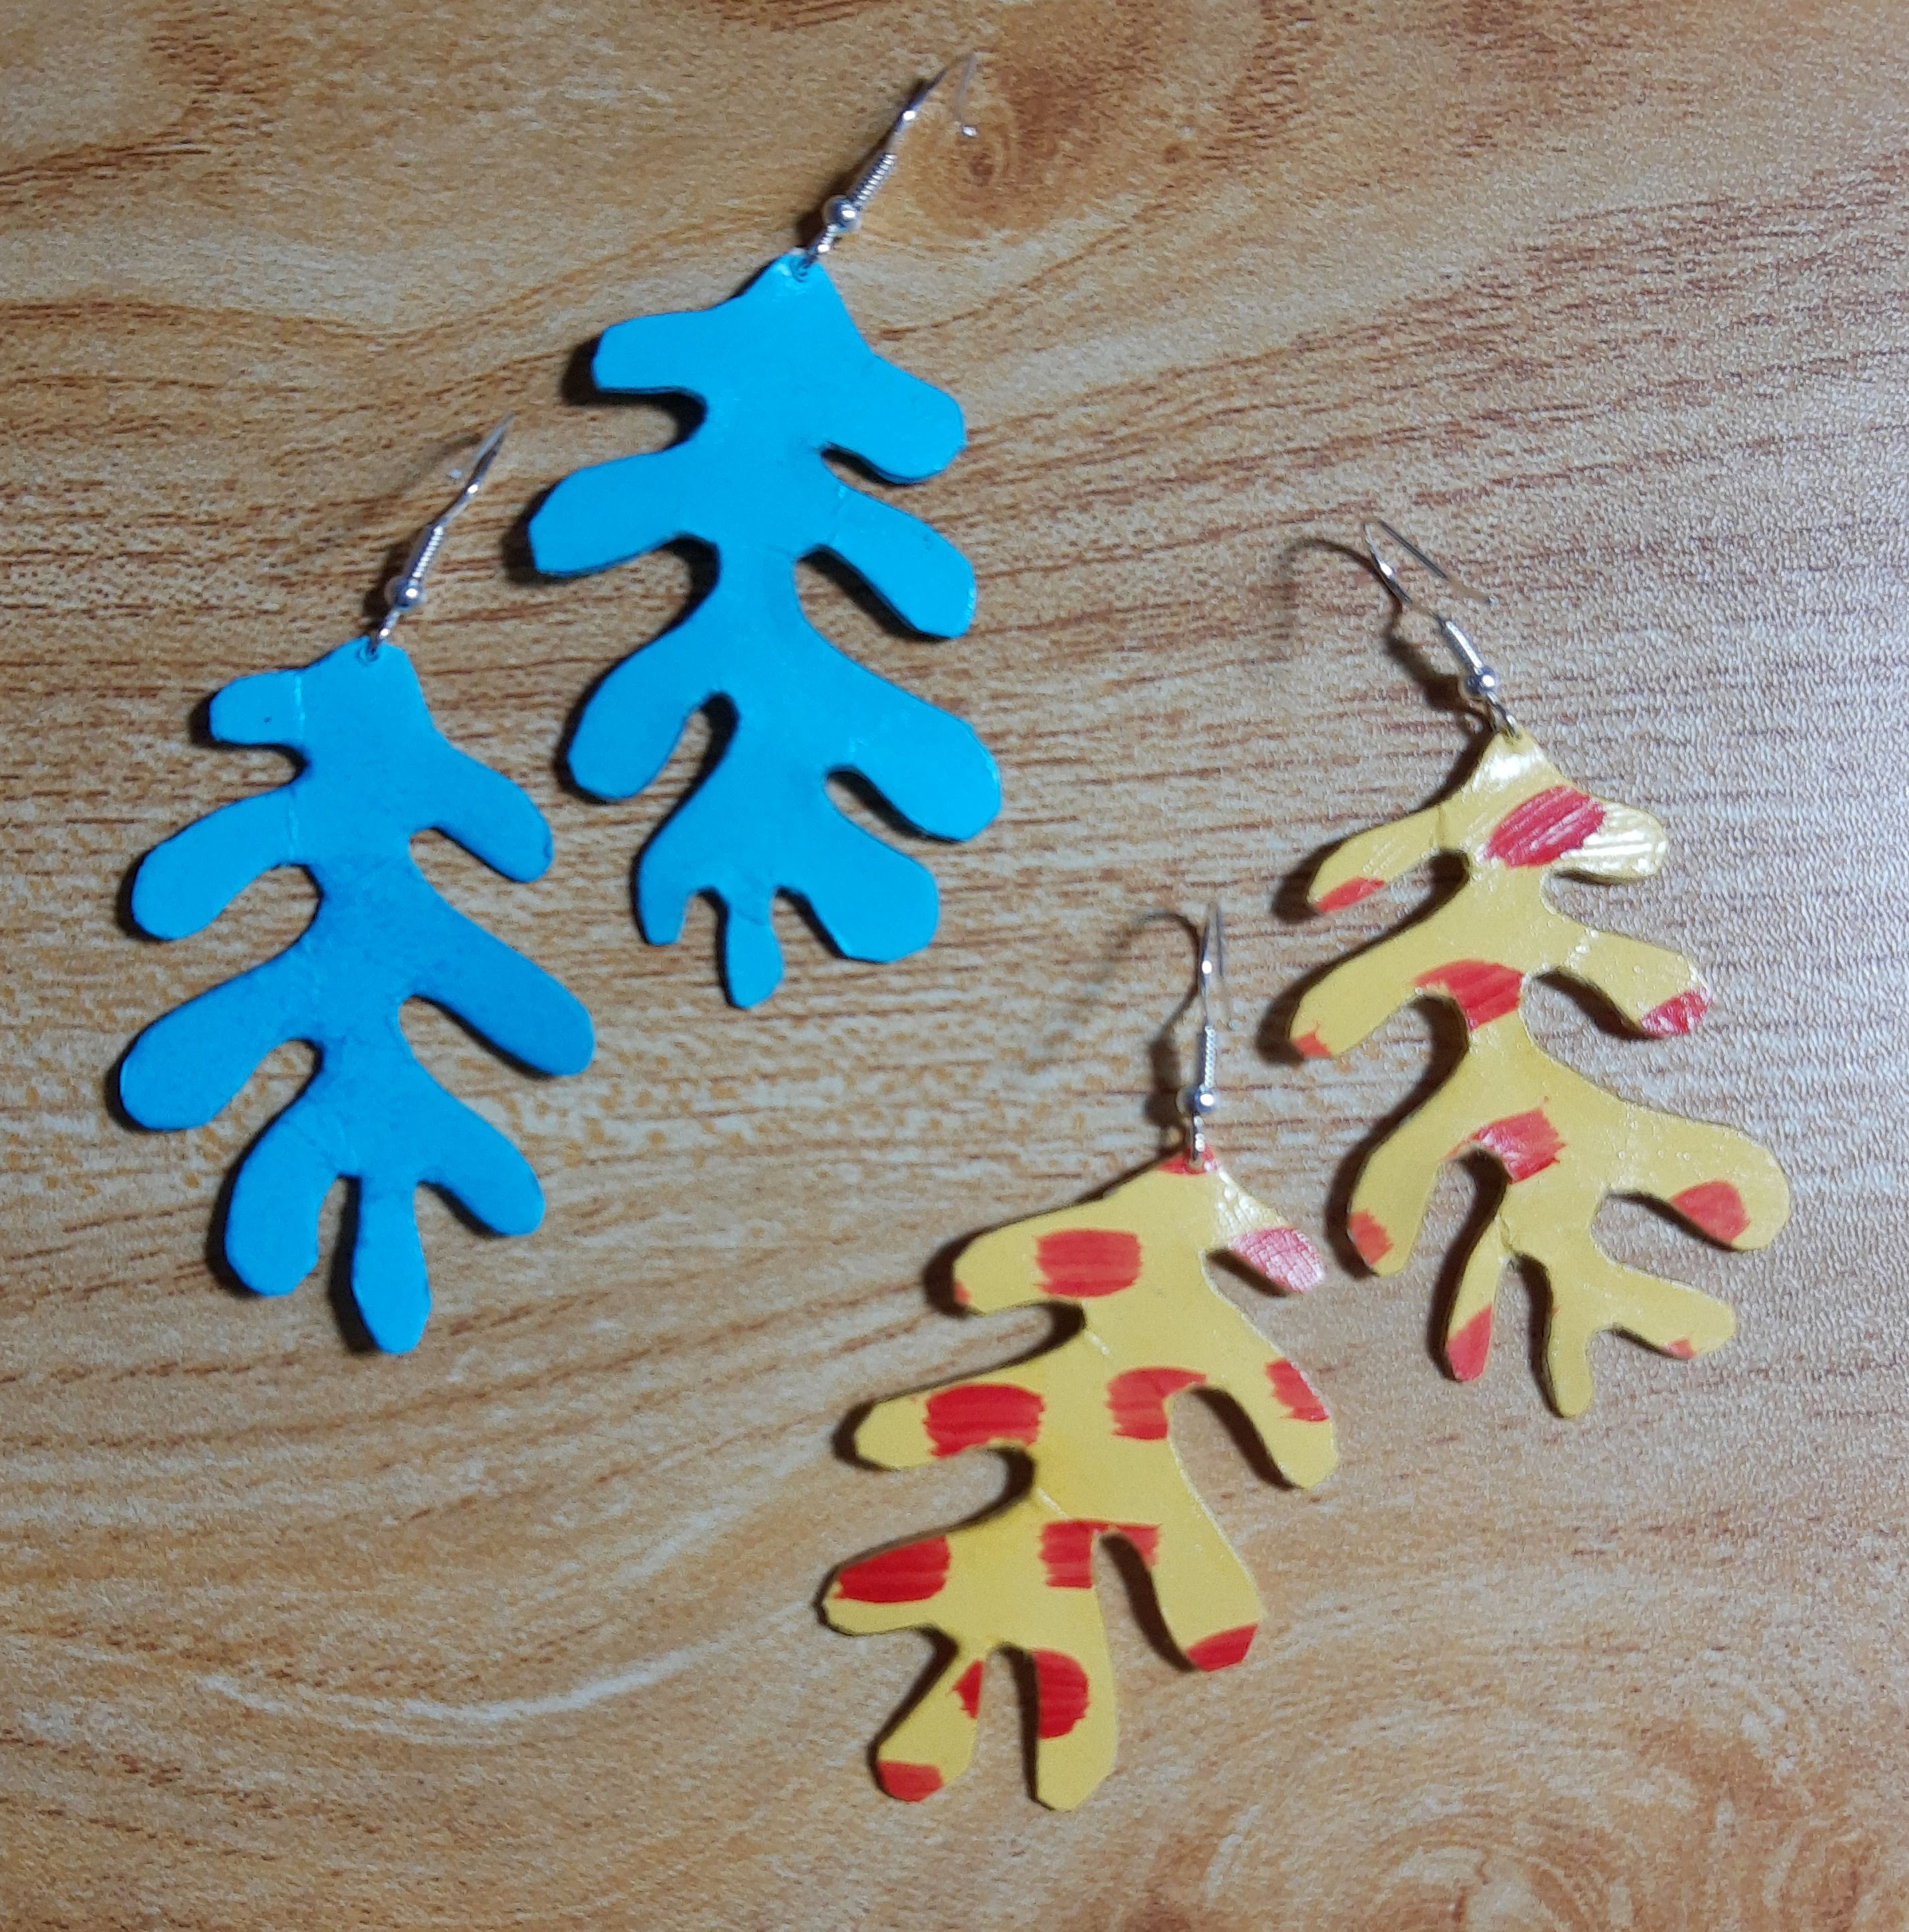
Paper earrings! My new favorite things to make.
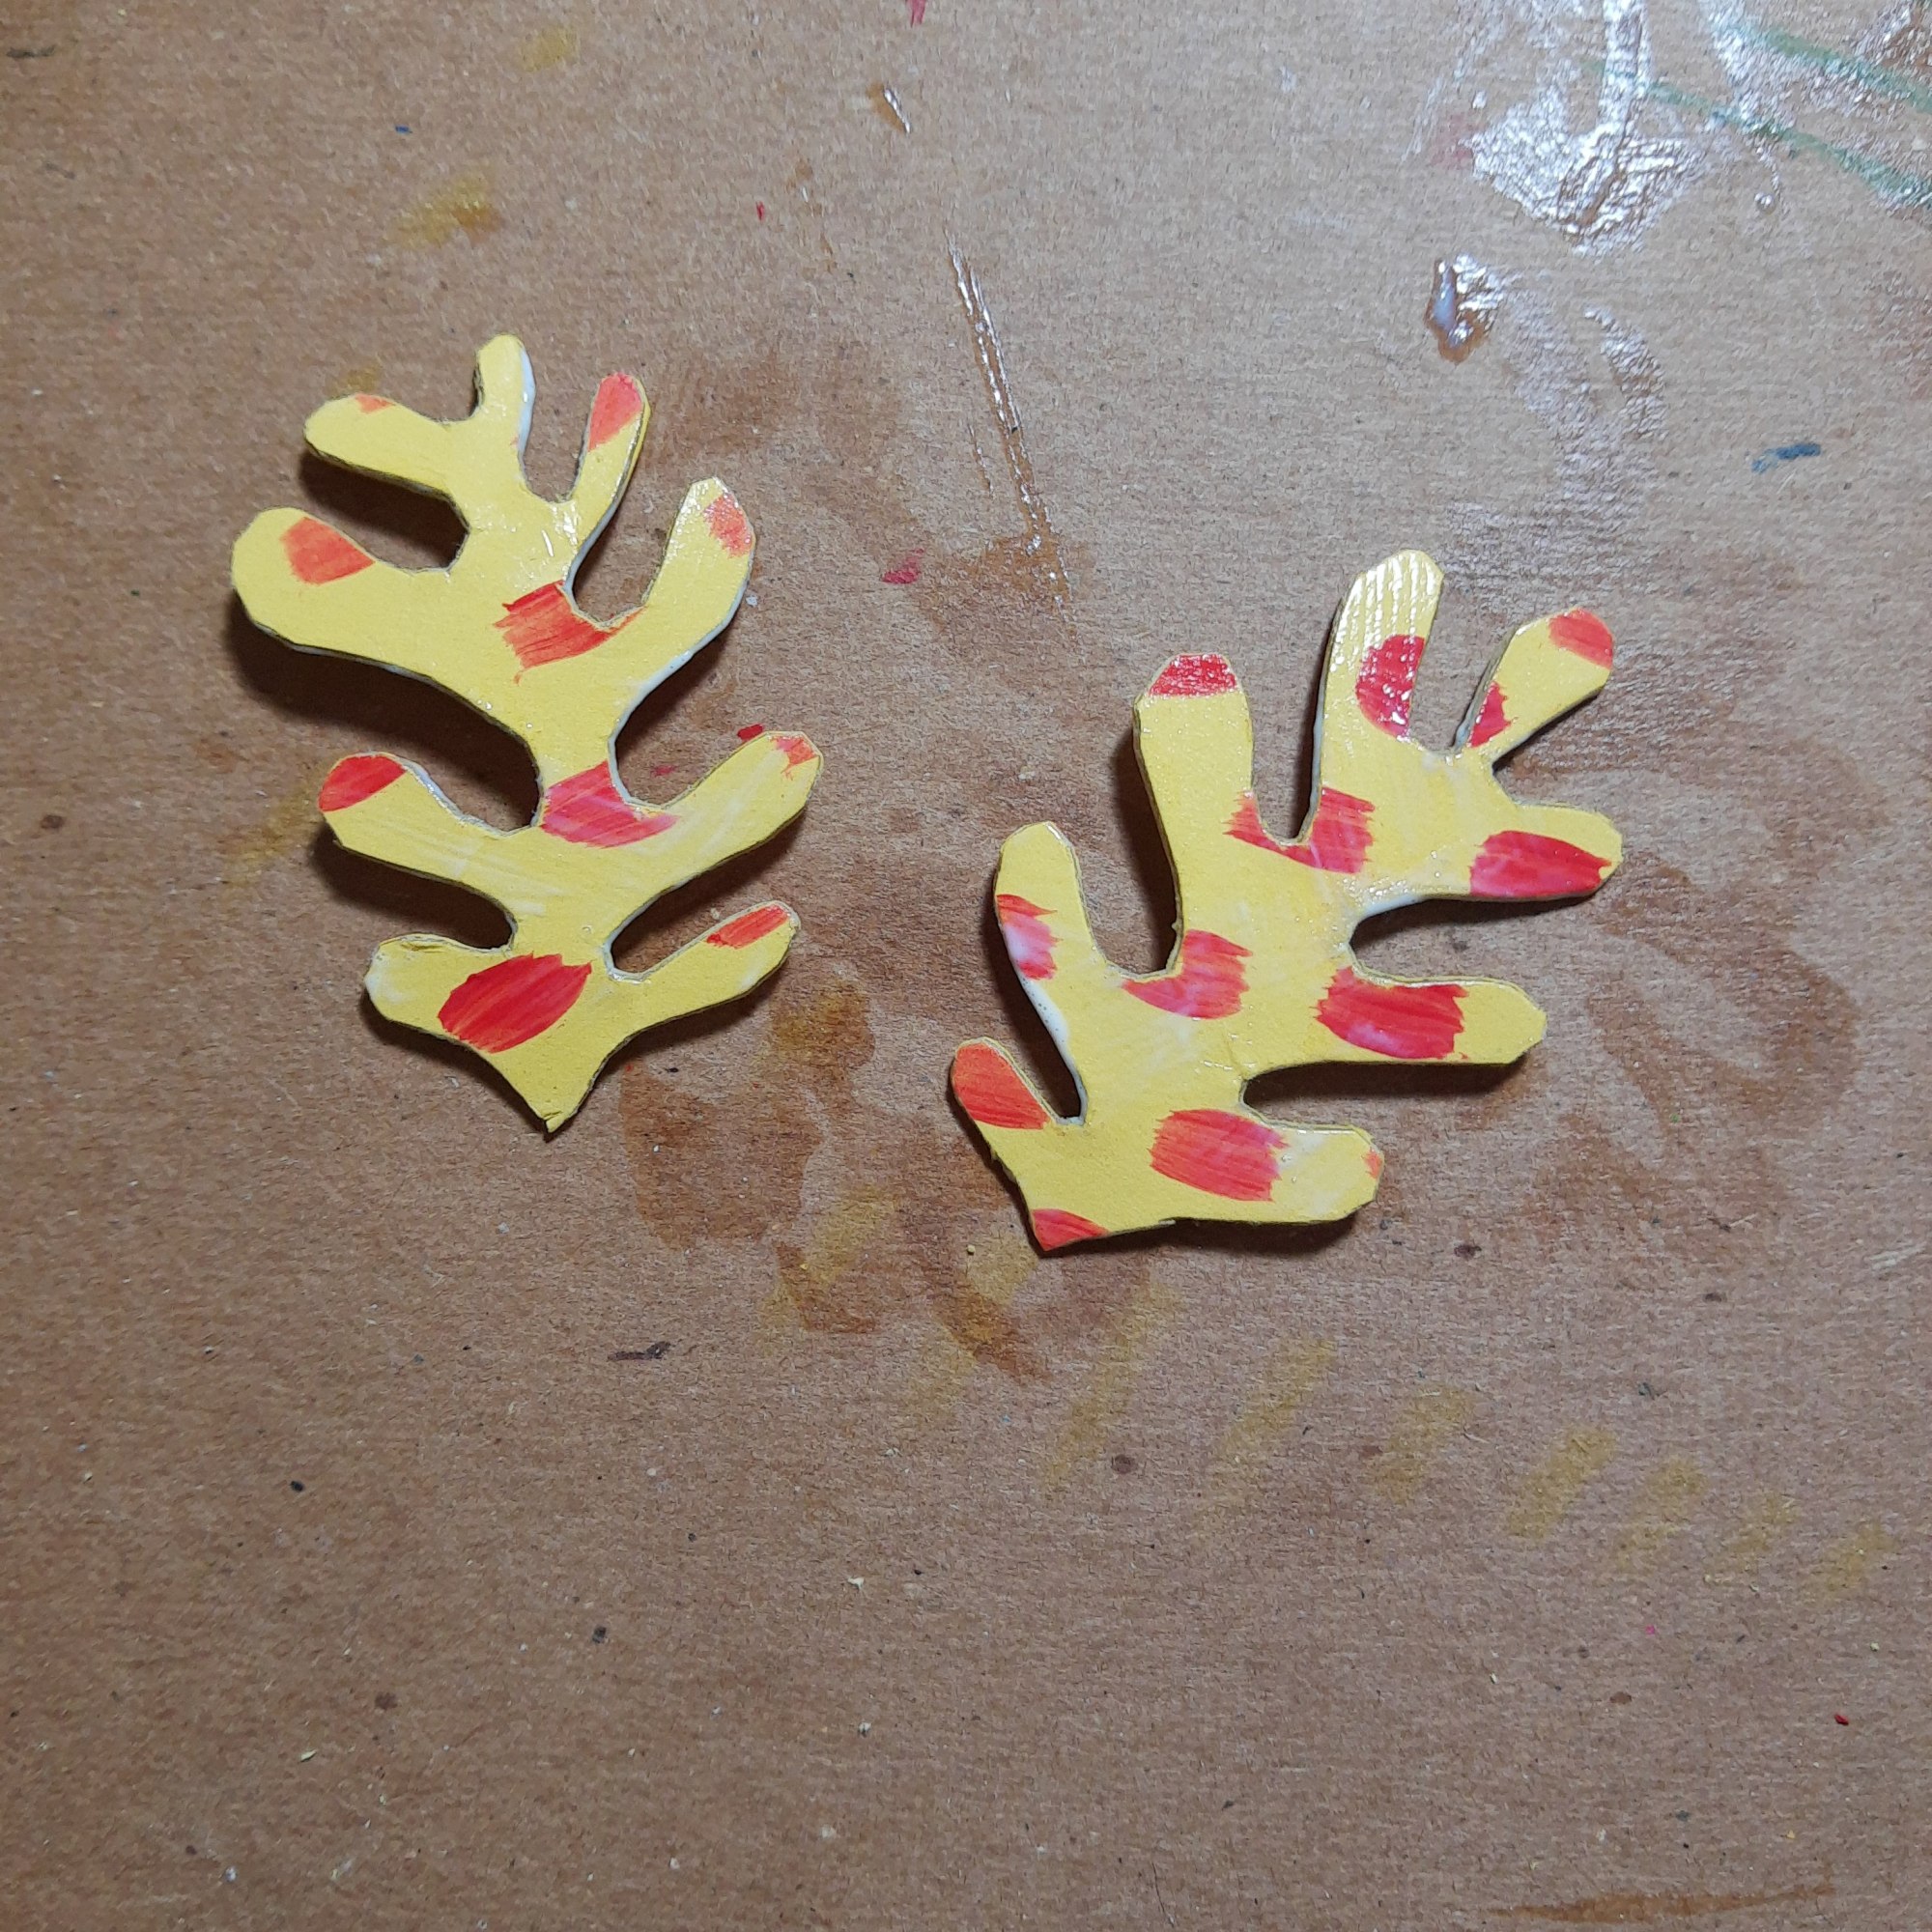
The first set of earrings I made were Matisse collage inspired earrings. I saw a lot of Matisse-inspired earrings on Pinterest and I loved the idea so I made some of my own.
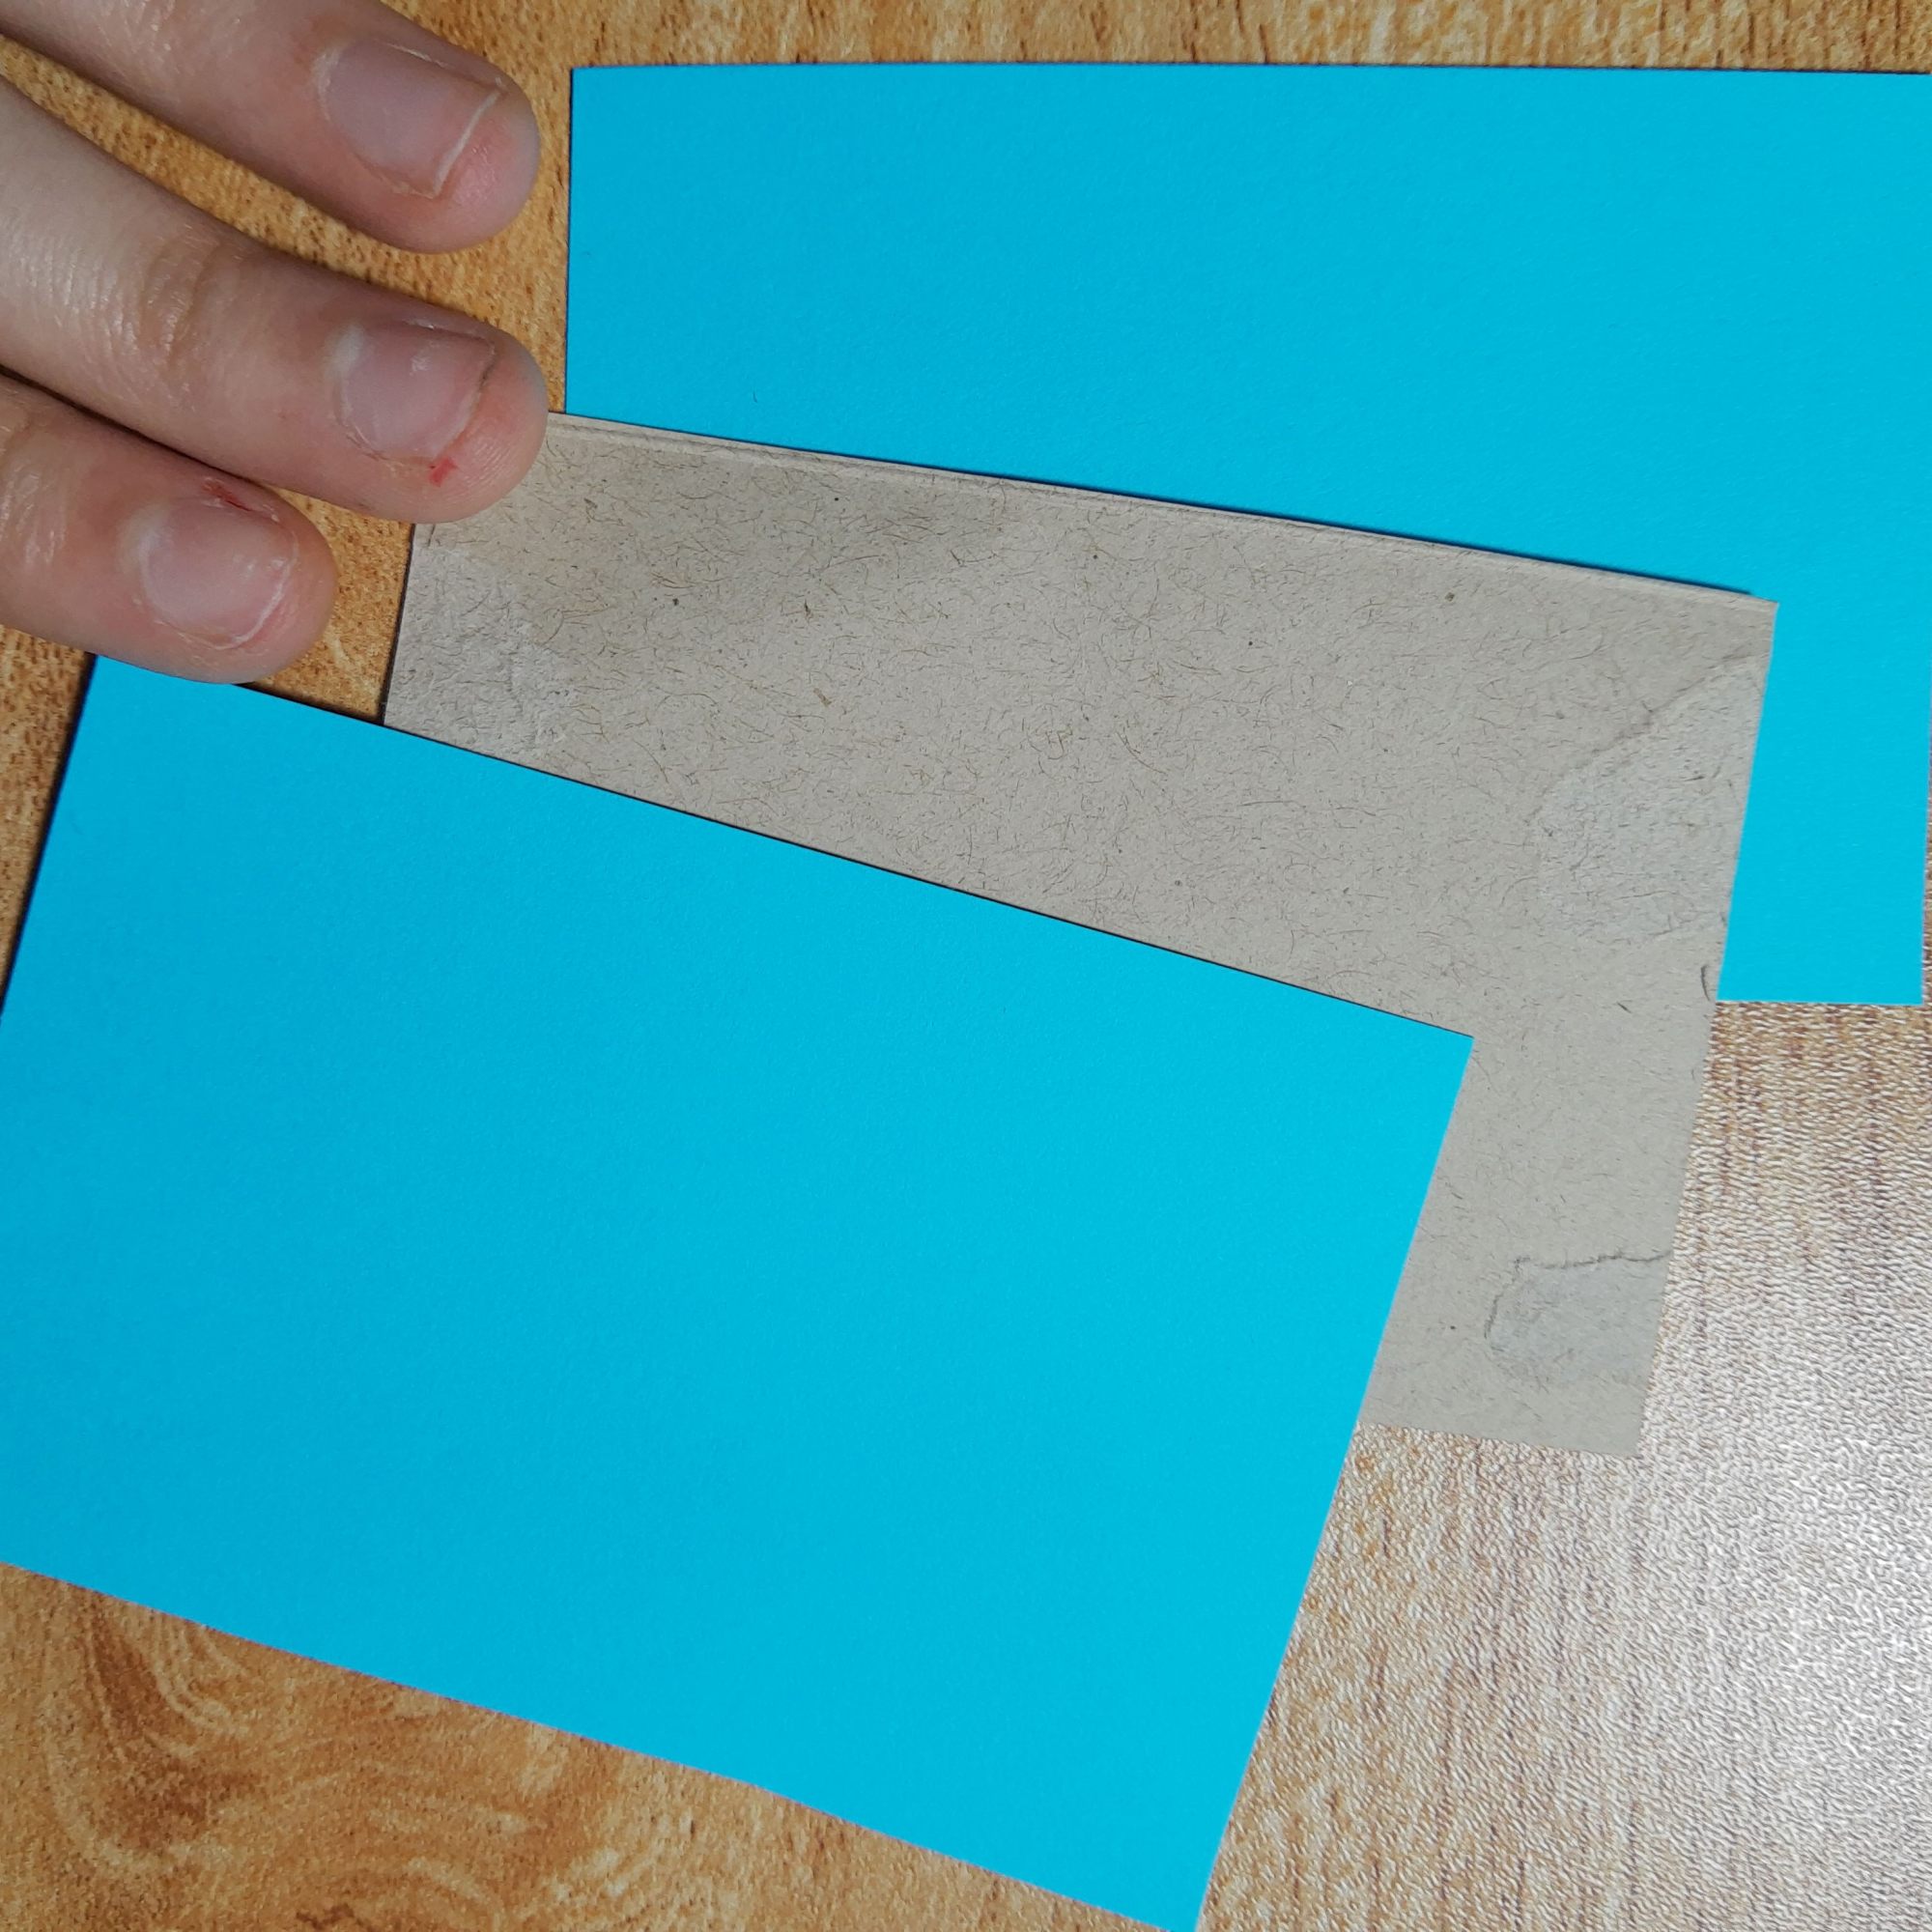
To make paper earrings, you need 3 thick, cardstock type pieces of paper, or two pieces of paper with a piece of thin cardboard in between. Using only paper works a lot better though when you cut out the earring shapes.
How I make paper earrings:
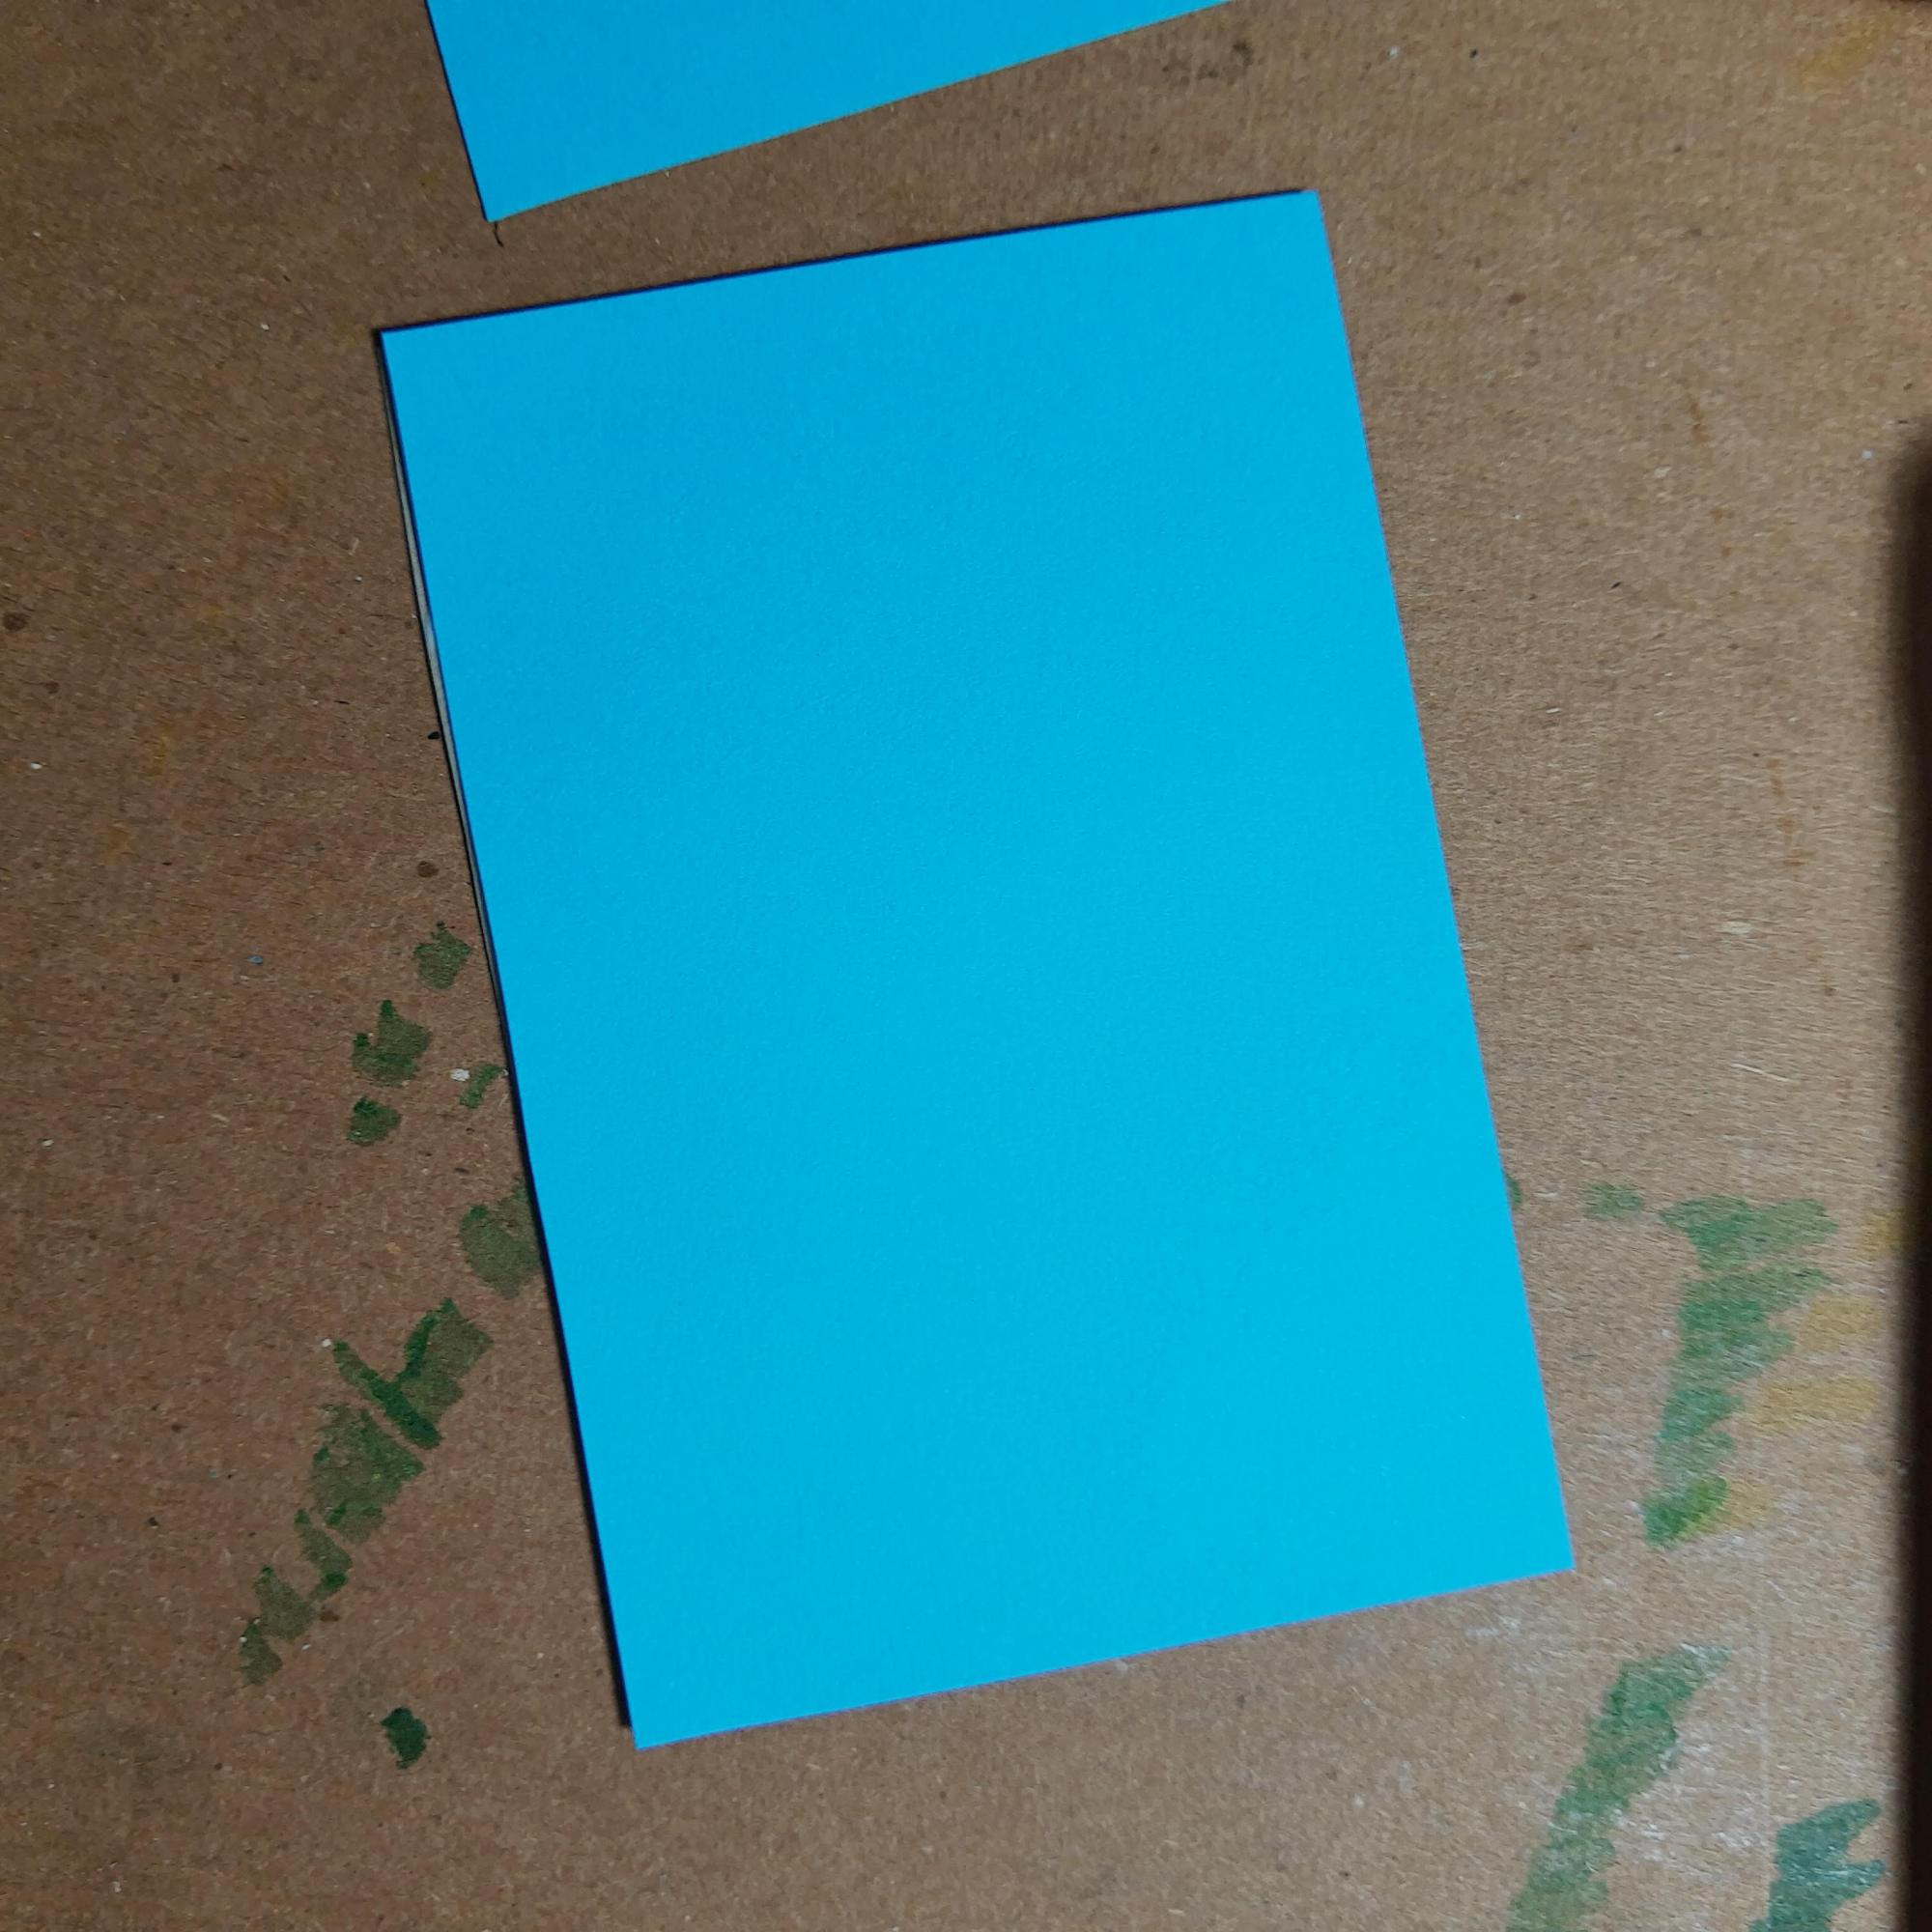
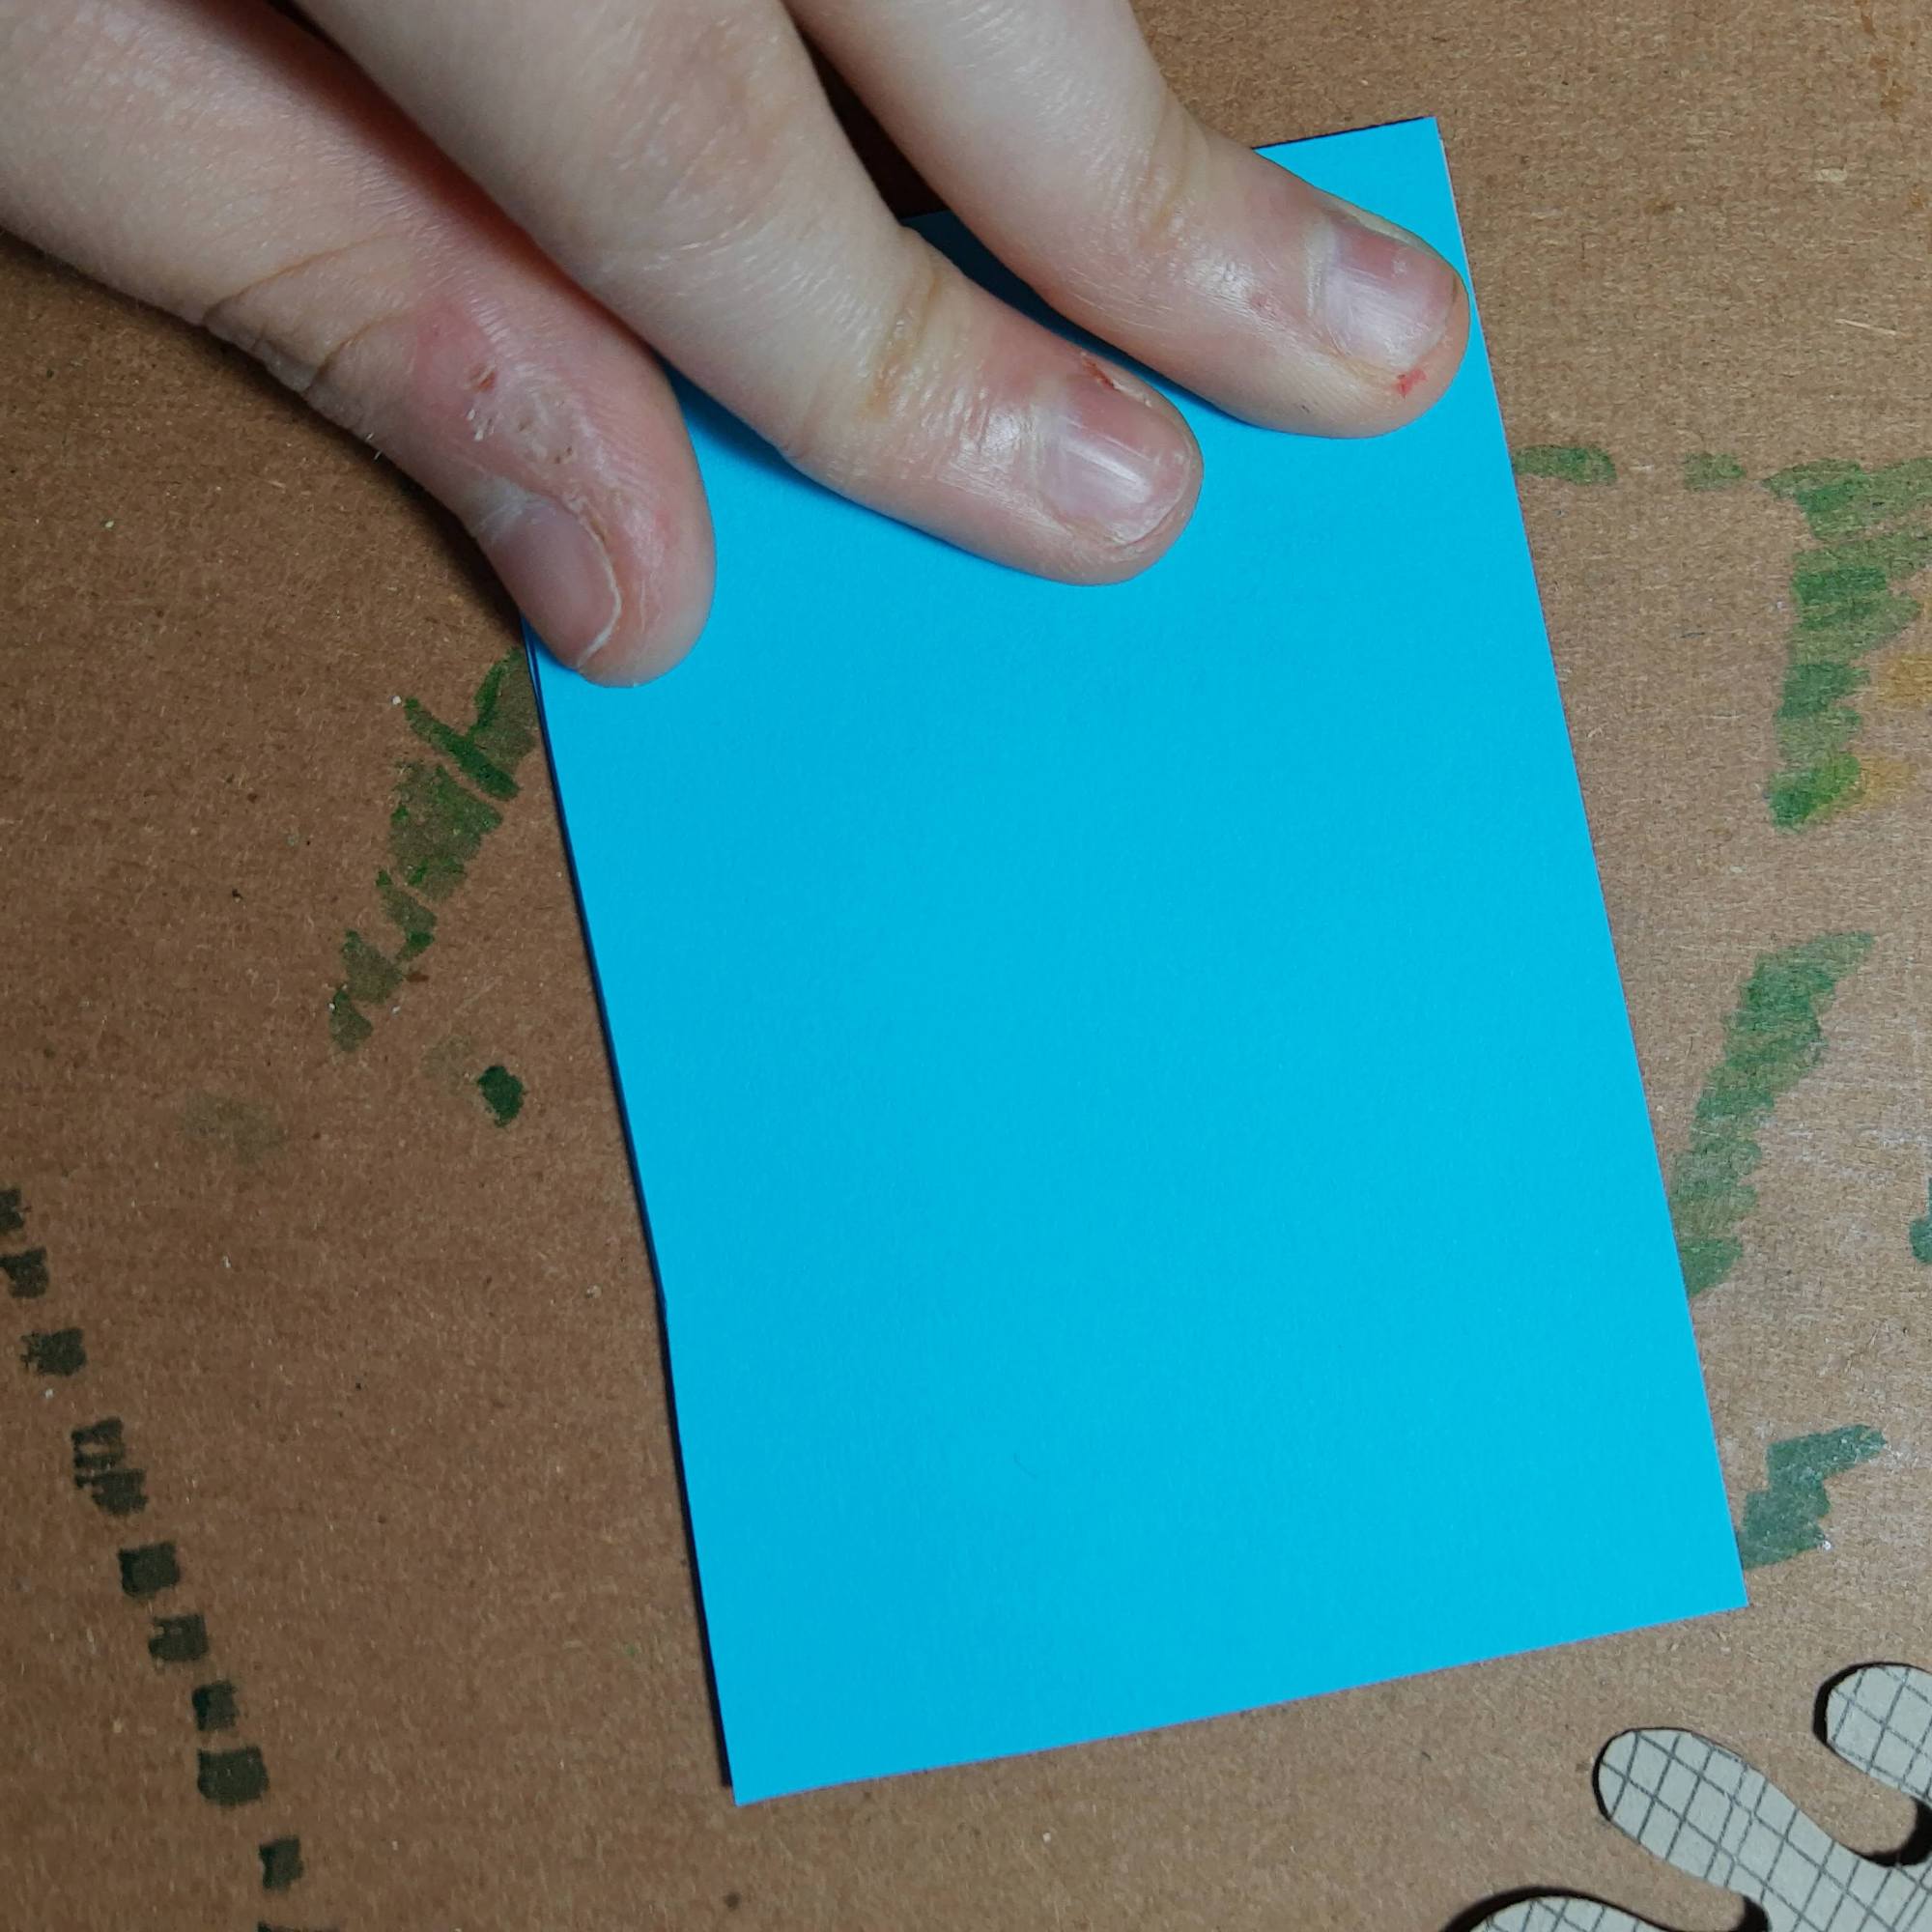
- Cut out 3 pieces of the same size of cardstock paper
- Mod podge each layer together
- Put the paper layers under a heavy book until dry
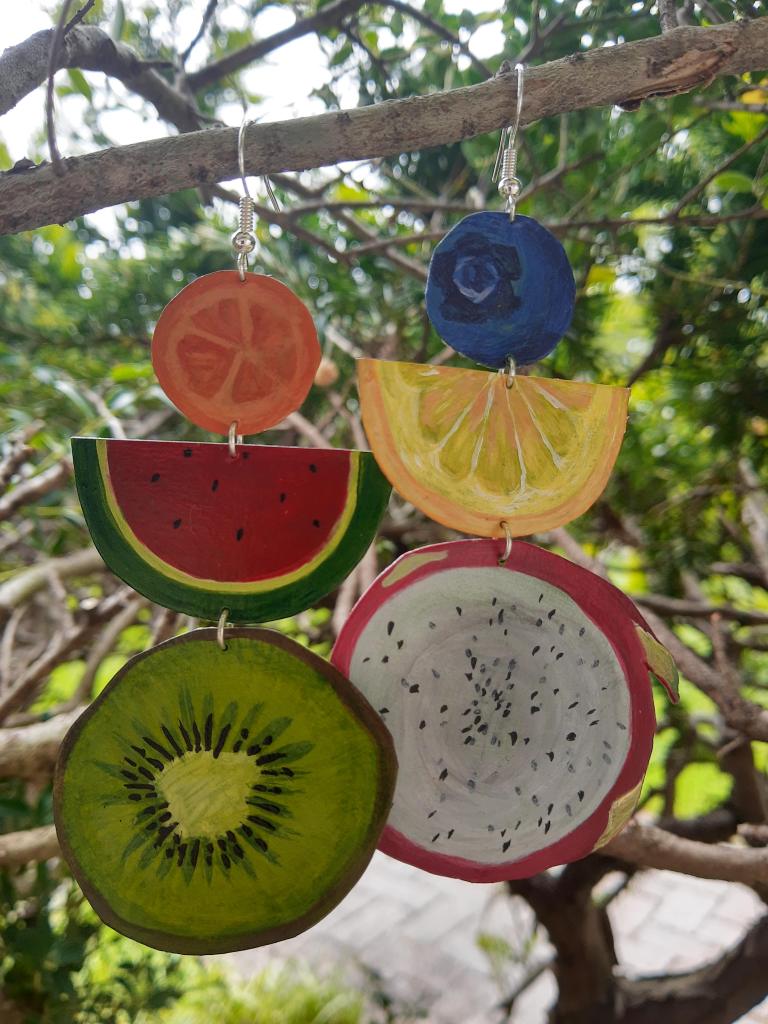
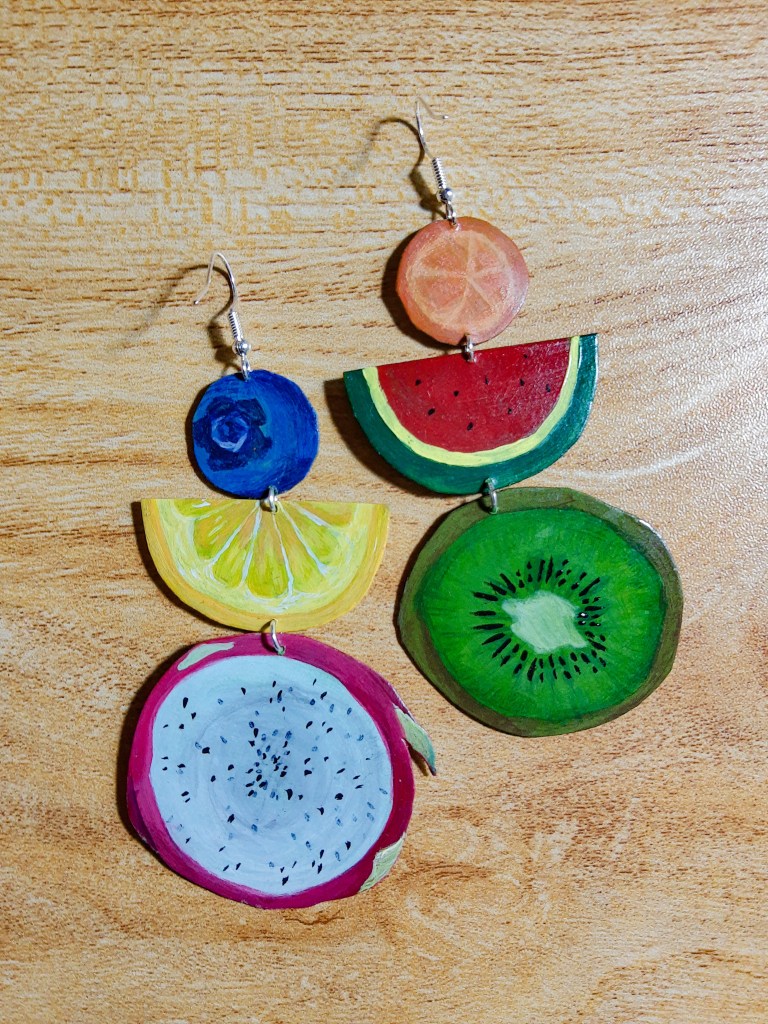
- Figure out what shape or painted design you want to create for your earrings. For the Matisse earrings, I painted dots on one of the papers. For my fruit earrings, I painted fruit on each side of the paper
- Cut out the shapes from the paper
- Apply a matte or gloss varnish to the paper so it is secure
- Poke a hole using a pin/needle in the top of the paper shape
- Poke through the hole with a jump ring or earring hook and fasten


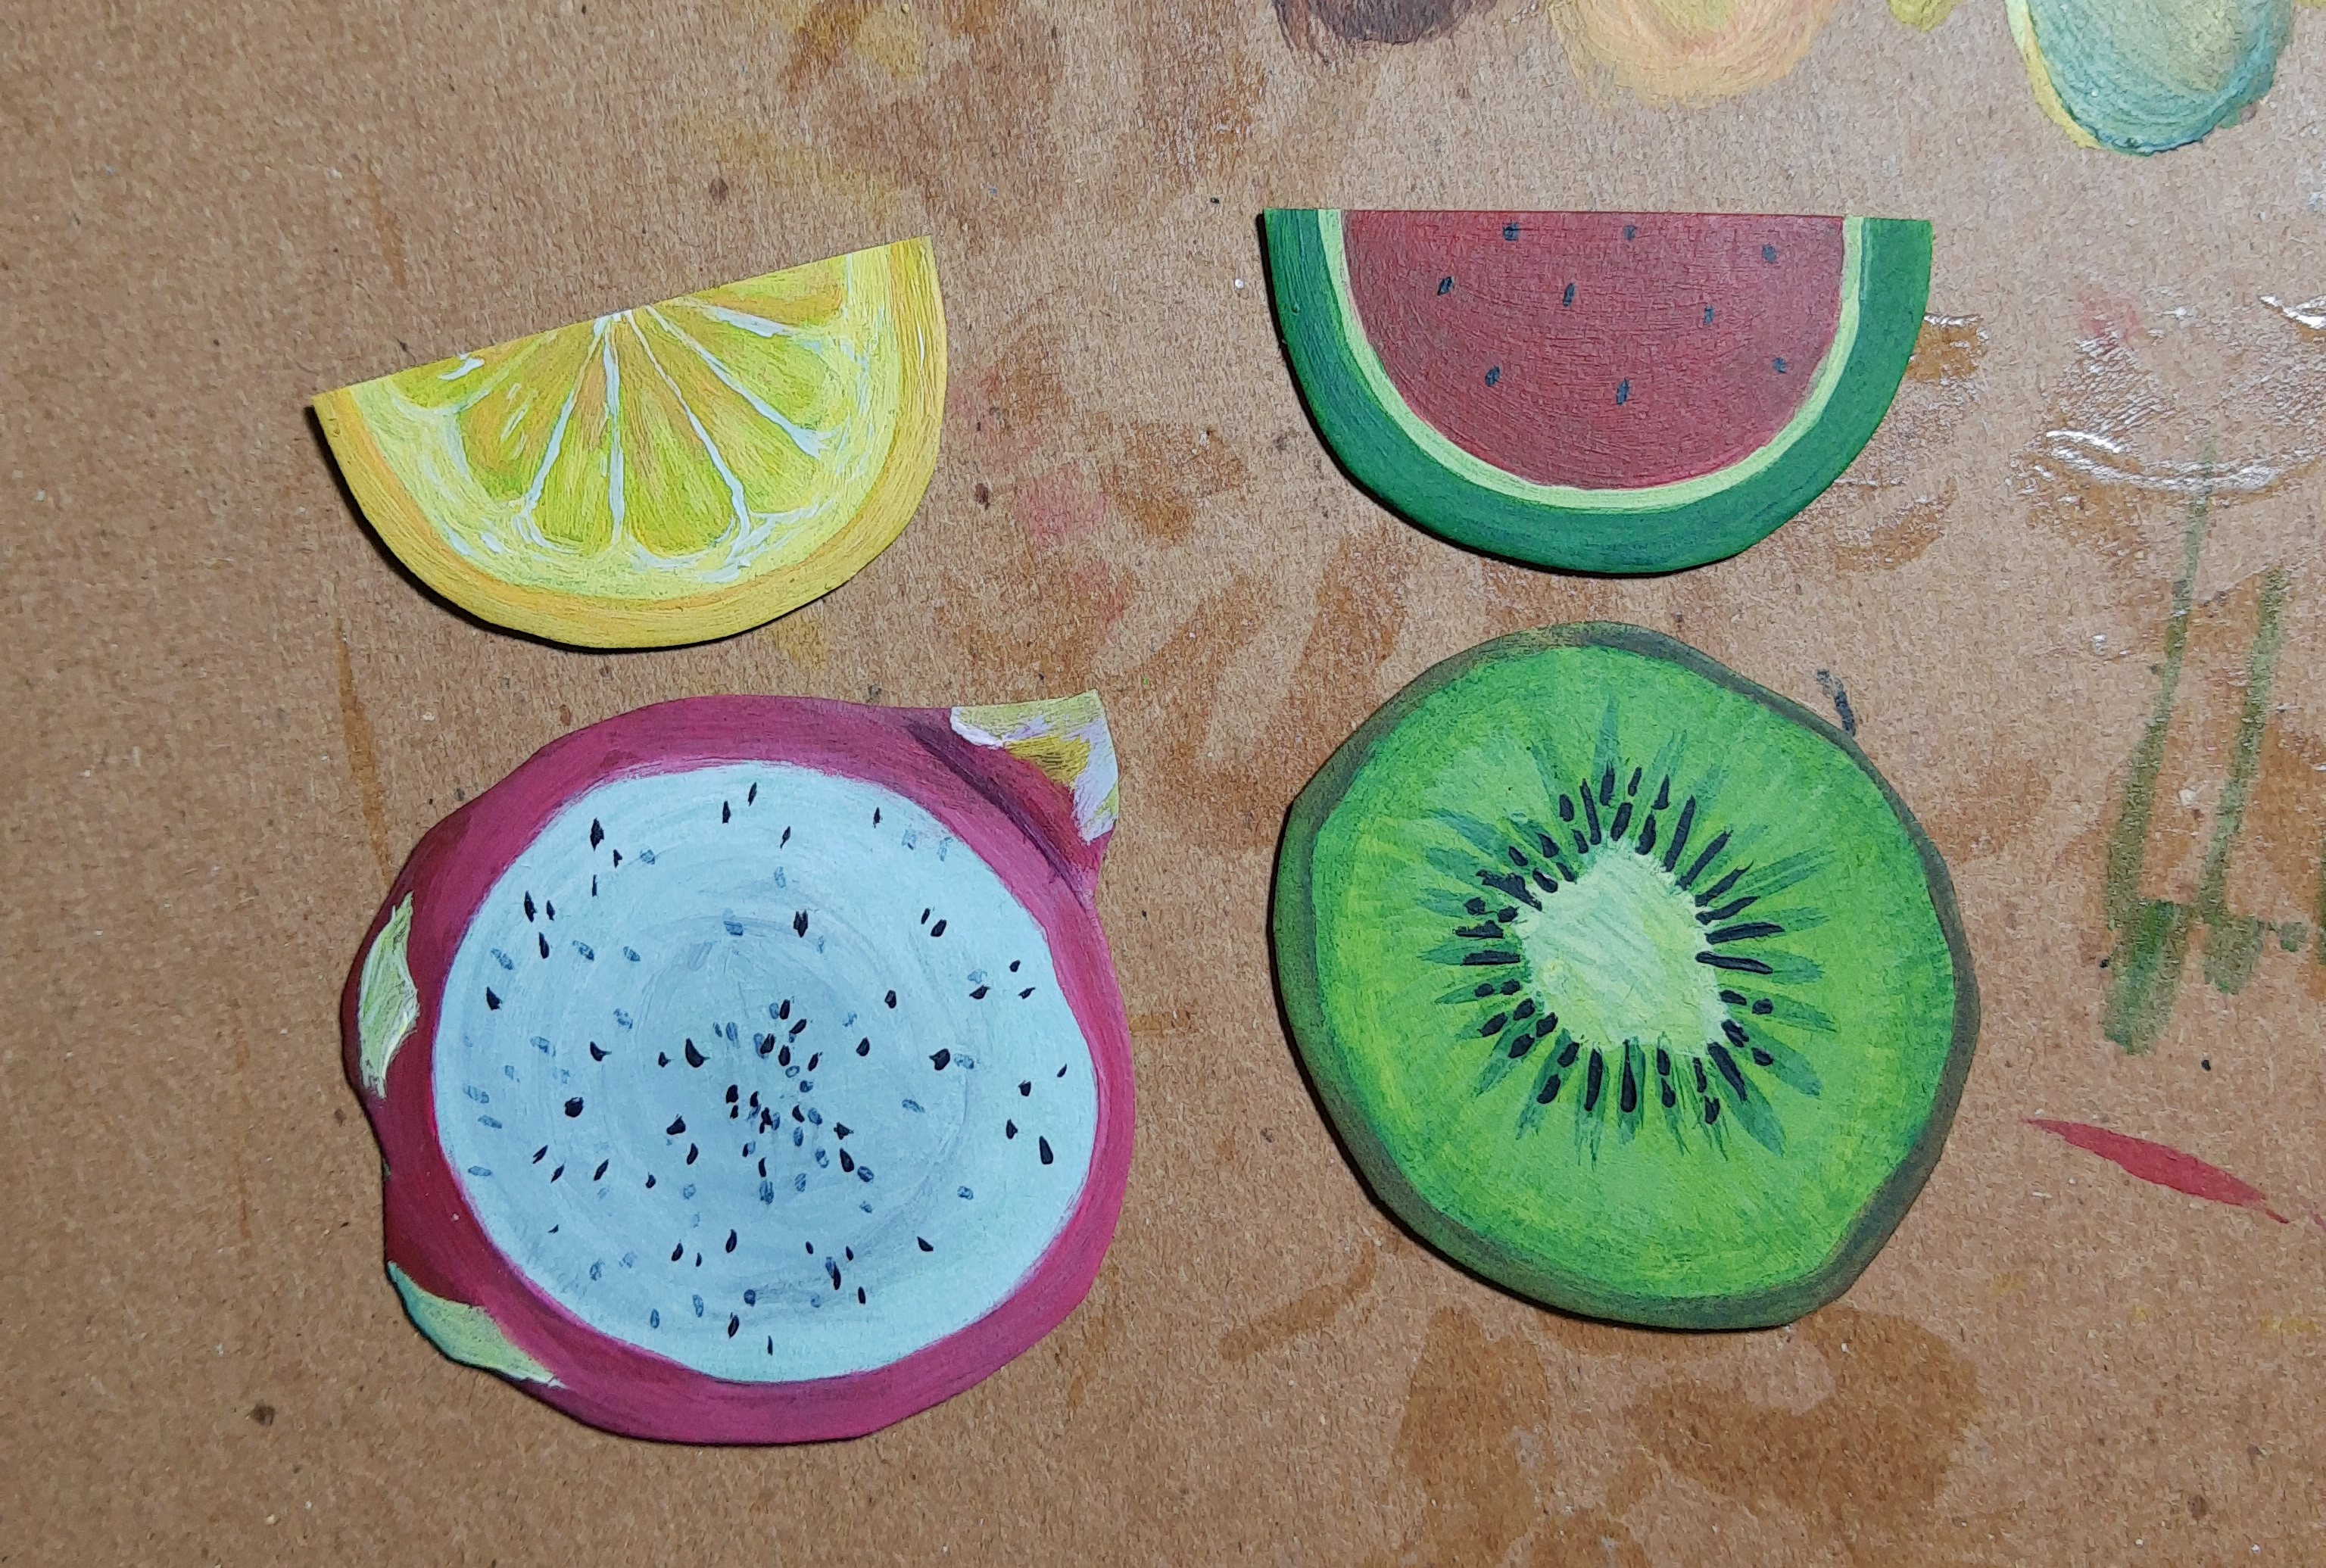
Next, I made a pair of fruity paper earrings. I followed the same steps above, but I added a lot more detail with paint. I LOVE how these turned out. I love how I can create fun and unique earrings using only paper and paint.
Unrelated – this week I’m teaching lessons on polka dots and Aboriginal art to my elementary students, and today I wore a full polka dot outfit to match my lessons and I’m very pleased. I am slowly achieving my goal of becoming Ms. Frizzle 🙂
Some of the process (I didn’t really take any other process pics, I mostly just painted fruit)
I was inspired by these earrings I saw on Pinterest: Earrings


