New Work

A while ago, probably 3 months ago, I had a dream where I was painting a painting. As soon as I woke up, I sketched out the painting to the best of my memory. This painting is that painting that I was painting in a dream. I want to do more of these. Just gotta figure out how to dream about painting and remember it. The base was pink of course. The color PINK is informing a lot of my work lately. think pink…

This work below is much smaller. Acrylic on paper. 24 x 12 inches. Thinking about warm colors and electric blue. Phthalocyanine blue mixed with white creates such a warm, powerful blue. Memories. Pieces and fragments of time connected together. A self-portrait on an ordinary day. Pipes. Sunset from a cold, autumn walk. A hand, twisted and contorted for the camera. A parking lot, empty except for one car outside of the frame. Moments bleeding together. Connected by random thoughts of bowls and hands and places.

Jacob Lawrence

This is from a while ago, perhaps a year ago. But I did this project with my lower elementary students. We learned about Jacob Lawrence and his cityscapes, and then students drew a city with oil pastel. Then, they added black outlines on top with acrylic paint and extra colors with tempera paint. Everything was drawn on cardboard because toned paper adds an extra element of pizzazz. So here they are:

Kindergarten Flowers

Kindergarten learned about Georgia O’Keeffe today and created their own close-up, enlarged flower artworks. Kindergarteners looked at fake flowers for inspiration, then sketched out their flower in pencil. Then they colored each petal and the background with chalk pastel and smudged the colors together. Lastly, they traced over their pencil lines with black ink using foam brushes. These are the finished artworks! I love how they turned out.

Teaching Updates

I’m a bit overwhelmed with teaching right now, but I am doing the best I can. These are some of the artworks from lessons I’ve taught recently.

Upper elementary did these awesome Kehinde Wiley stained glass inspired paintings:

Lower elementary created Alma Thomas inspired paintings:

Kindergarten made these beautiful Jim Dine inspired hearts for Valentine’s Day-ish time:

Primary Colors & Color Mixing

I taught this lesson with lower elementary a few weeks ago. We talked about primary colors and how they are super special colors because you can’t create them with any other colors. And primary colors can create a ton of new colors when mixed together.

To practice mixing colors, each table got red, yellow, blue, and white paint and students created and named as many colors as they wanted. I love how creatively students named their colors. Some of my favorite color names were “blainbow”, “stinckpot”, “peace” and “thunder”.

I even wore red, yellow, and blue to match my primary color lesson (and to achieve my goal of being like Ms. Frizzle). My hand was very messy at the end of the day which I love because a messy hand is the mark of an artist 🙂

Here is my lesson plan:

Crocheting, Painting, and My Other Recent Artsy/Craftsy Projects

I’m working on a ton of small projects lately. I get bored of working on one thing and then I have another idea and I don’t really have enough focus to work on any one project right now and I’m frustrated with art and crafting currently. Just a bit of art/creative unmotivation. I finished some of them though.

I’m bored so I’m just gonna write about all my ideas and current projects here and organize my brain a bit.

The Projects:

1) Crocheting a granny square sweater – I decided to use my crazy colorful yarn to make a bright, patchwork-y sweater. I love crazy clothes and I am always trying to incorporate more colorful, patterned clothing pieces into my collection. I have the front panel of the sweater all sewn together and crocheted. I just need to do the sleeves and back panel, which is 21 more granny squares which I am kinda over making after the first 9. I’ll get to it eventually… (haha we’ll see). If I ever crochet the rest of it, I plan to add a cute little scalloped trim to the bottom of the sleeves and sweater.

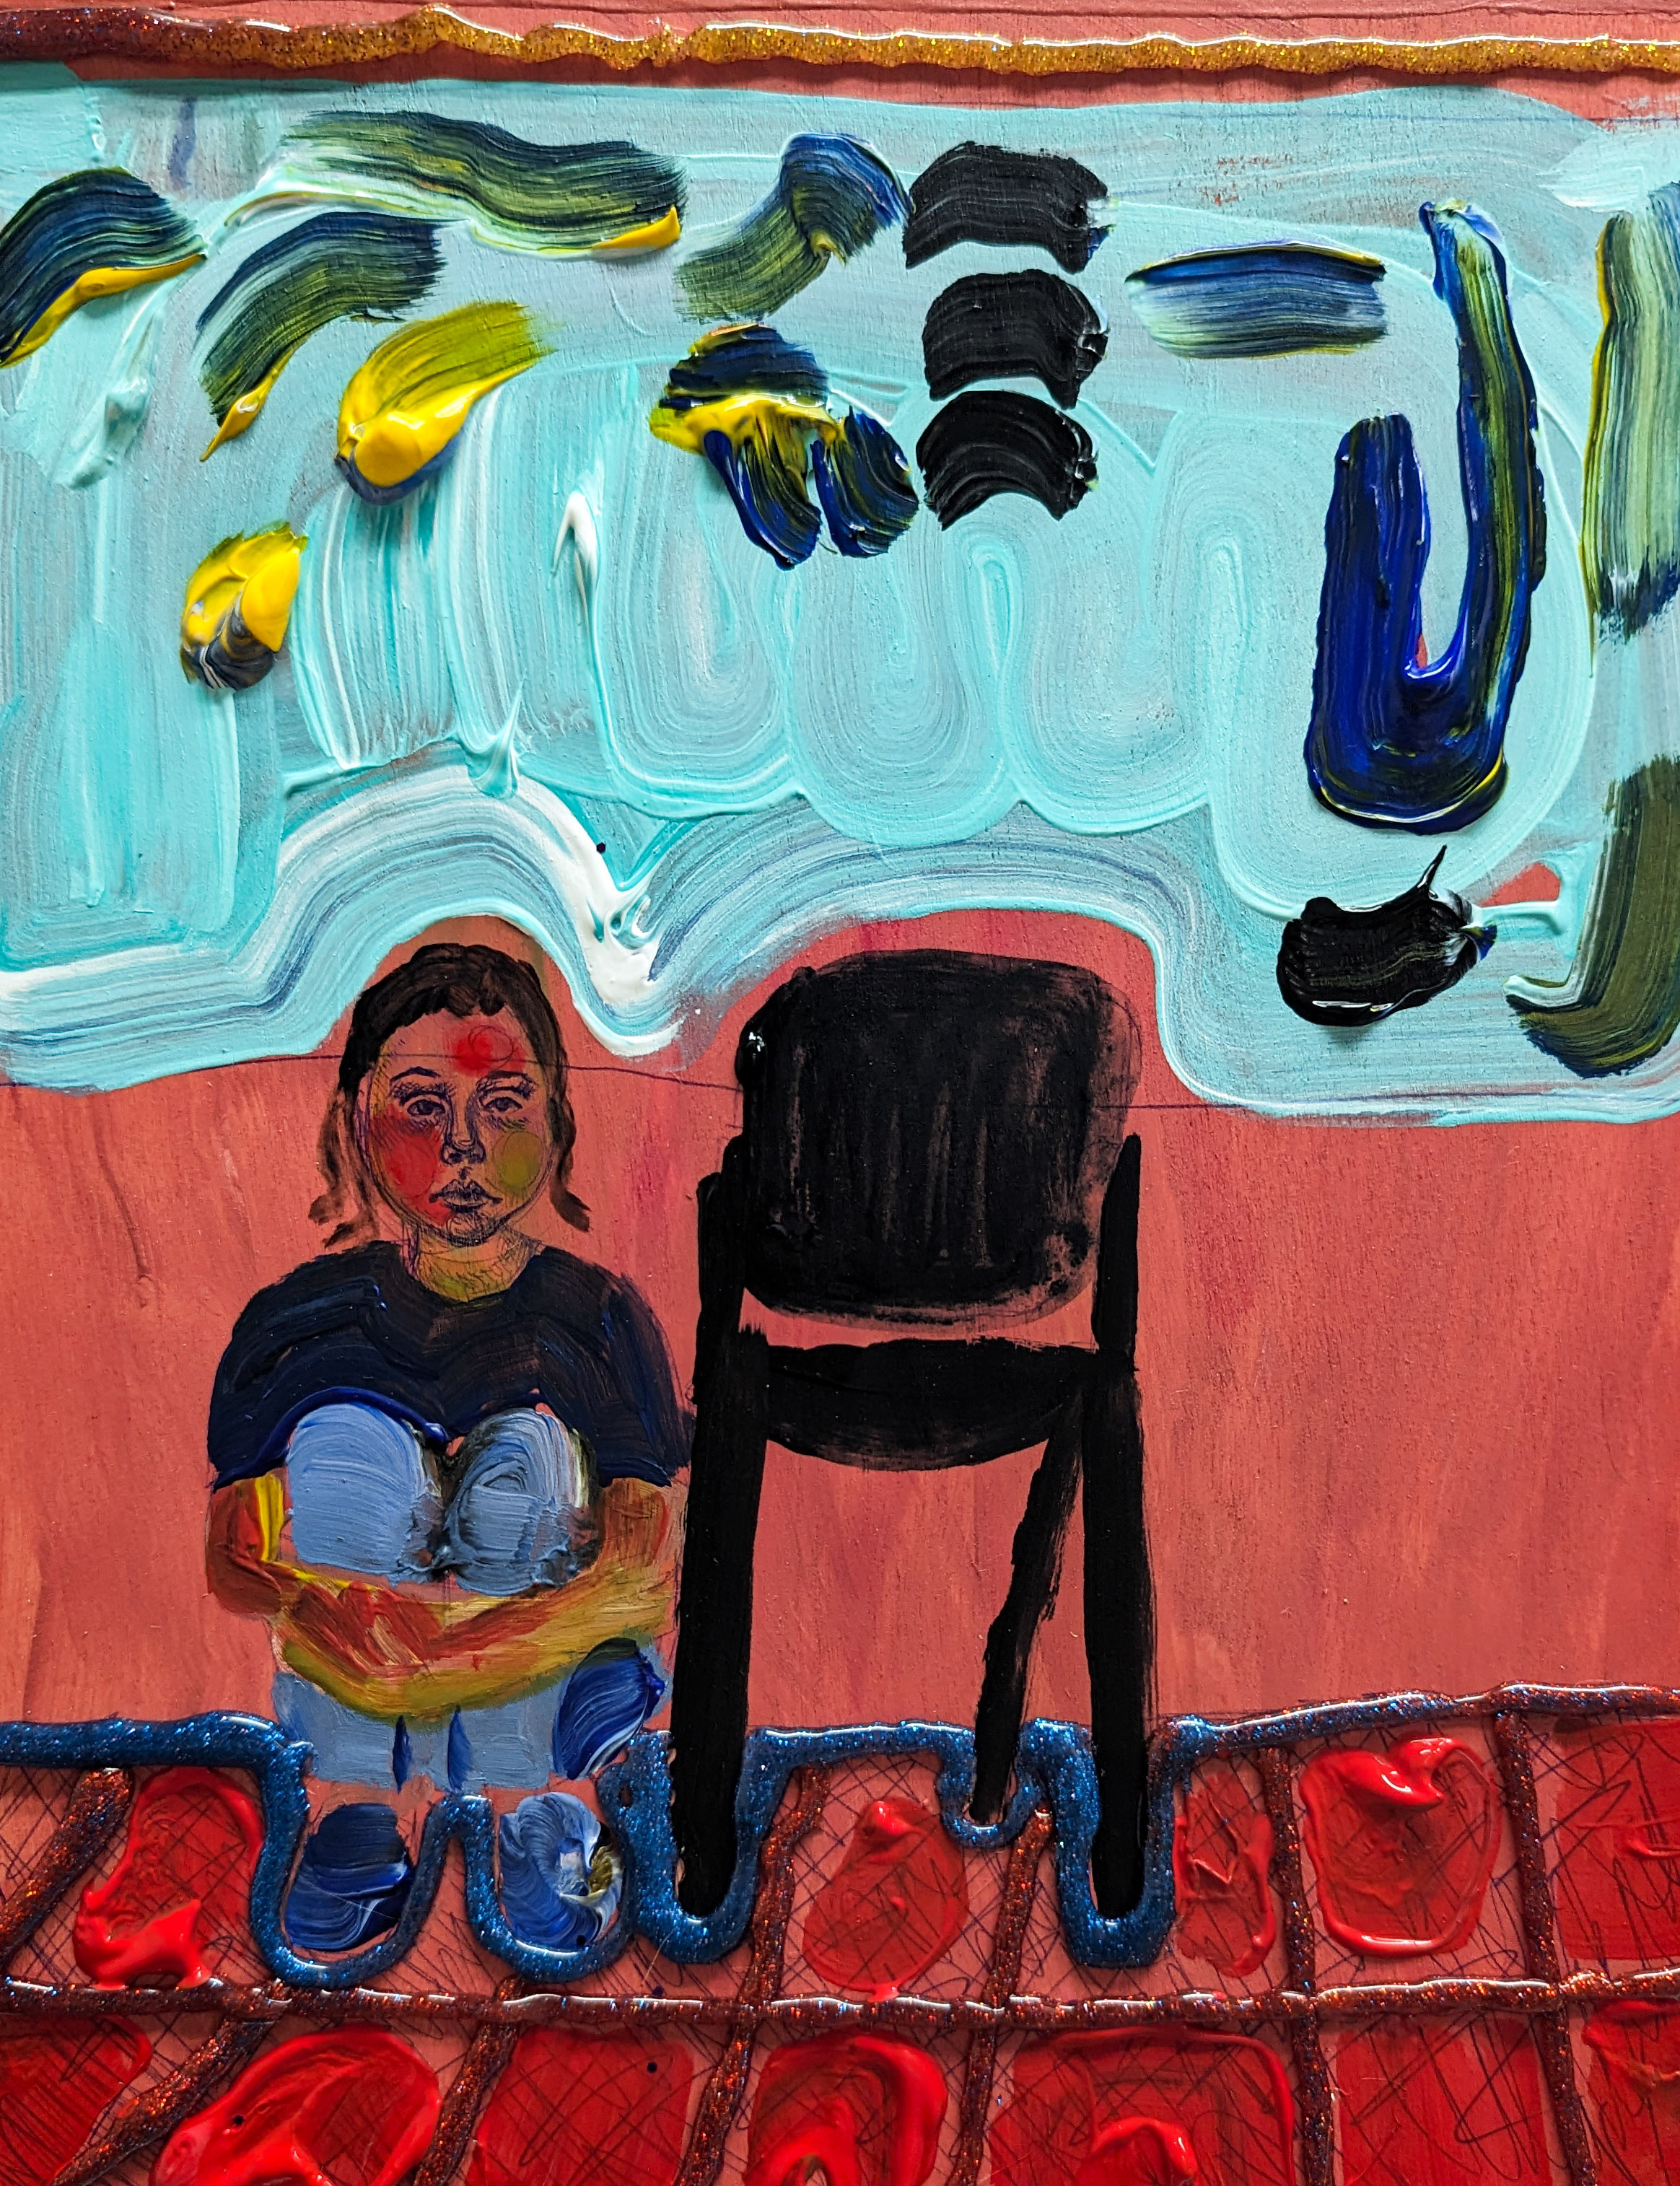
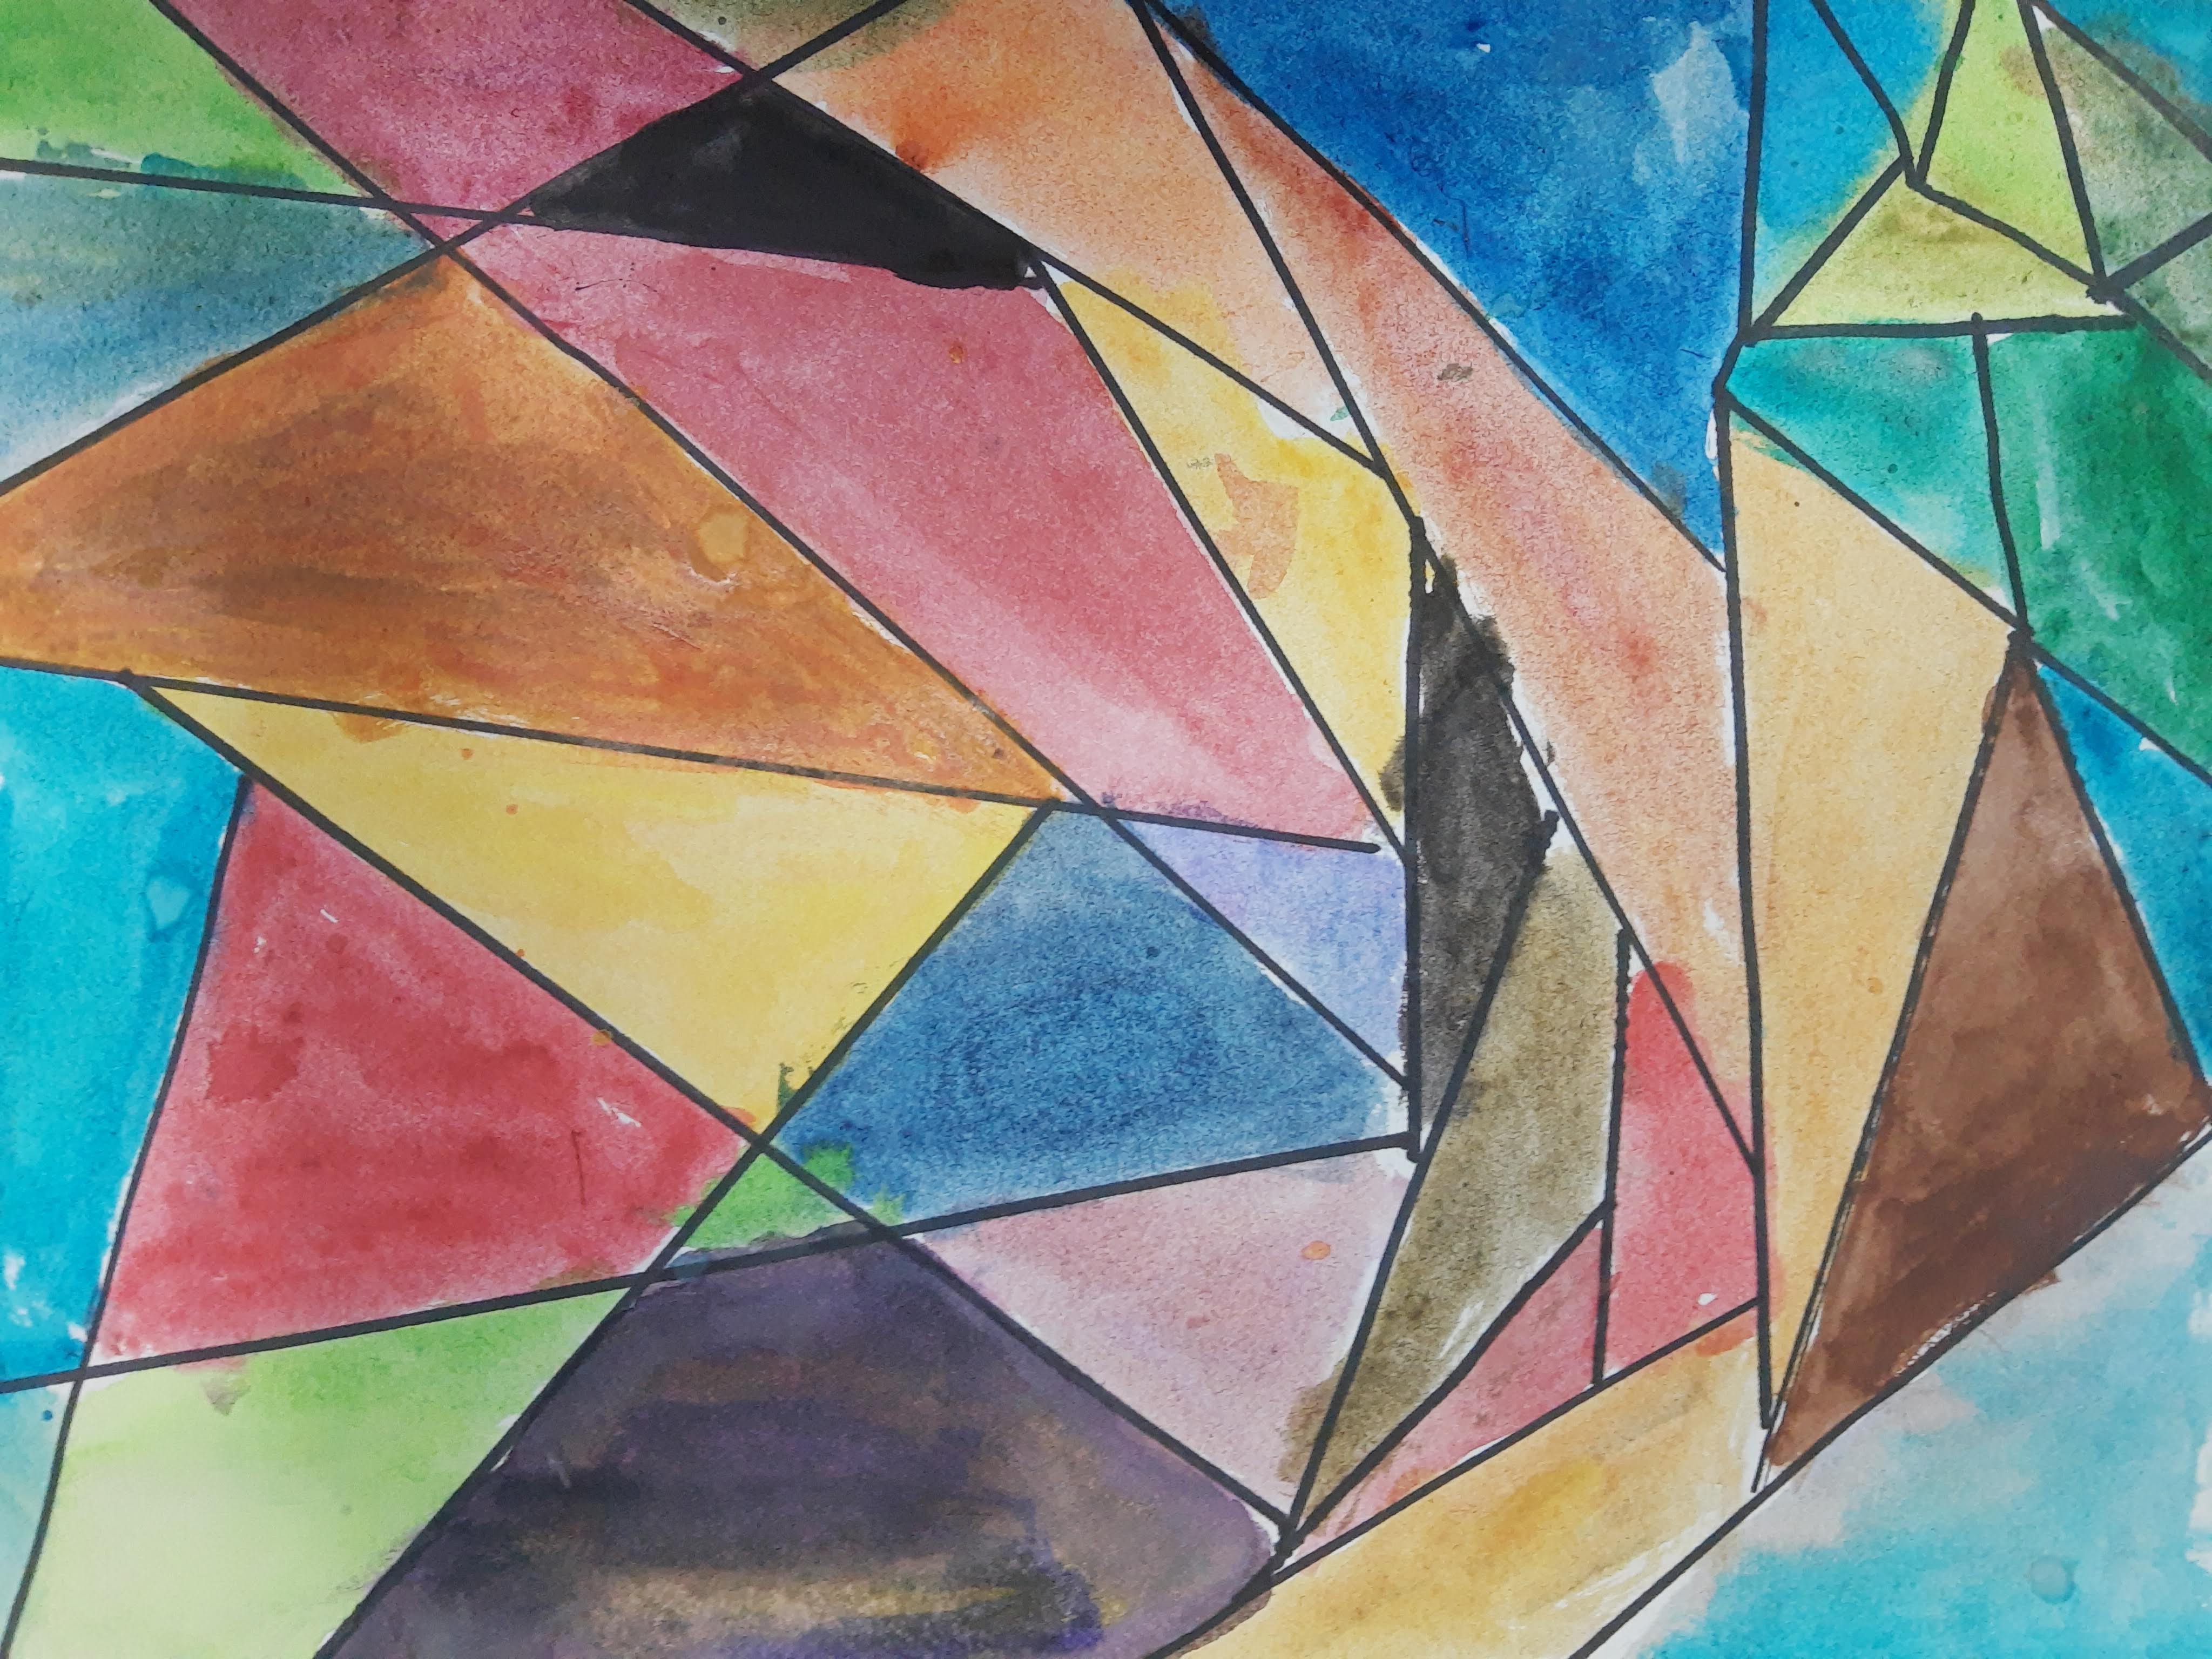
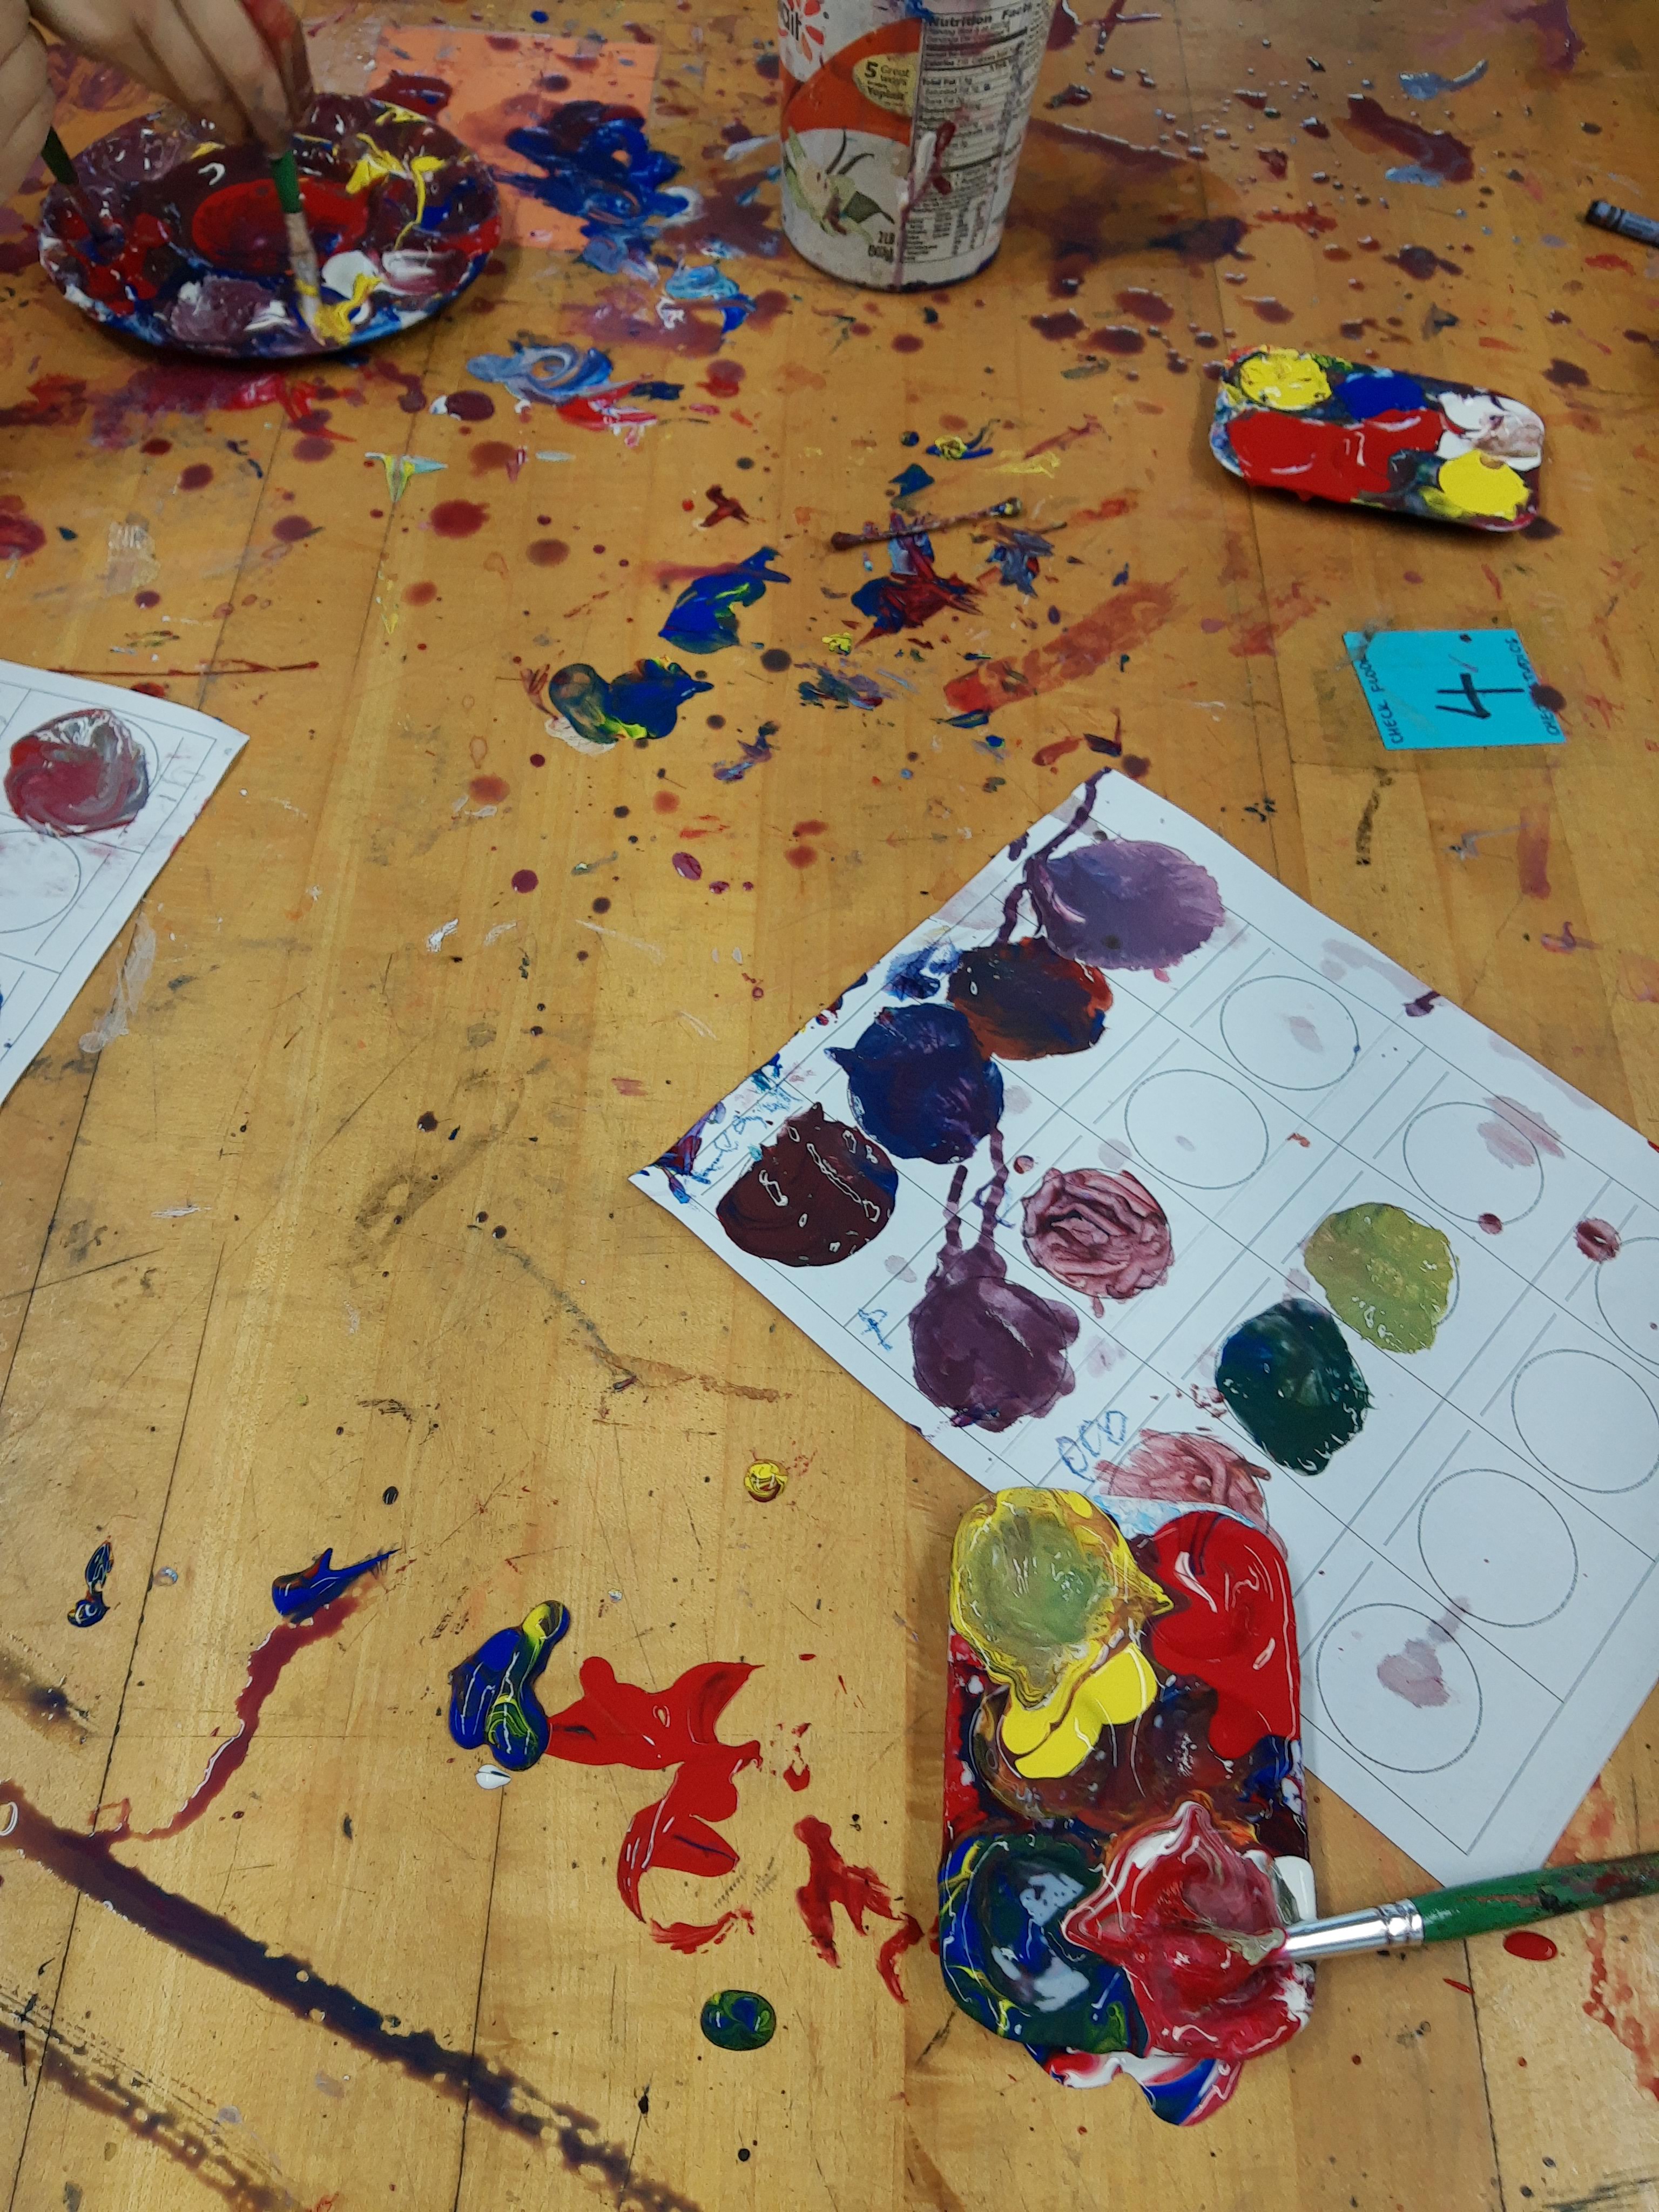
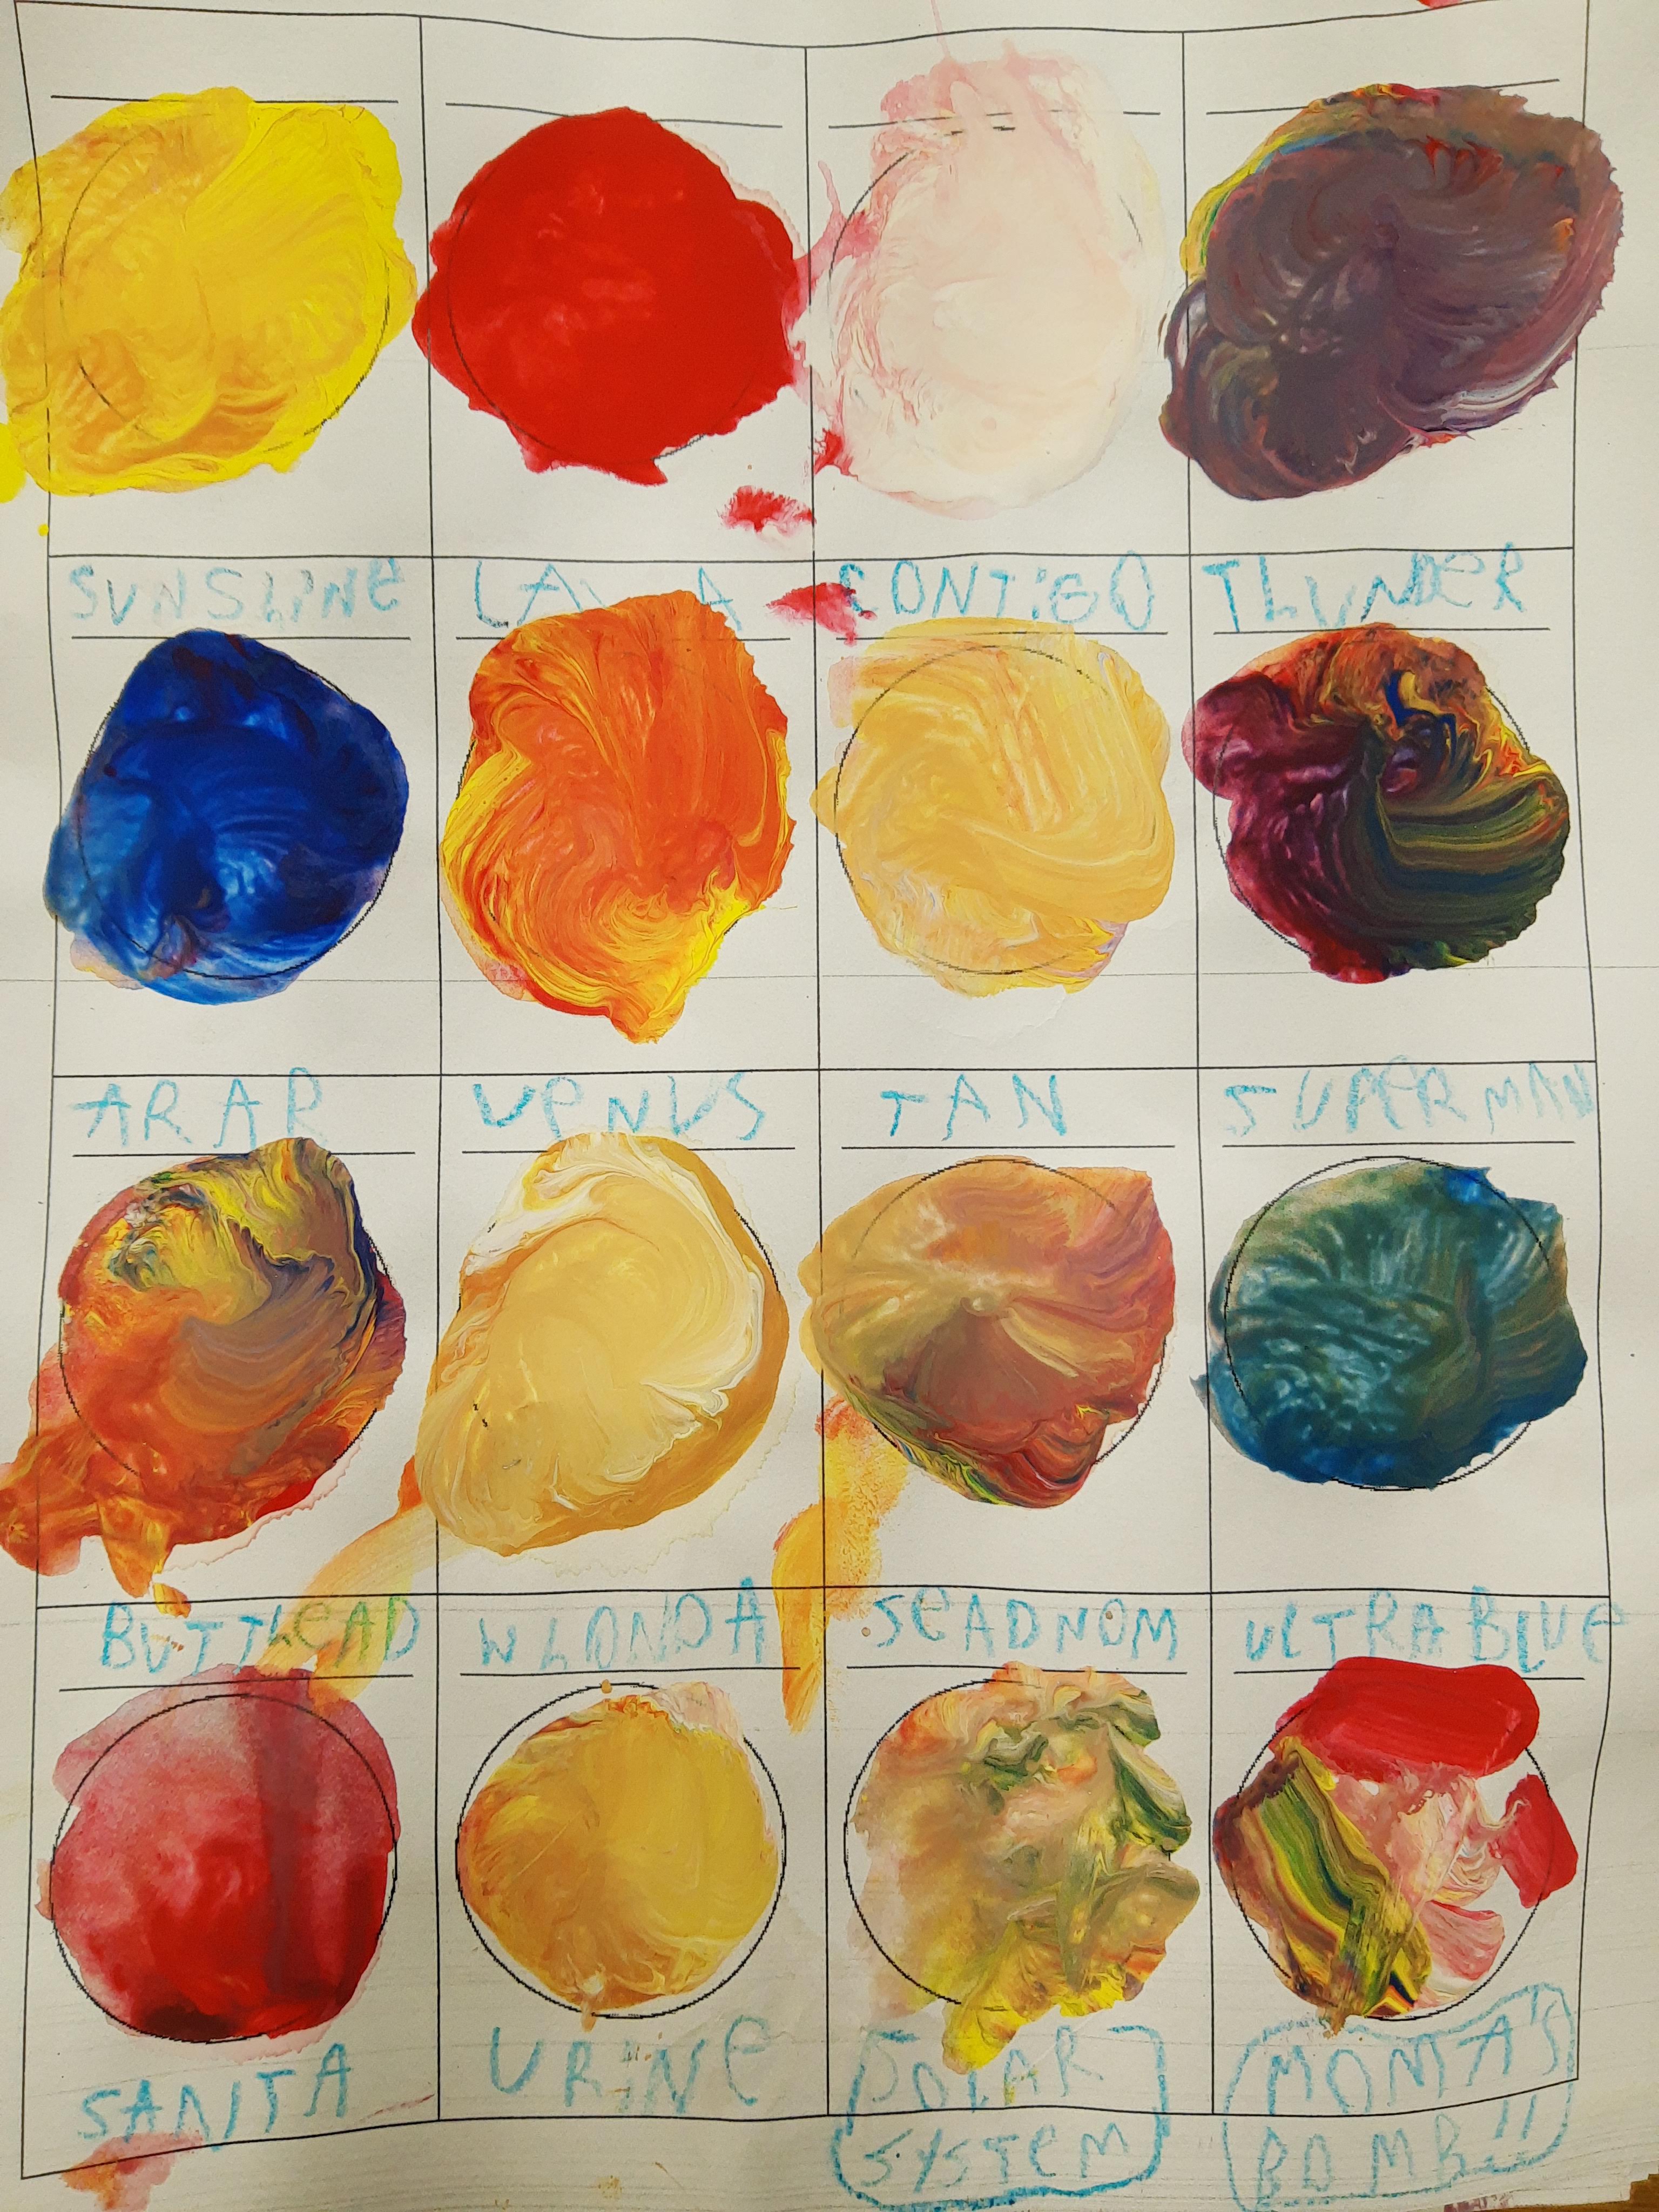
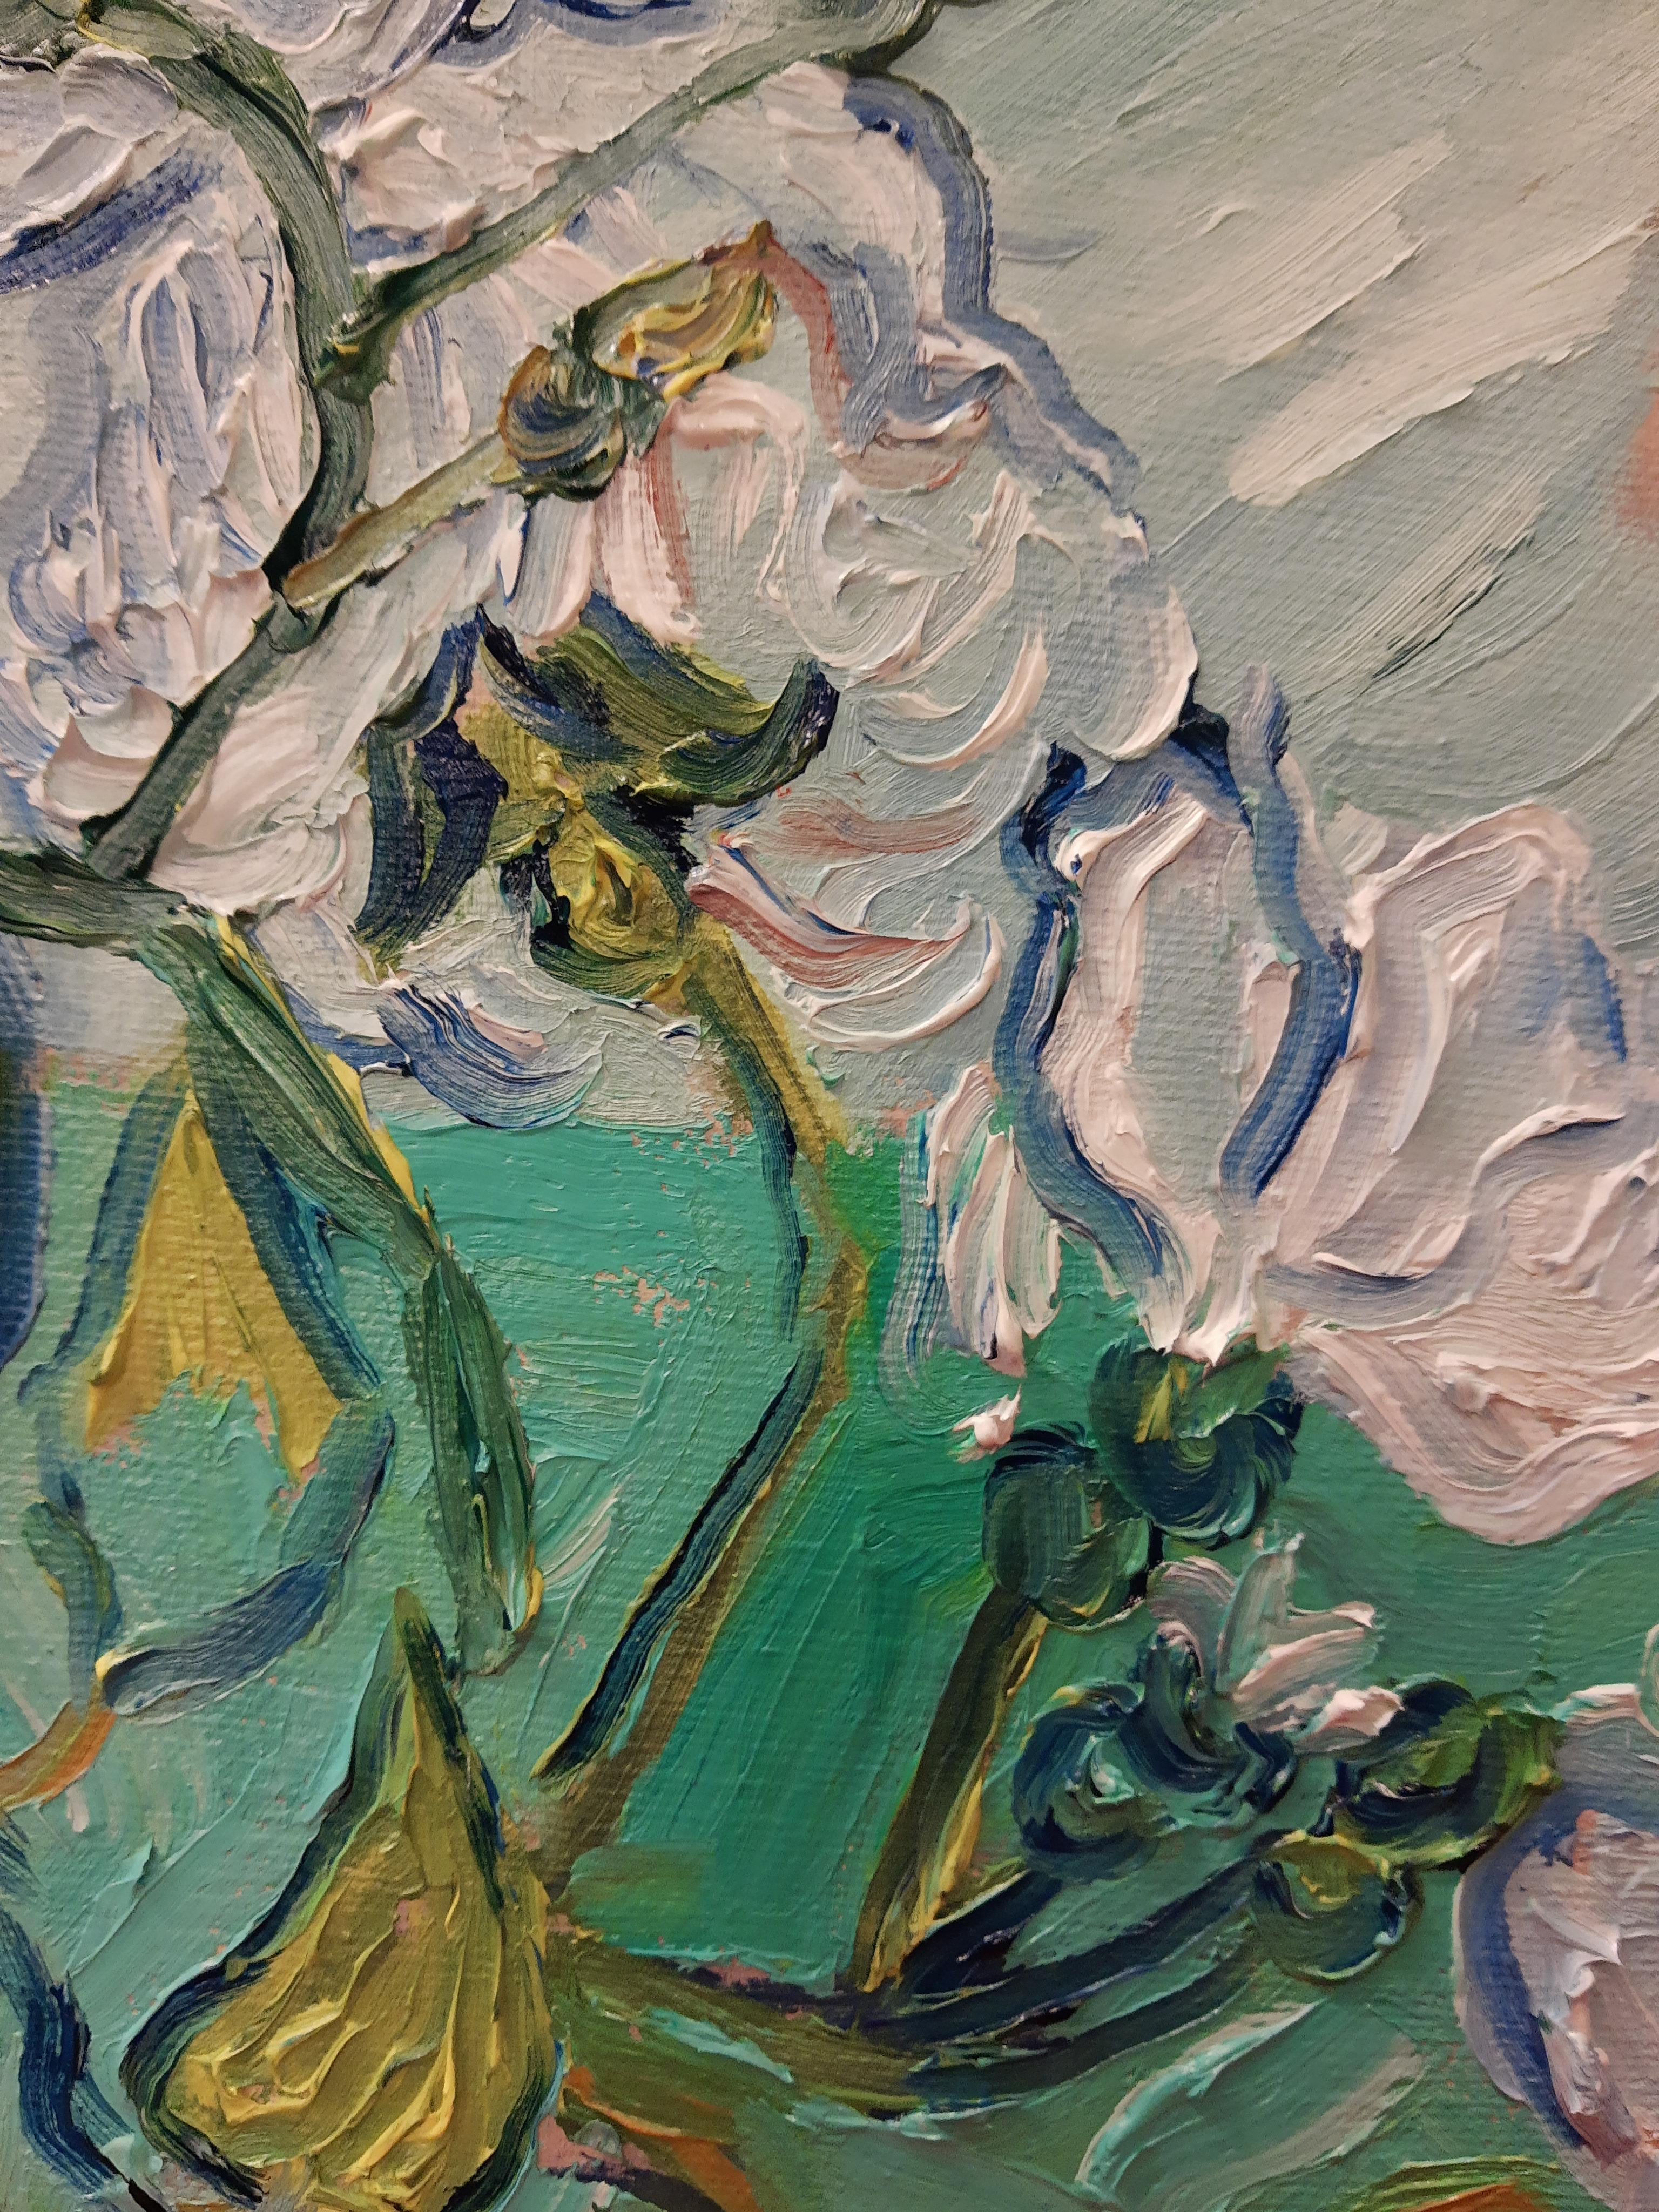
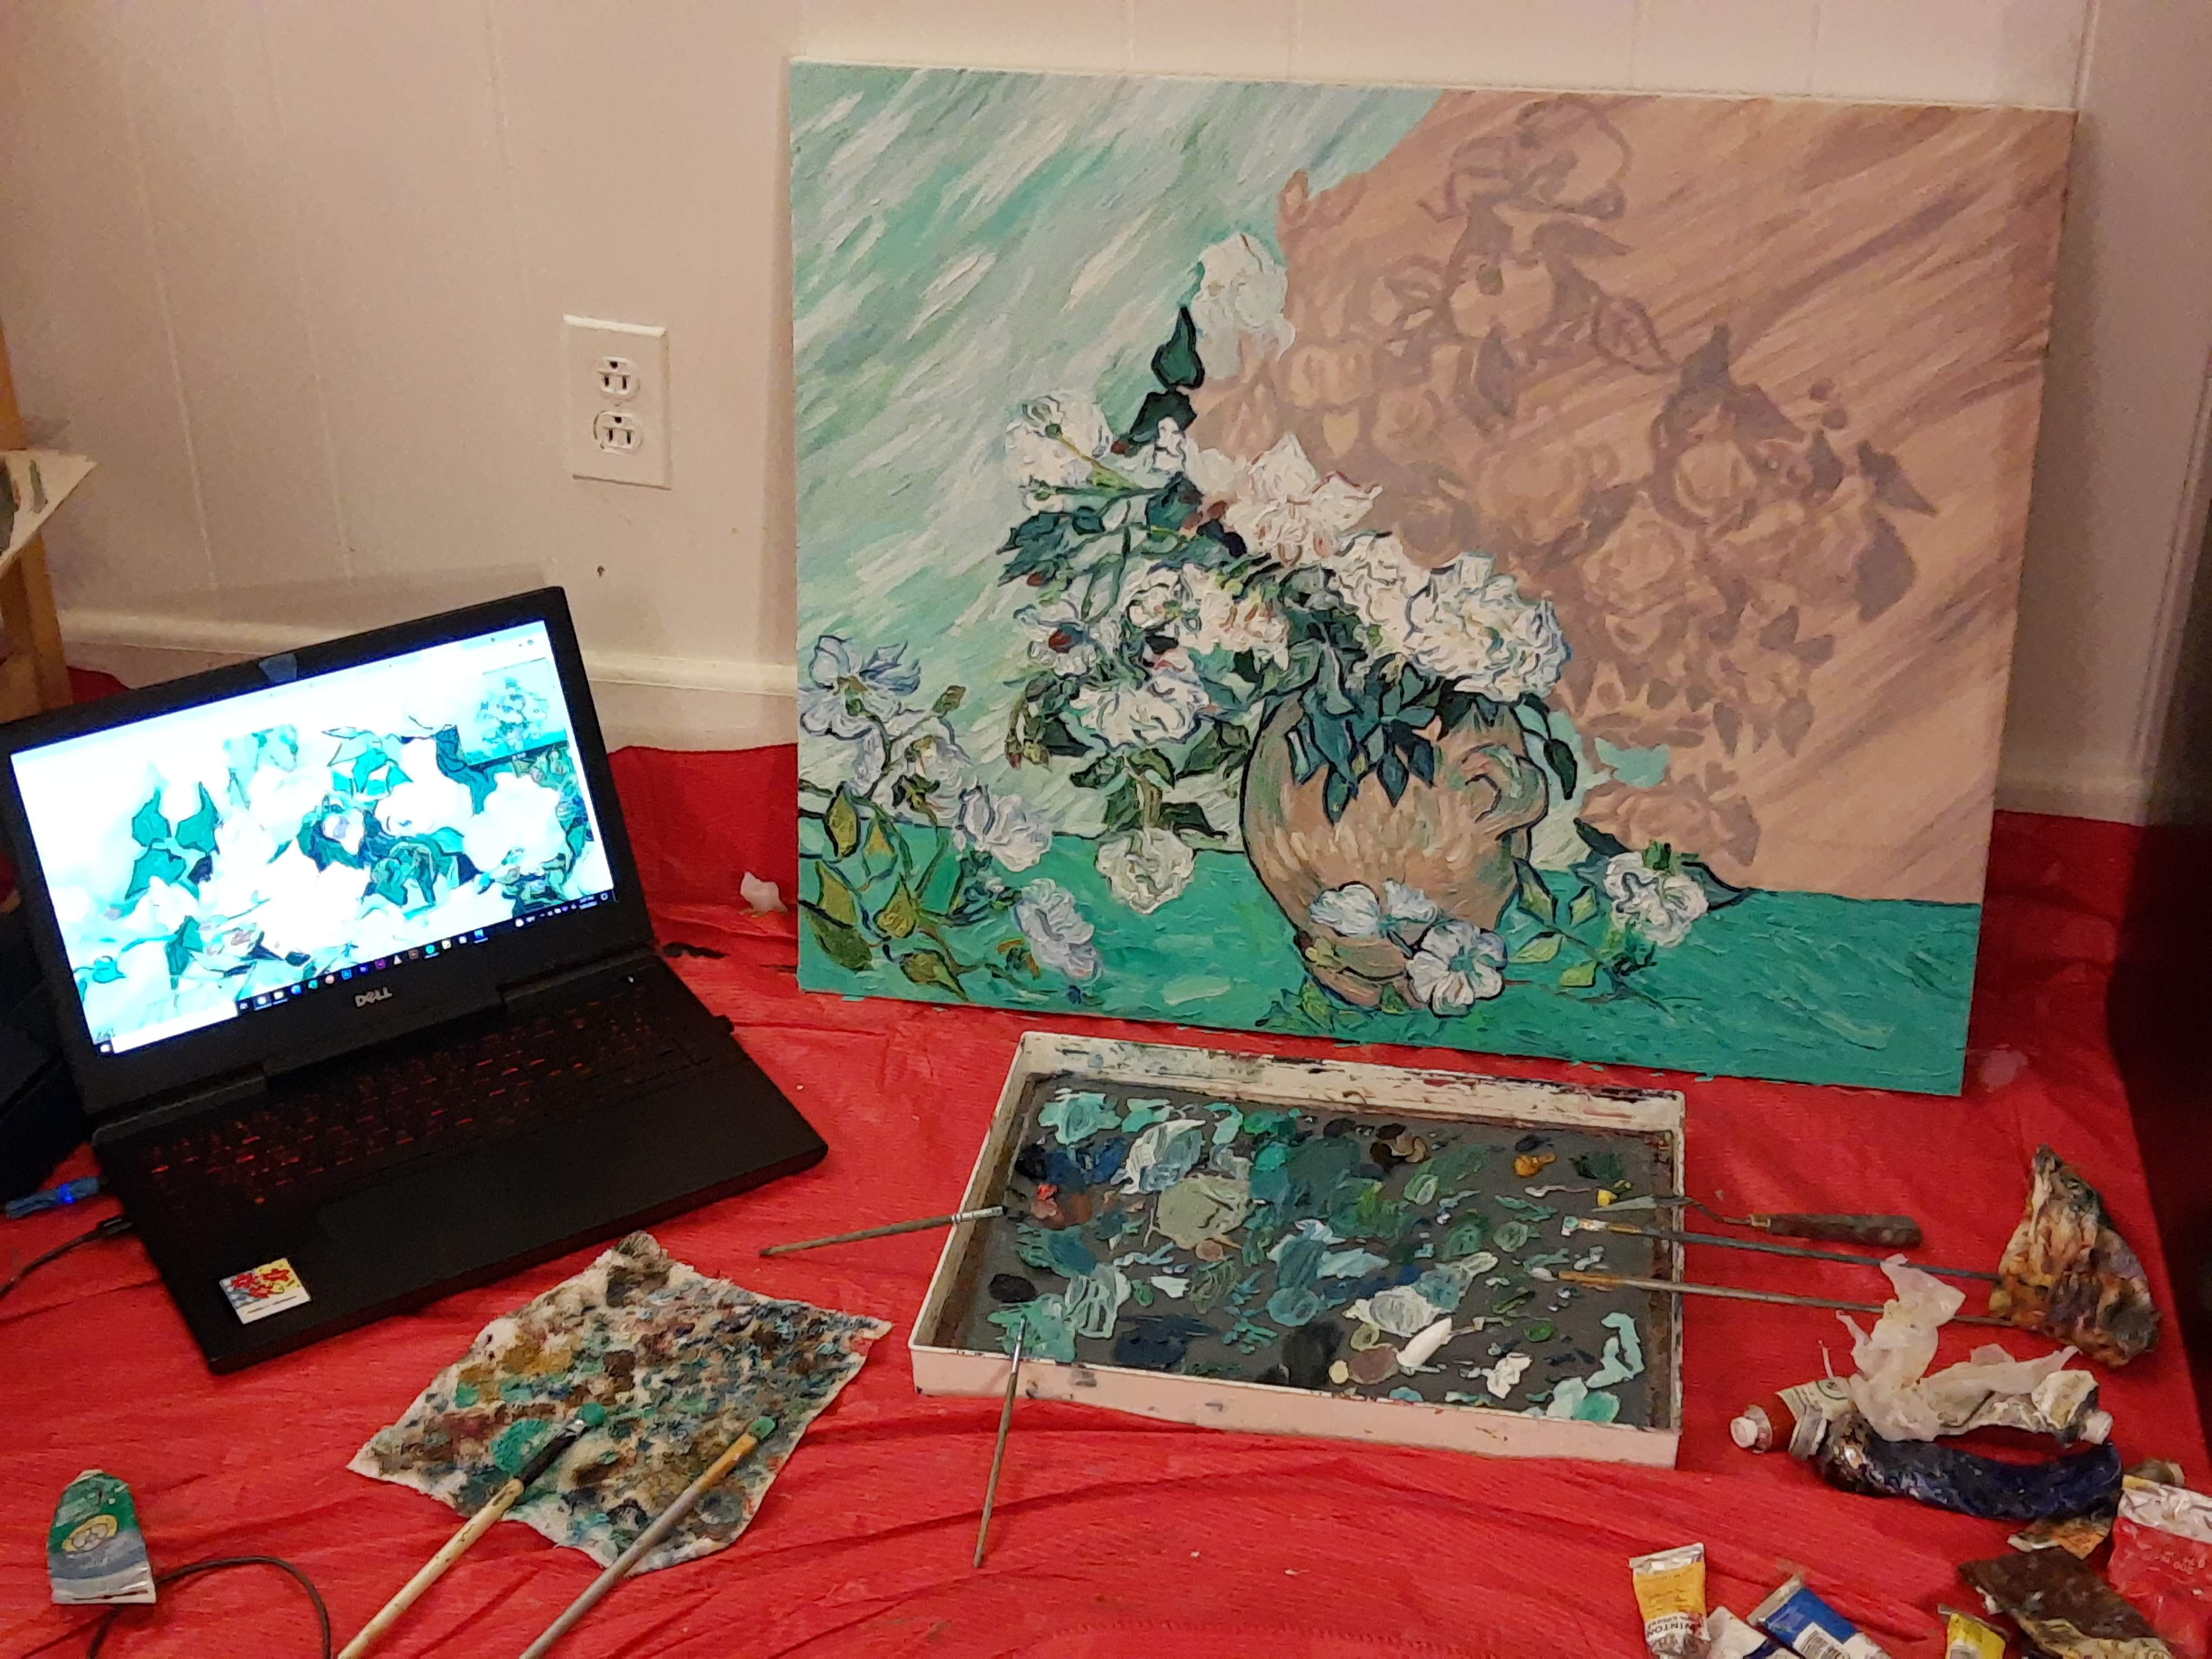
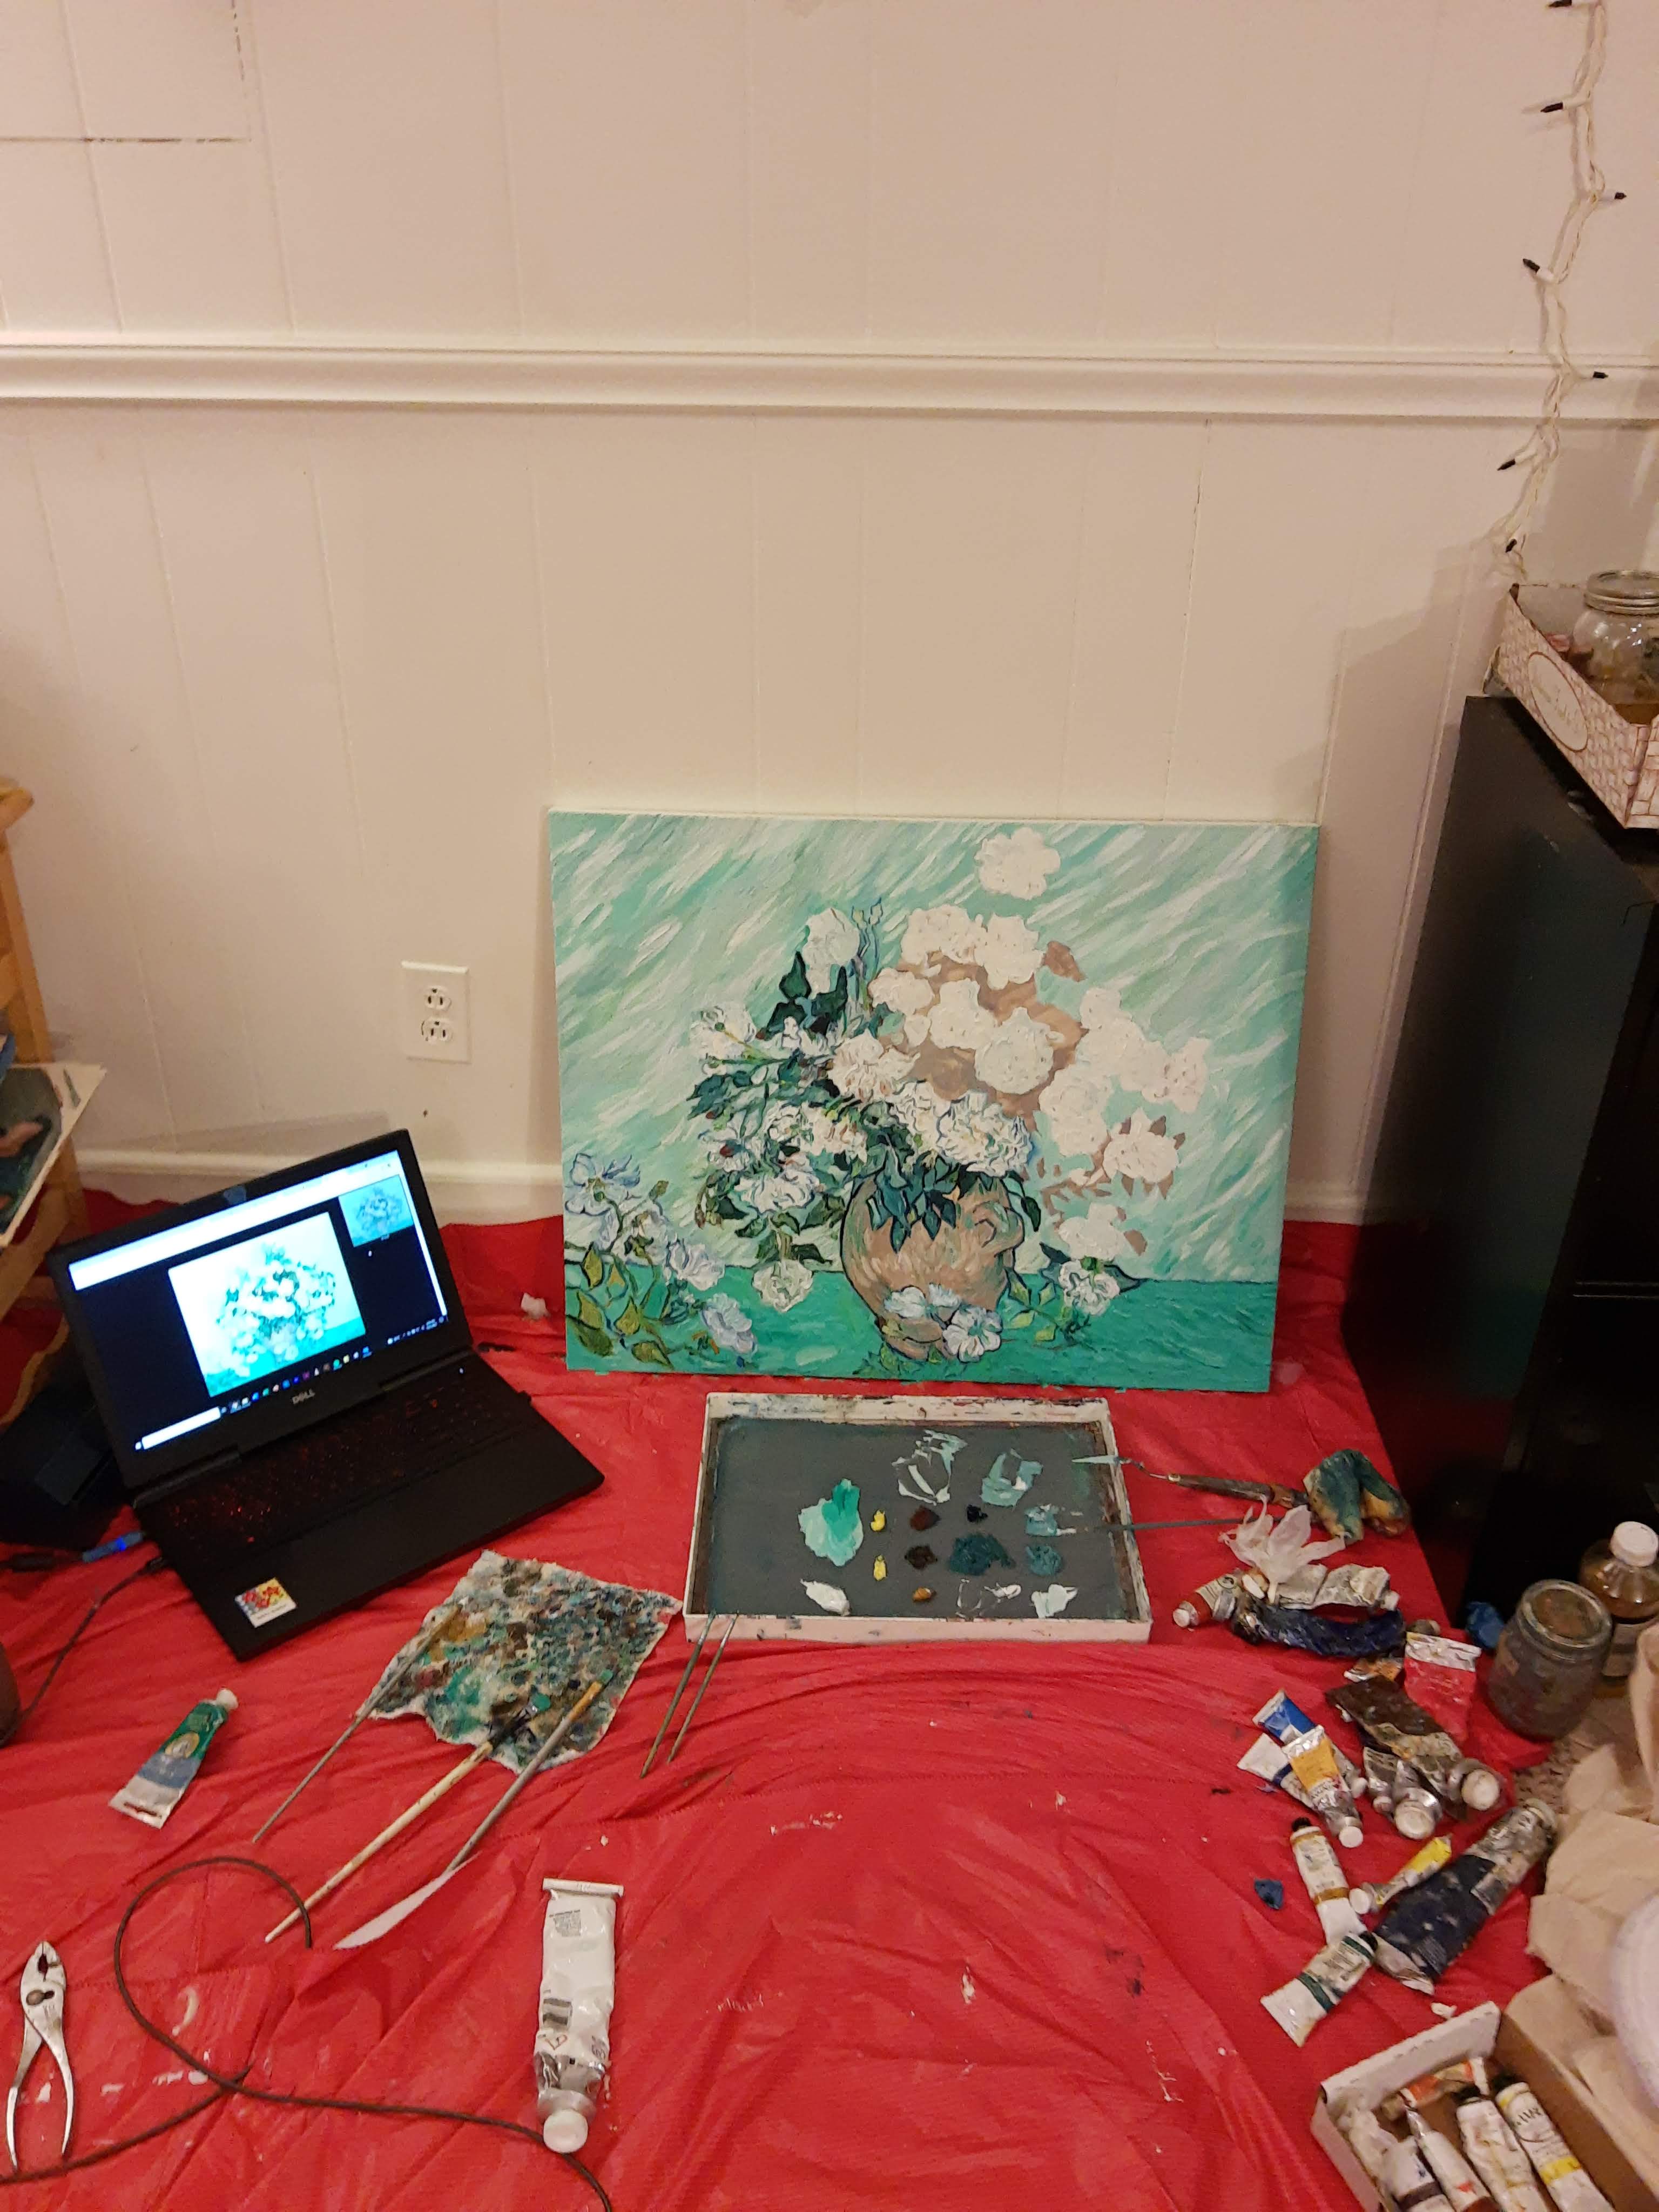
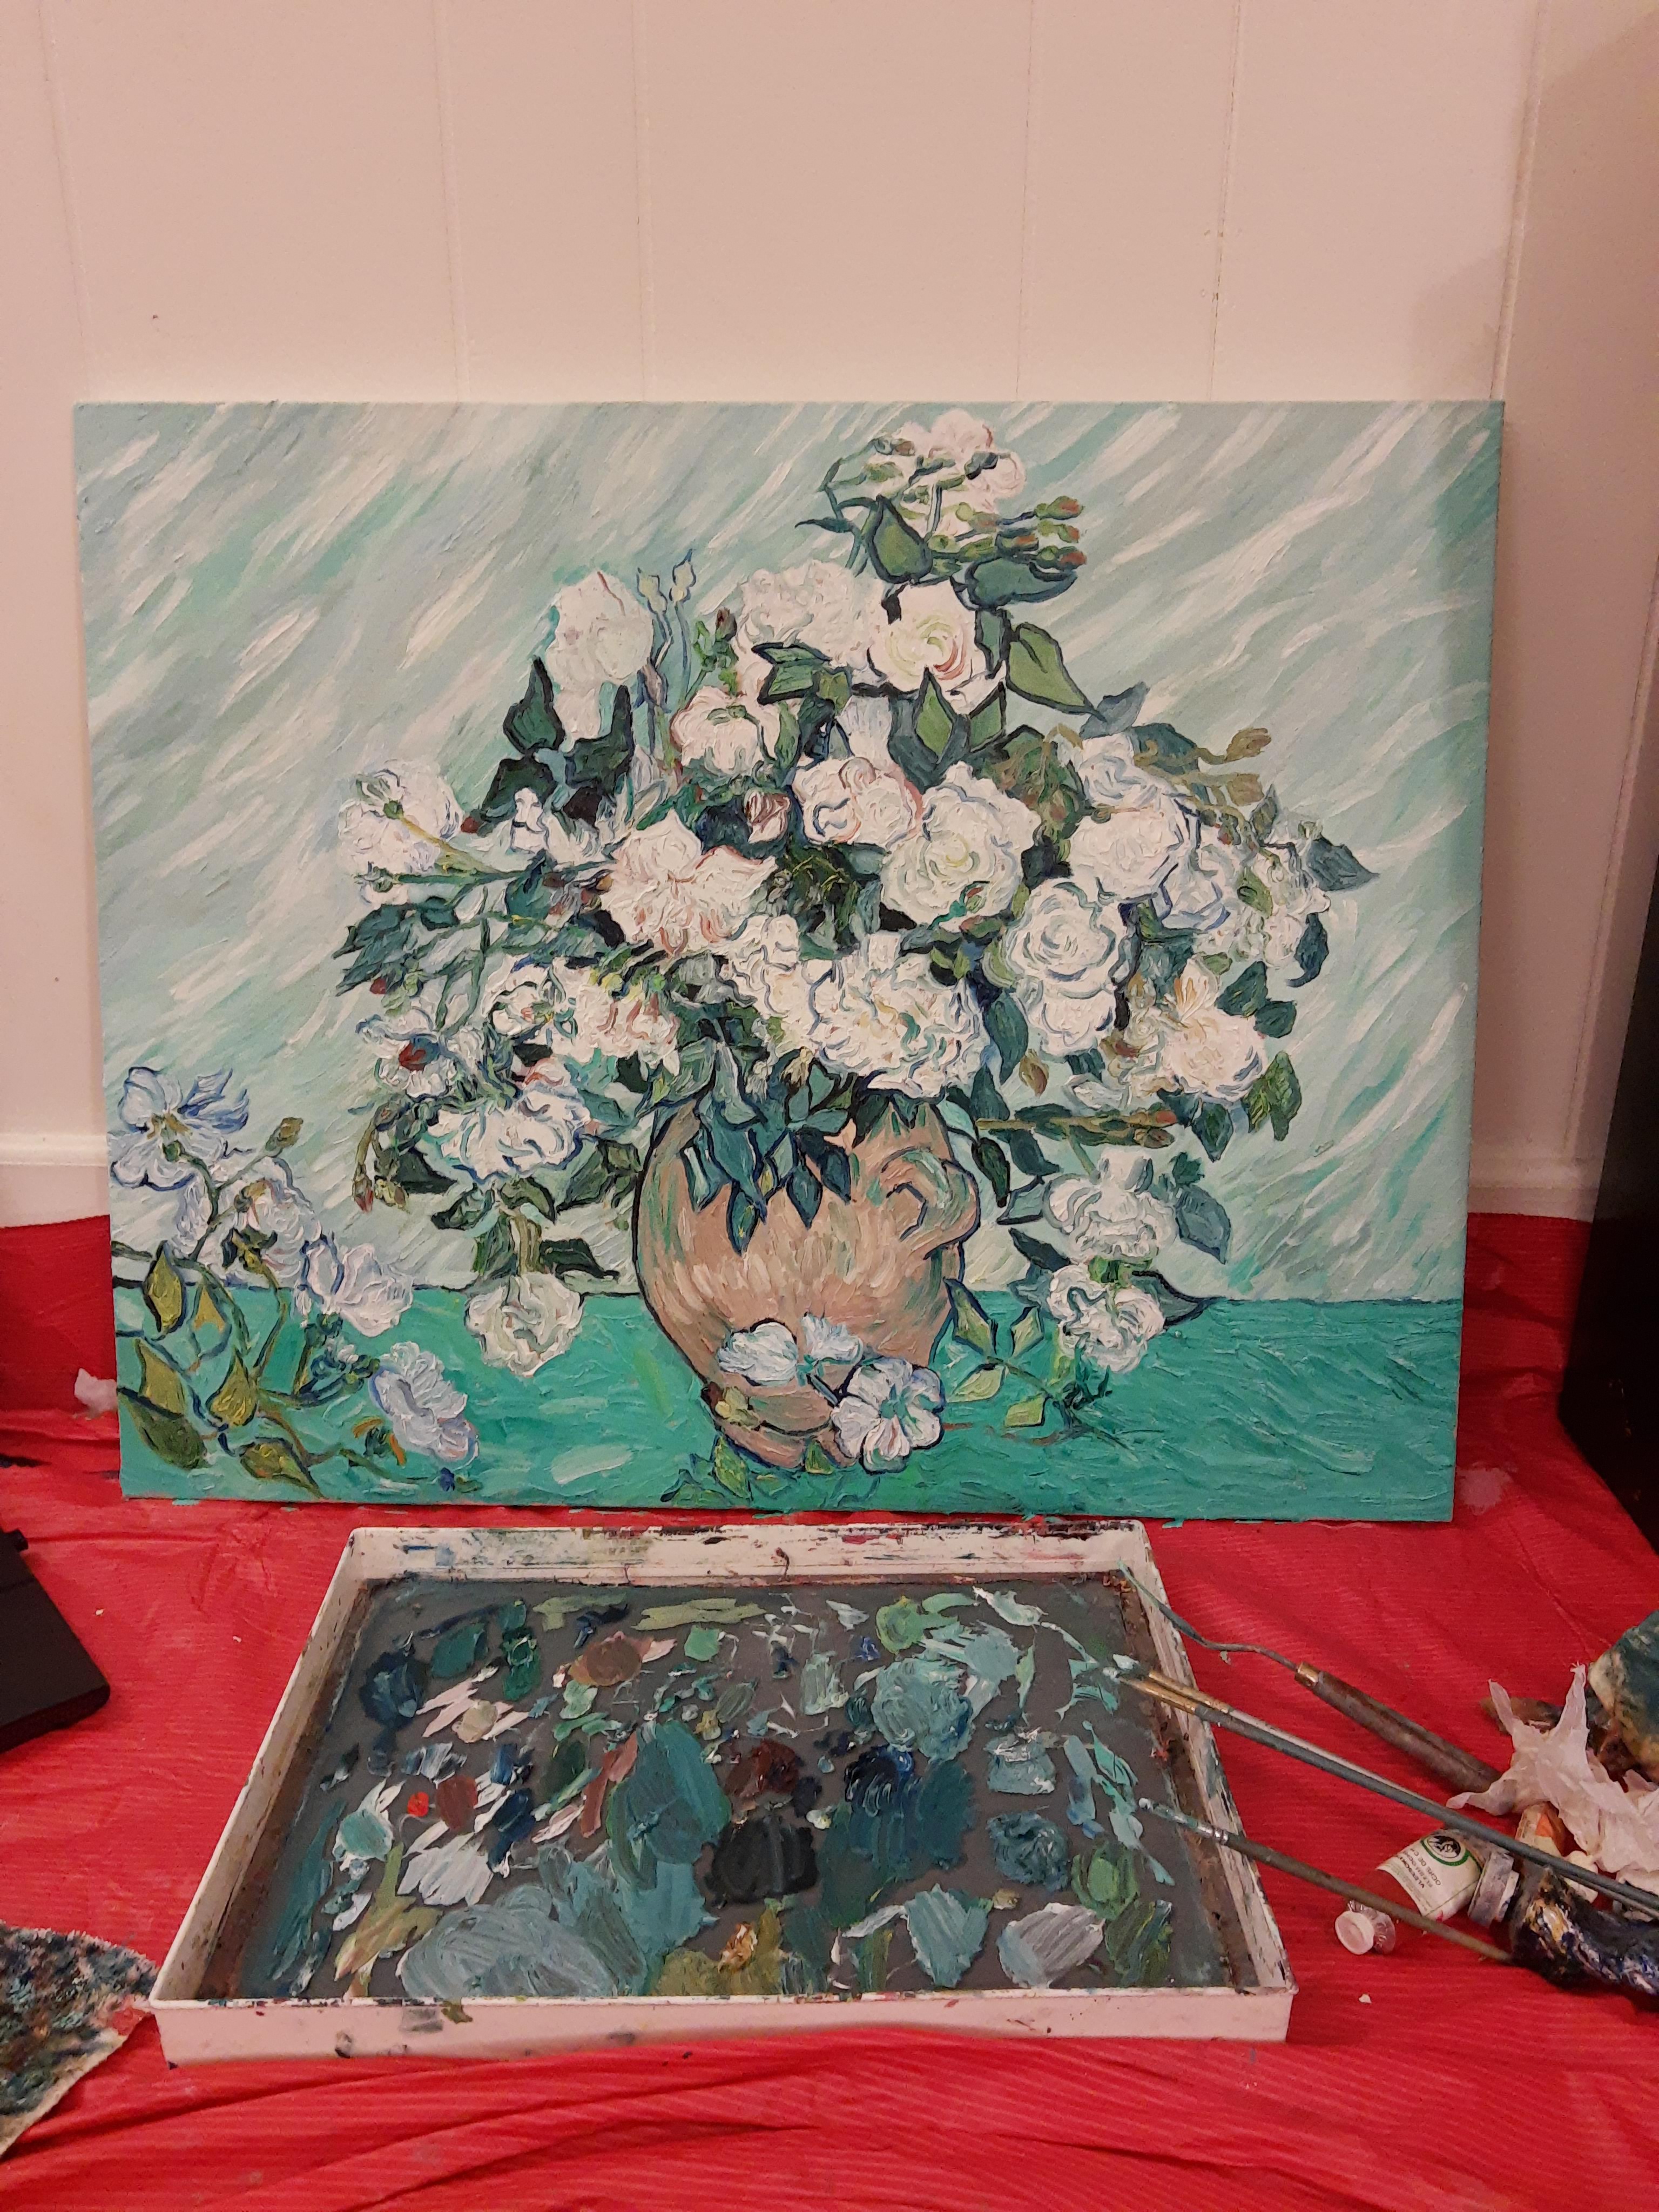
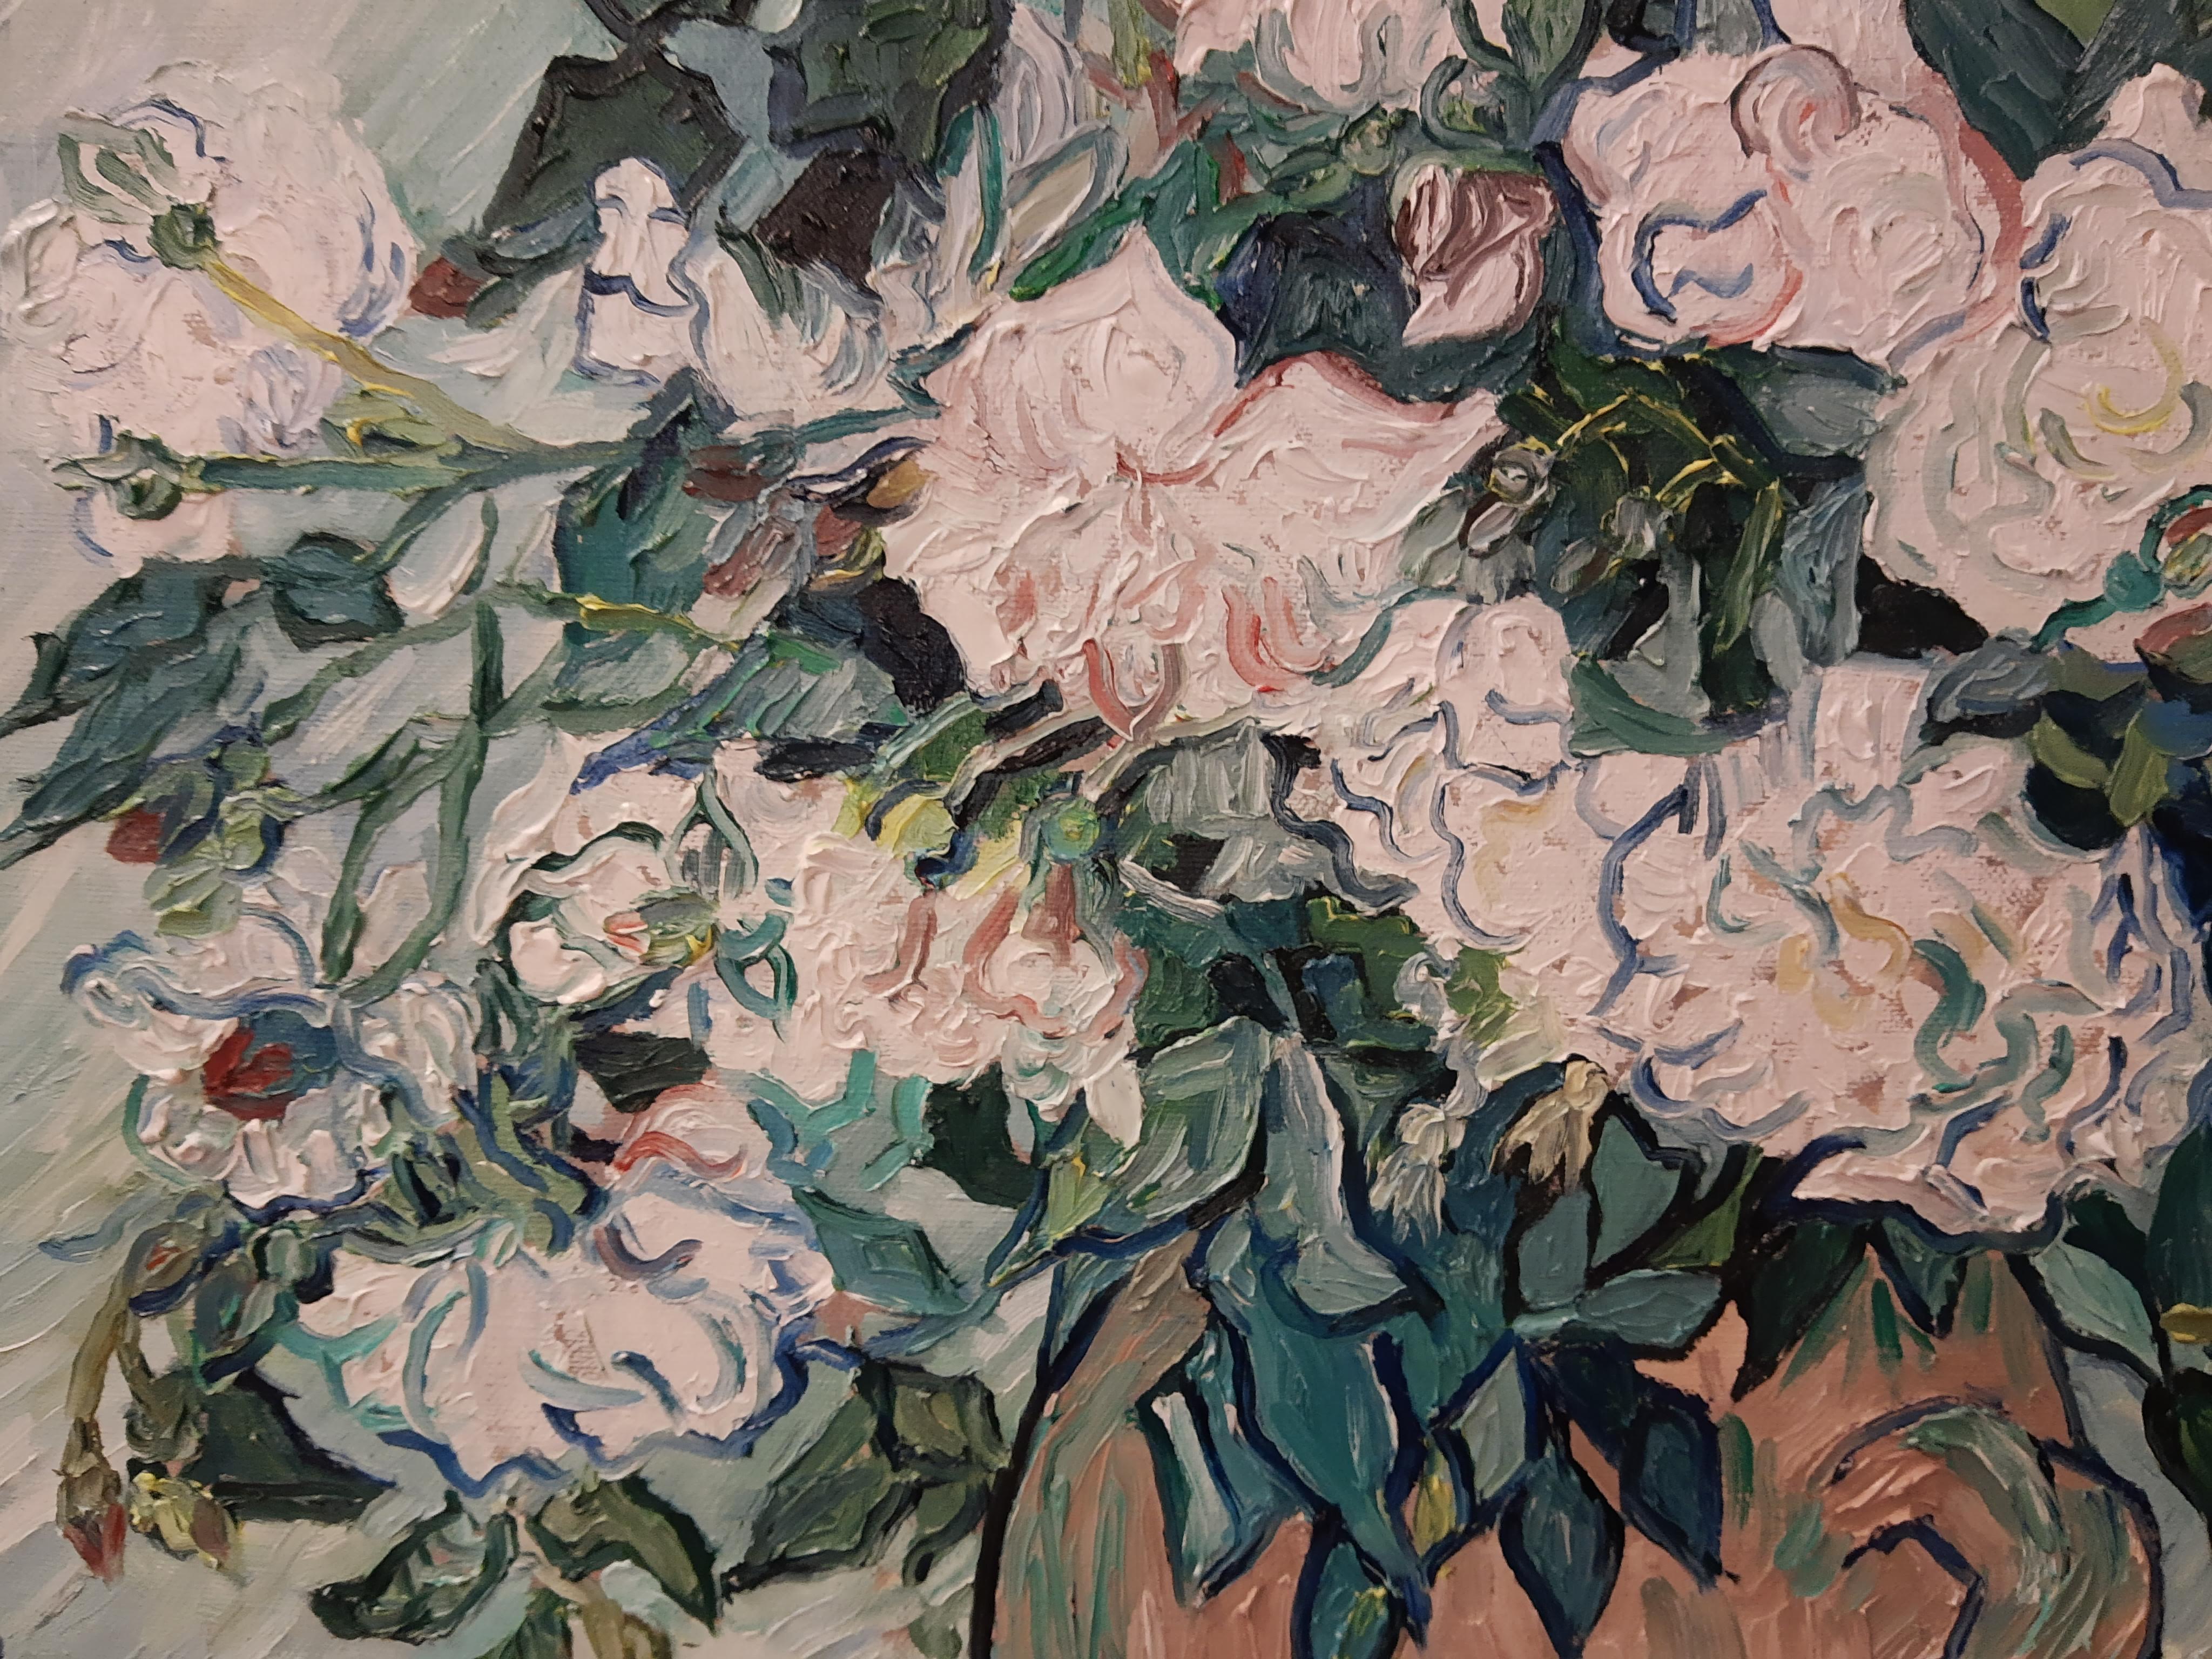
2) The start of a new painting – beginning layers, we’ll see what happens to it…

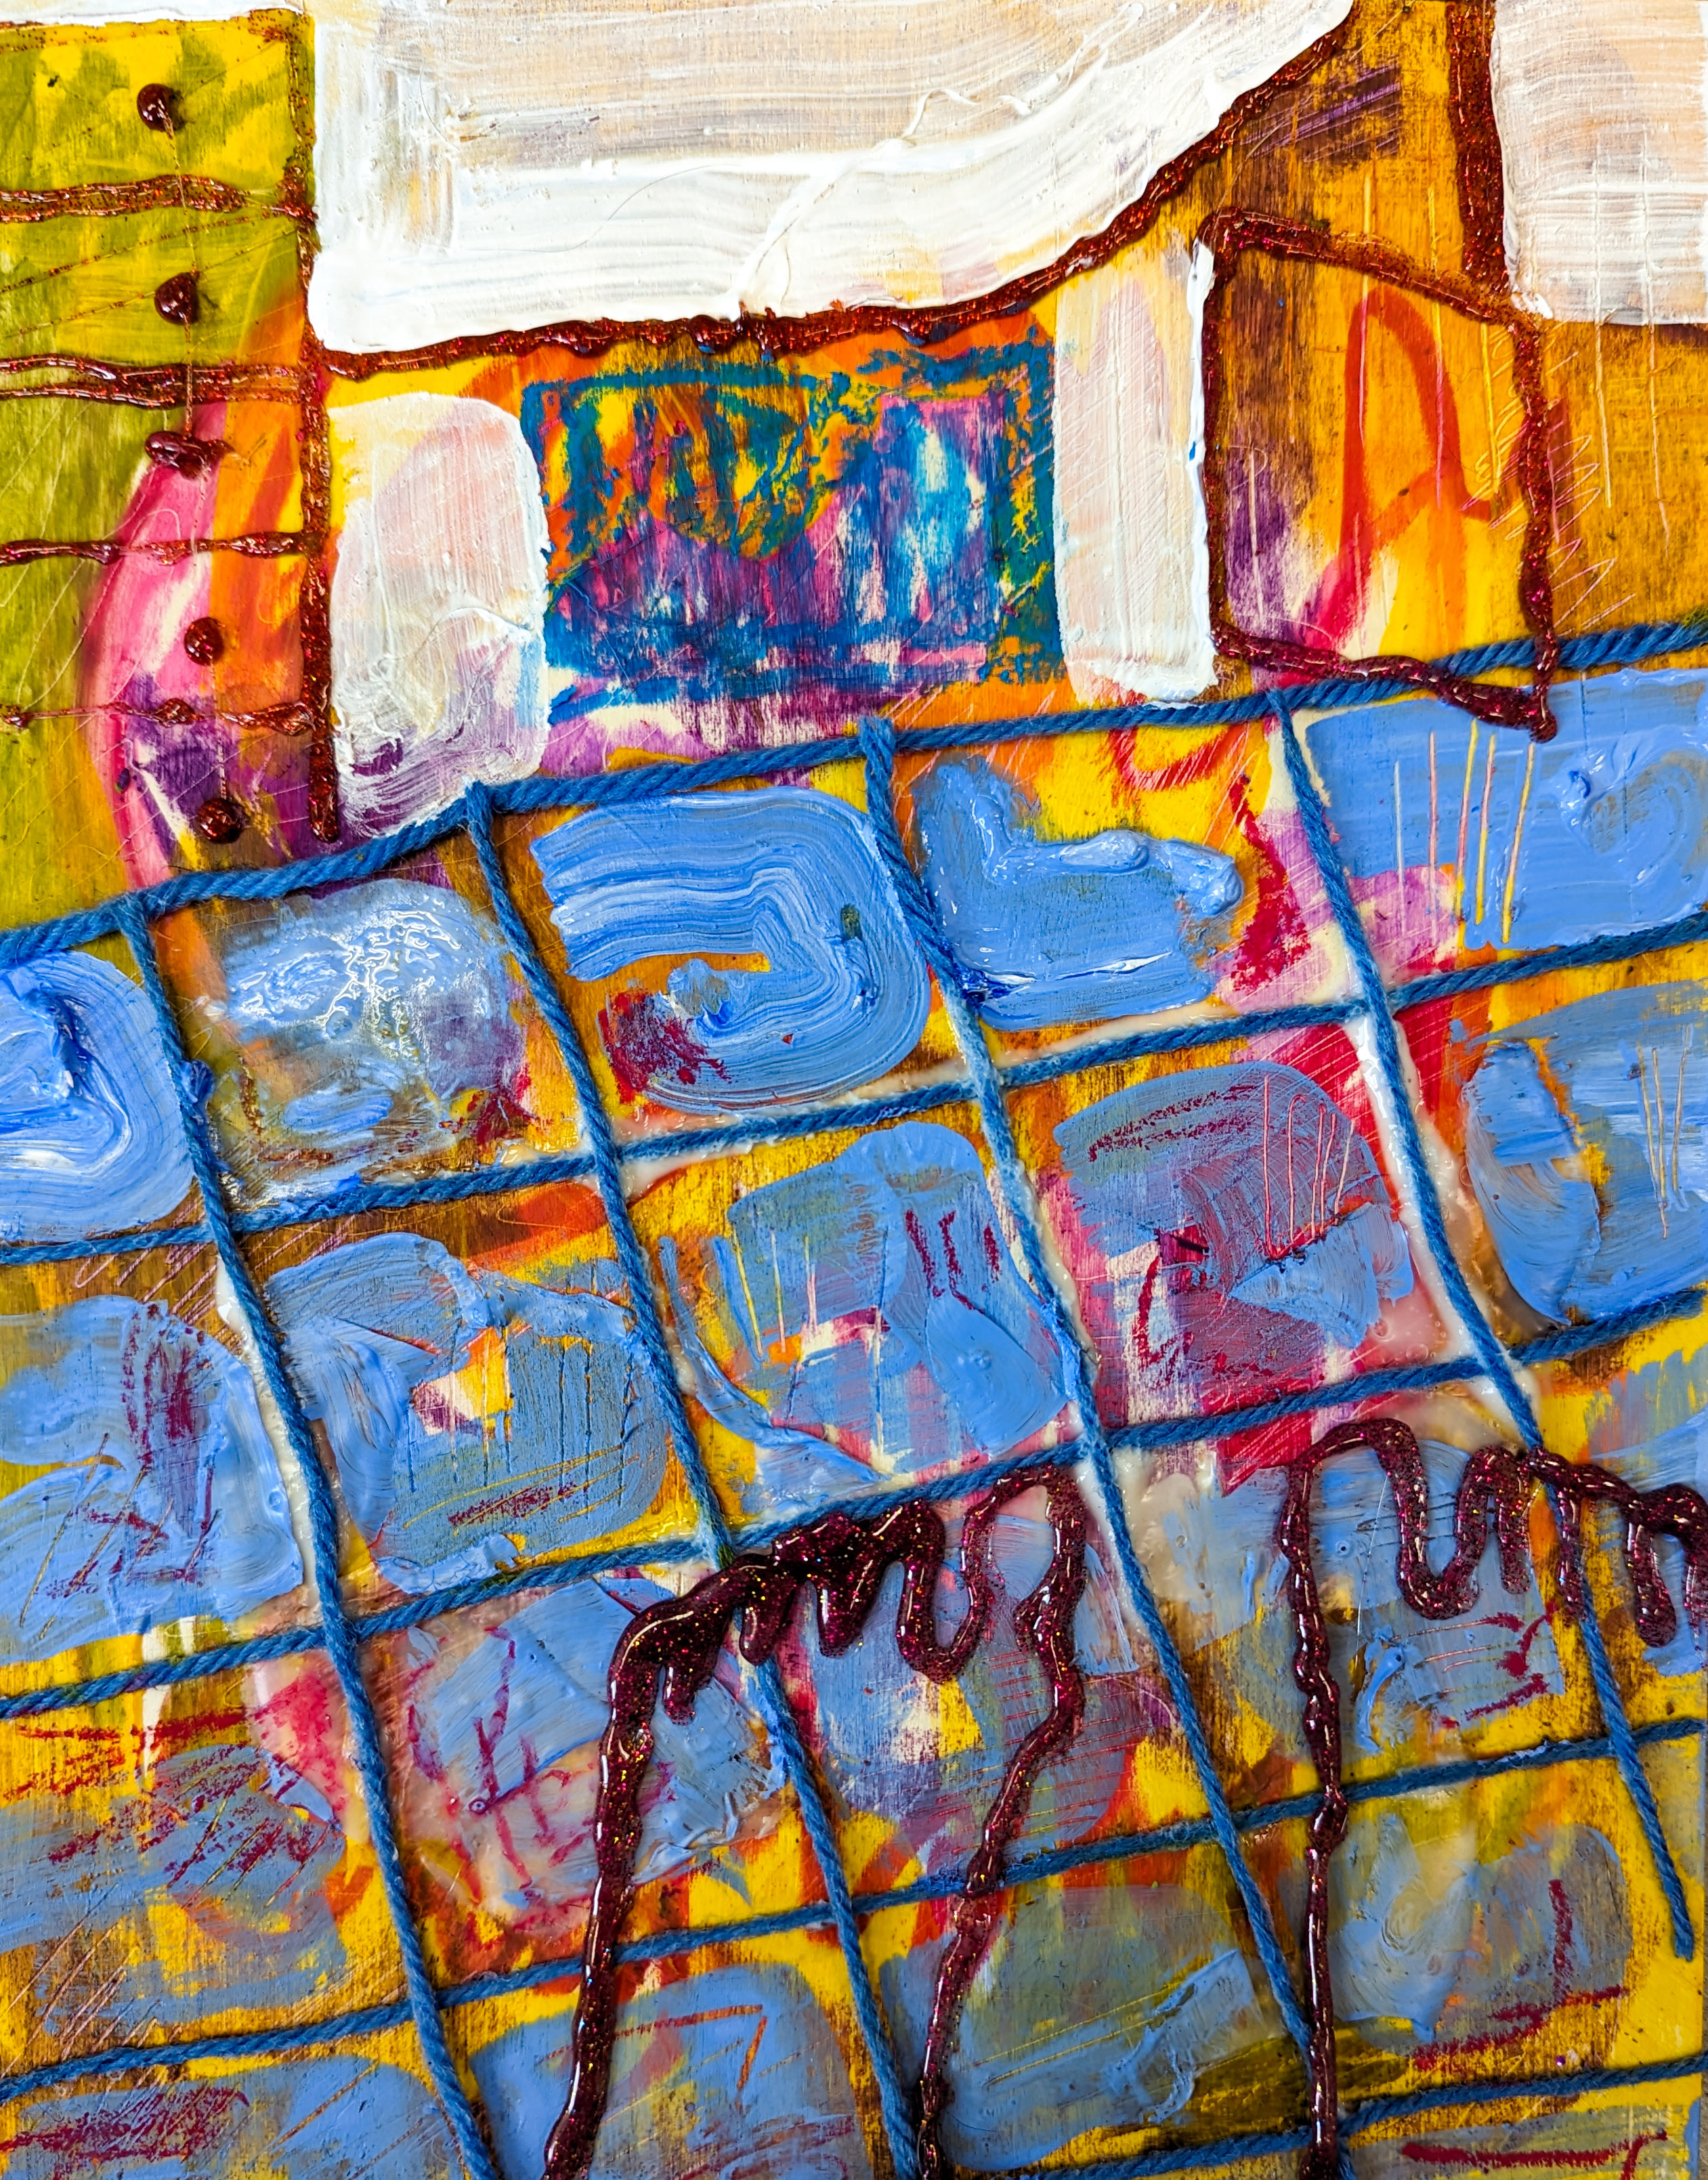
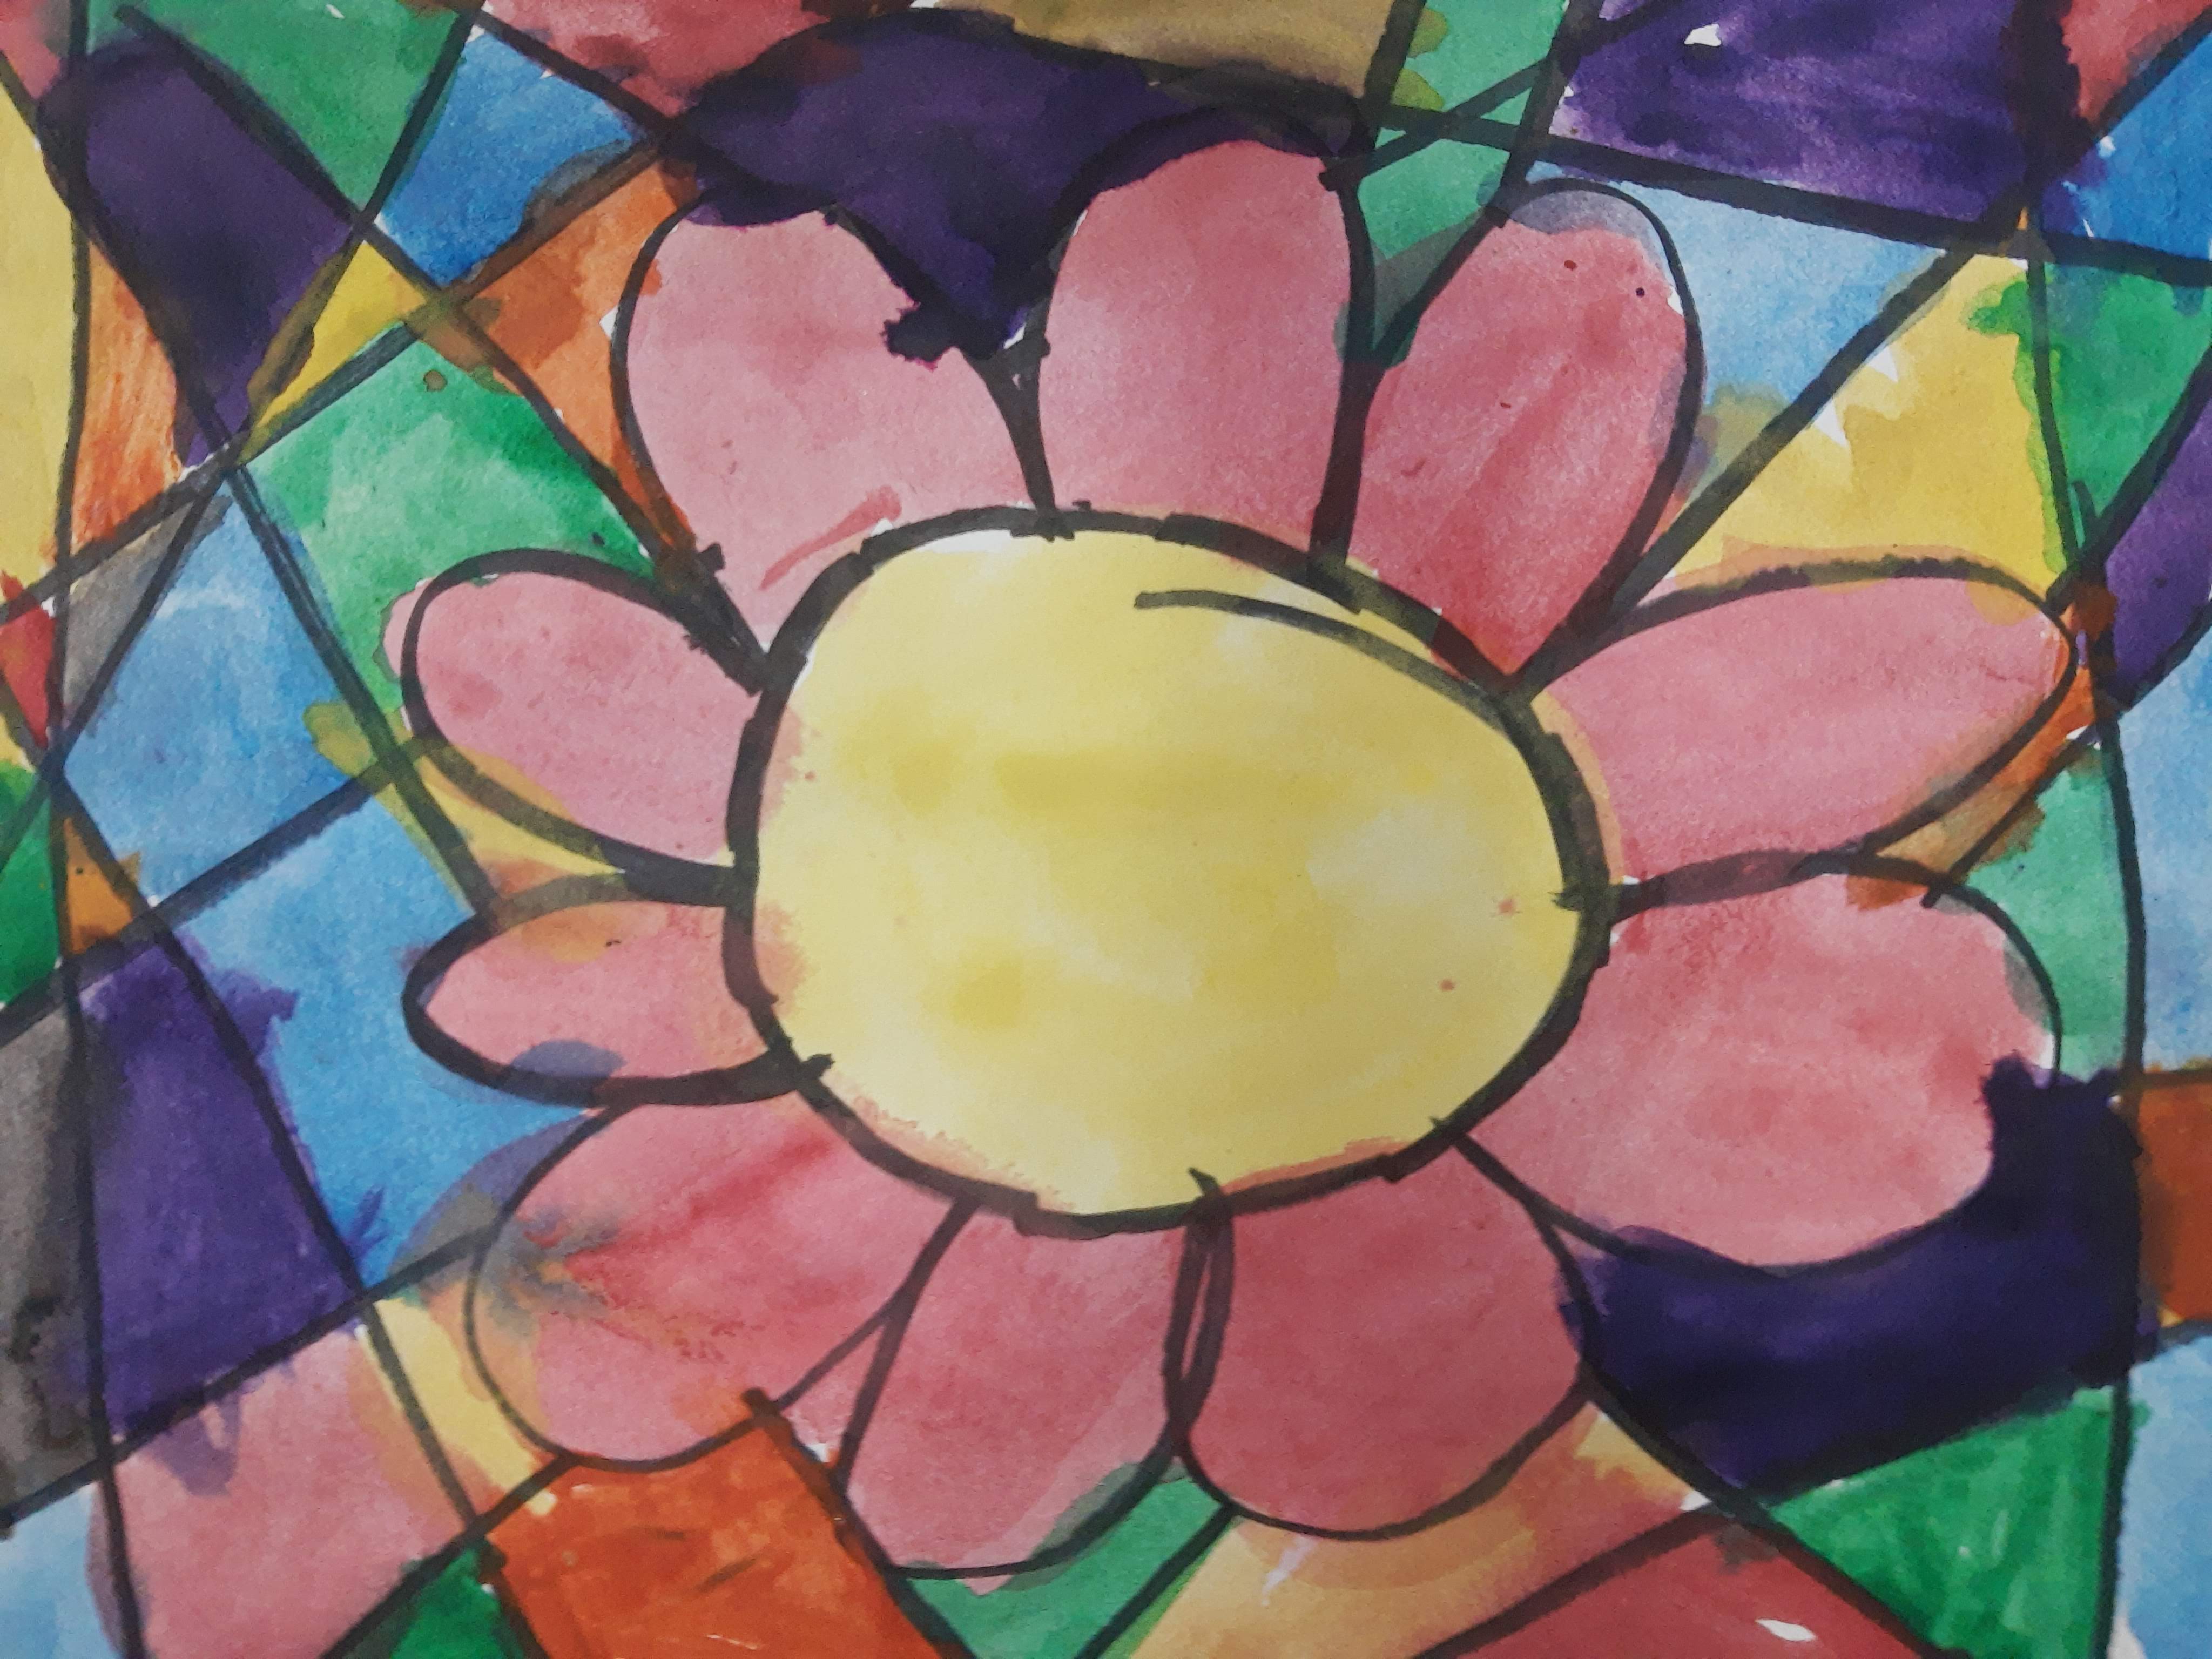
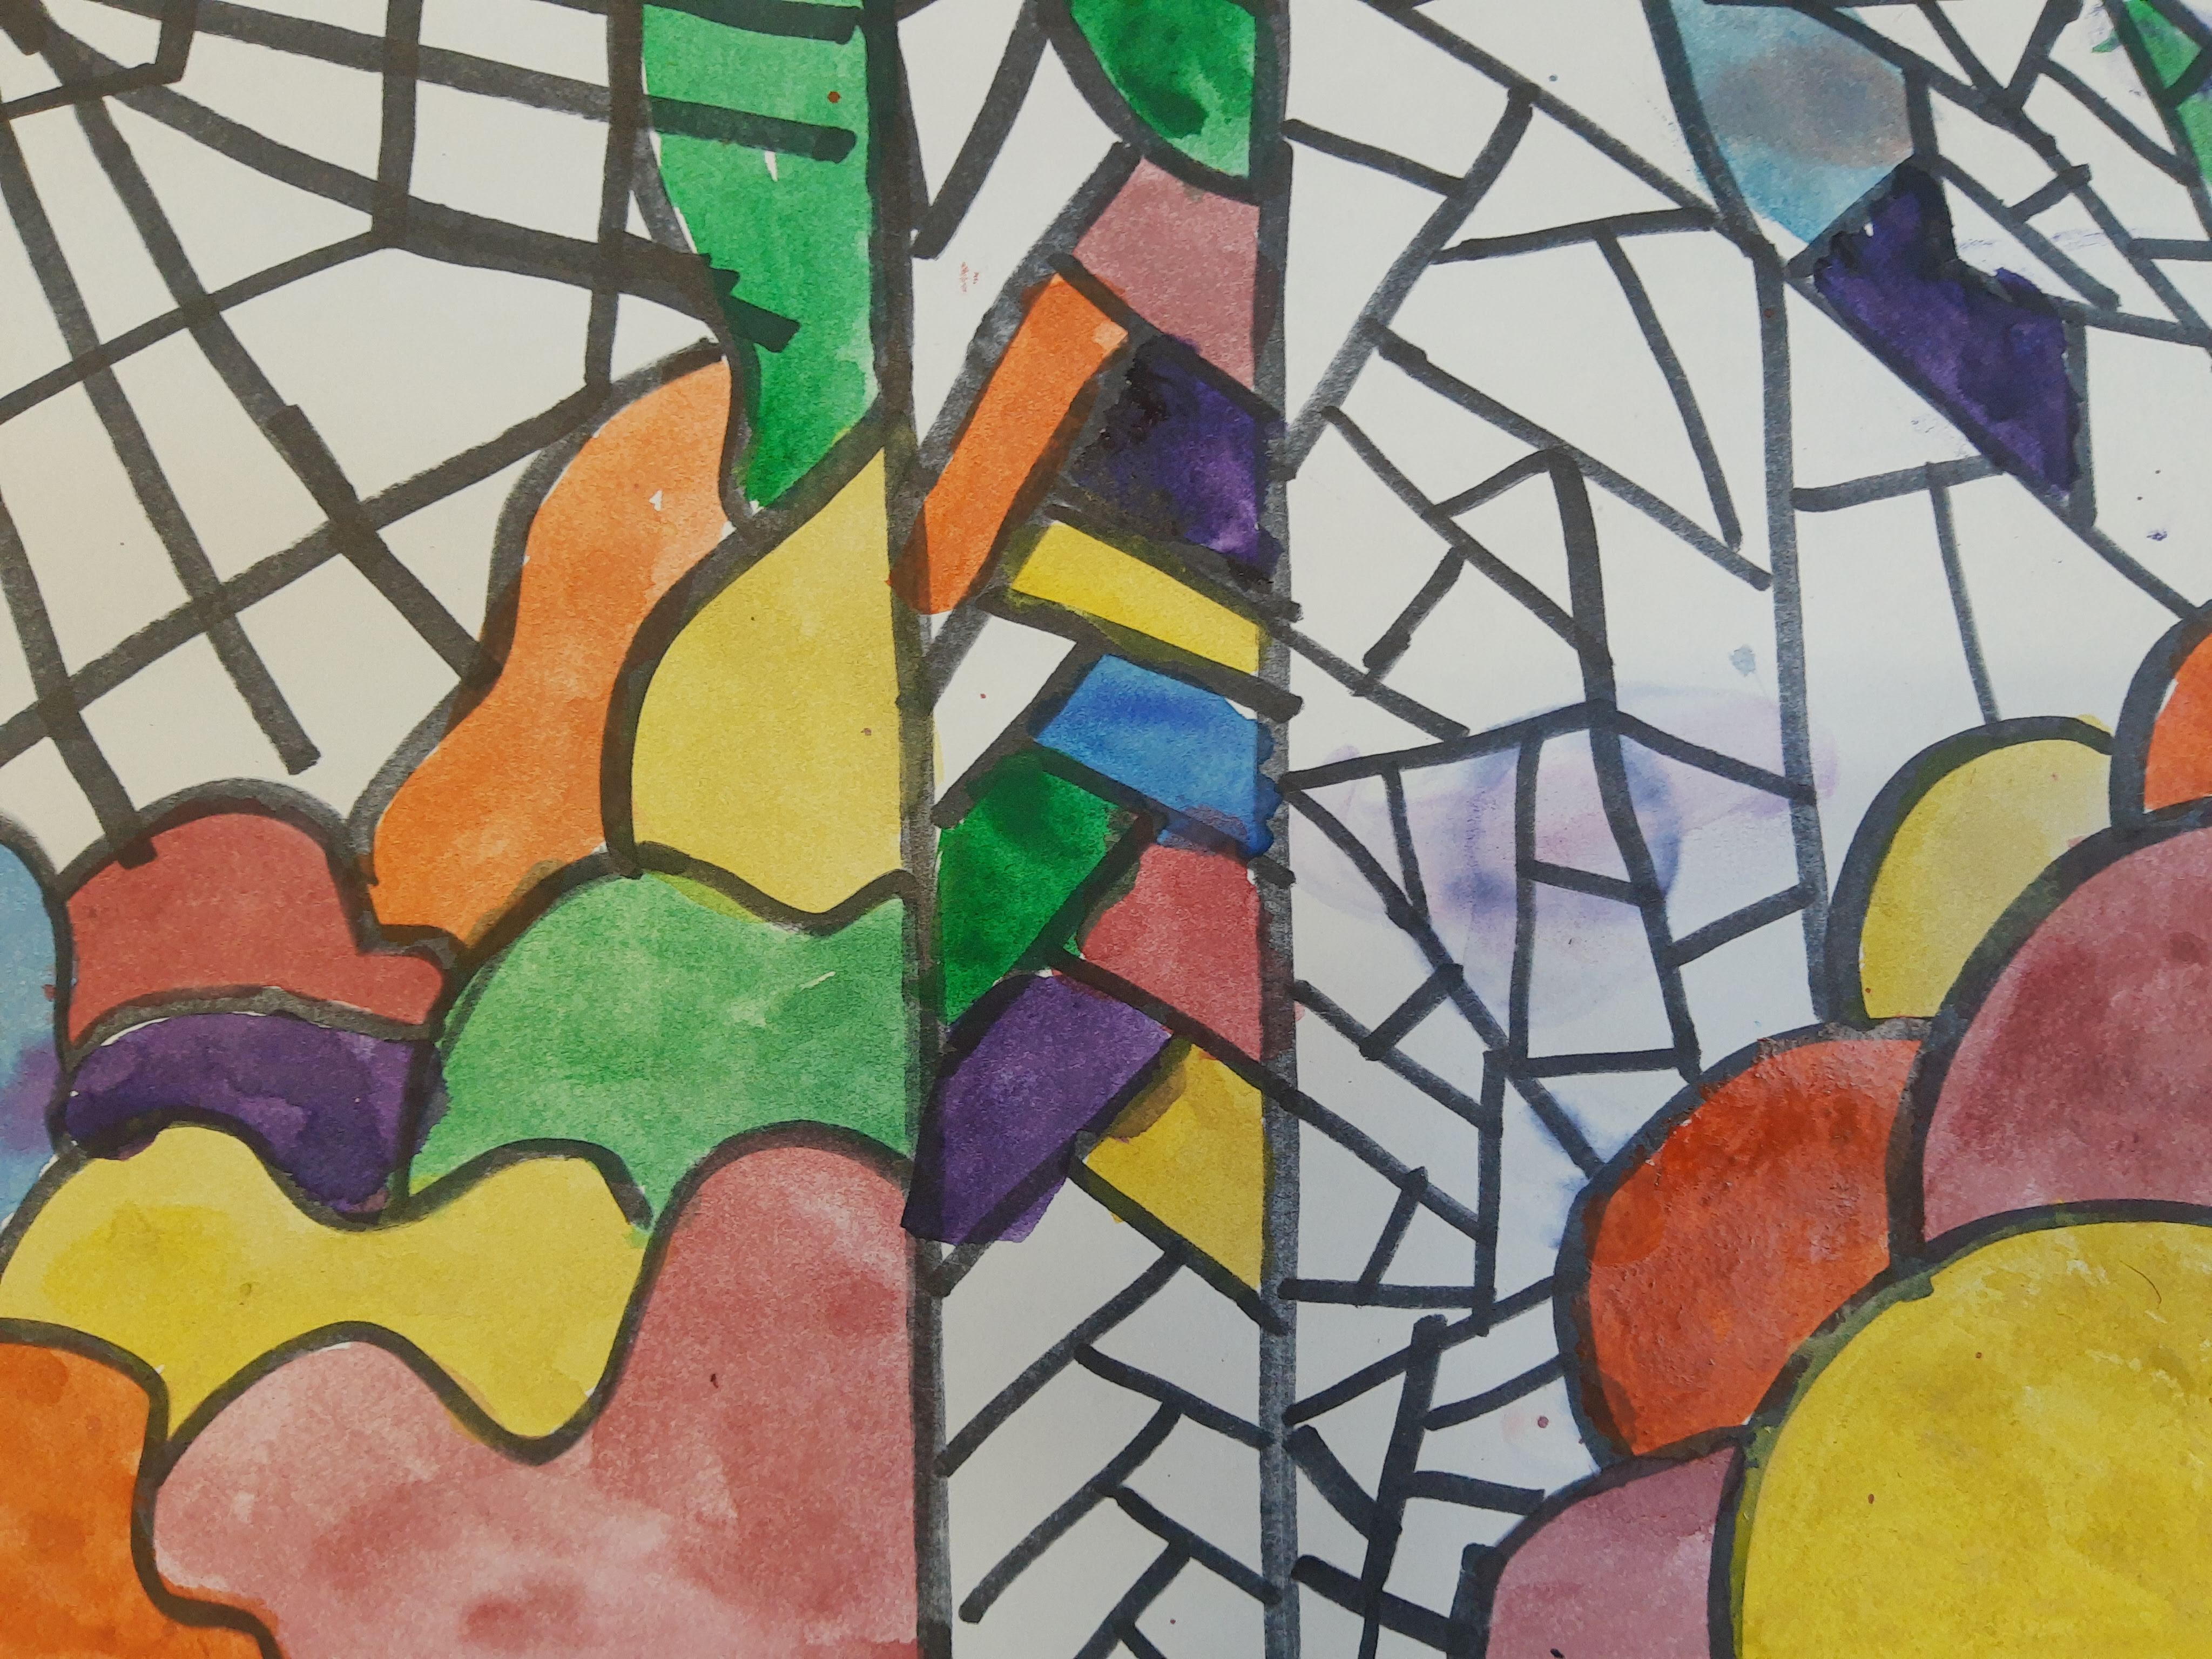
3) Painting fabric with this pattern. When I’m done painting it, I hope to make either a quilt-like thing, or a tapestry-like thing

4) I painted a frisbee with oil paint

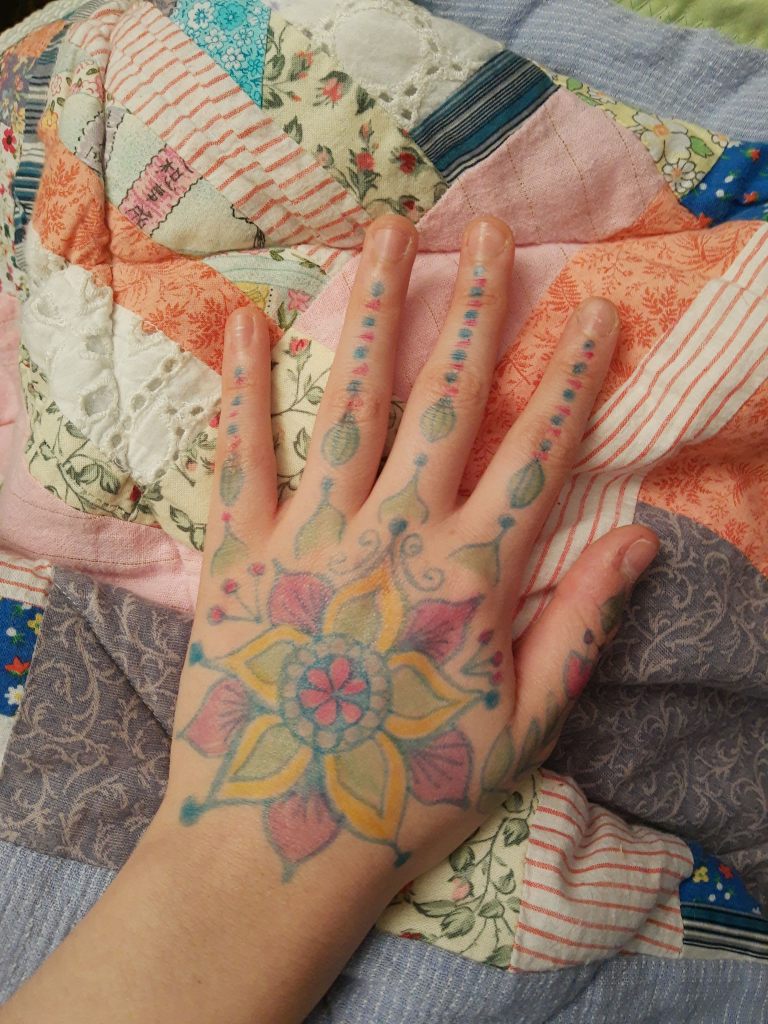
5) I drew on my hand

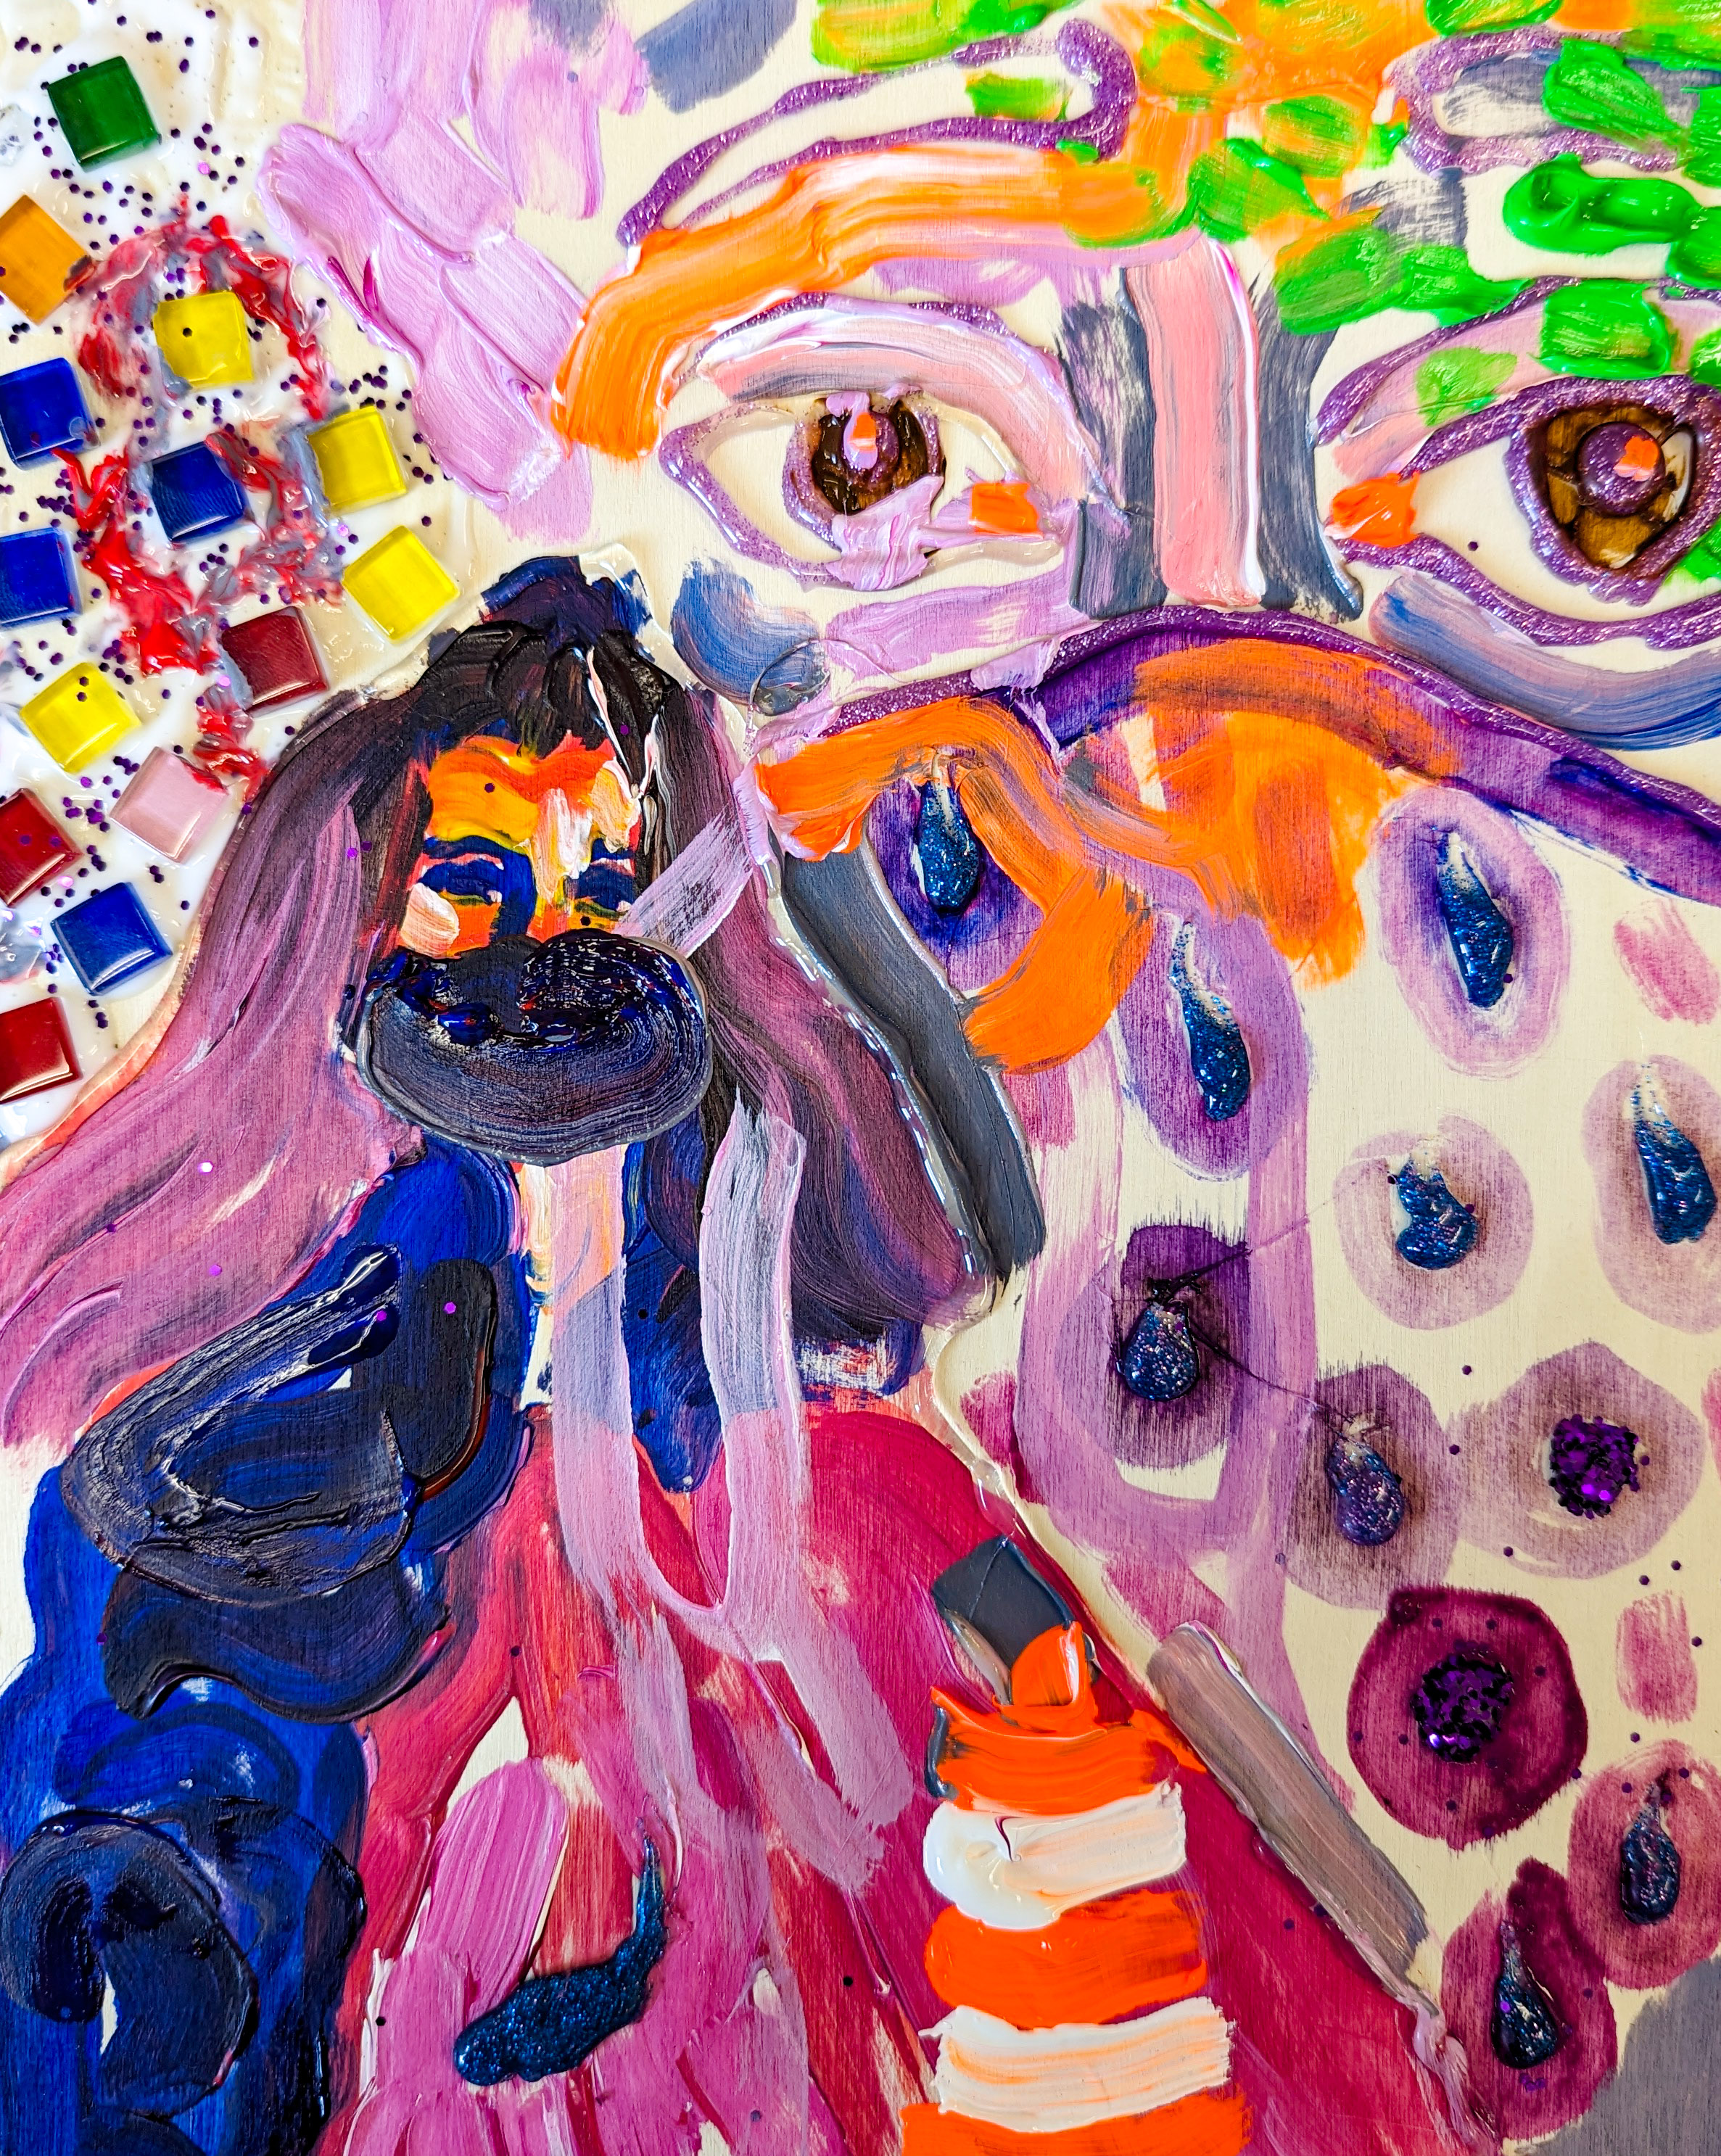
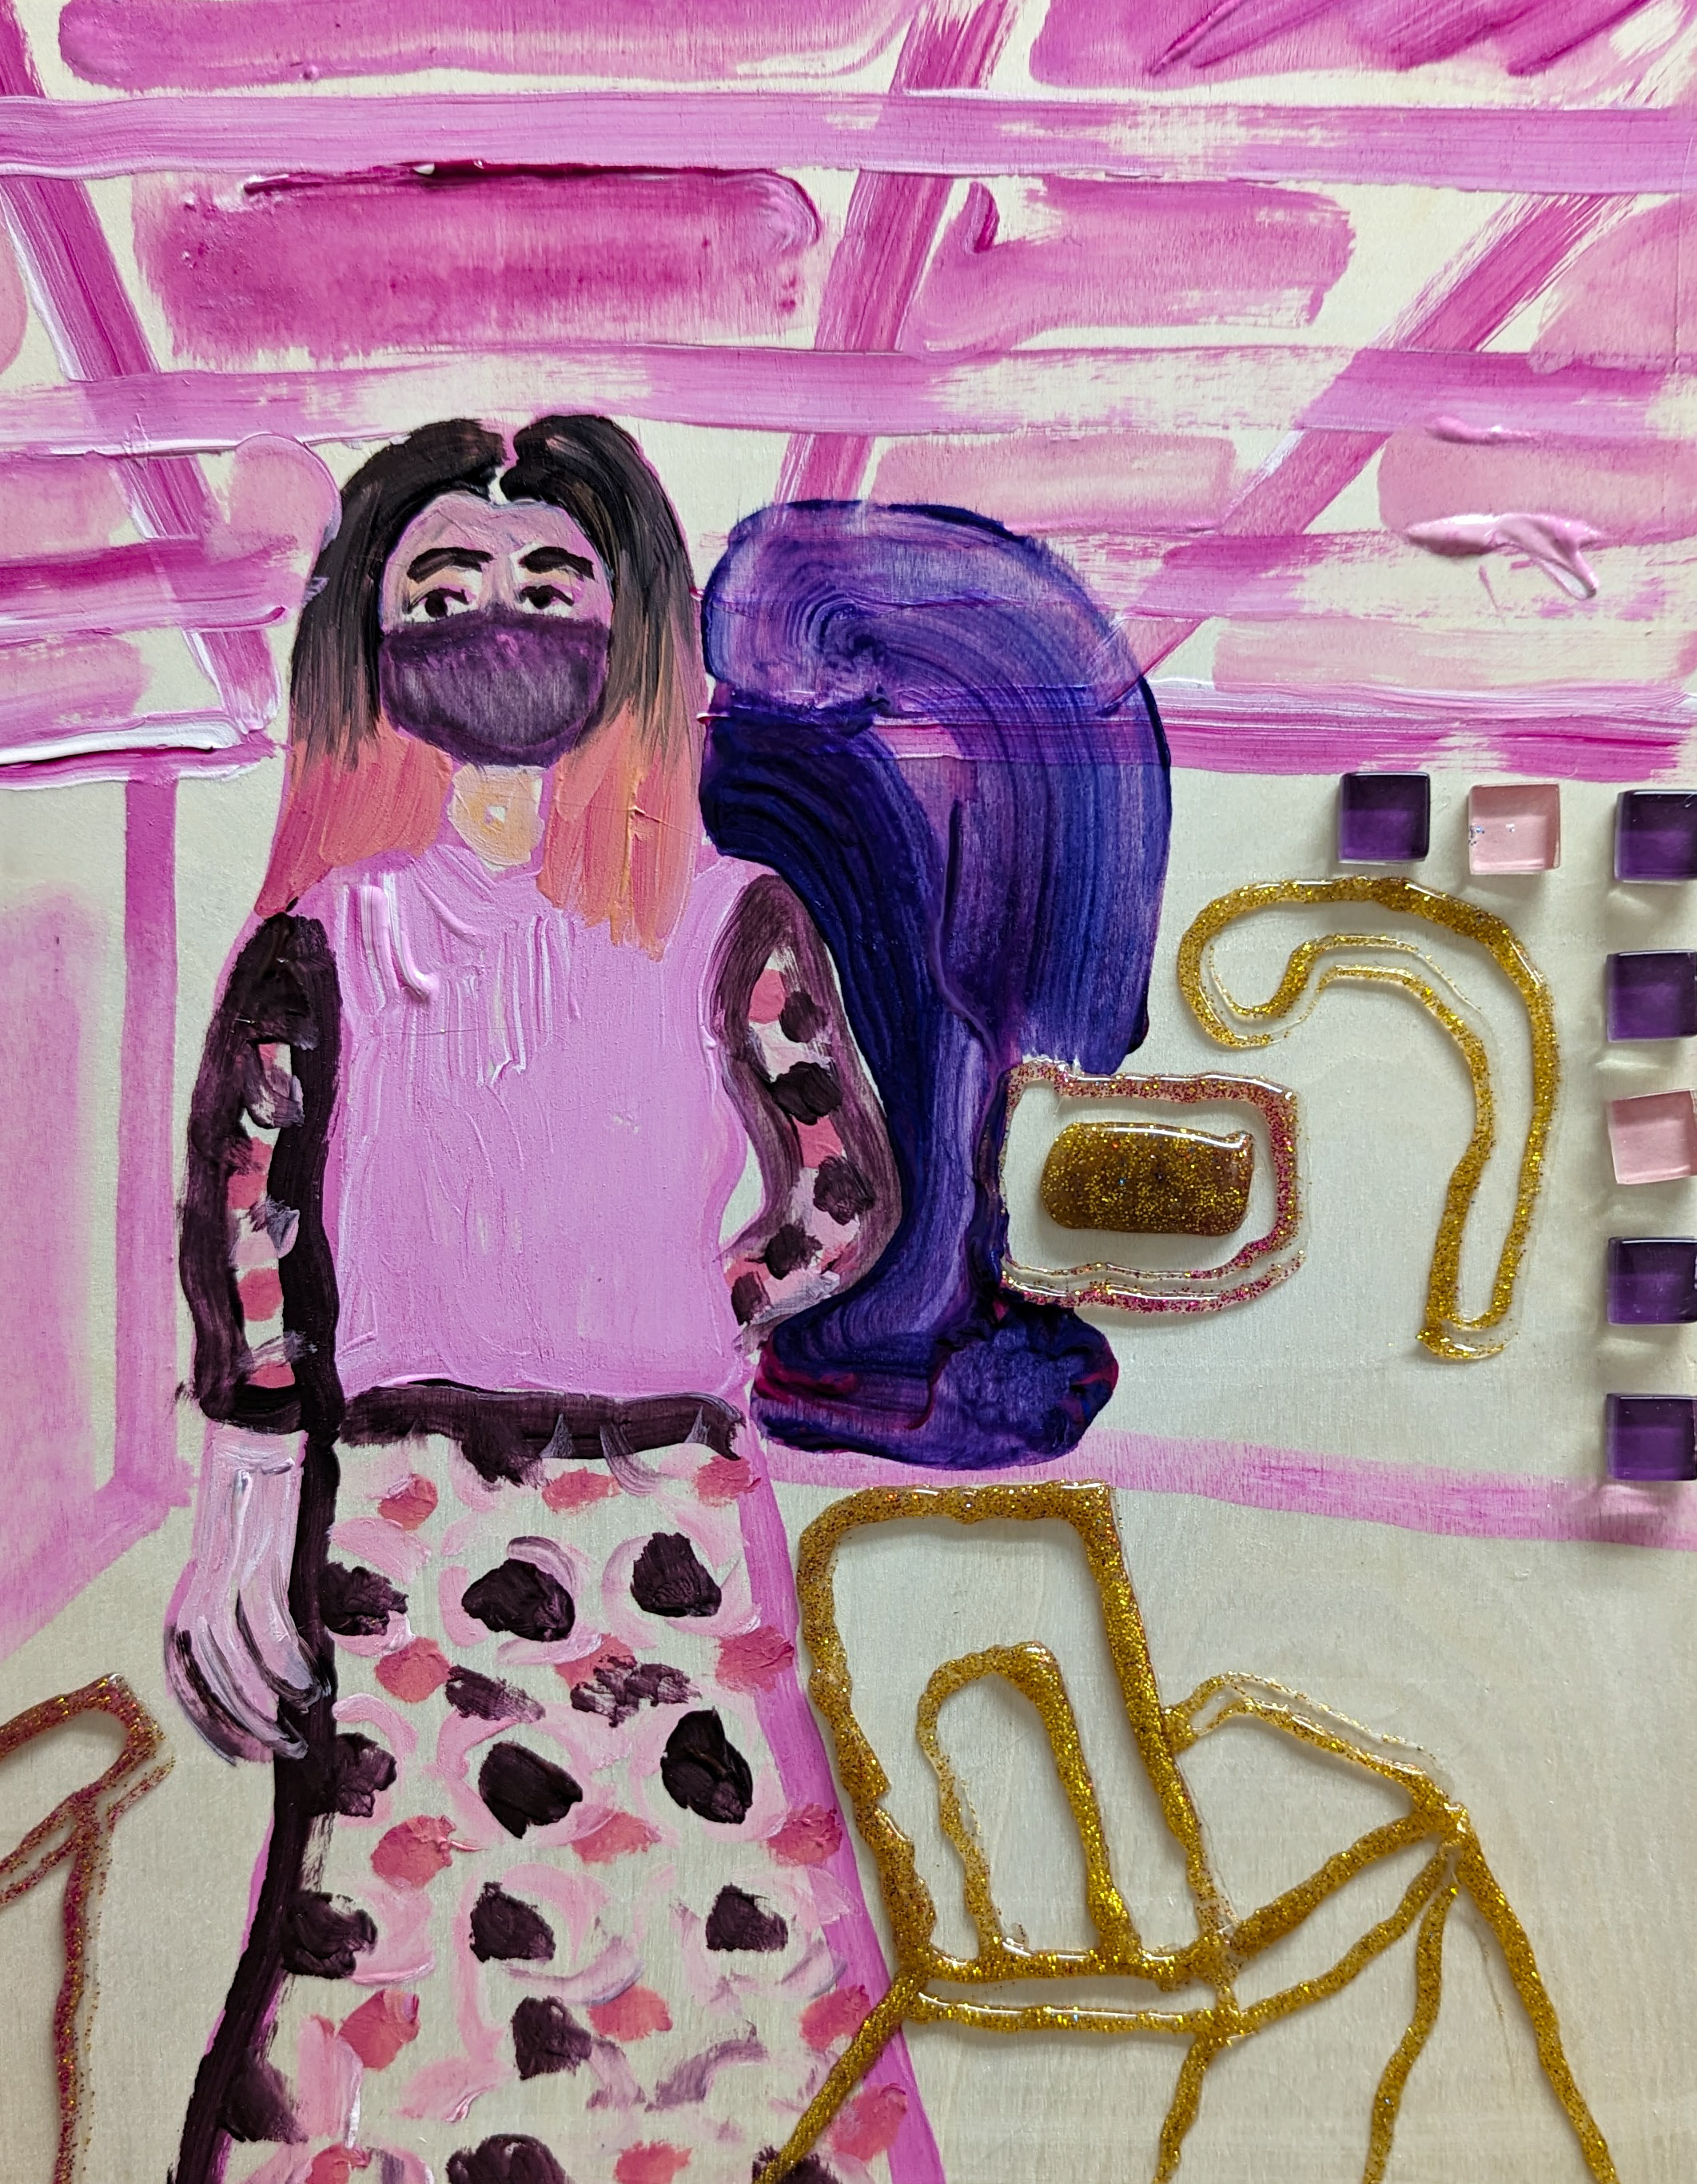
6) I destroyed an old painting that was already really ugly.

The end.

Recreating Van Gogh’s White Roses

I painted Van Gogh’s White Roses. Why? Because I had started this painting 3 years ago and I needed to finish it. I had painted the underpainting years ago, but I kept putting off painting the colors because I knew it would need to be painted in one sitting while the paint was still dry. And the canvas is big. But, at the end of July, I decided to paint. I cranked out the top layer of this painting in 2 days. I spent 7 hours on a Friday and 10 hours the next day, making myself paint until I finished. And I did! (Although honestly, there’s a few details on leaves that I’ve neglected and a few mistakes, but it’s all good).

While my recreation isn’t perfect and certainly doesn’t compare with the real Van Gogh painting, I learned a lot about Van Gogh and I appreciate his work a lot more now.

Things I learned about painting like Van Gogh:

  1. Use paint straight from the tube! Thick paint is best
  2. Let colors mix together
  3. Keep painting before the paint has dried (alla prima!)

To paint this, I looked at every brushstroke in the White Roses painting by using the zoom feature on the National Gallery of Art’s website. The NGA website has very clear and focused images of this painting, which made it a lot easier to emulate Van Gogh’s marks. I also went to the NGA a few times to study Van Gogh’s brushstrokes and practice painting like Van Gogh.

Below are my process pictures:

The finished painting:

Paper Earrings

Paper earrings! My new favorite things to make.

The first set of earrings I made were Matisse collage inspired earrings. I saw a lot of Matisse-inspired earrings on Pinterest and I loved the idea so I made some of my own.

To make paper earrings, you need 3 thick, cardstock type pieces of paper, or two pieces of paper with a piece of thin cardboard in between. Using only paper works a lot better though when you cut out the earring shapes.

How I make paper earrings:

  1. Cut out 3 pieces of the same size of cardstock paper
  2. Mod podge each layer together
  3. Put the paper layers under a heavy book until dry
  4. Figure out what shape or painted design you want to create for your earrings. For the Matisse earrings, I painted dots on one of the papers. For my fruit earrings, I painted fruit on each side of the paper
  5. Cut out the shapes from the paper
  6. Apply a matte or gloss varnish to the paper so it is secure
  7. Poke a hole using a pin/needle in the top of the paper shape
  8. Poke through the hole with a jump ring or earring hook and fasten

Next, I made a pair of fruity paper earrings. I followed the same steps above, but I added a lot more detail with paint. I LOVE how these turned out. I love how I can create fun and unique earrings using only paper and paint.

Unrelated – this week I’m teaching lessons on polka dots and Aboriginal art to my elementary students, and today I wore a full polka dot outfit to match my lessons and I’m very pleased. I am slowly achieving my goal of becoming Ms. Frizzle 🙂

Some of the process (I didn’t really take any other process pics, I mostly just painted fruit)

I was inspired by these earrings I saw on Pinterest: Earrings