New Work

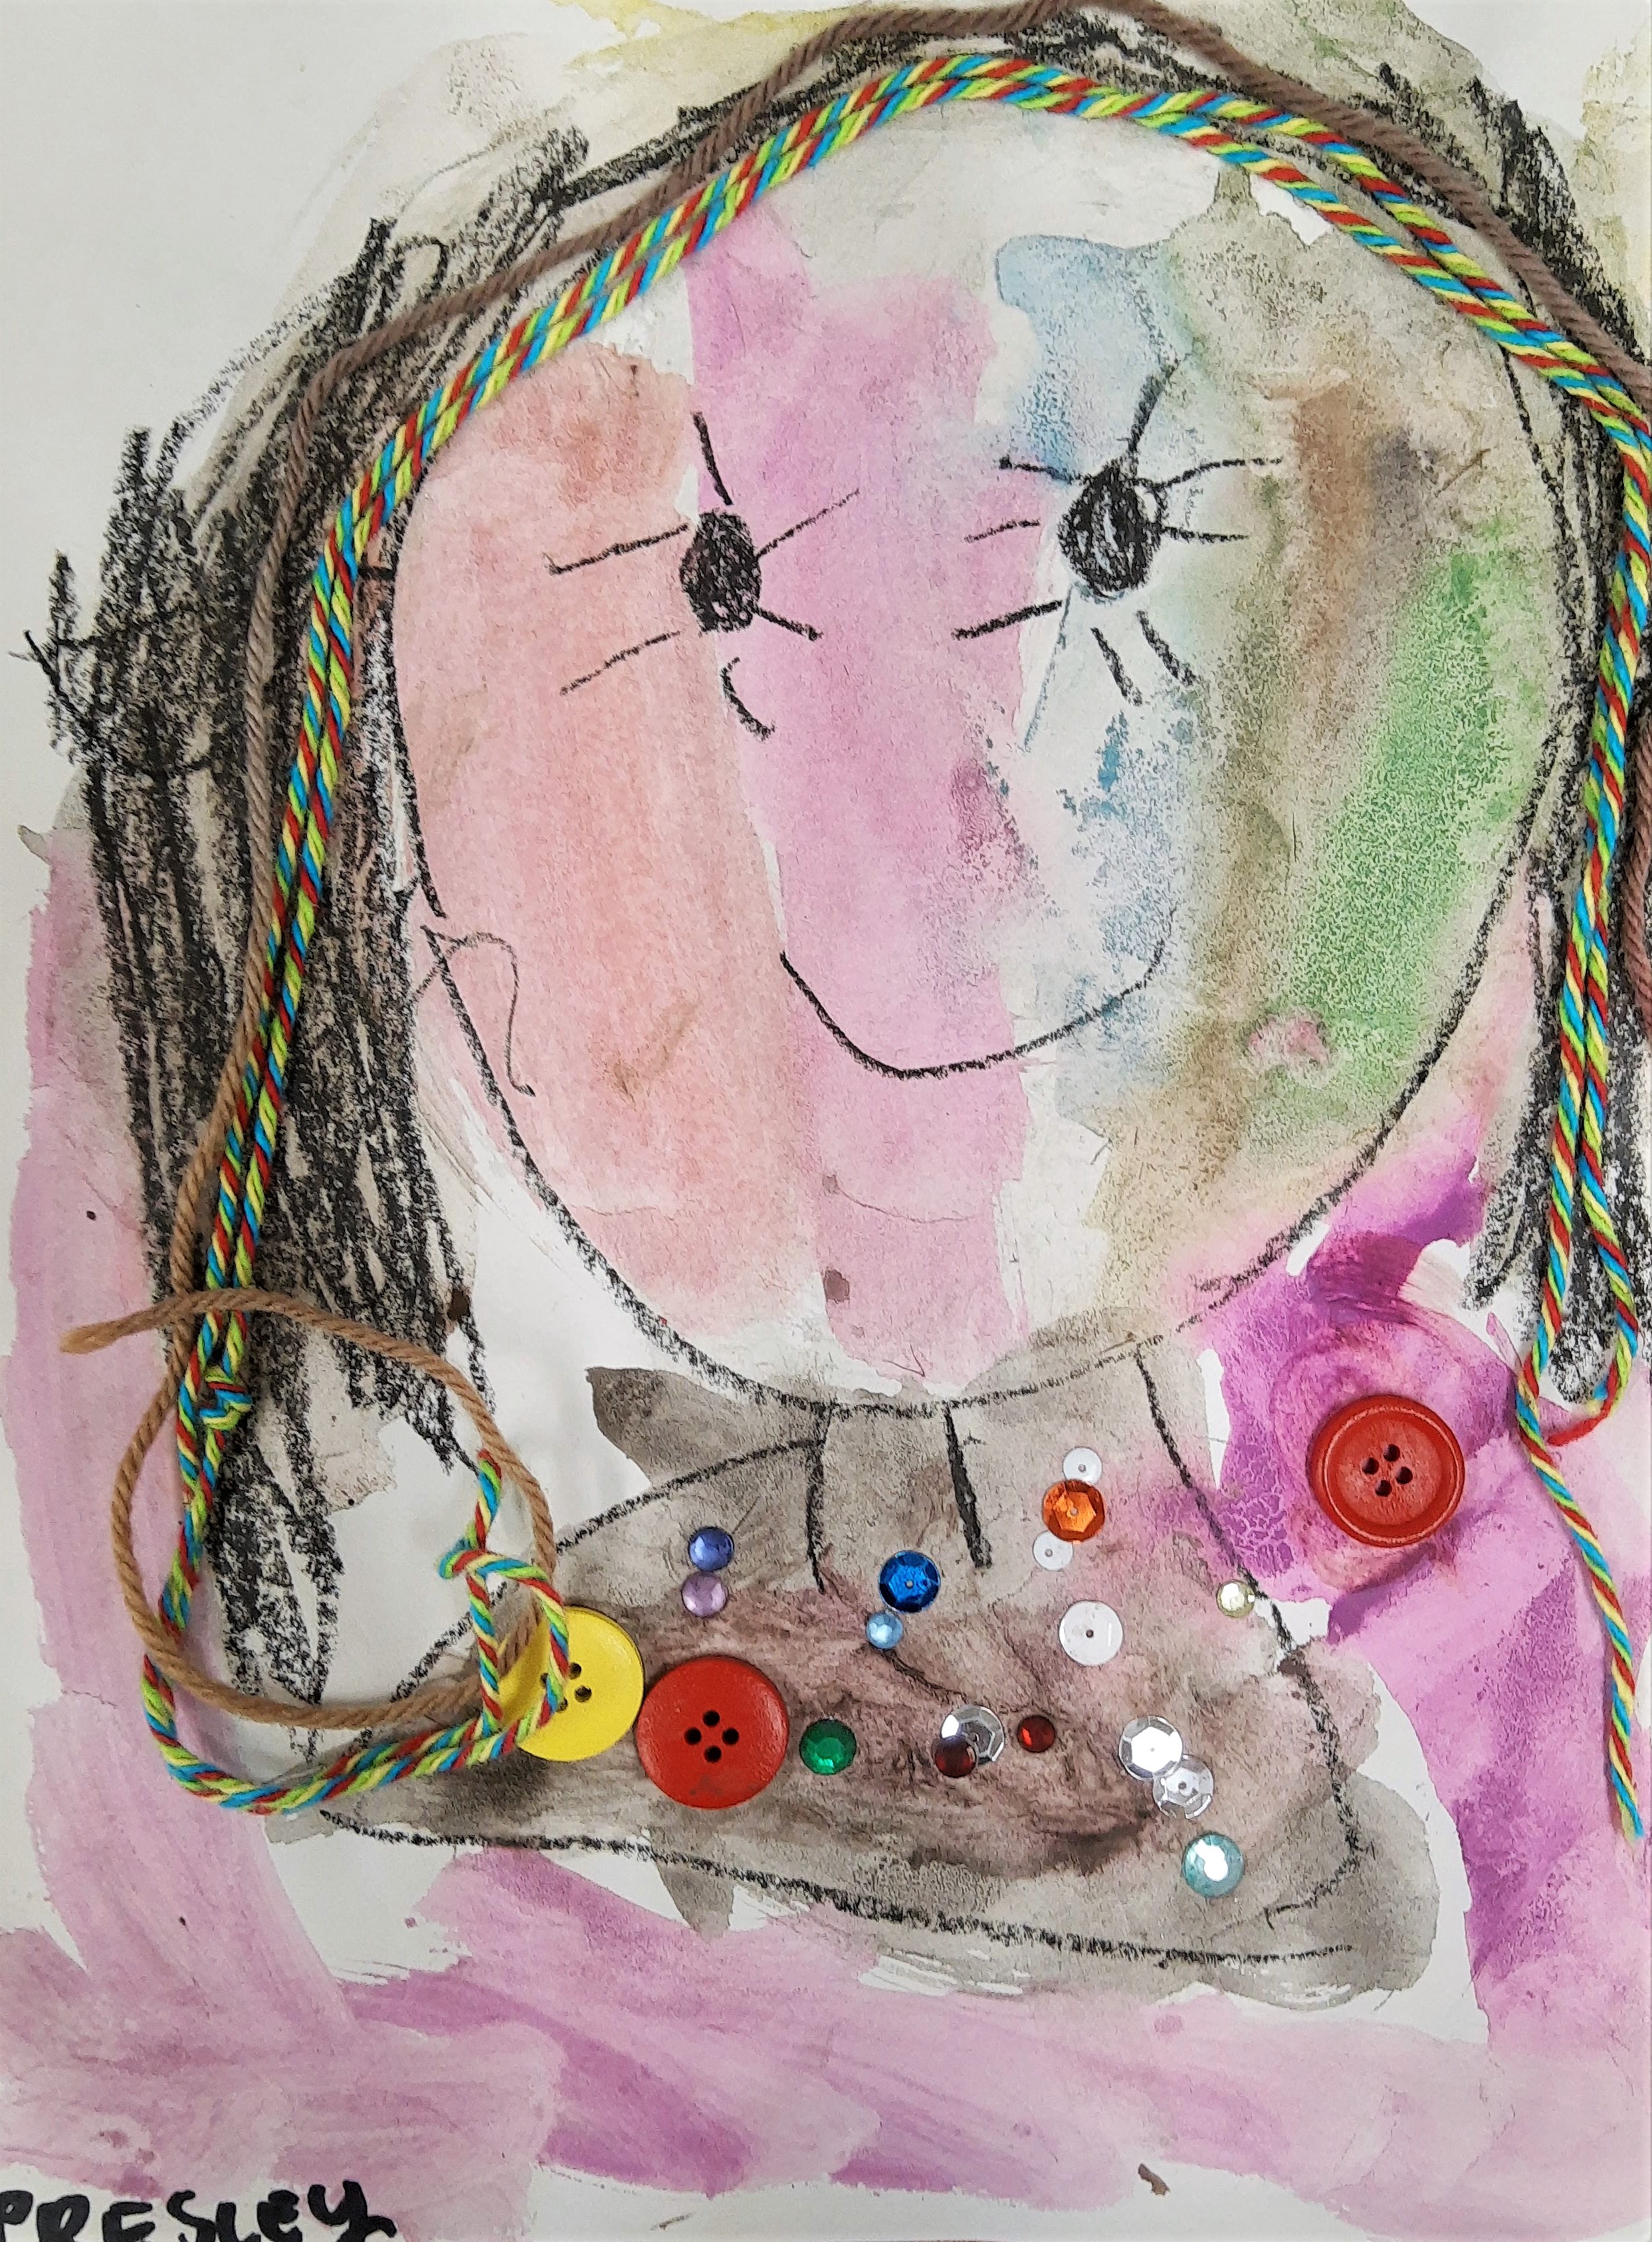
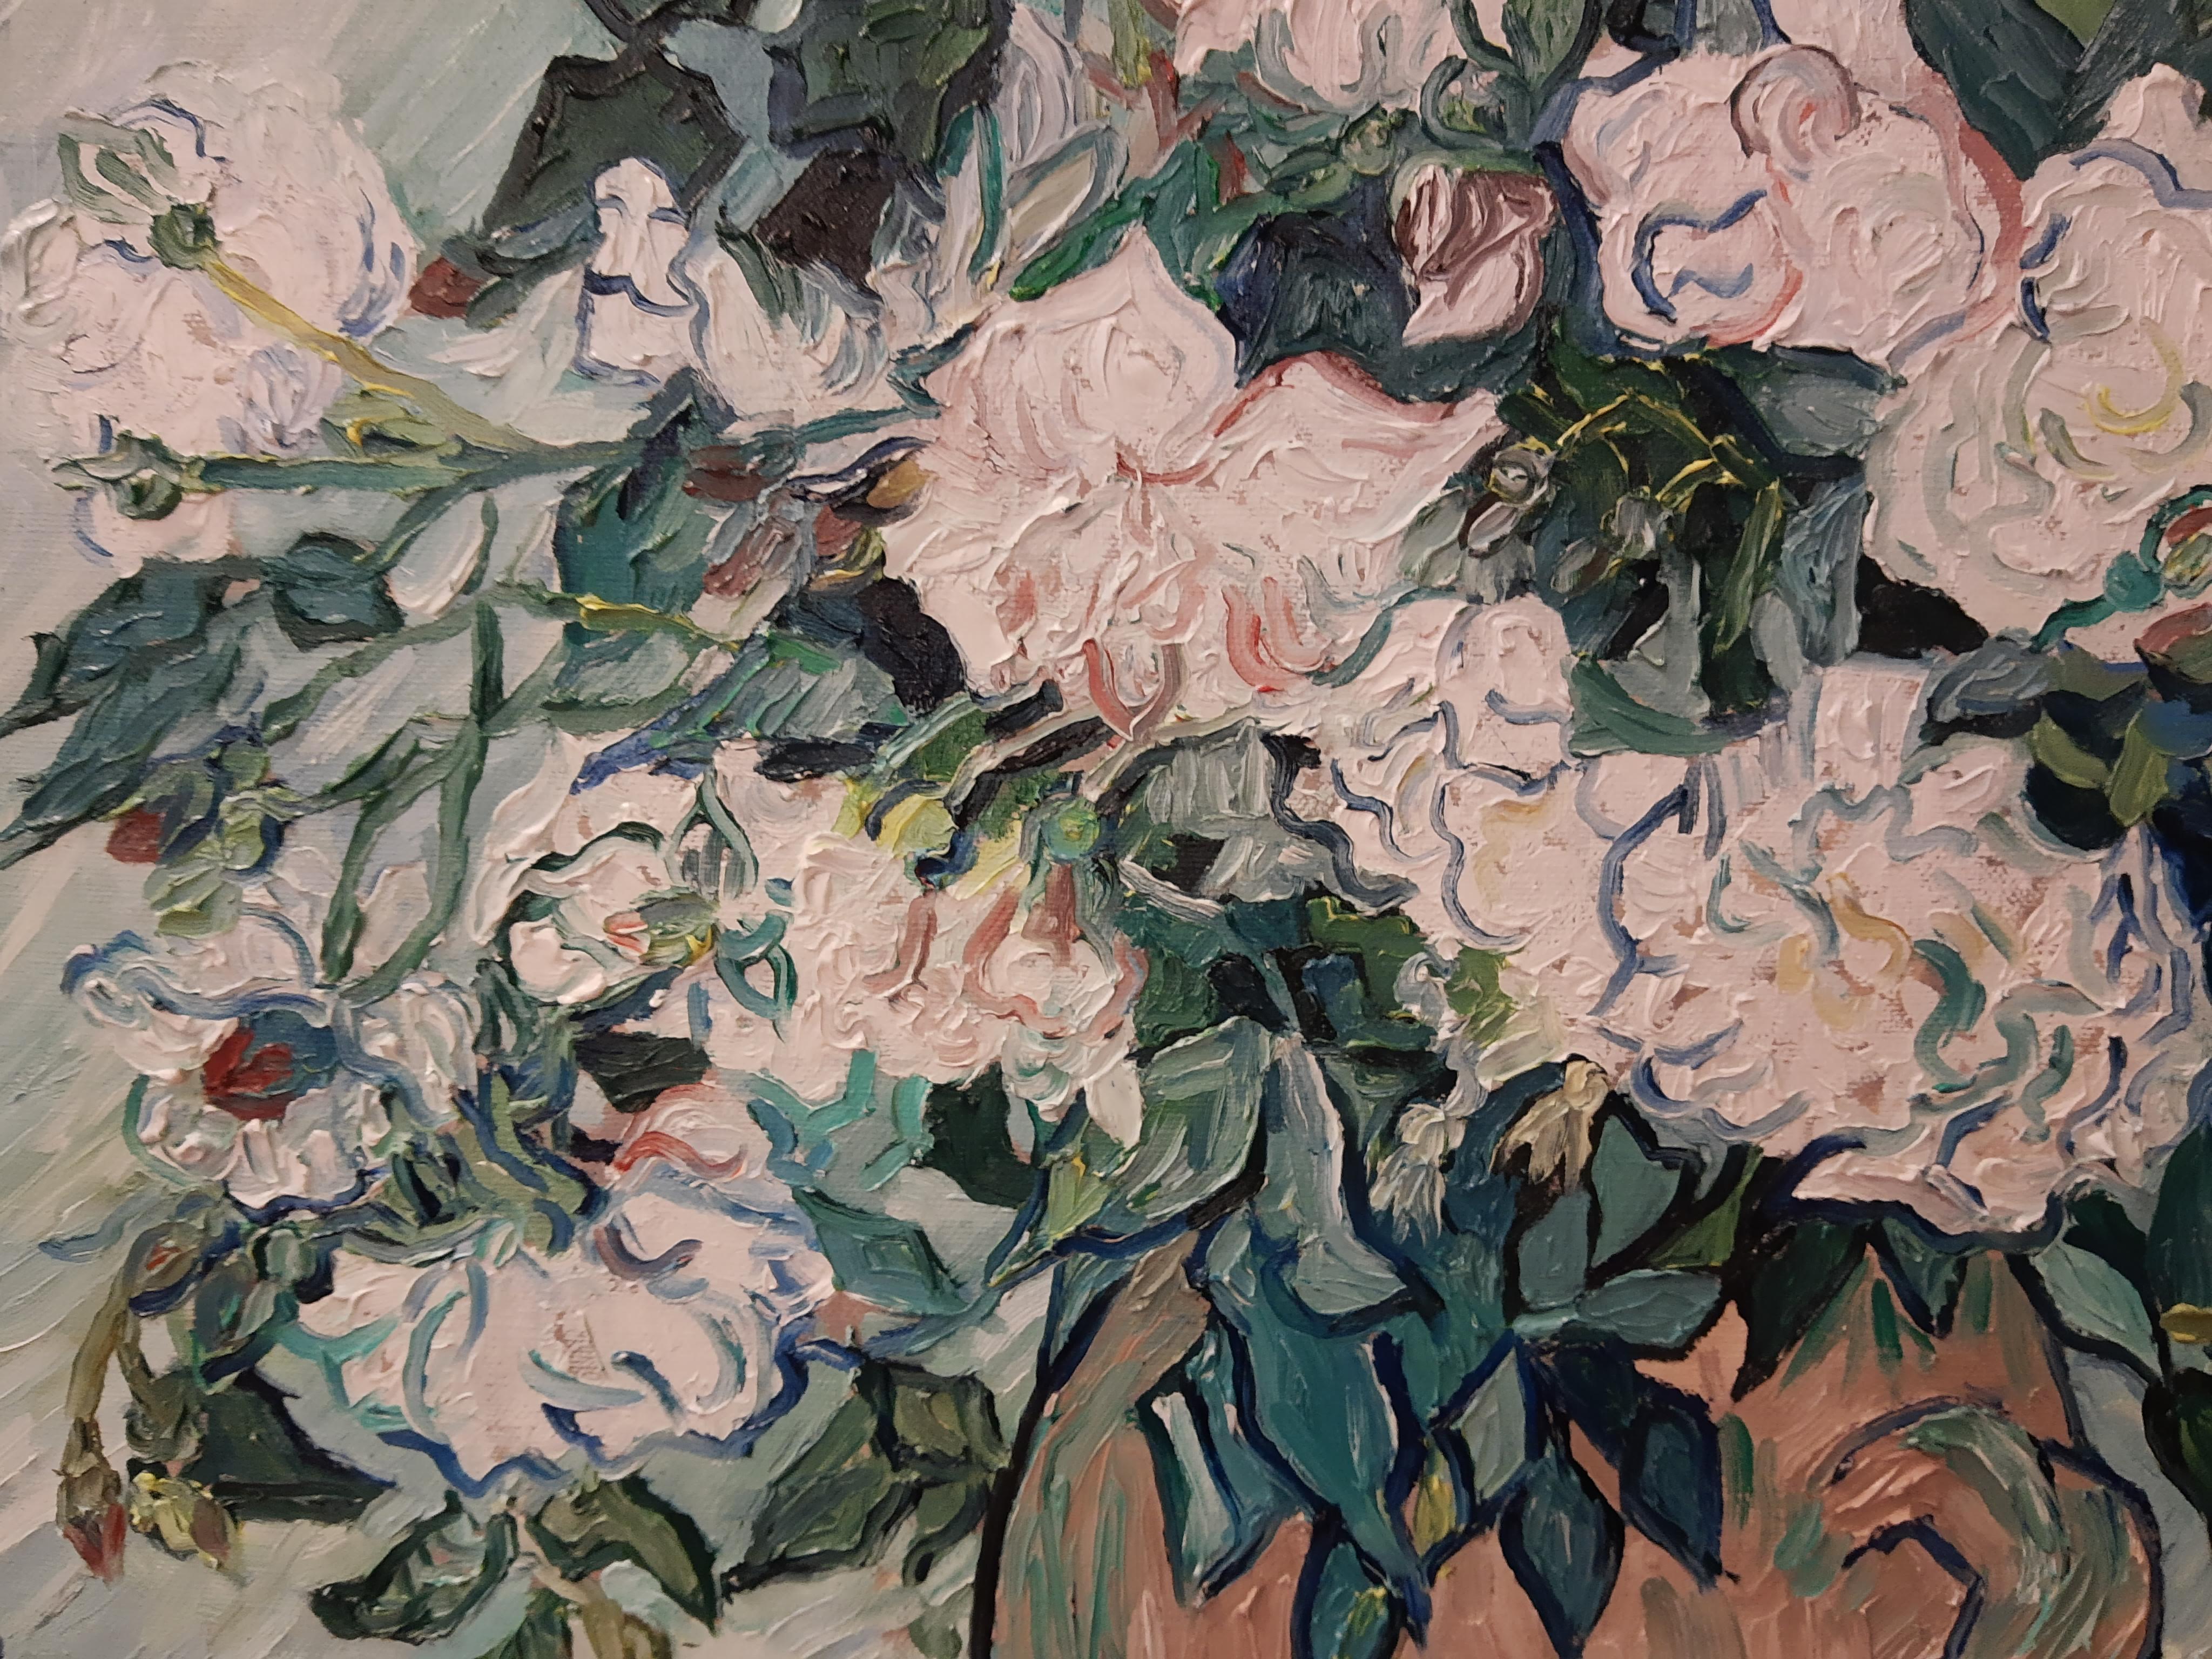
A while ago, probably 3 months ago, I had a dream where I was painting a painting. As soon as I woke up, I sketched out the painting to the best of my memory. This painting is that painting that I was painting in a dream. I want to do more of these. Just gotta figure out how to dream about painting and remember it. The base was pink of course. The color PINK is informing a lot of my work lately. think pink…

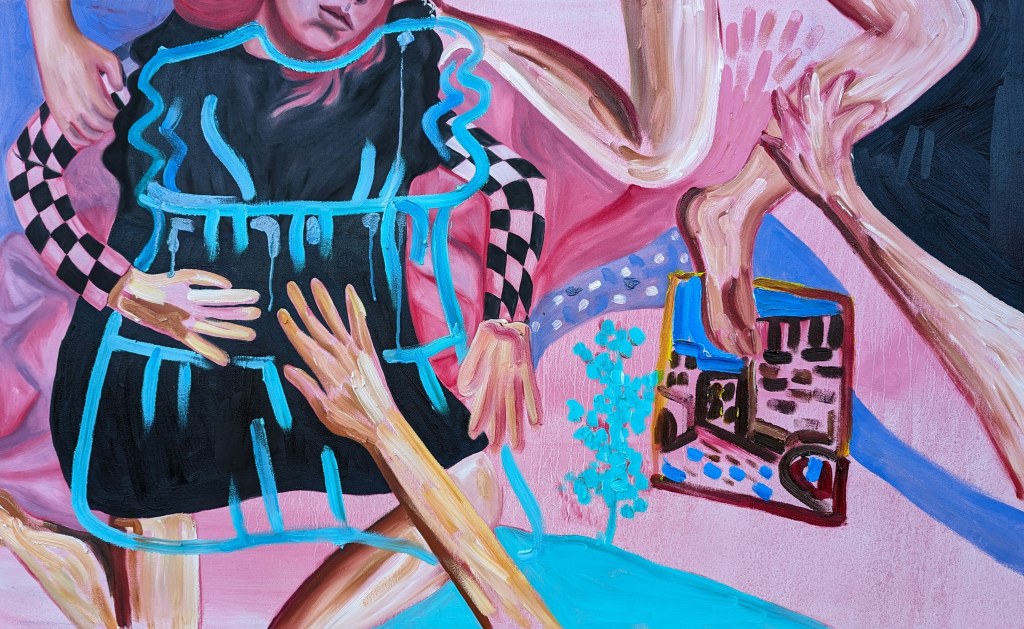
This work below is much smaller. Acrylic on paper. 24 x 12 inches. Thinking about warm colors and electric blue. Phthalocyanine blue mixed with white creates such a warm, powerful blue. Memories. Pieces and fragments of time connected together. A self-portrait on an ordinary day. Pipes. Sunset from a cold, autumn walk. A hand, twisted and contorted for the camera. A parking lot, empty except for one car outside of the frame. Moments bleeding together. Connected by random thoughts of bowls and hands and places.

Jacob Lawrence

This is from a while ago, perhaps a year ago. But I did this project with my lower elementary students. We learned about Jacob Lawrence and his cityscapes, and then students drew a city with oil pastel. Then, they added black outlines on top with acrylic paint and extra colors with tempera paint. Everything was drawn on cardboard because toned paper adds an extra element of pizzazz. So here they are:

Kindergarten Self-Portraits

Teaching kindergarten about self-portraits is really fun because they come up with such creative ideas and their drawings of themselves are so happy. It’s been a very long and tiring week of teaching but seeing the art my students create always makes me happy and reminds me of the reason I love teaching art.

One kindergarten class drew self-portraits from head to shoulders. They added yarn for hair and buttons/sequins as decorations.

The other kindergarten class painted pictures and then drew a self-portrait of themselves as an artist, holding a paintbrush and painting the background.

Primary Colors & Color Mixing

I taught this lesson with lower elementary a few weeks ago. We talked about primary colors and how they are super special colors because you can’t create them with any other colors. And primary colors can create a ton of new colors when mixed together.

To practice mixing colors, each table got red, yellow, blue, and white paint and students created and named as many colors as they wanted. I love how creatively students named their colors. Some of my favorite color names were “blainbow”, “stinckpot”, “peace” and “thunder”.

I even wore red, yellow, and blue to match my primary color lesson (and to achieve my goal of being like Ms. Frizzle). My hand was very messy at the end of the day which I love because a messy hand is the mark of an artist 🙂

Here is my lesson plan:

Recreating Van Gogh’s White Roses

I painted Van Gogh’s White Roses. Why? Because I had started this painting 3 years ago and I needed to finish it. I had painted the underpainting years ago, but I kept putting off painting the colors because I knew it would need to be painted in one sitting while the paint was still dry. And the canvas is big. But, at the end of July, I decided to paint. I cranked out the top layer of this painting in 2 days. I spent 7 hours on a Friday and 10 hours the next day, making myself paint until I finished. And I did! (Although honestly, there’s a few details on leaves that I’ve neglected and a few mistakes, but it’s all good).

While my recreation isn’t perfect and certainly doesn’t compare with the real Van Gogh painting, I learned a lot about Van Gogh and I appreciate his work a lot more now.

Things I learned about painting like Van Gogh:

  1. Use paint straight from the tube! Thick paint is best
  2. Let colors mix together
  3. Keep painting before the paint has dried (alla prima!)

To paint this, I looked at every brushstroke in the White Roses painting by using the zoom feature on the National Gallery of Art’s website. The NGA website has very clear and focused images of this painting, which made it a lot easier to emulate Van Gogh’s marks. I also went to the NGA a few times to study Van Gogh’s brushstrokes and practice painting like Van Gogh.

Below are my process pictures:

The finished painting:

Symmetrical Creatures & Asymmetrical Backgrounds

I think this has been one of my favorite lessons I’ve taught to lower elementary this year. The project is fairly simple, but students came up with so many creative ideas! I taught the lesson virtually, but for whenever in-person lessons resume, I would definitely have the students use construction paper for their creatures and paint for the background.

My teacher examples:

Objectives:

Students will be able to:

  • Identify symmetrical and asymmetrical images
  • Create a symmetrical creature using folding, drawing, and cutting
  • Create an asymmetrical home for their creature using drawing/painting
  • Write an artist statement

Day by Day Breakdown:

Day 1:

  • Introduction to symmetrical balance – stand on one leg, what happens?
  • Symmetrical identification game
  • Looking at symmetrical photos/art
  • Art demo – how to create symmetrical creature
  • What does your creature look like?
    • Does your creature have:
      • fur?
      • scales?
      • patches?
      • a tail?
      • arms/legs?
      • eyes?
      • clothes?
      • fins?
  • Student work time

Day 2:

  • Introduction to asymmetrical balance
  • Review of symmetrical balance
  • Symmetrical or asymmetrical identification game
  • Art demo – how to create asymmetrical background
  • Where does your creature live?
    • underwater?
    • the woods?
    • mountains?
    • beach?
    • house?
    • island?
  • Student work time 

Artist Statement:

For lower elementary, I have students write a mini artist statement including the title of their artwork, describing their artwork, and explaining how they used one of the concepts in the lesson. This is my Google forms virtual version:

Student Artwork: