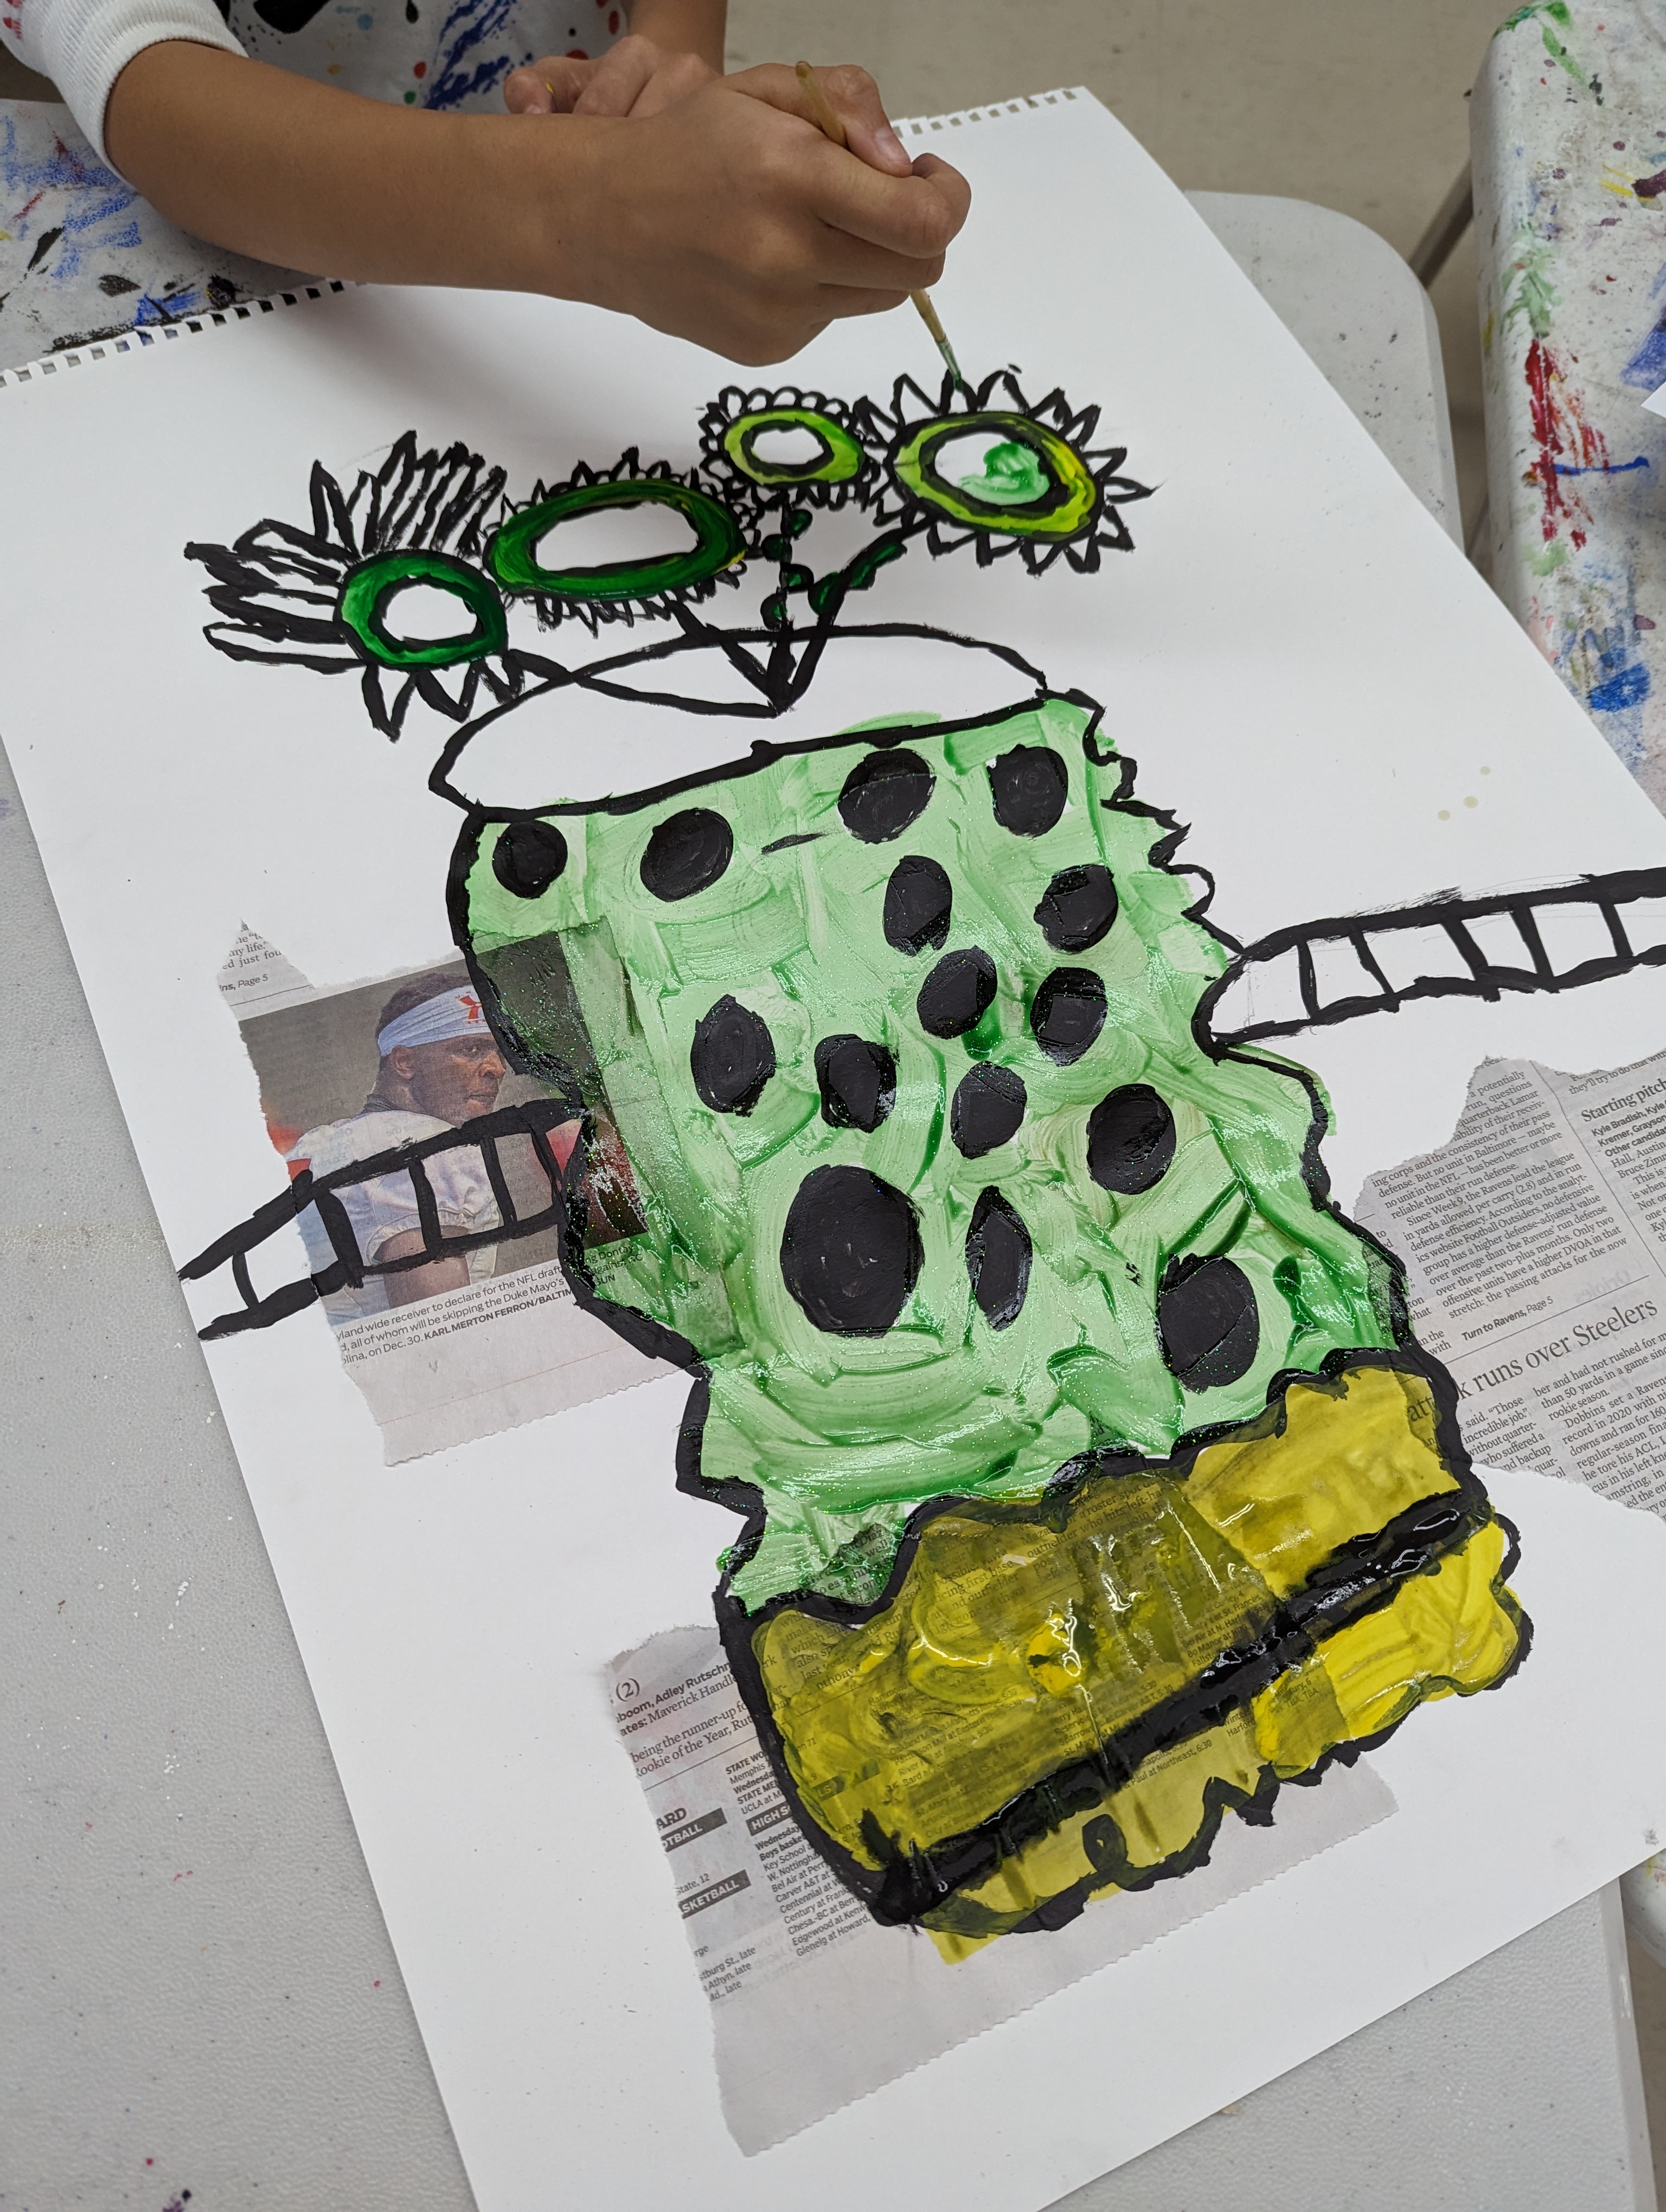
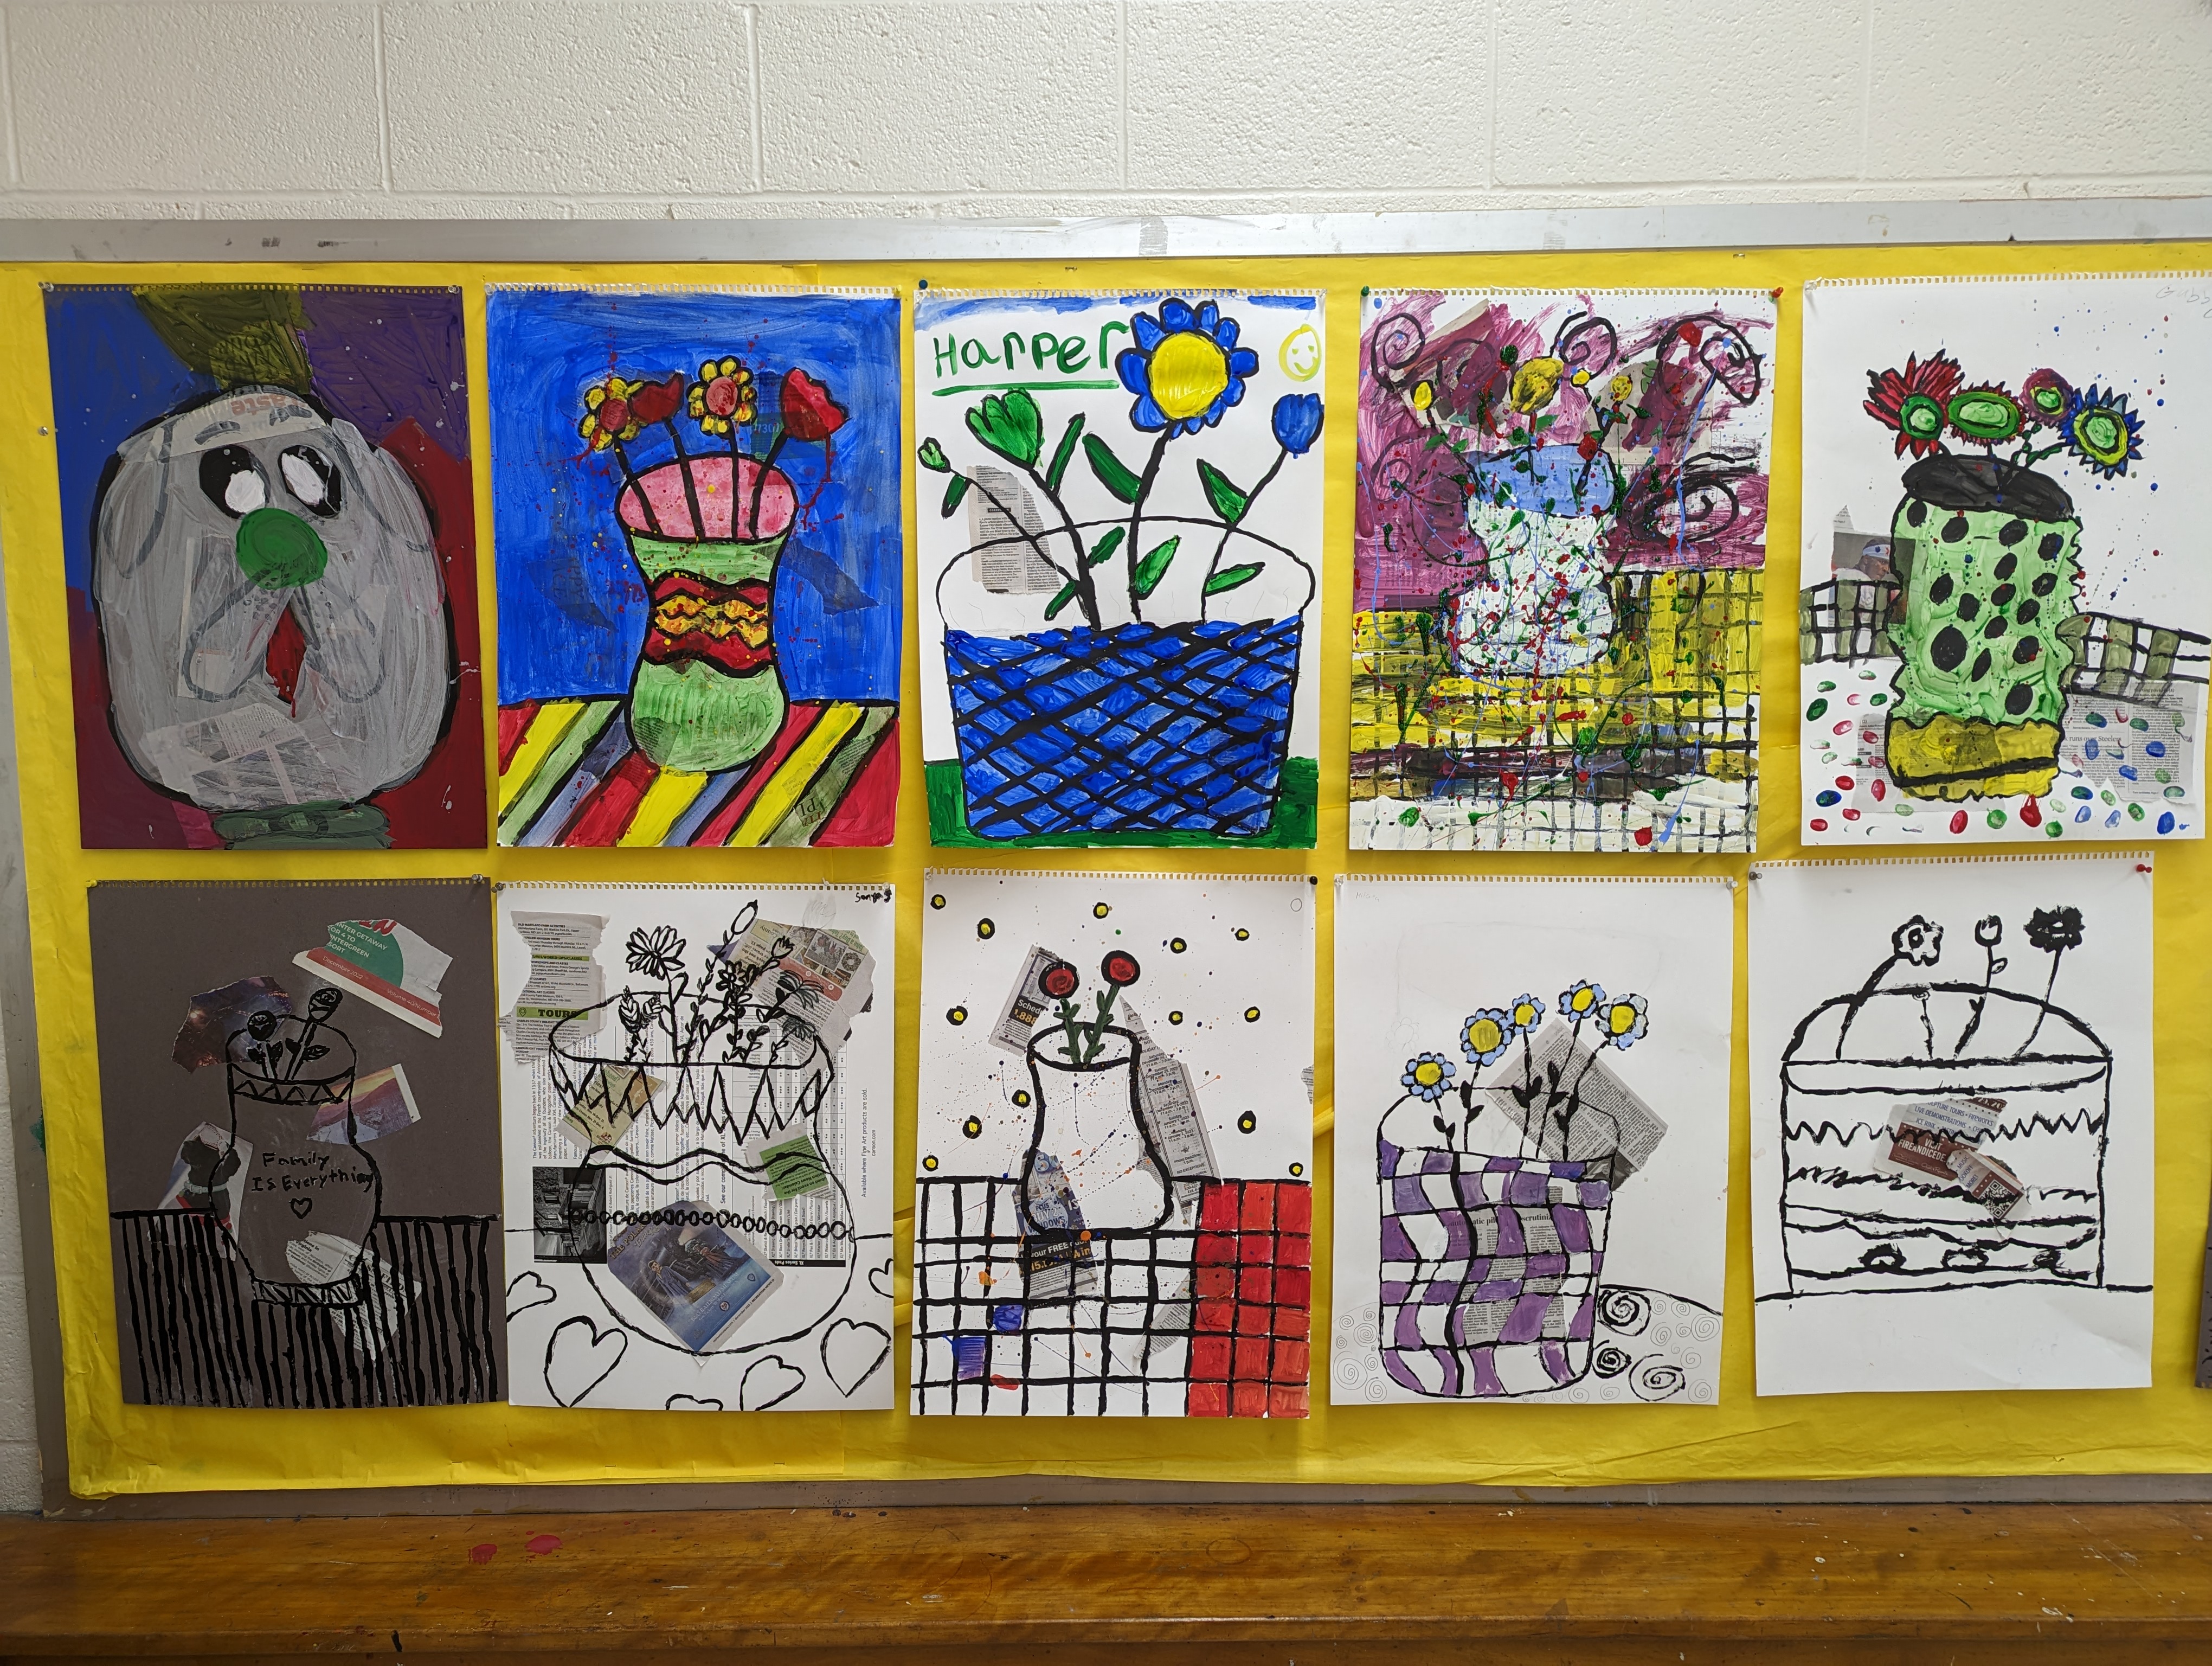
I taught a Saturday art class in the winter and the kids made some fabulous still life artwork. They glued newspaper scraps to the paper then drew an outline in pencil and then traced in black acrylic paint. Then, students painted everything in with colorful tempera and added patterns and designs.
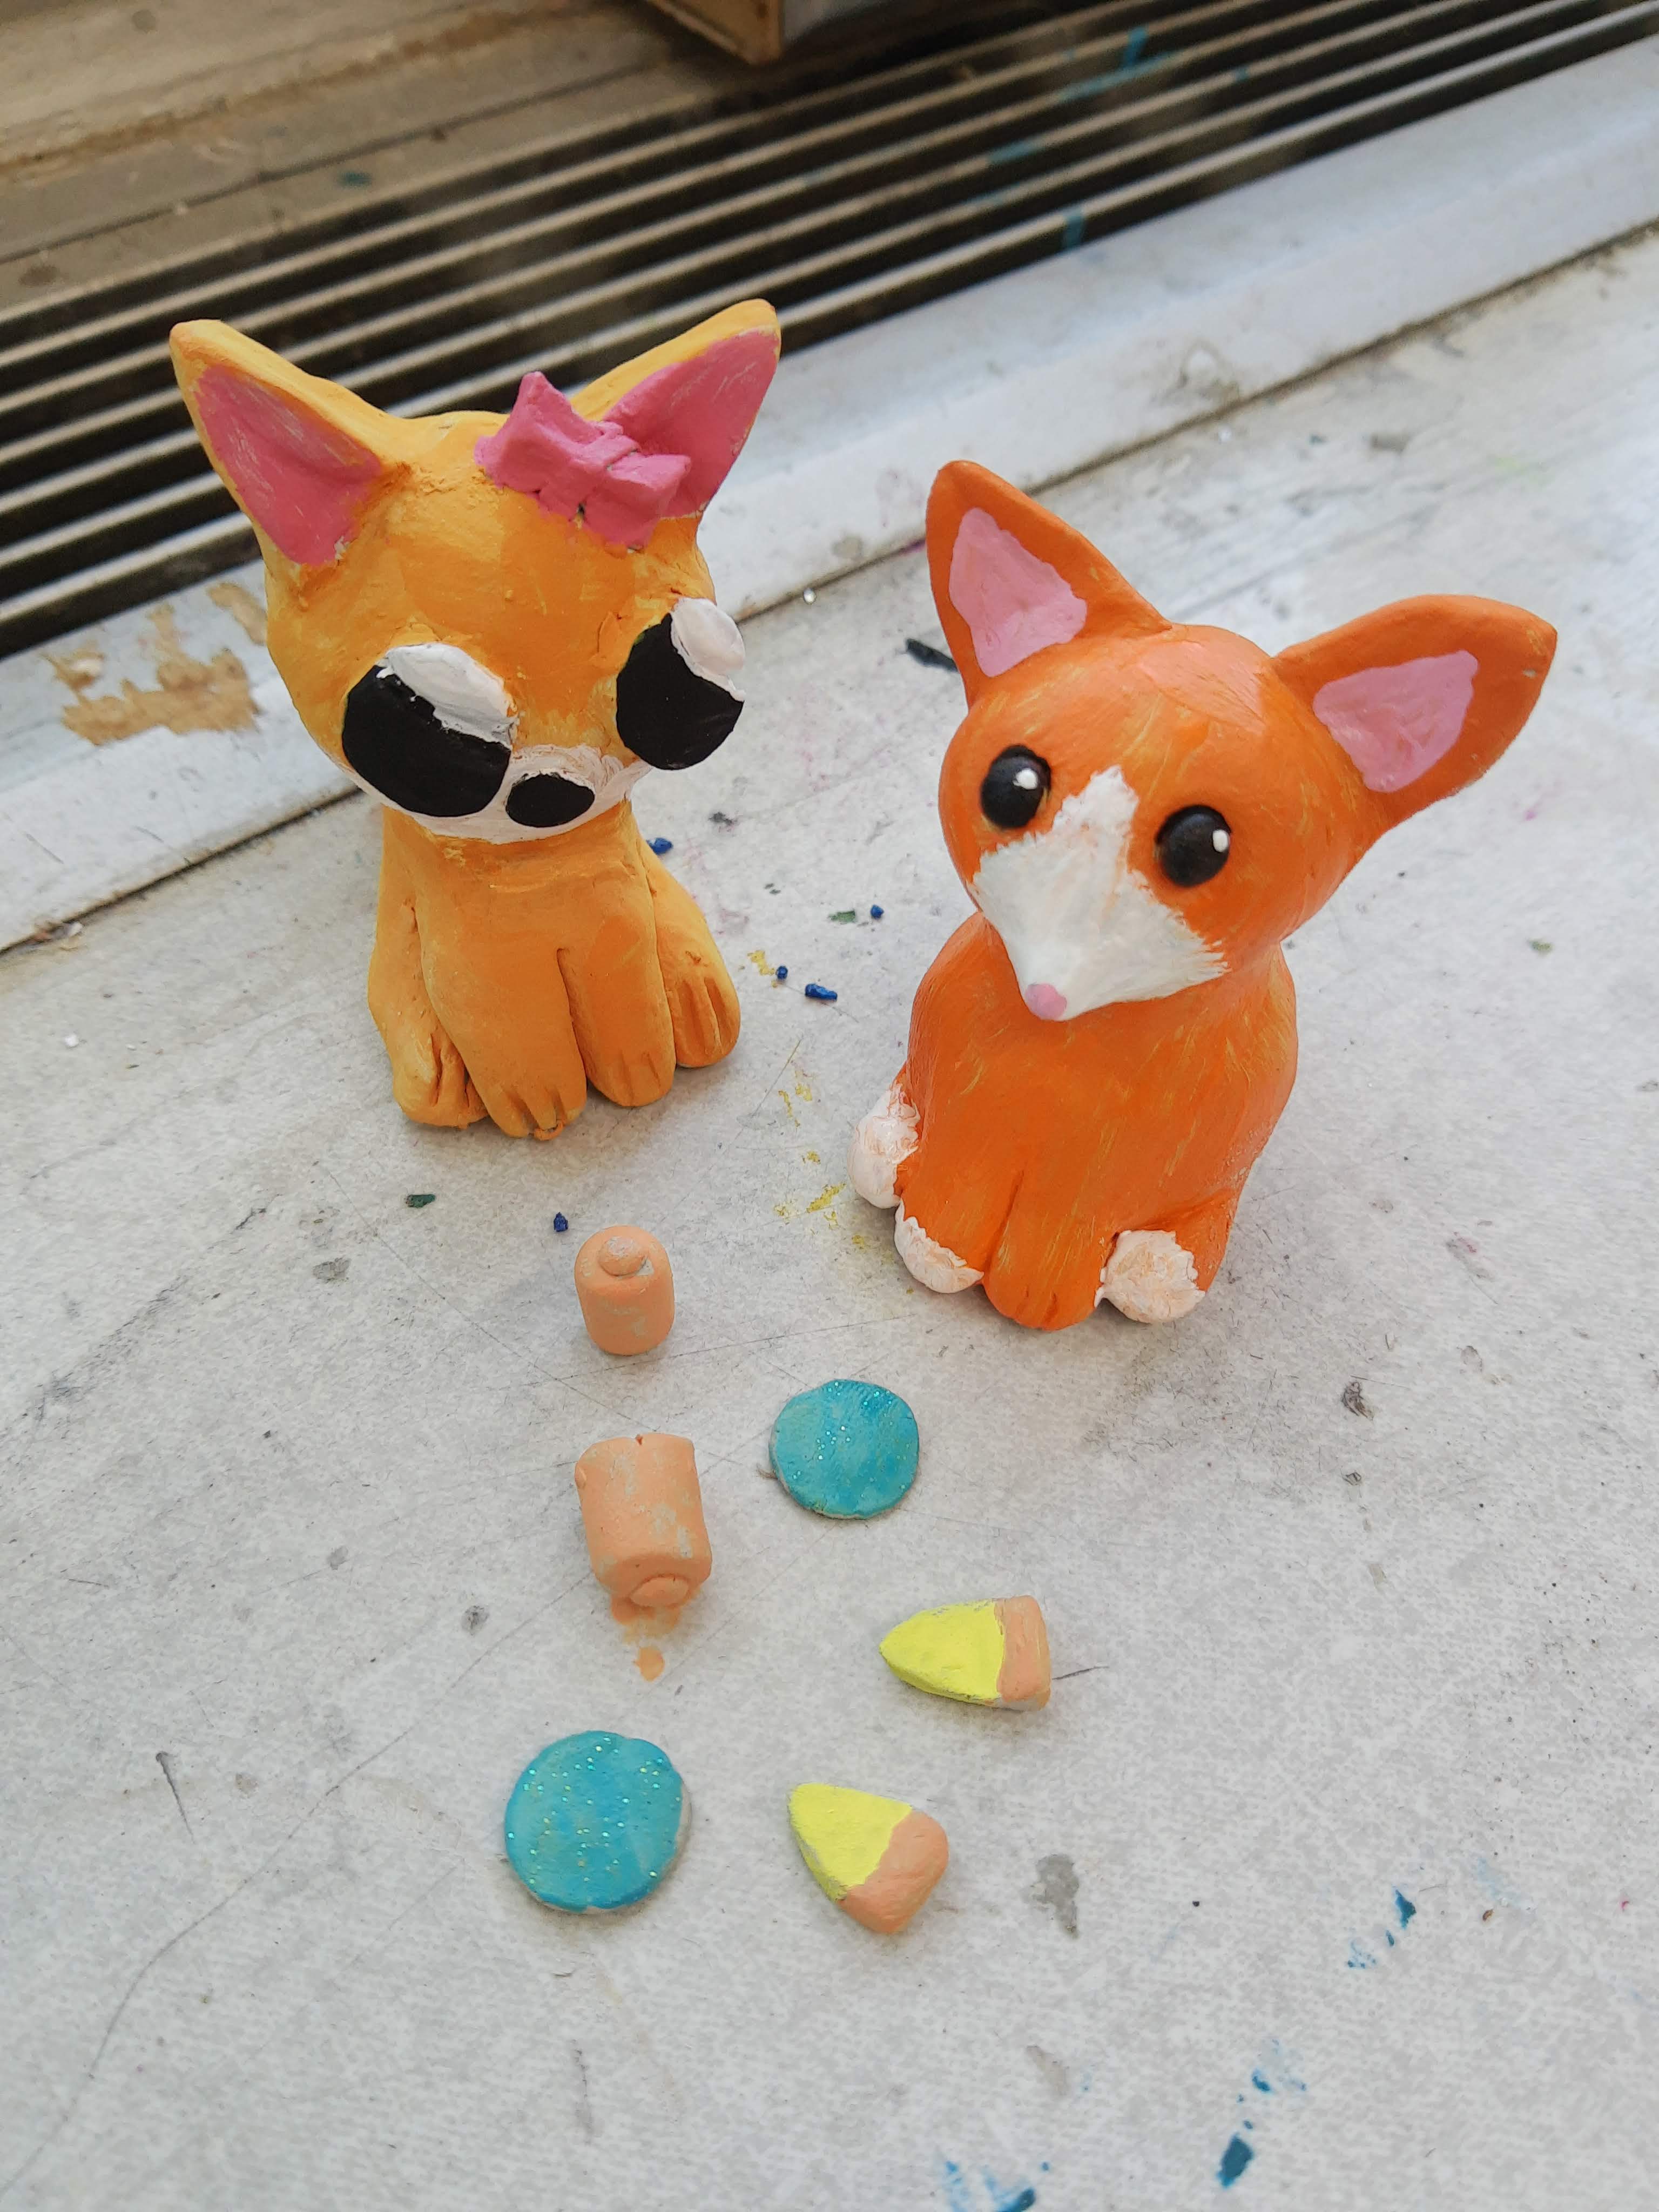
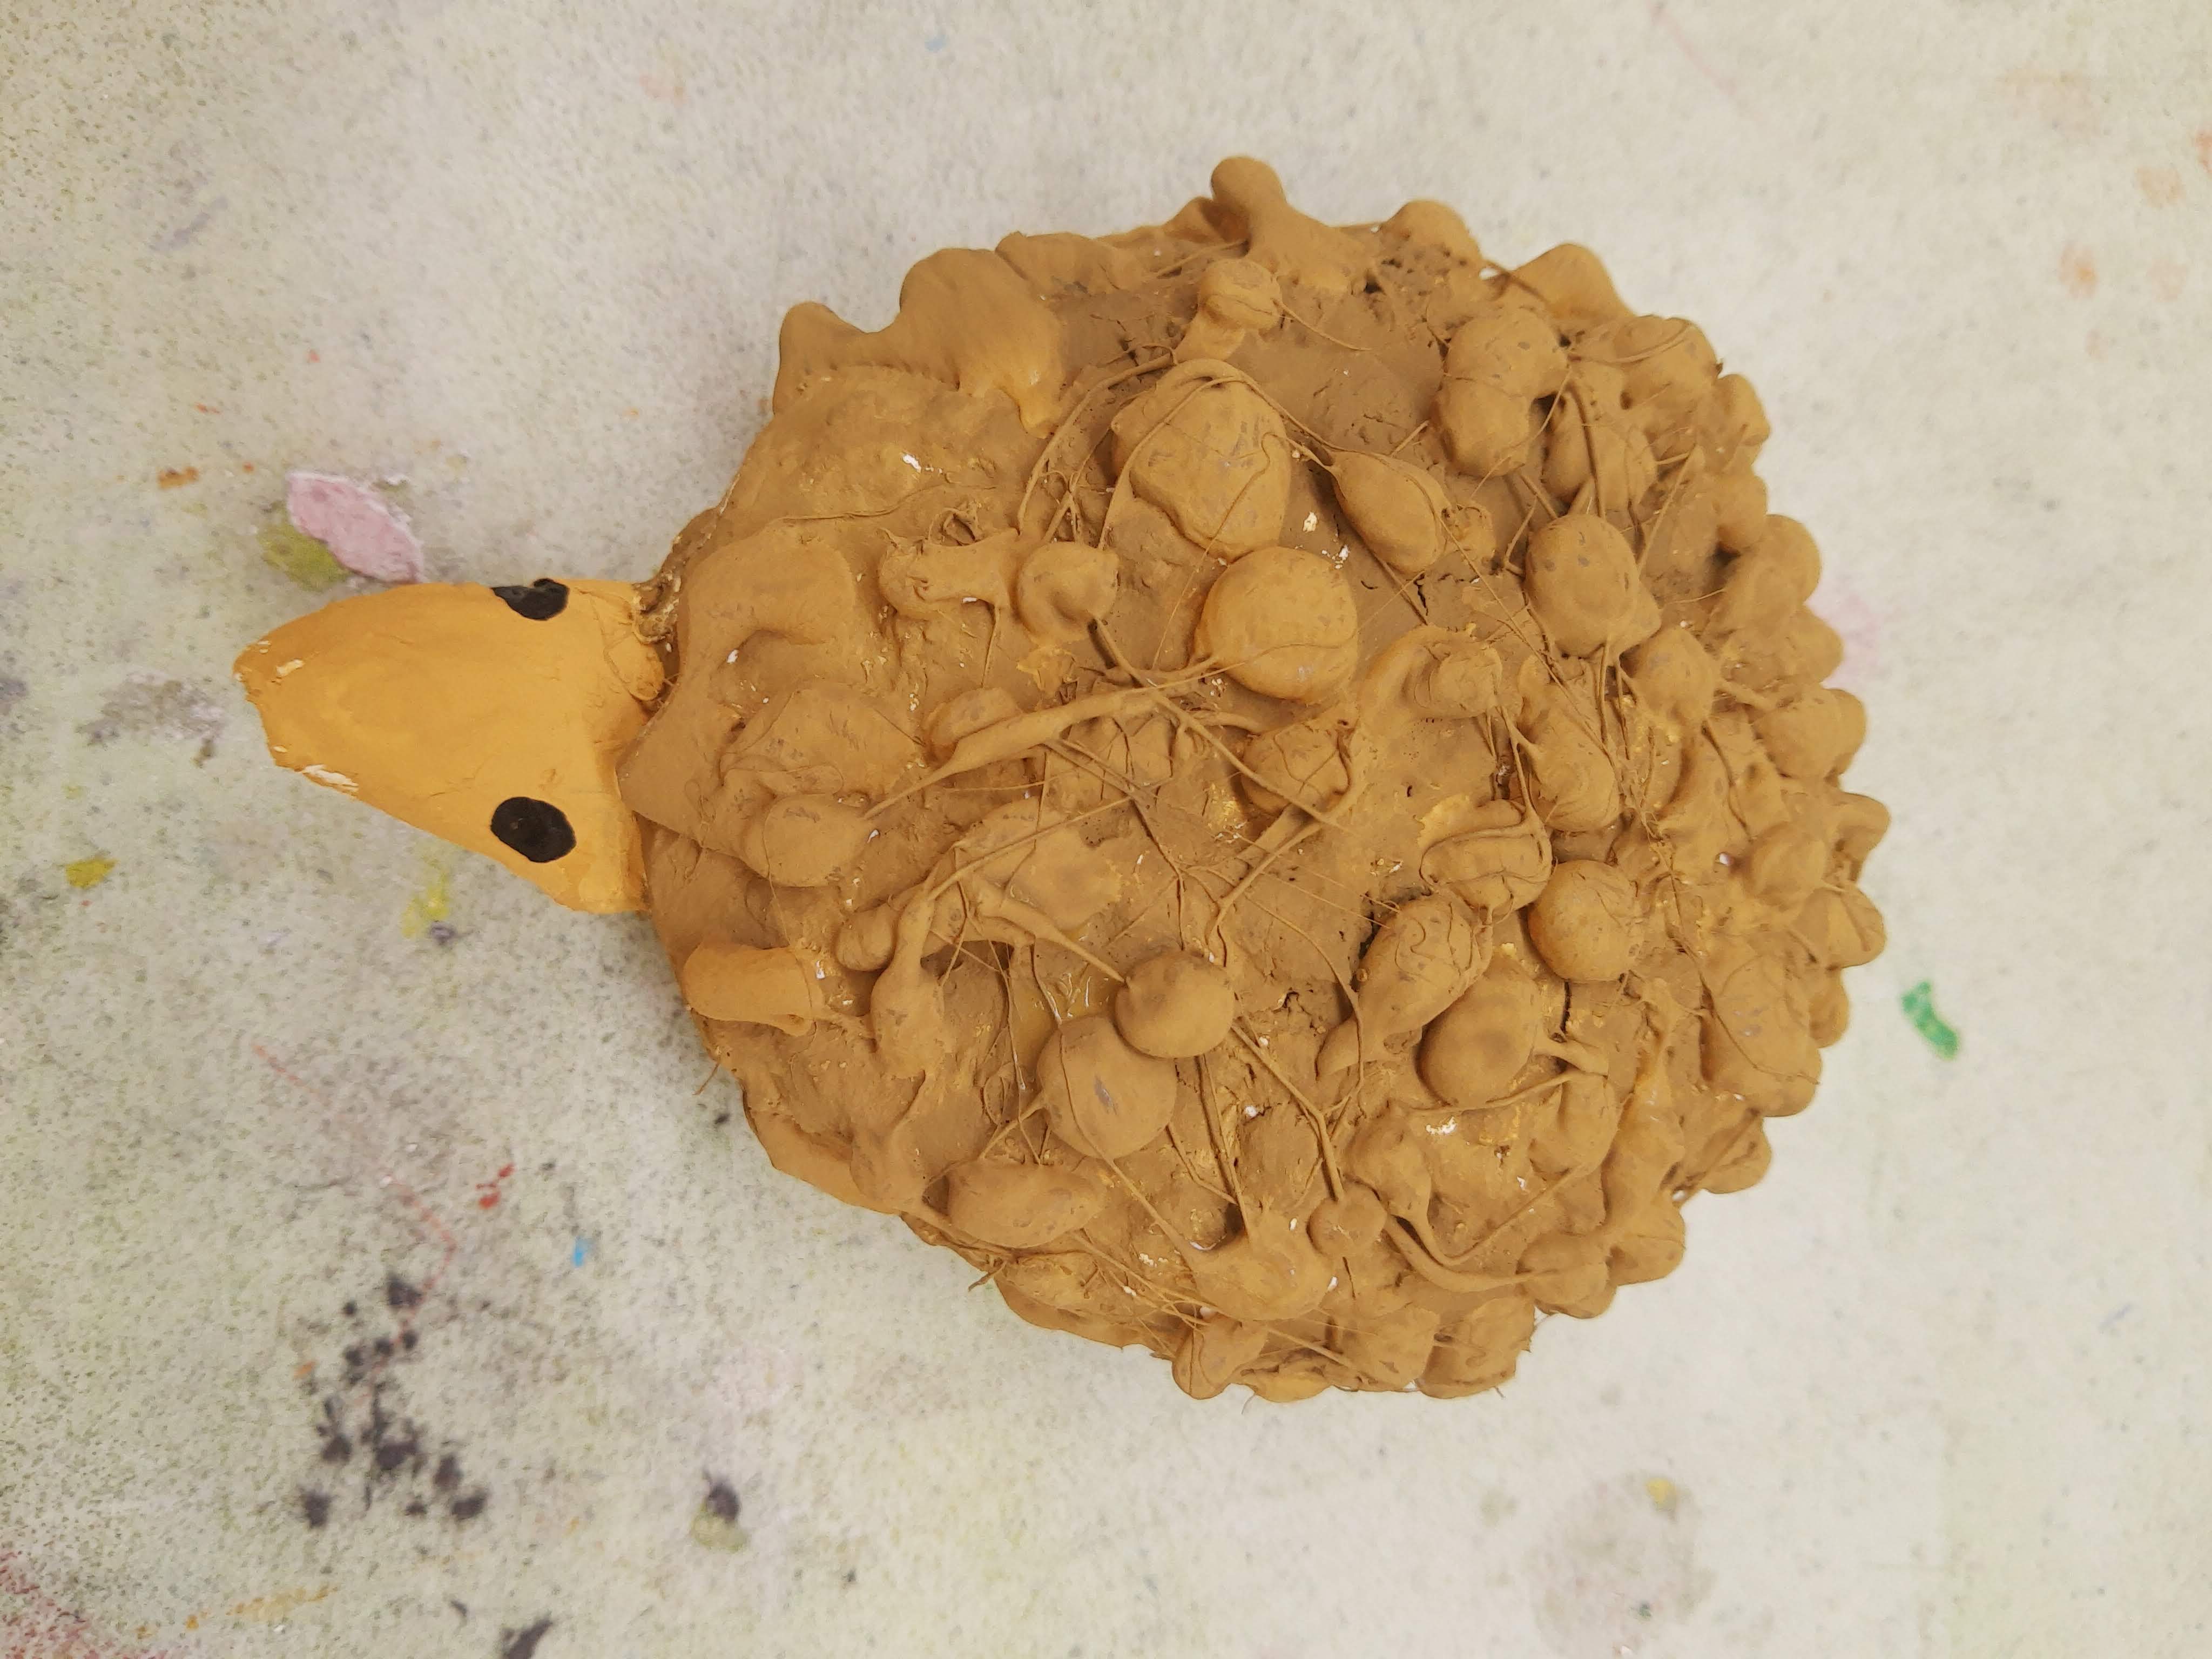
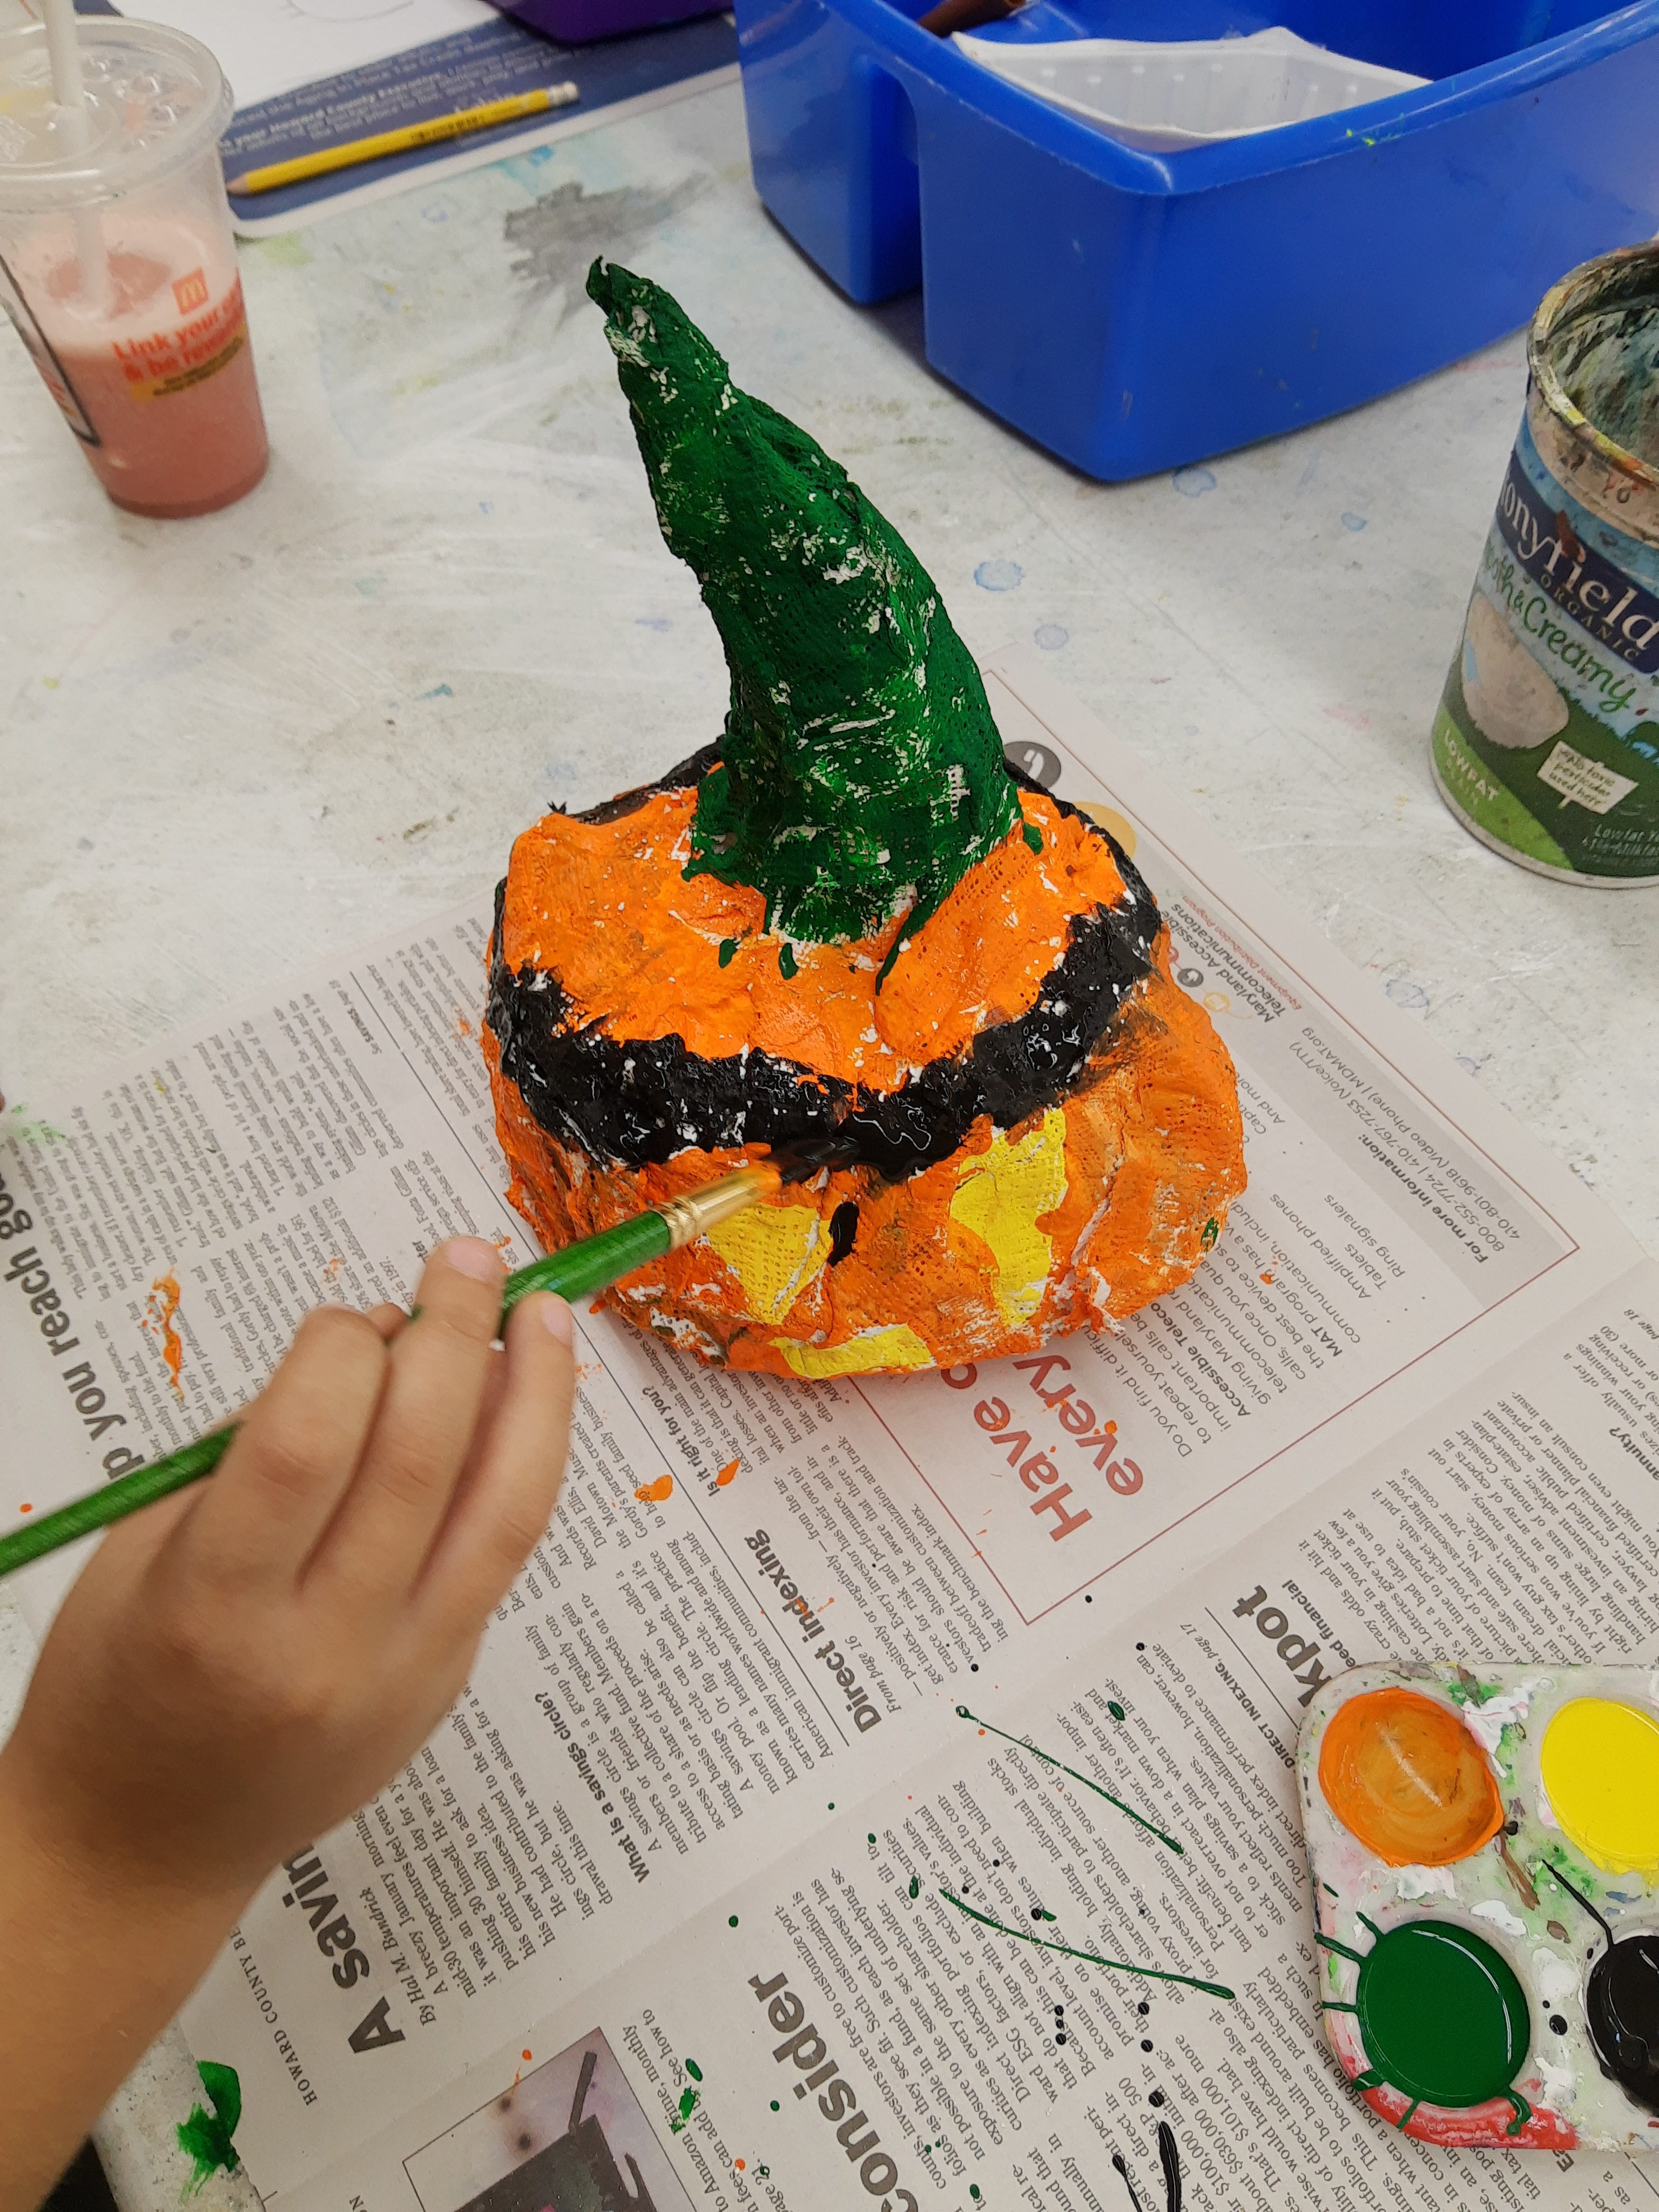
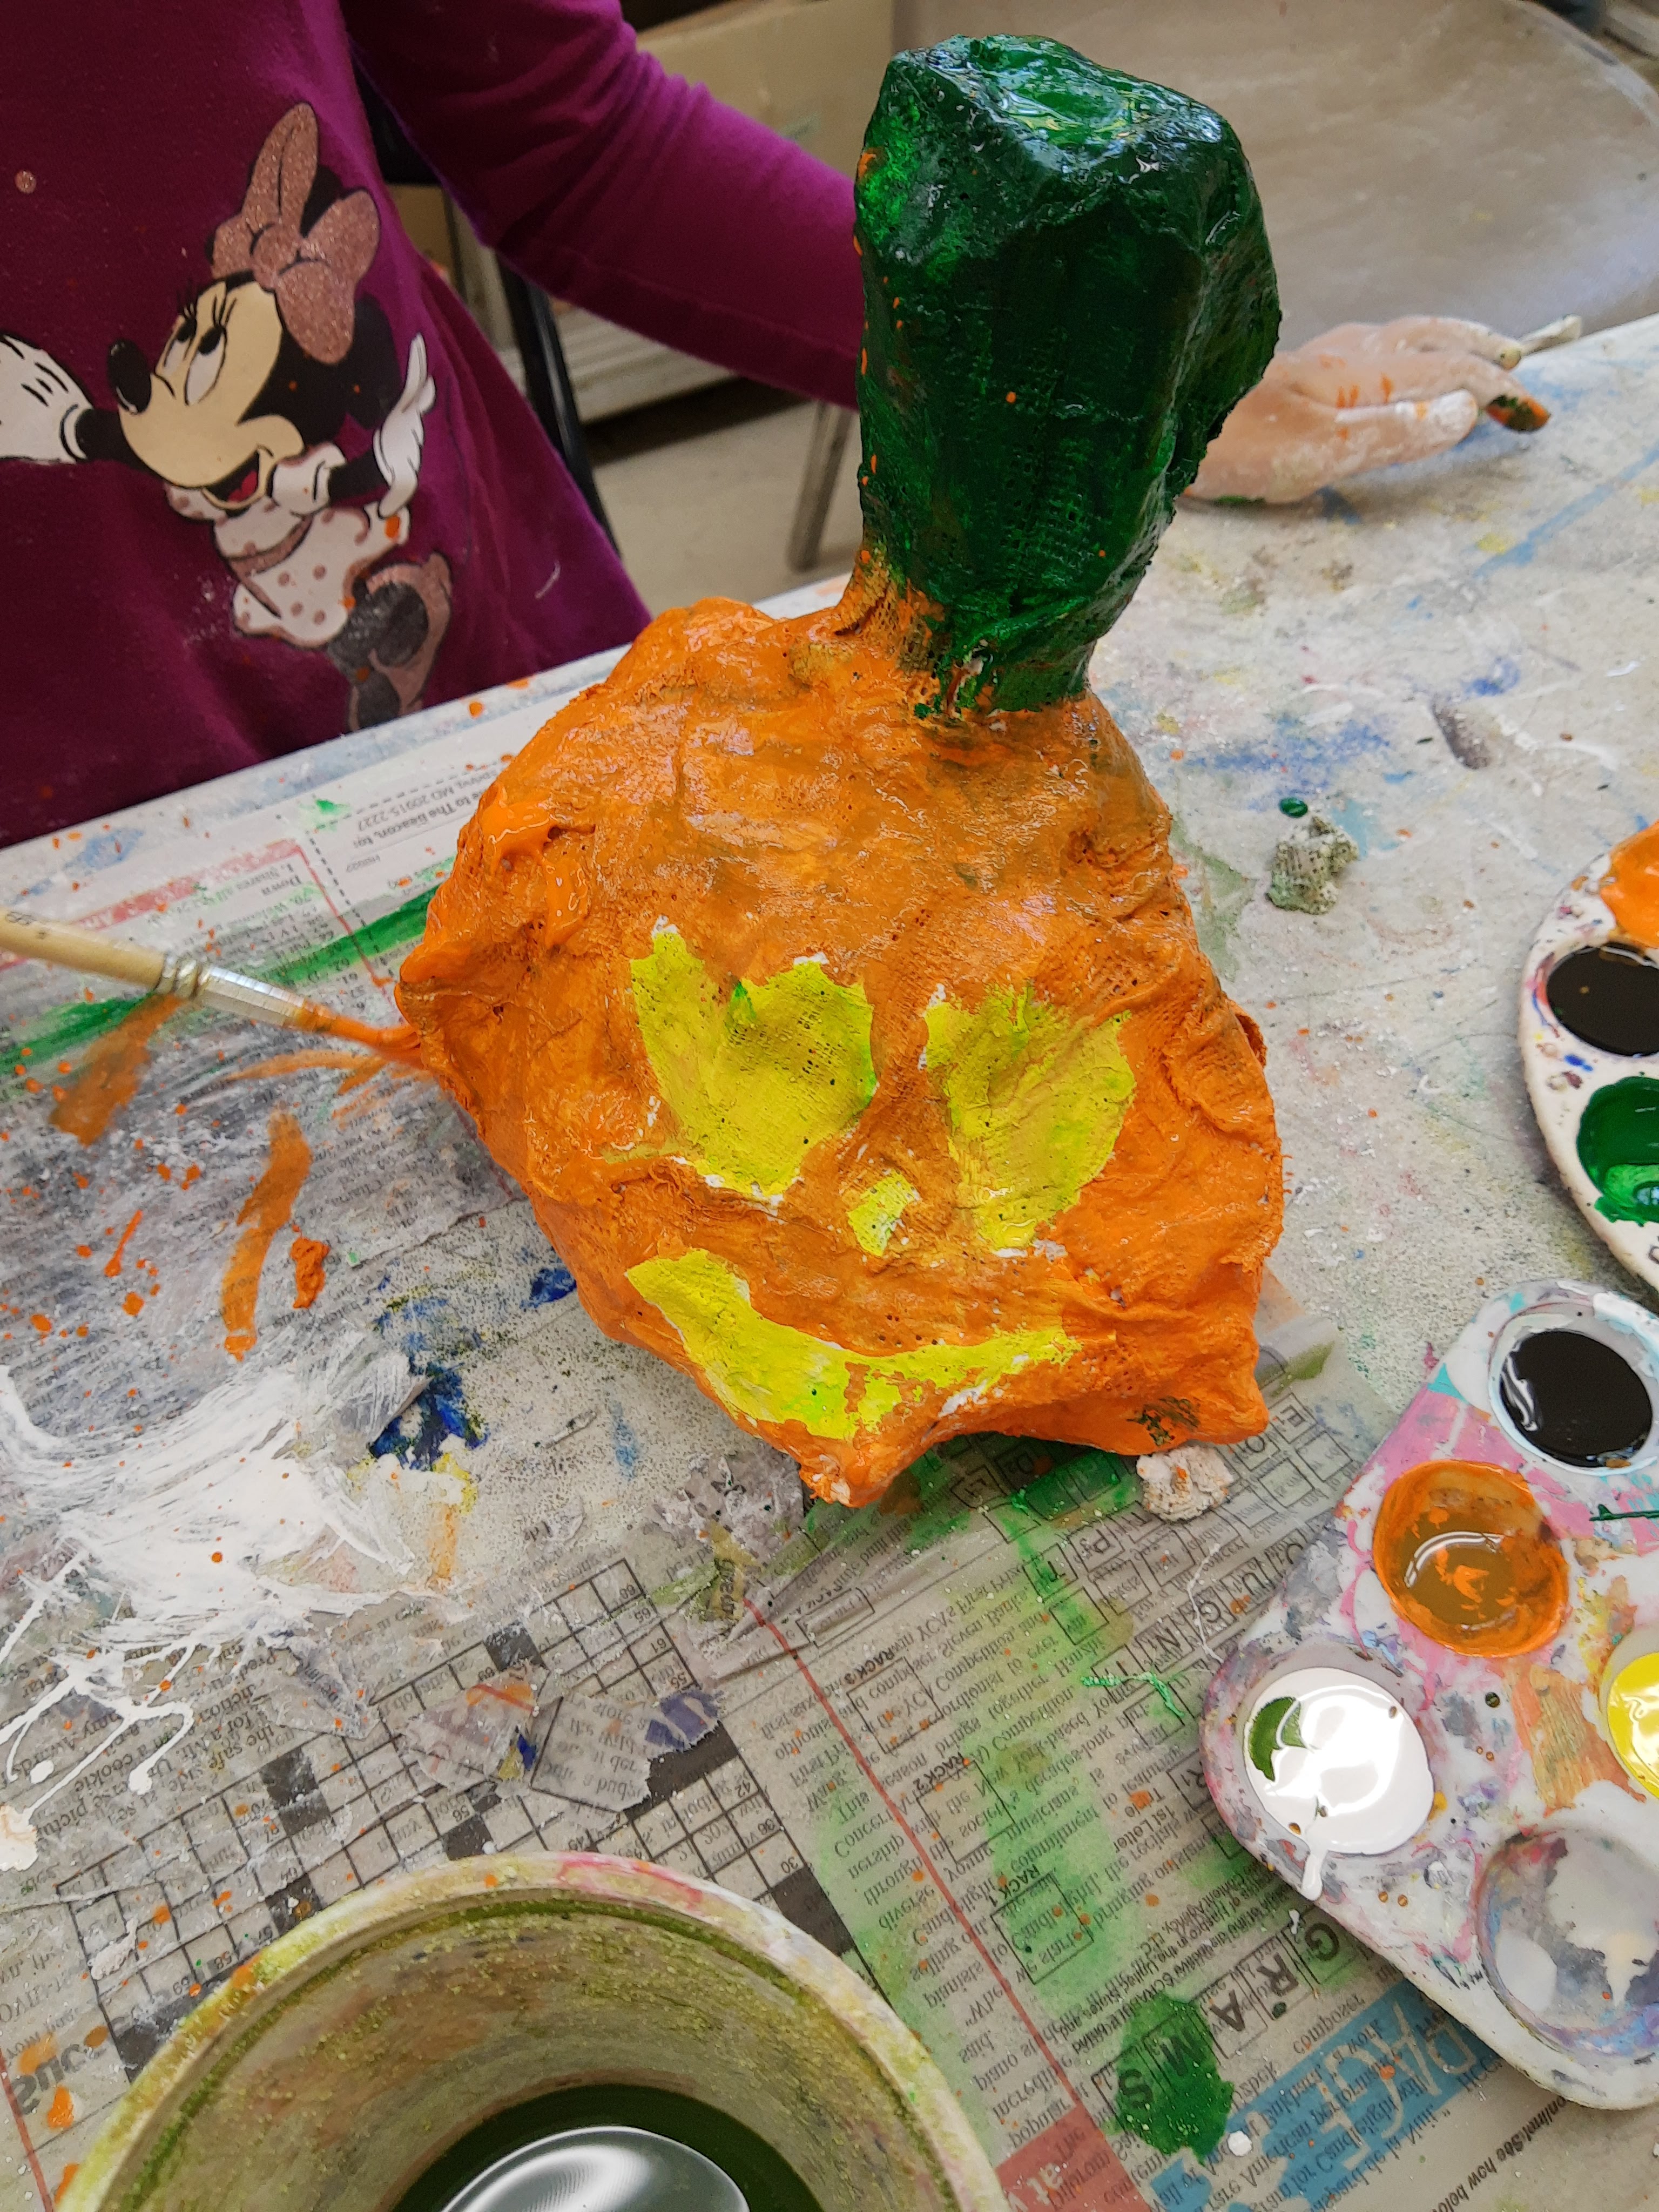
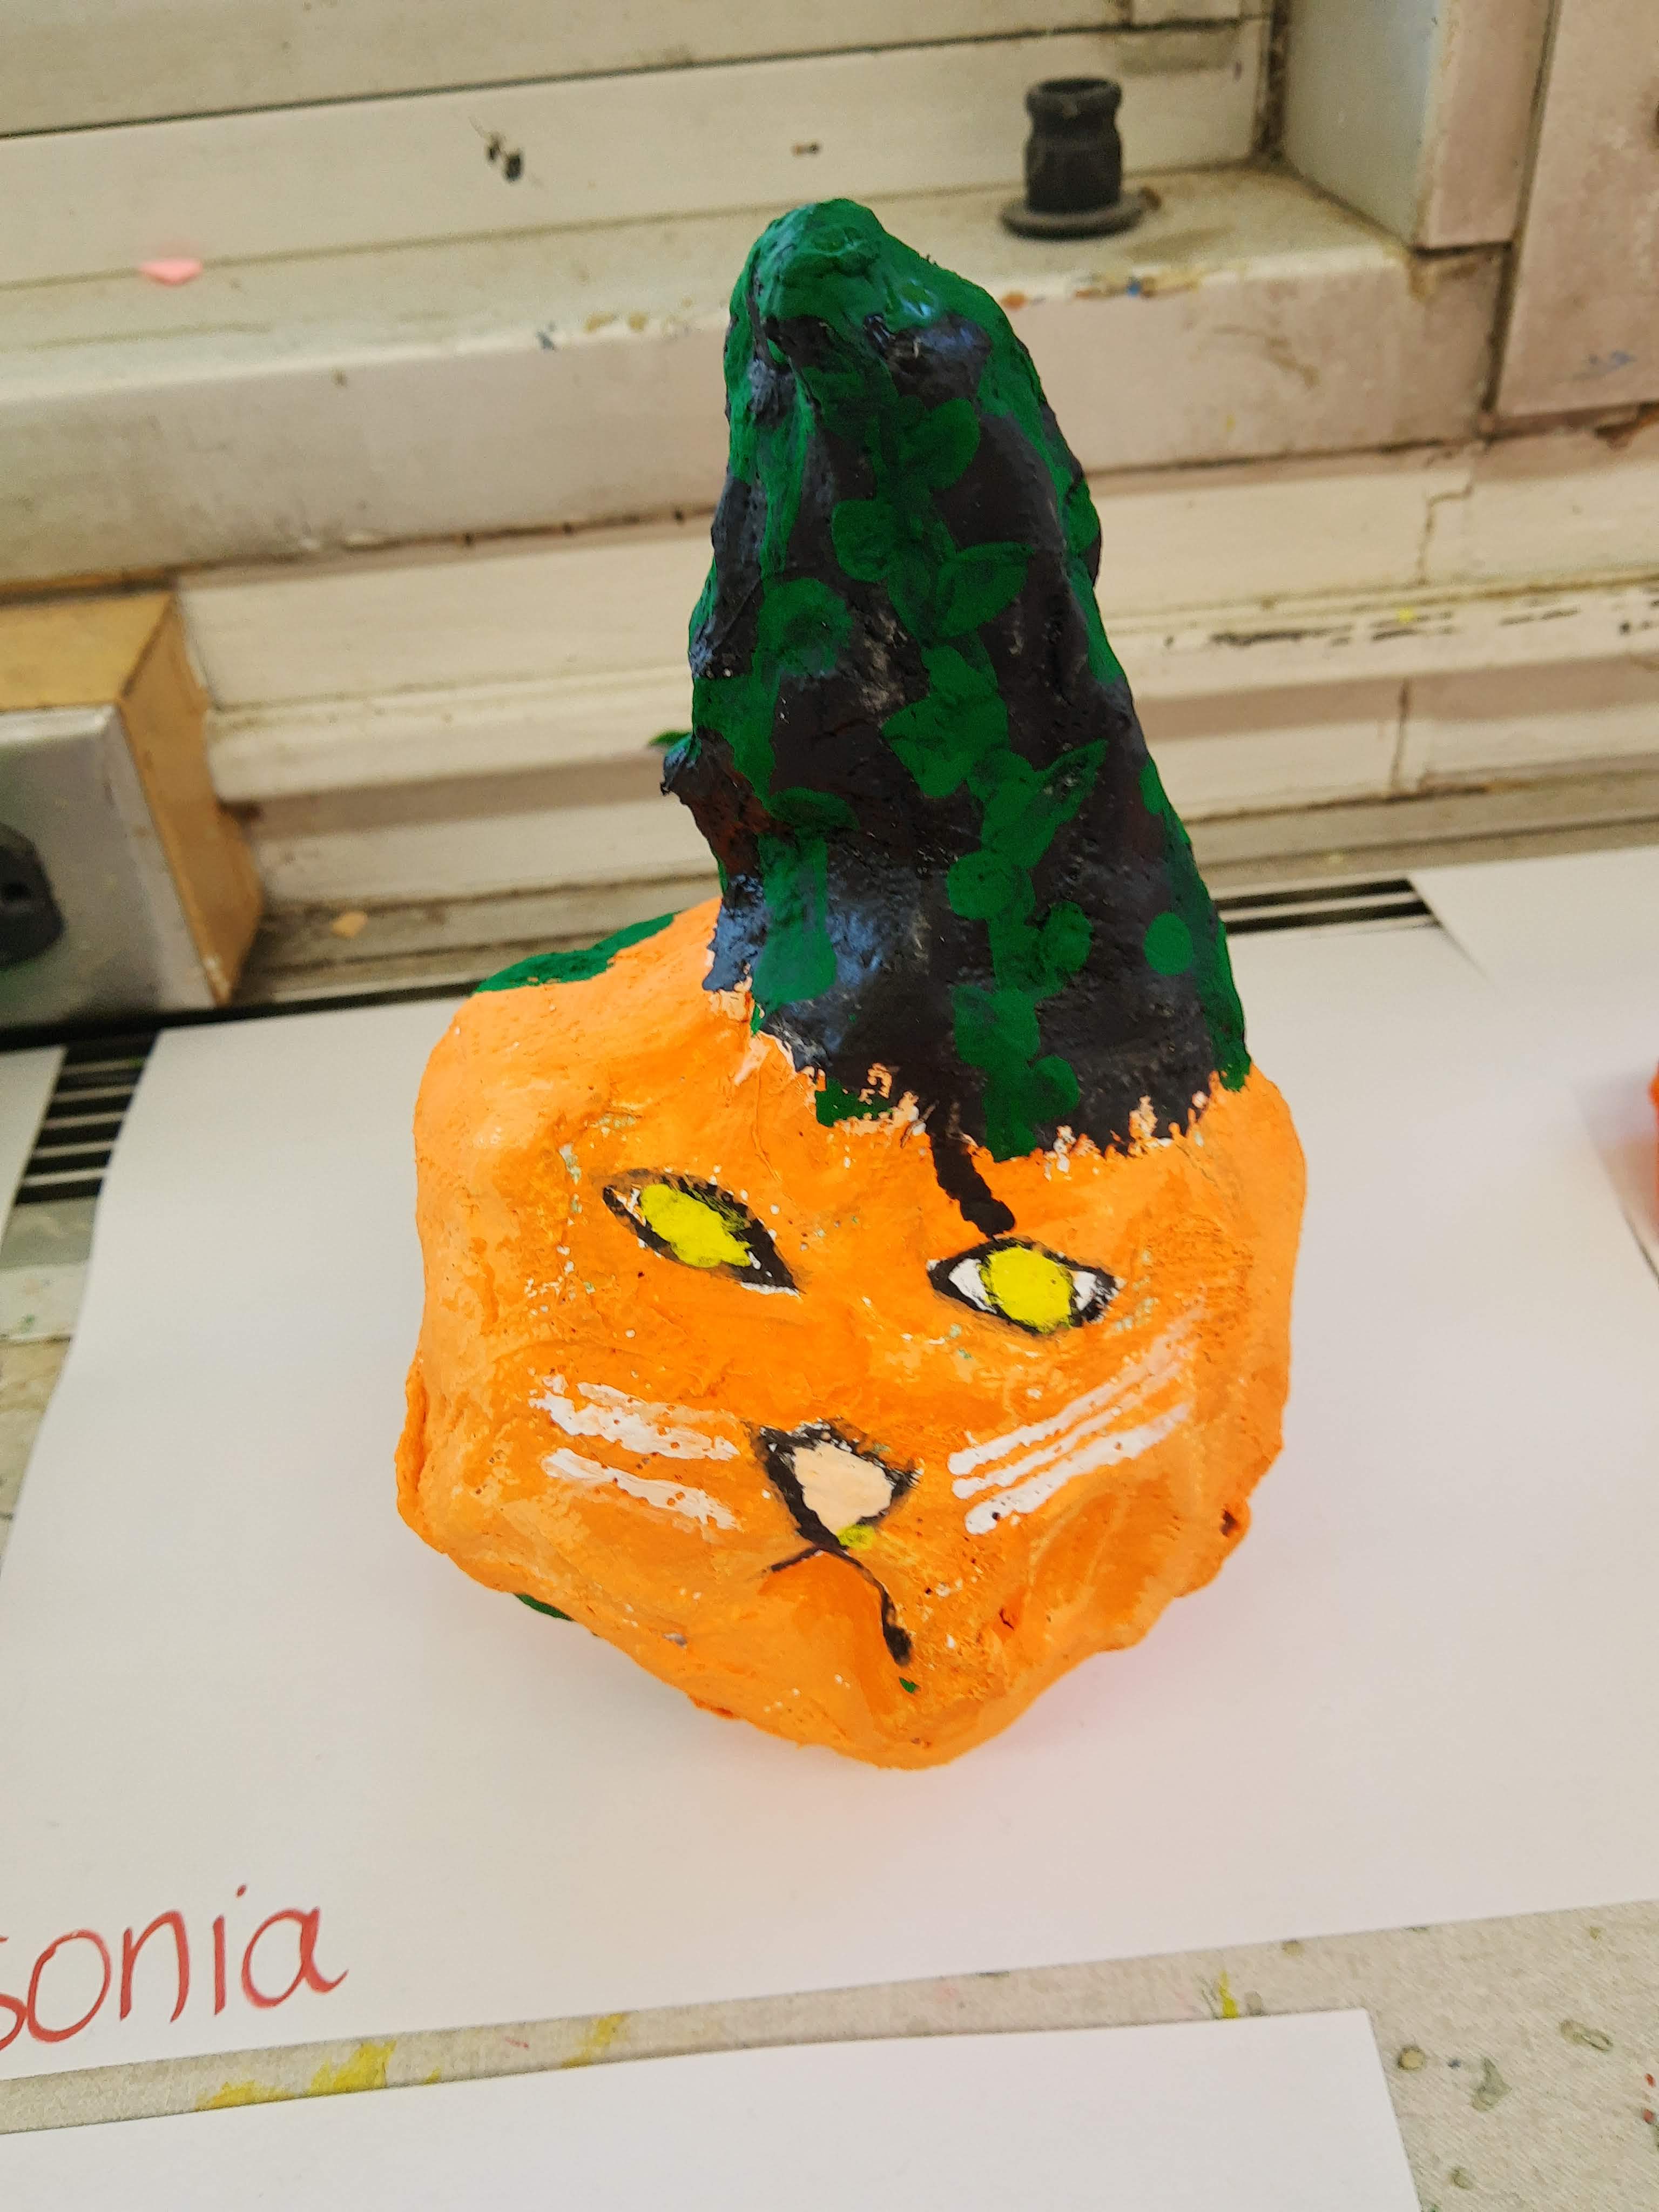
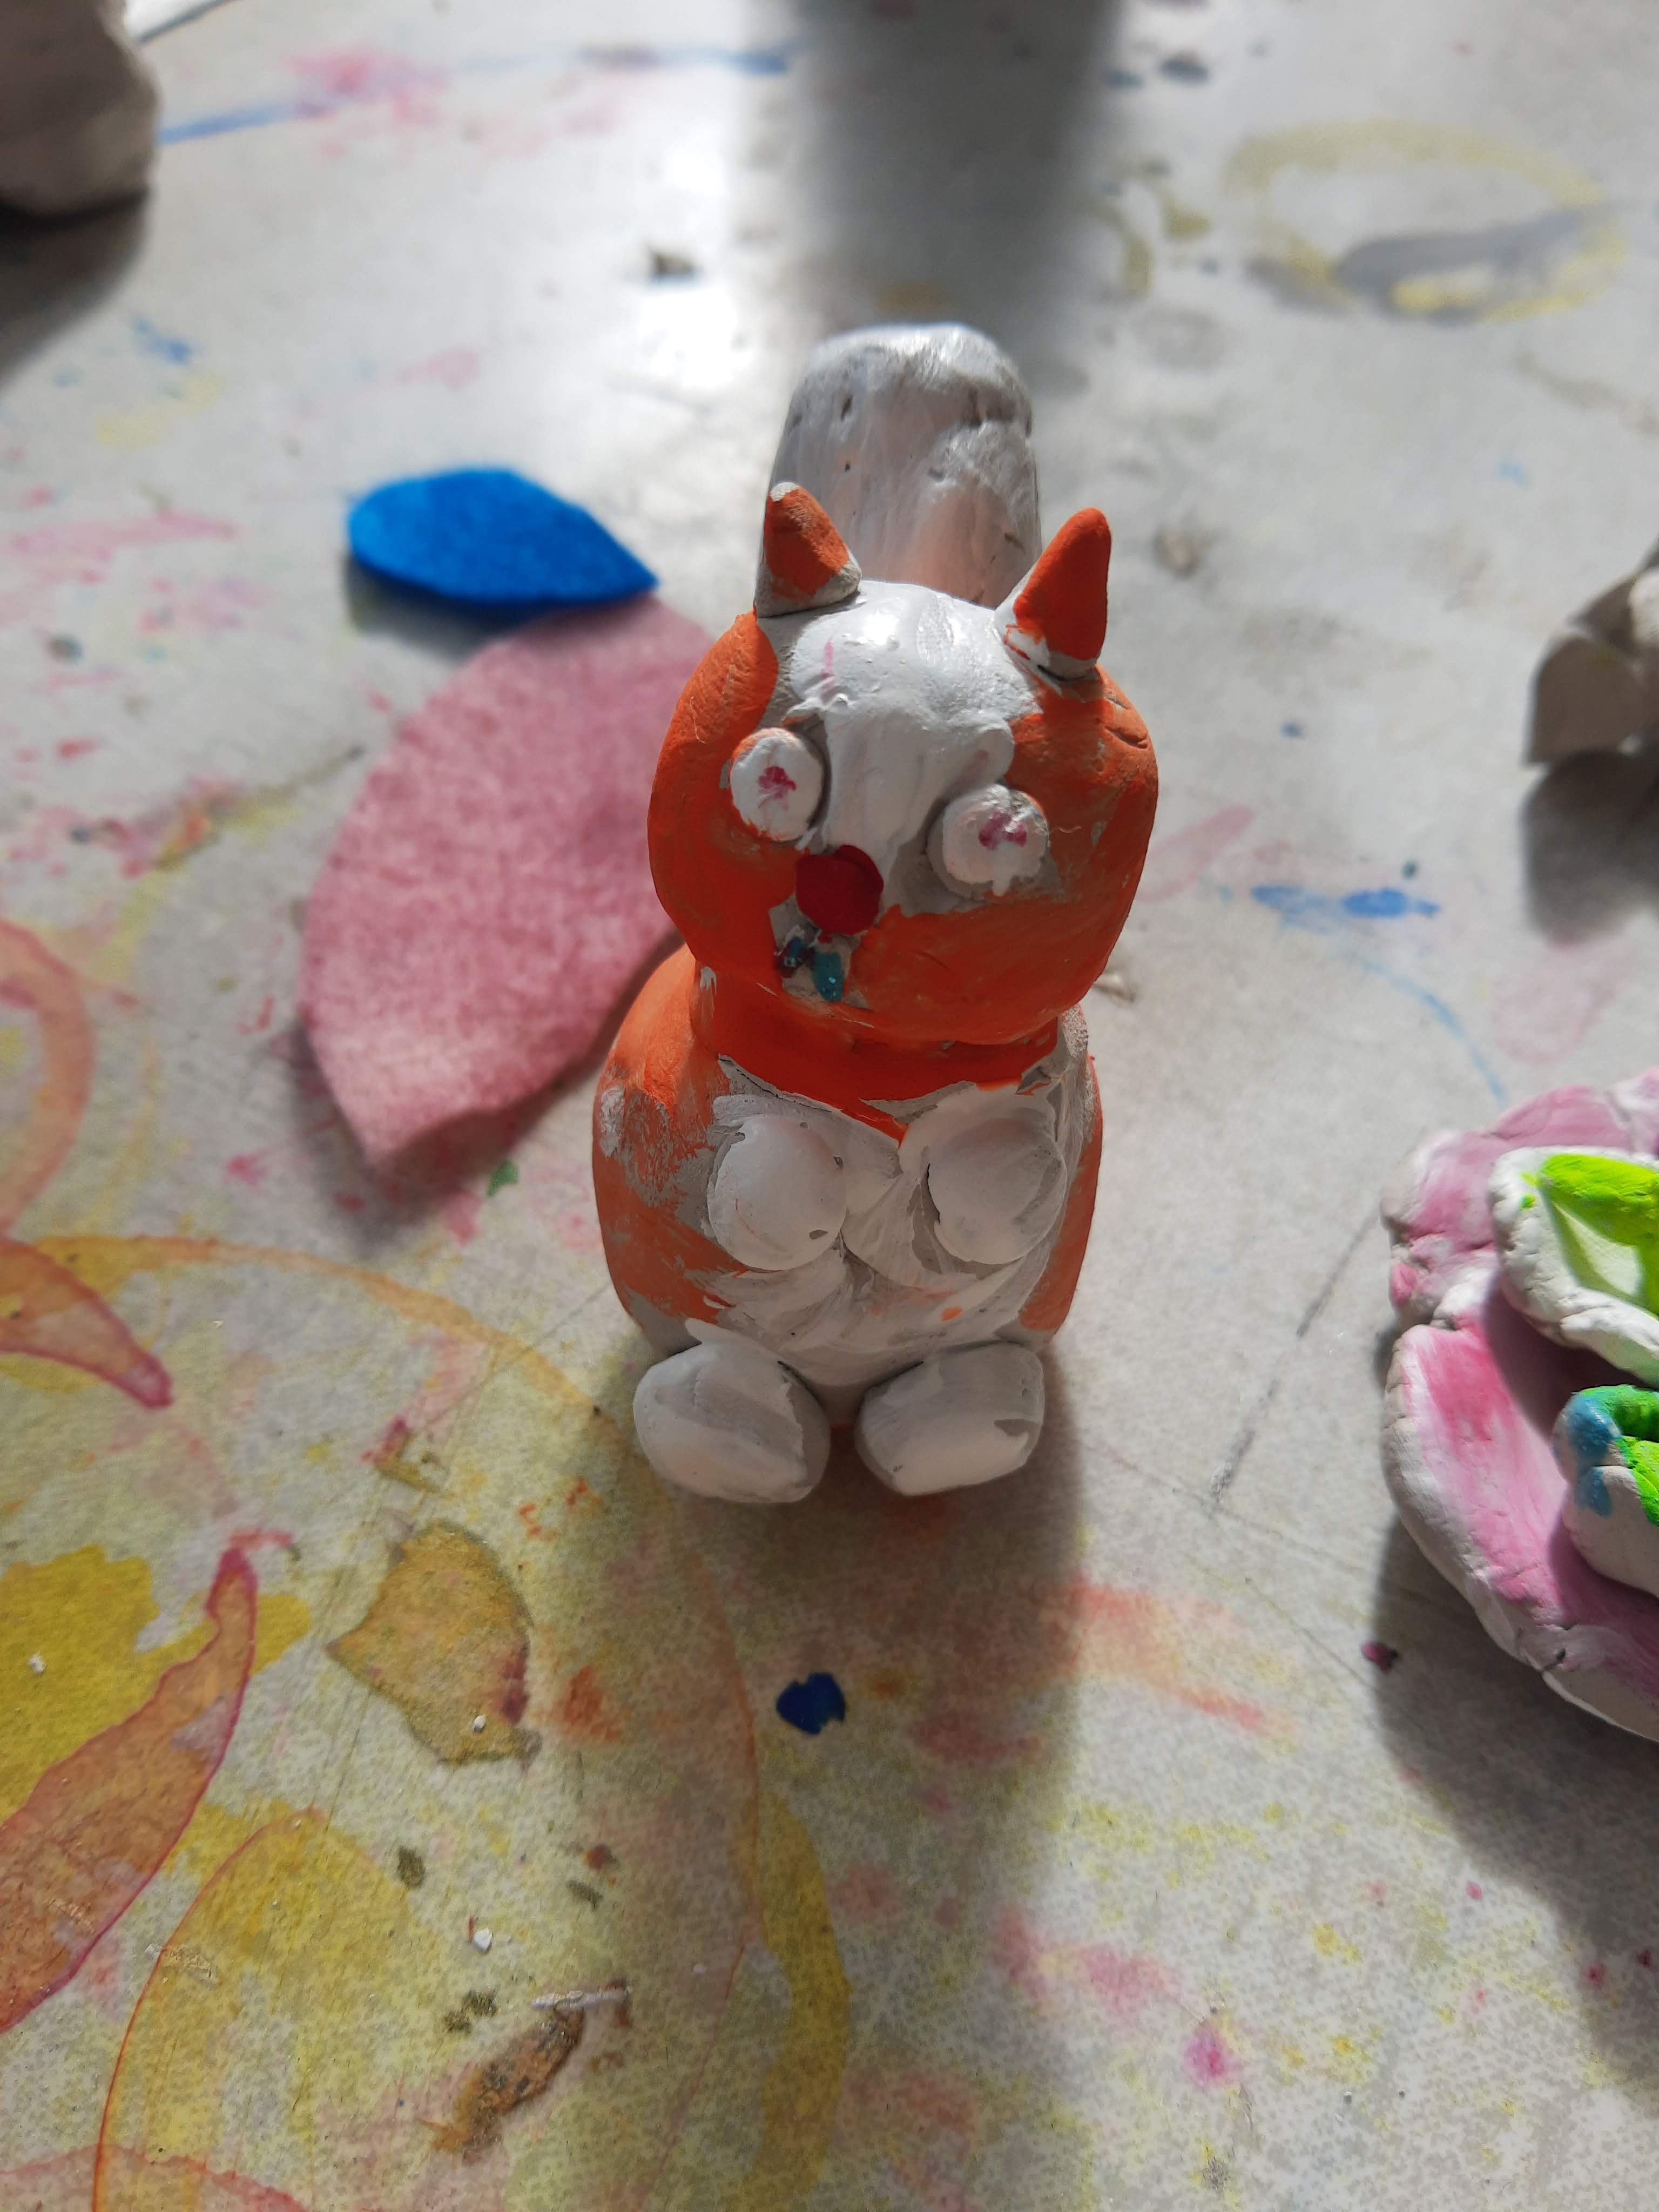
For my Saturday art class this fall, I taught students how to create a lot of sculptures. We started out using clay and students designed sketches of what they wanted to create and then used clay techniques to put together their clay pieces (with air dry clay). They painted their sculptures with tempera. We also made plaster strip sculptures. Students created their base with balled up newspaper and tape and then went over the newspaper with plaster strips. My little kids made pumpkins/jack-o-lanterns and my older kids designed their own sculpture.
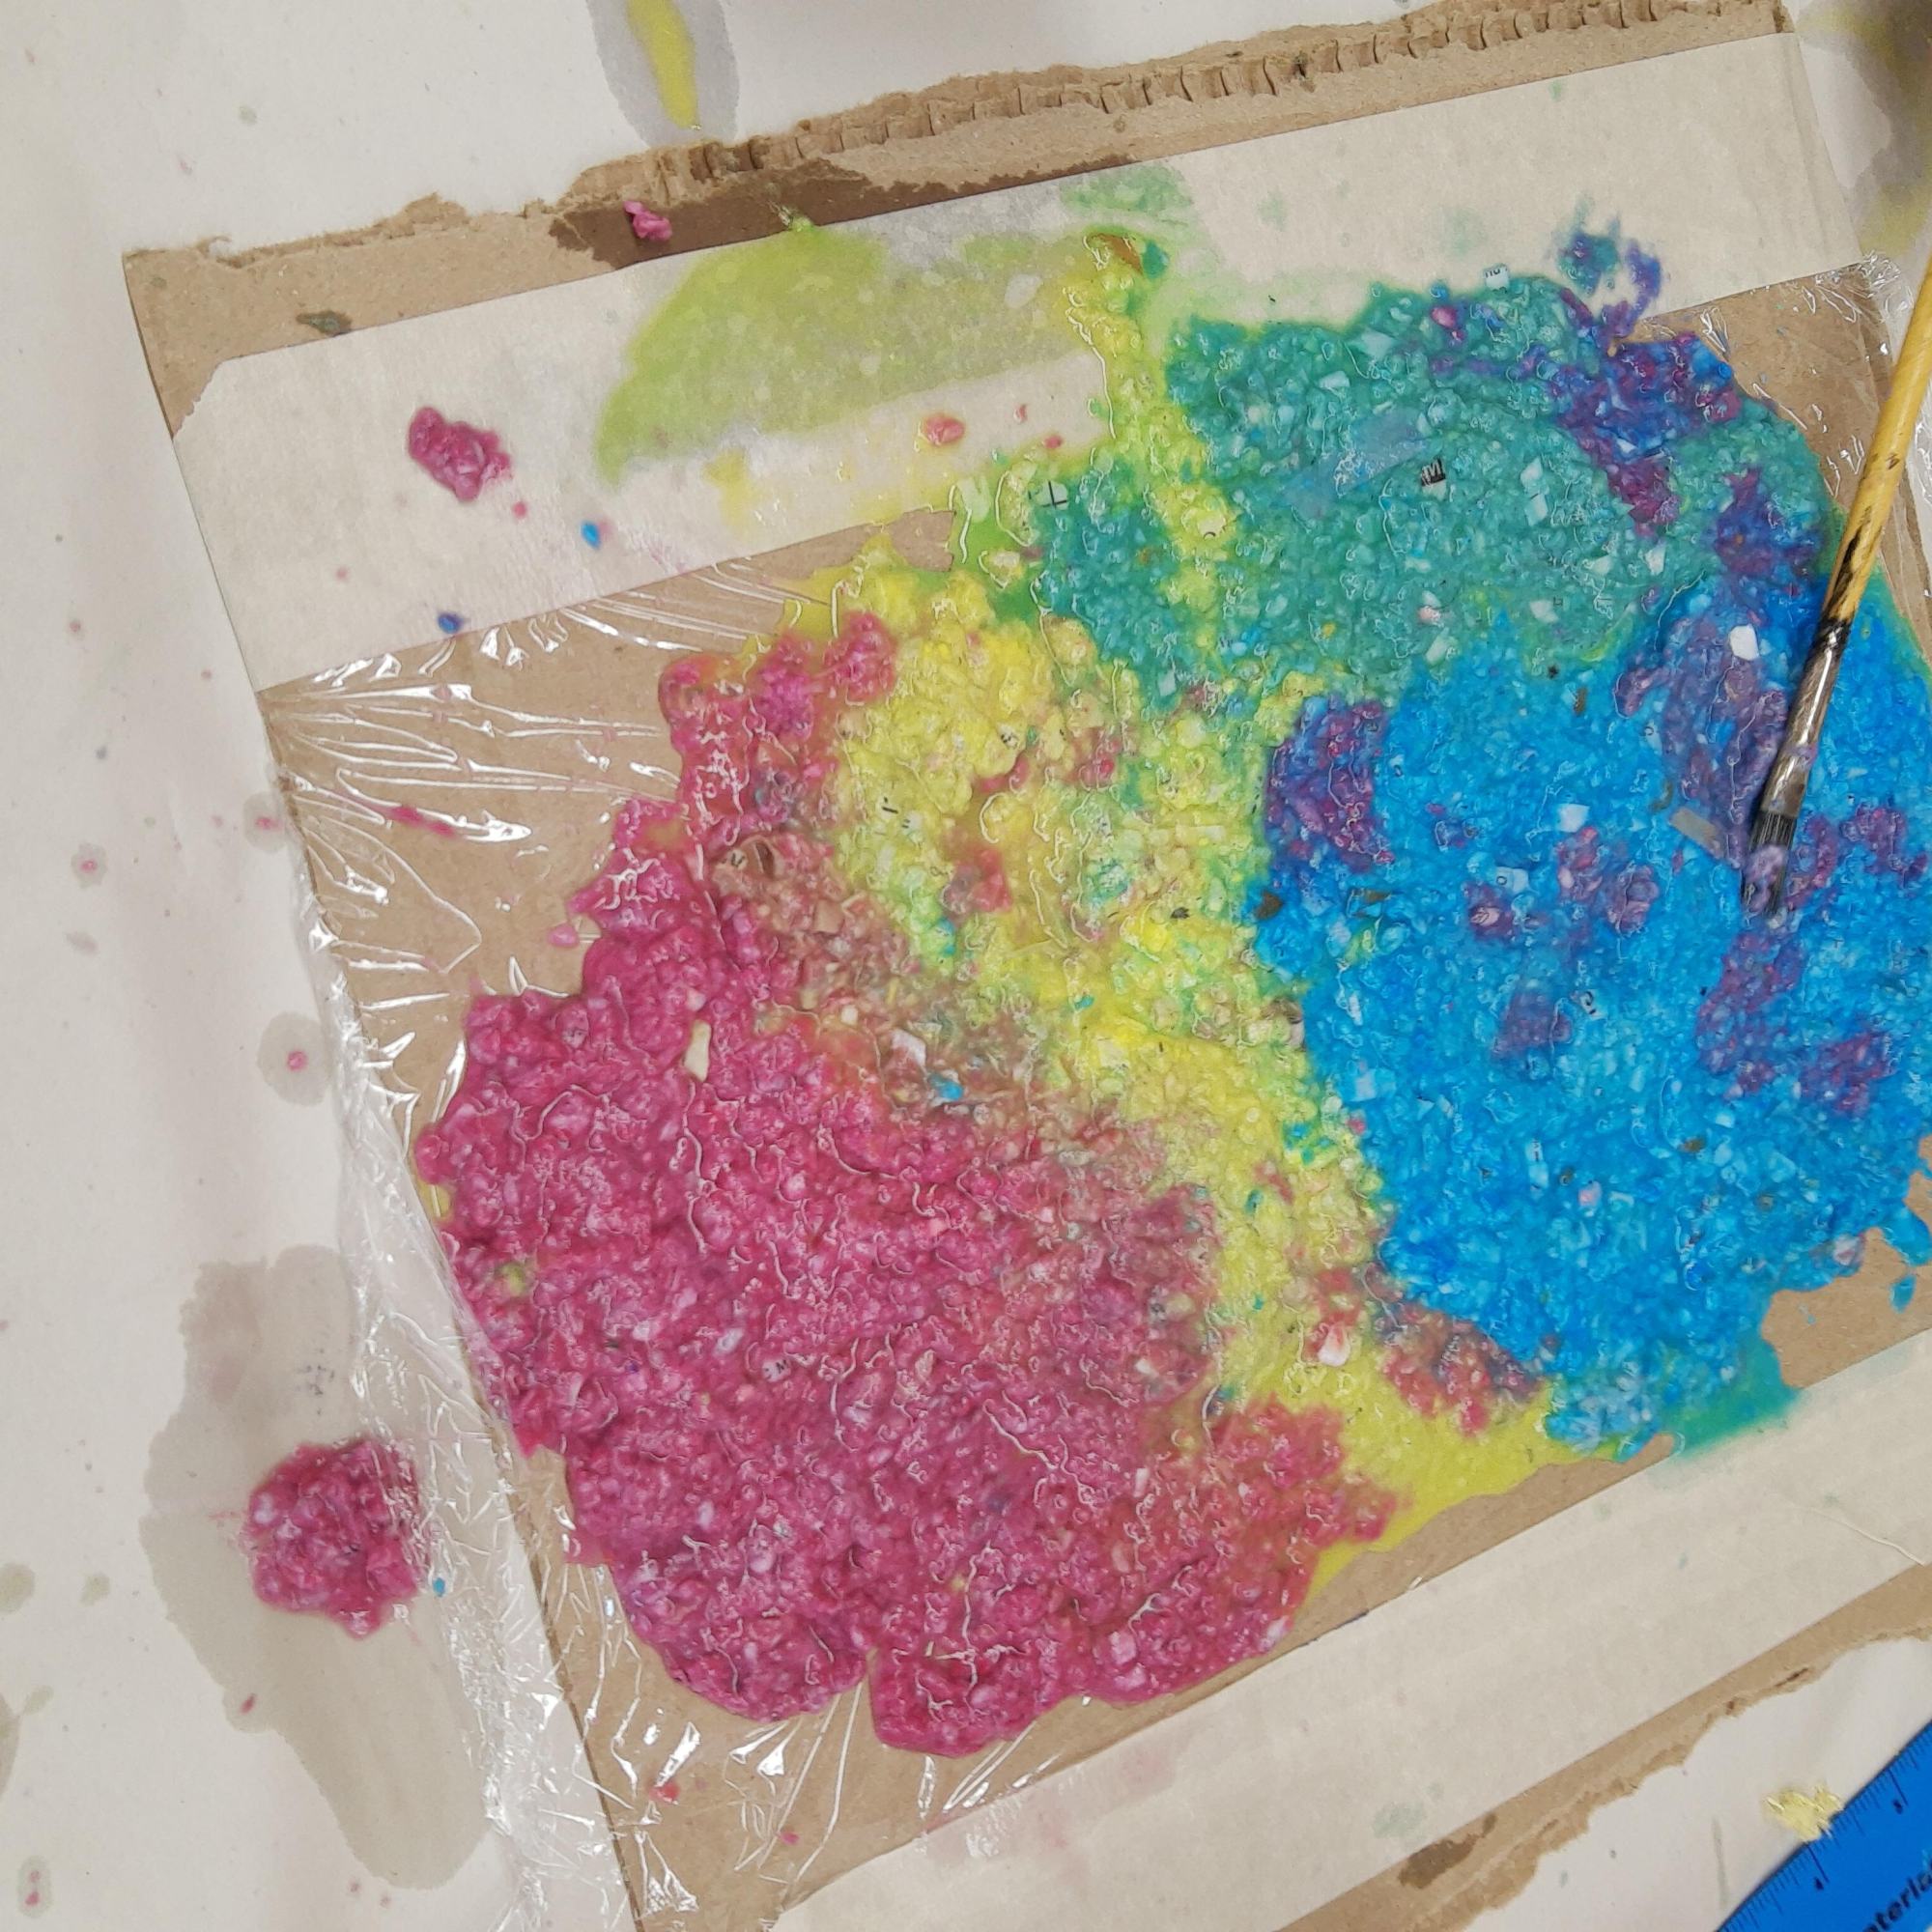
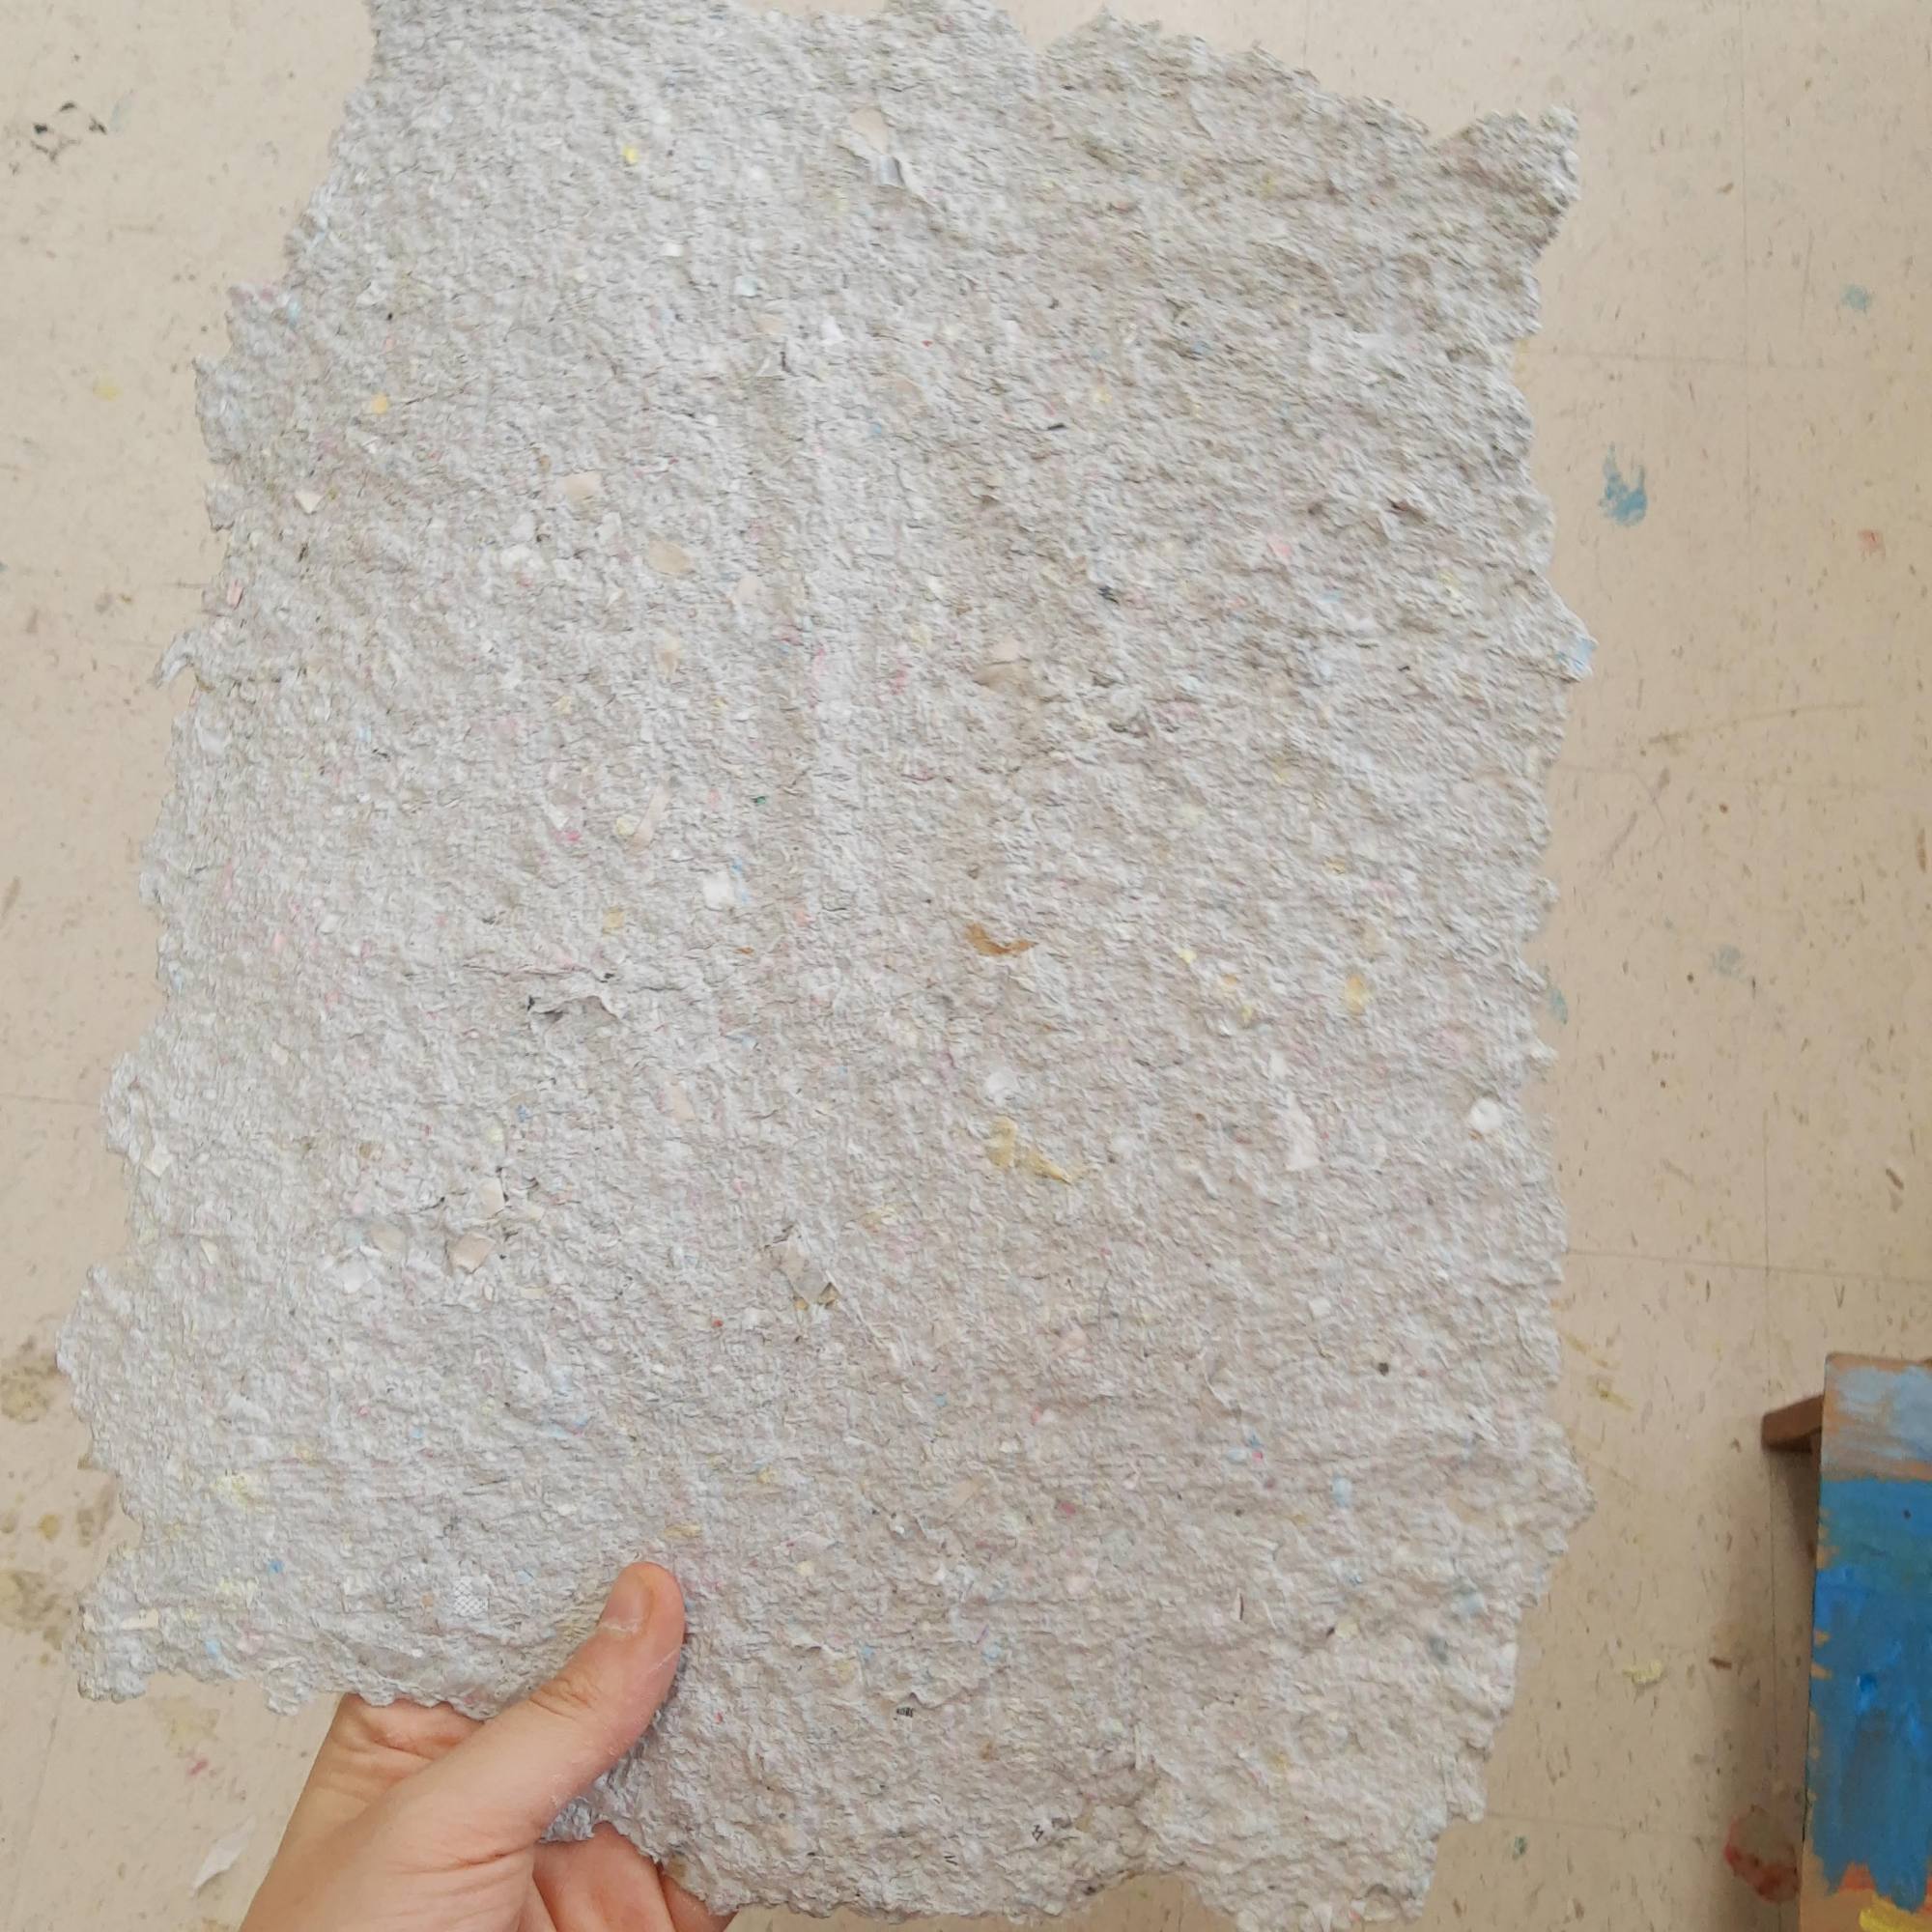
This fall, I taught a weekend art class at my local arts center. Since the classes were smaller, I really wanted to make paper with my students. It was a lot of prep work and my blender started smoking at one point, but it was really fun and a great way to introduce students to the paper-making process.
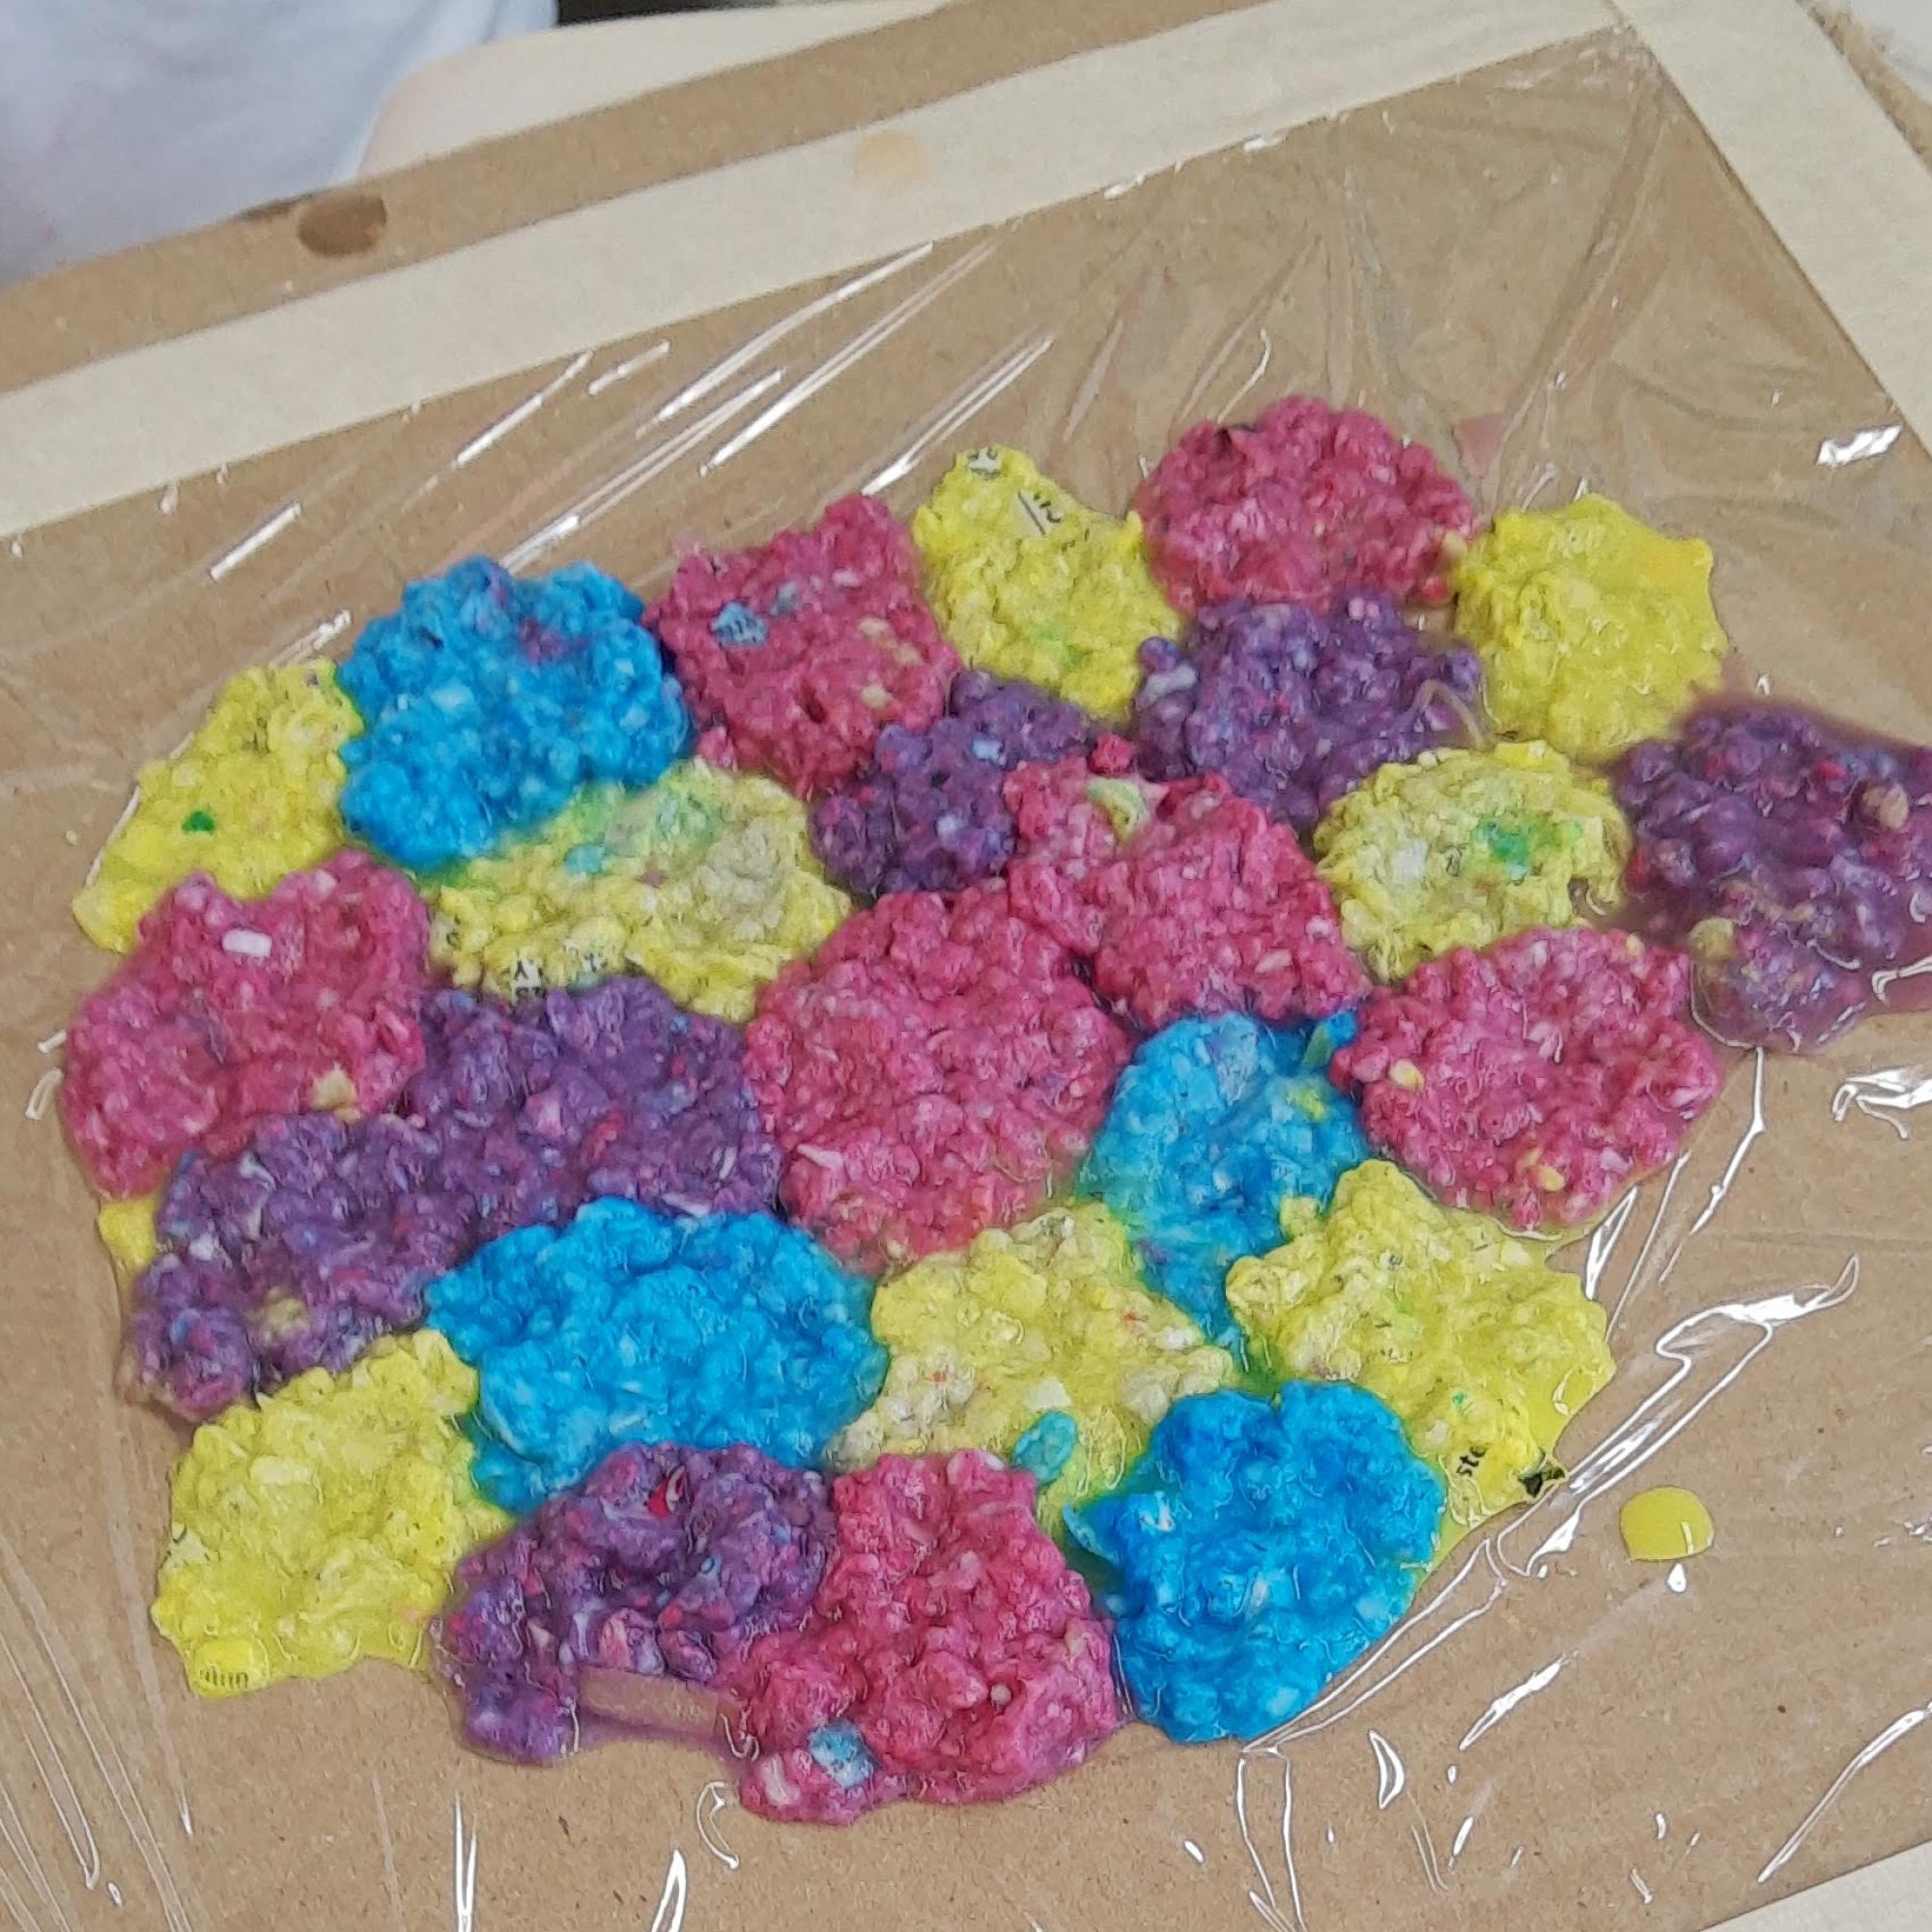
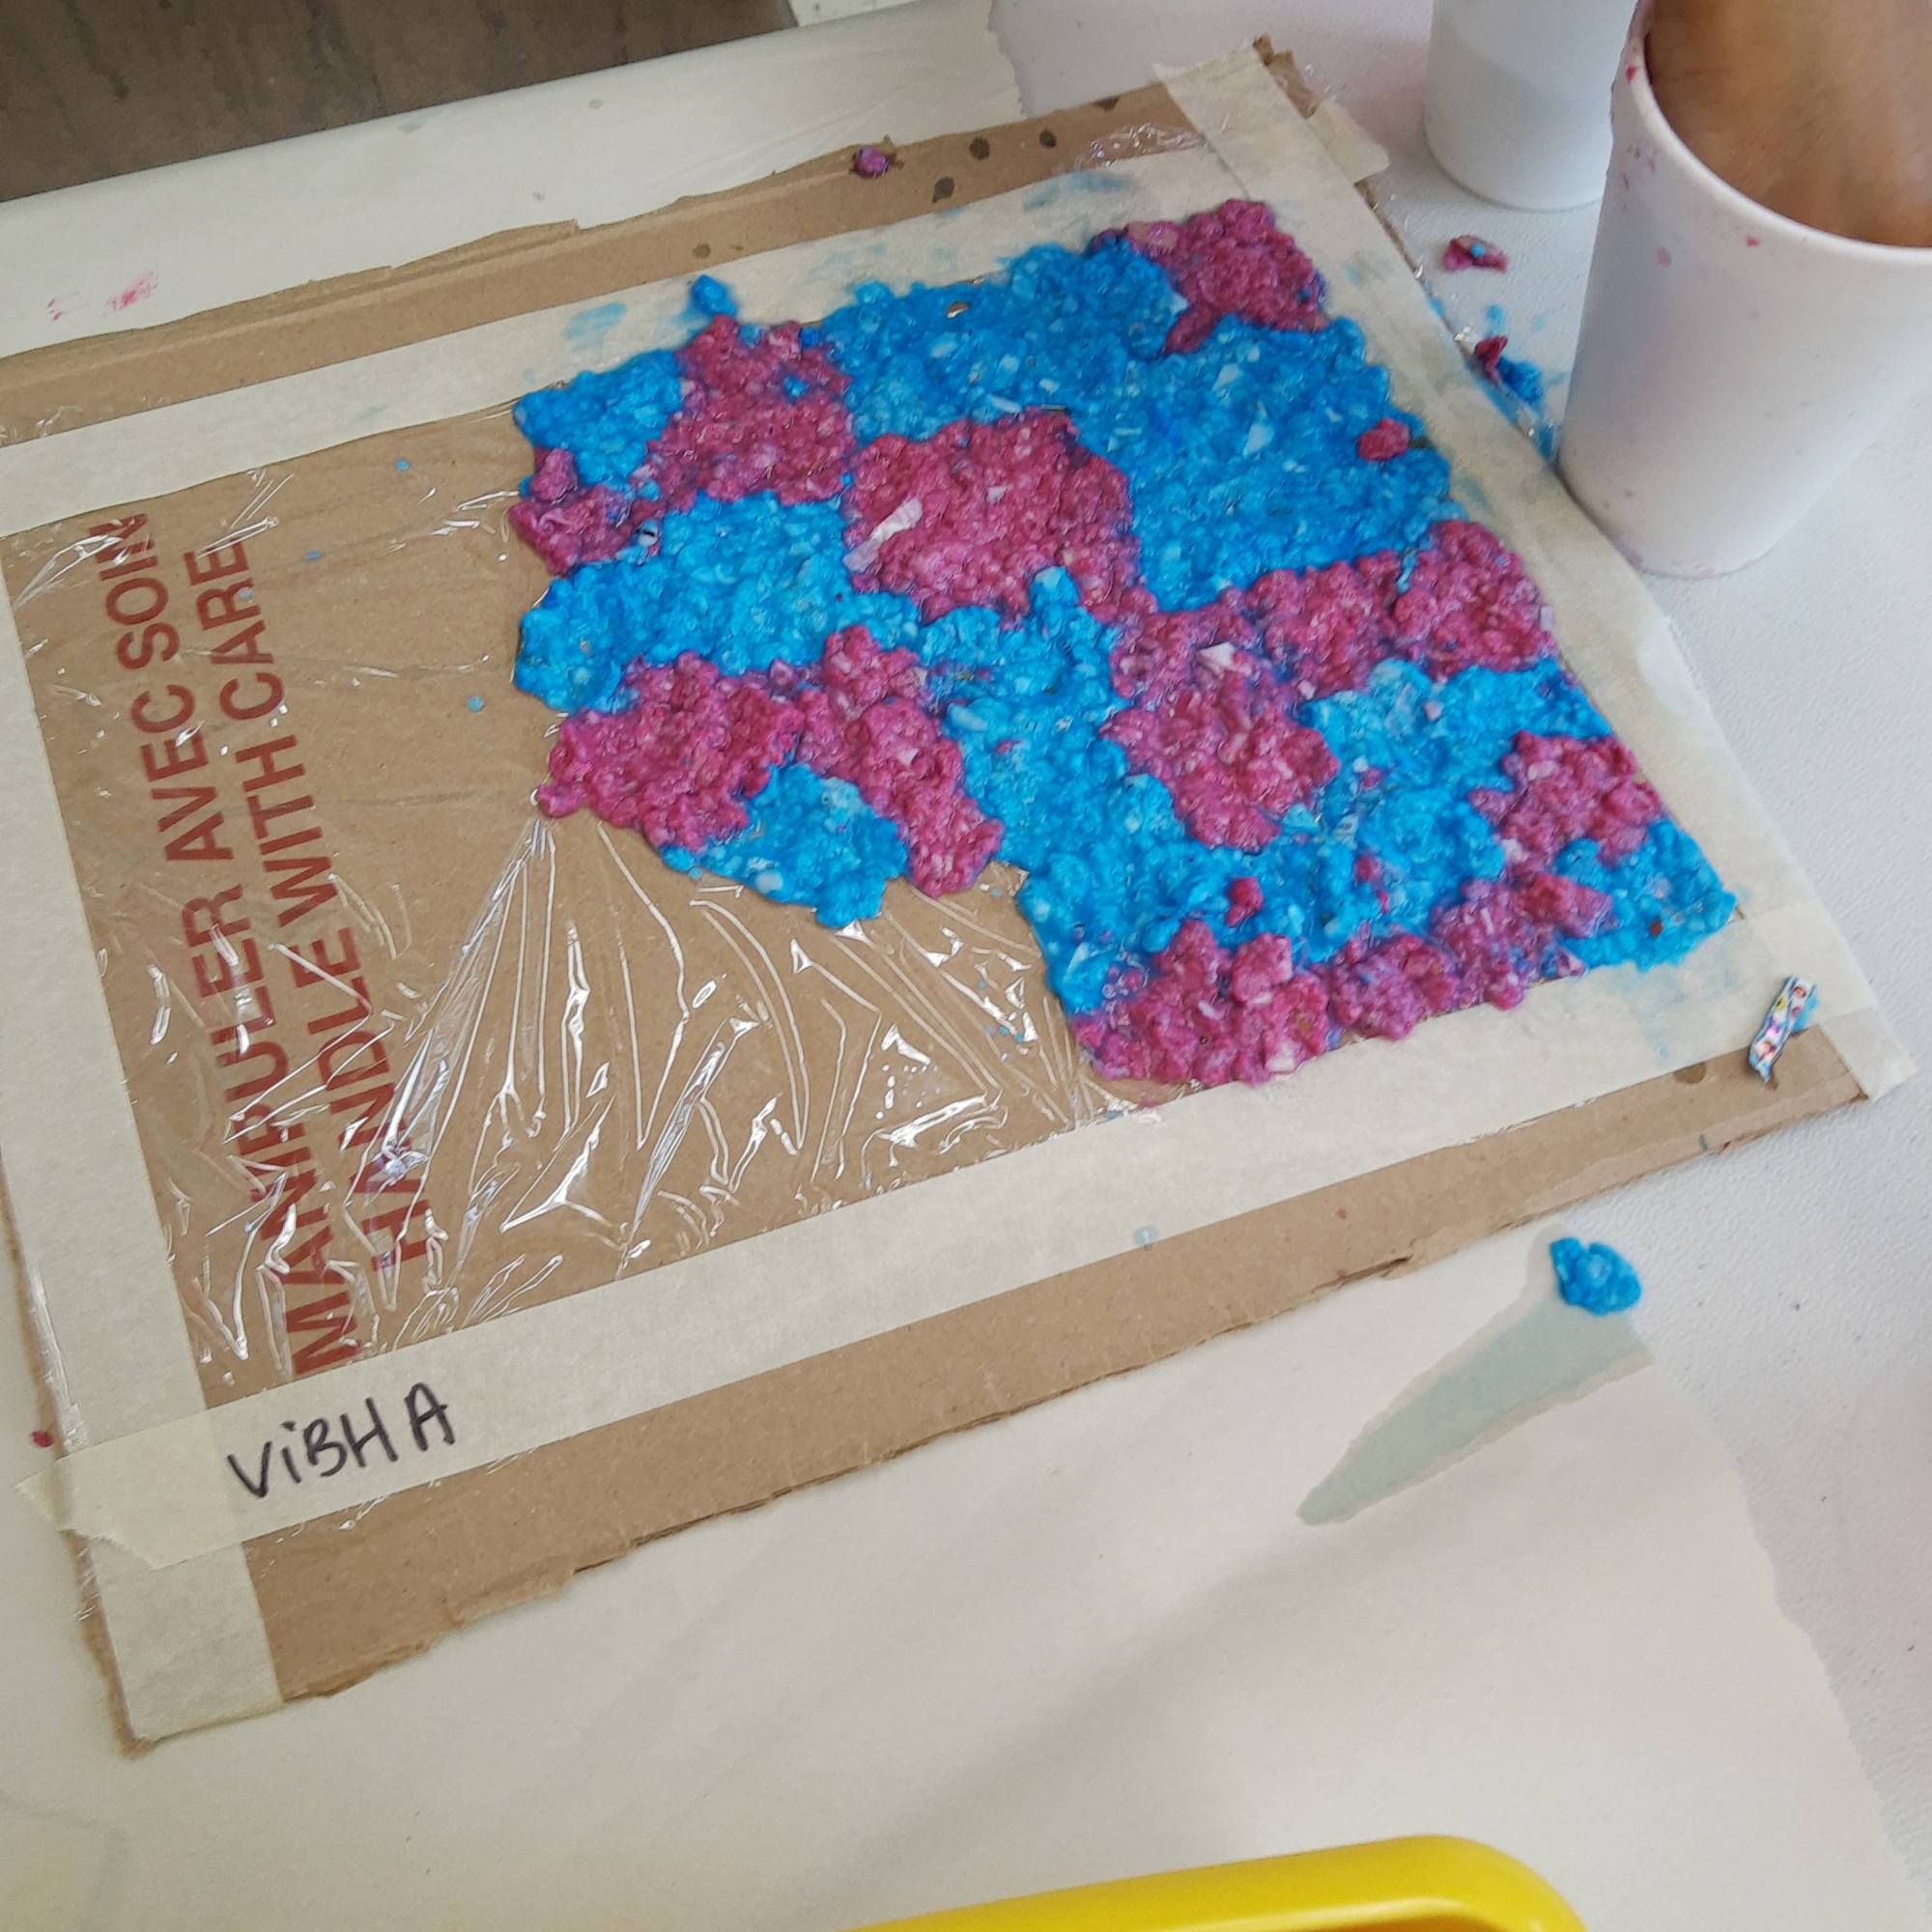
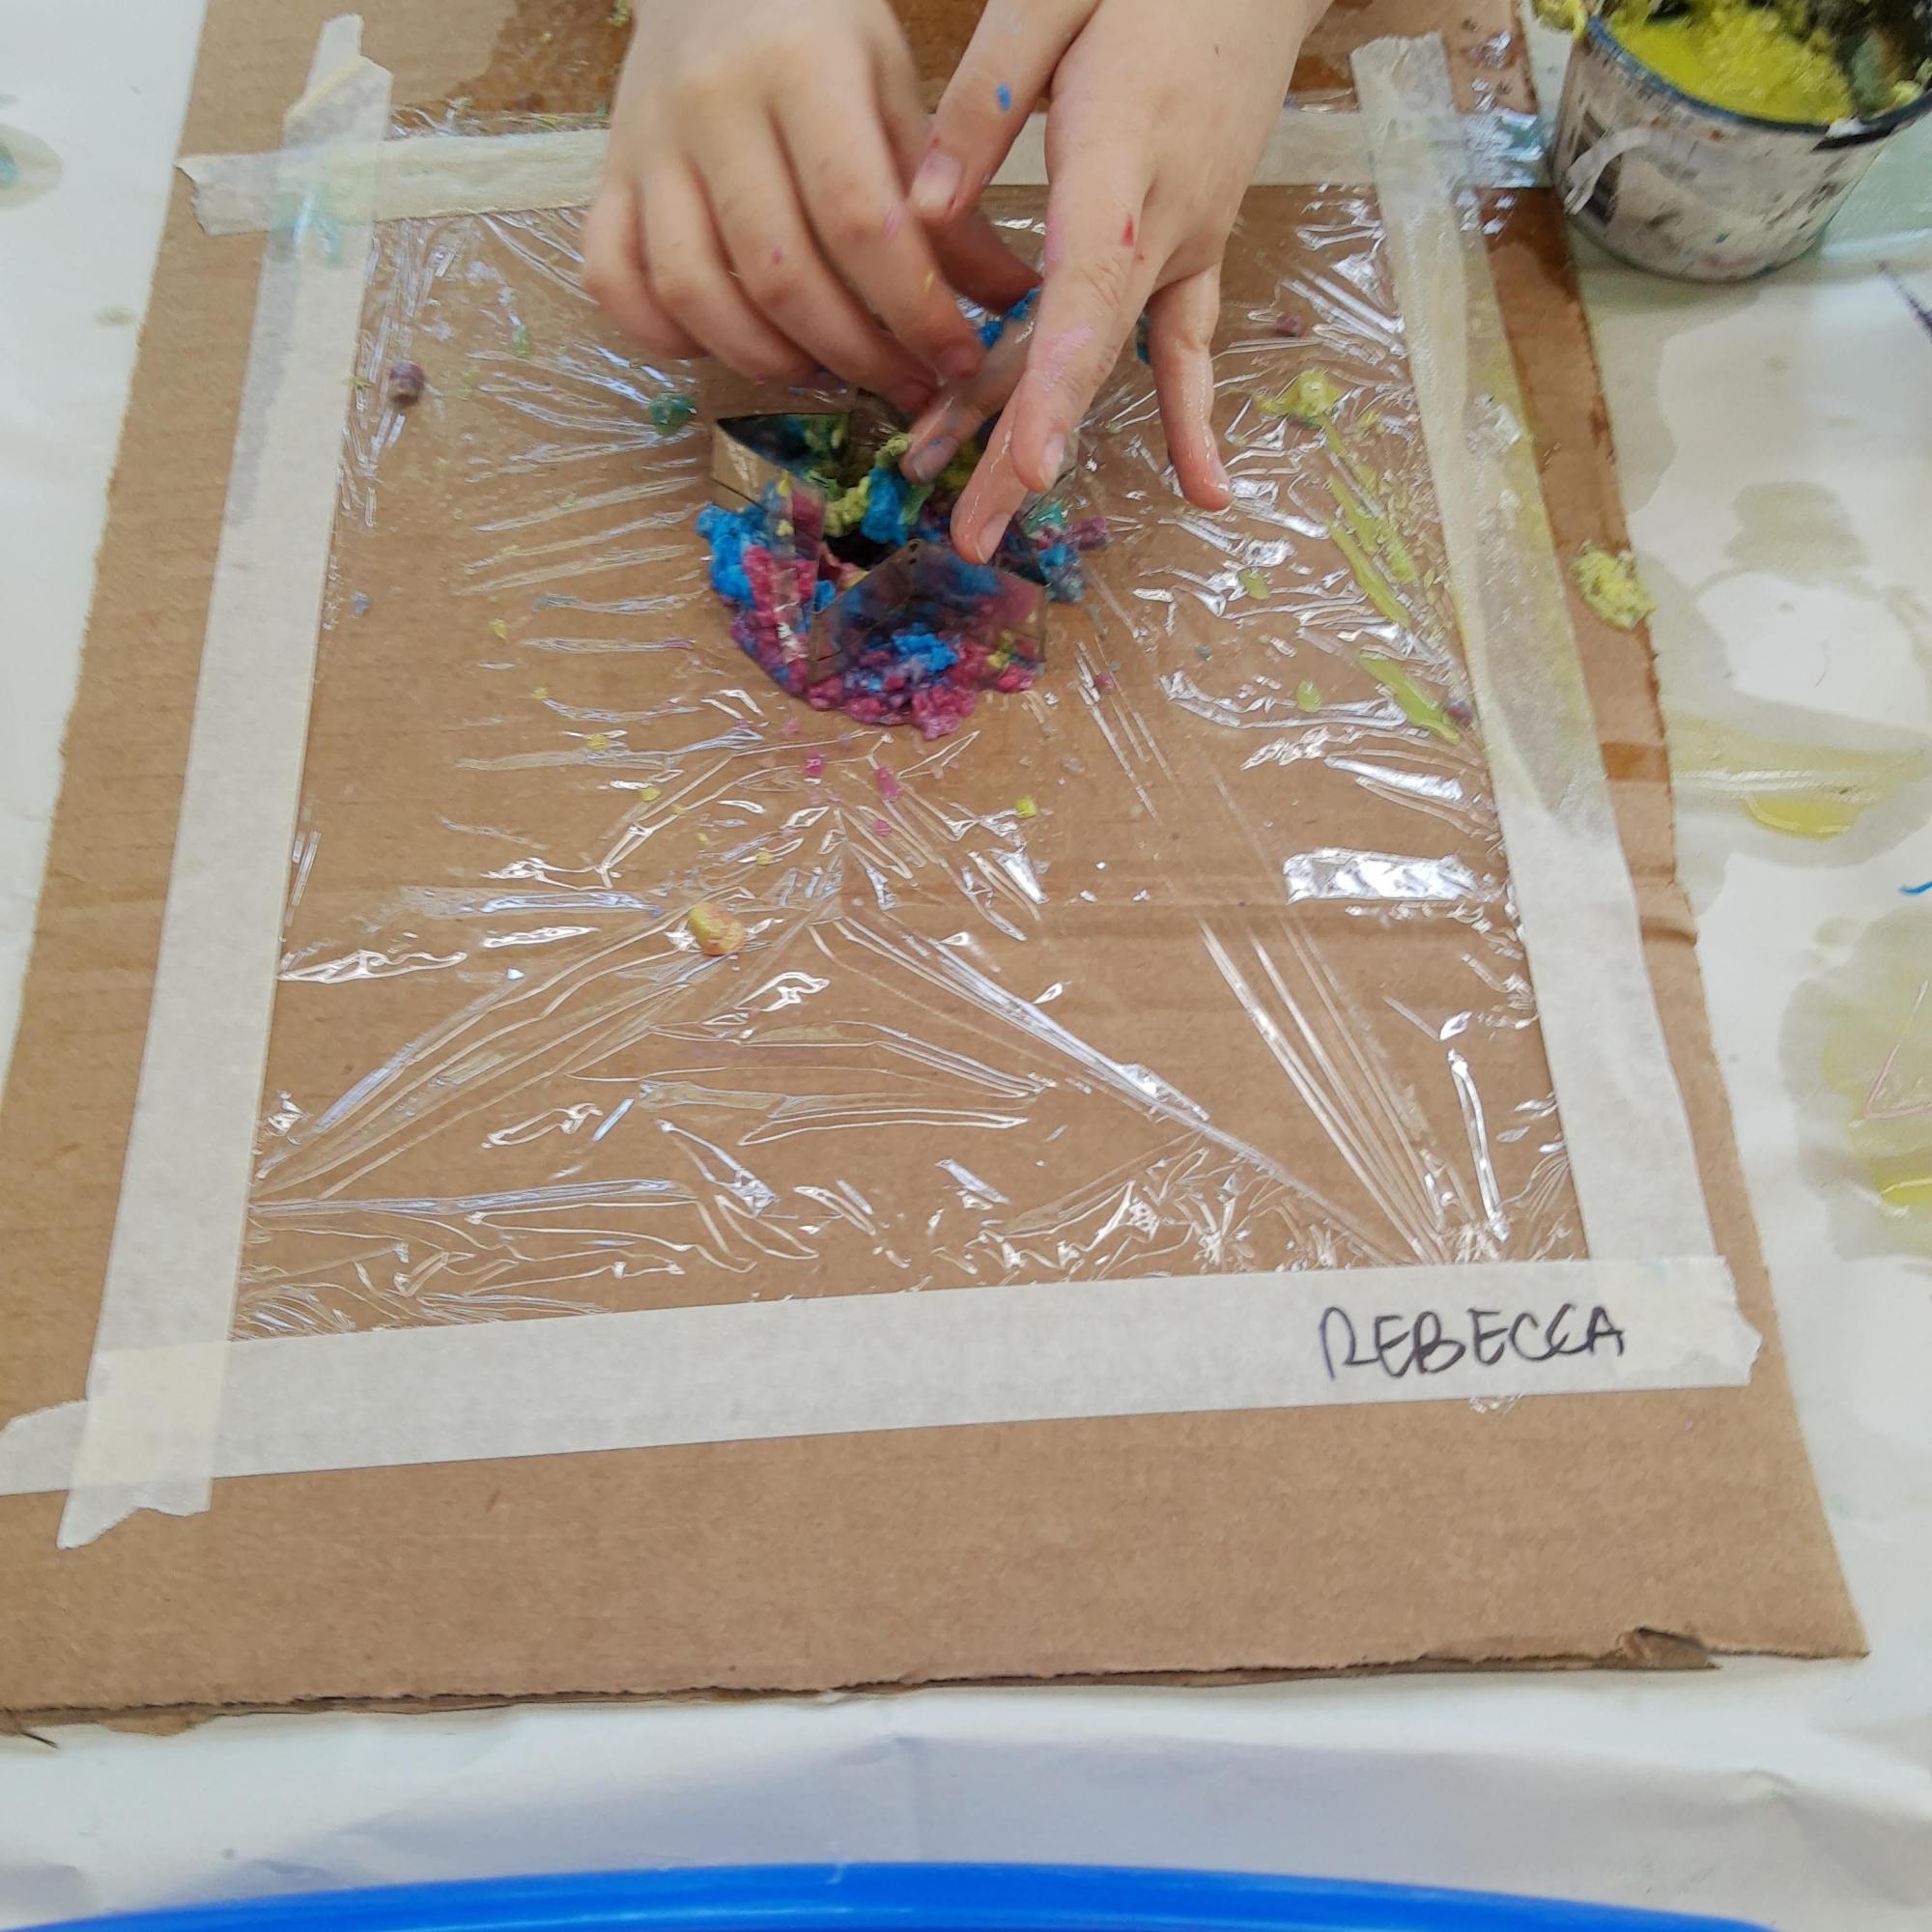
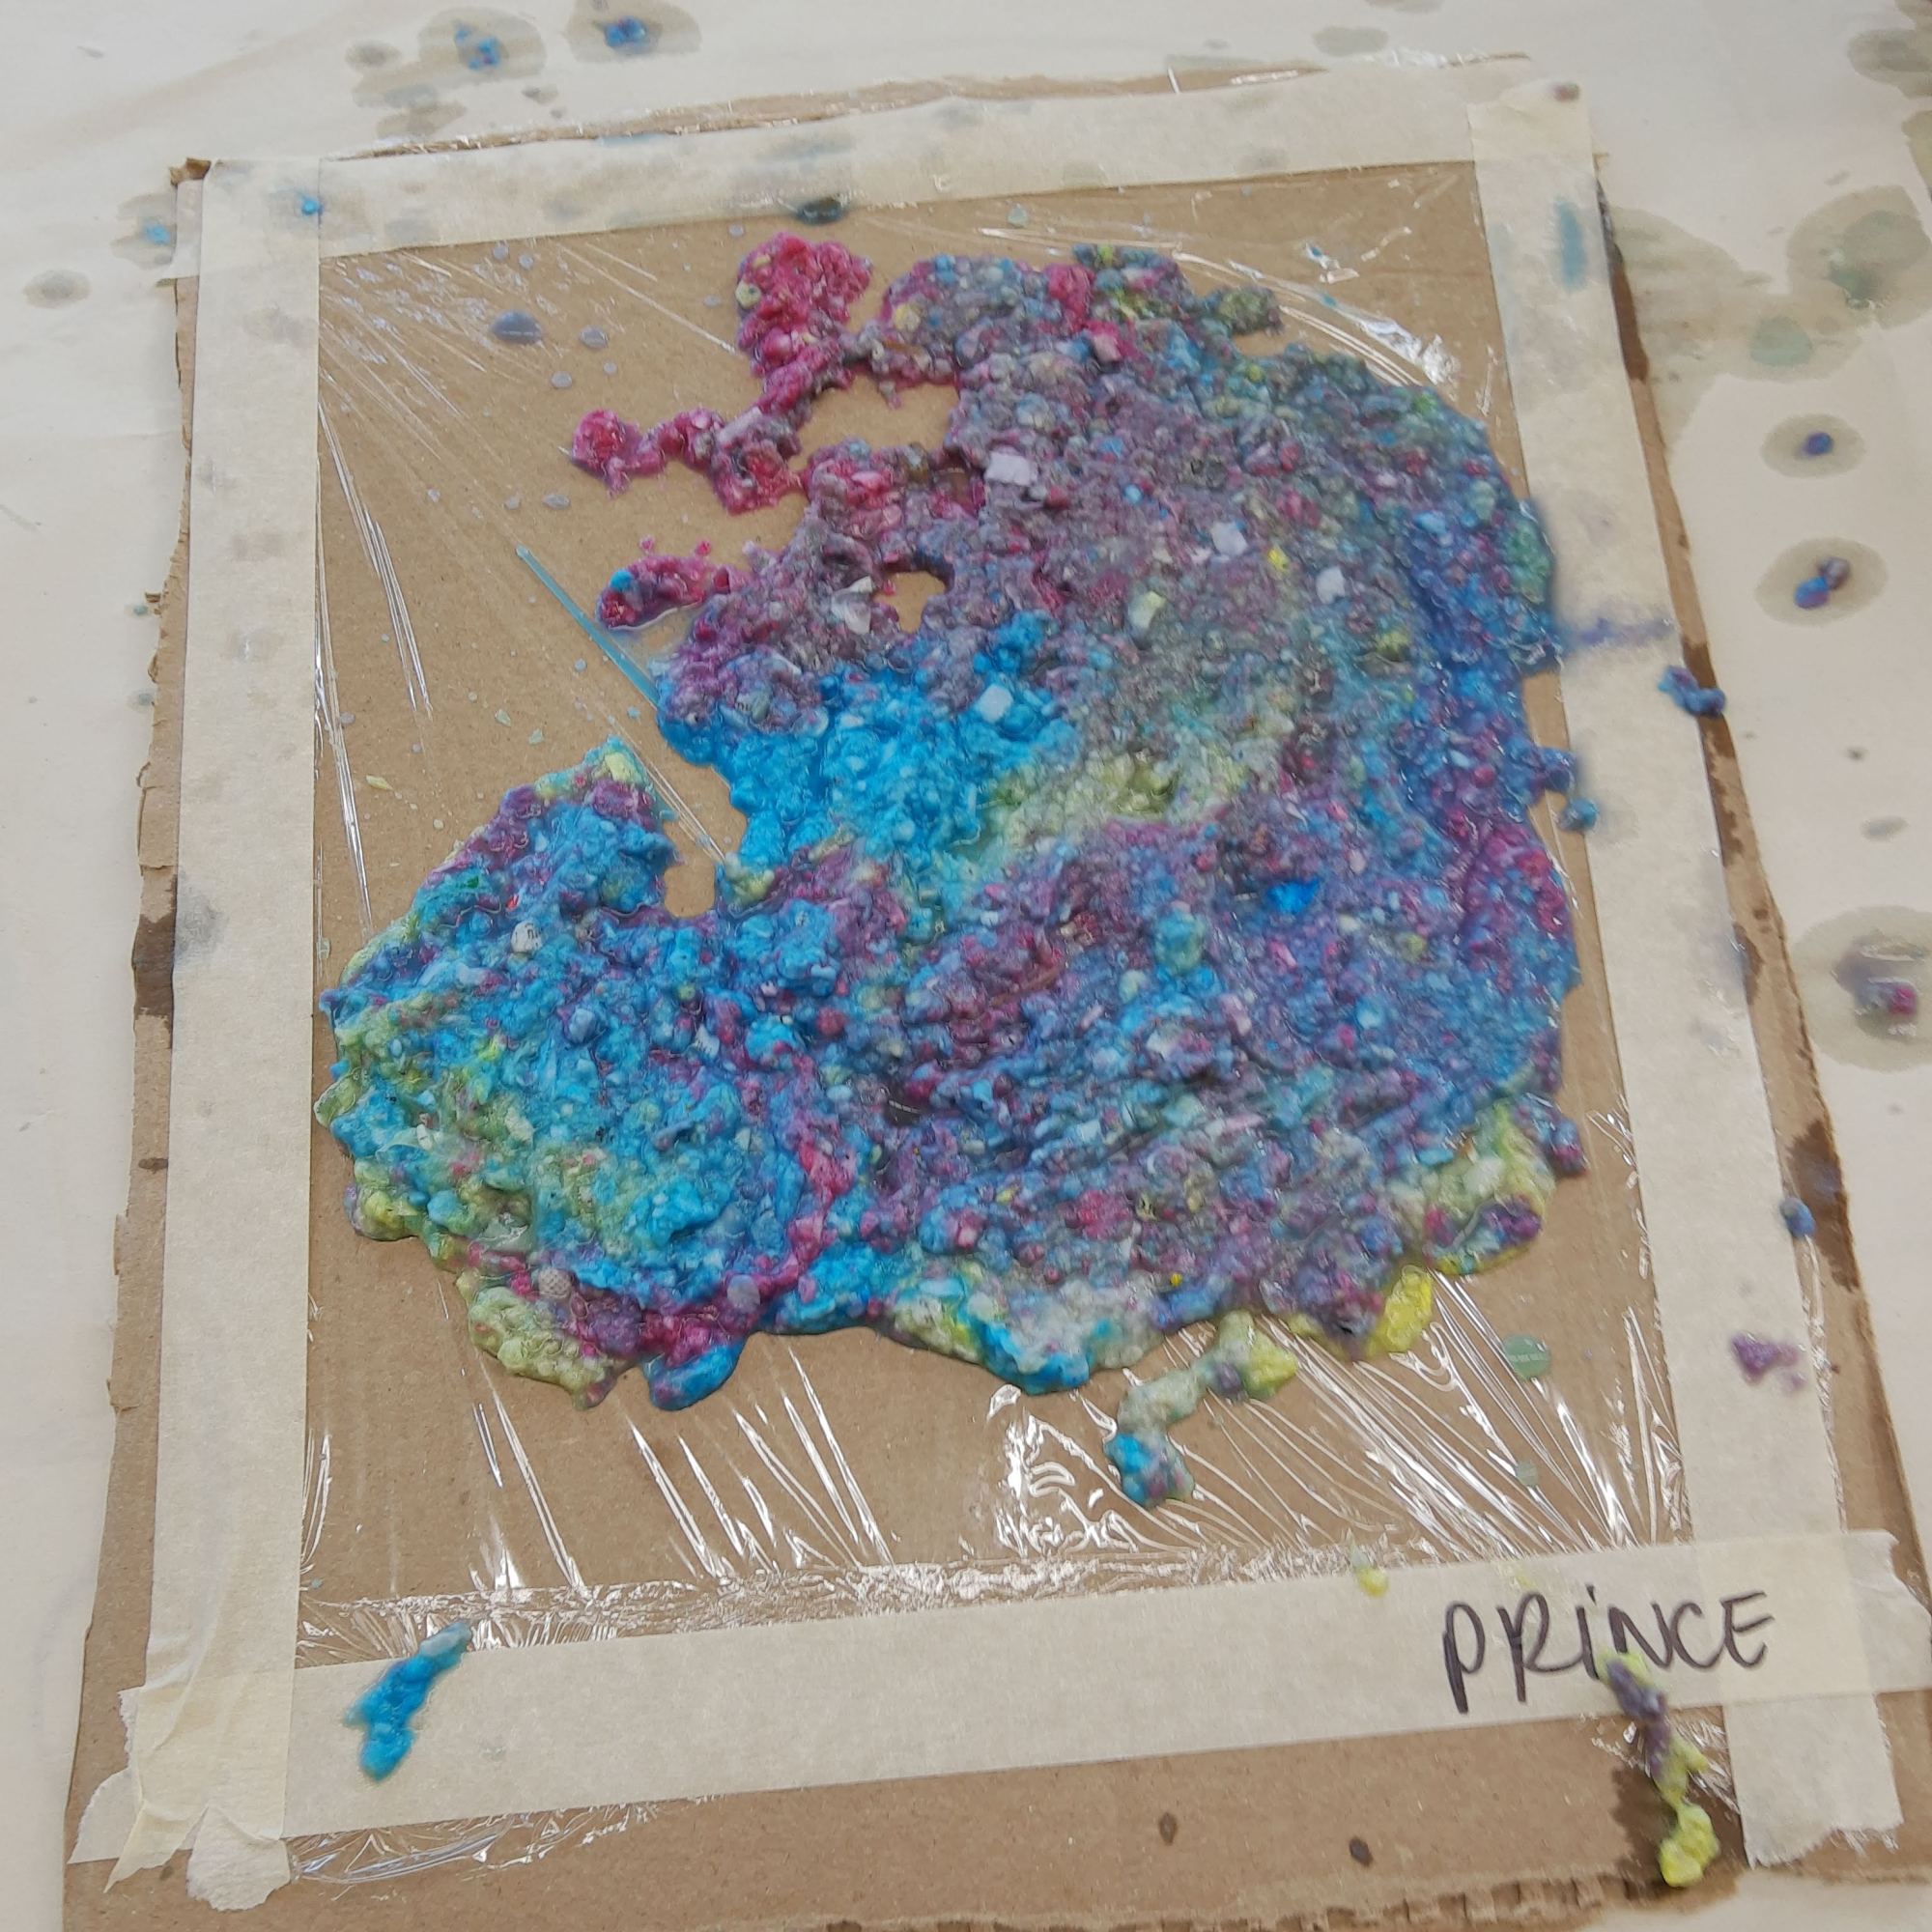
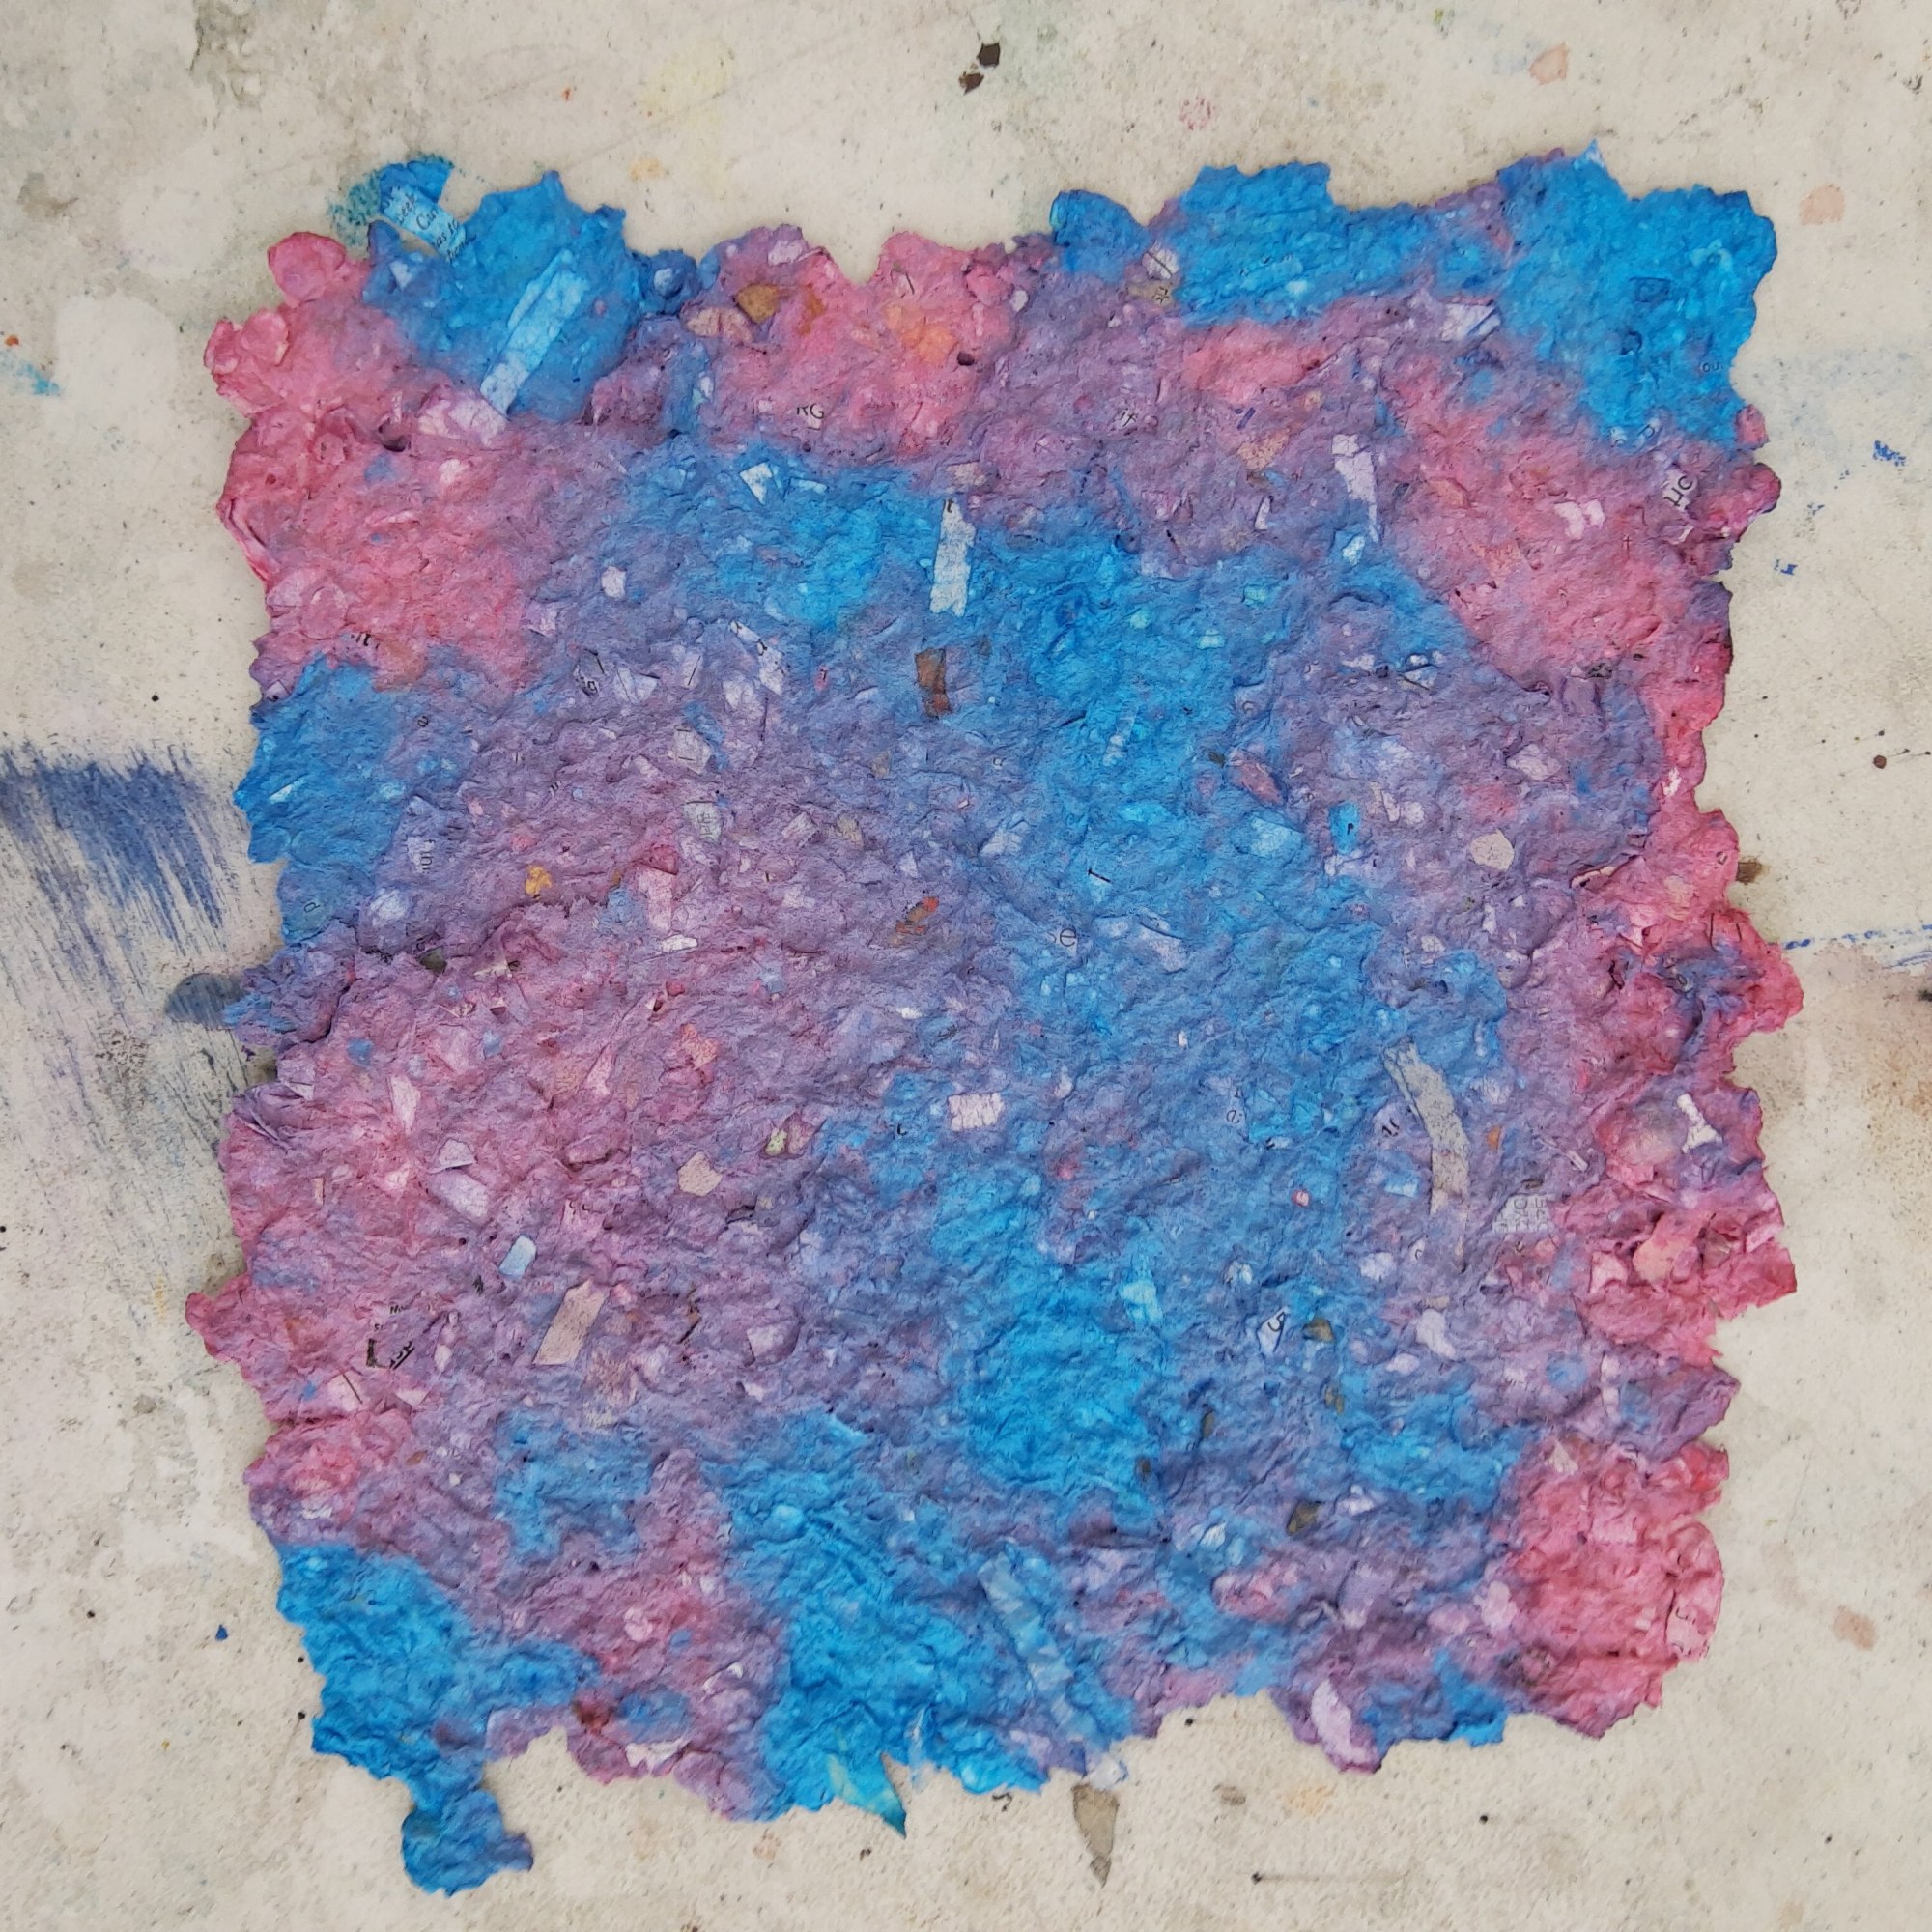
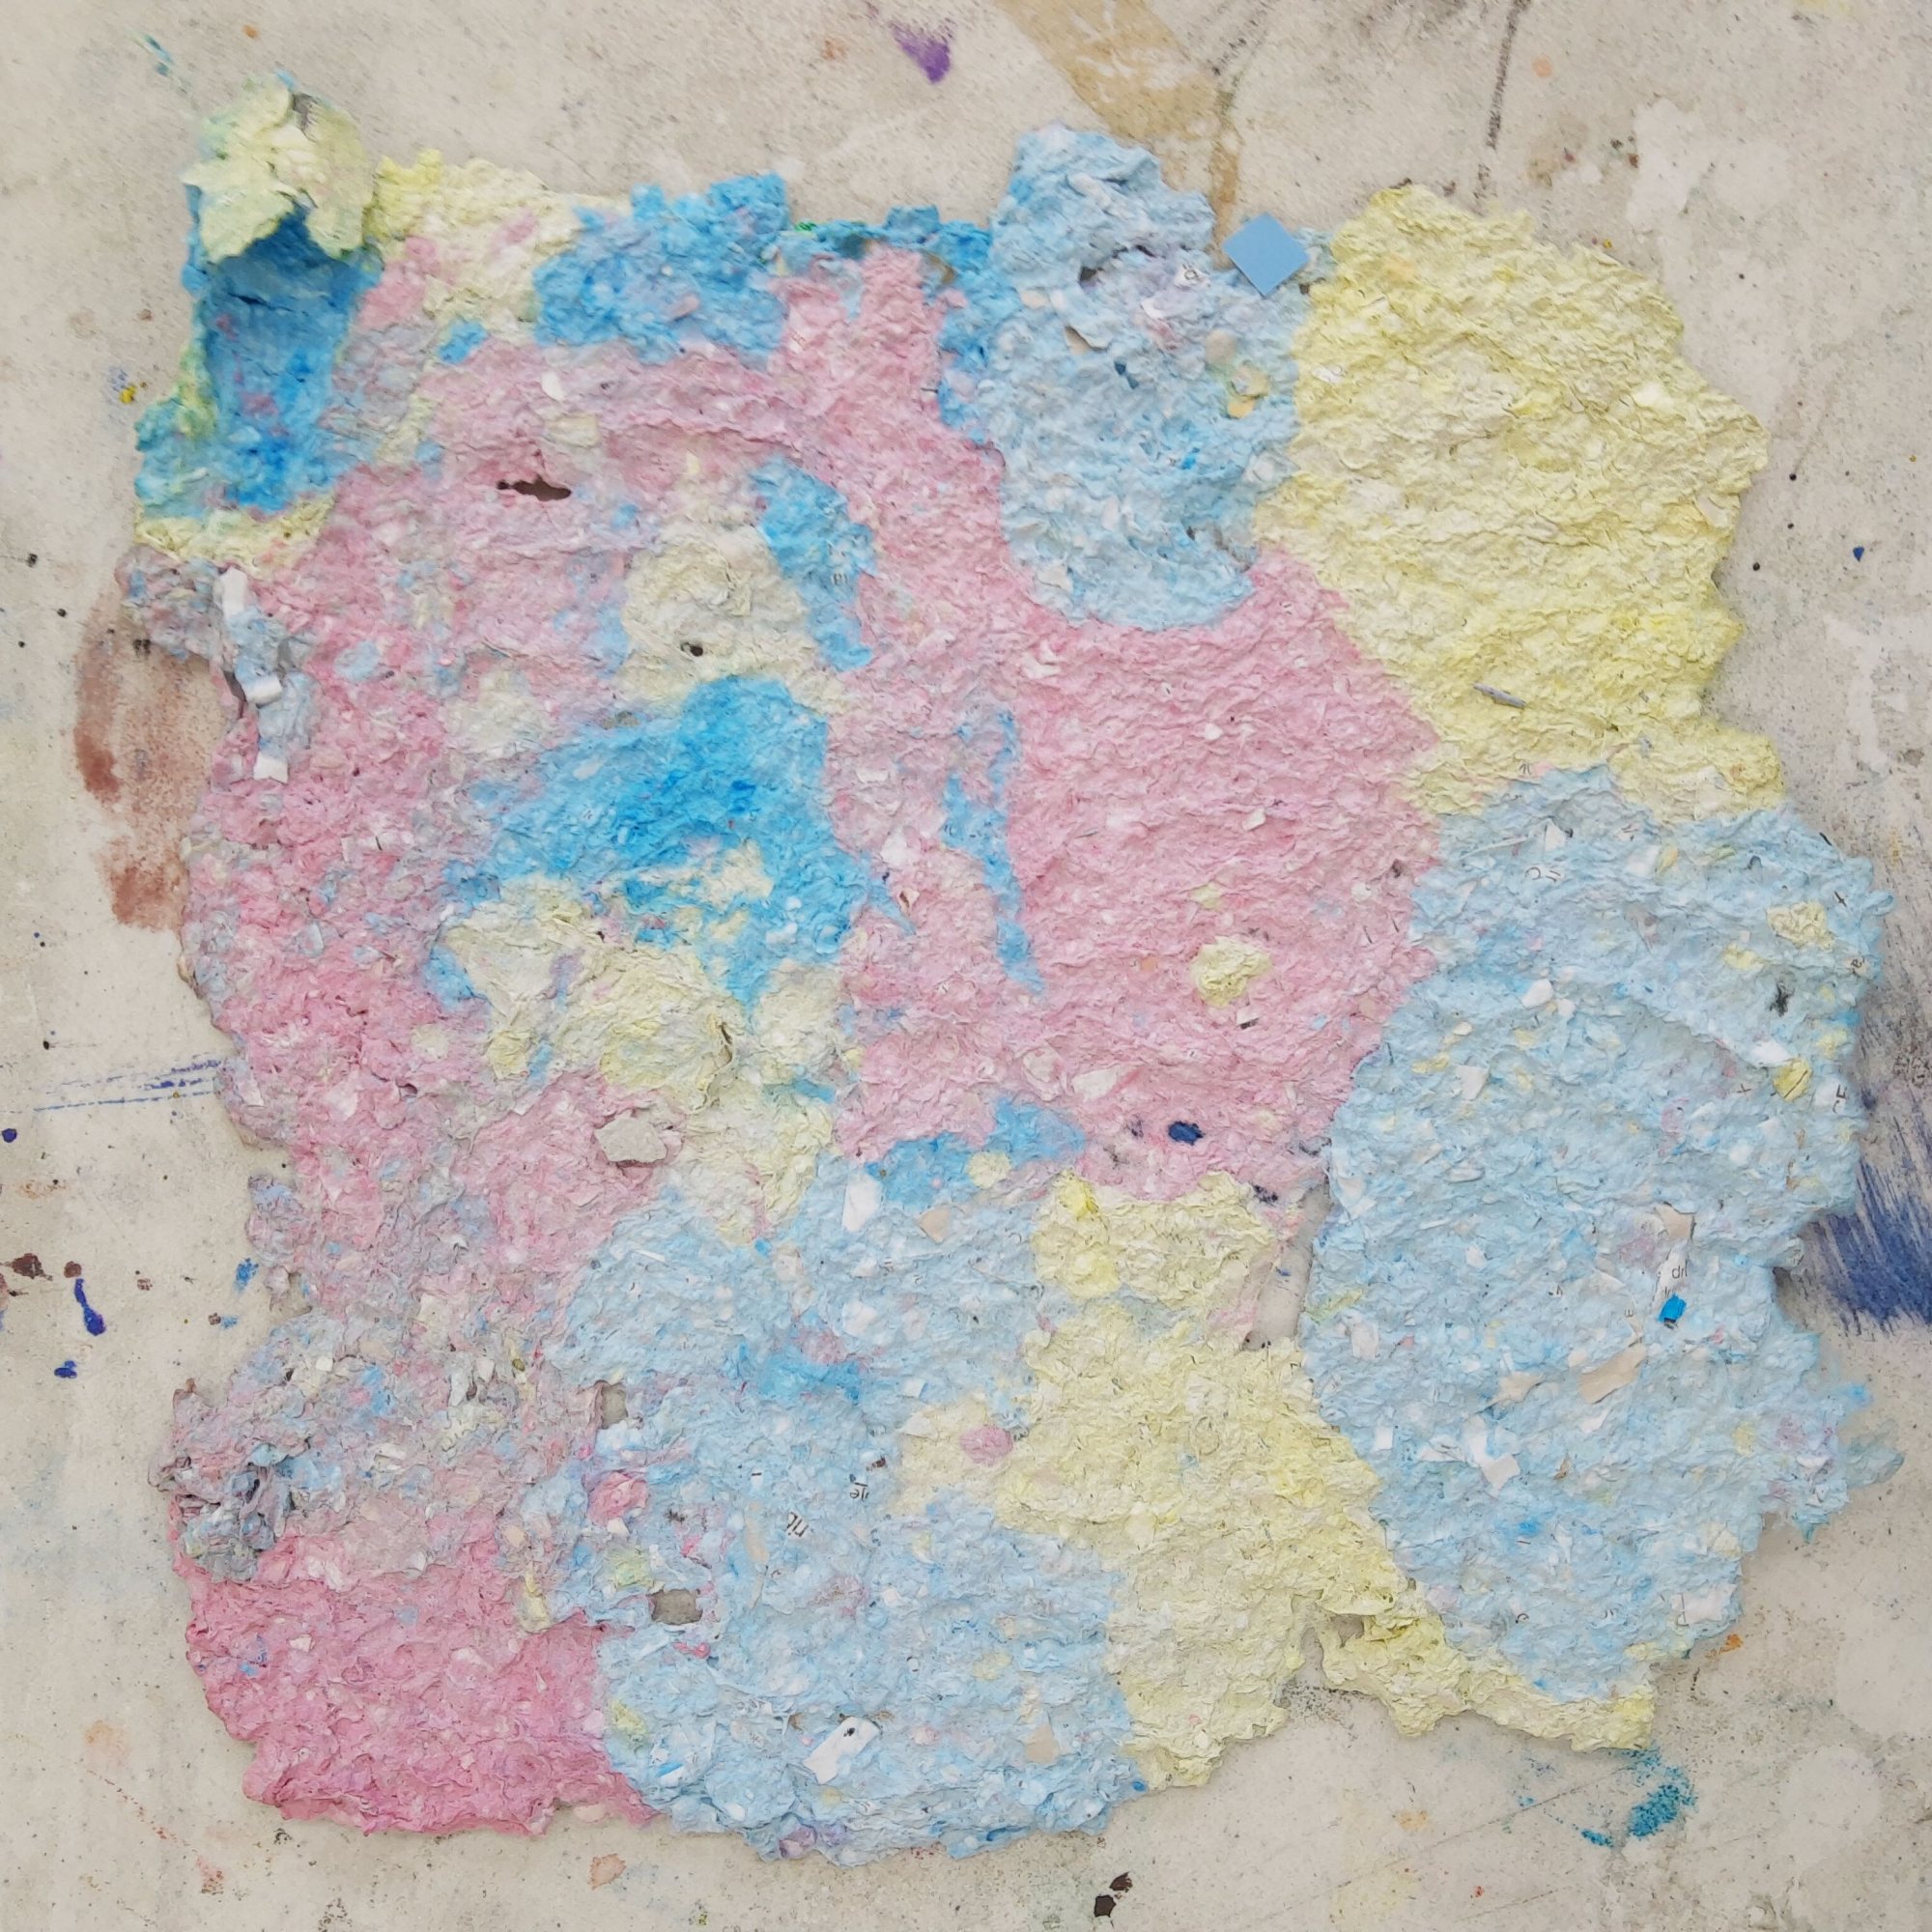
I prepped red, yellow, and blue paper pulp by blending soaked paper scraps and adding acrylic paint to the blender. The main paper pulp was in big tubs and students used smaller cups to scoop up paper pulp to take to their seats. Students created paper pulp designs on top of a piece of cardboard covered in plastic wrap.
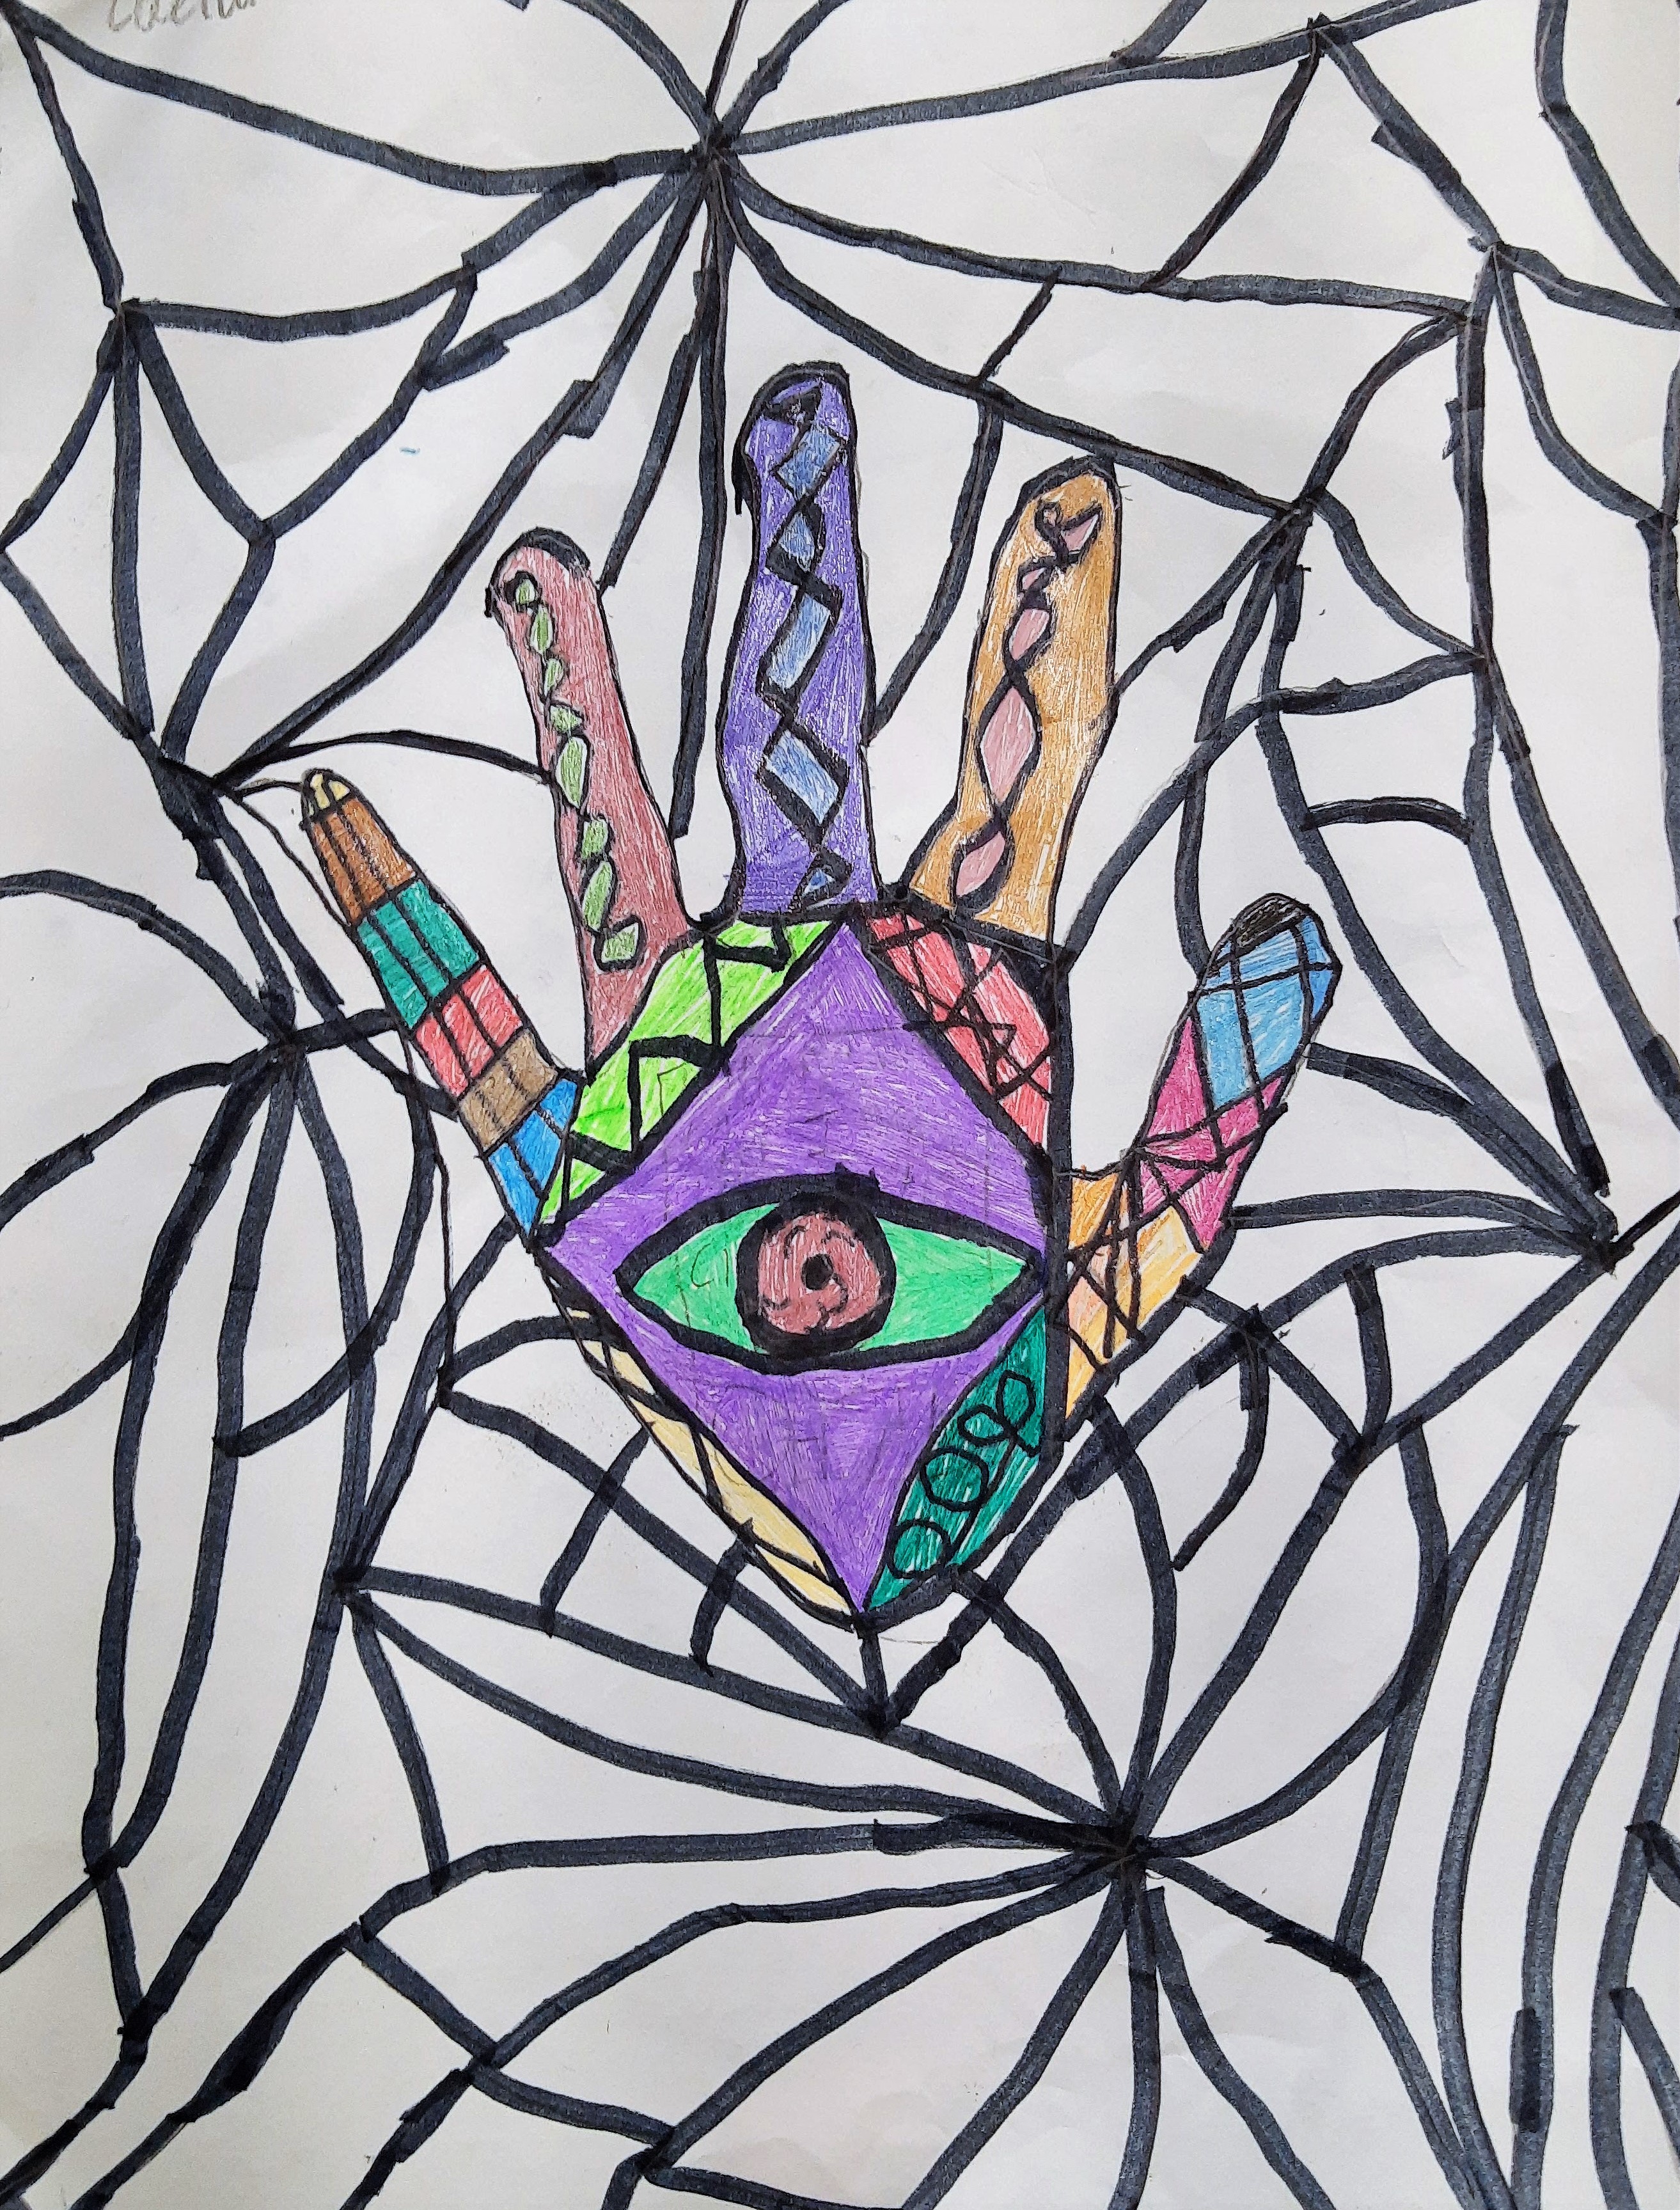
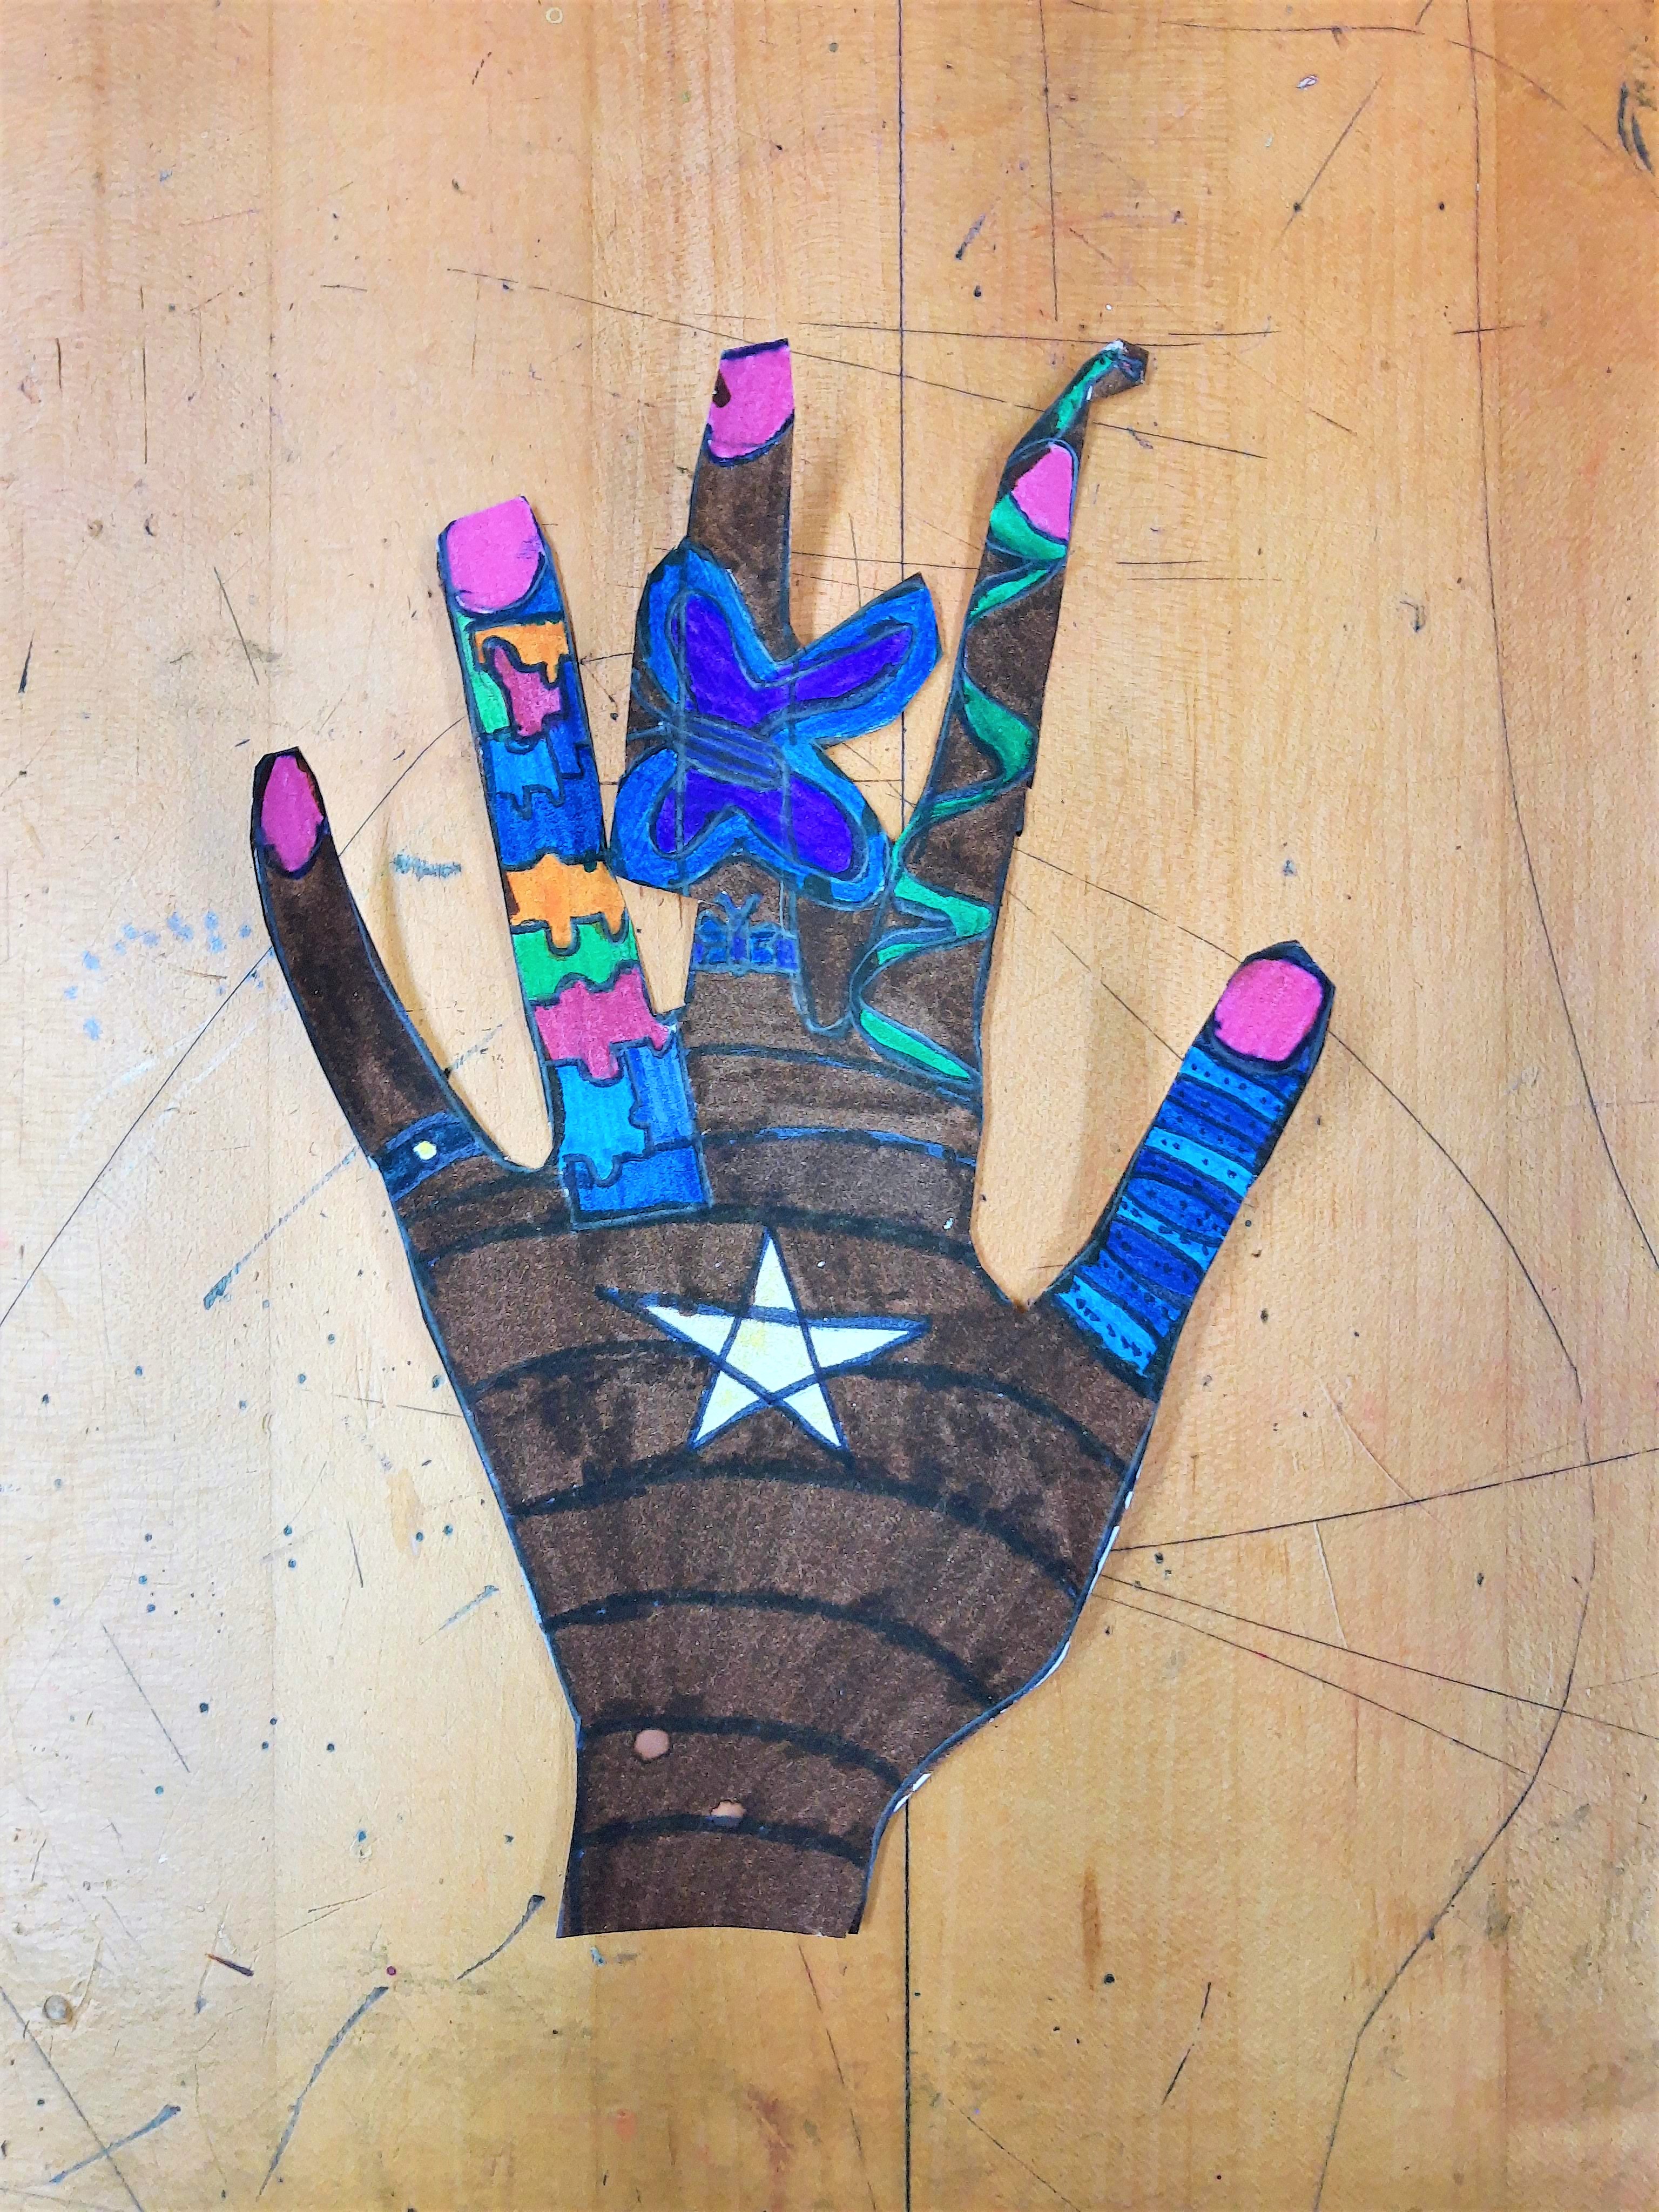
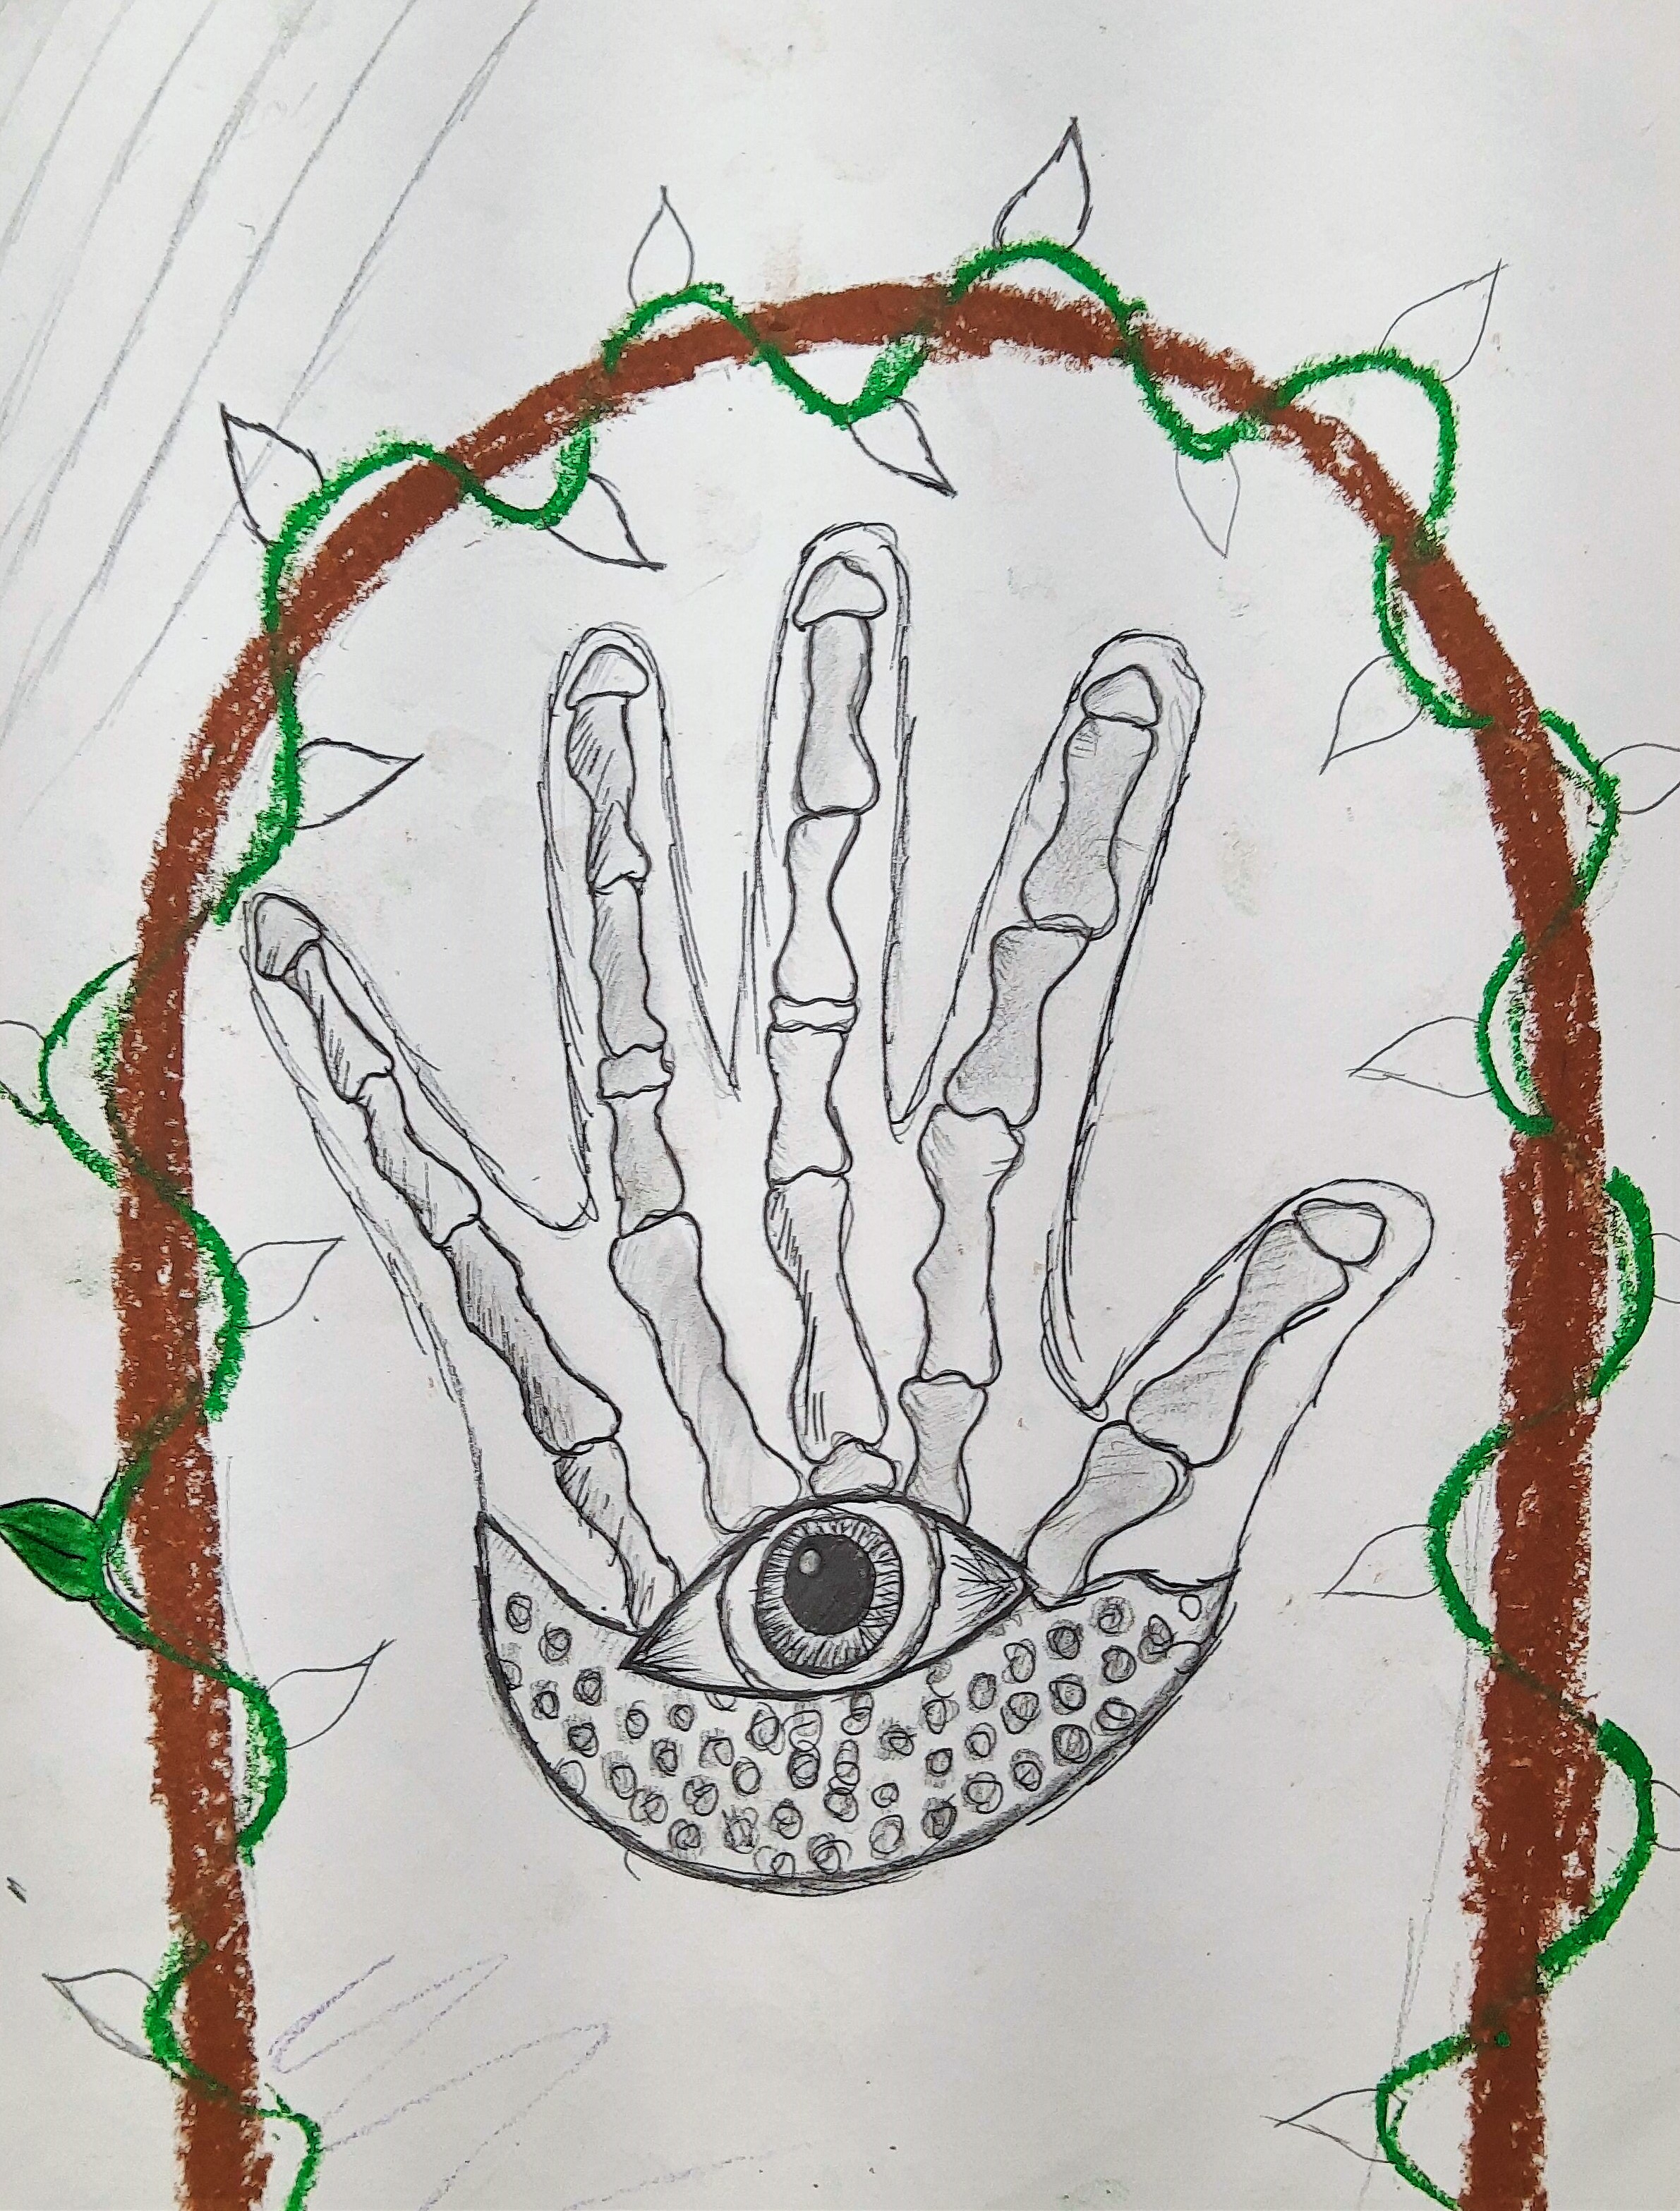
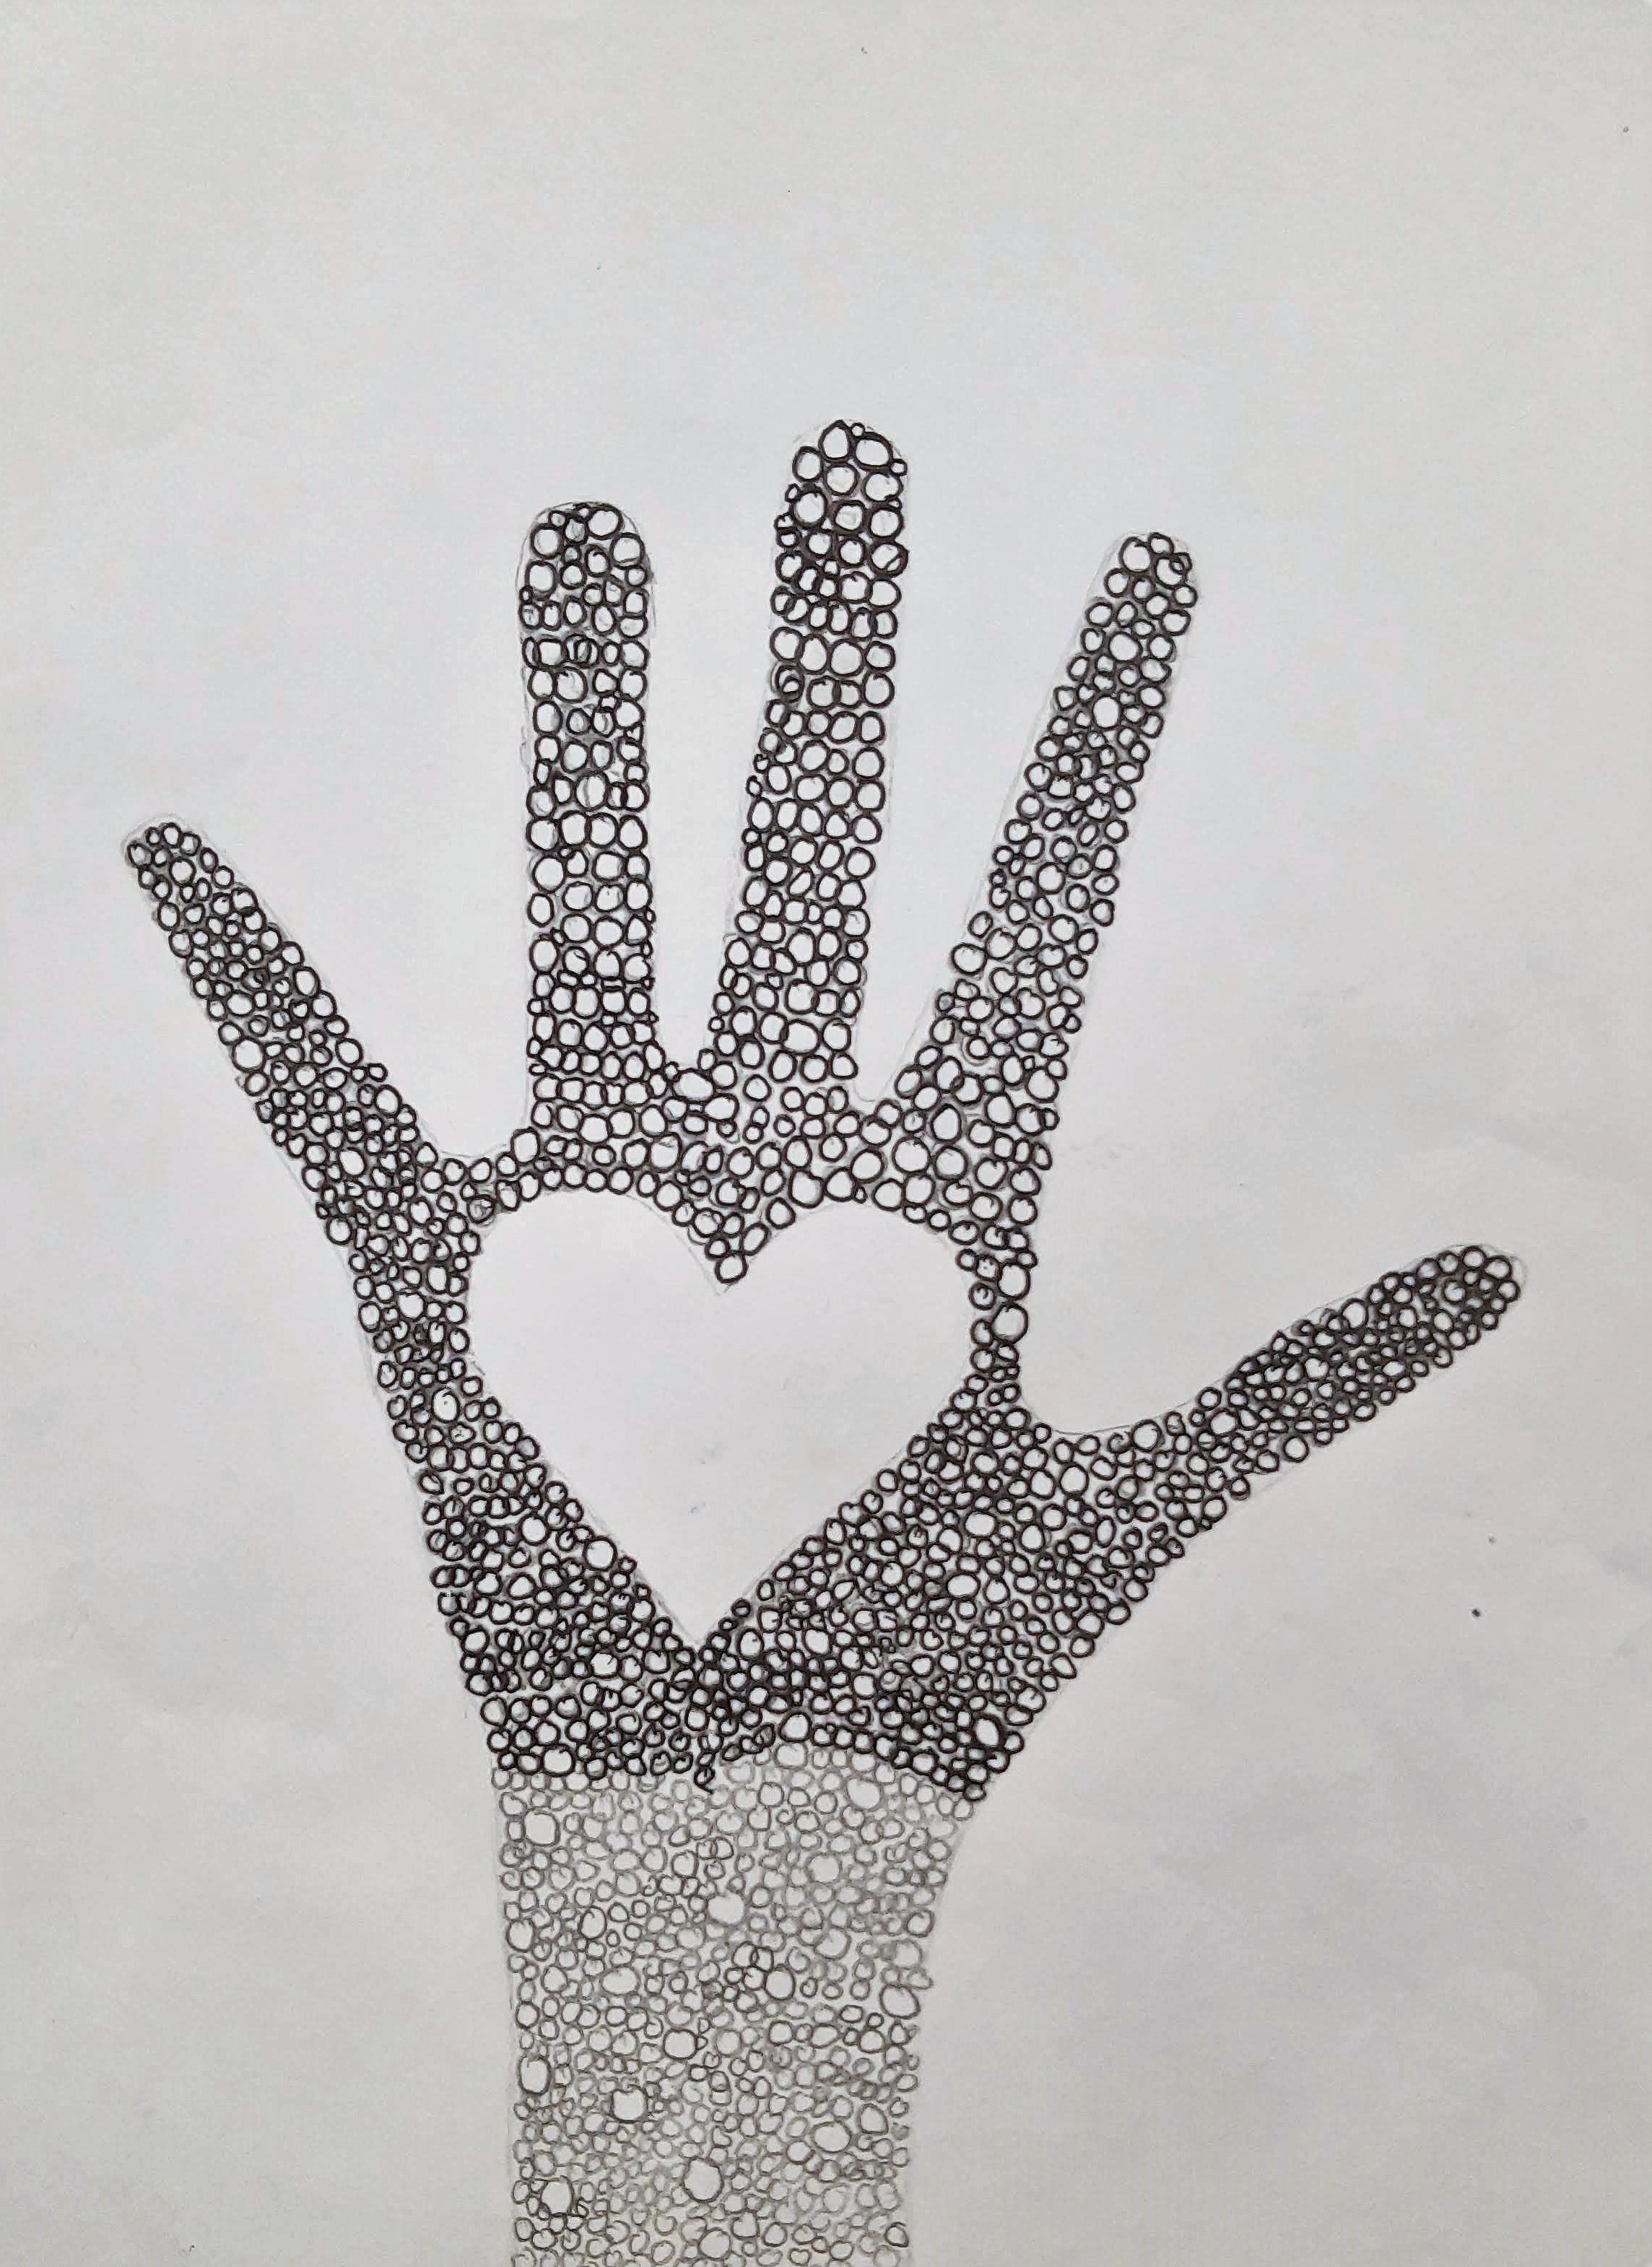
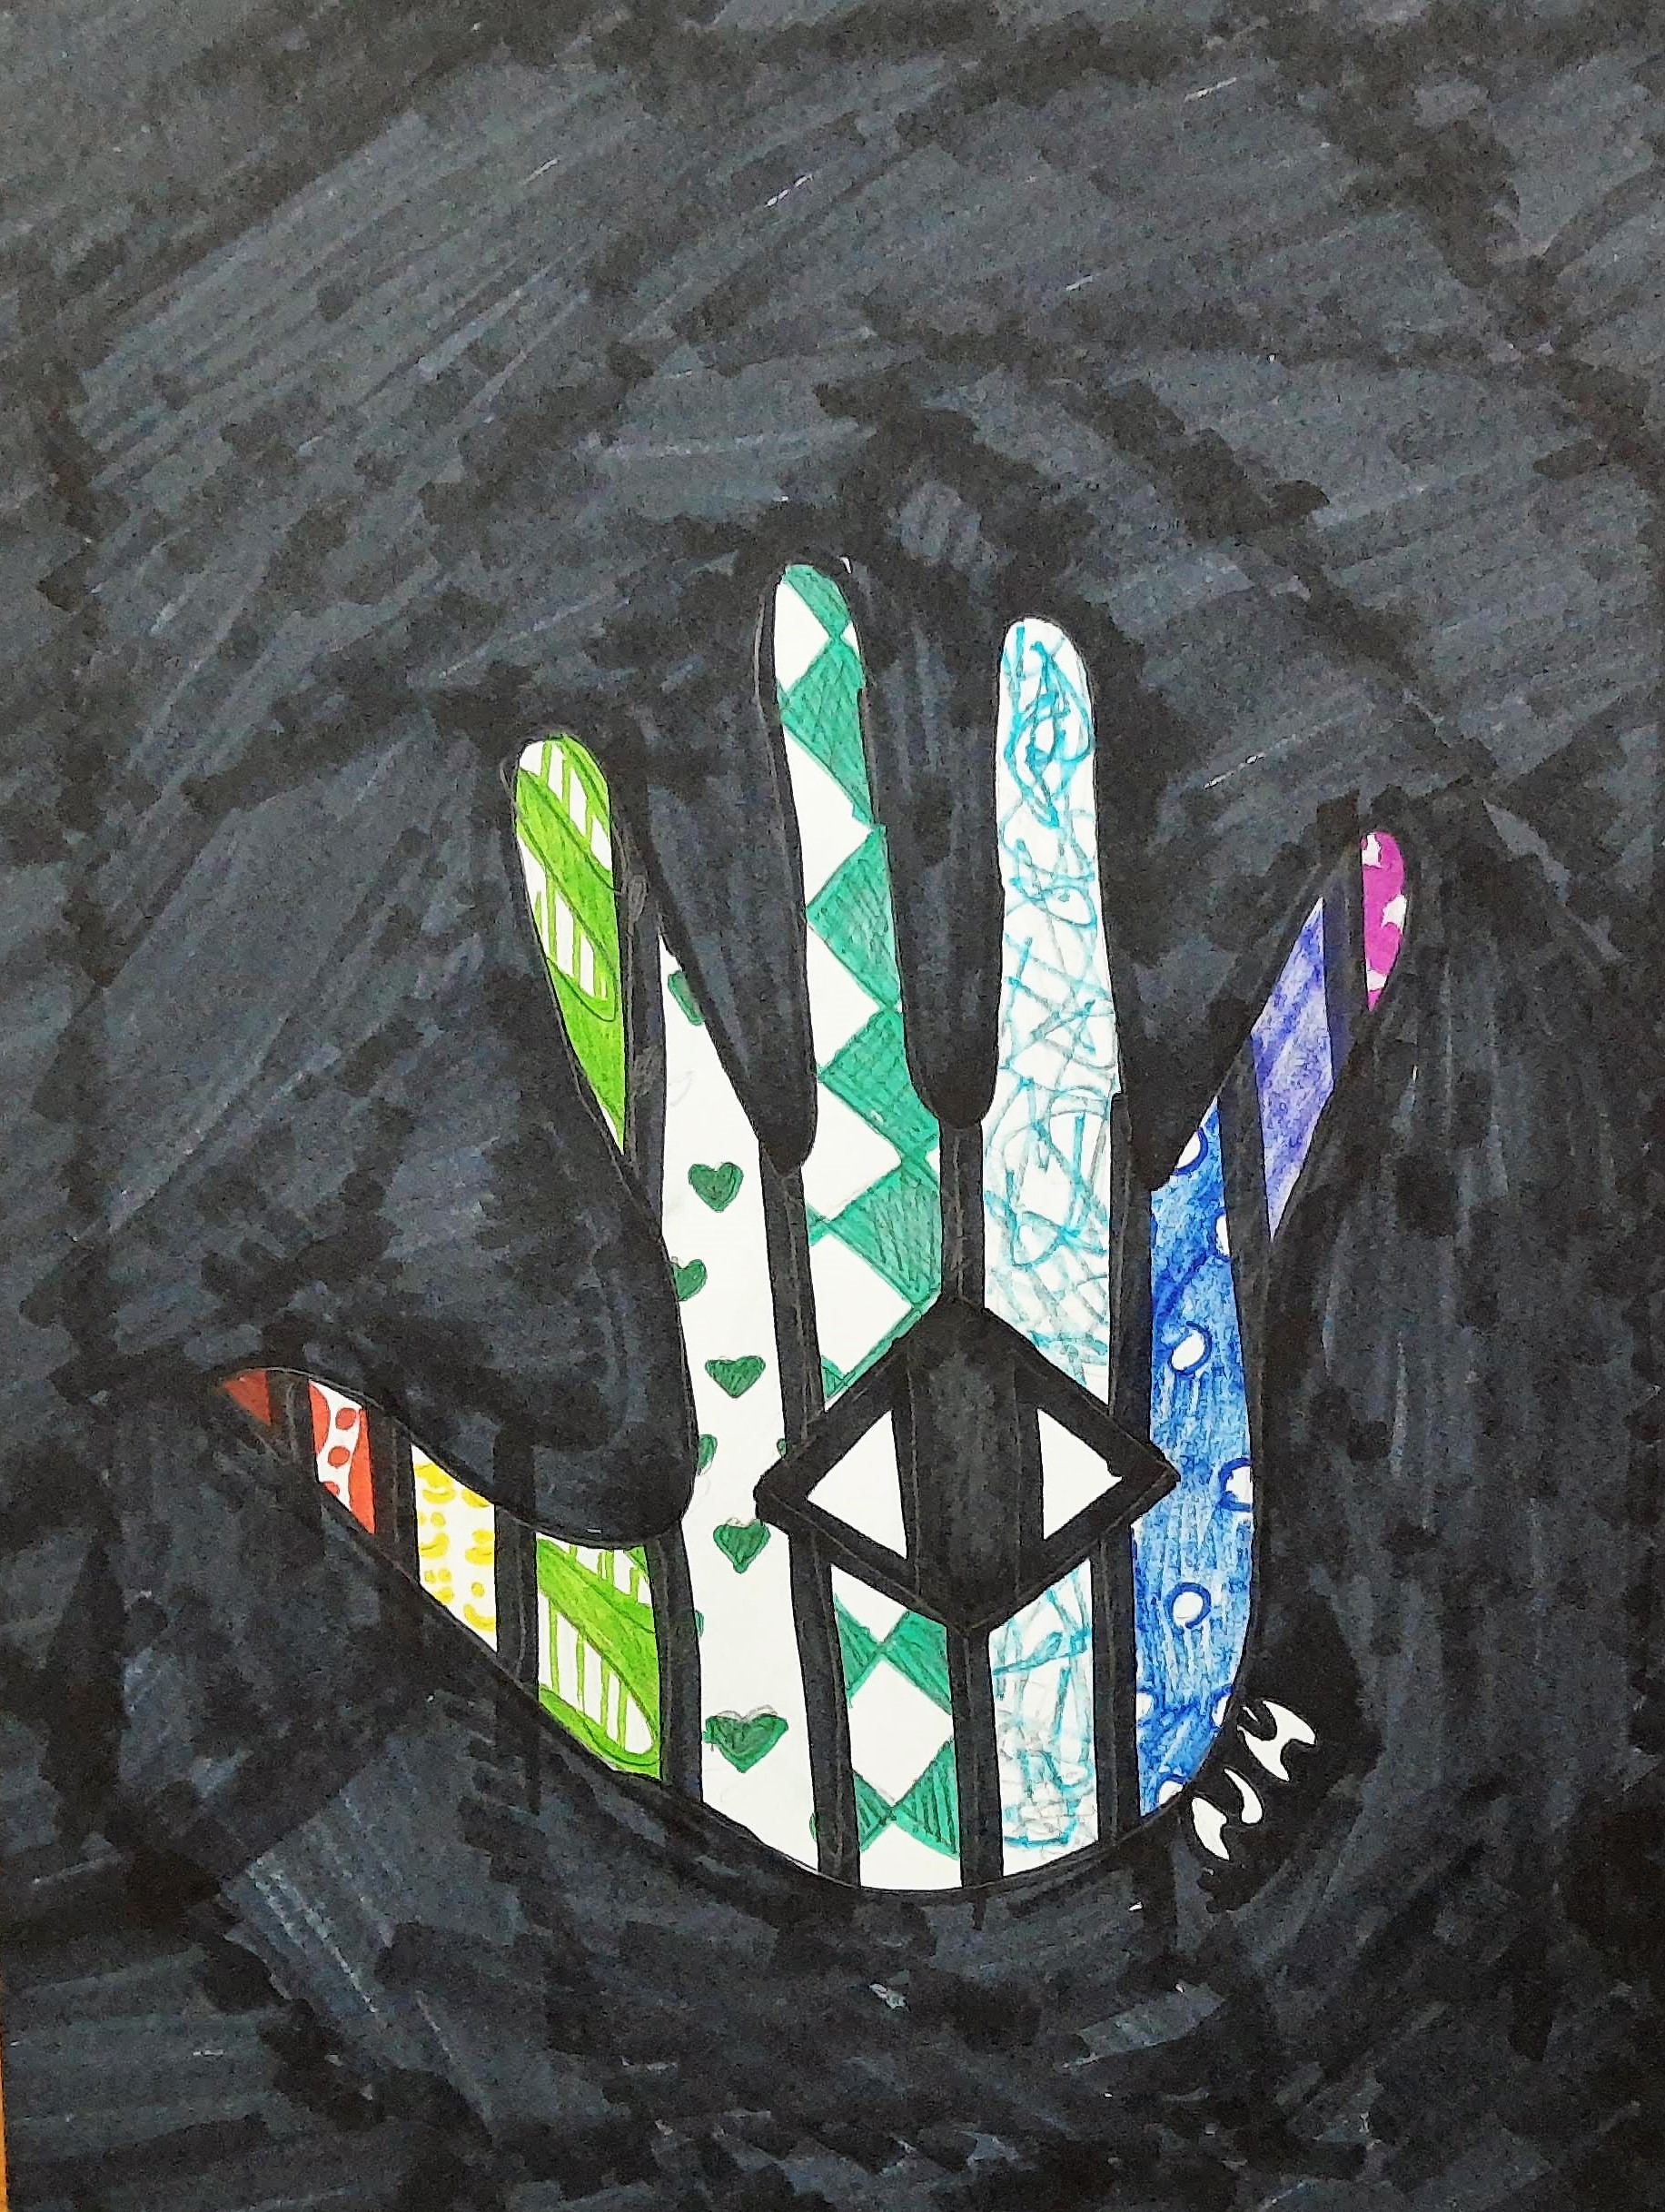
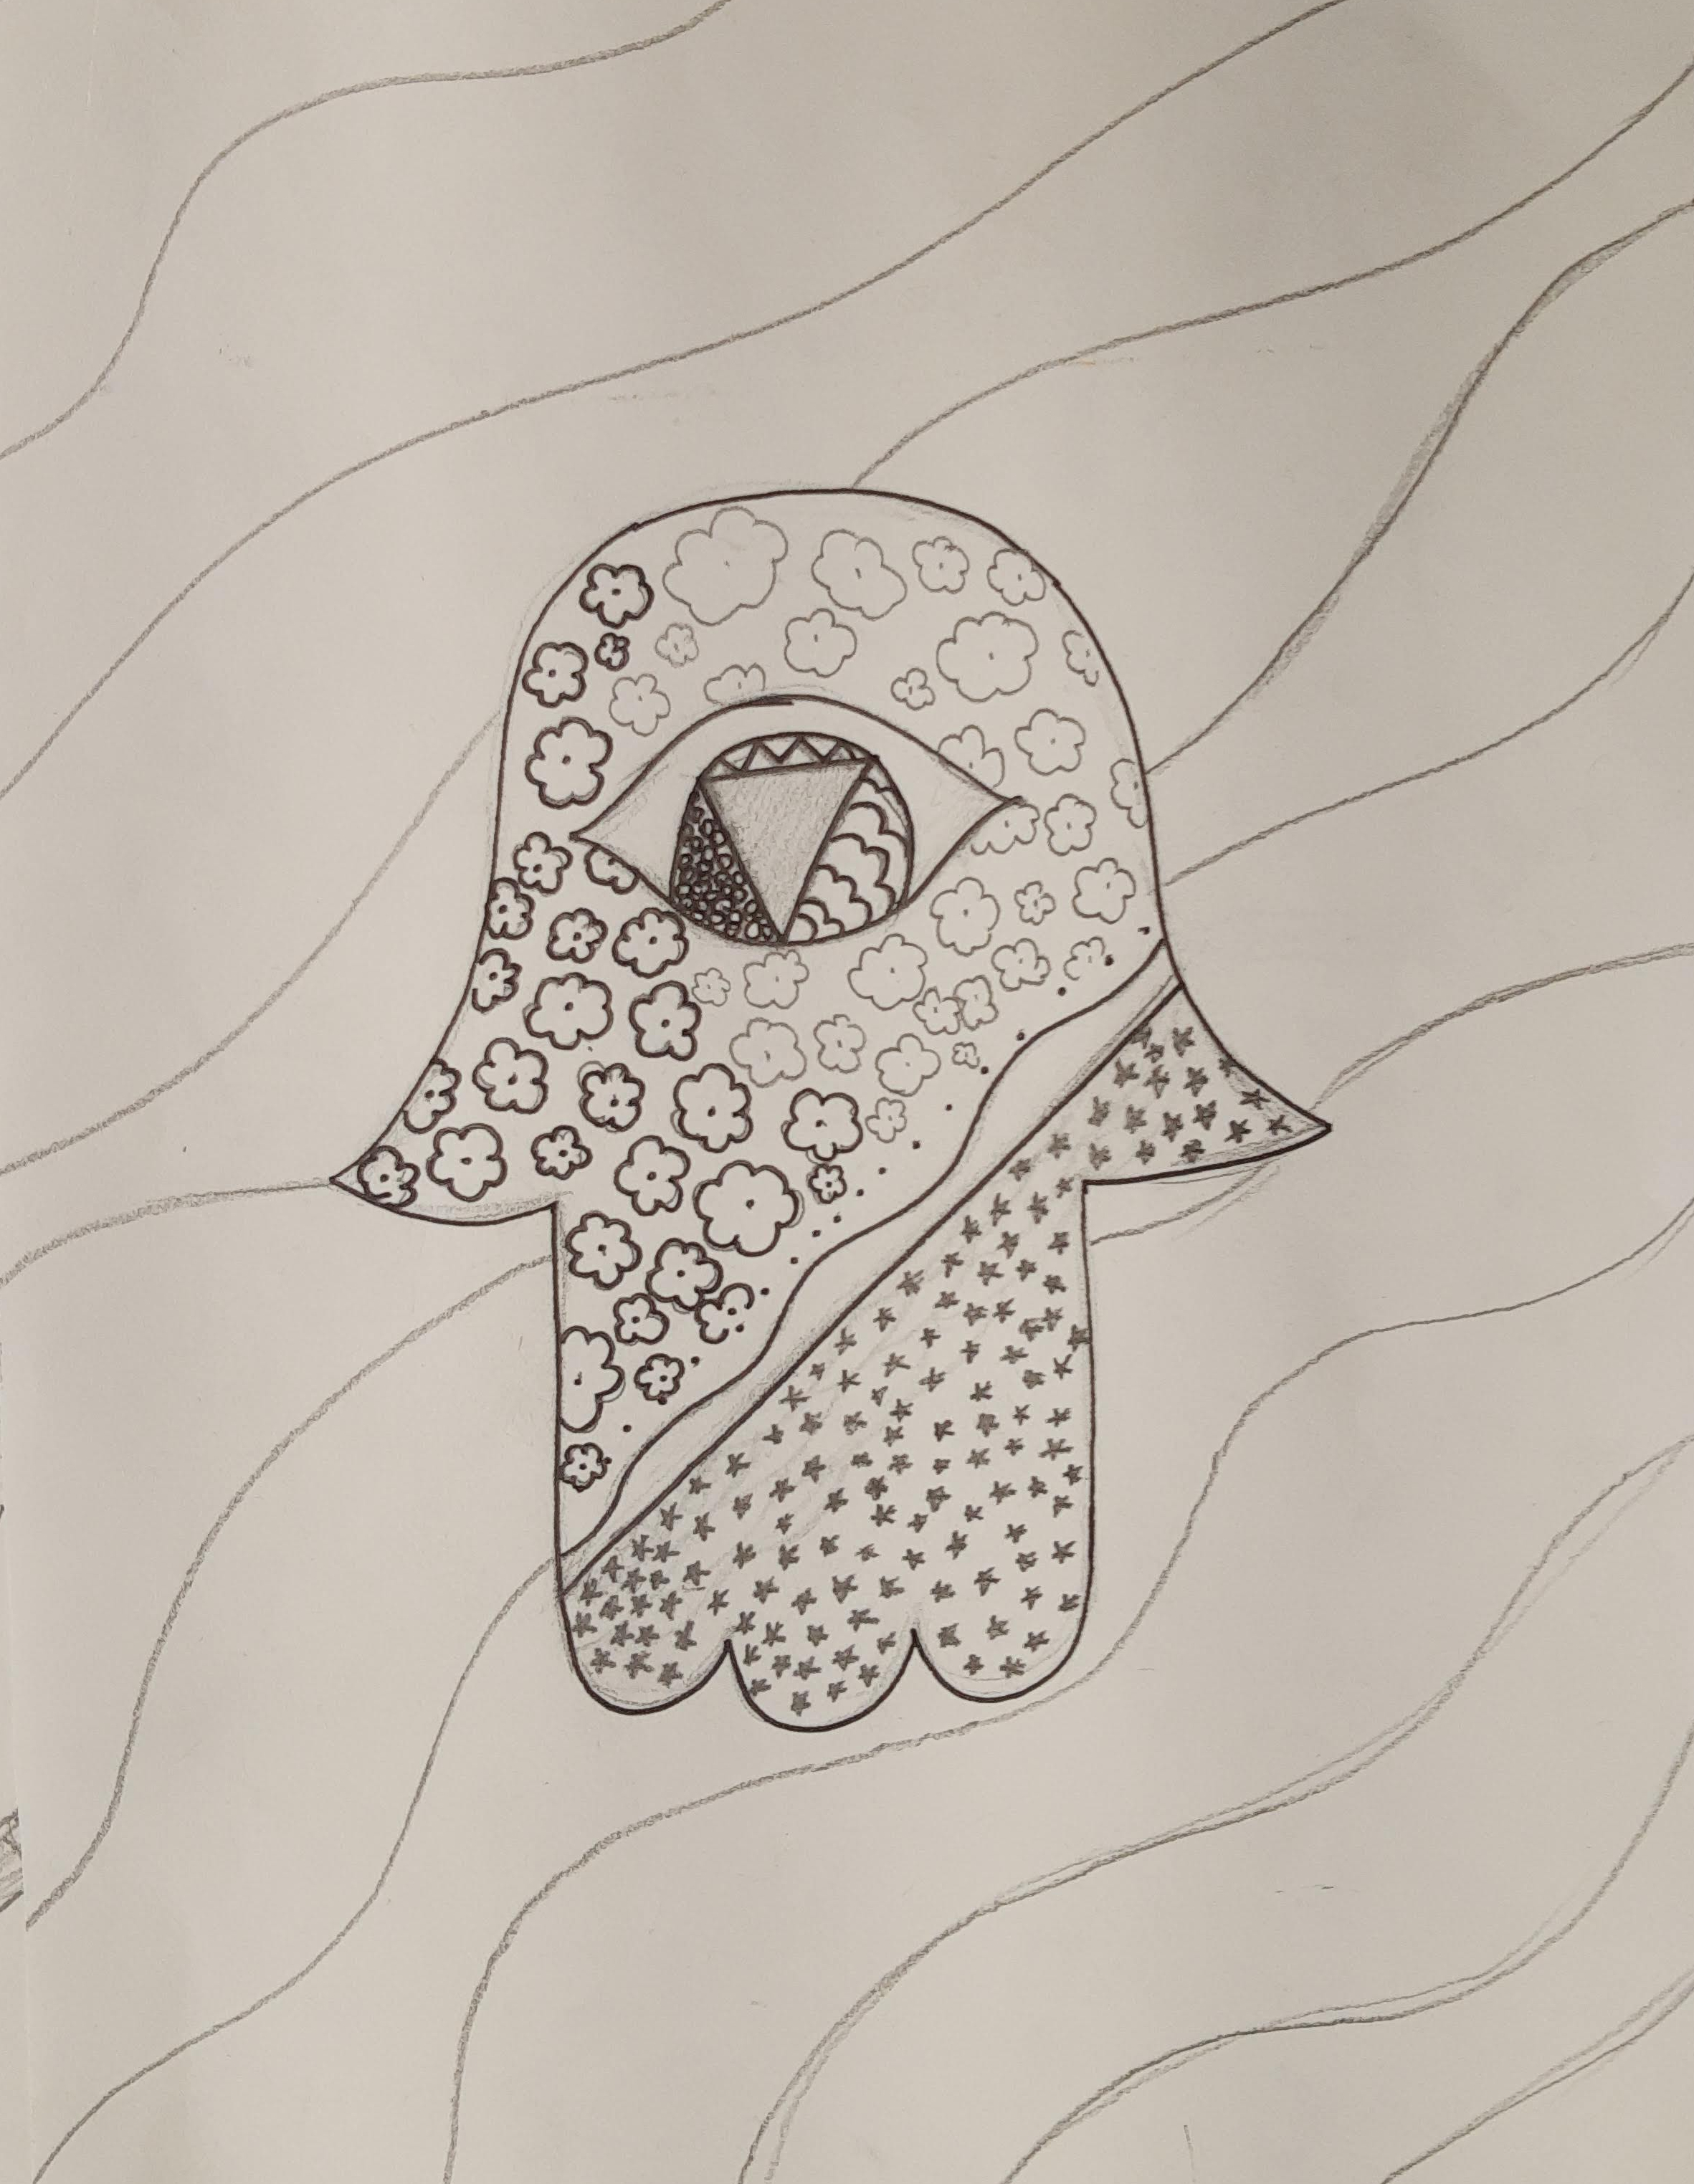
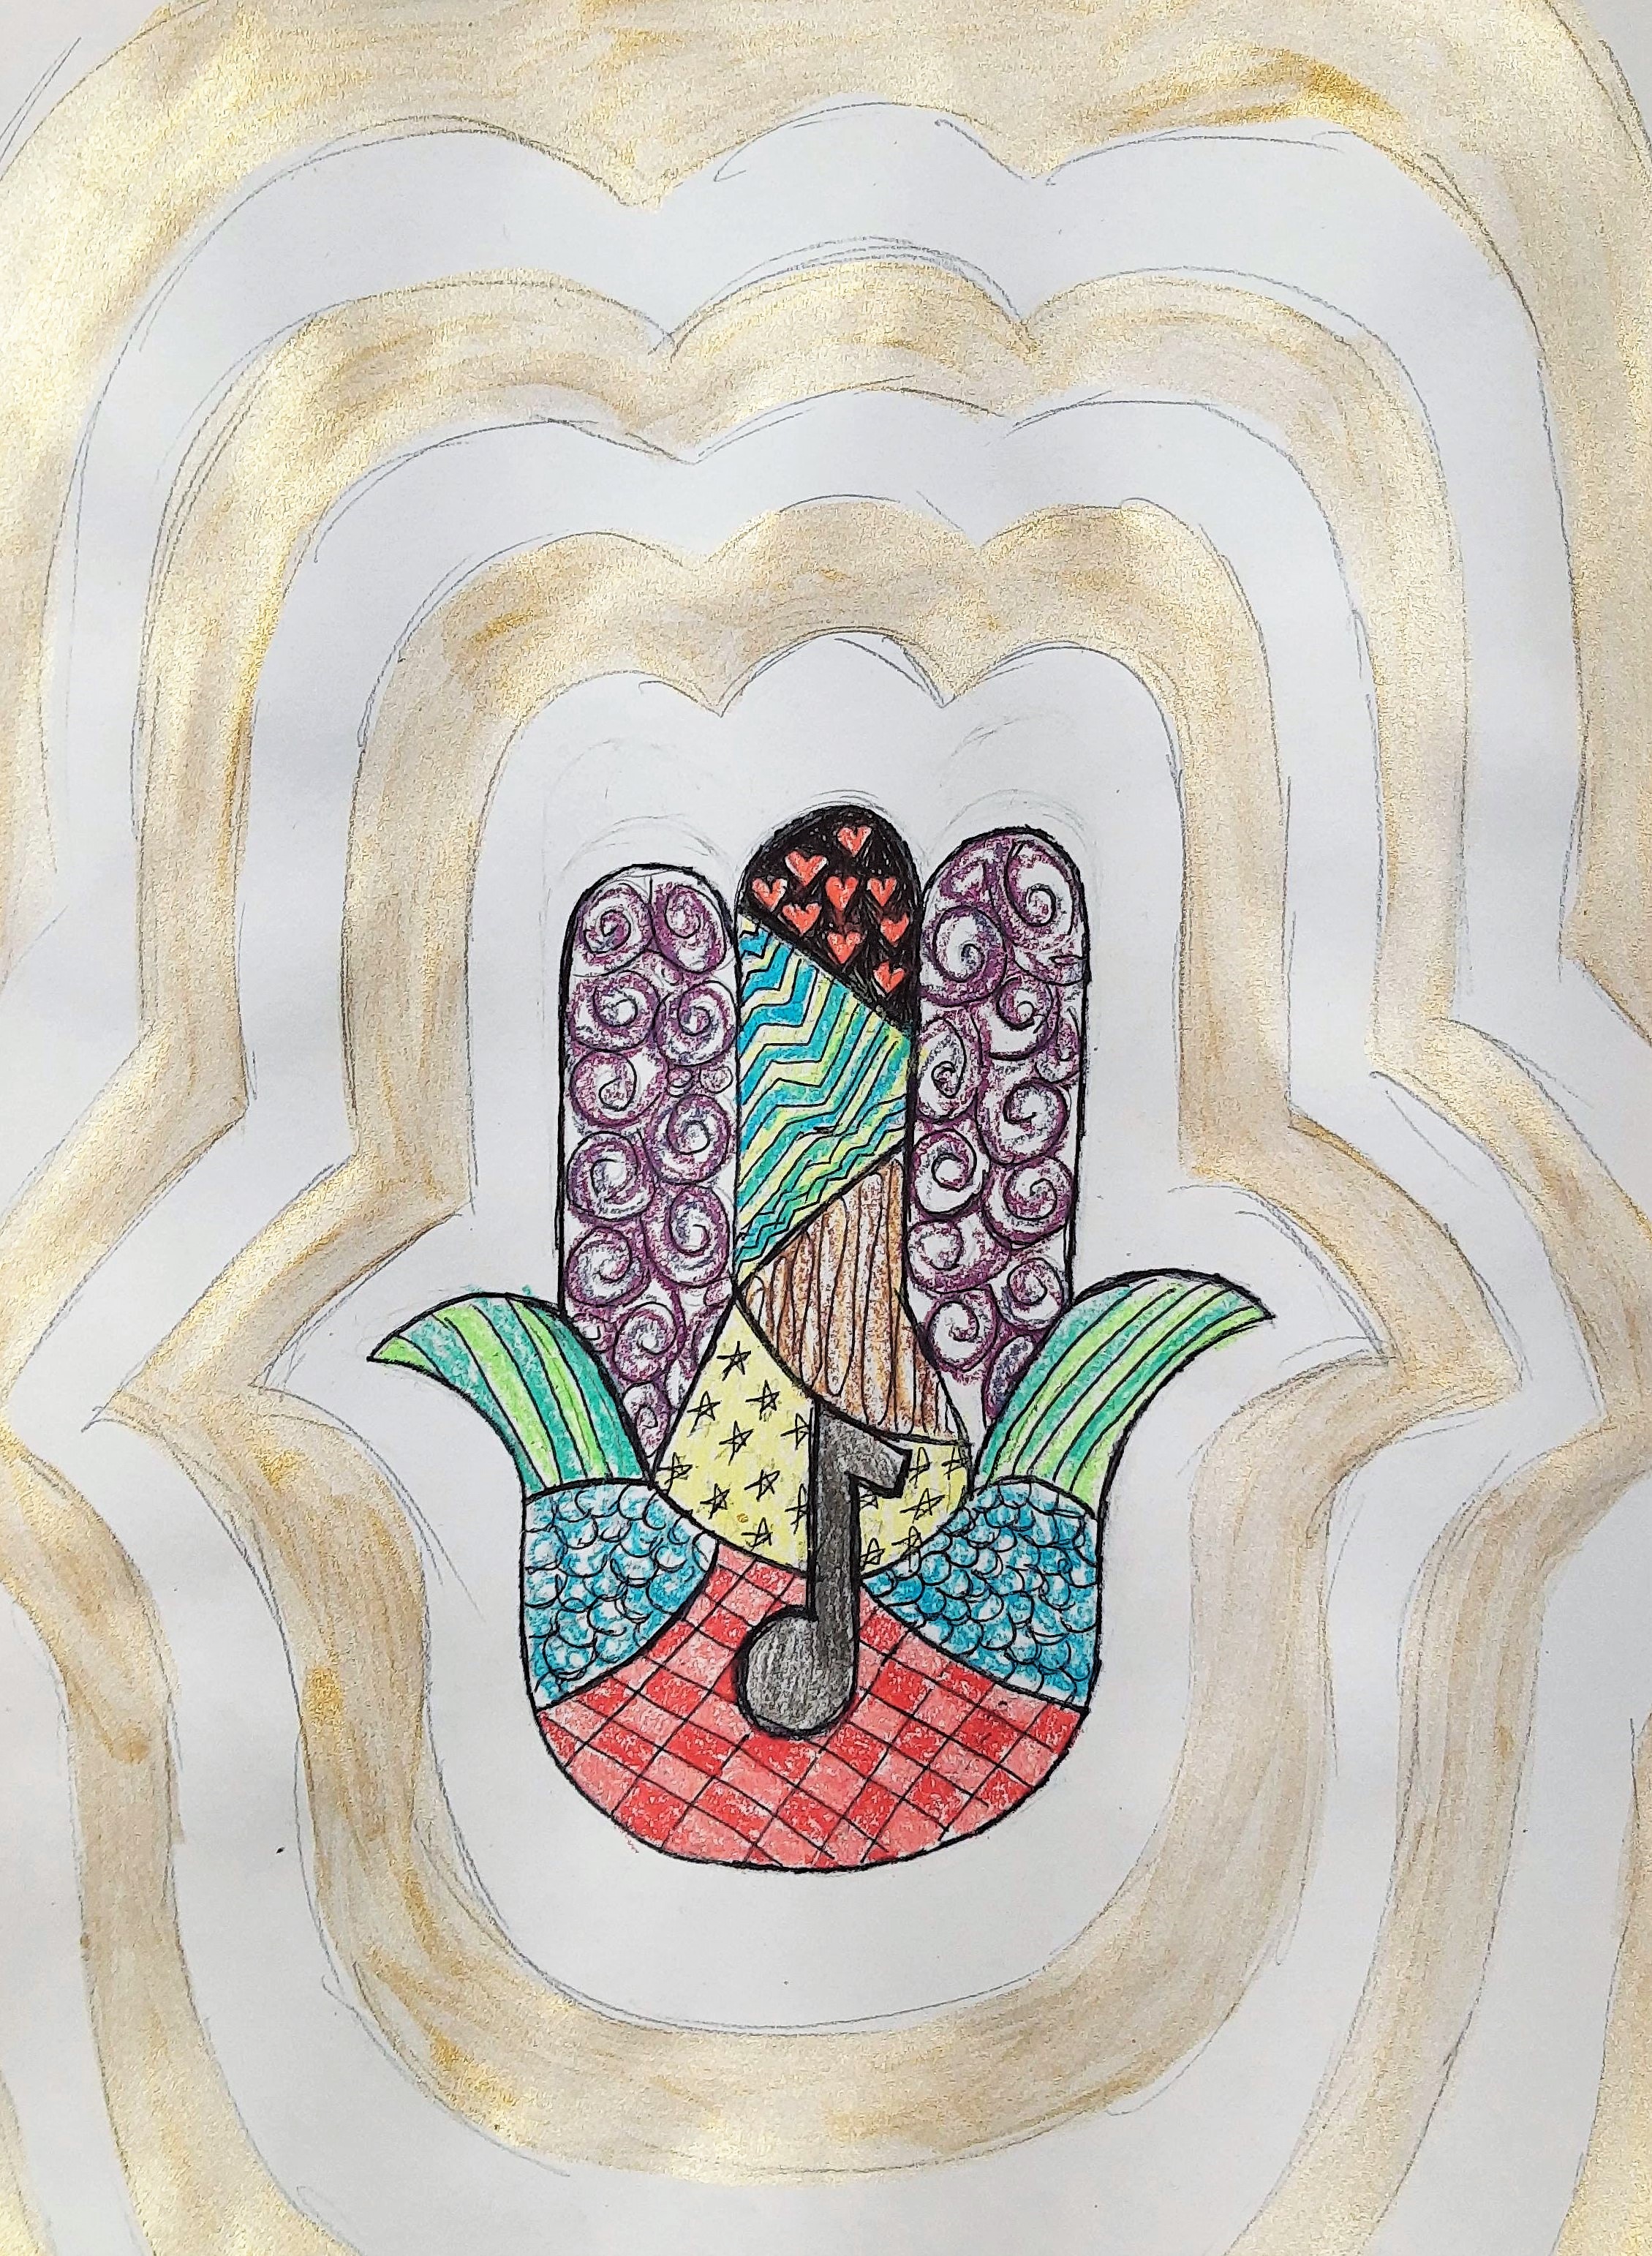
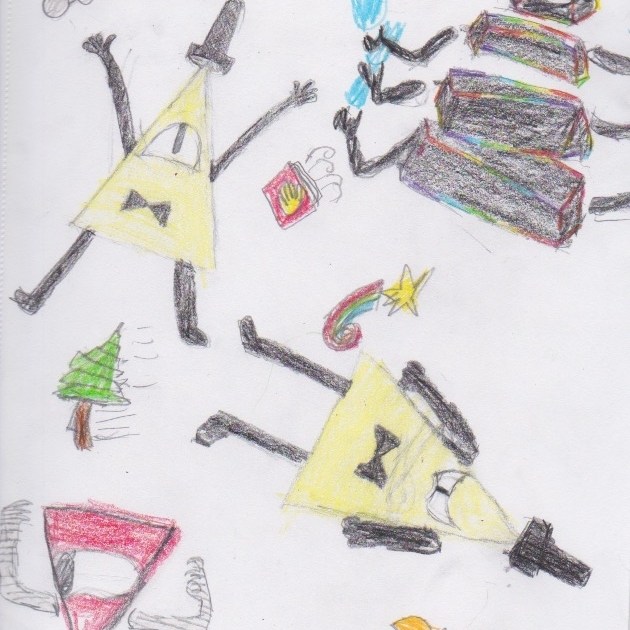
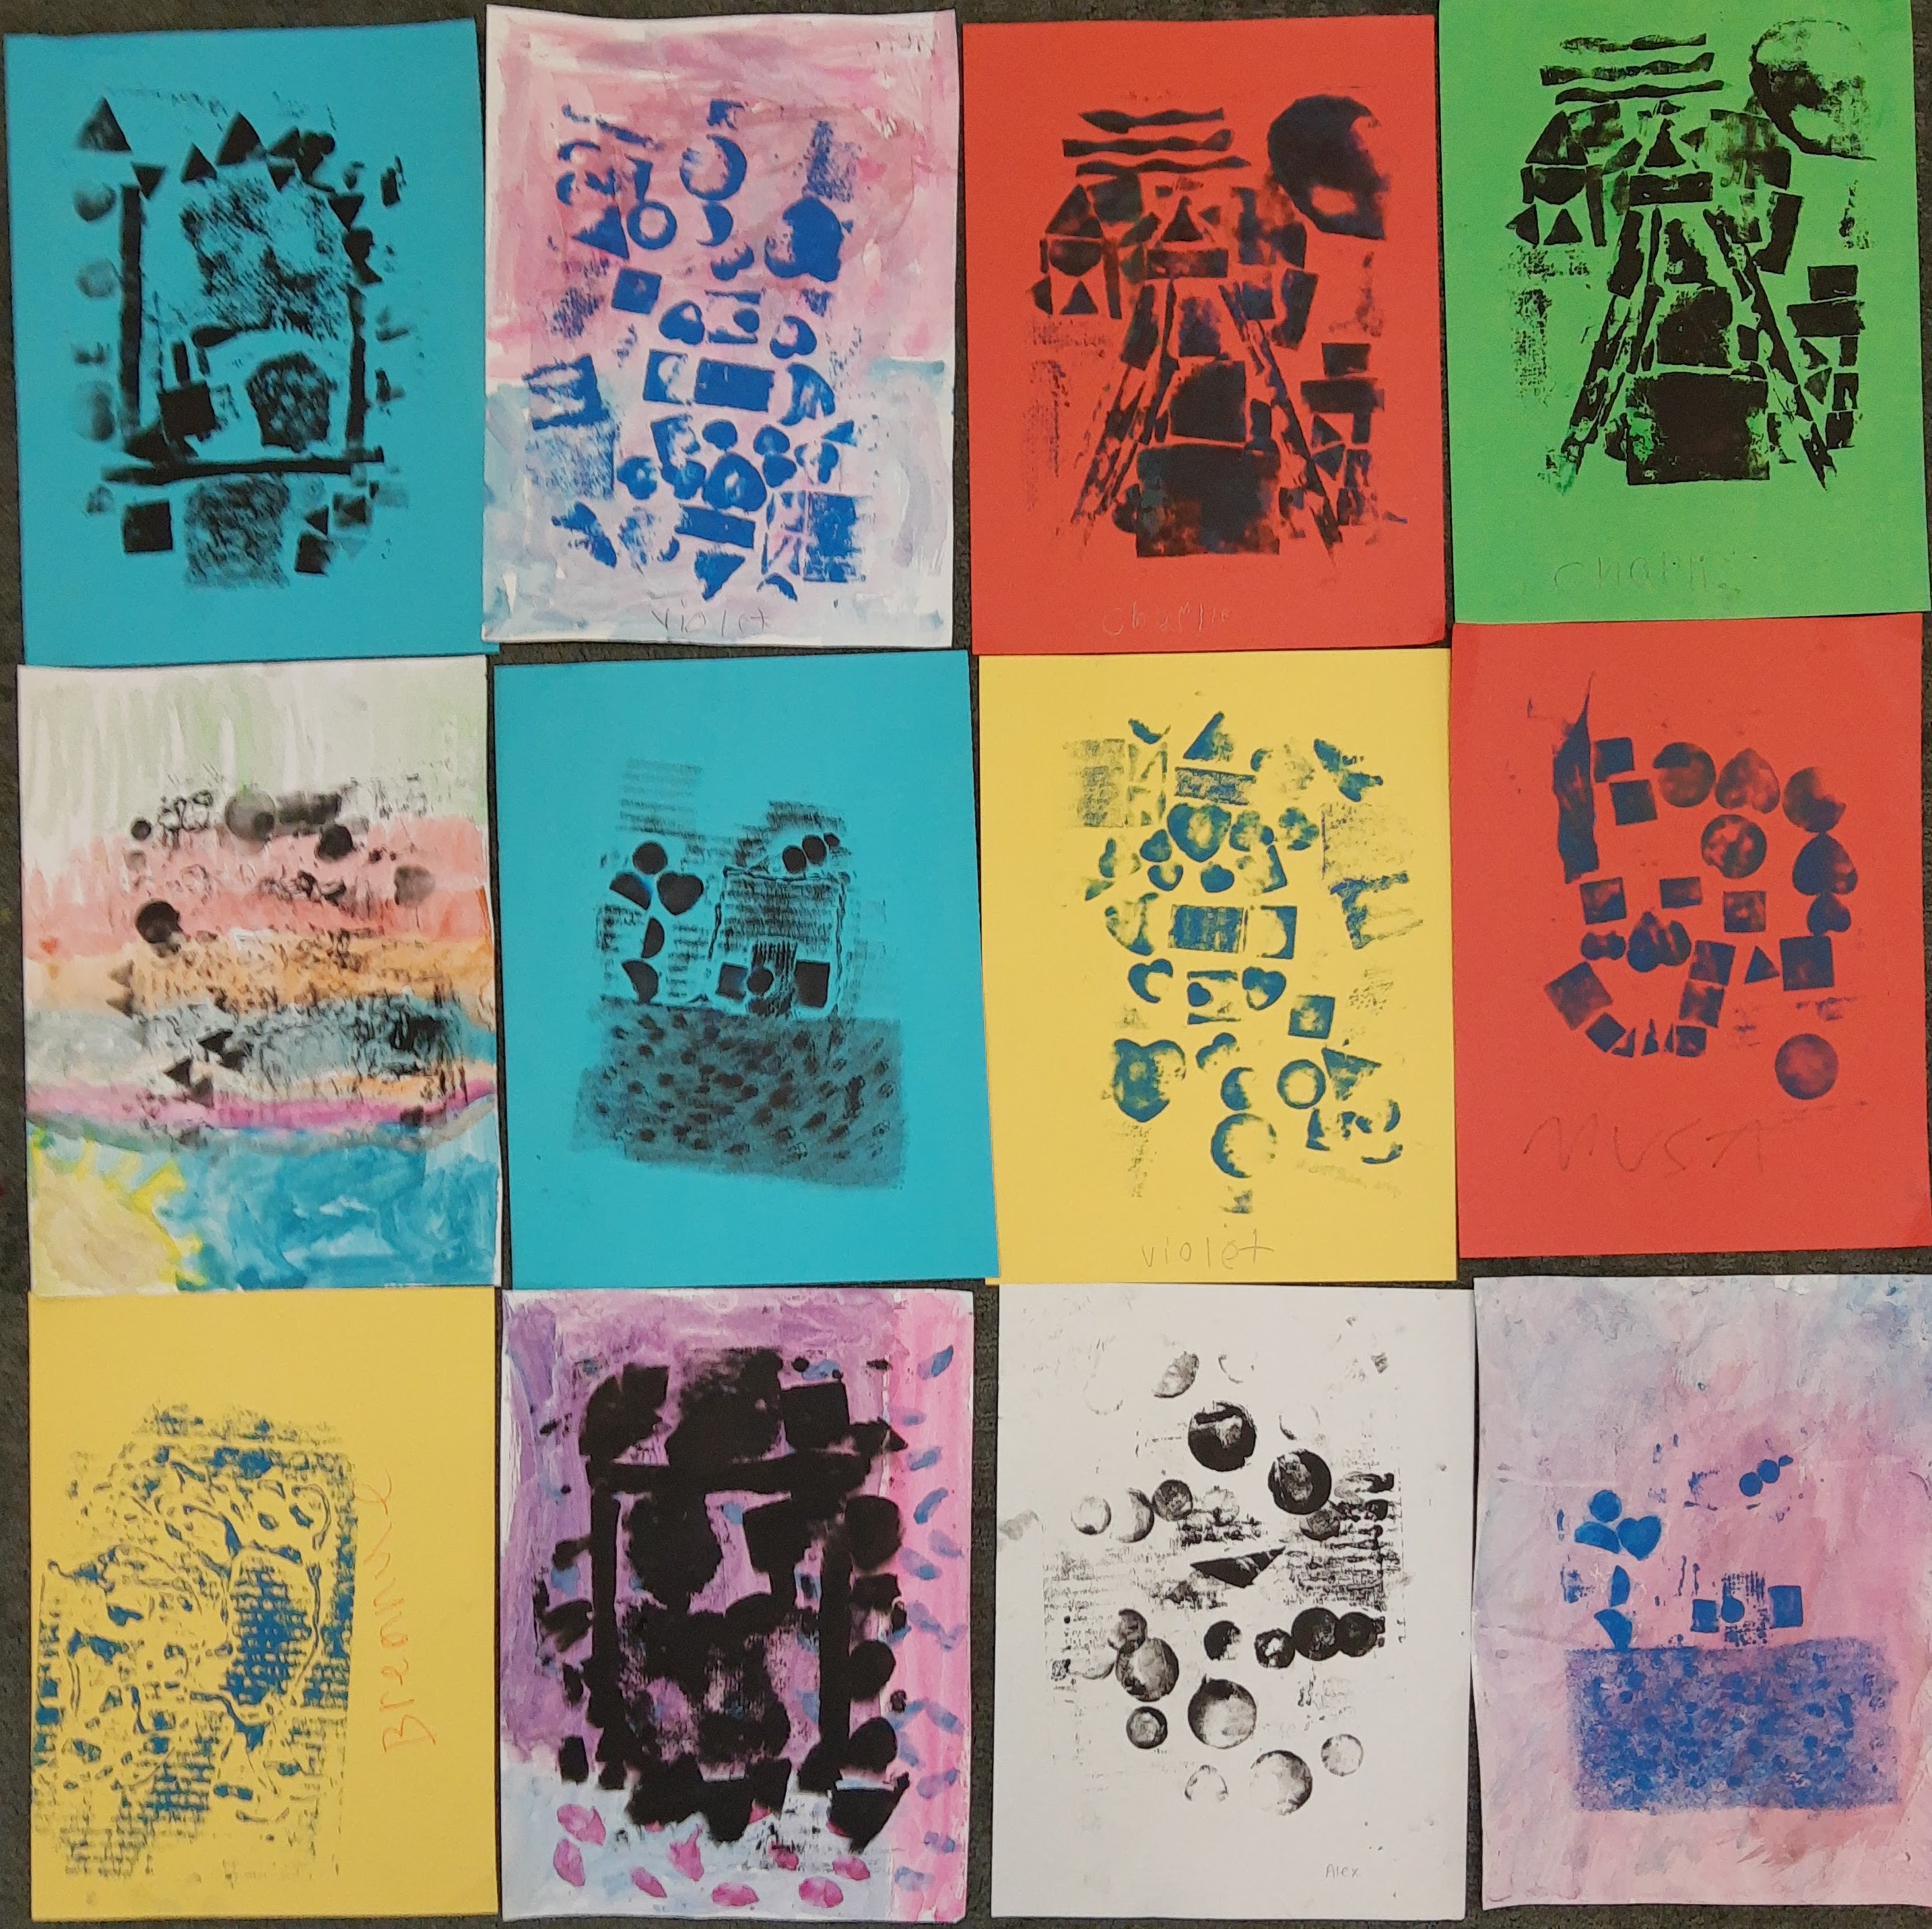
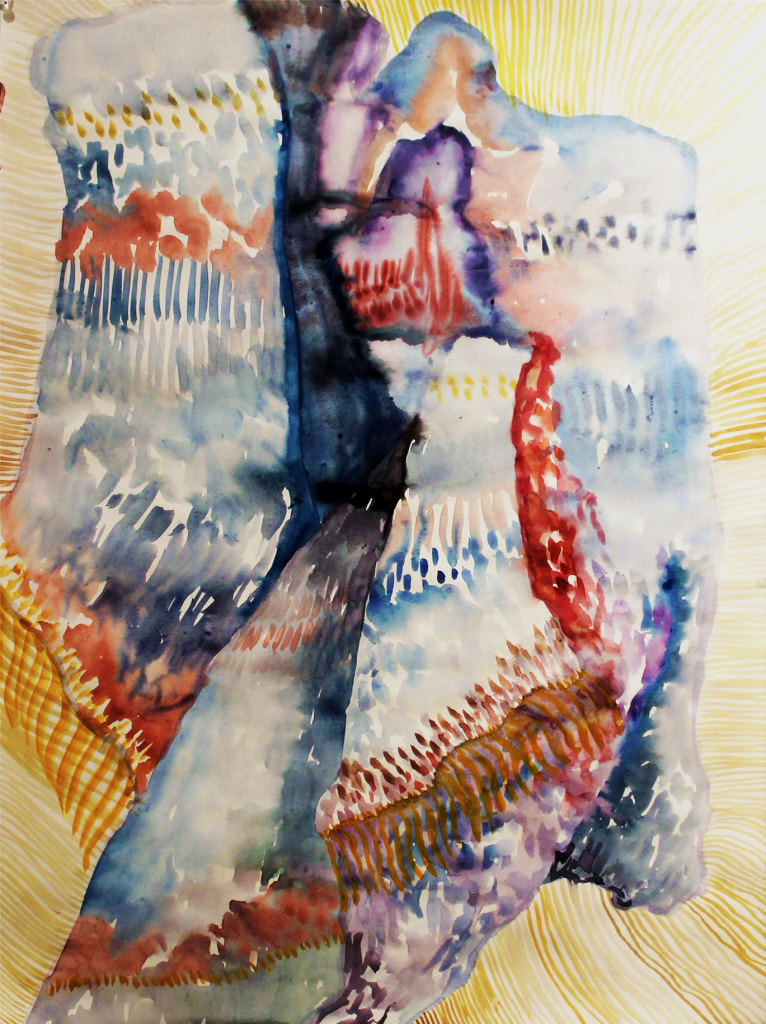
Last school year, one of the lessons I taught was about creating rhythm using repetition and movement (moving the eye around the page). The lesson was taught virtually and these are some of the artworks my students came up with:
Last week, I taught a printmaking camp. I was subbing in for another teacher, and even though I had her lesson plan, I ended up changing a lot of things to account for the materials already available. For the first day, I wanted campers to make something really large using recycled materials. I remembered making collagraphs in my college printmaking class and it was really fun, so I went with it. I also love the textural aspect of collagraphs.
Image above: my art teaching sketchbook where I keep track of my ideas and lessons I’ve taught
Collagraphs – On the first day of camp, campers learned about collagraphs and made BIG printing plates. I cut out cardboard that is about 22 x 16″ to fit on 24 x 18″ paper.
Before creating their plates, I gave campers the theme of animals and had them sketch out and brainstorm at least 4 different ideas. They all came up with different animals which was awesome!
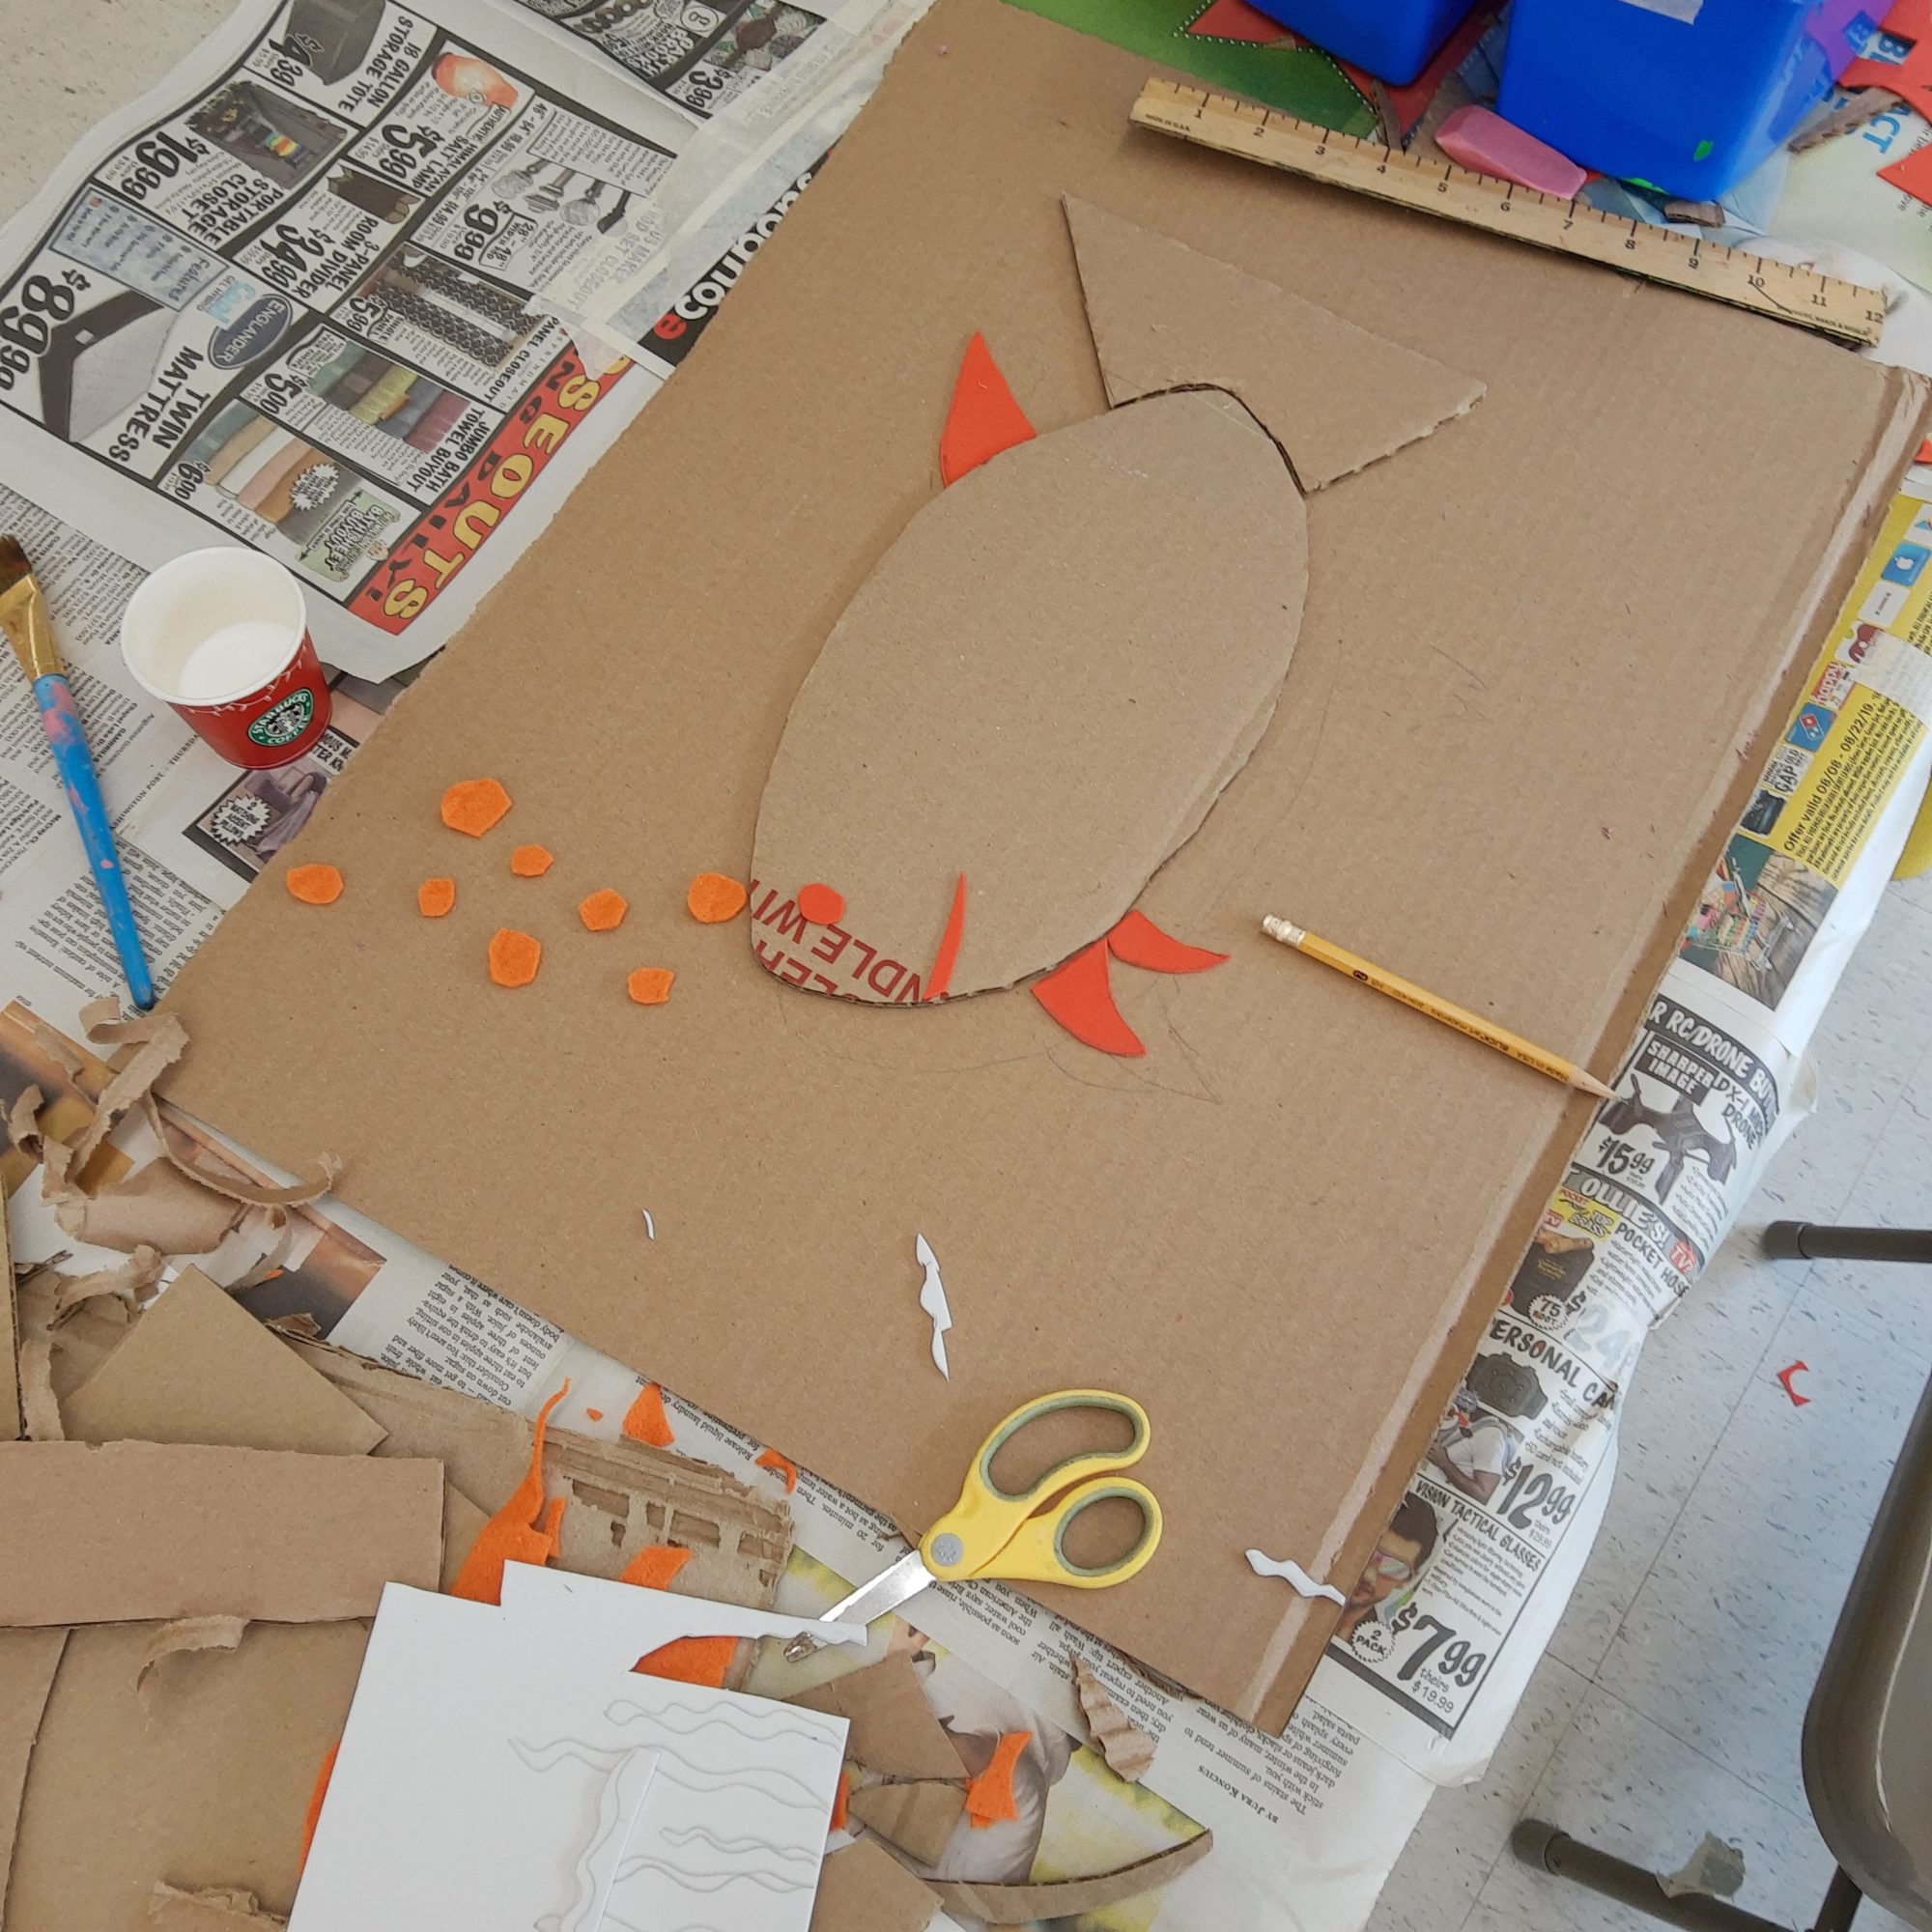
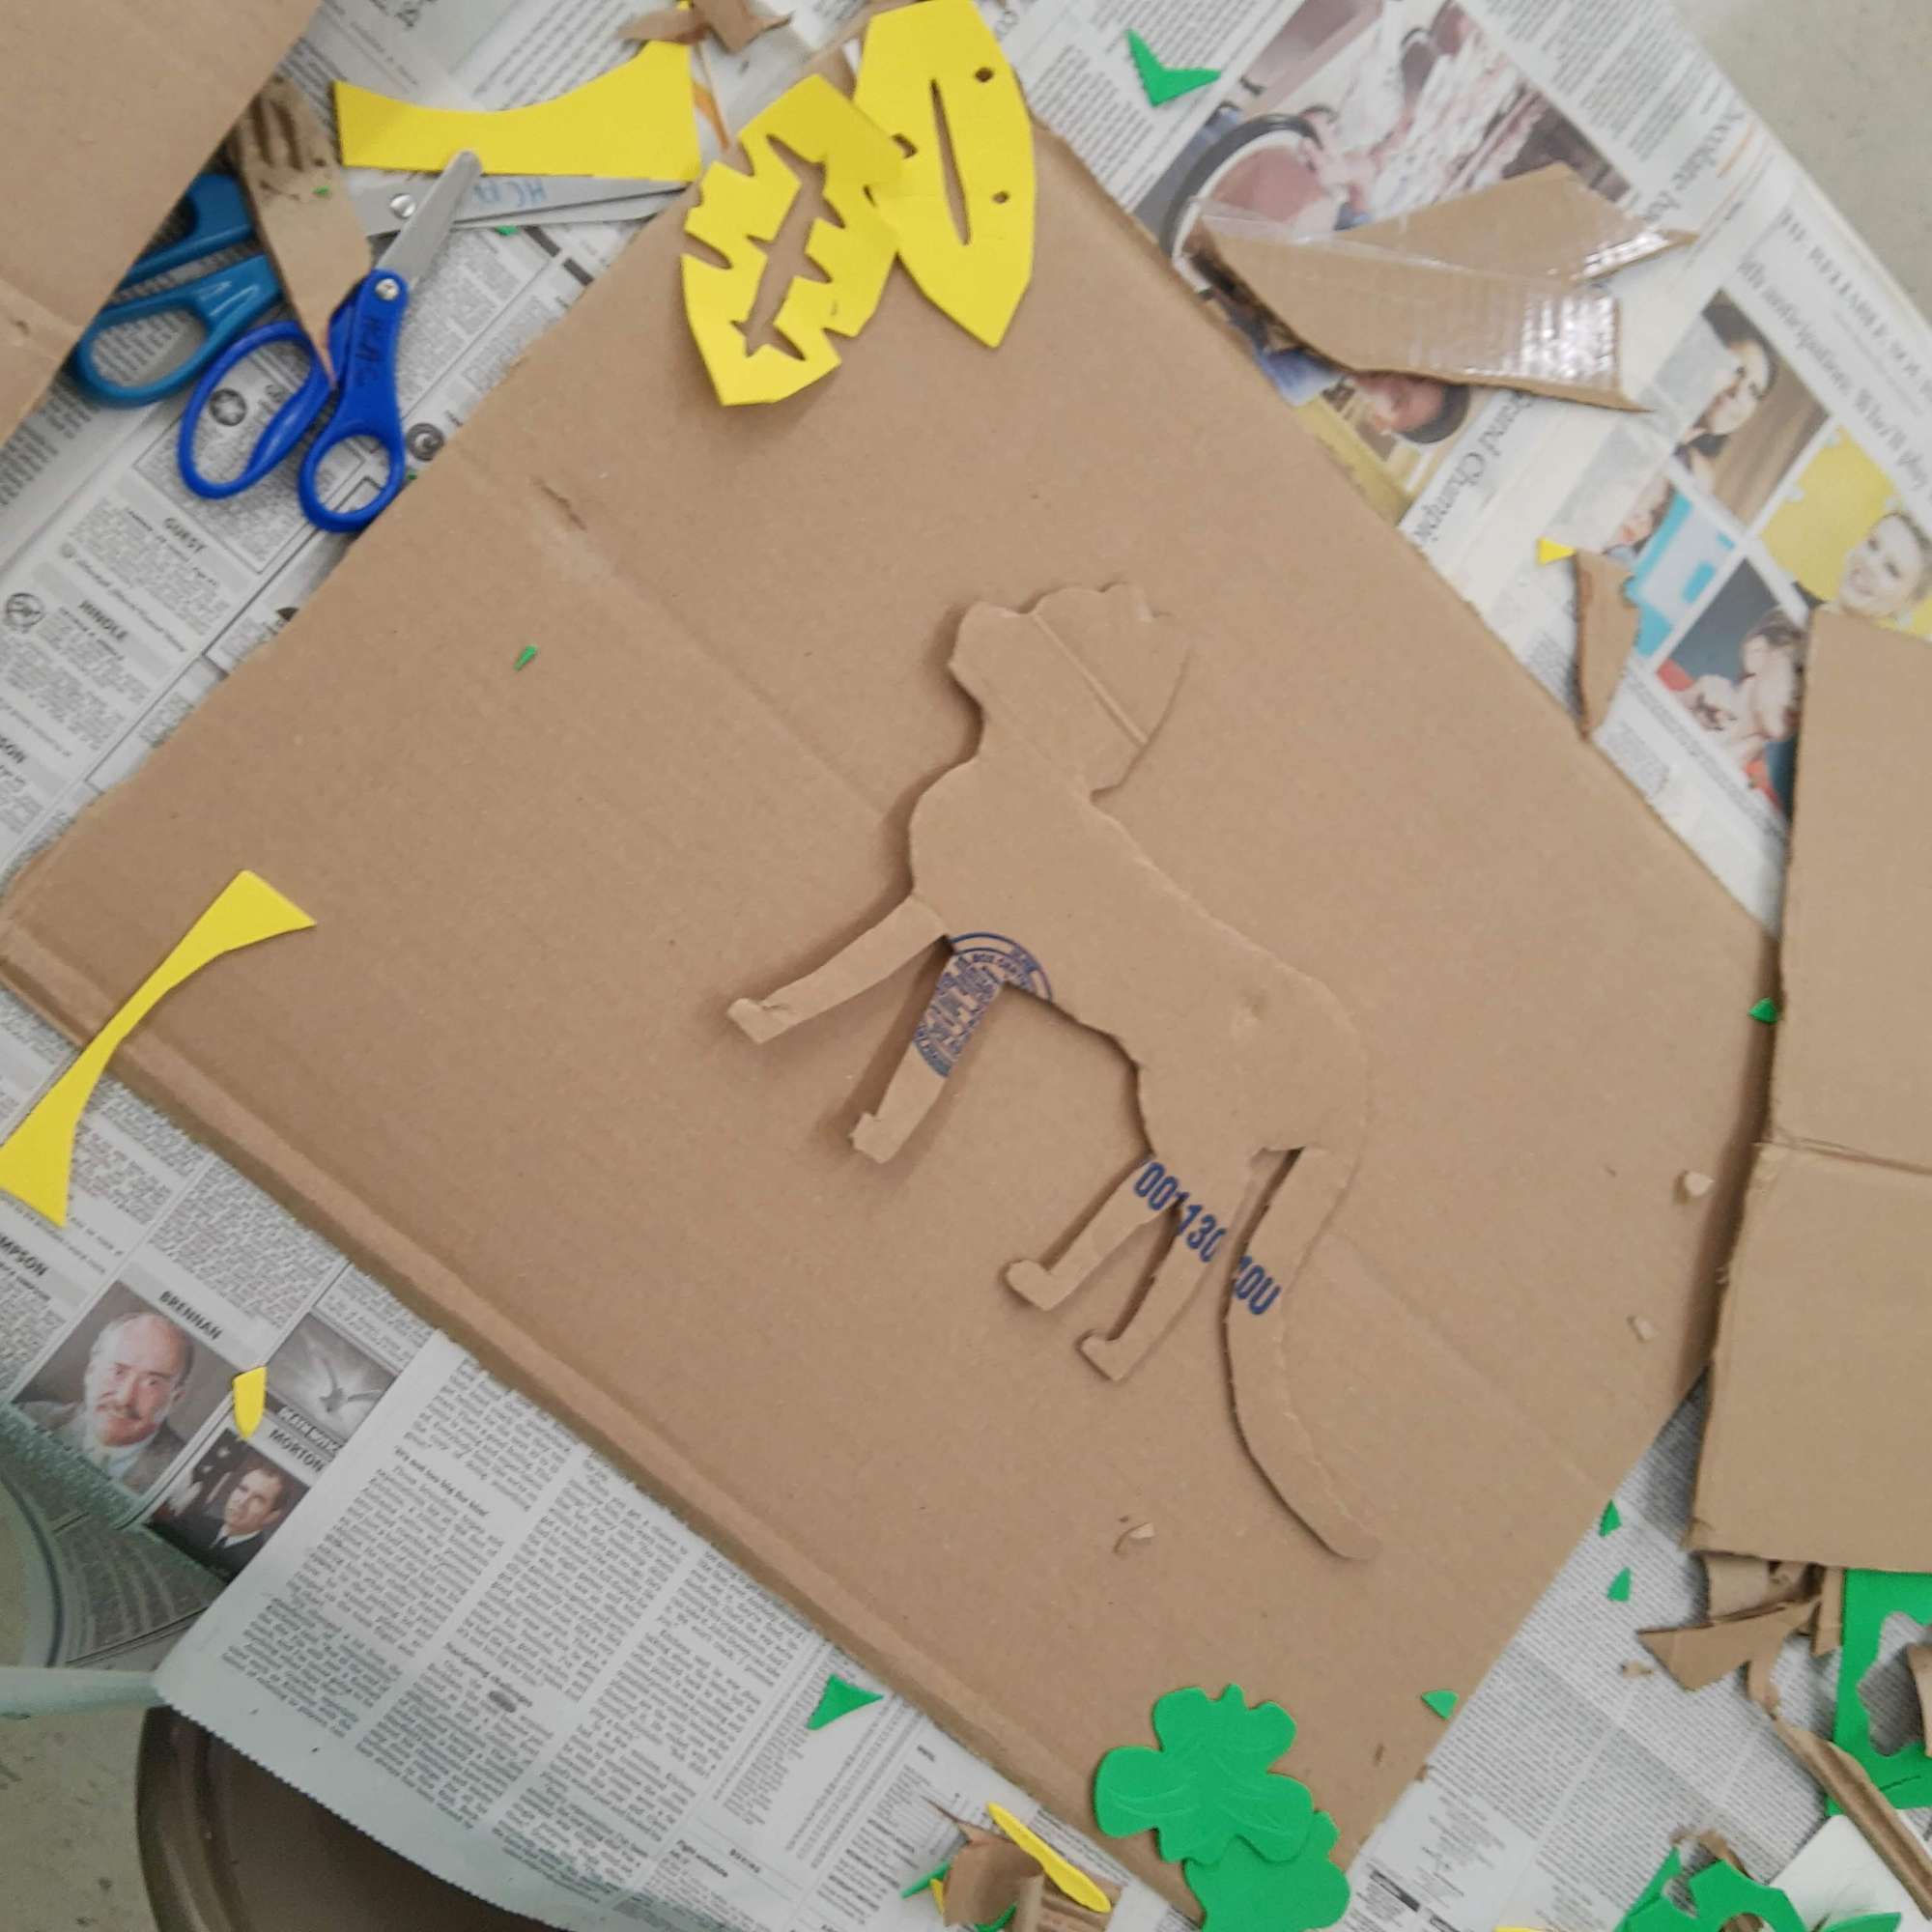
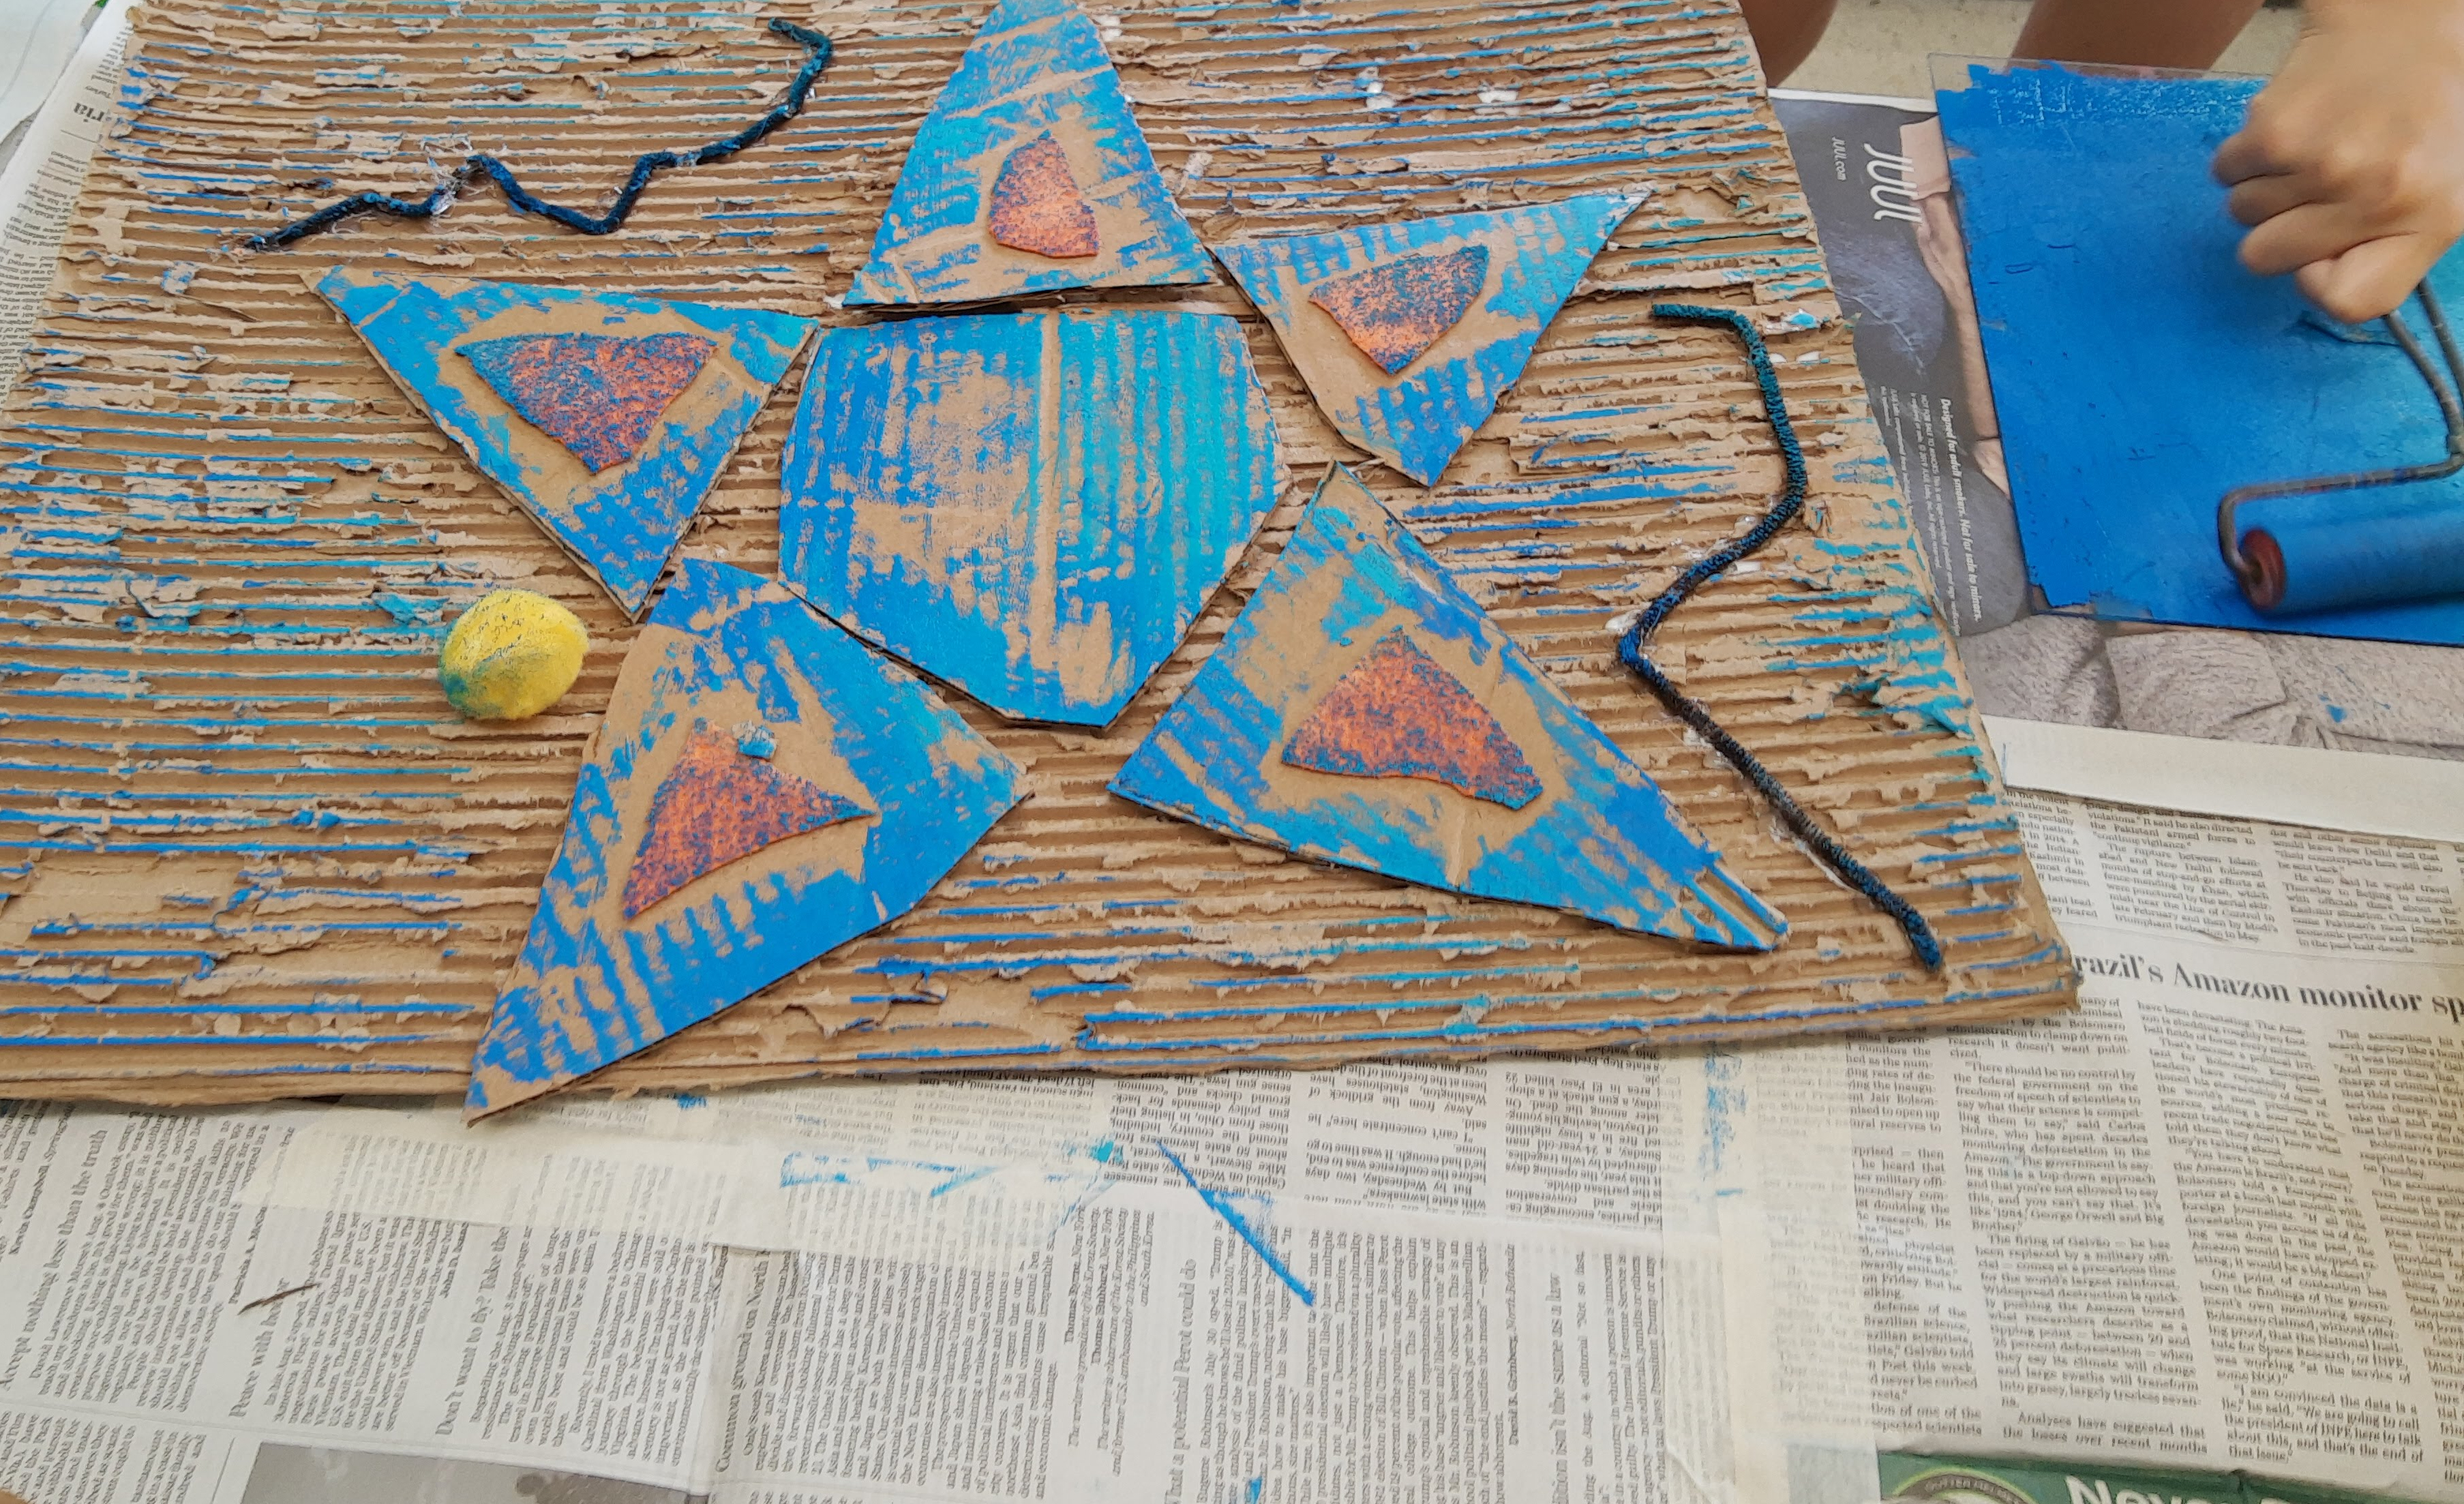
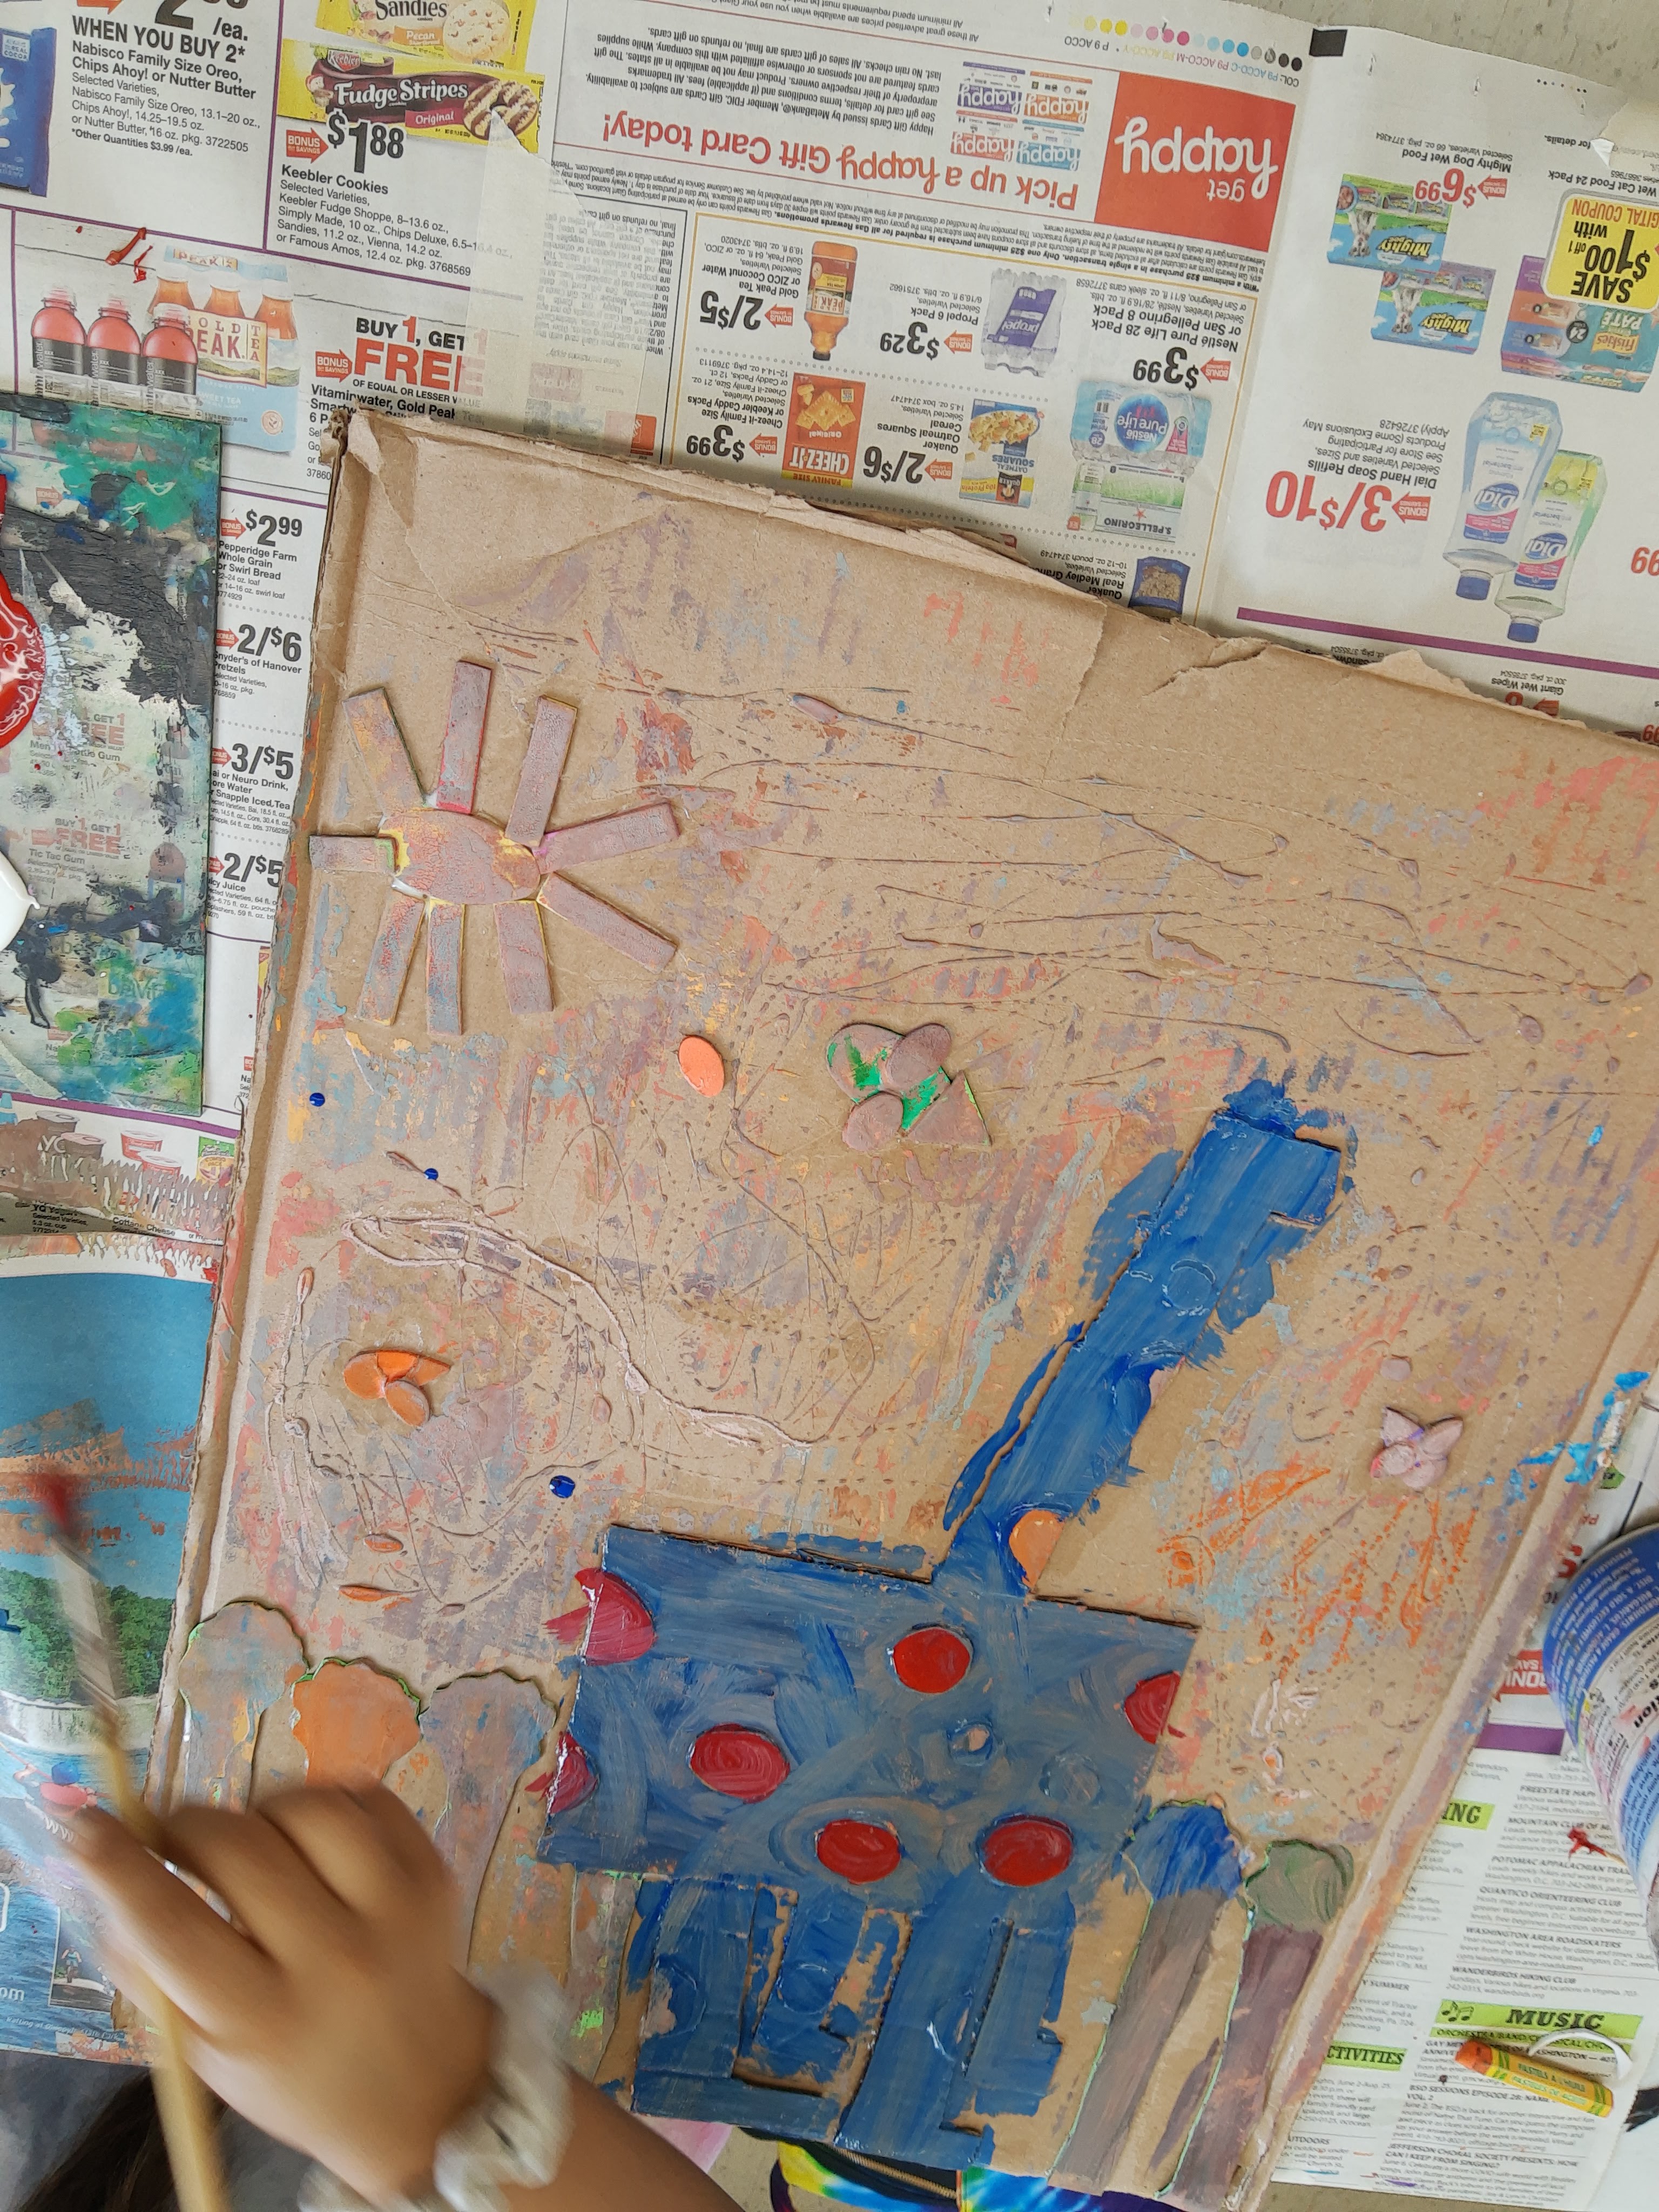
Once their ideas were set, they began assembling their collagraphs. I had different sizes of scrap cardboard laid out for campers to use as well as foam, felt, pipe-cleaners, and other crafty materials to attach to their cardboard plate. One camper even decided to remove the top layer of the cardboard to reveal the corrugation underneath to create texture. We also discussed how different materials will create different textures (fabric creates a fuzzy texture, cardboard appears rough).
Once everything had been glued down to the plate, I handed out cups of mod podge and brushes and campers applied mod podge all over the top surface of their plates so everything was sealed and ready for printing.
Some of the collagraph plates from campers:
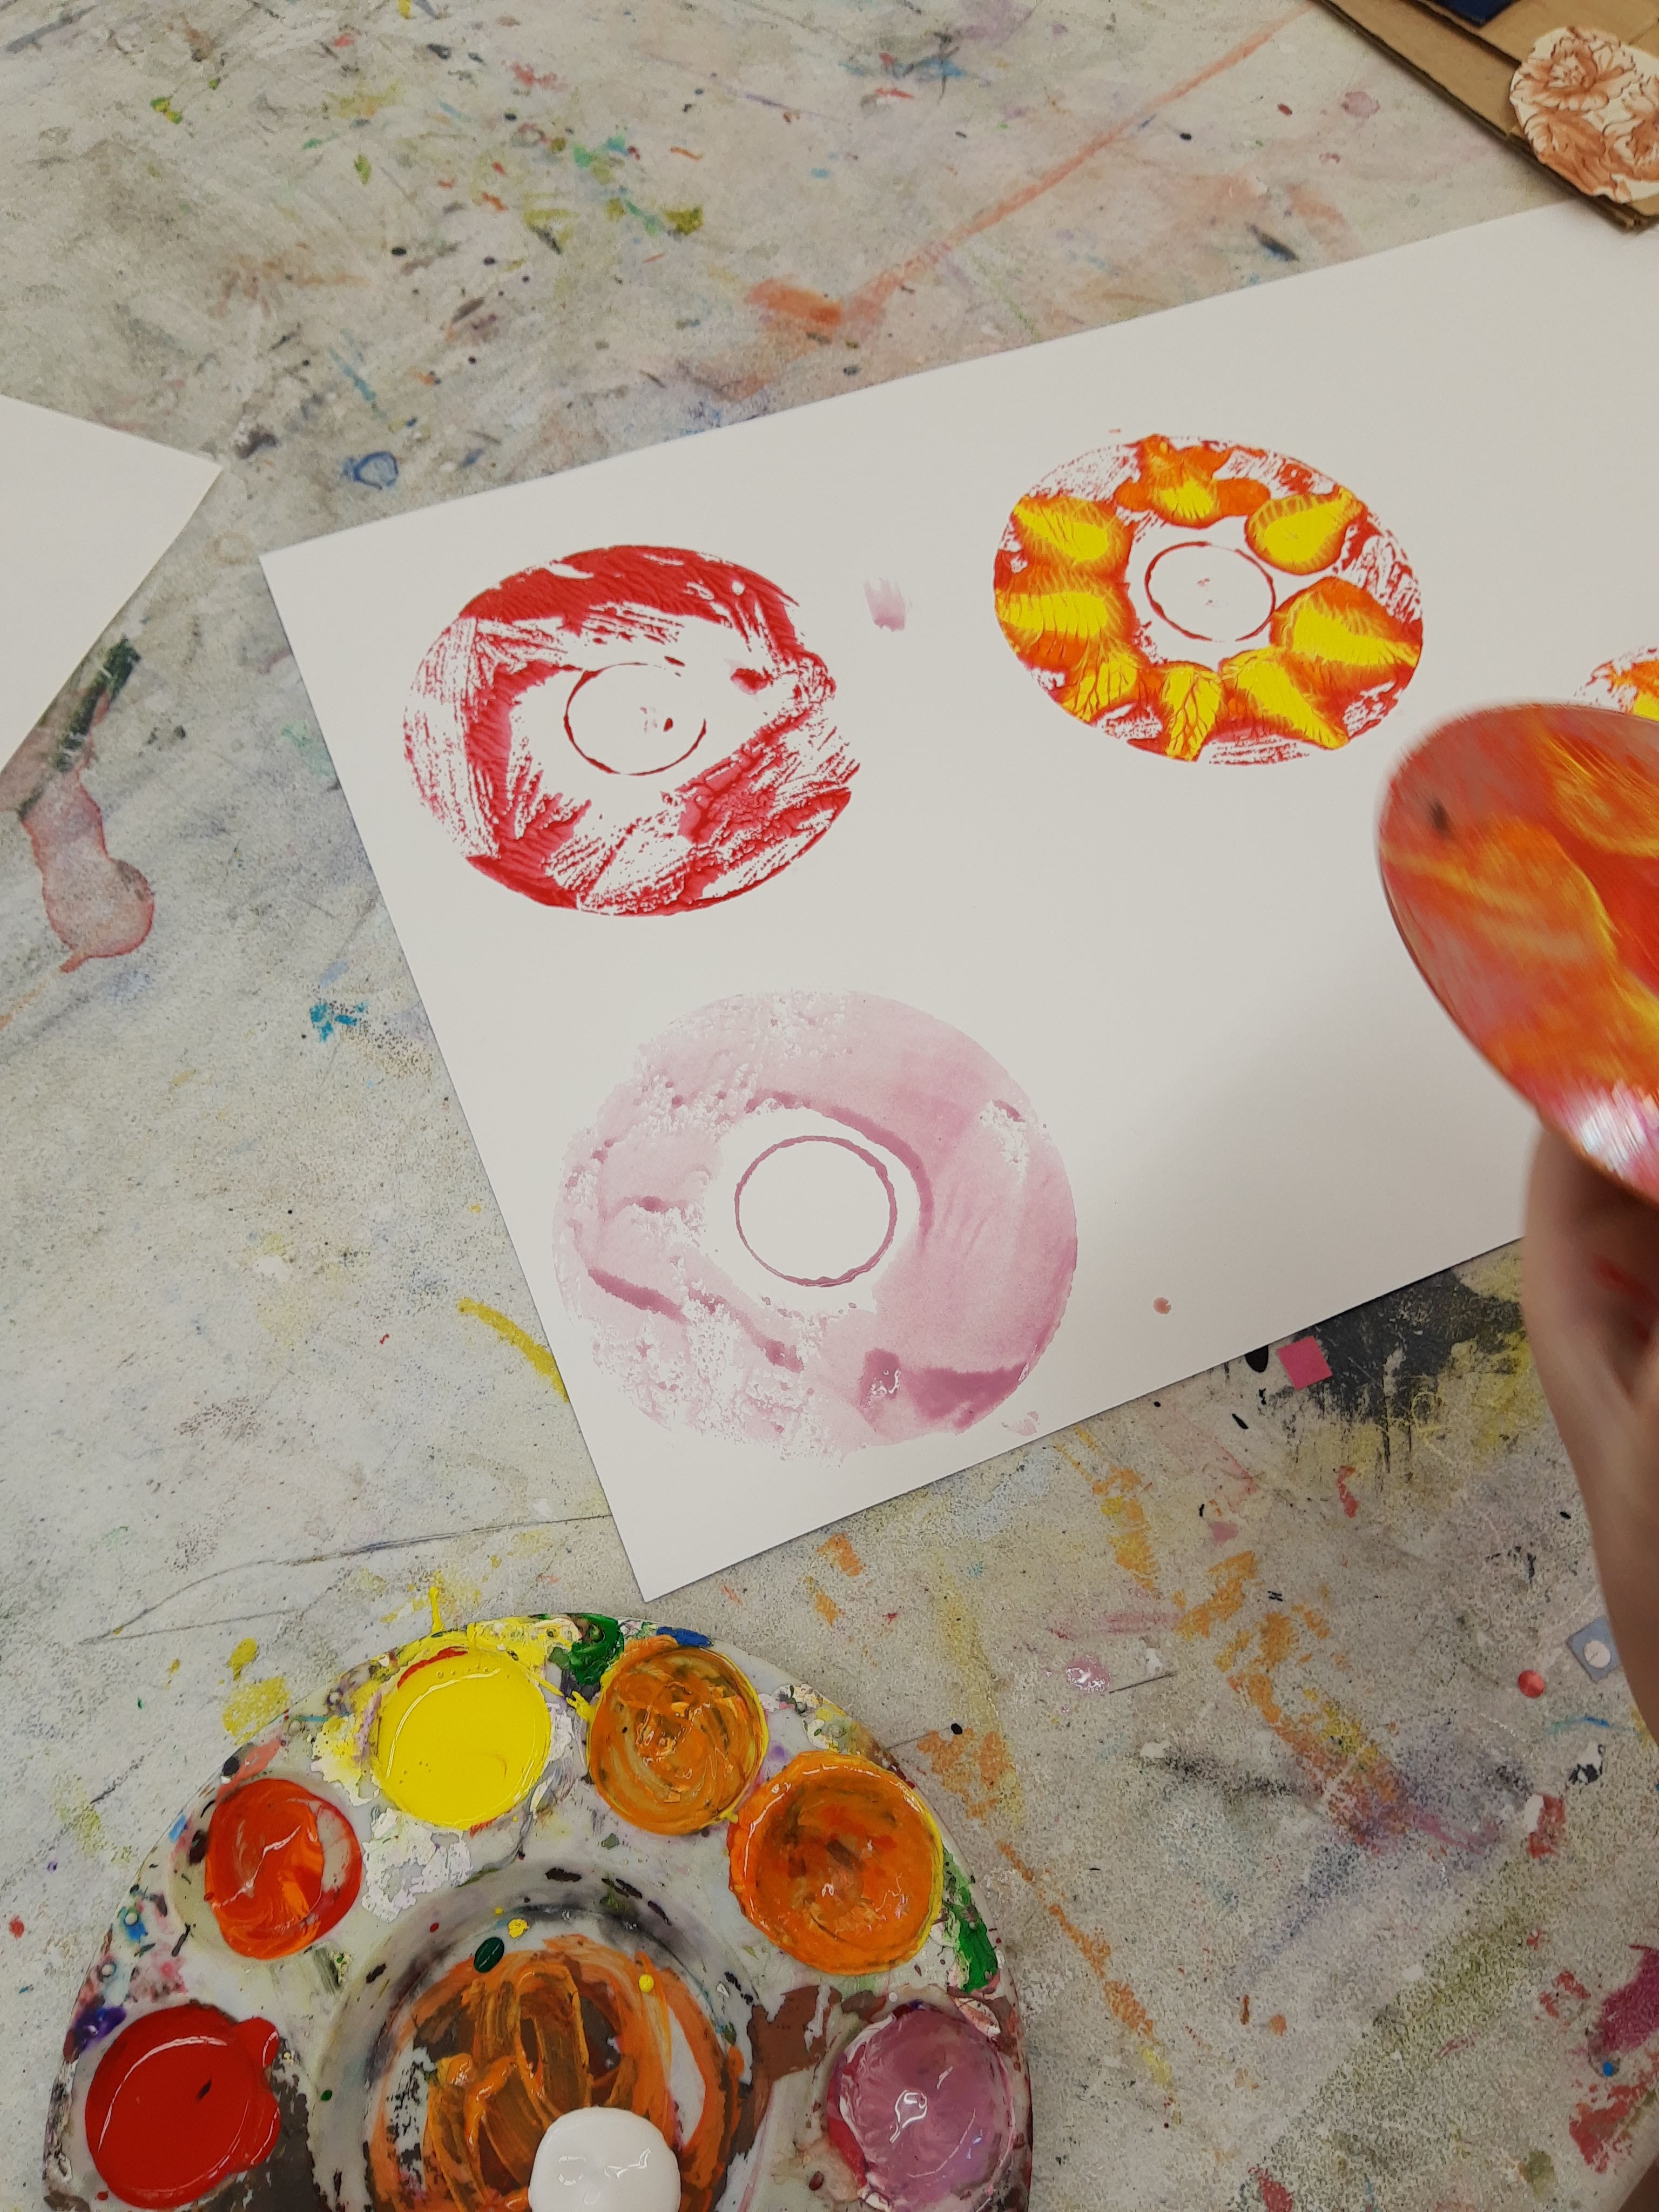
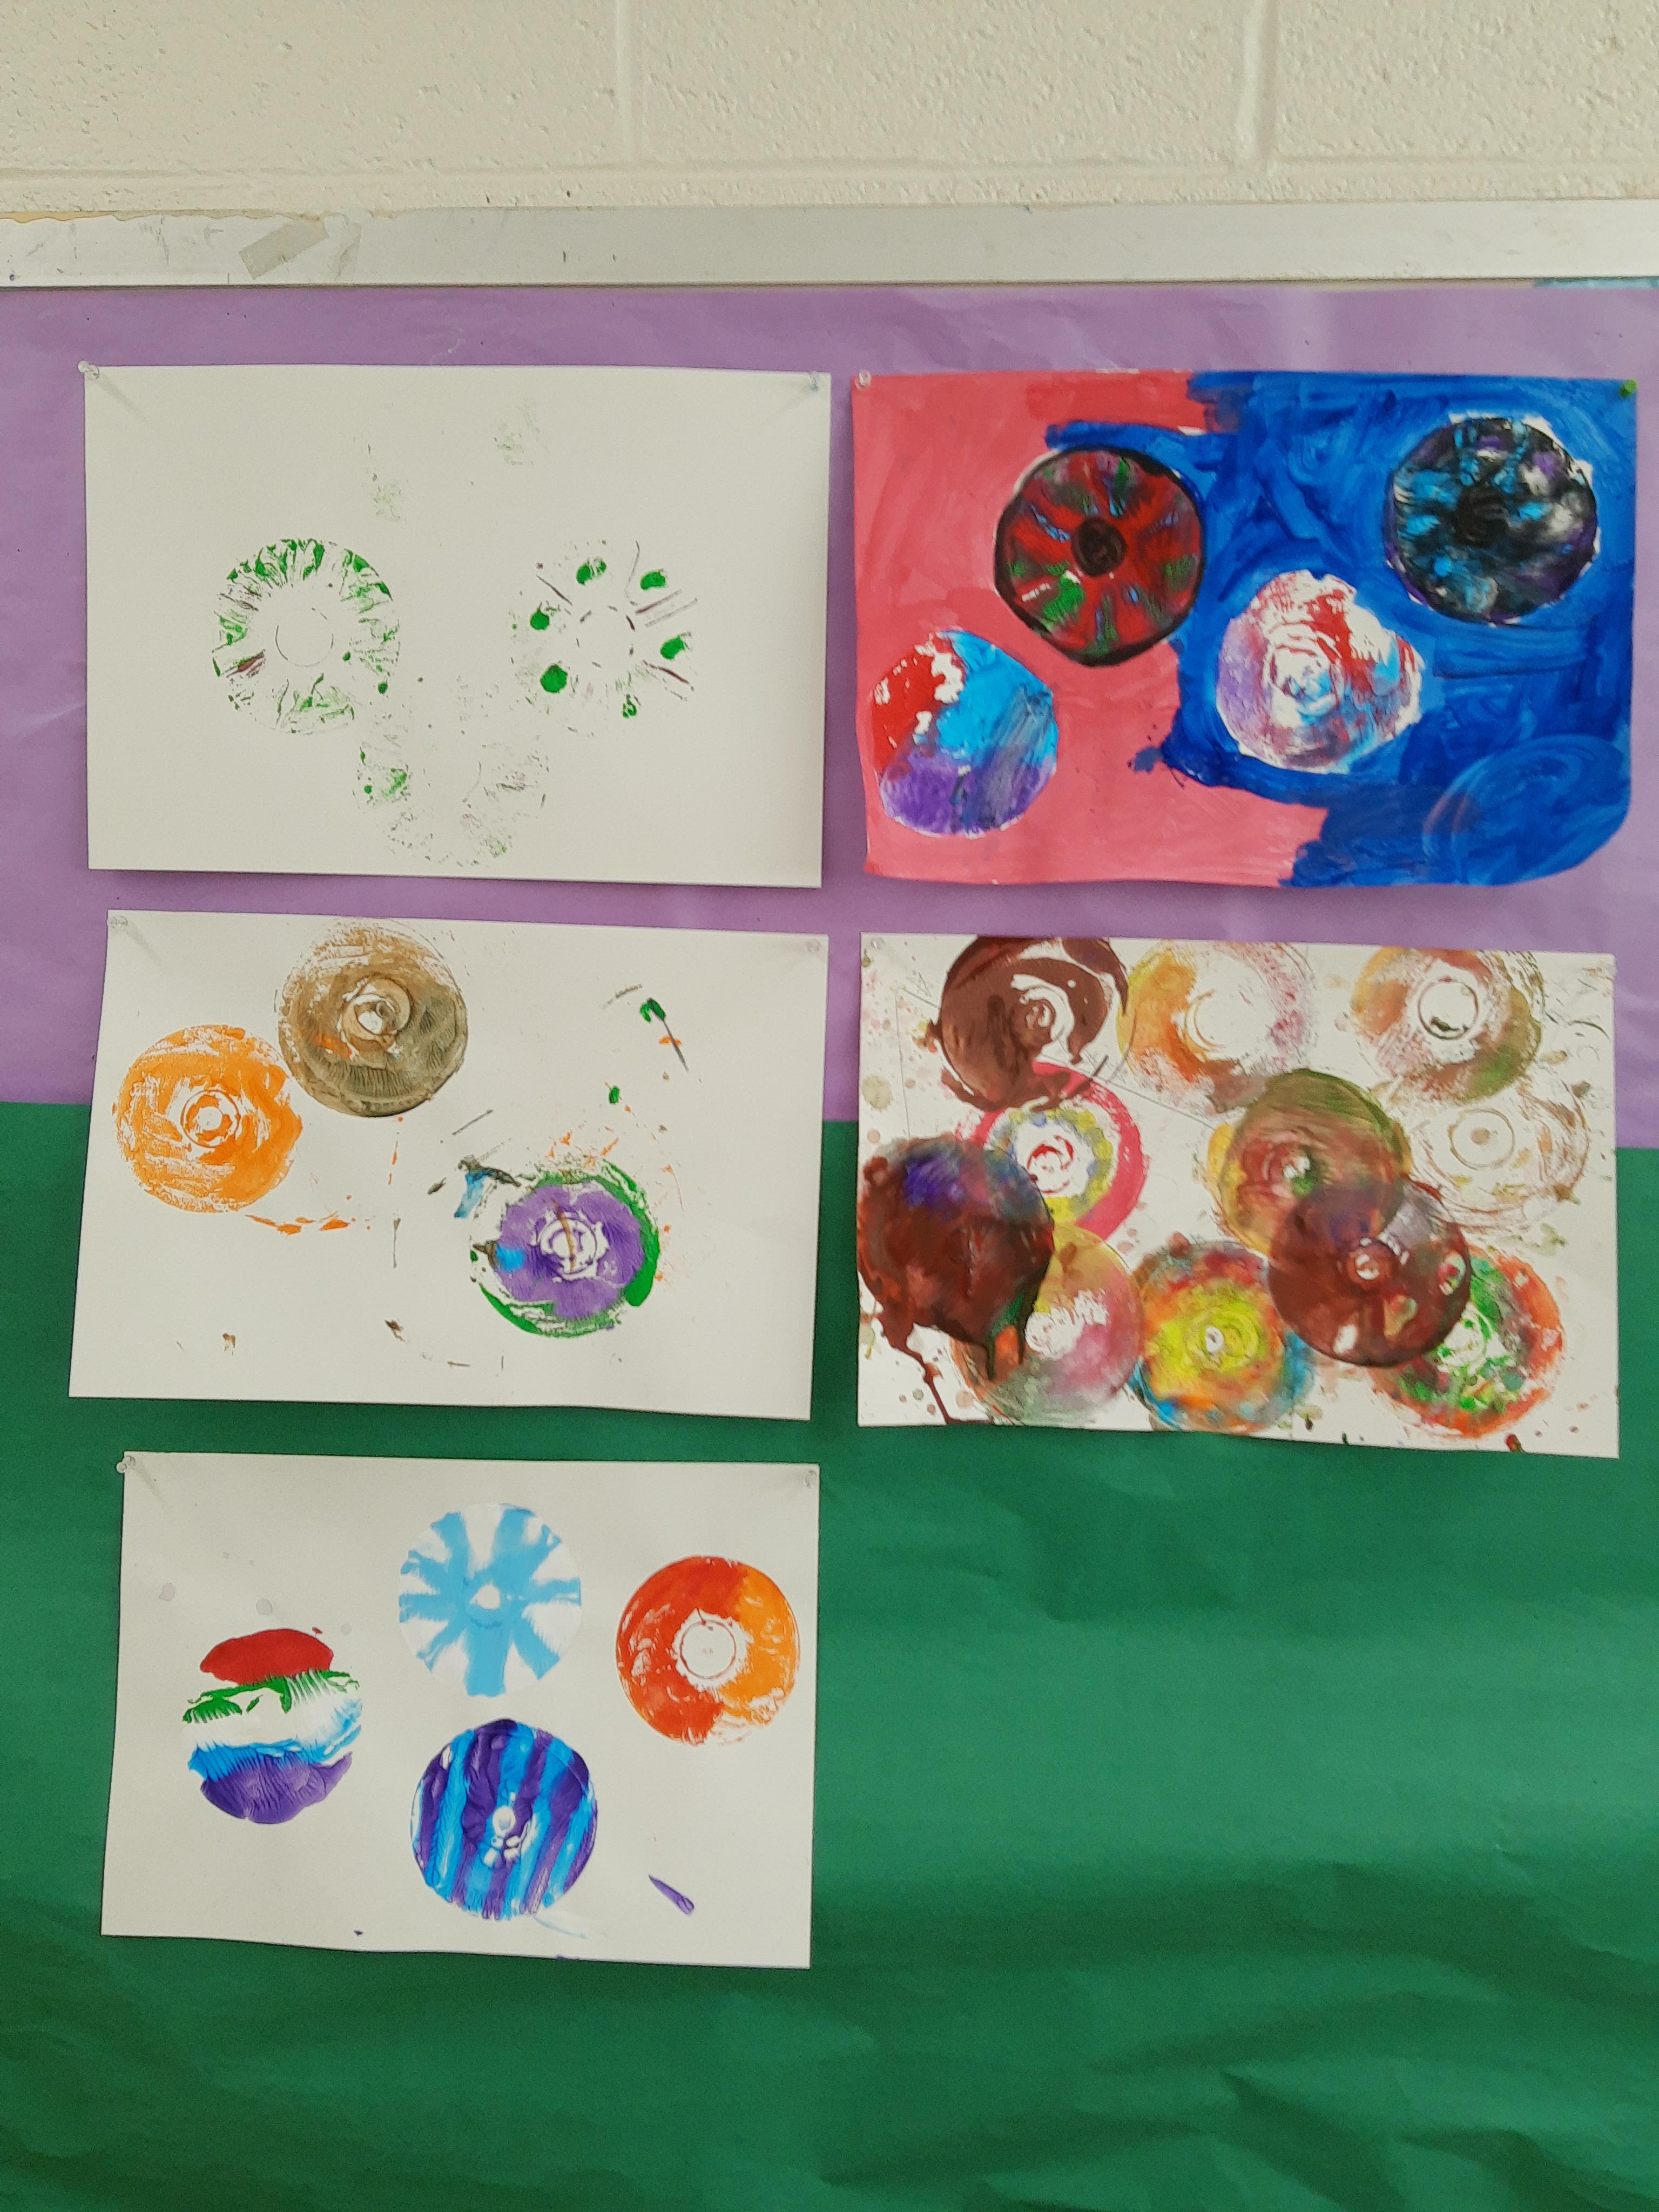
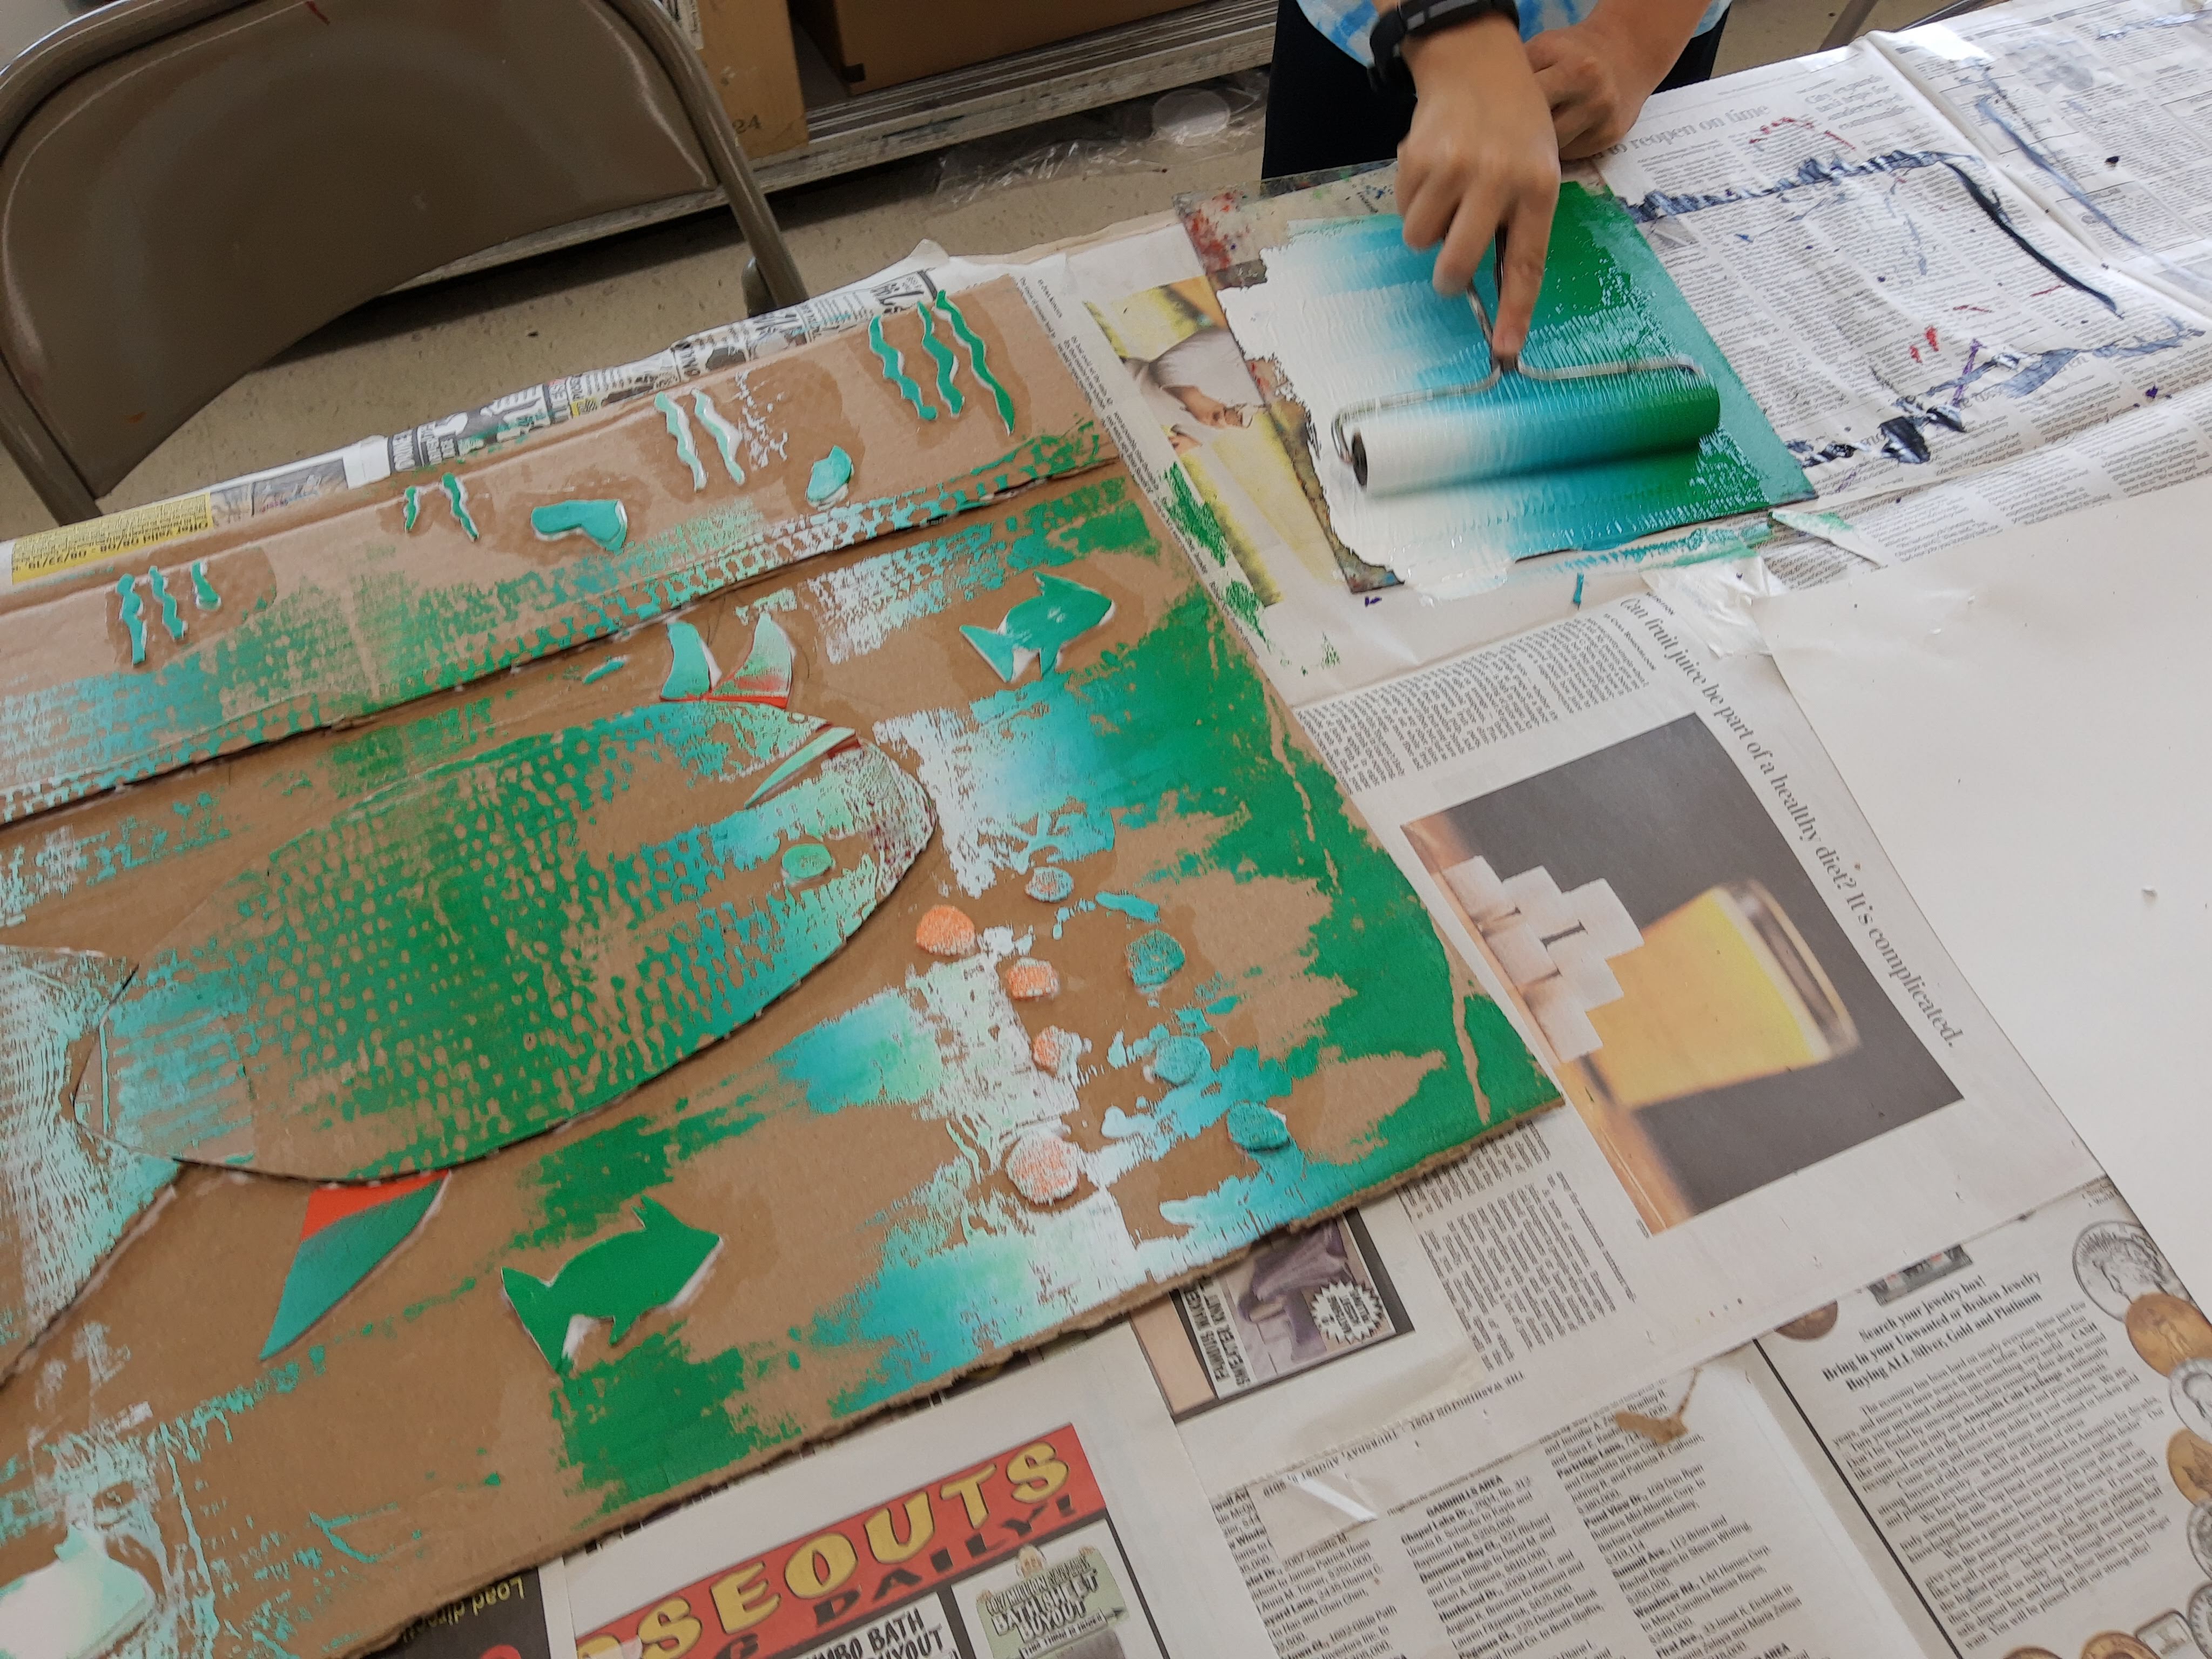
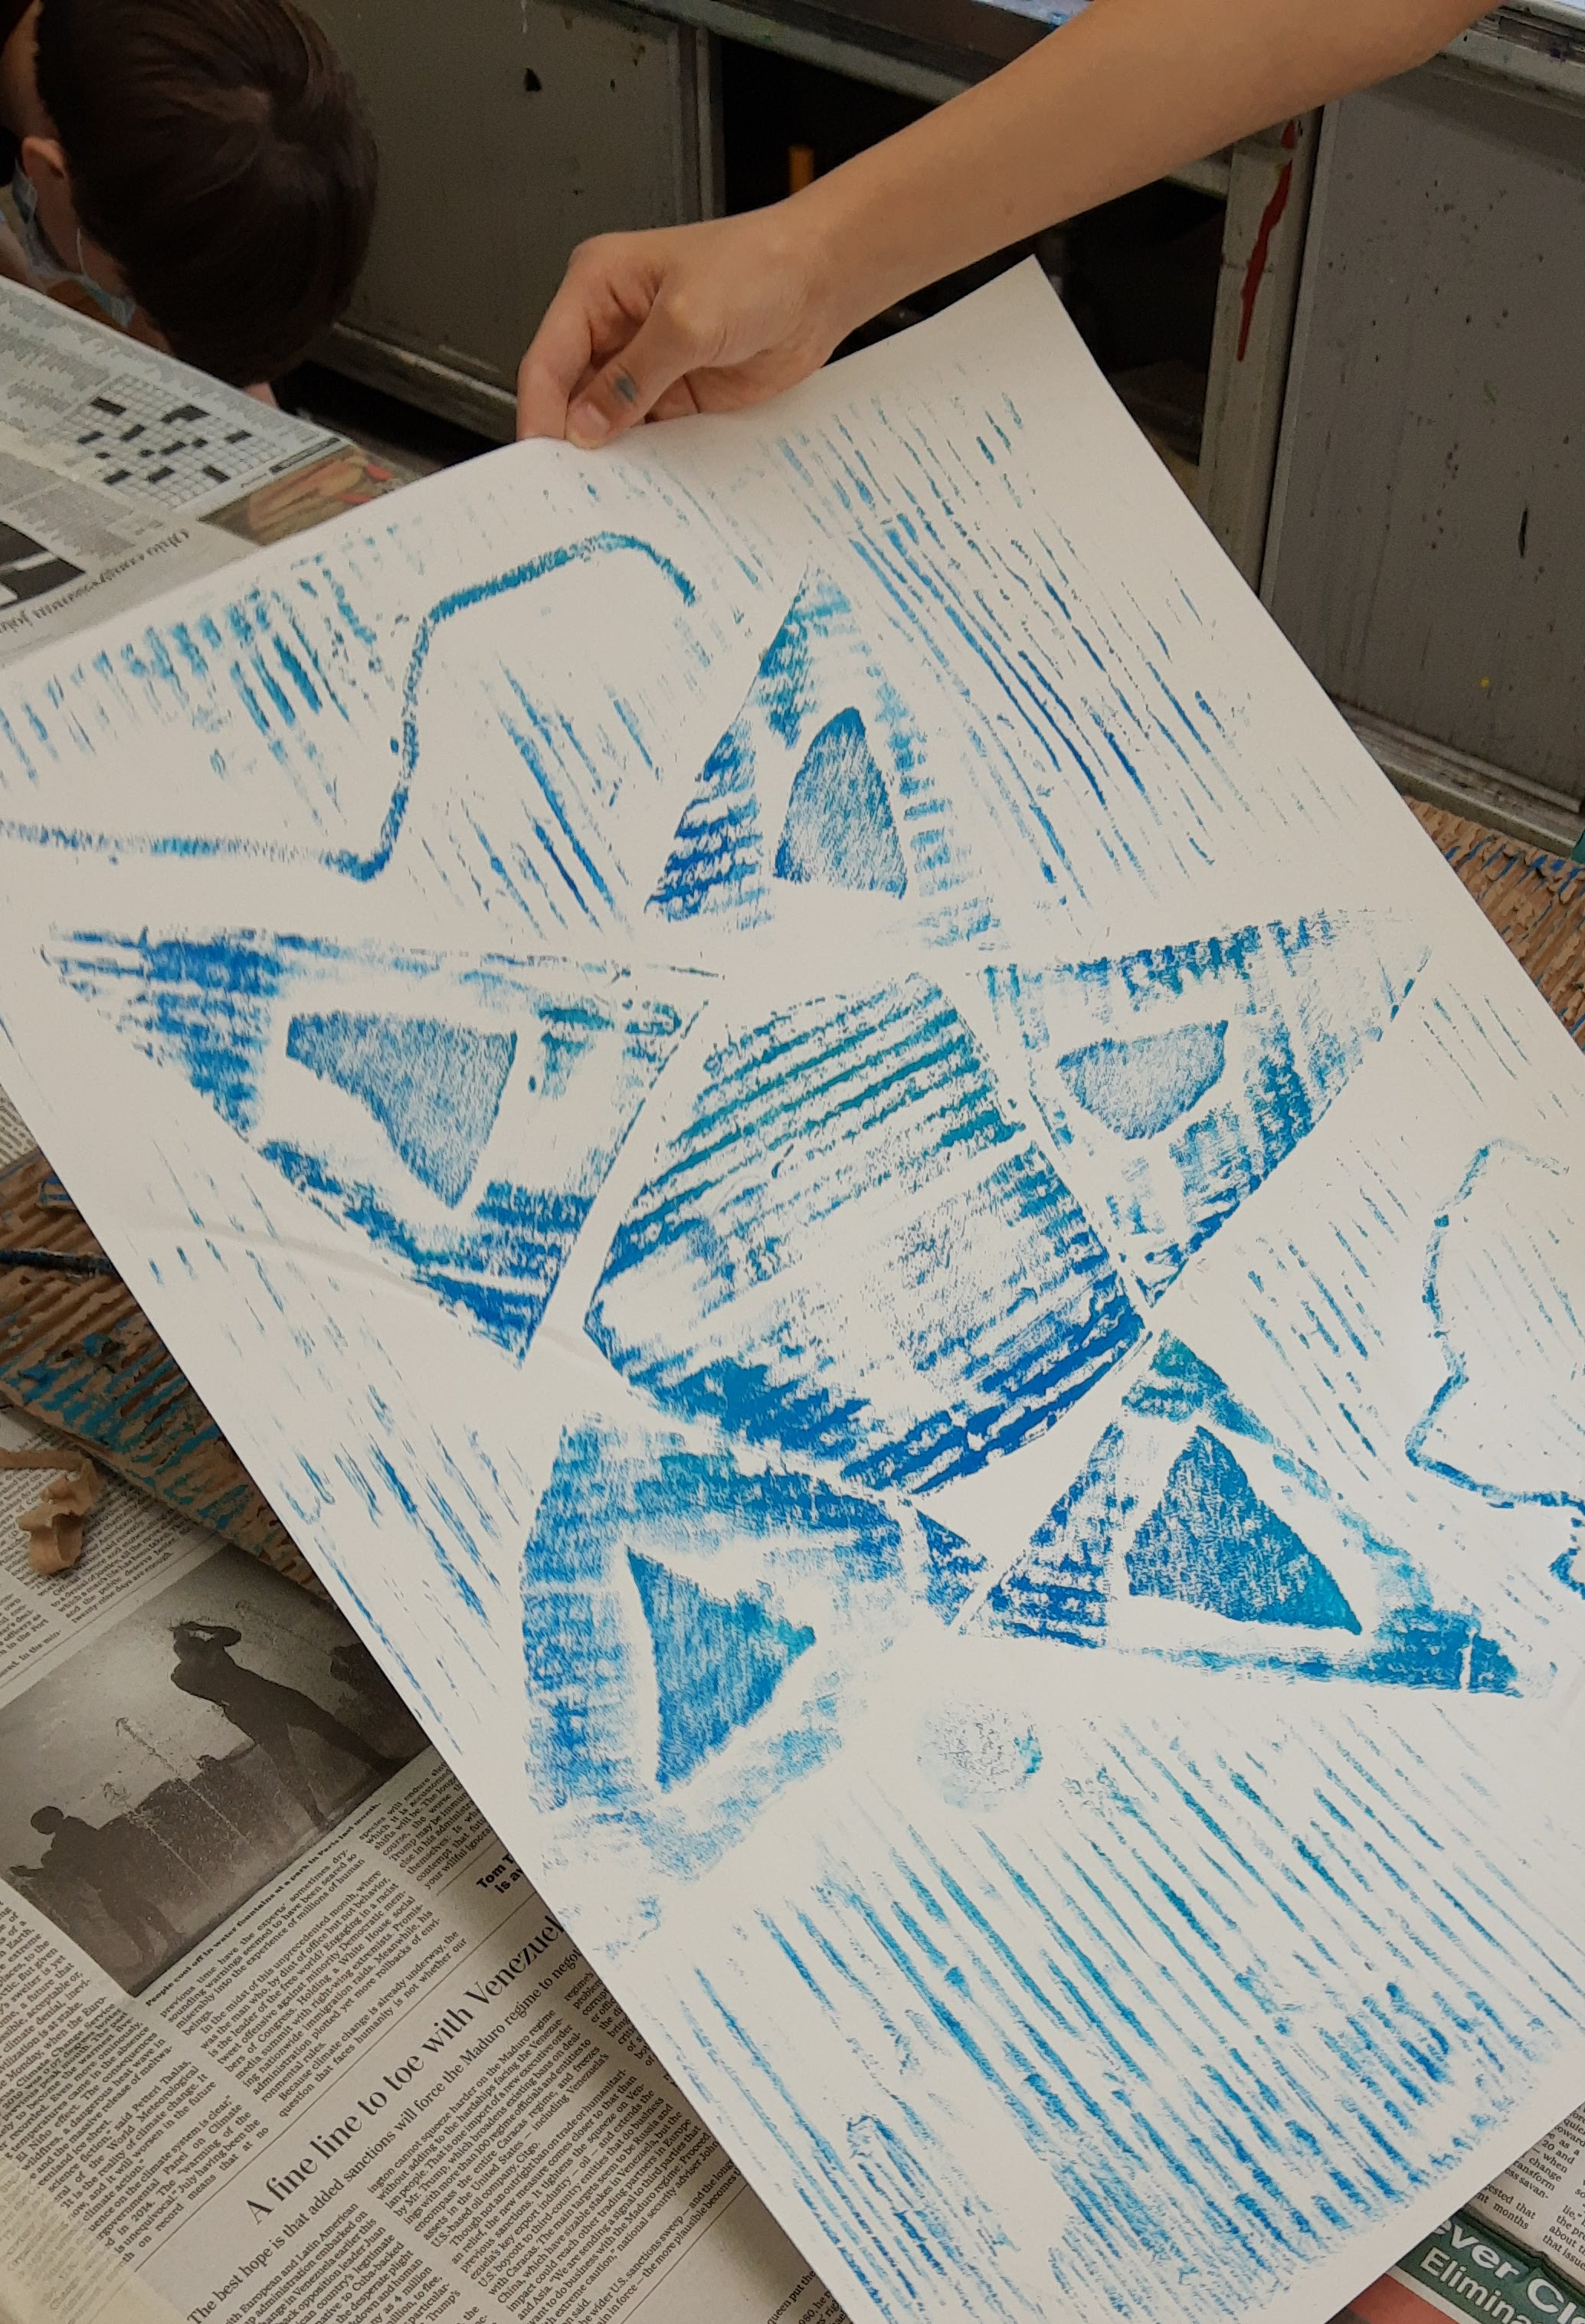
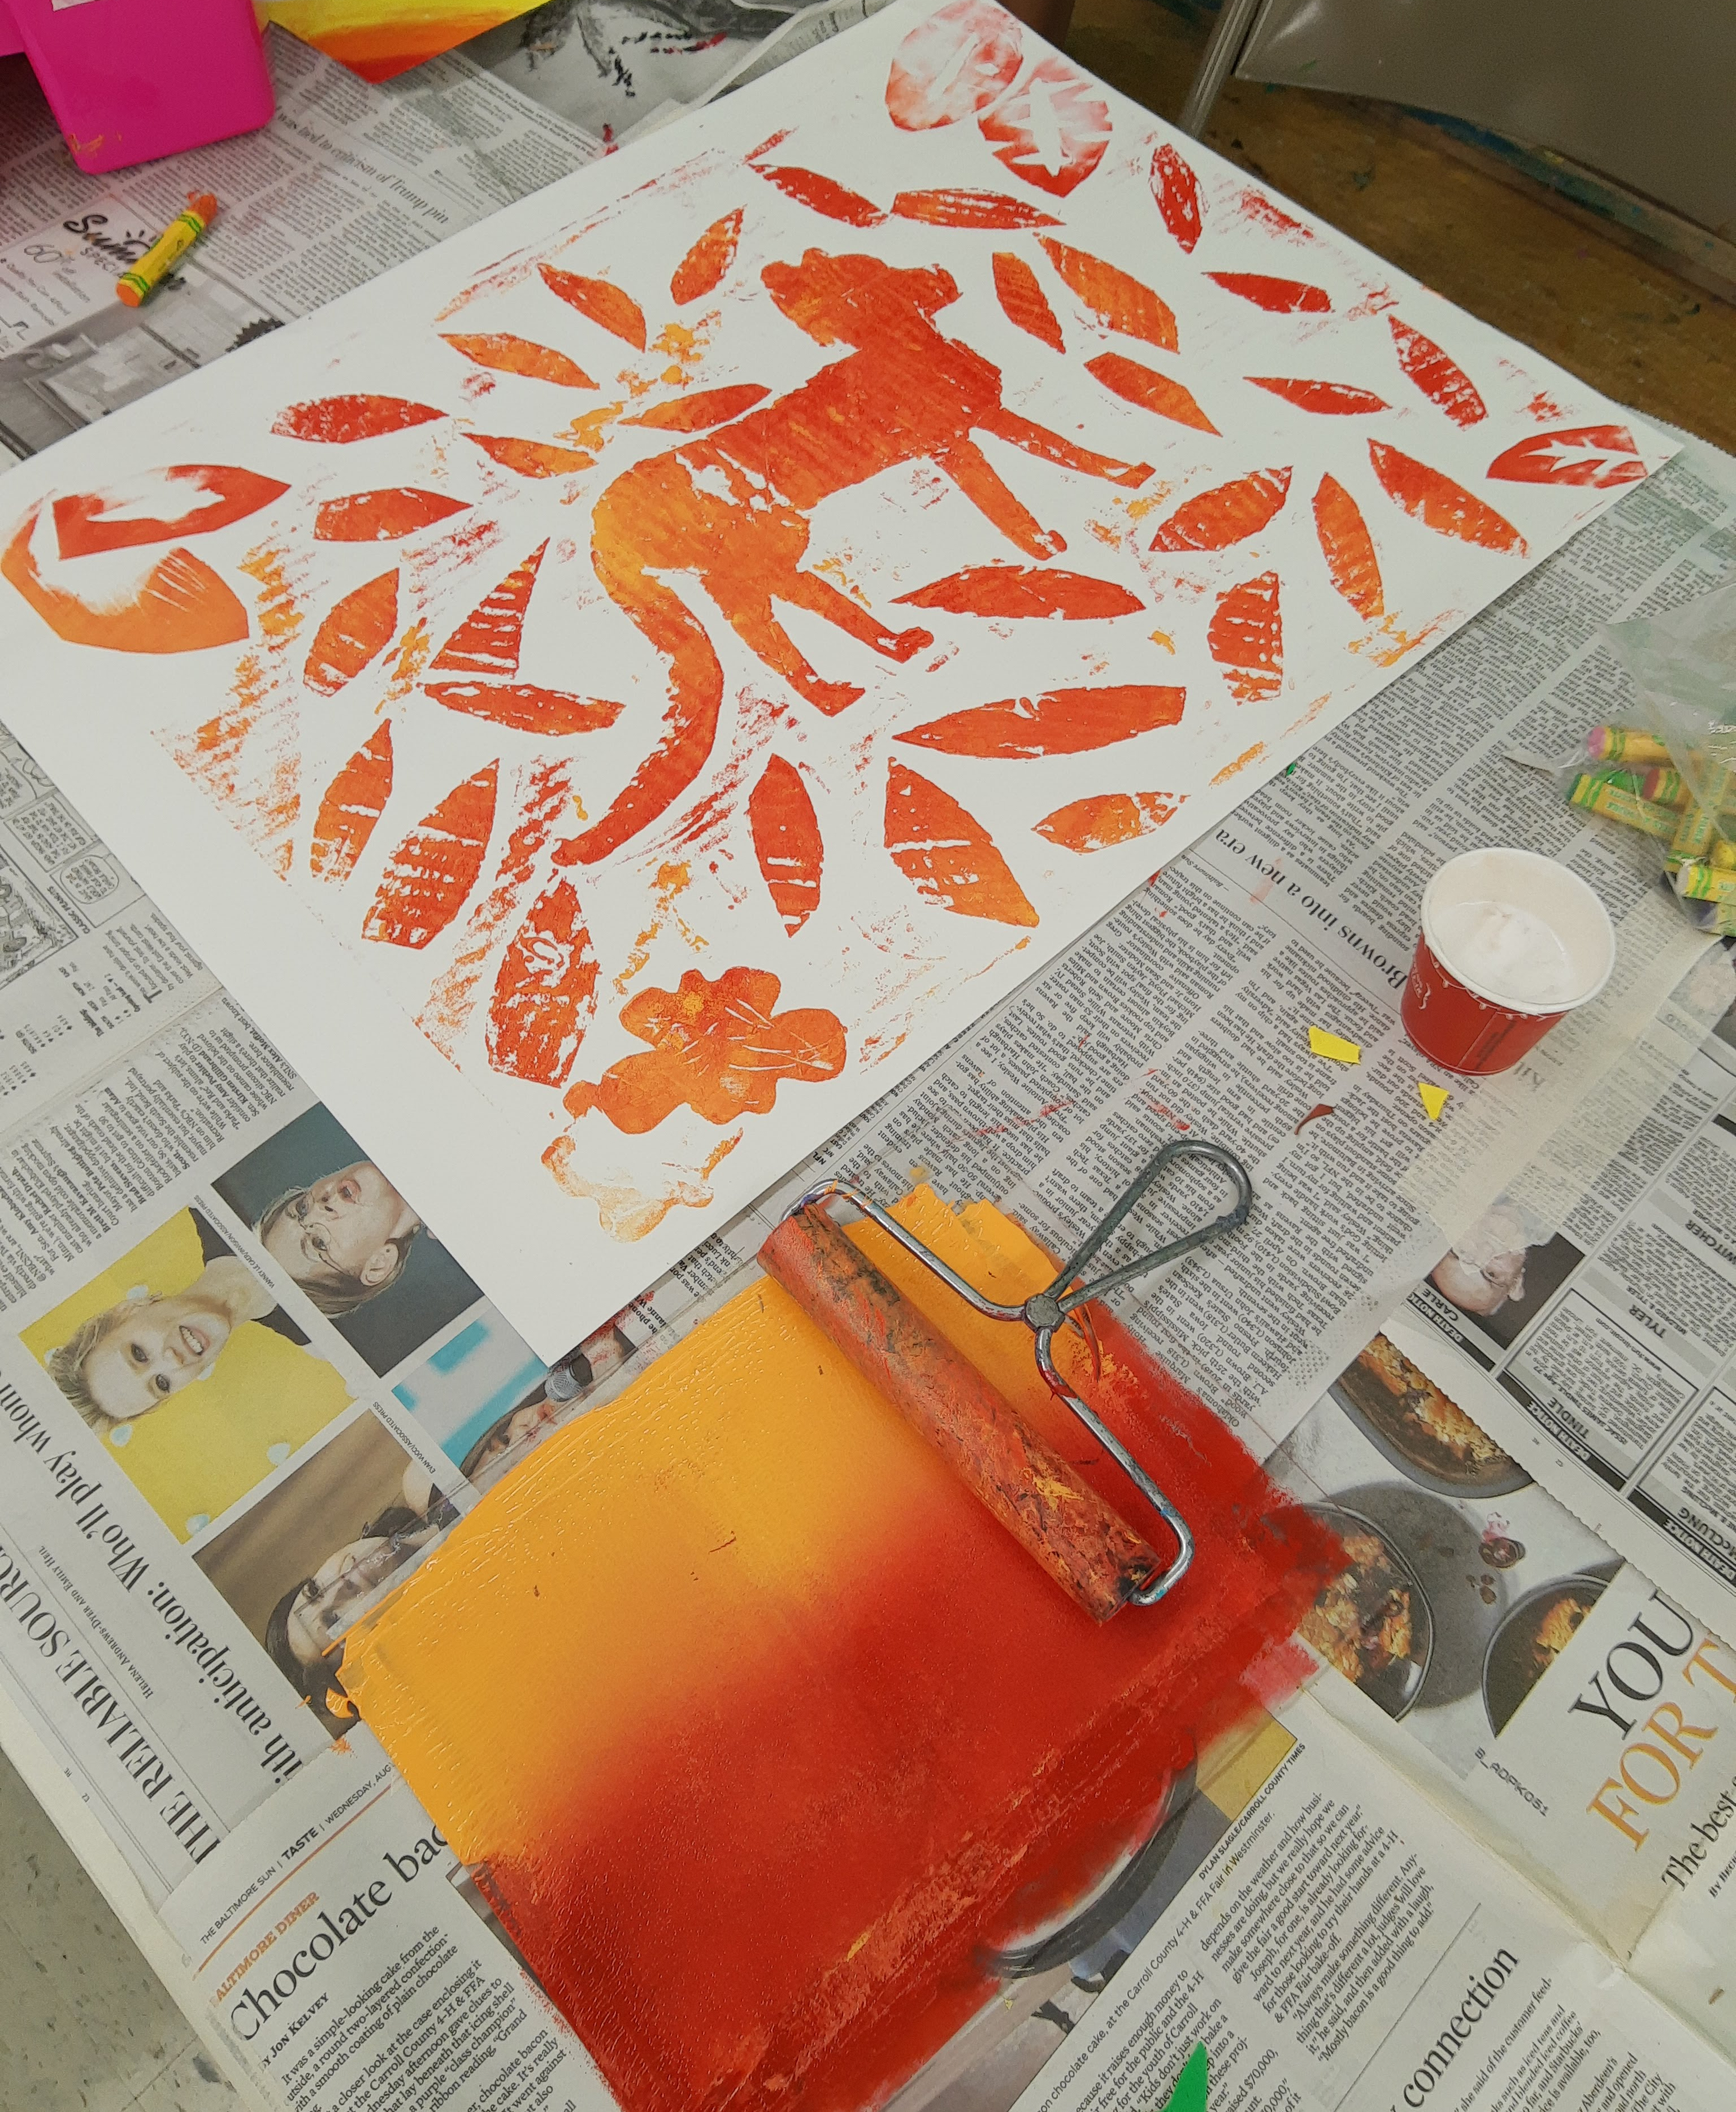
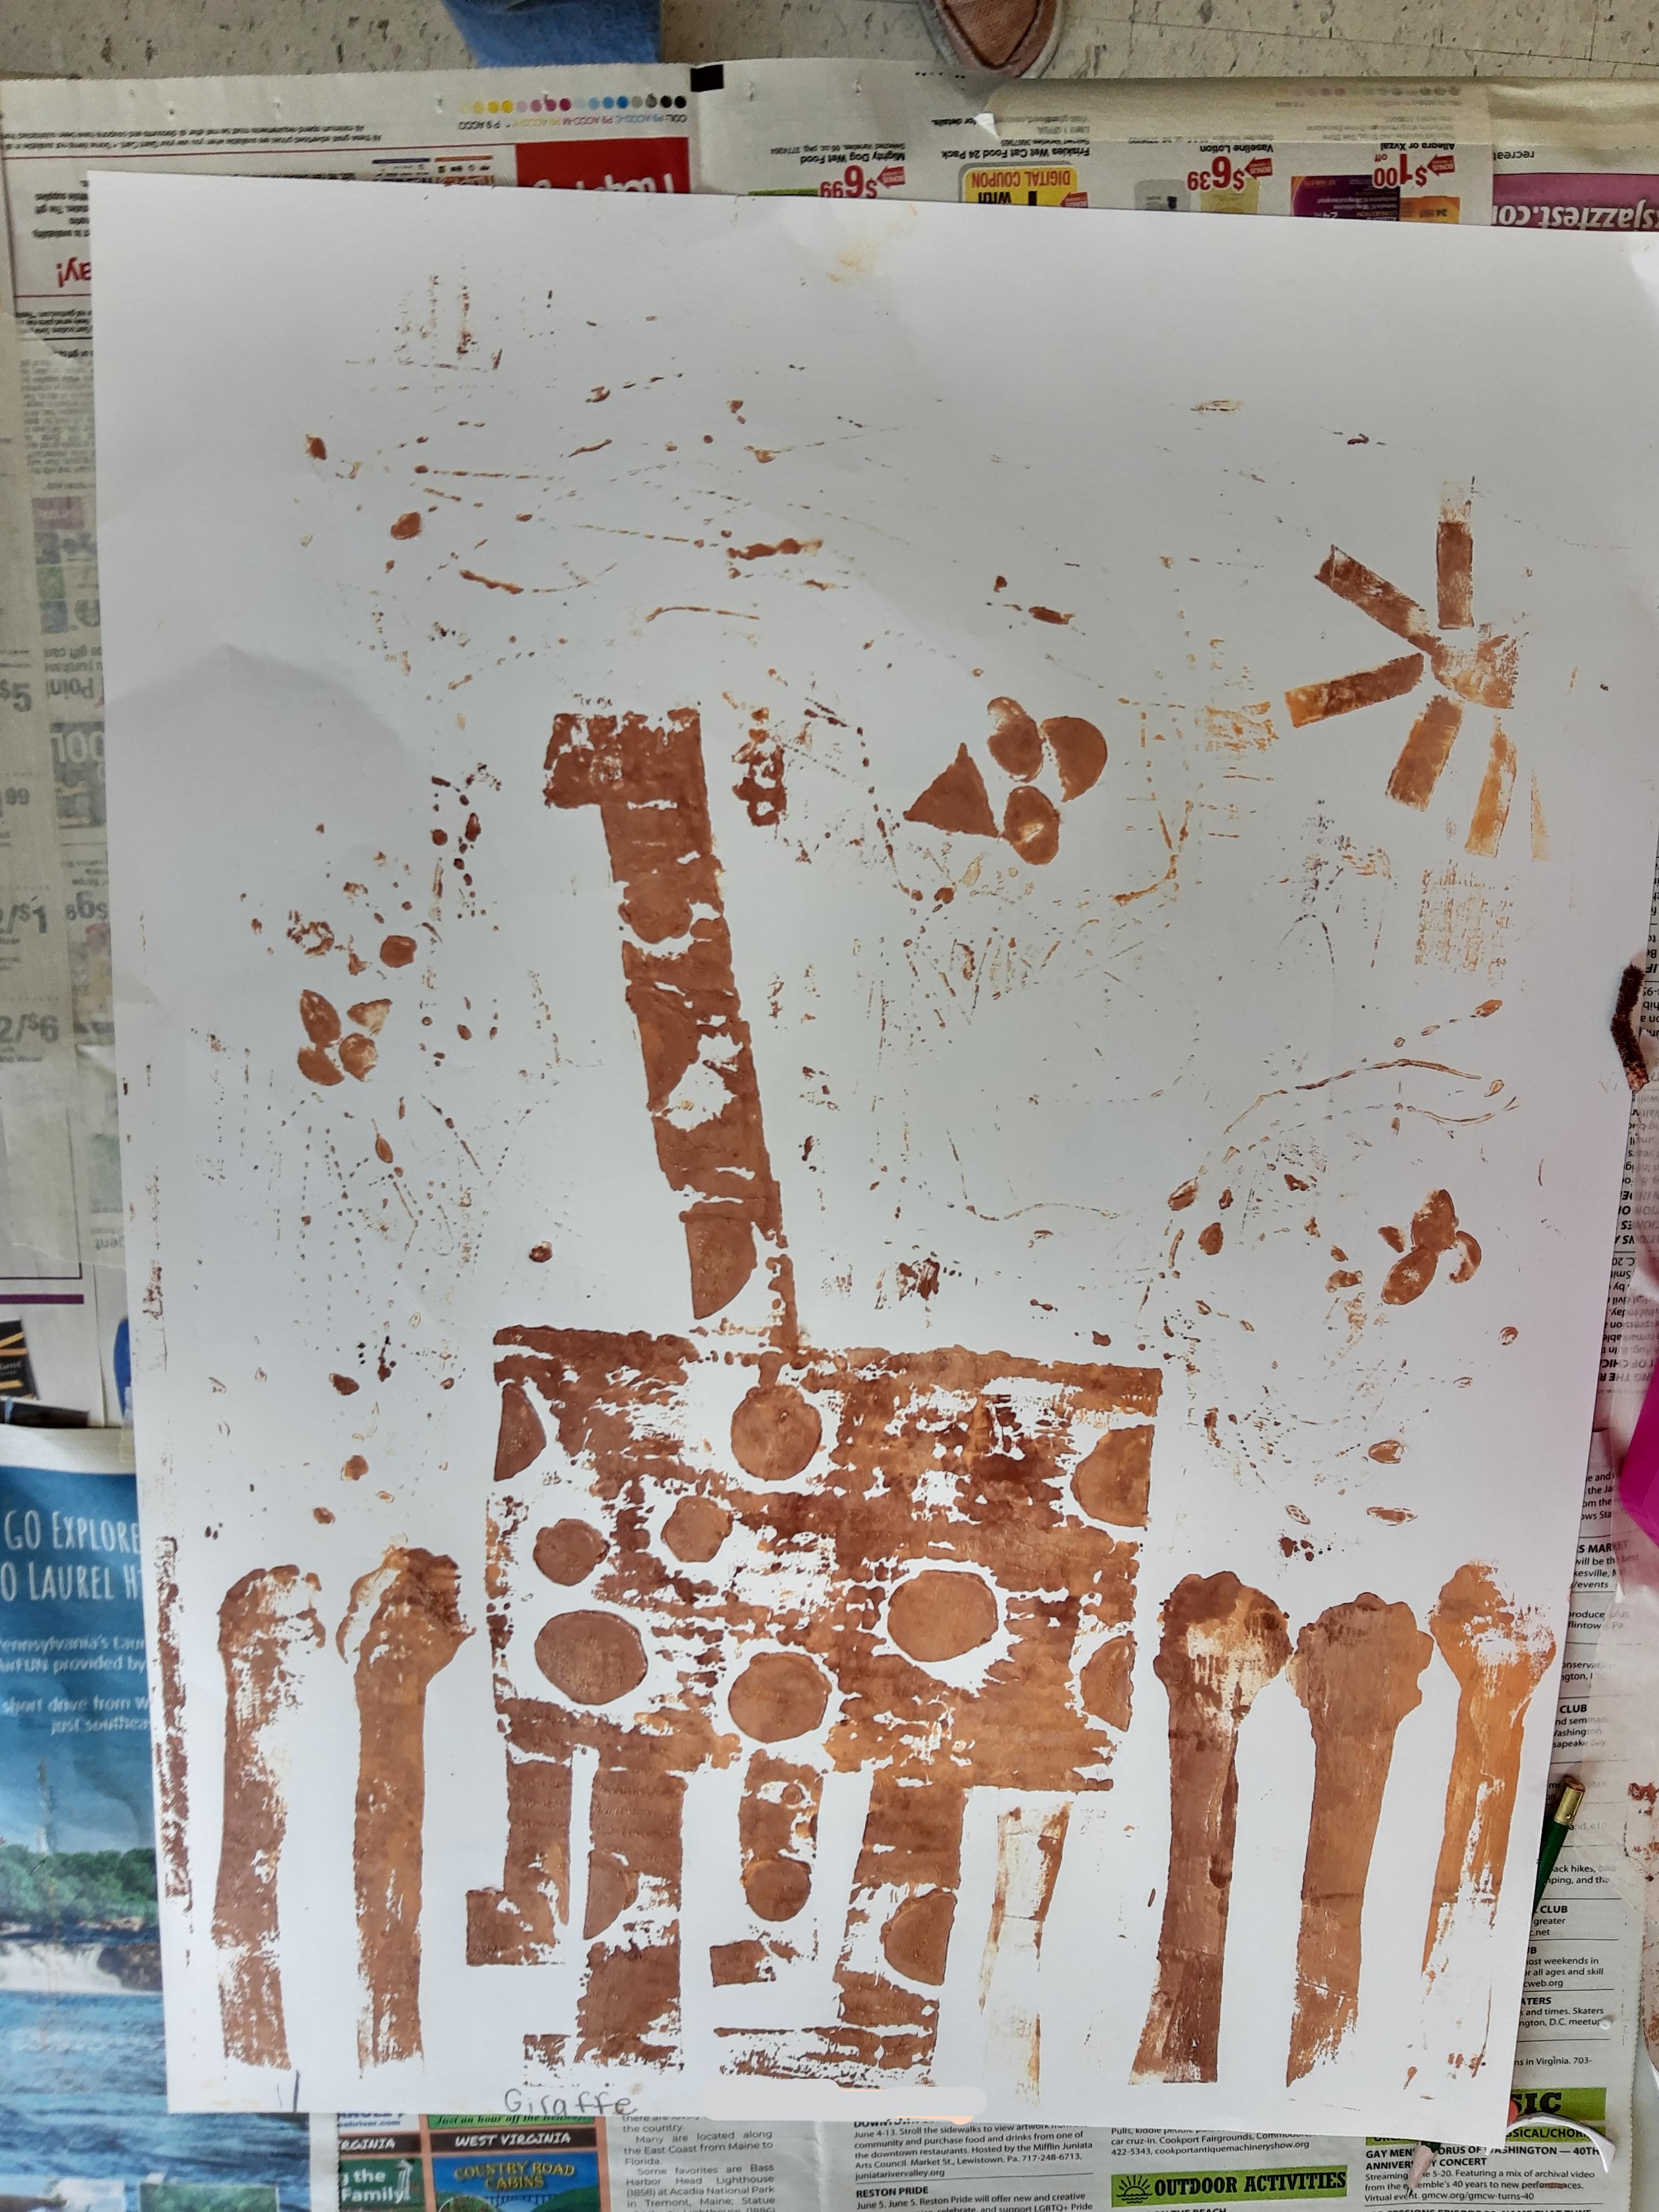
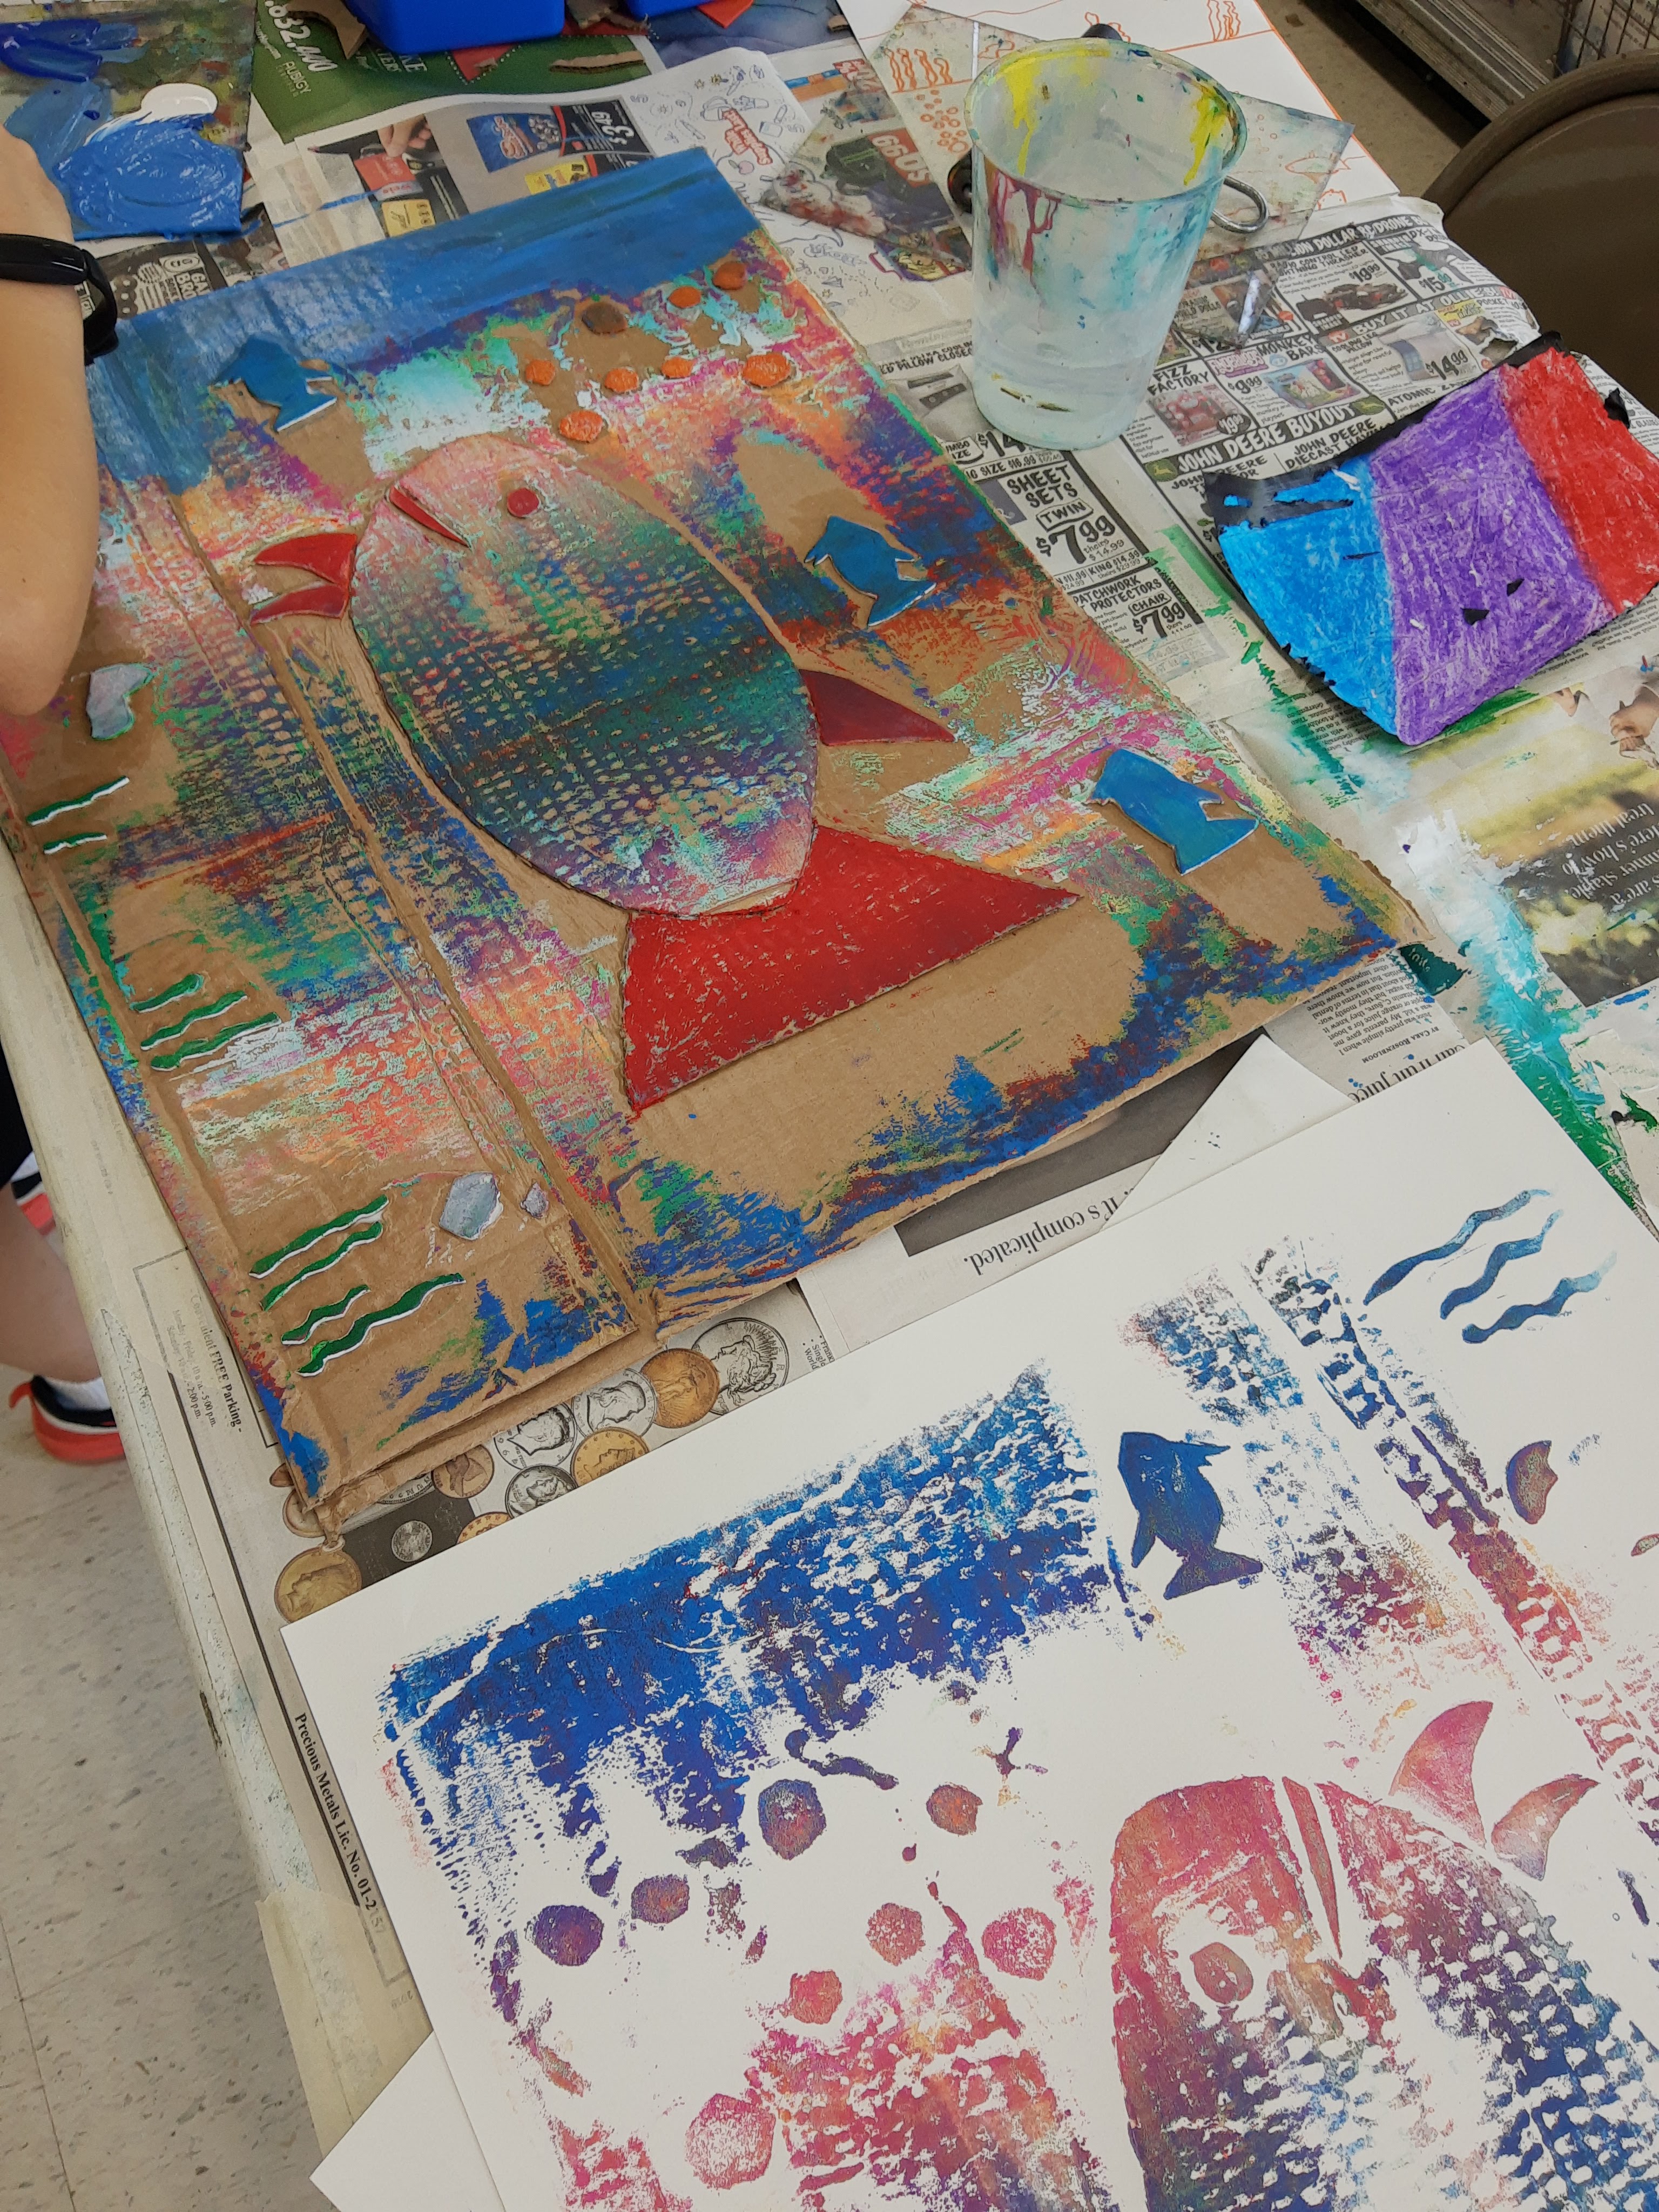
Once the plates were ready, we started printing! I showed the campers how to roll a gradient ink using two colors which they really enjoyed. A lot of them experimented with combining even more colors (some even did 10+ colors at once!). Then comes the fun part – the campers placed their plates face up on the floor with their papers on top and jumped on top to create a strong print. Once they printed, I showed them how to sign the print with the edition, title, and their name.
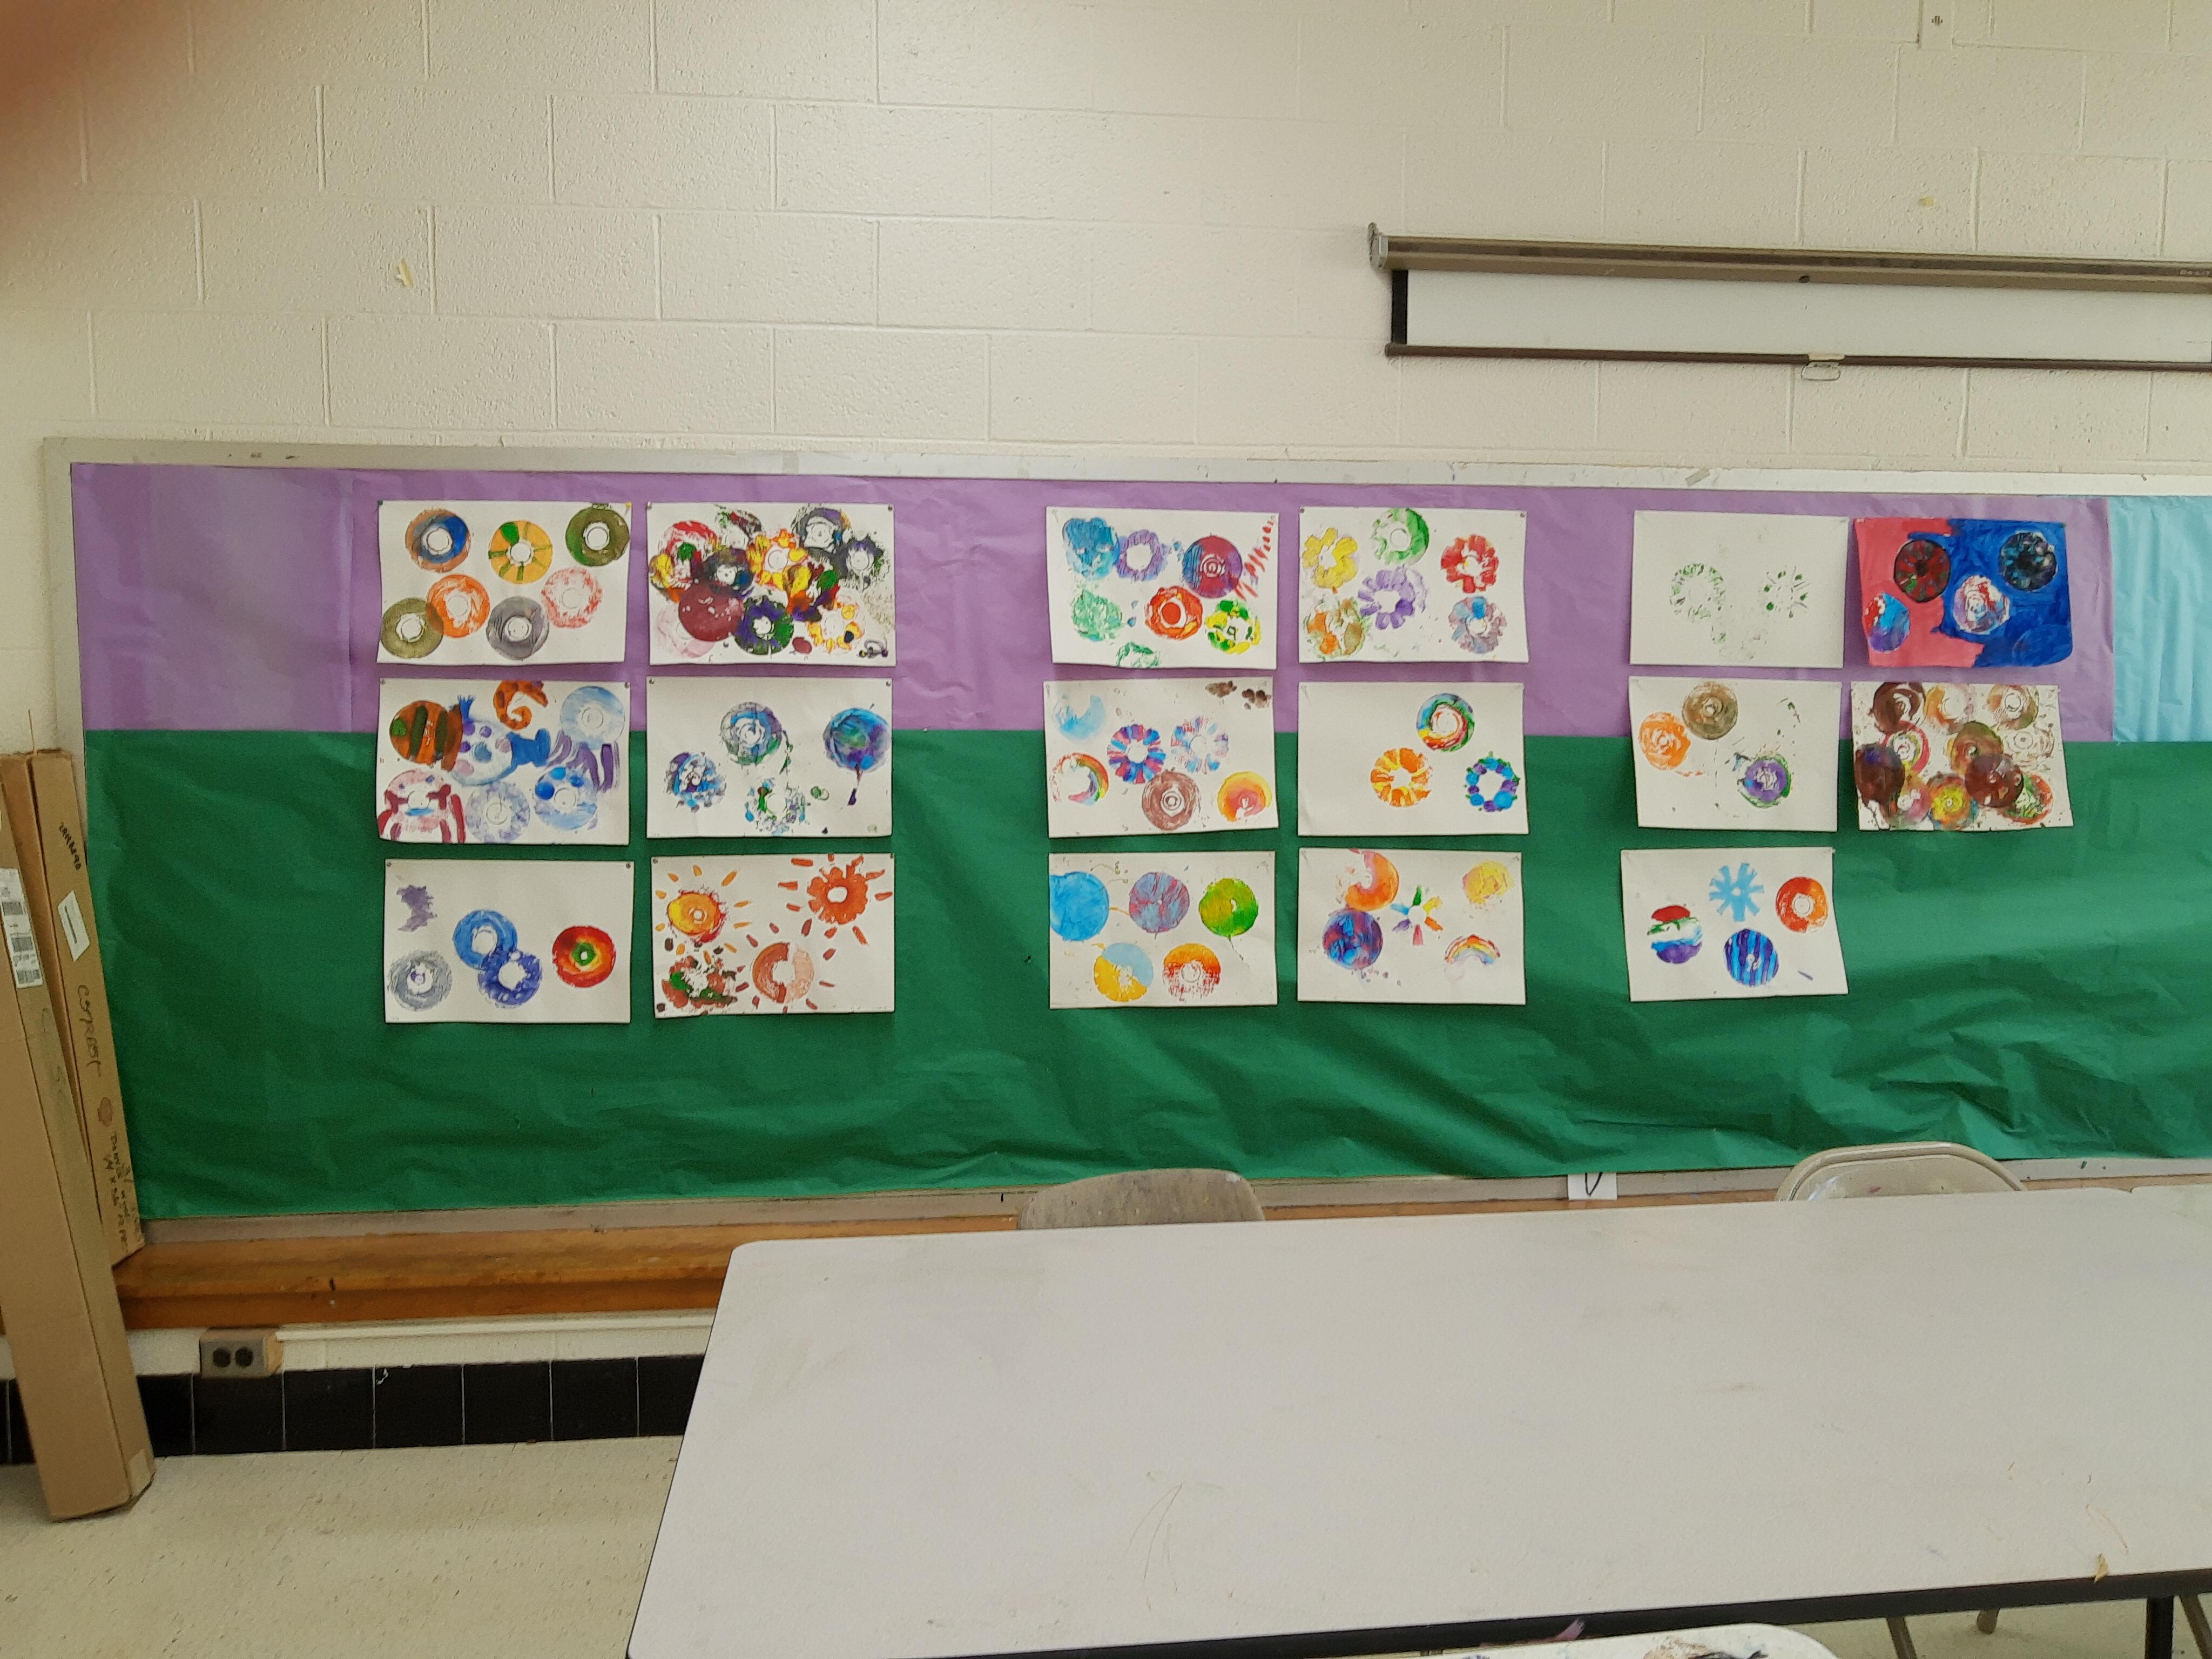
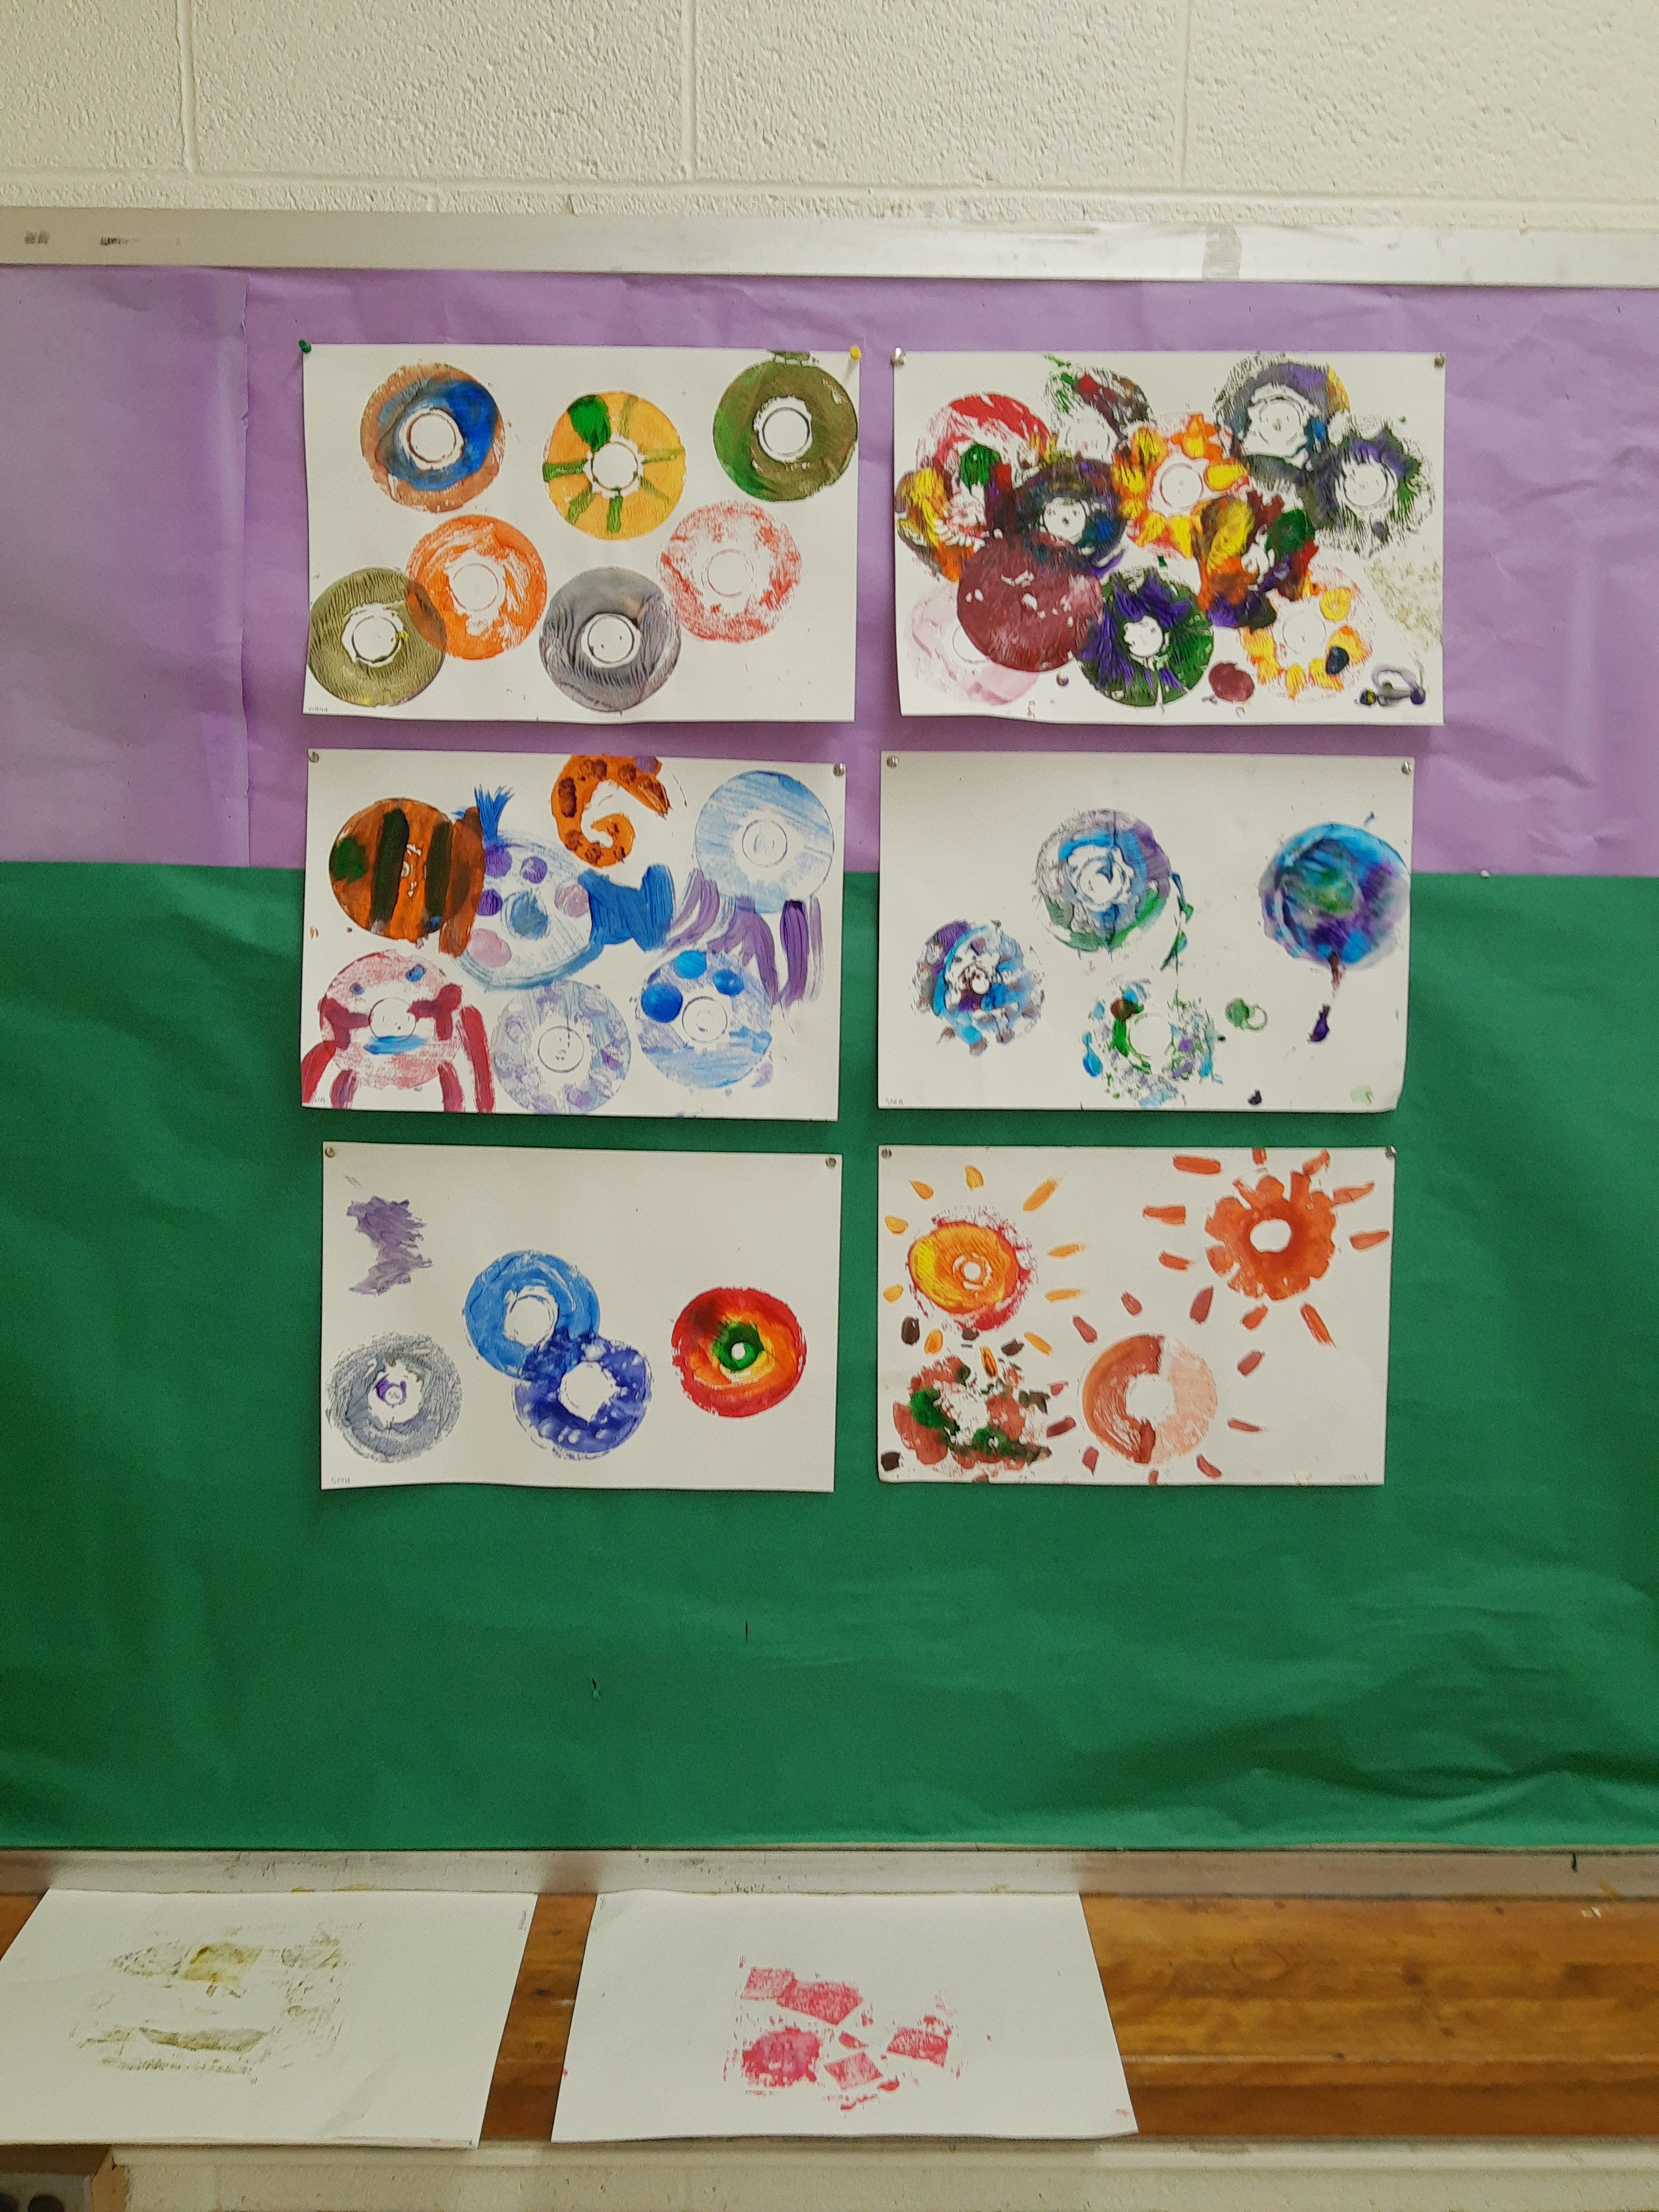
Some prints made by campers:
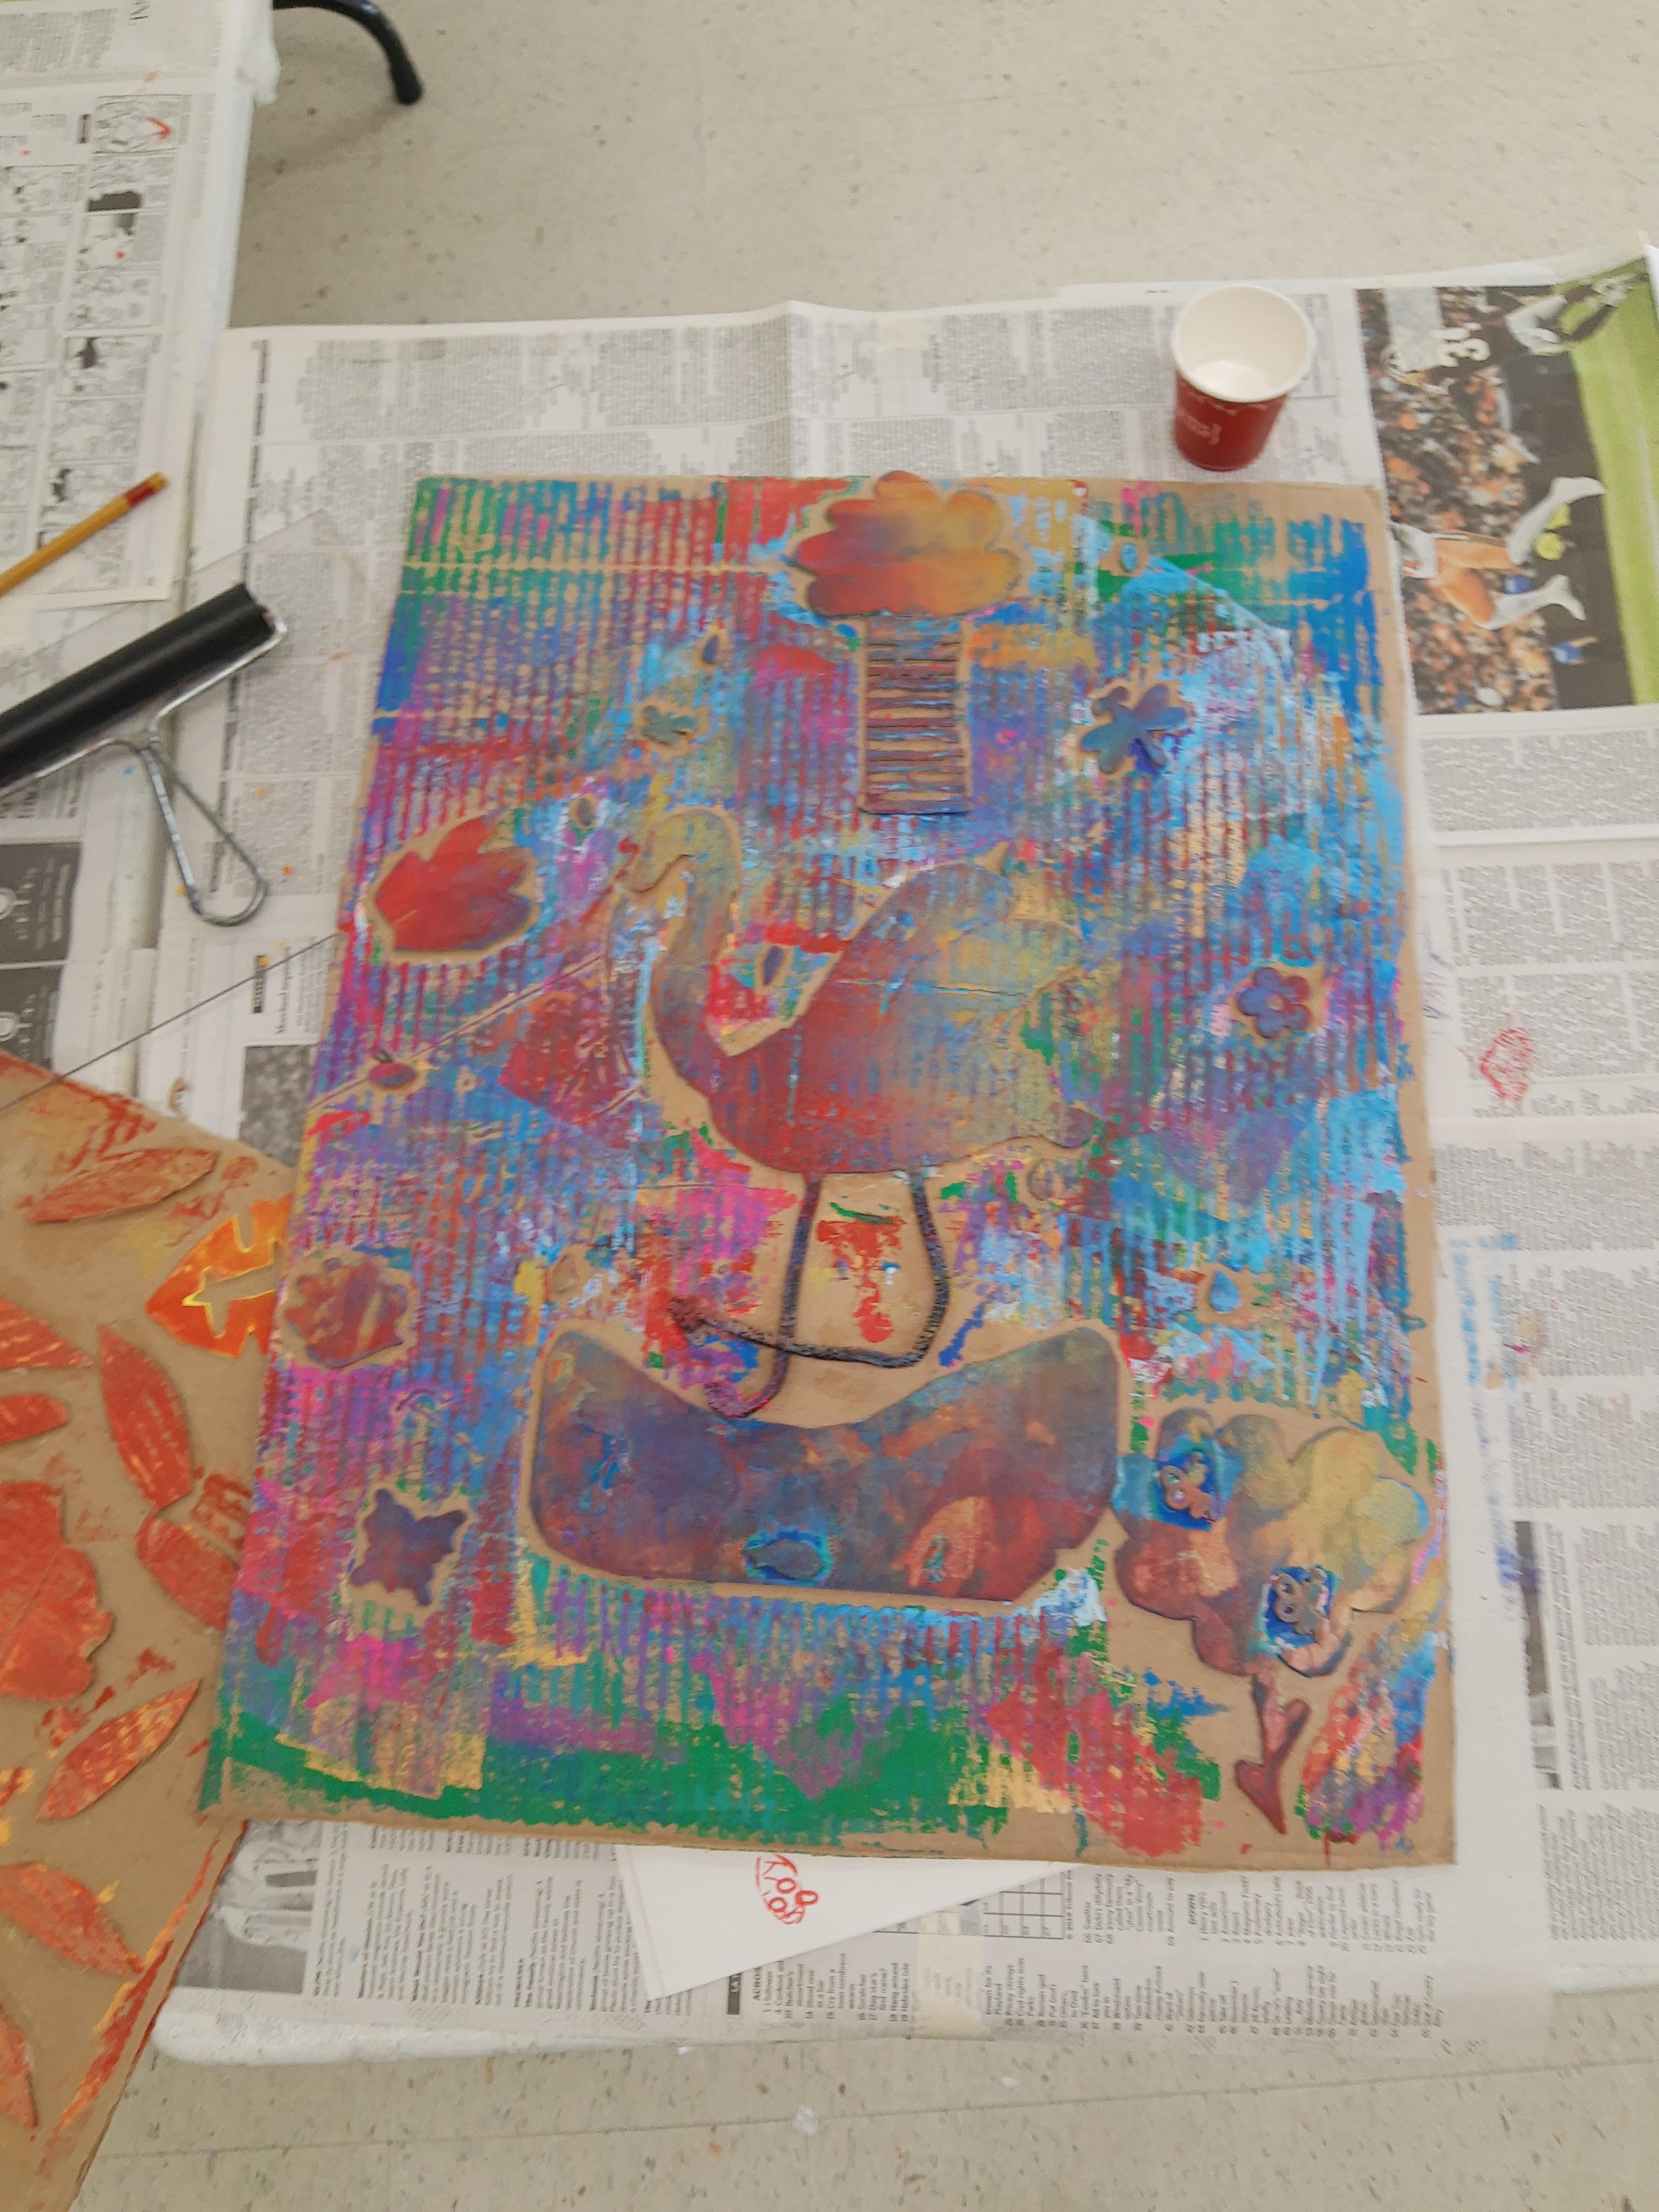
Once we were done printing, I set out tempera paint for campers to create a more finished, detailed collagraph plate. Only a few campers decided to add paint because many of them really liked all the ink colors from printing and did not want to cover it up.
I had so much fun teaching this printmaking camp and I am excited to bring some of the ideas/projects into my art classroom next school year!
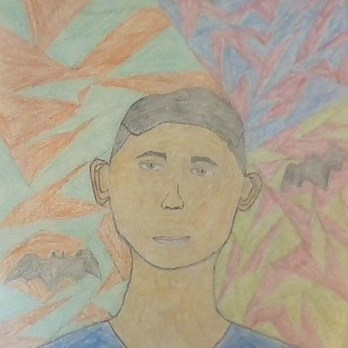
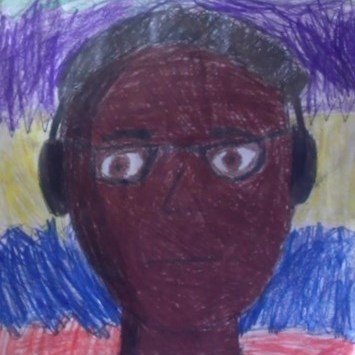
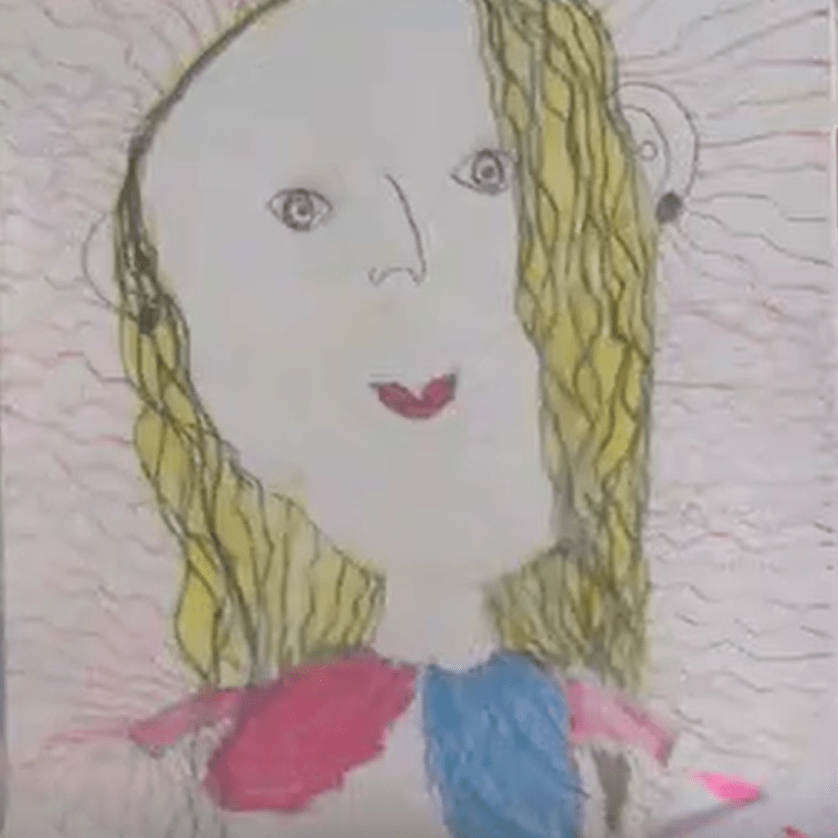
I started teaching at my current school in February 2021. Because I was a new teacher starting mid-year and I wanted to get to know my students, our first project was a self-portrait lesson. We looked at Kehinde Wiley’s art and compared old, neoclassical art with Wiley’s updated versions of these artworks. We also discussed patterns, colors, and representation in art and throughout art history.
Students then created their own versions of a self-portrait with their own patterns and designs in the background.
Here are some of the self-portraits made by my students:
For the future, I would also include an alternative assignment where students can create an indirect self-portrait. Students can choose an object that means something to them (for example, a toy, a book, clothing, etc.) and draw that object.
For example, I did an indirect self-portrait in college of a scarf because I am known for always wearing scarves:
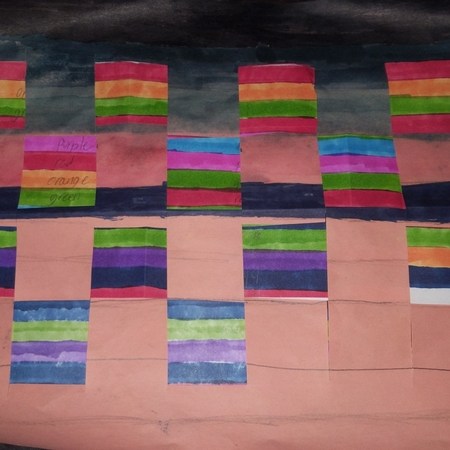
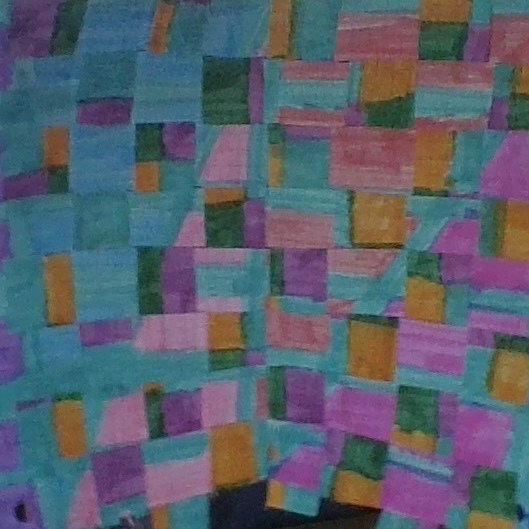
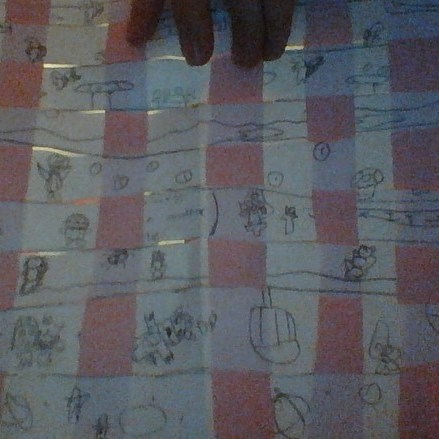
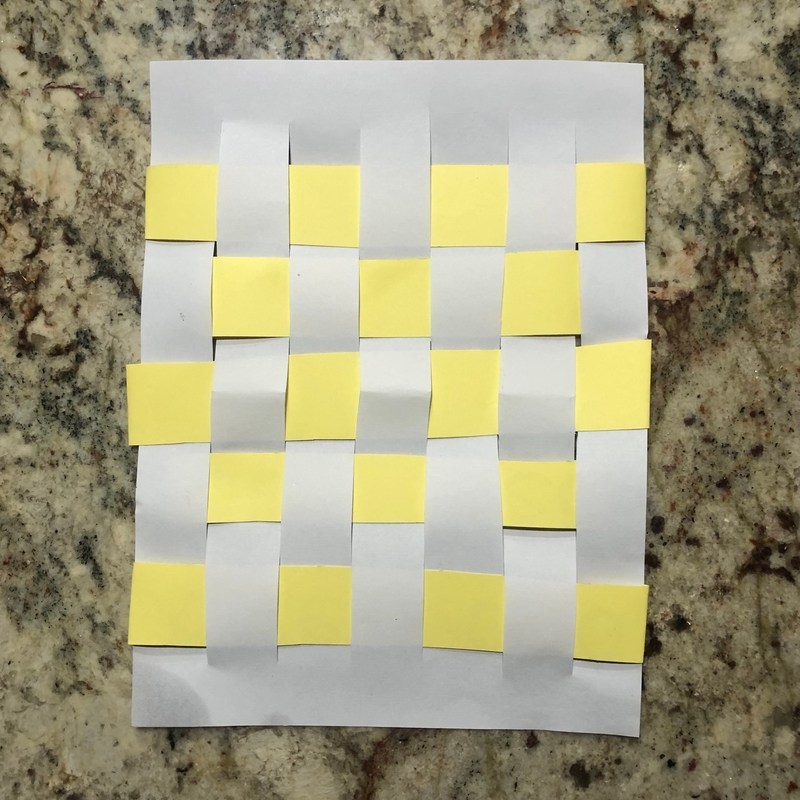
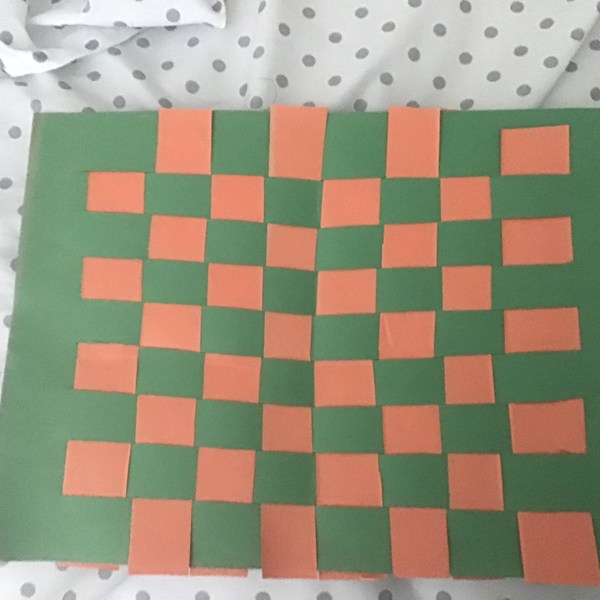
A few weeks ago, I taught a lesson on paper weaving to lower and upper elementary. We looked at textiles from the Shipibo Conibo tribe and discussed how different textiles are created. Then, we looked at the weaving process and learned that to weave, we need to follow an over, under, over, under pattern. Students decorated their papers to create their own patterned textiles to prepare for weaving, then they cut out slits in one paper for the loom, and strips from the other paper for weaving strips.
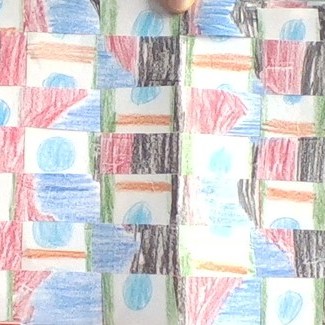
I think it was a bit difficult for students to understand the weaving process virtually. I had videos, step by step photo directions, and live demos of the weaving process, but after teaching this lesson, I think weaving might be easier to see and understand in person. I would love to do another weaving lesson once I teach in person, hopefully with yarn! Regardless of the challenges that we face when doing virtual school, I think the weavings turned out amazing!
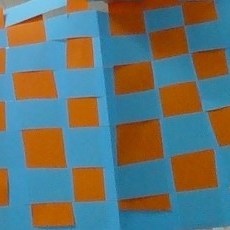
Some students lost their decorated papers, so they just used construction paper or notebook paper.