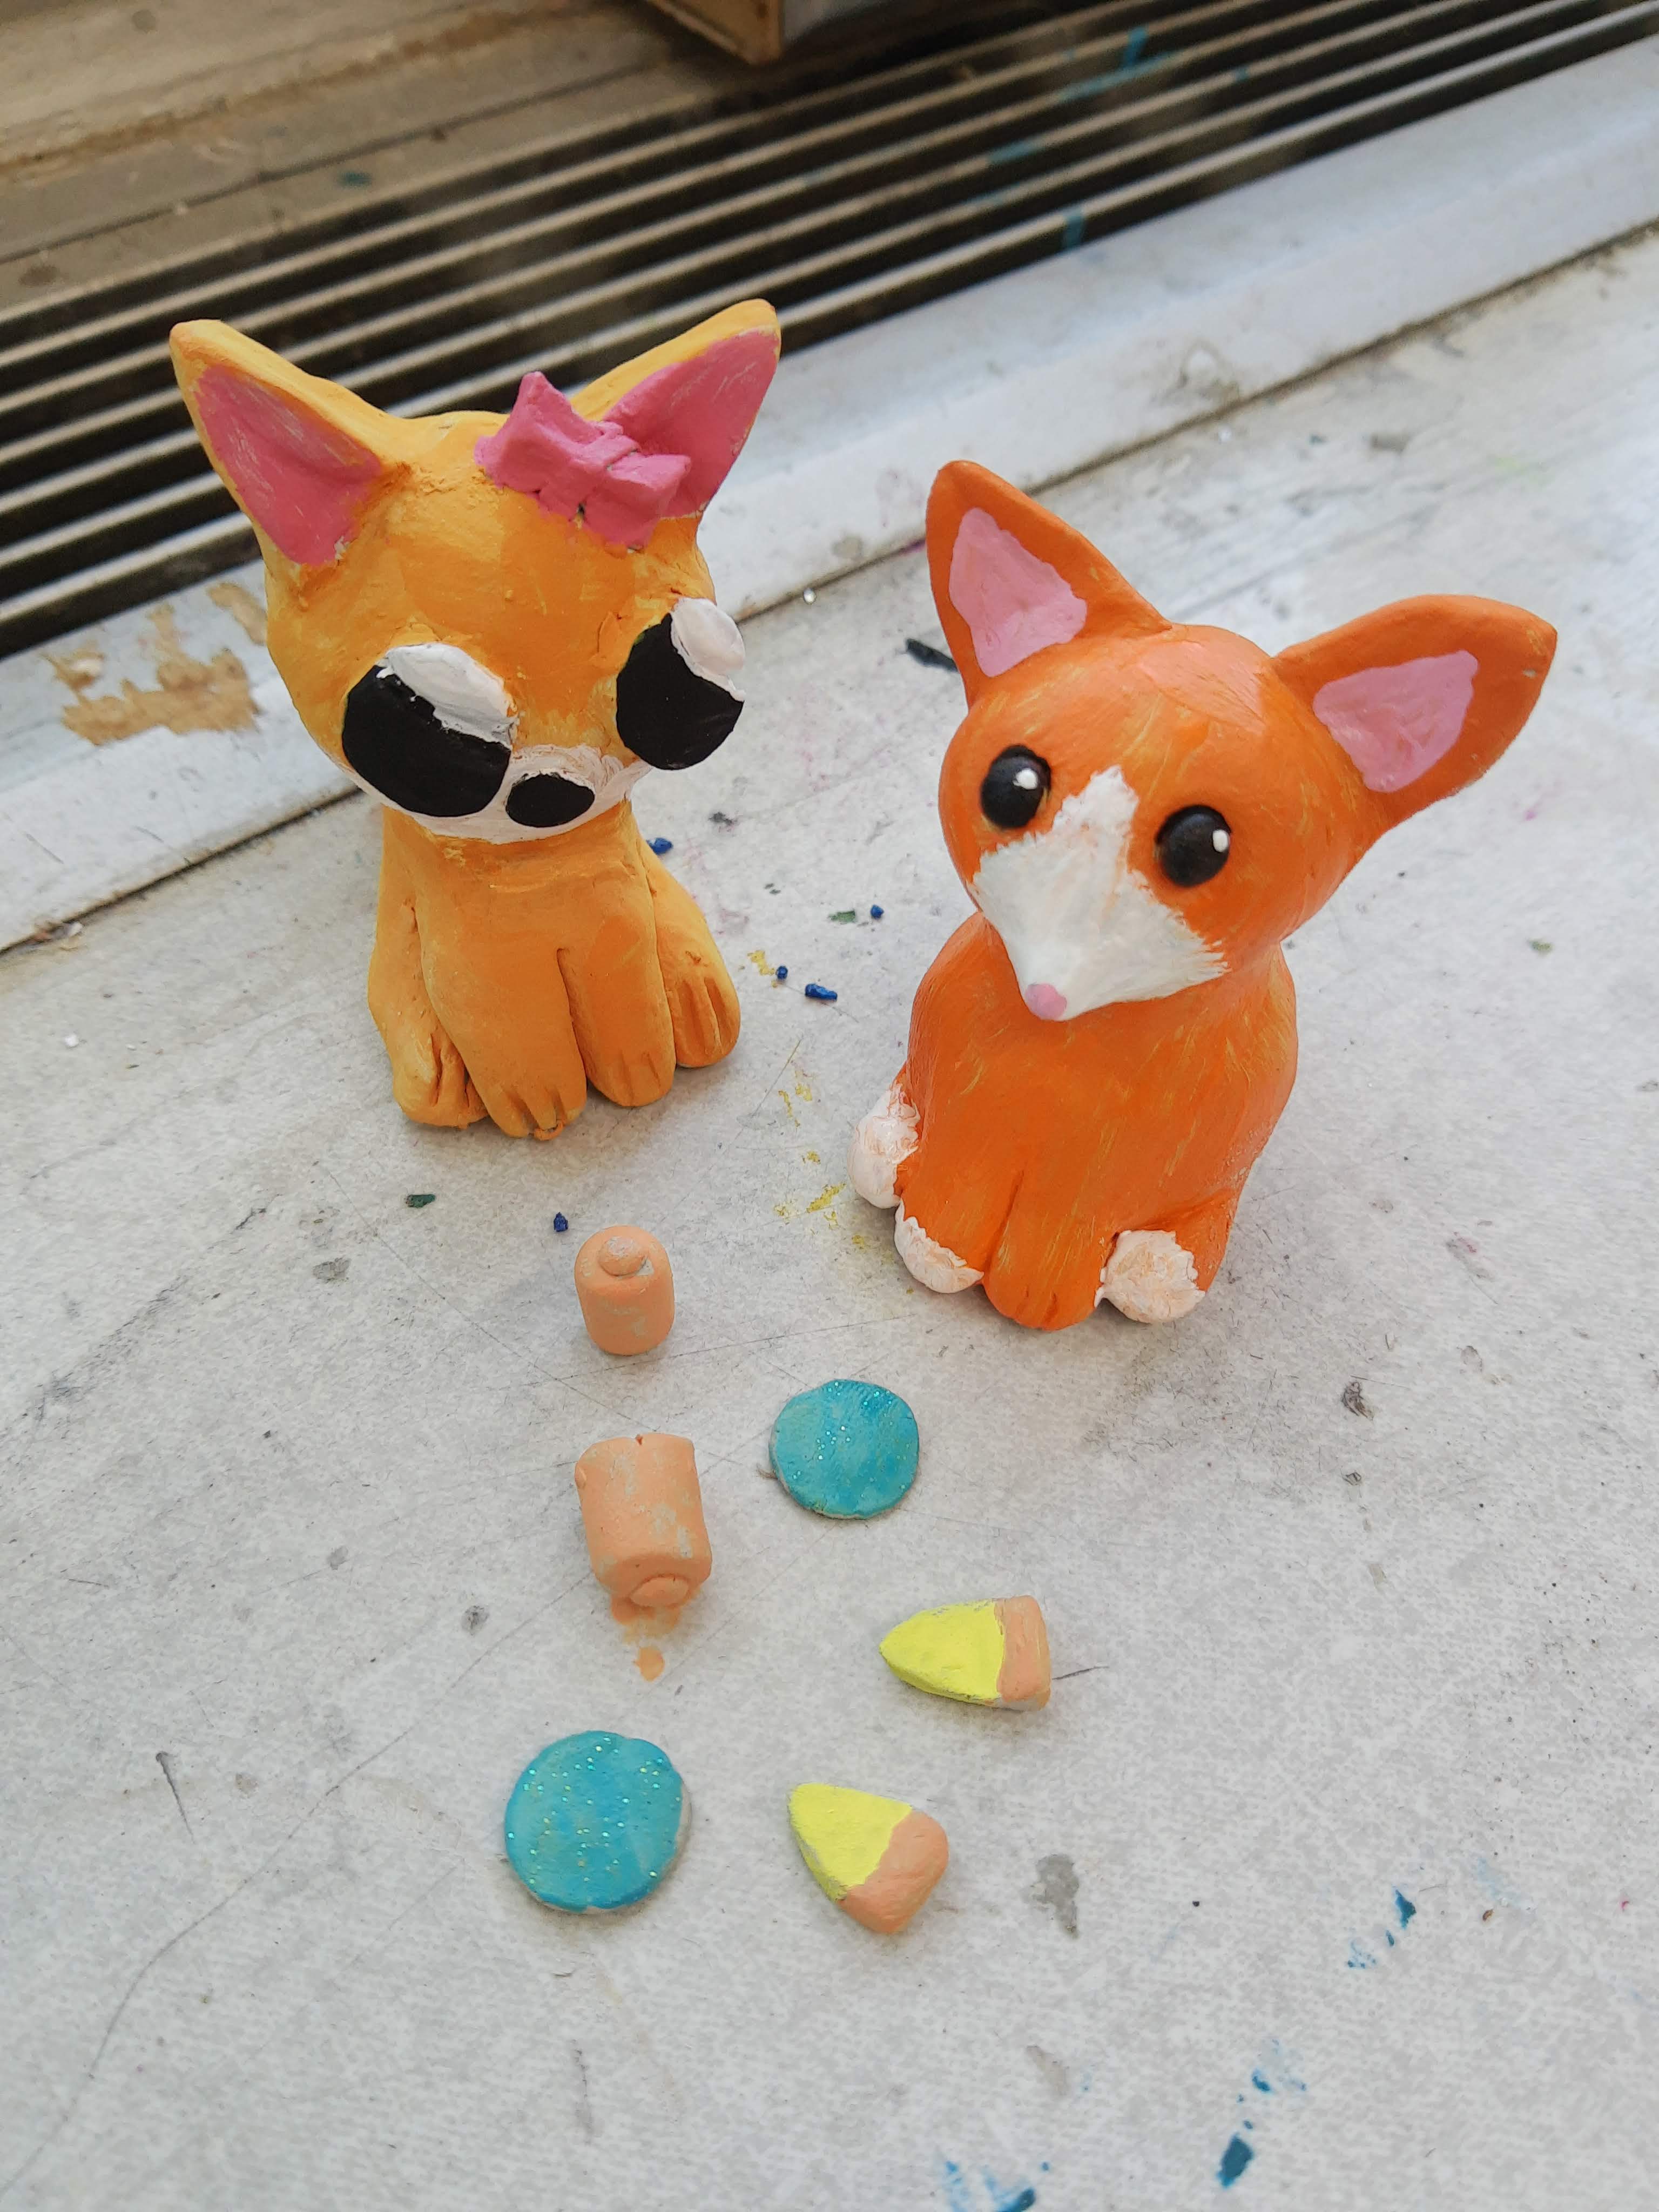
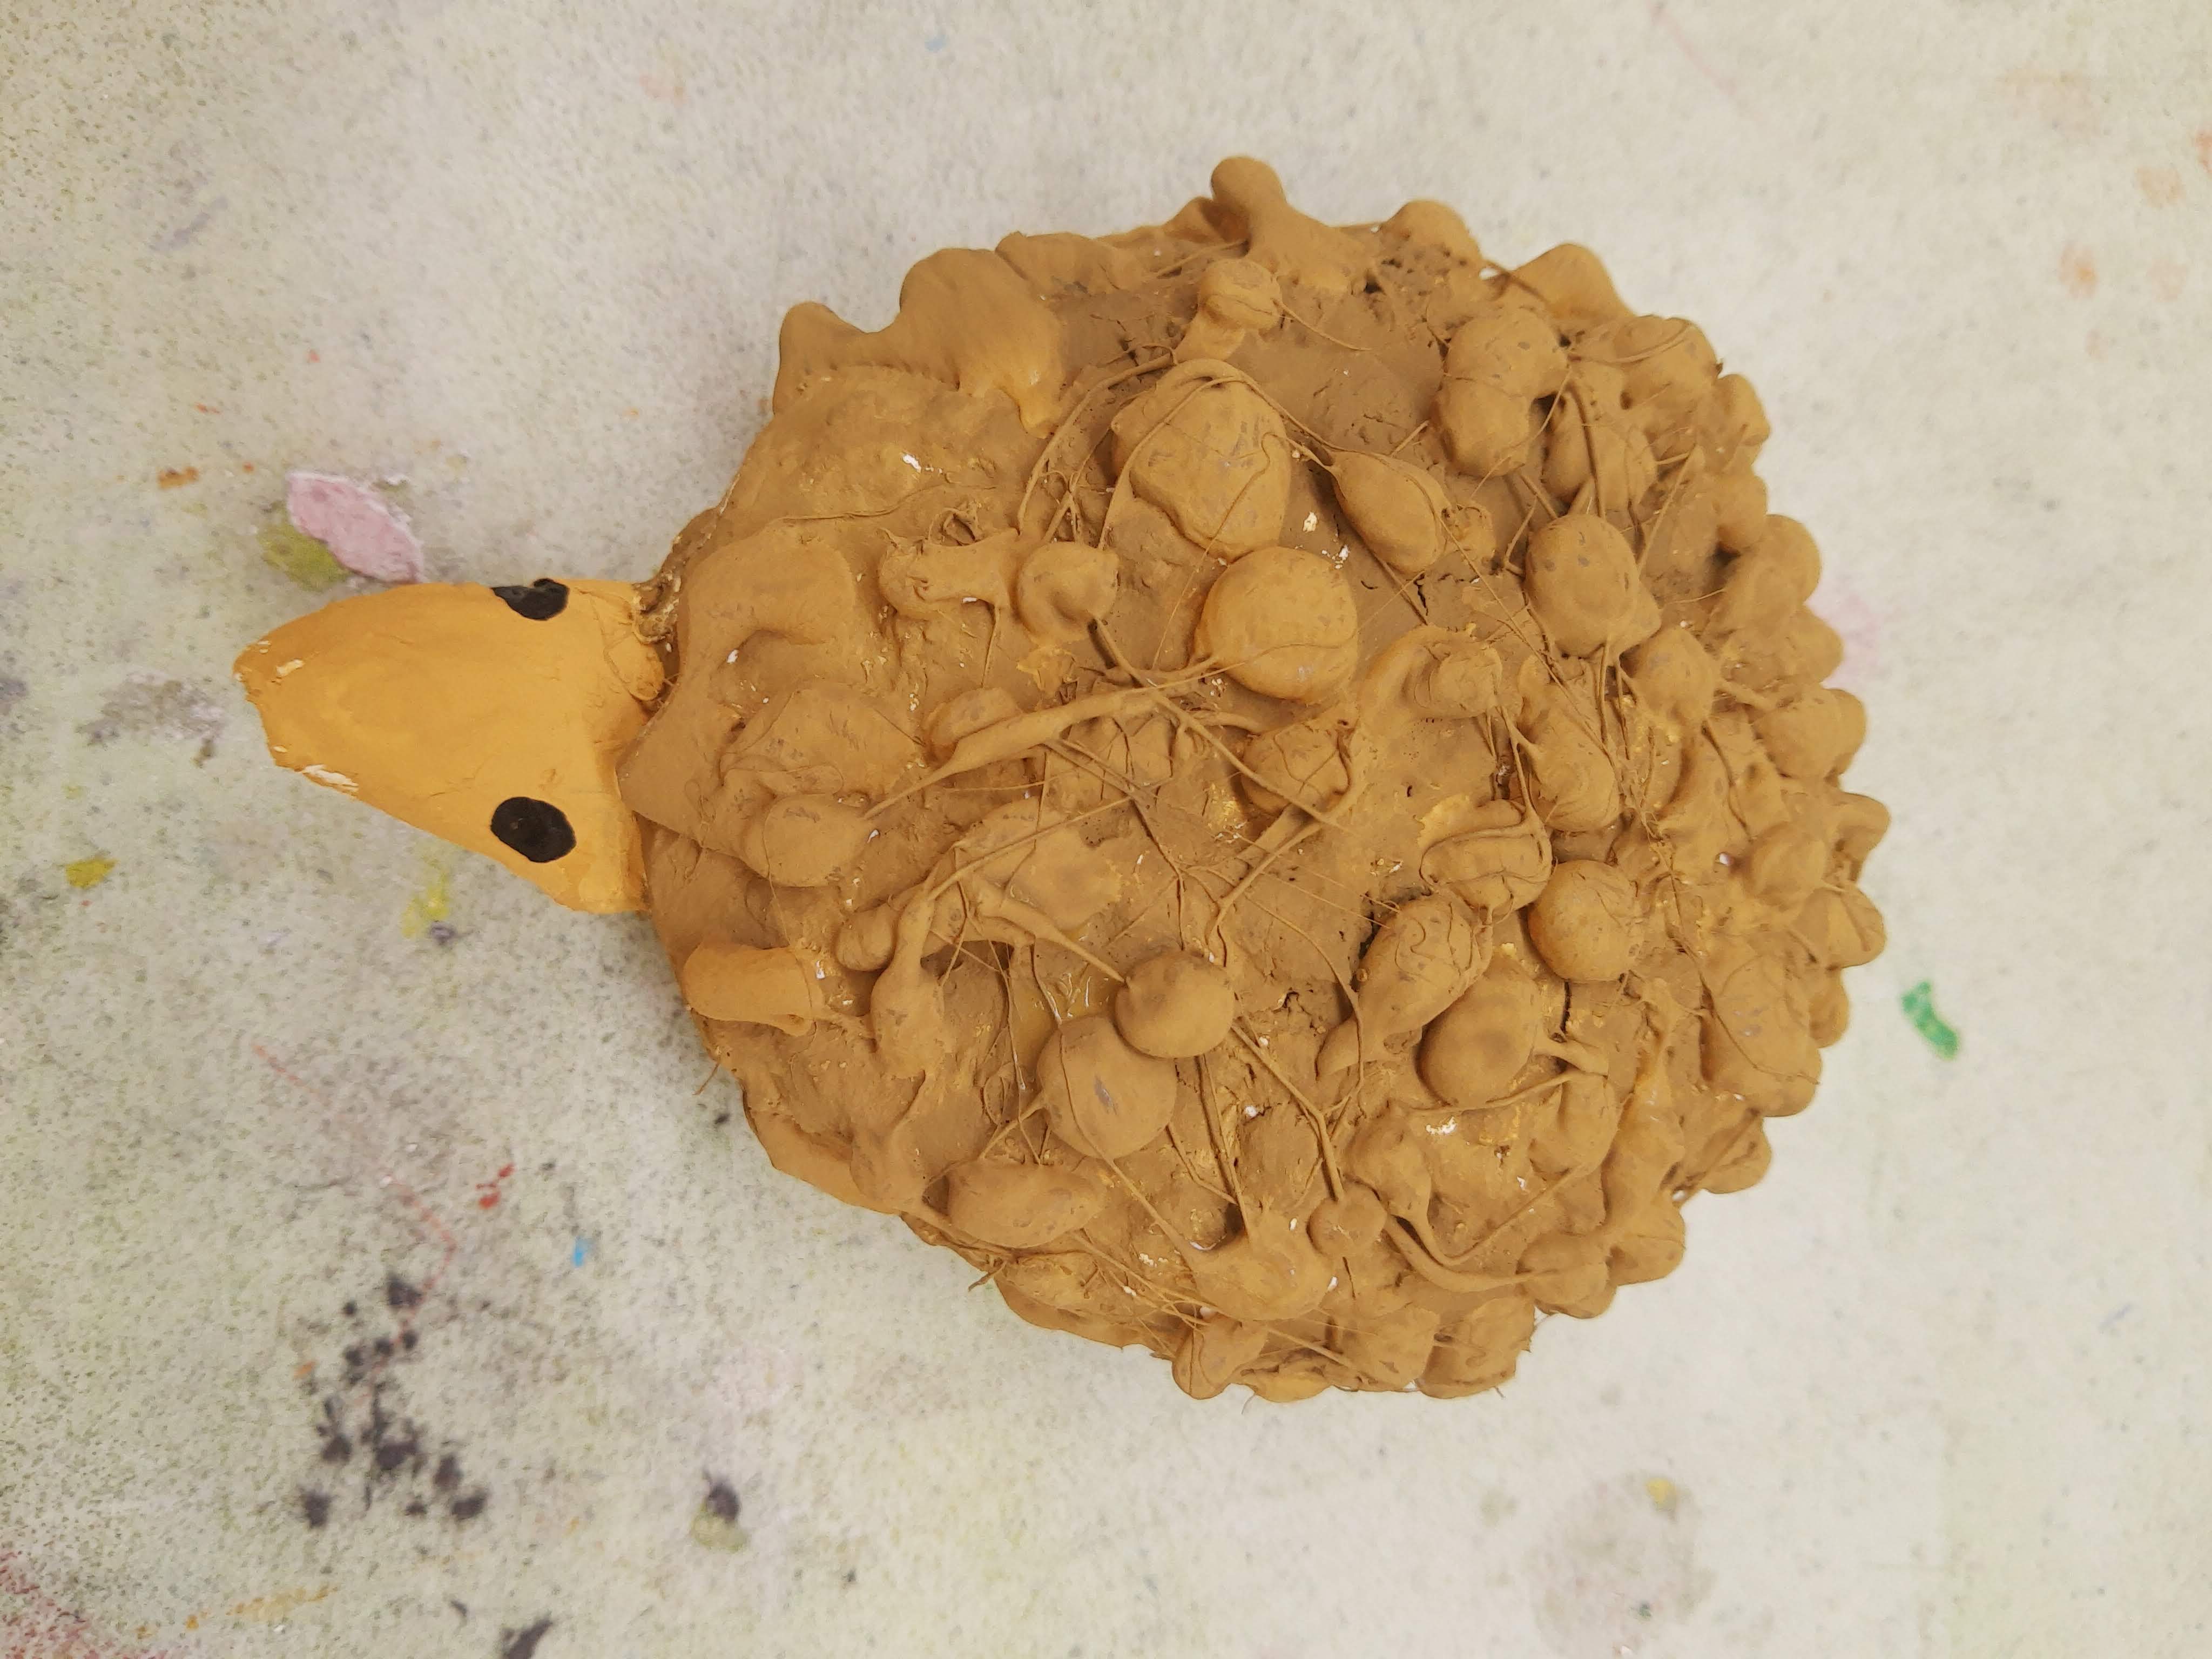
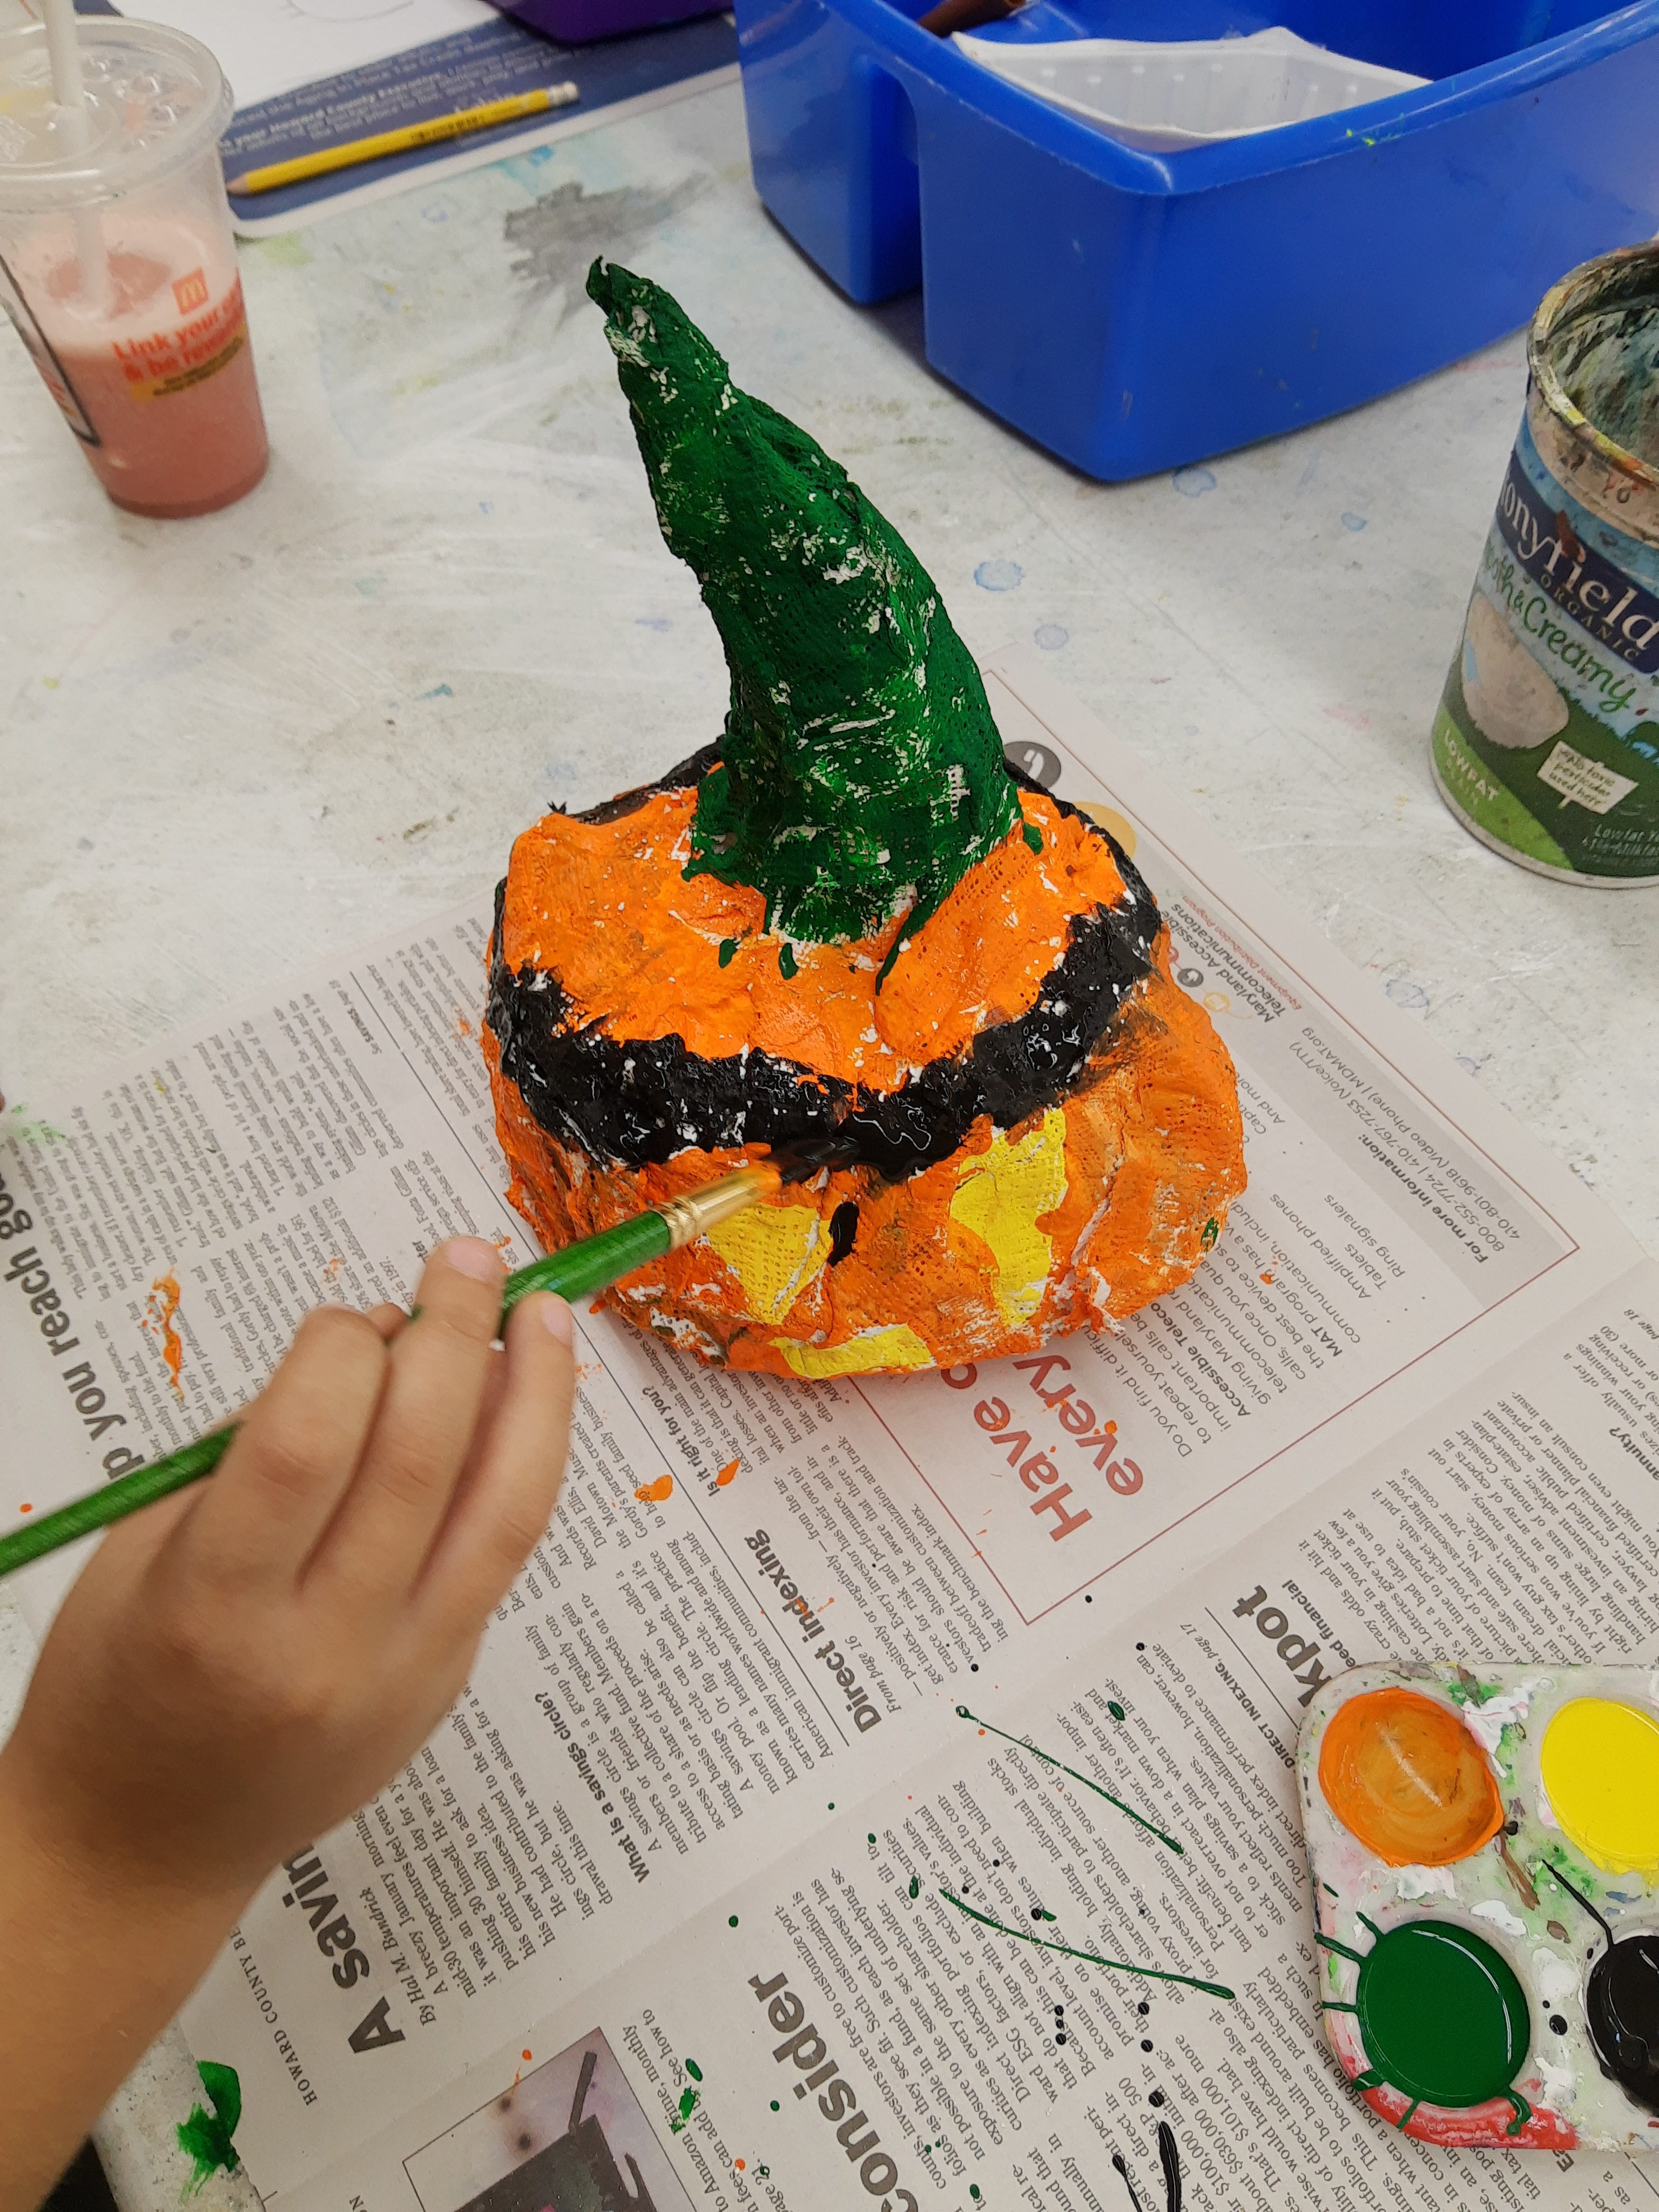
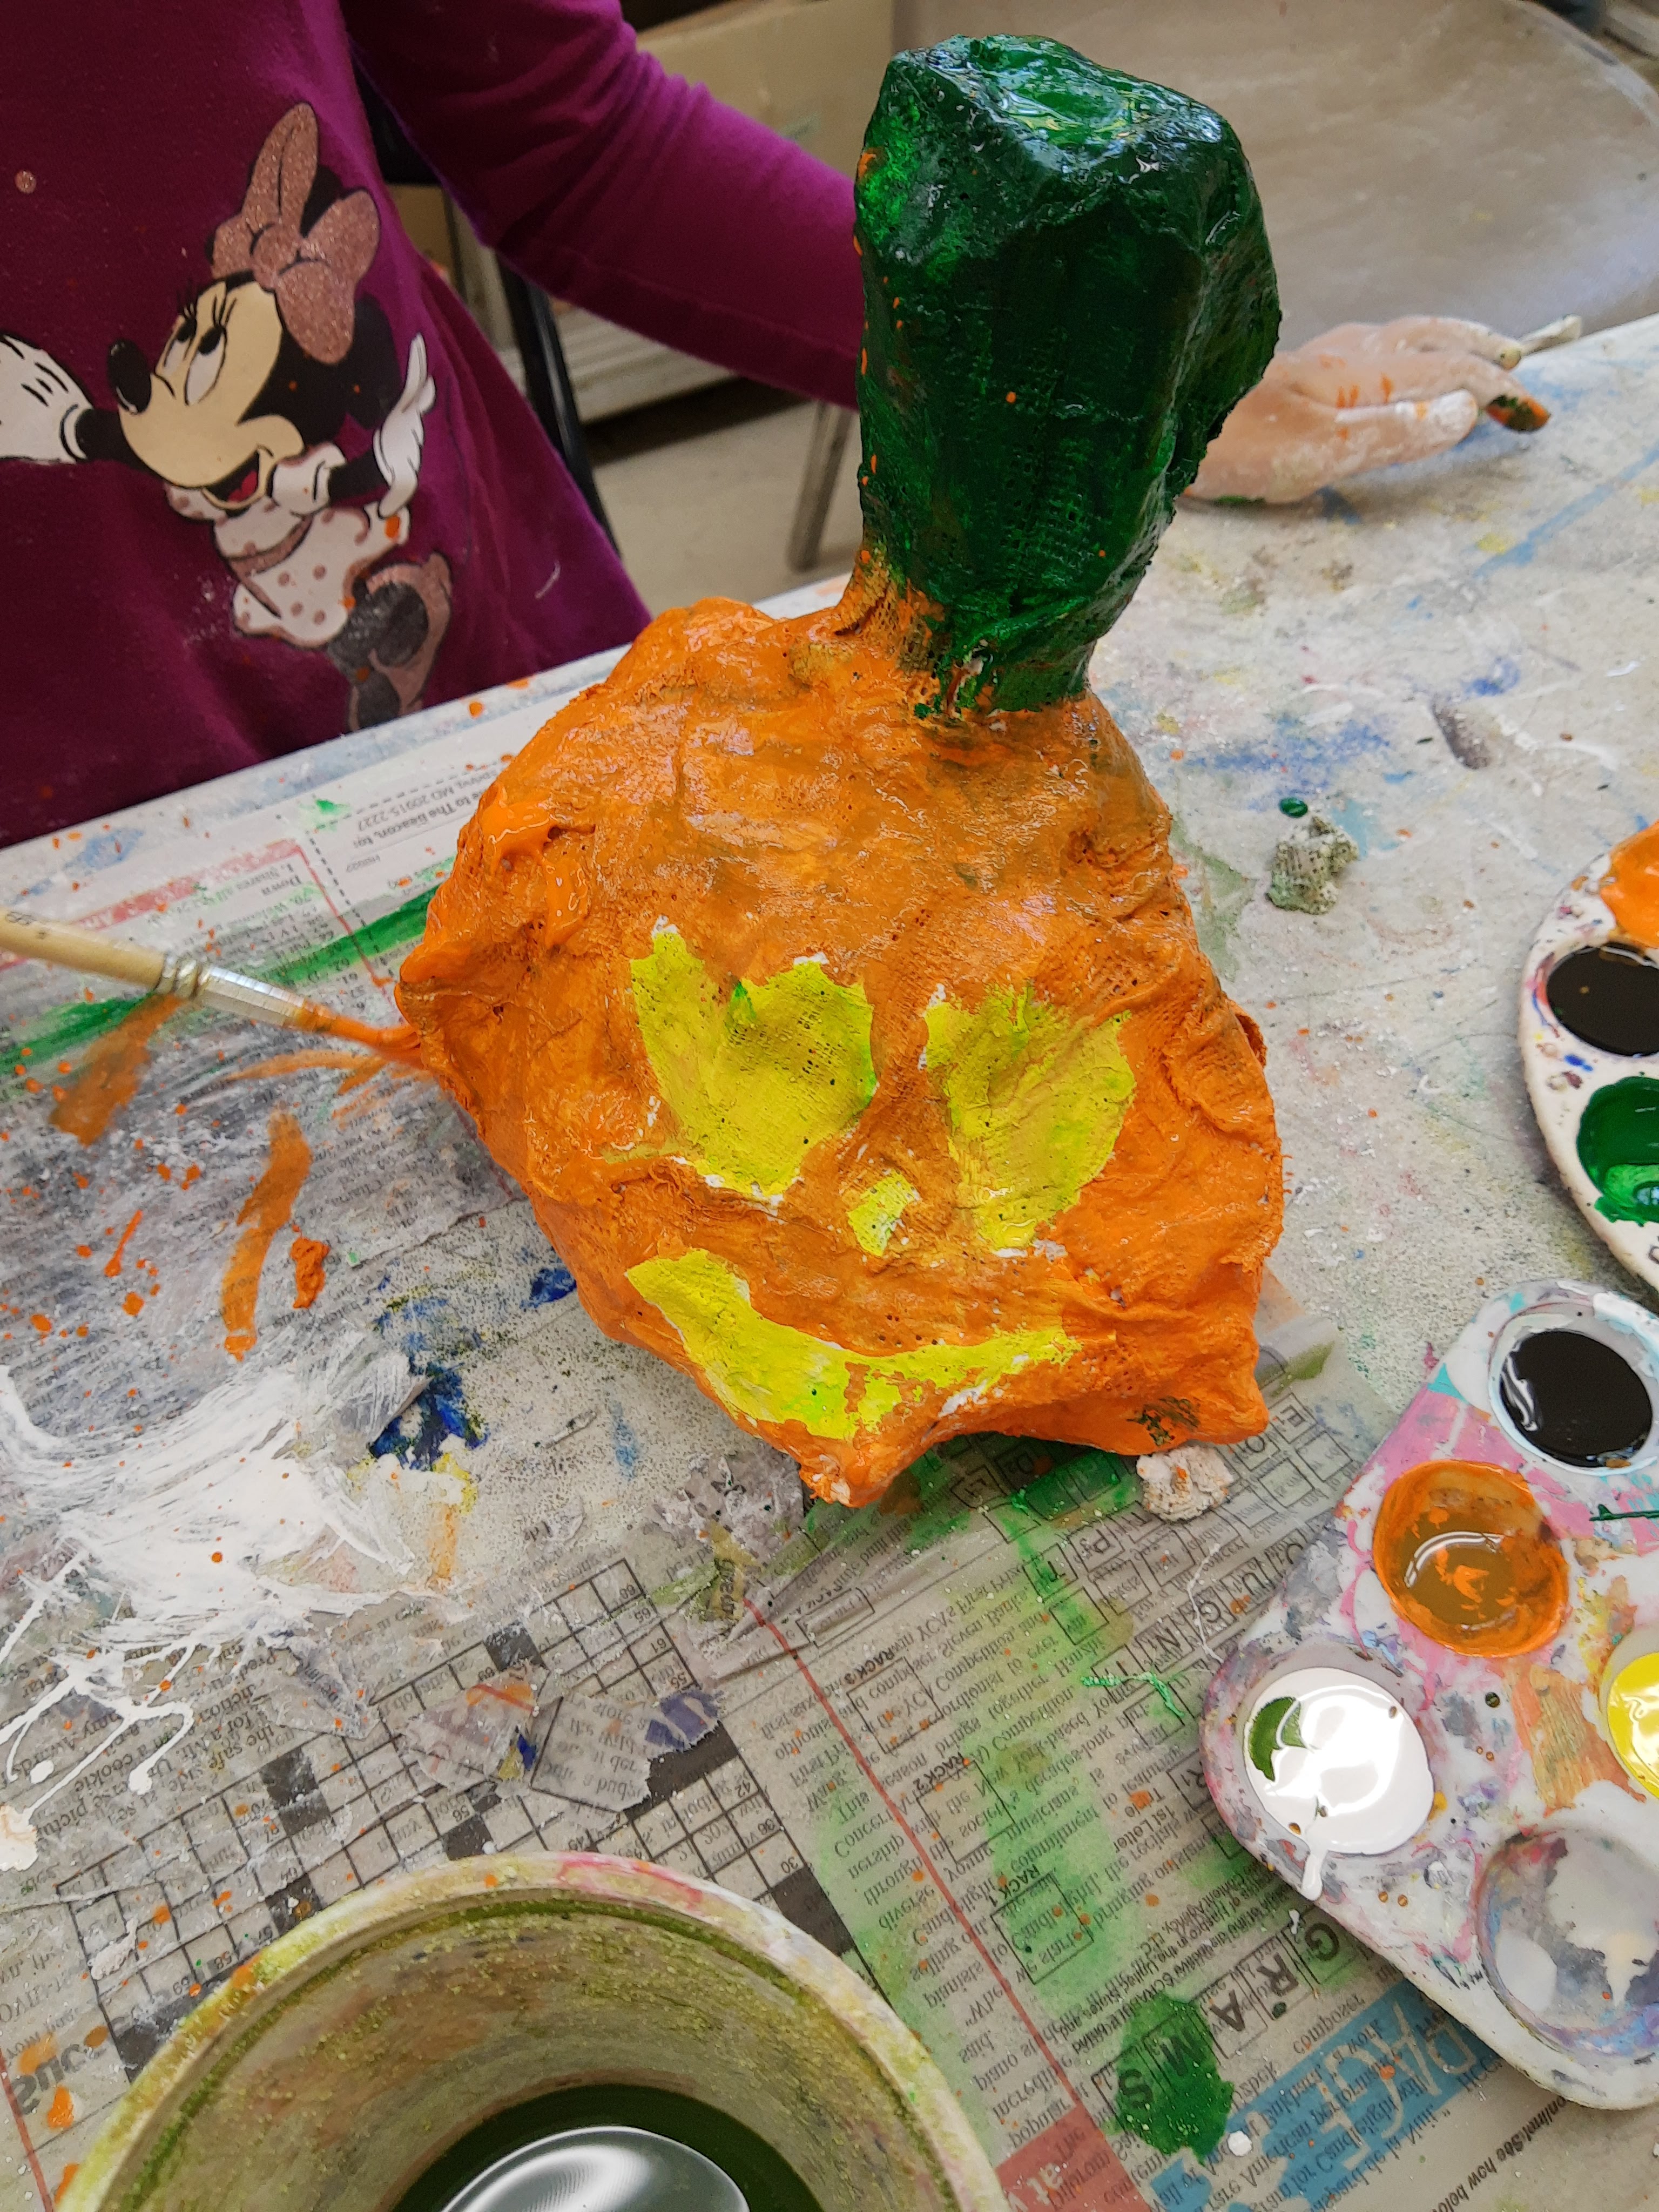
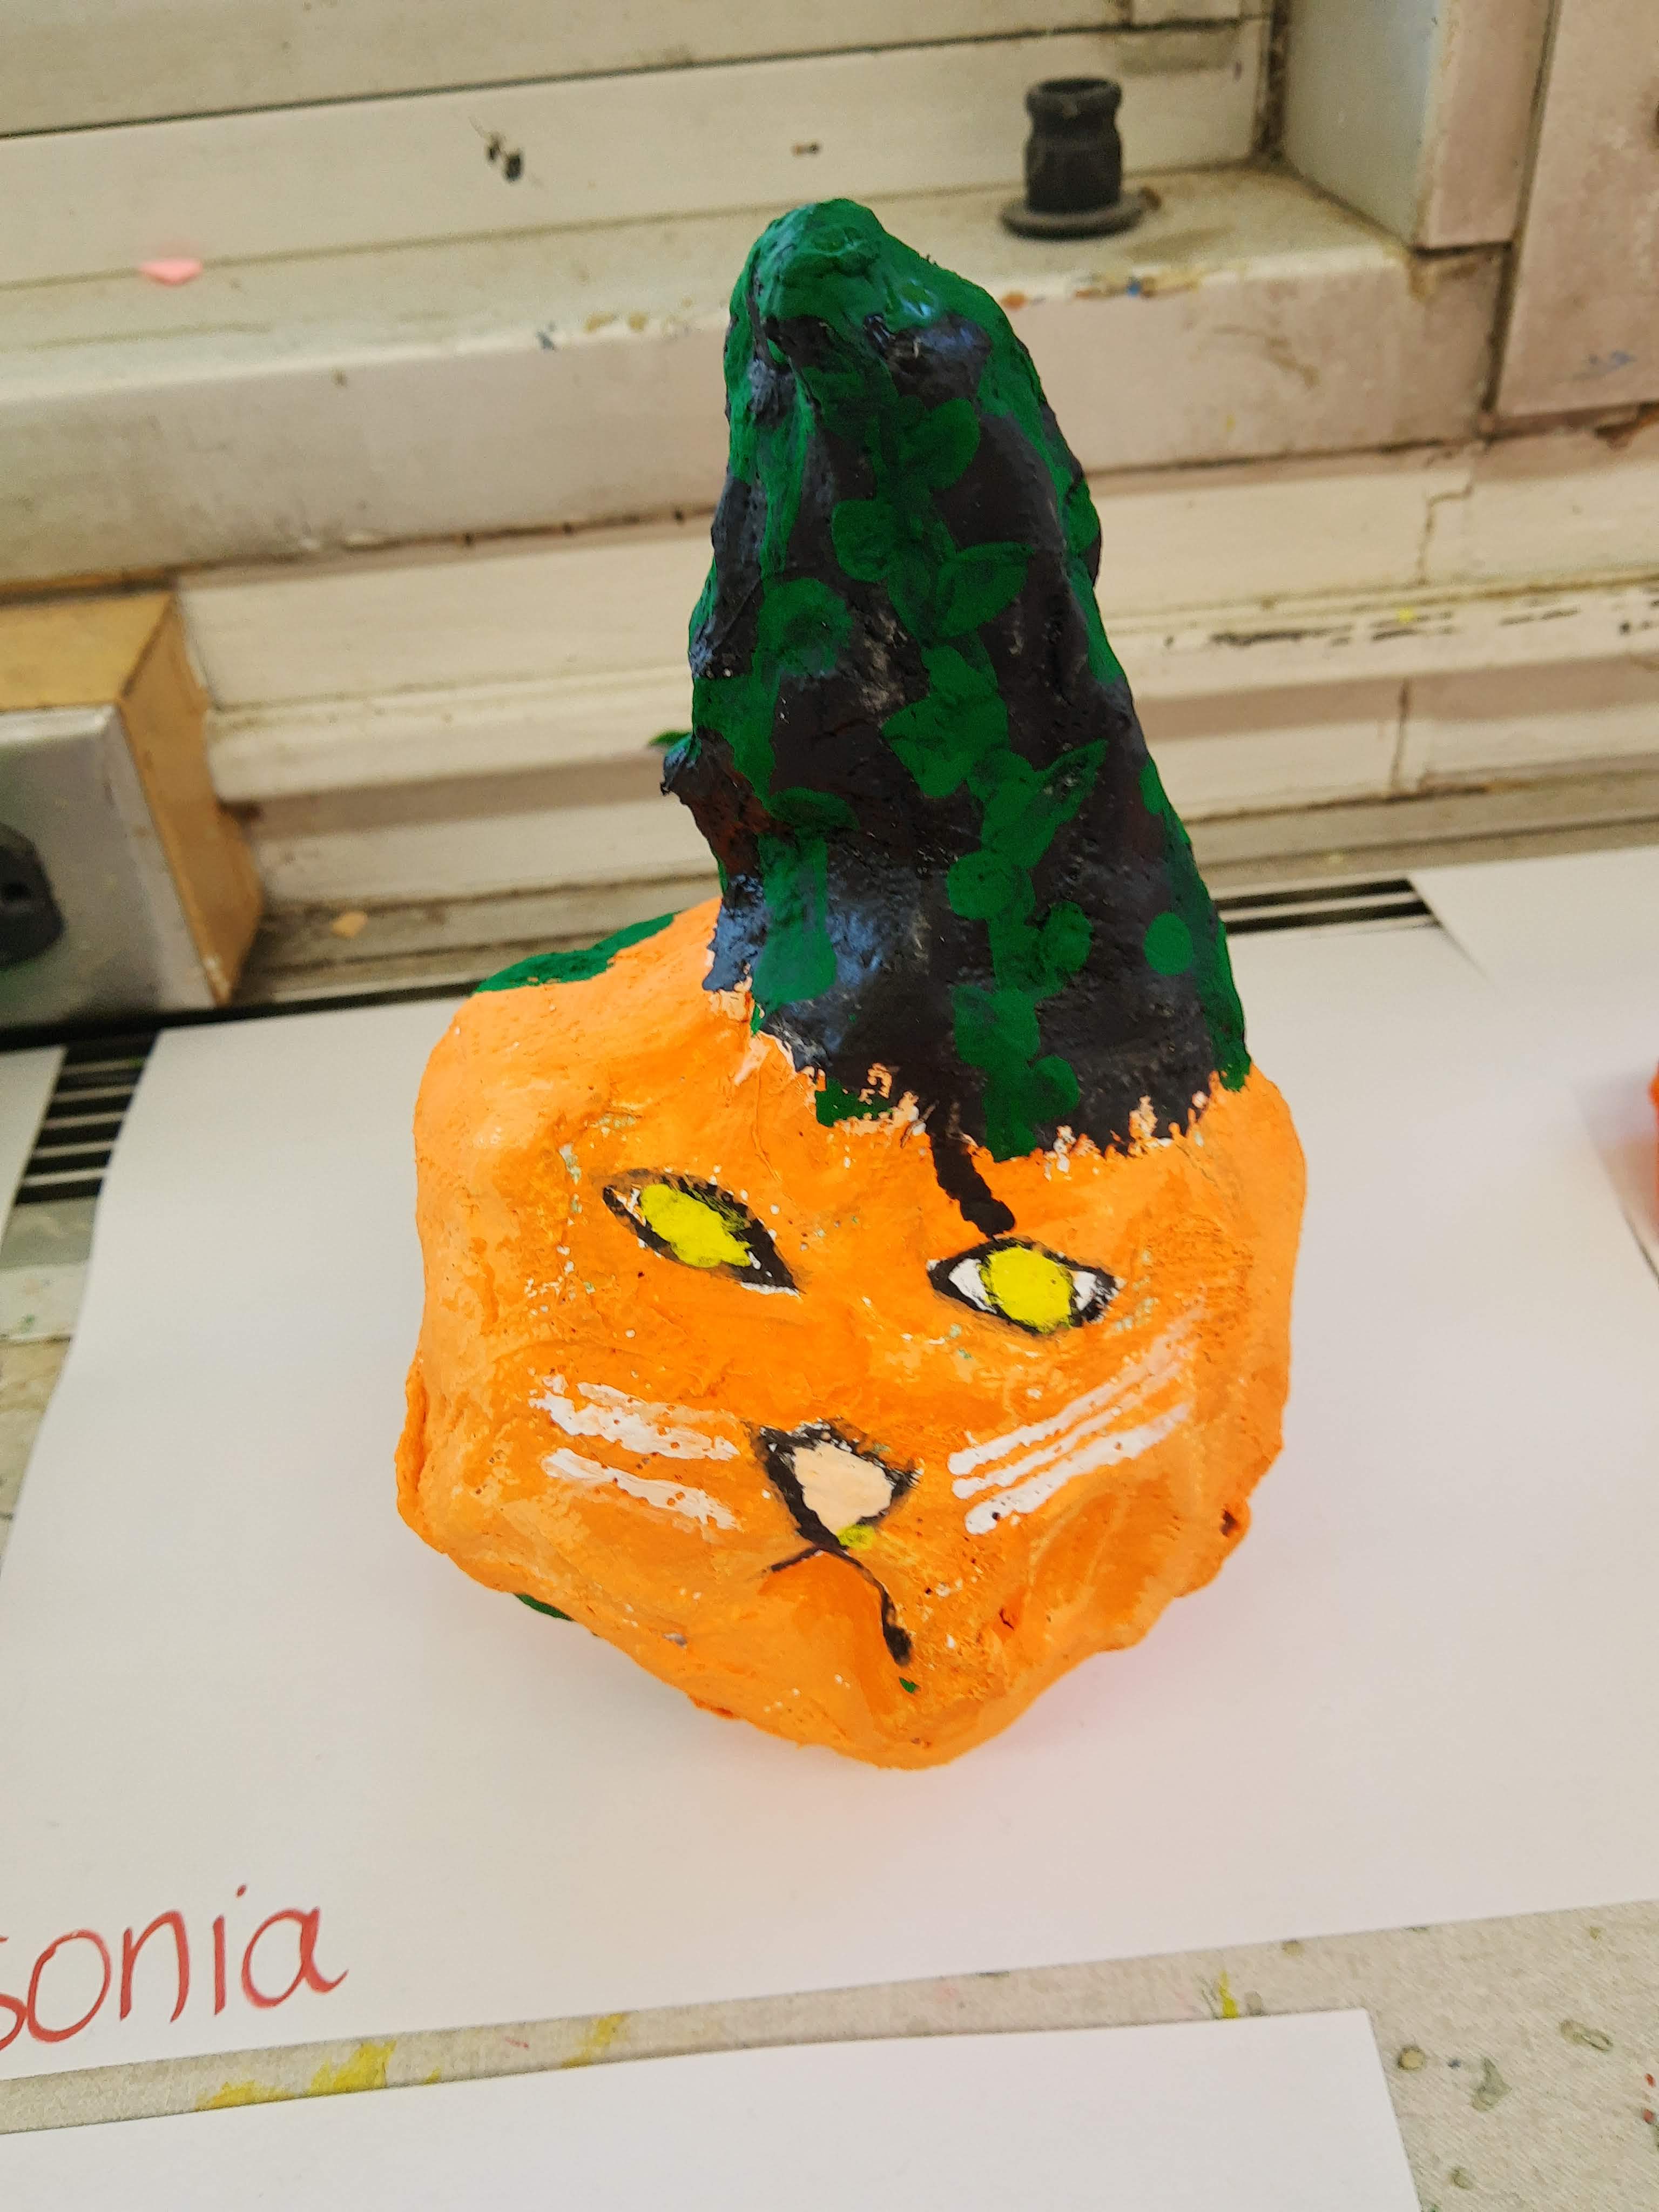
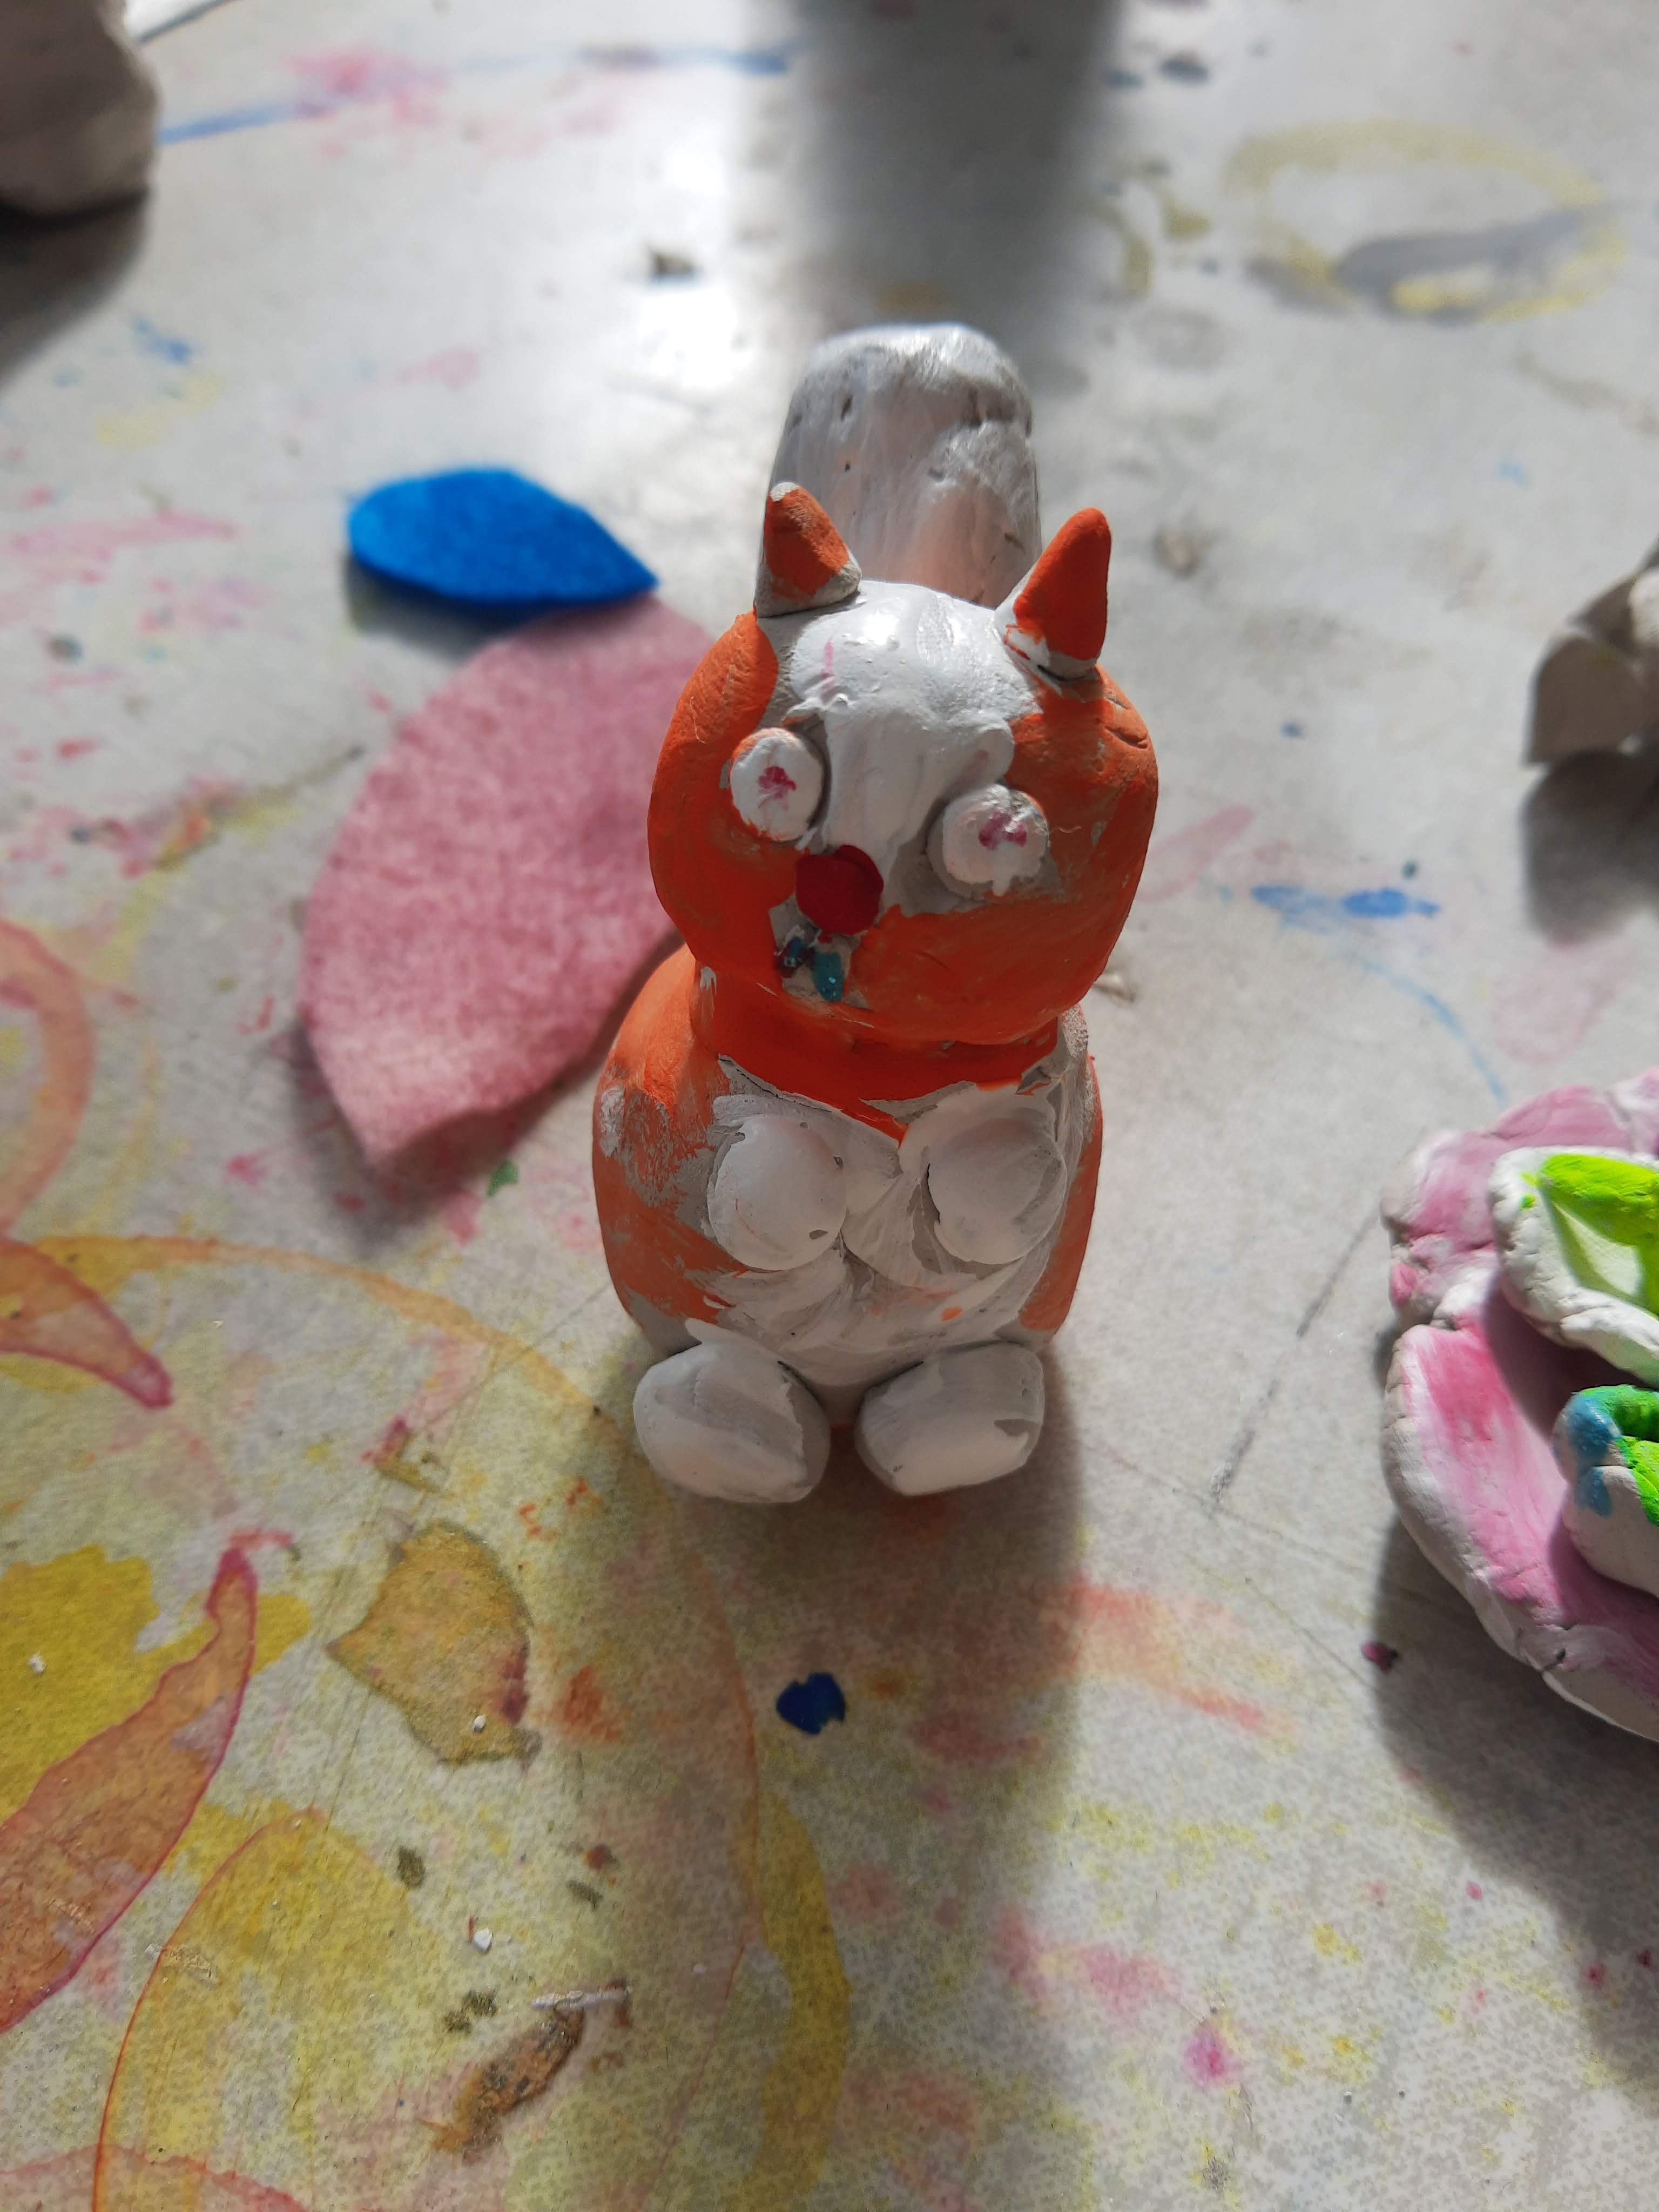
For my Saturday art class this fall, I taught students how to create a lot of sculptures. We started out using clay and students designed sketches of what they wanted to create and then used clay techniques to put together their clay pieces (with air dry clay). They painted their sculptures with tempera. We also made plaster strip sculptures. Students created their base with balled up newspaper and tape and then went over the newspaper with plaster strips. My little kids made pumpkins/jack-o-lanterns and my older kids designed their own sculpture.
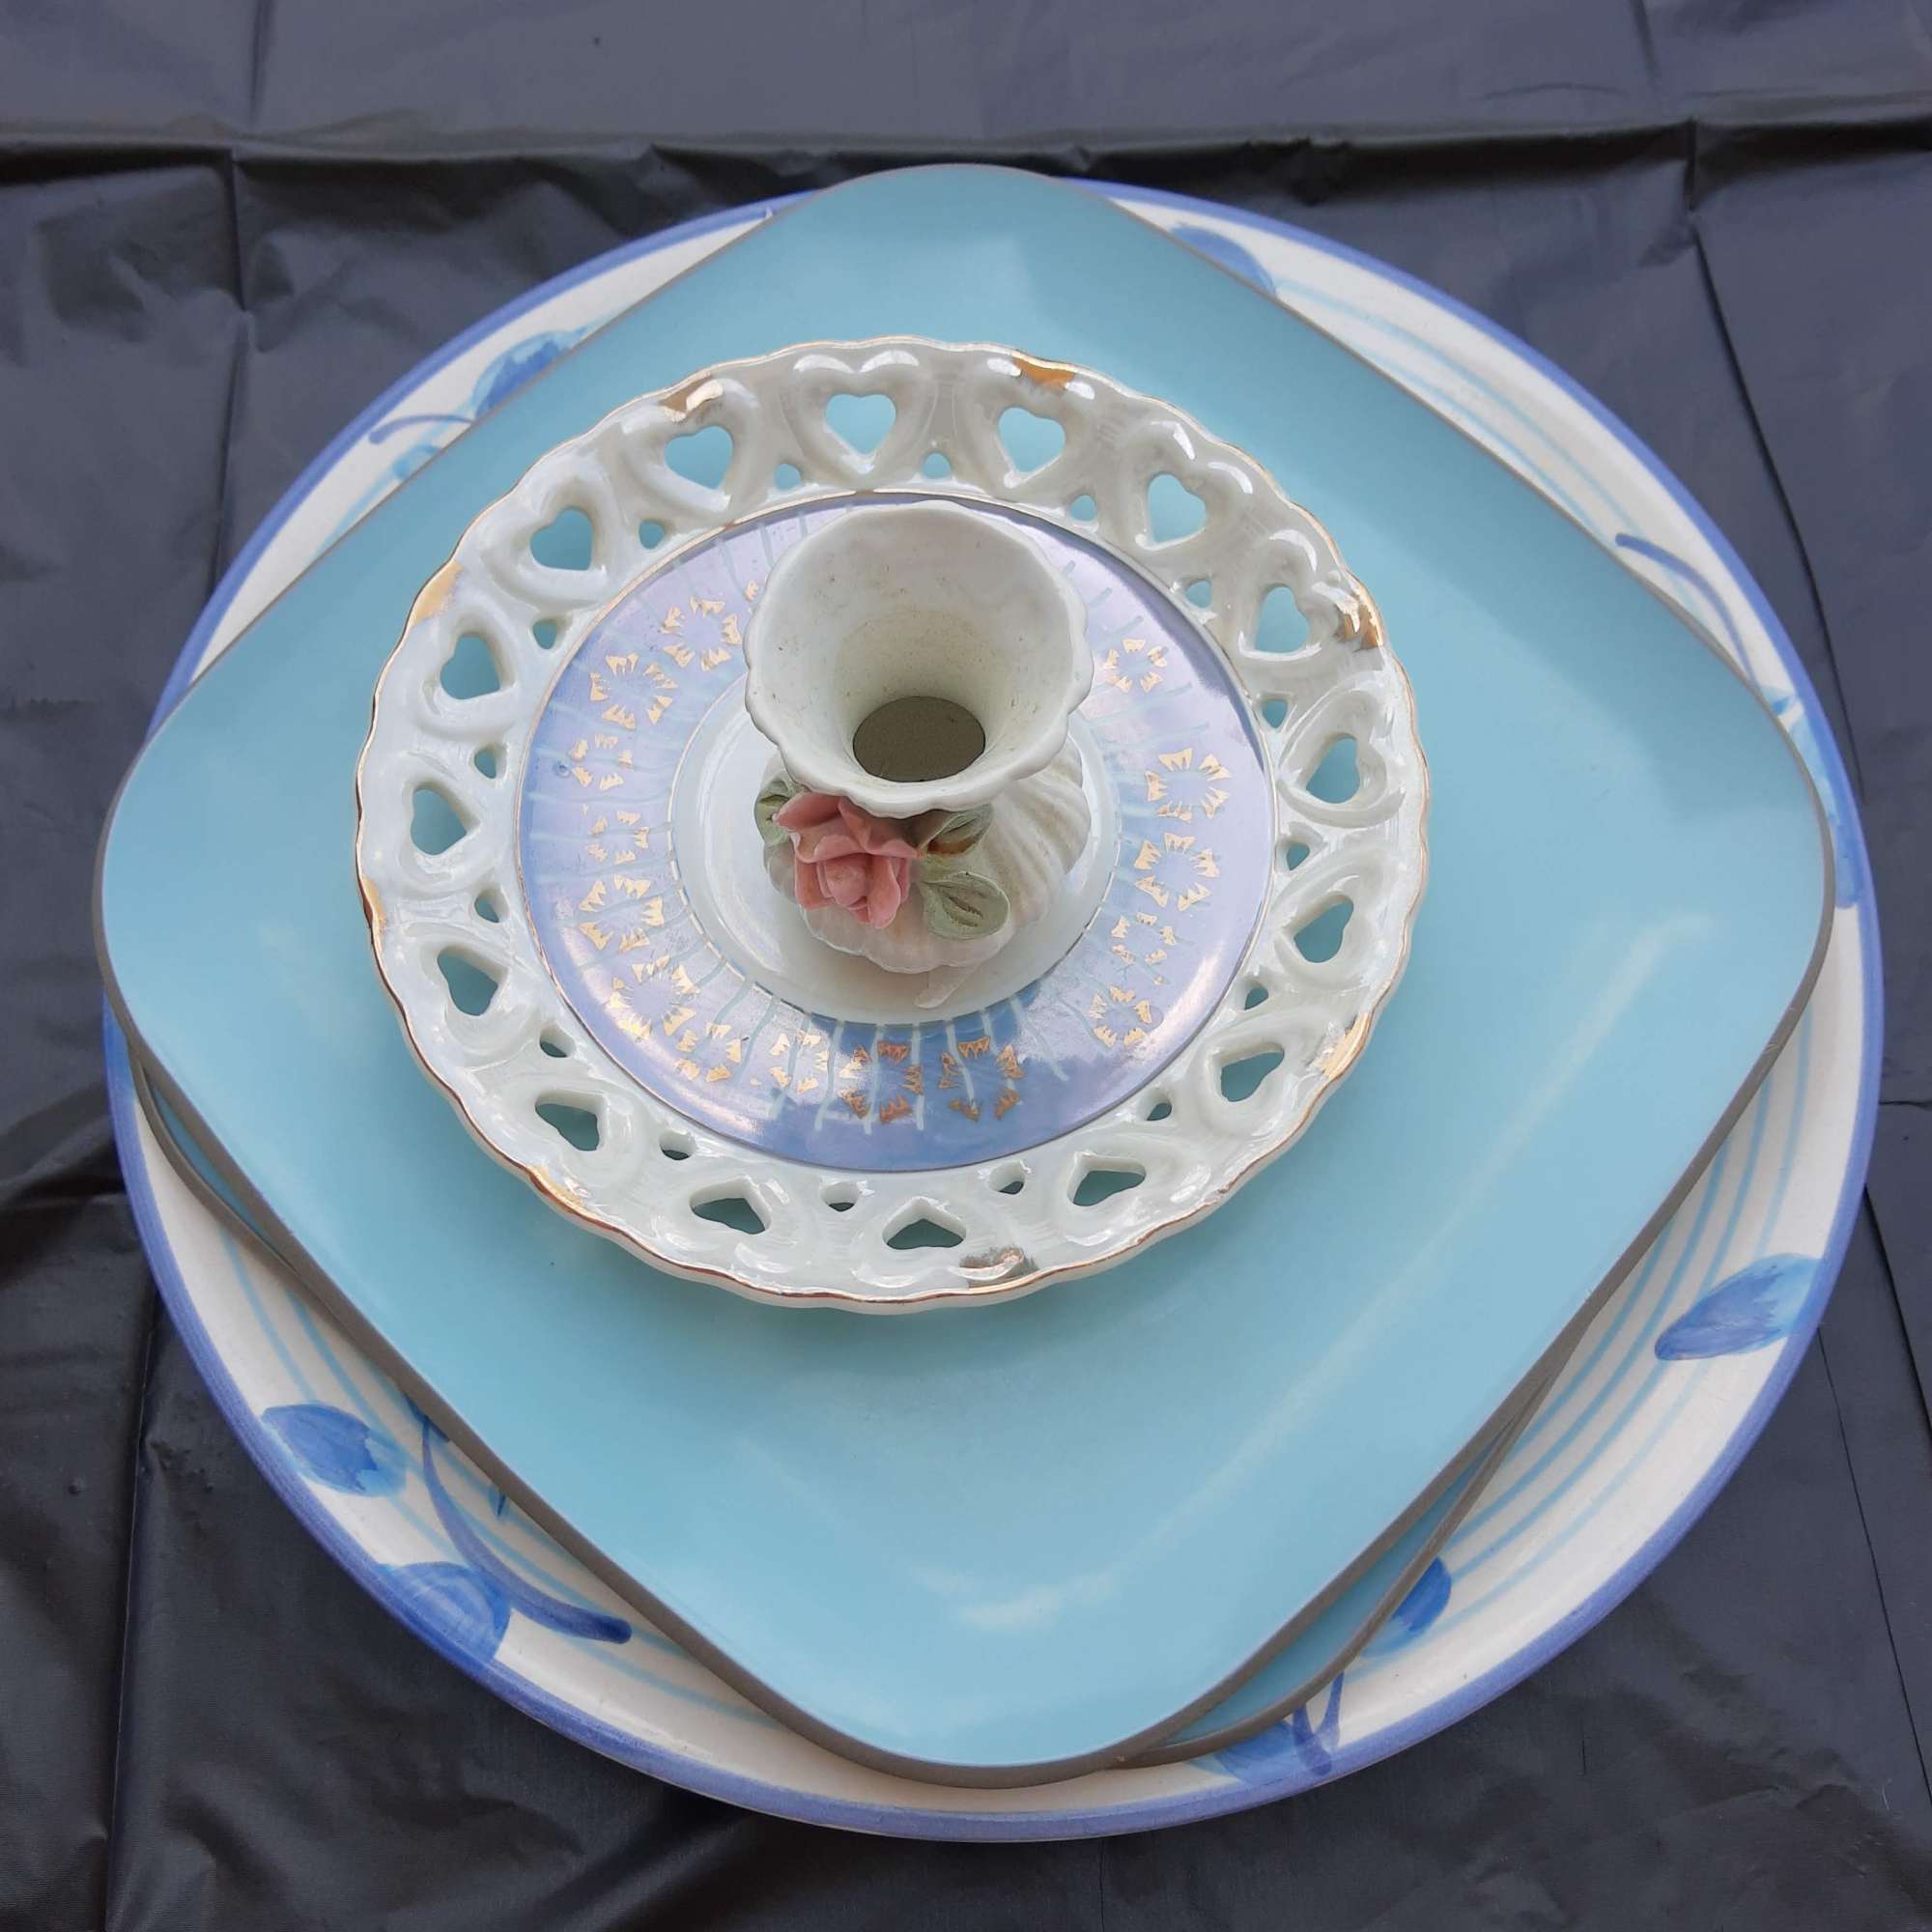
I needed to smash stuff to cope with stress and anxiety. So I bought a few cheap plates from a thrift store and smashed away! This was my first time making a mosaic, and because it was for stress-relief, I didn’t care about making a nice design or planning out where I wanted to put the pieces.
Steps I followed (according to the pictures above):
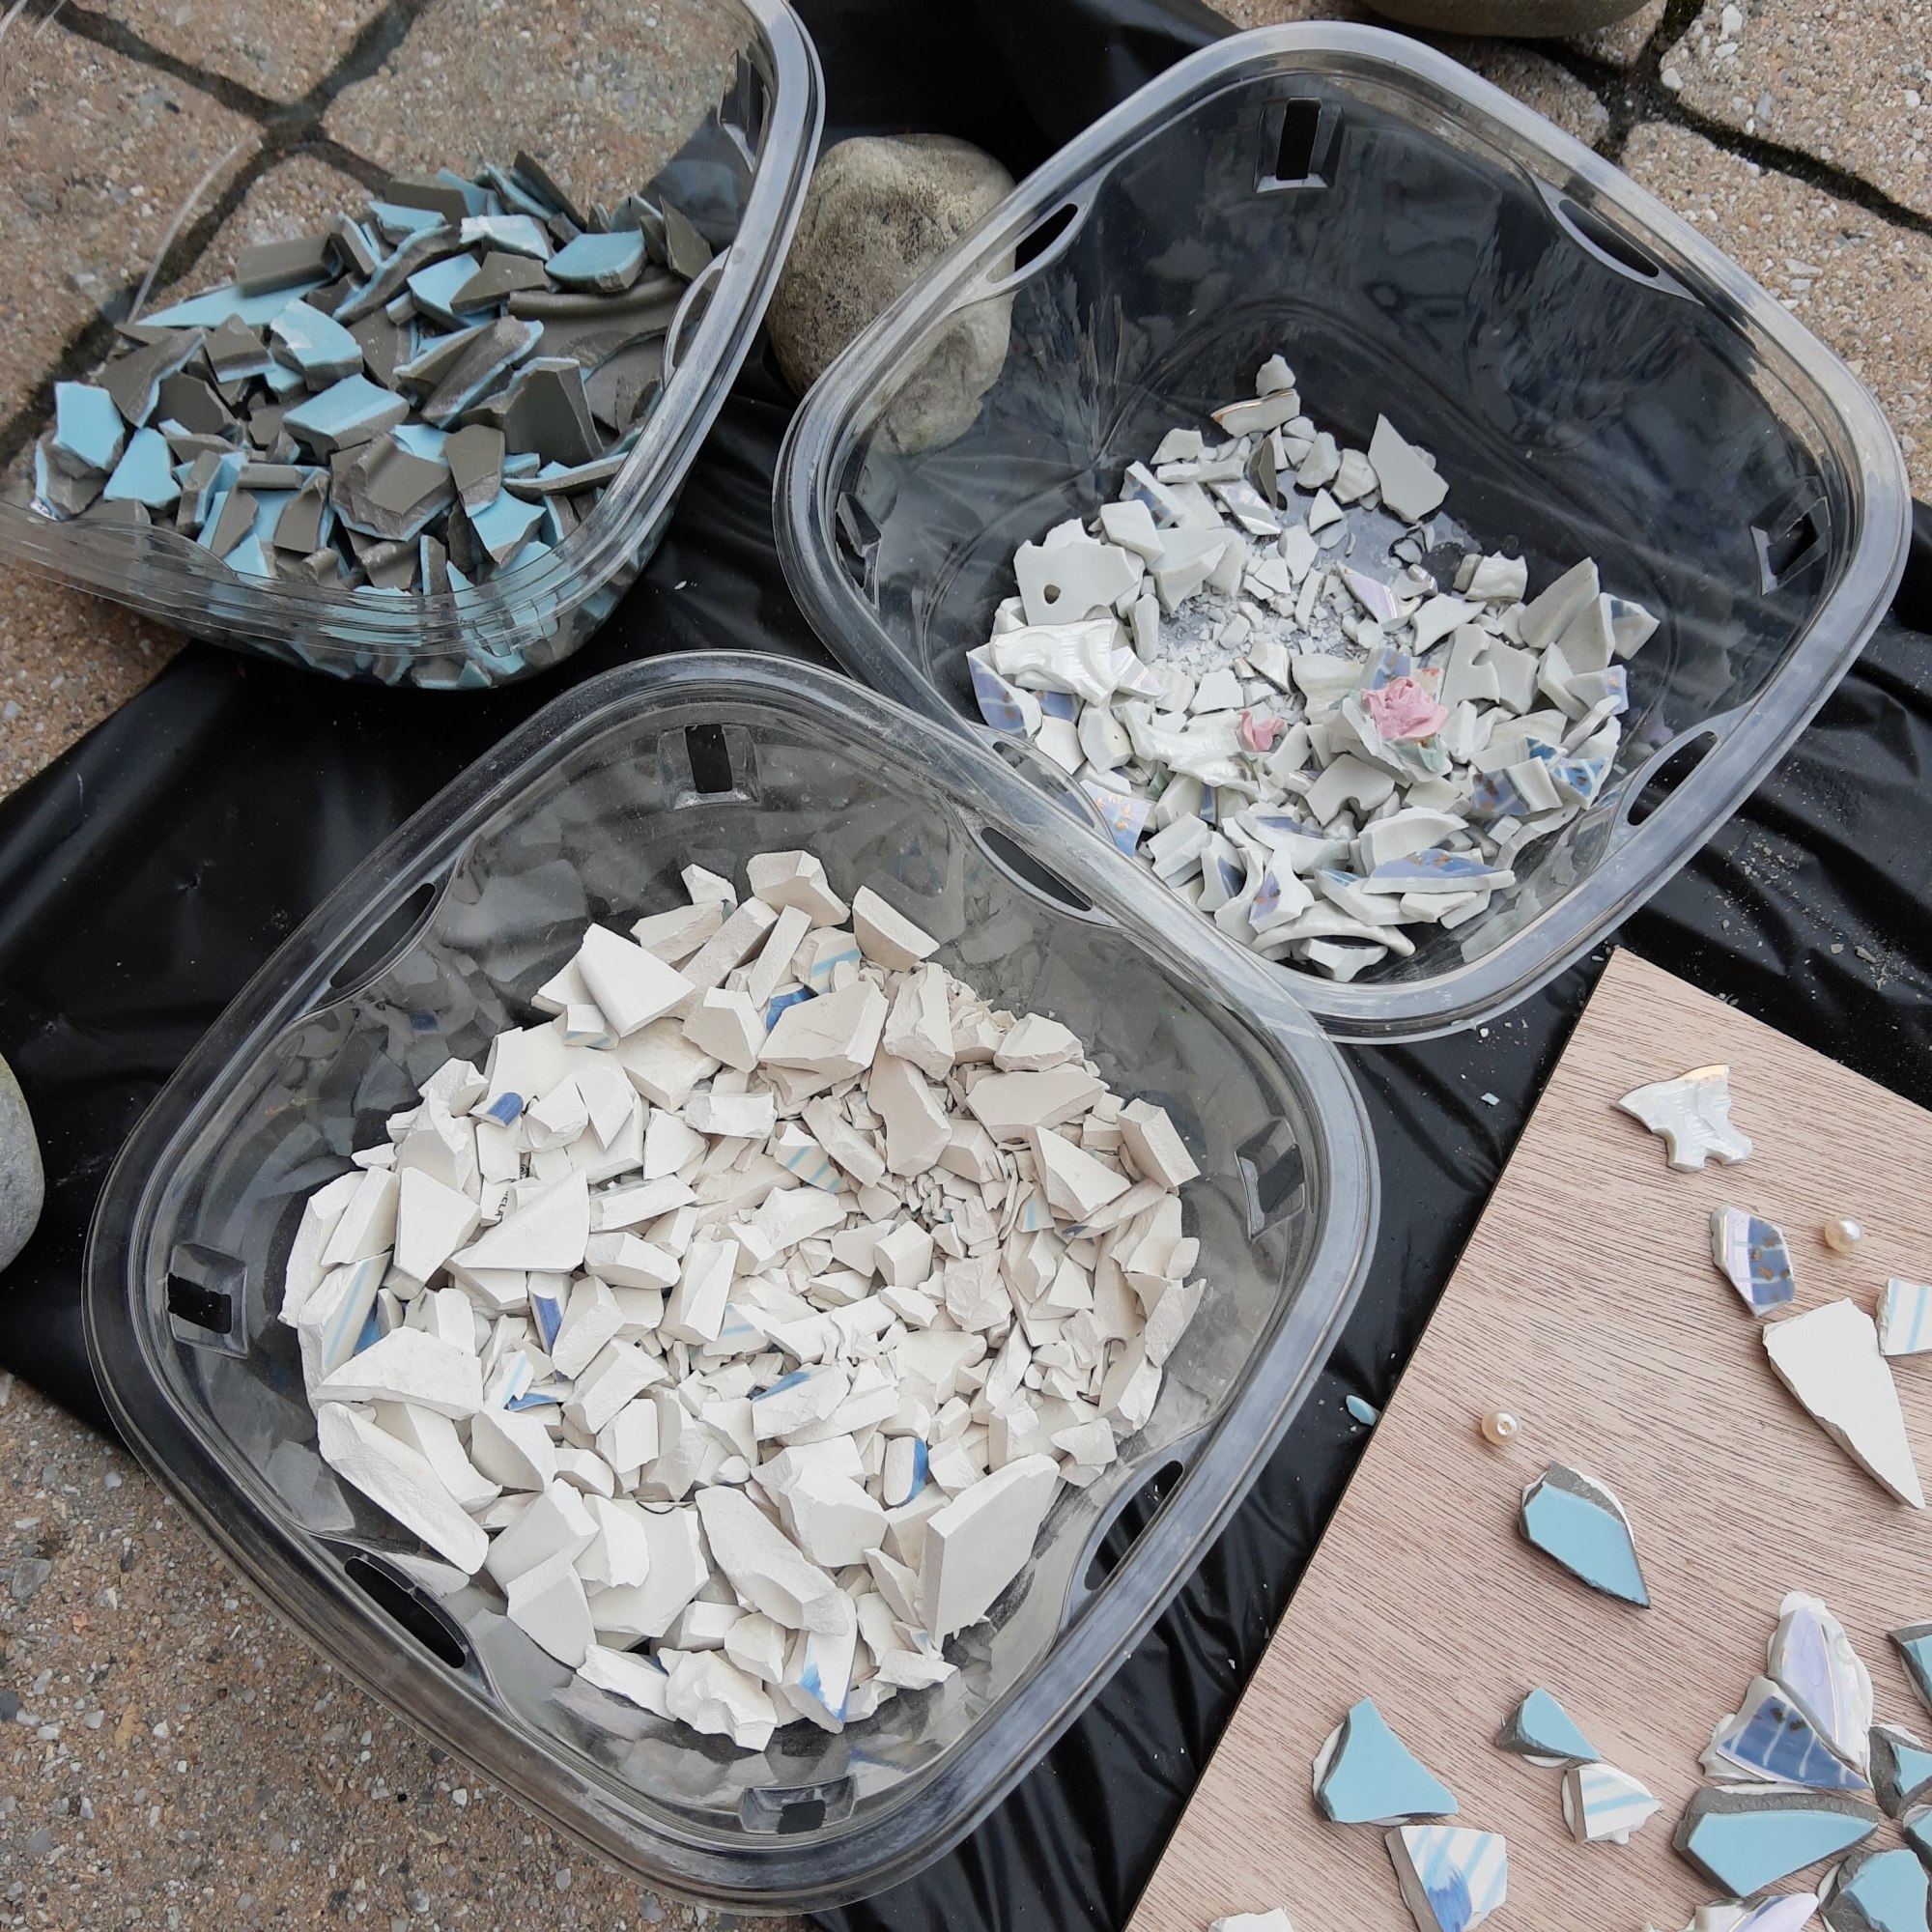
Gather plates you want to smash.
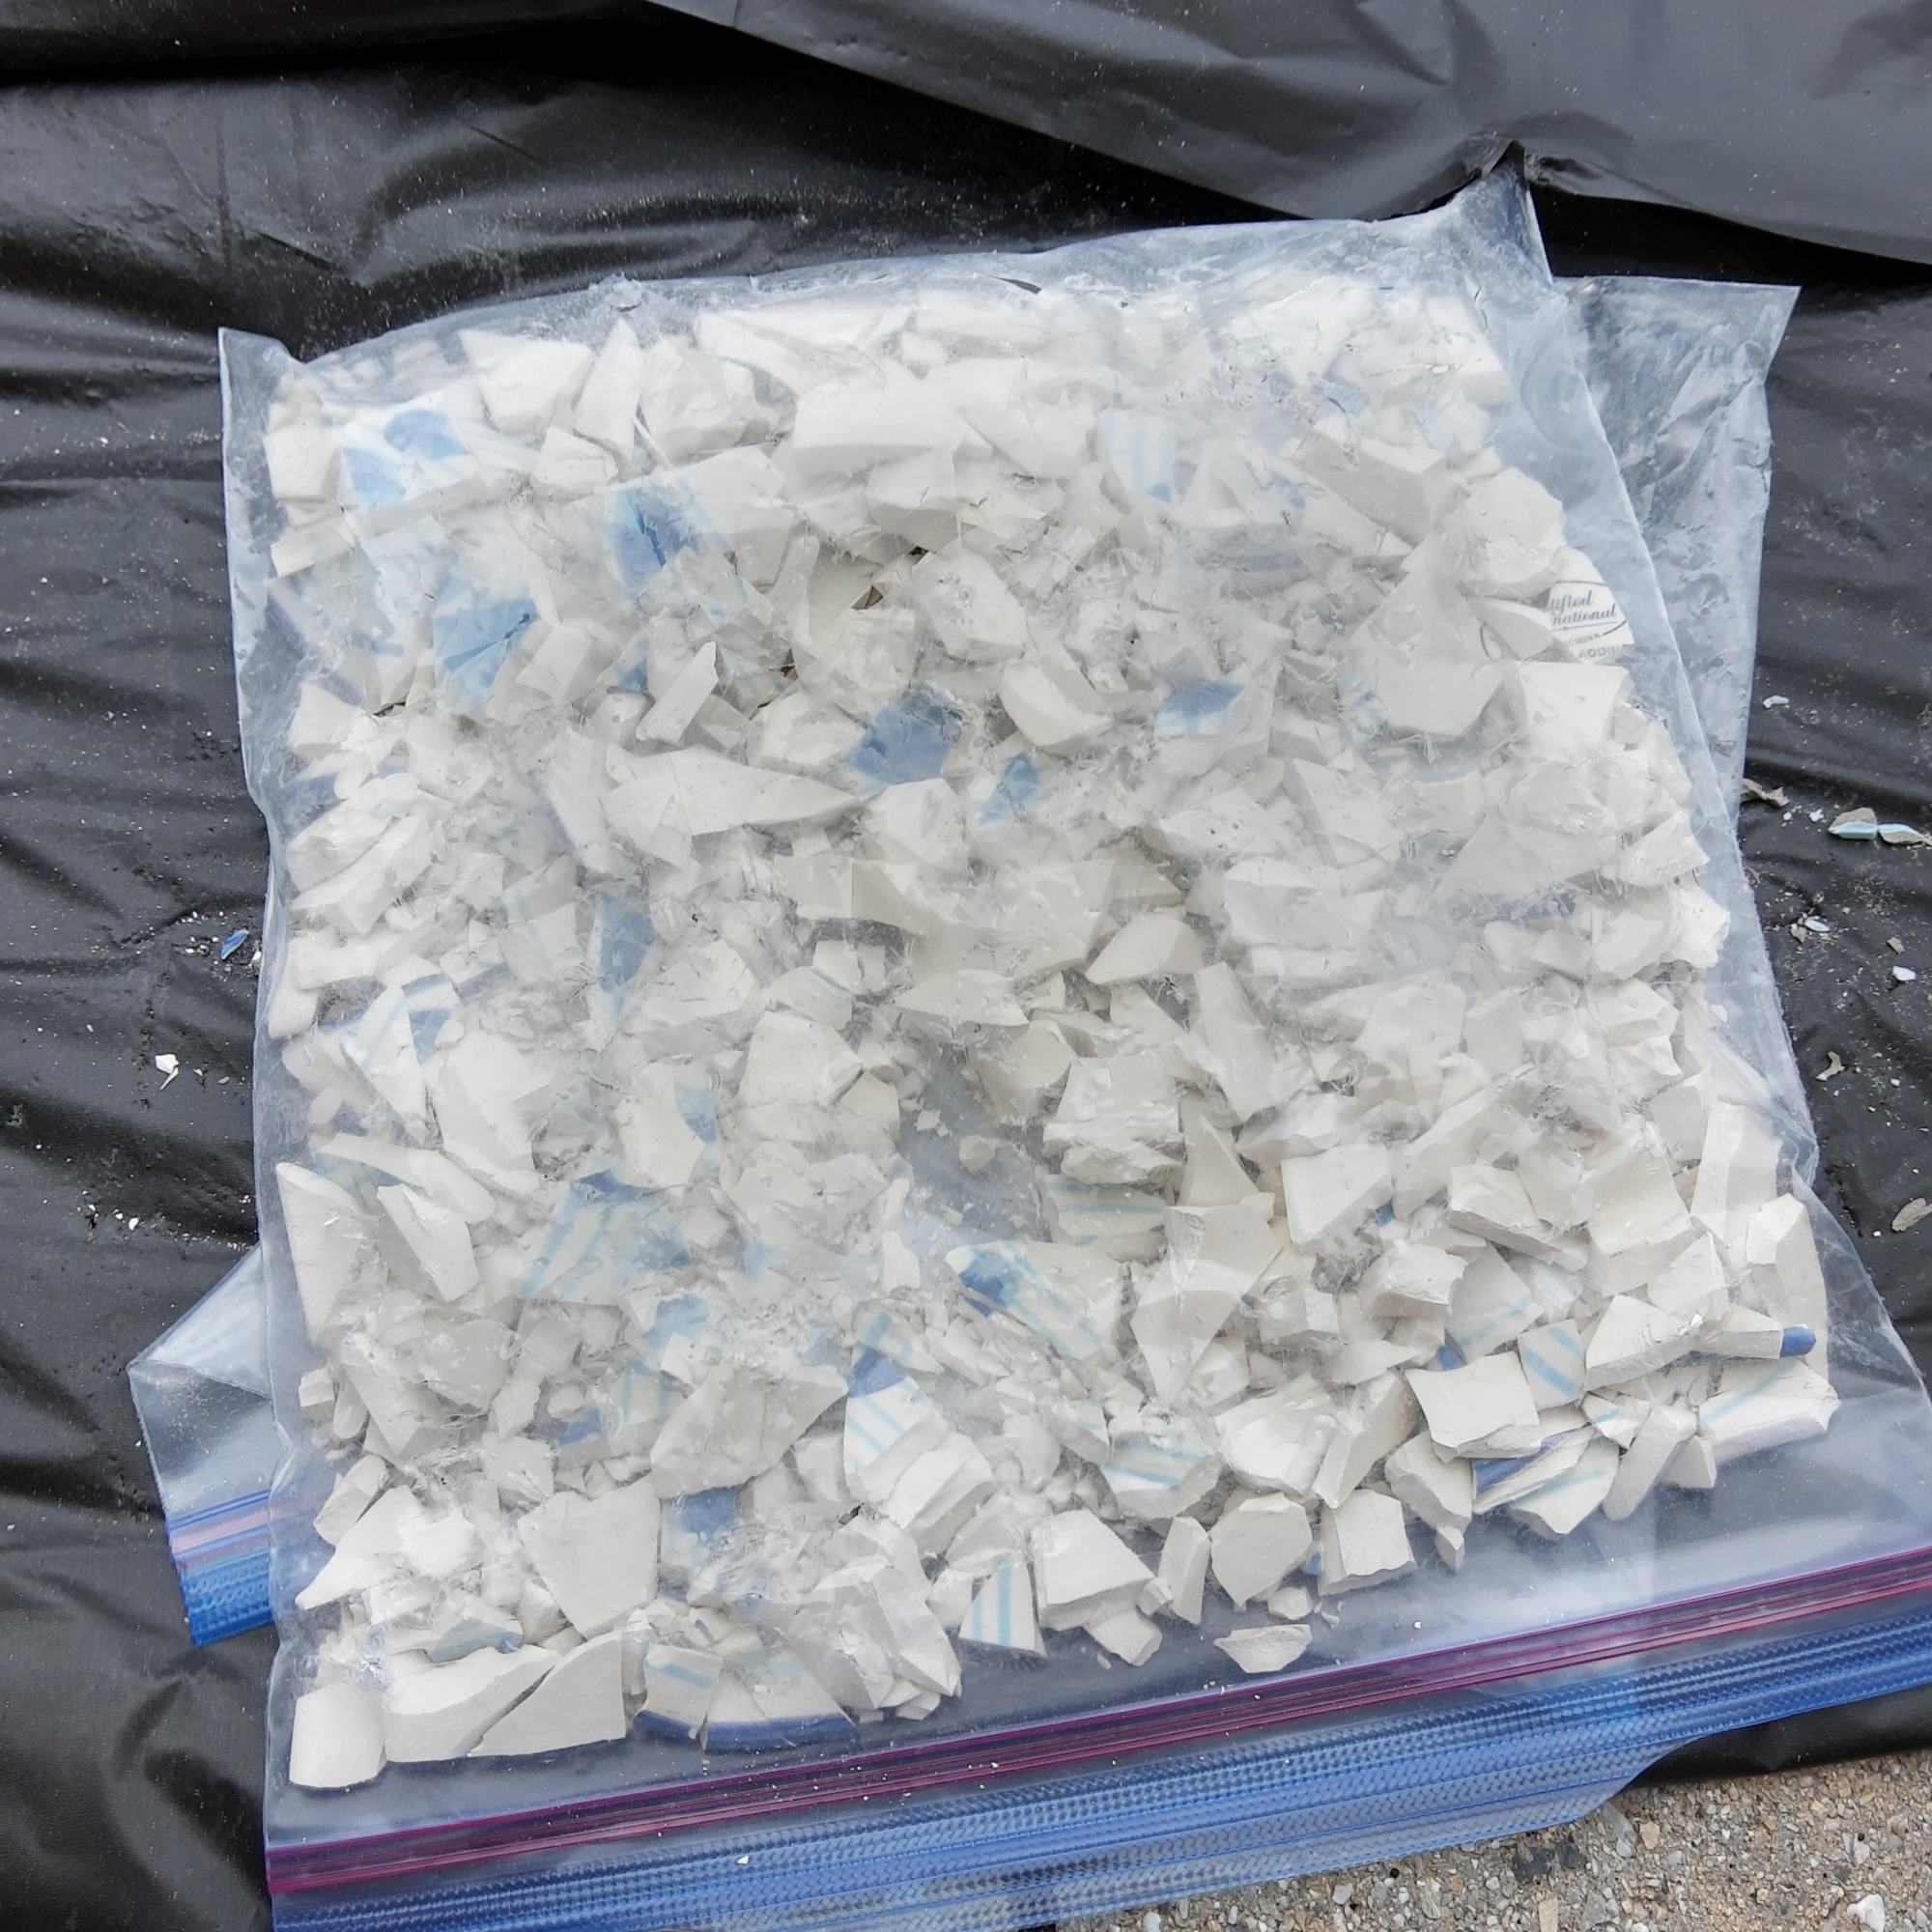
Put a plate in a bag and smash away! You can use a hammer or mallet. I also even put one plate in a big plastic trash bag and slammed it onto the ground, which was very fun and stress-relieving.
Smash until all the pieces are small.
Use containers to sort different colored pieces together.
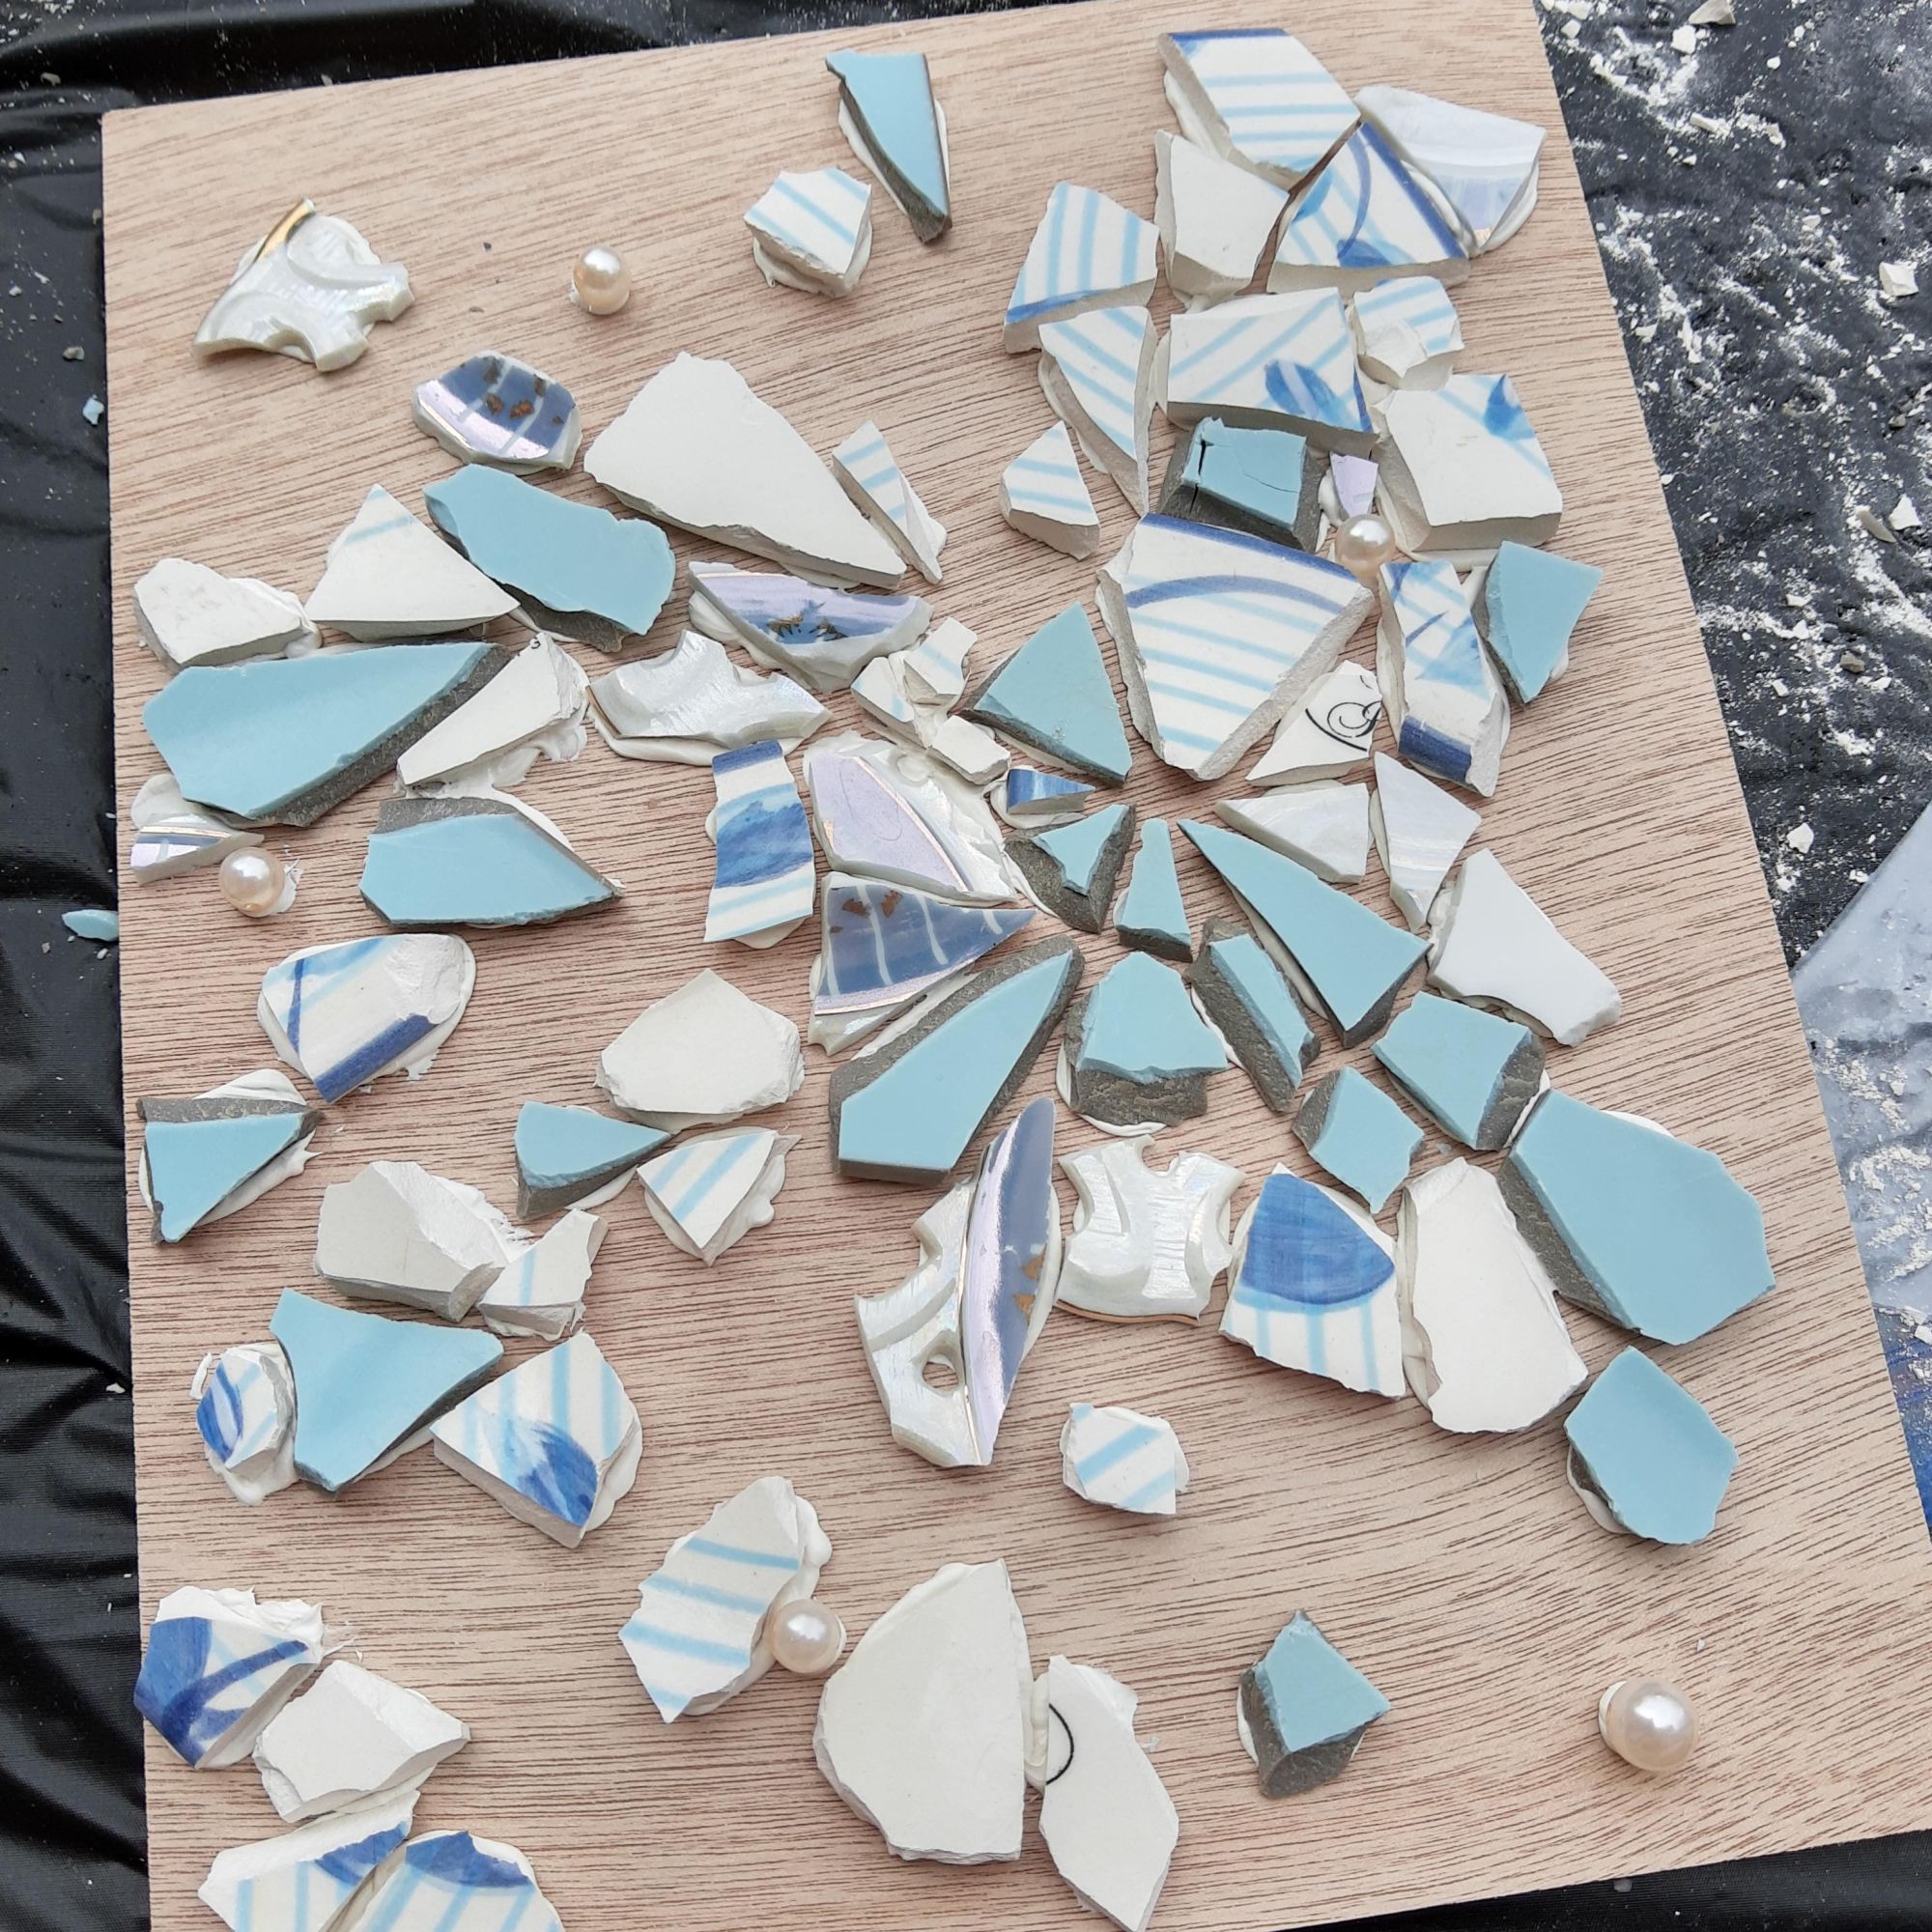
Begin attaching the pieces to a wood panel or other surface. To attach the pieces, I used ceramic/tile fixture caulk.
Continue attaching pieces. I also added little plastic pearl beads.
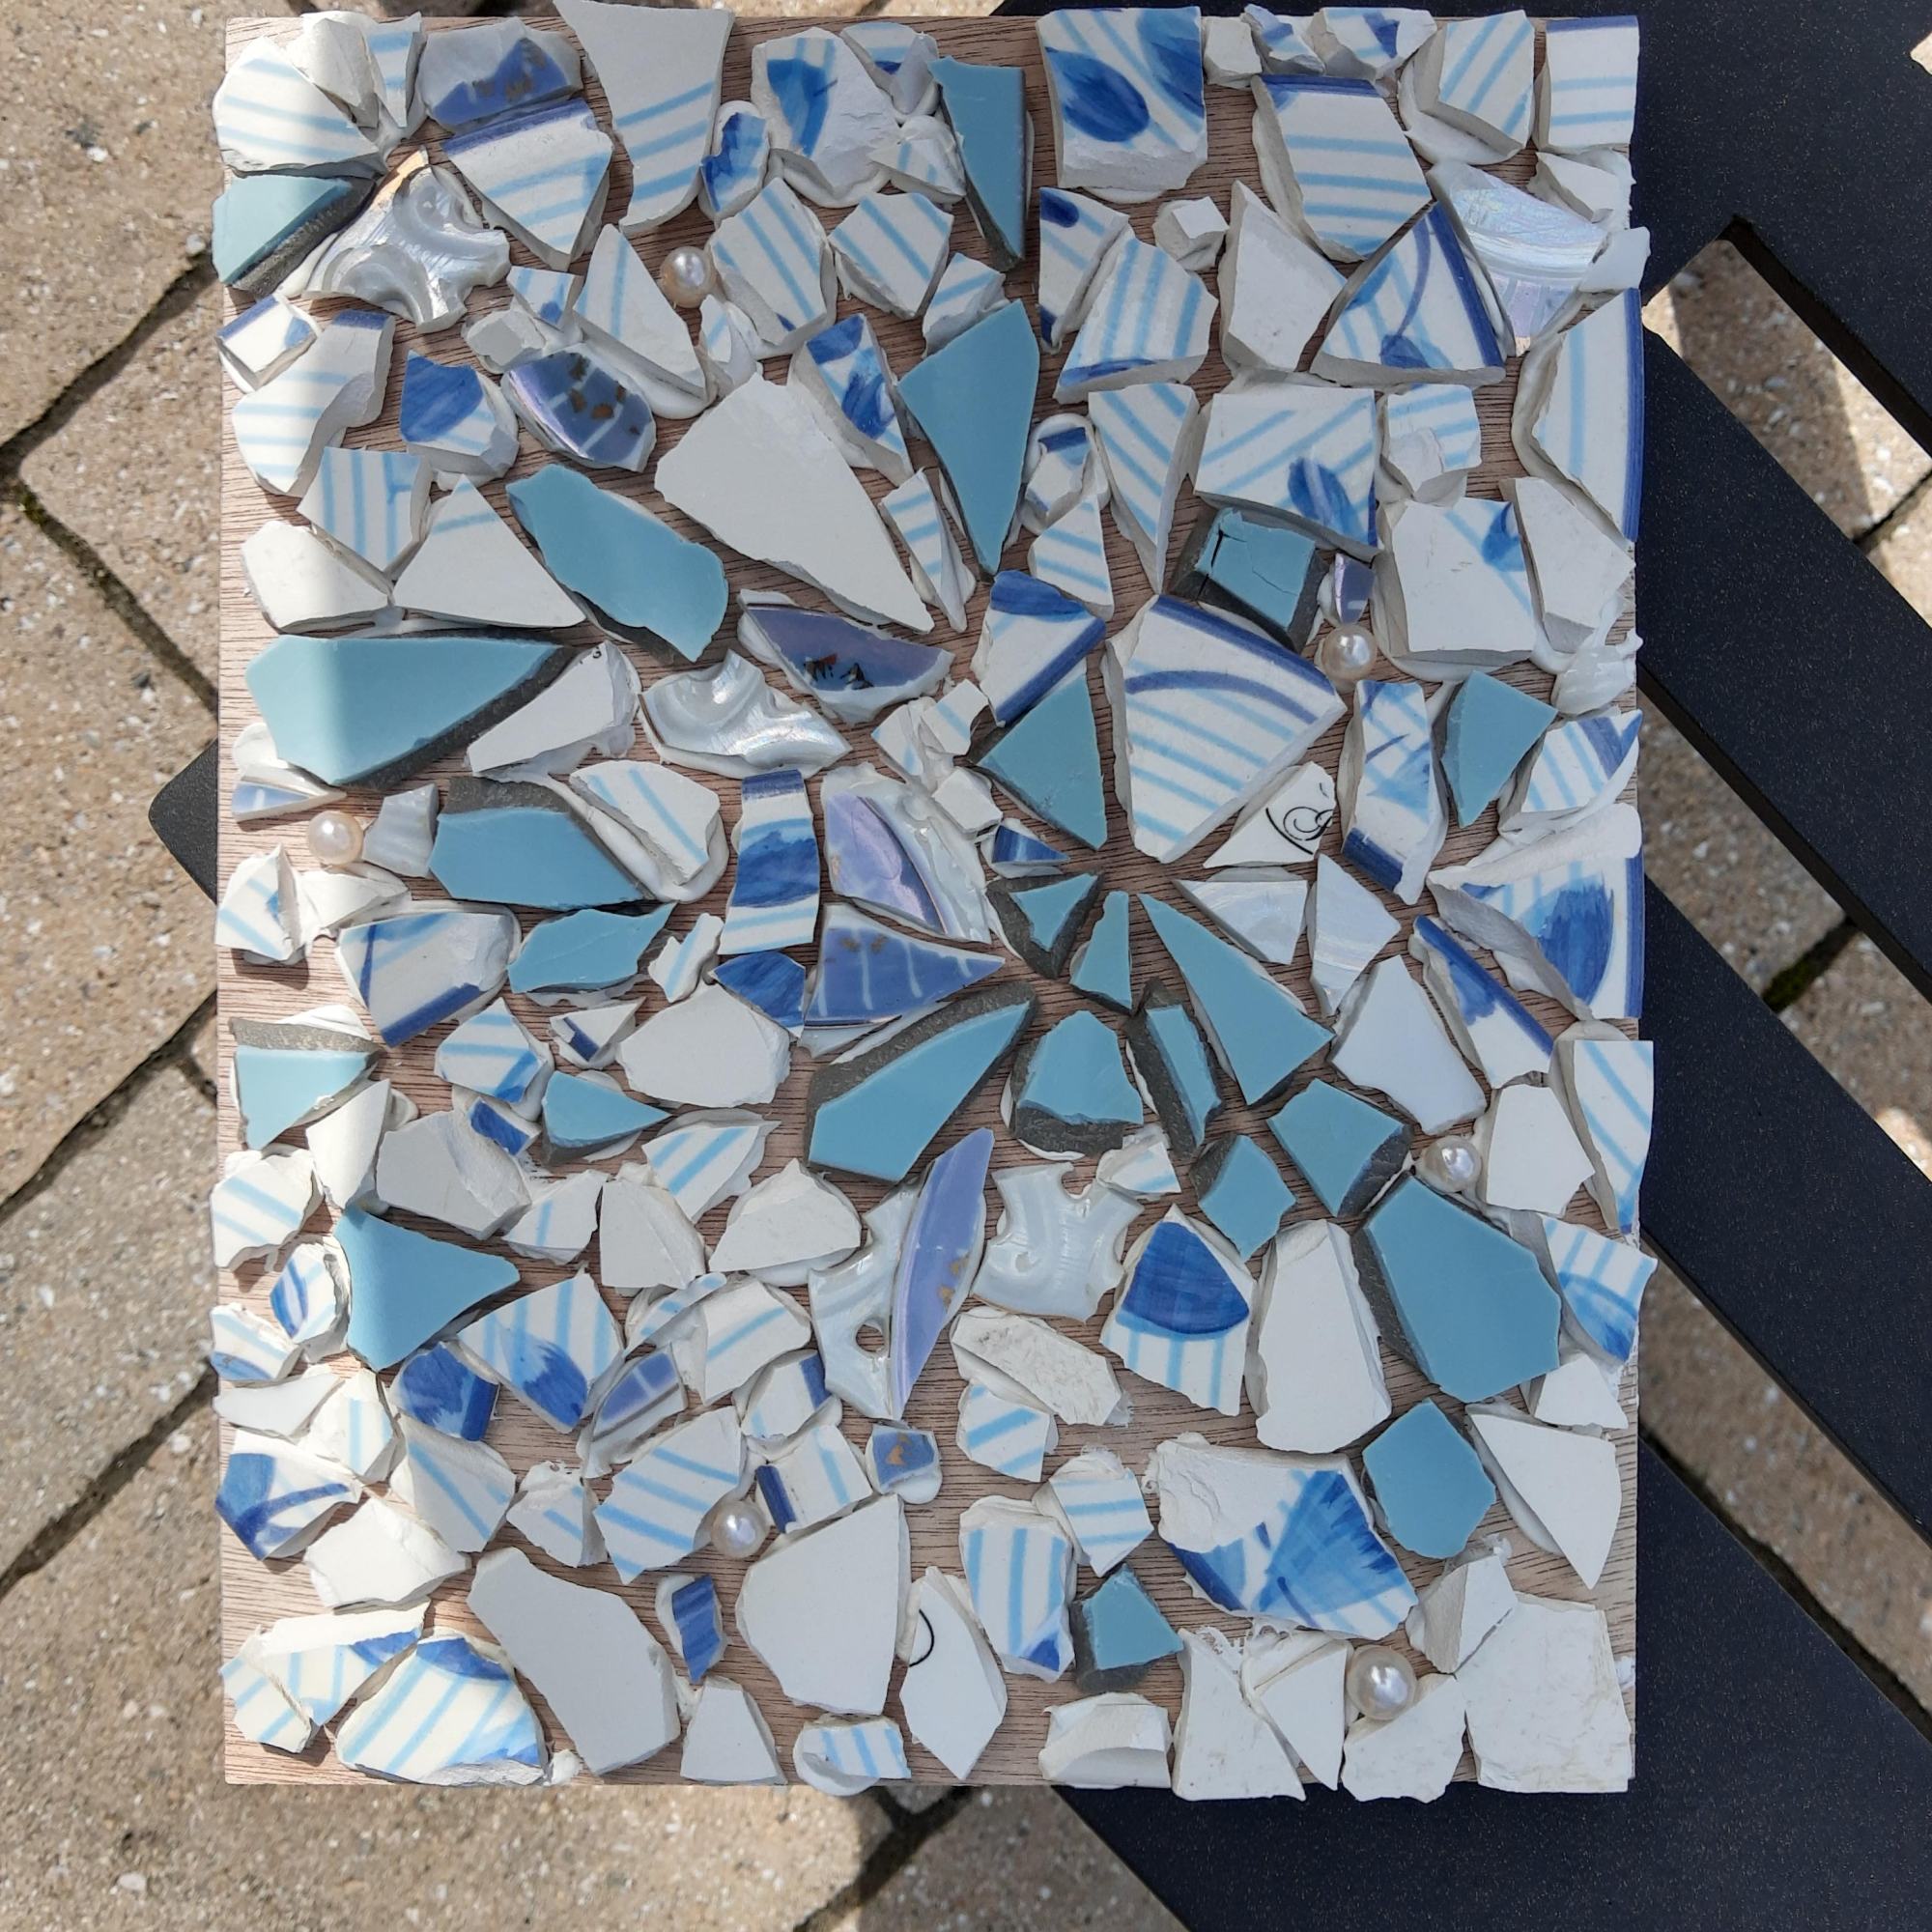
Once all the pieces are attached to the board/surface, let the caulk dry. It took about an hour.
Once the caulk is dry and all the pieces are set, begin mixing the grout. I followed the directions on the grout container – I added water and stirred. Once the grout was ready, I scraped it on top of the tiles until all the cracks were filled.
After waiting about 30 minutes, I took a damp sponge and wiped off all the excess grout from the tiles. I let the mosaic dry and then it was finished!
Above – the caulk and grout I used
I used sanded grout to make it more sturdy since the cracks between my tiles were larger.
These three lesson ideas are related to looking at cells and microbes up close and under microscopes.
Low-Relief Cell Models
Students will observe images of cells and create a three-dimensional model of the image of their choice. Students will construct their model on a cardboard base, but the materials for the actual cell are left open to interpretation.
Students should pick out 4-6 images and make thumbnail sketches of each image and jot down ideas about possible materials that could be used for each part of the cell/microbe. A sample sketch is below, but allow students to sketch out their ideas in the way that works best for them.
Once students have completed their thumbnail sketches, they should pick one sketch that they want to do the most, and then they can make one more sketch of their final idea, colors, and material choices.
Materials:
cardboard
pipecleaners
glue
thread/yarn/string
fabric
toothpicks
cotton balls
sequins
beads
glitter
pom poms
feathers
buttons
popsicle sticks
tissue paper
aluminum foil
wire
clay
felt
paint
Next, students can begin to assemble their cell models. First, they need to create a circular base out of cardboard for their relief sculpture. Students can paint the base if they would like to (helpful hint – spray water on the back of the cardboard after painting to reduce warping). Next, students can choose whatever materials they want to construct the cell/microbe. Let students experiment with the materials and figure out what works best to create their cell model. Have a table with all the materials laid out so that students can visualize the possibilities for all the materials. Allow ample time for students to construct their models and add paint/ finishing touches.
Cell Models Sculpture
In this variation, students create an in the round sculpture of a cell. This project is similar to the previous project, yet it is not a relief sculpture. Depending on the materials you have on hand, pick one of the projects to best fit what you have. First, have students create a base/cell body using either clay, newspaper/ paper mache, plaster, wires to create an armature, or aluminum foil. Next, students can paint the base, adding designs and surface texture with different materials (glitter, sequins, beads, etc.). To create raised areas of lines, hot glue, elmer’s glue, or fabric paint can be applied to the surface as well. Once the paint is dry, students can attach pipecleaners, toothpicks, pompoms, and other materials to form the areas that come off of the body of the cell.
Picture Guessing Game – Show students close up images/ macro photography and have students guess what the images are.
Making a sketchbook to record observations – Show students how to fold and create their own sketchbook from one sheet of paper. Use an 18 x 24″ piece of paper if possible, or the largest paper that you have. Here is a video about how to create the sketchbook: https://www.youtube.com/watch?v=XZ9Jw4HnJpw
Cell Observation Stations
Set up 3 stations – one with a microscope, one with cell books, and one with a video of cells under a microscope. Give students about 5 minutes at each station to make observations and make sketches/take notes in their sketchbooks of what they see. Once each group of students has gone to each station, regroup as a class and discuss what the students saw and the drawings they made at each station.
The Project: Students will create their collagraph plate using a variety of materials, such as: glue, found objects, tape, rubber bands, string, foam shapes, felt/fabric. First, students glue the materials onto their cardboard plate in a design inspired by their observations of cells. While the plates are drying, students can prepare their paper for printing. Students can cut out the papers to the right size, write their names on the back of each, and apply a wash of watercolor to each paper. If there is still extra time, students can decorate the cover of their observation sketchbook.
The next class, once the plate is dried, students can begin the printmaking process. Before students begin the process, do a demonstration of how to make prints. Then, at one table (where no students are sitting), set up brayers and plates of ink. Set up an assembly line process where students ink up their plates, then print the plates, and then place their print on the drying rack. After students make a print, have them label the print with their name, the number of the print, and the date.
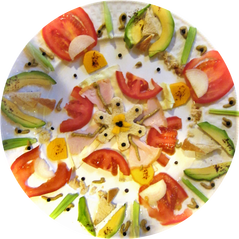
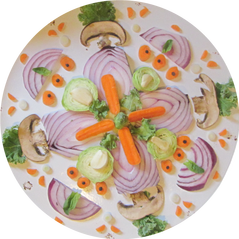
When I was in high school, I took a summer 3D art course at my local community college. One of the projects we did was making mandalas out of food using ingredients to a recipe. I really enjoyed this project and I think it would be a fun lesson to teach students.
Students can create a mandala using ingredients of a recipe, or as an alternative, students can use school supplies, cosmetics, or other non-perishable materials.
Vocabulary: Radial Balance, Symmetry
Photography/Sculpture Homework Assignment: Think about a food you eat. It can be as simple as a peanut butter and jelly sandwich or more complex, like vegetable soup or a rice bowl. Gather the ingredients you use to make your favorite meal and arrange them in a mandala shape. Think about layering the ingredients, using cookie cutters to create interesting shapes, and how to arrange the materials on a plate. When you’re finished, document your creation by taking pictures in a well-lit setting or by a window (natural light is best). Write down the recipe that goes with your creation – it does not have to be complex or precise, just write down the ingredients/materials you used and the food that it can make.