
I needed to smash stuff to cope with stress and anxiety. So I bought a few cheap plates from a thrift store and smashed away! This was my first time making a mosaic, and because it was for stress-relief, I didn’t care about making a nice design or planning out where I wanted to put the pieces.


Steps I followed (according to the pictures above):
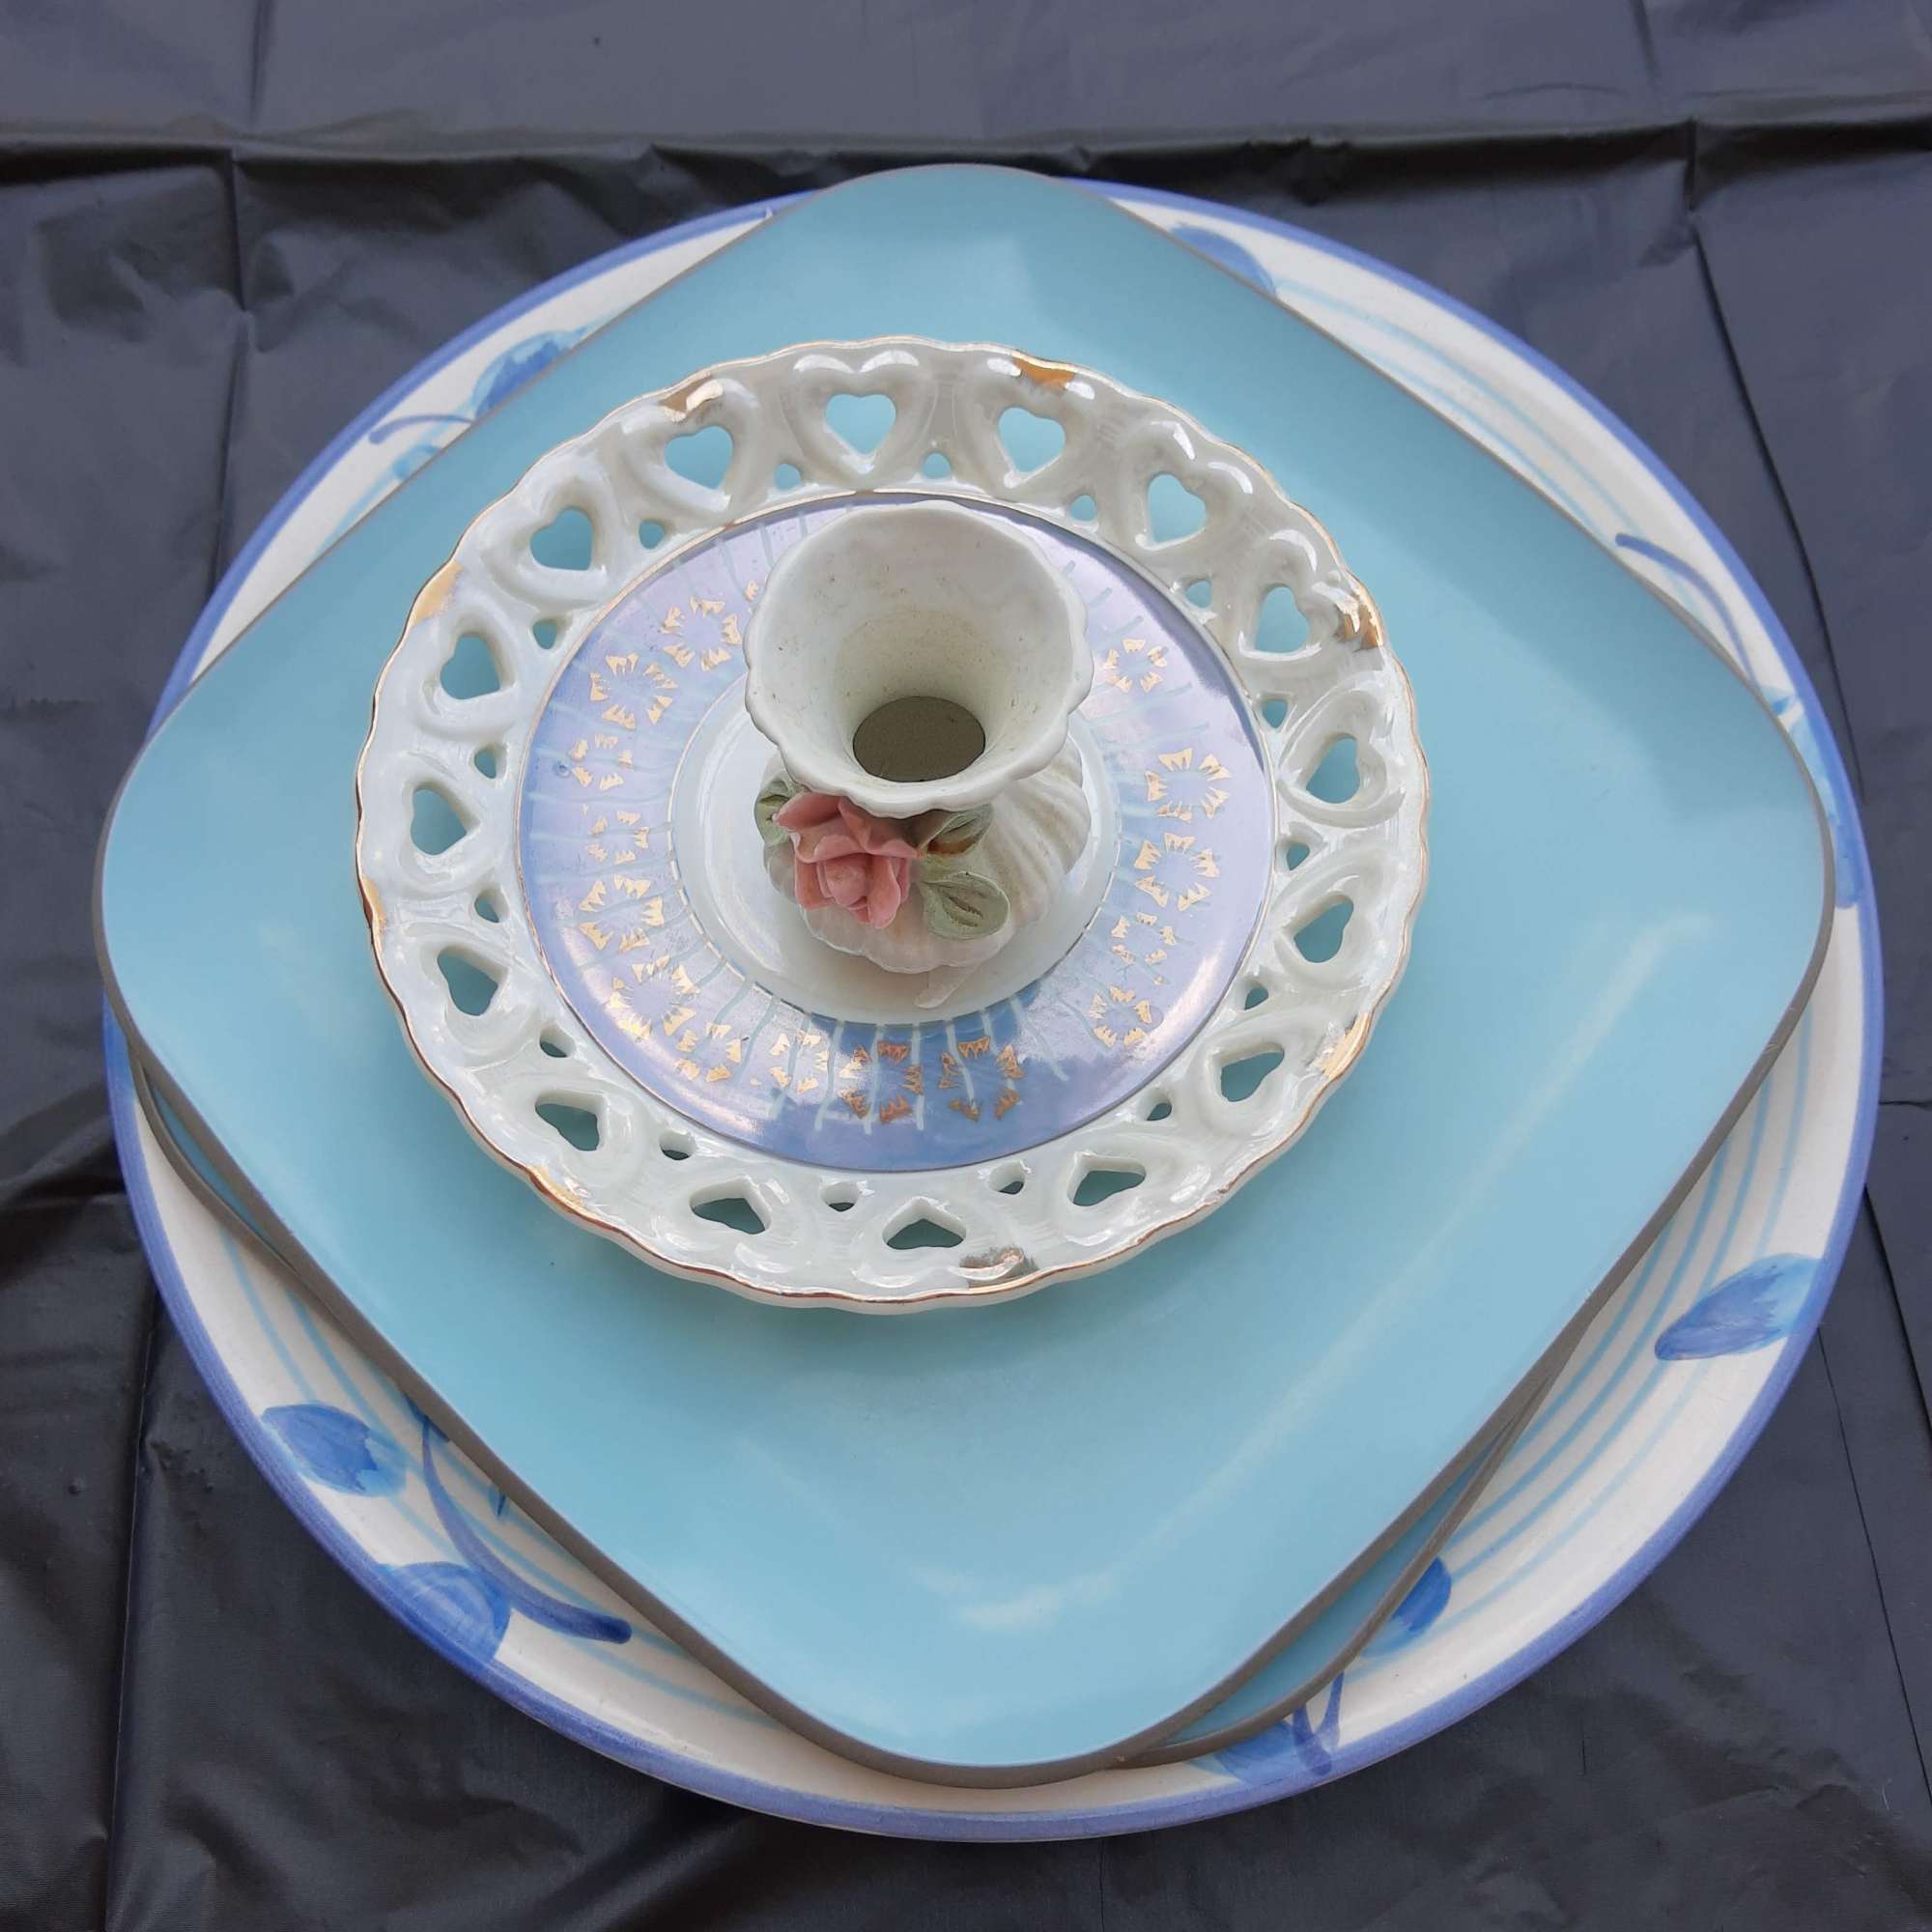
- Gather plates you want to smash.
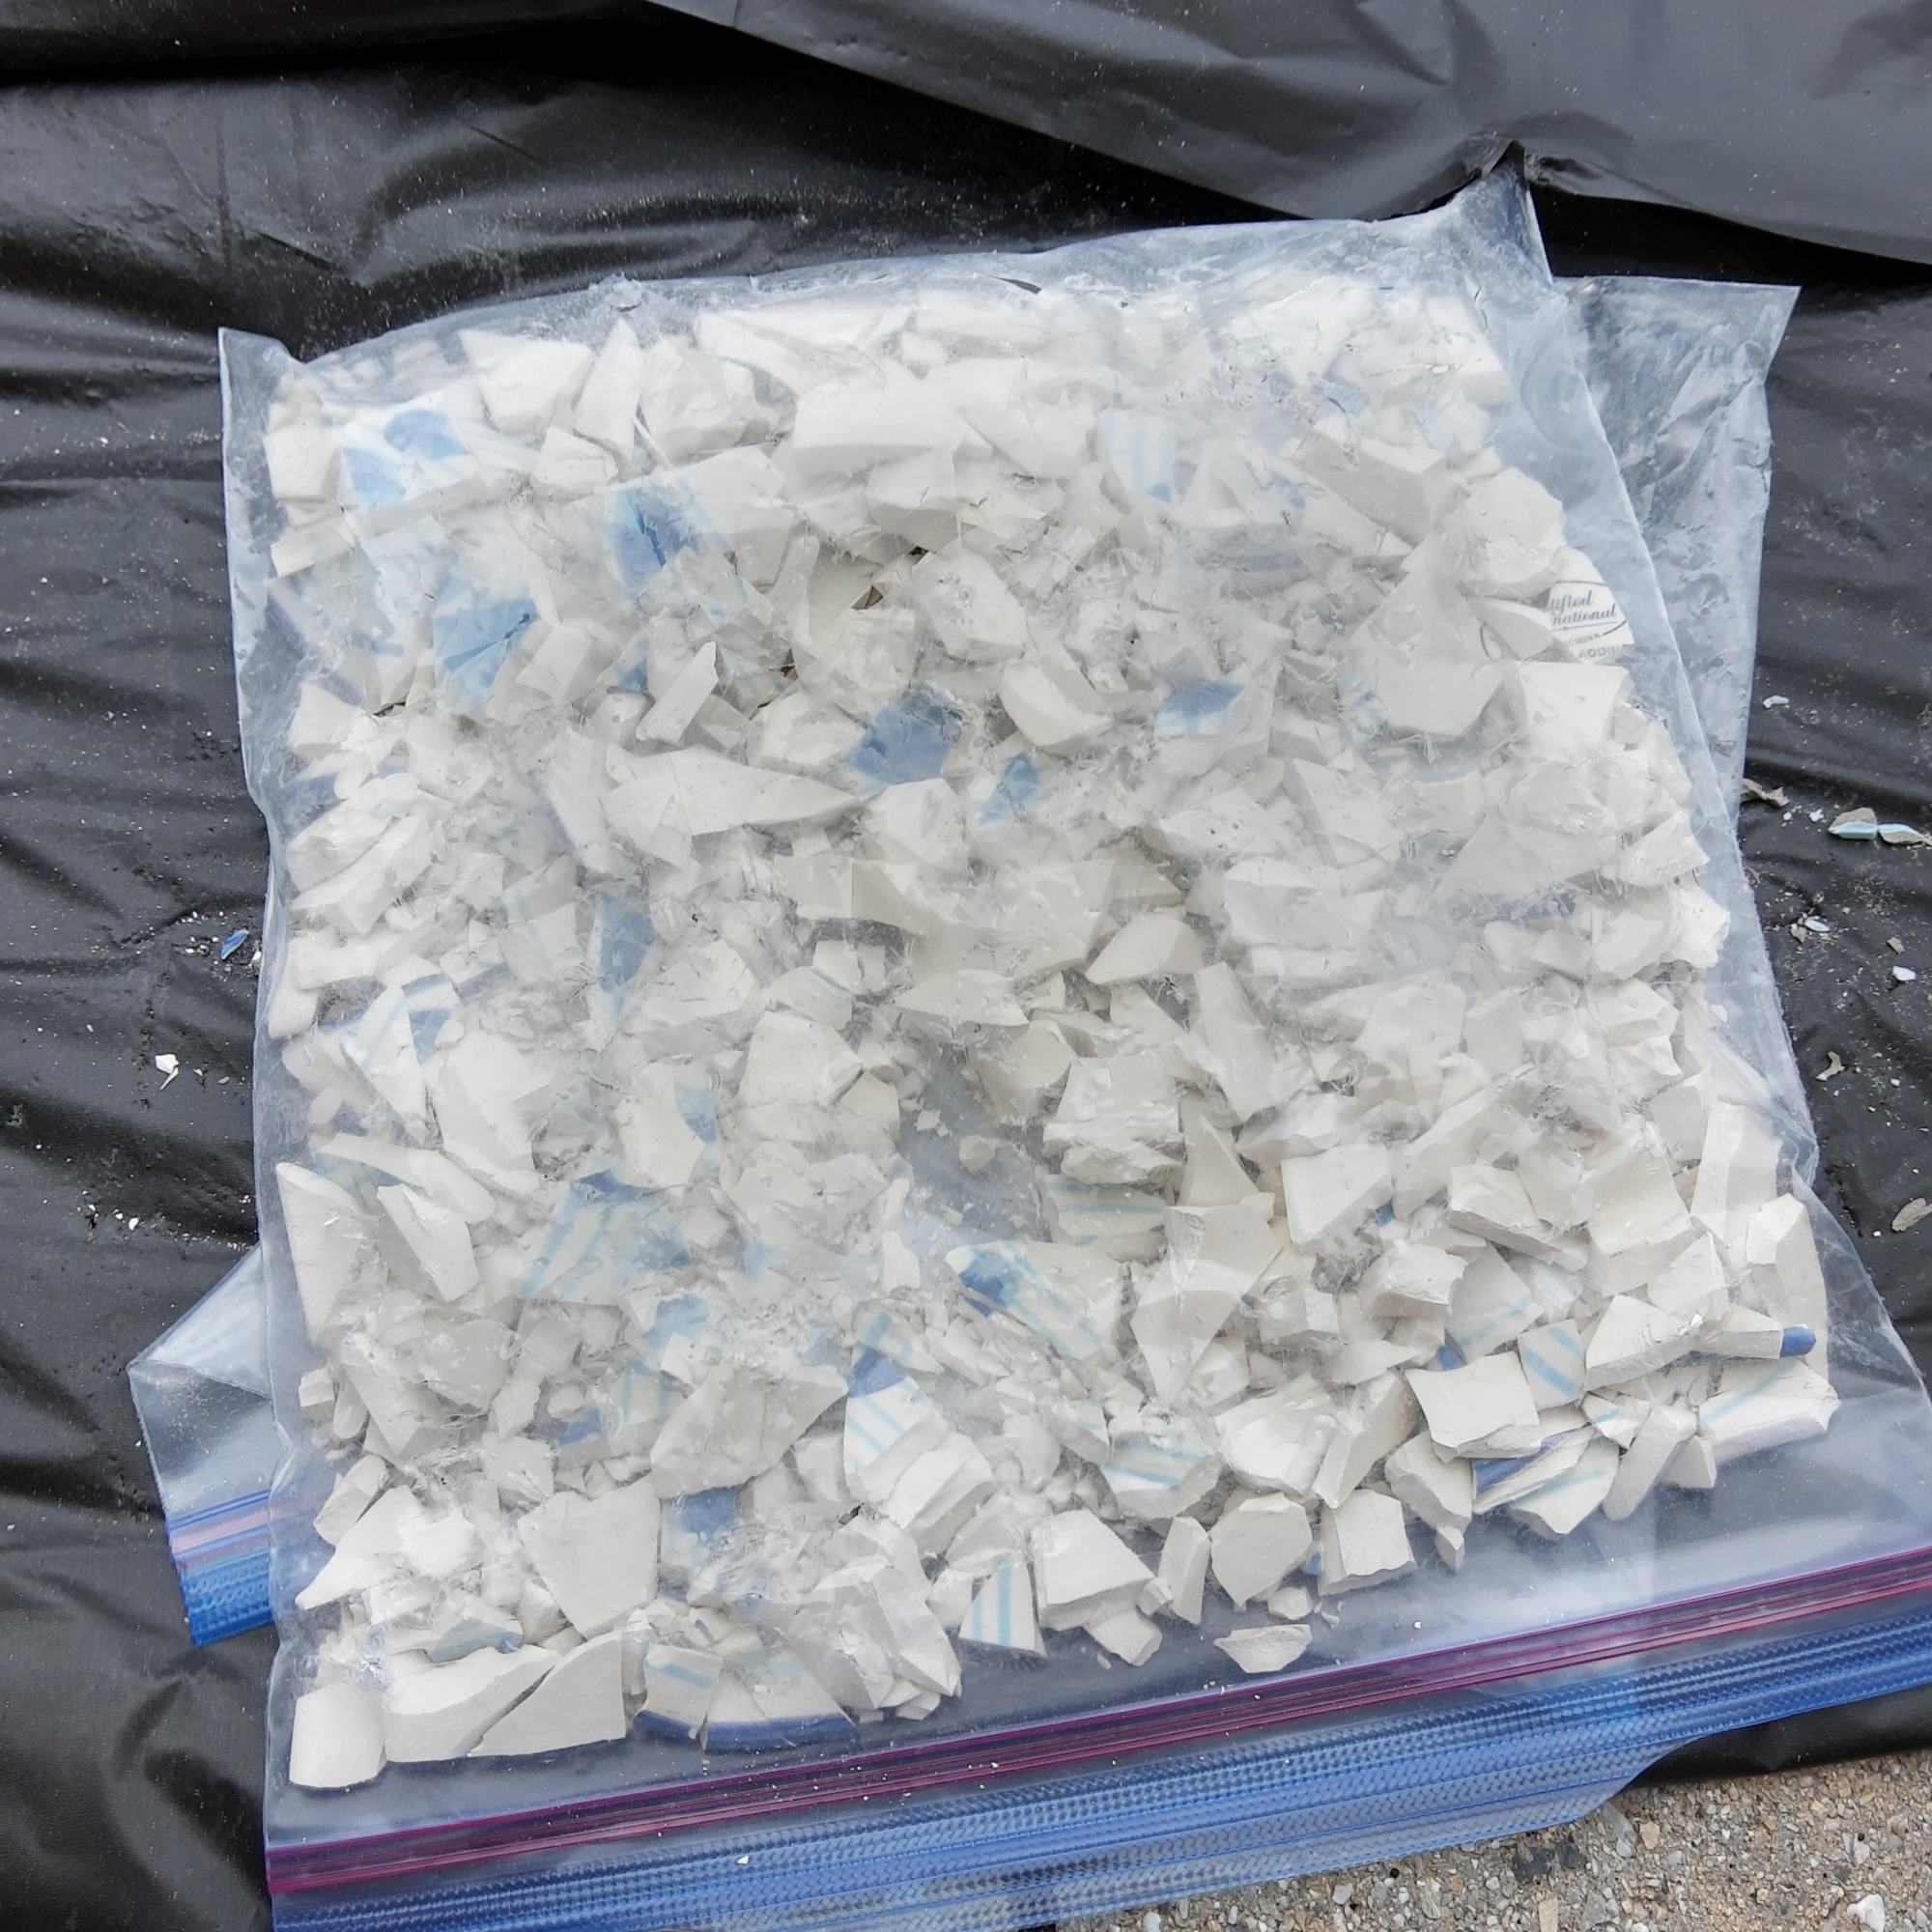
- Put a plate in a bag and smash away! You can use a hammer or mallet. I also even put one plate in a big plastic trash bag and slammed it onto the ground, which was very fun and stress-relieving.
- Smash until all the pieces are small.
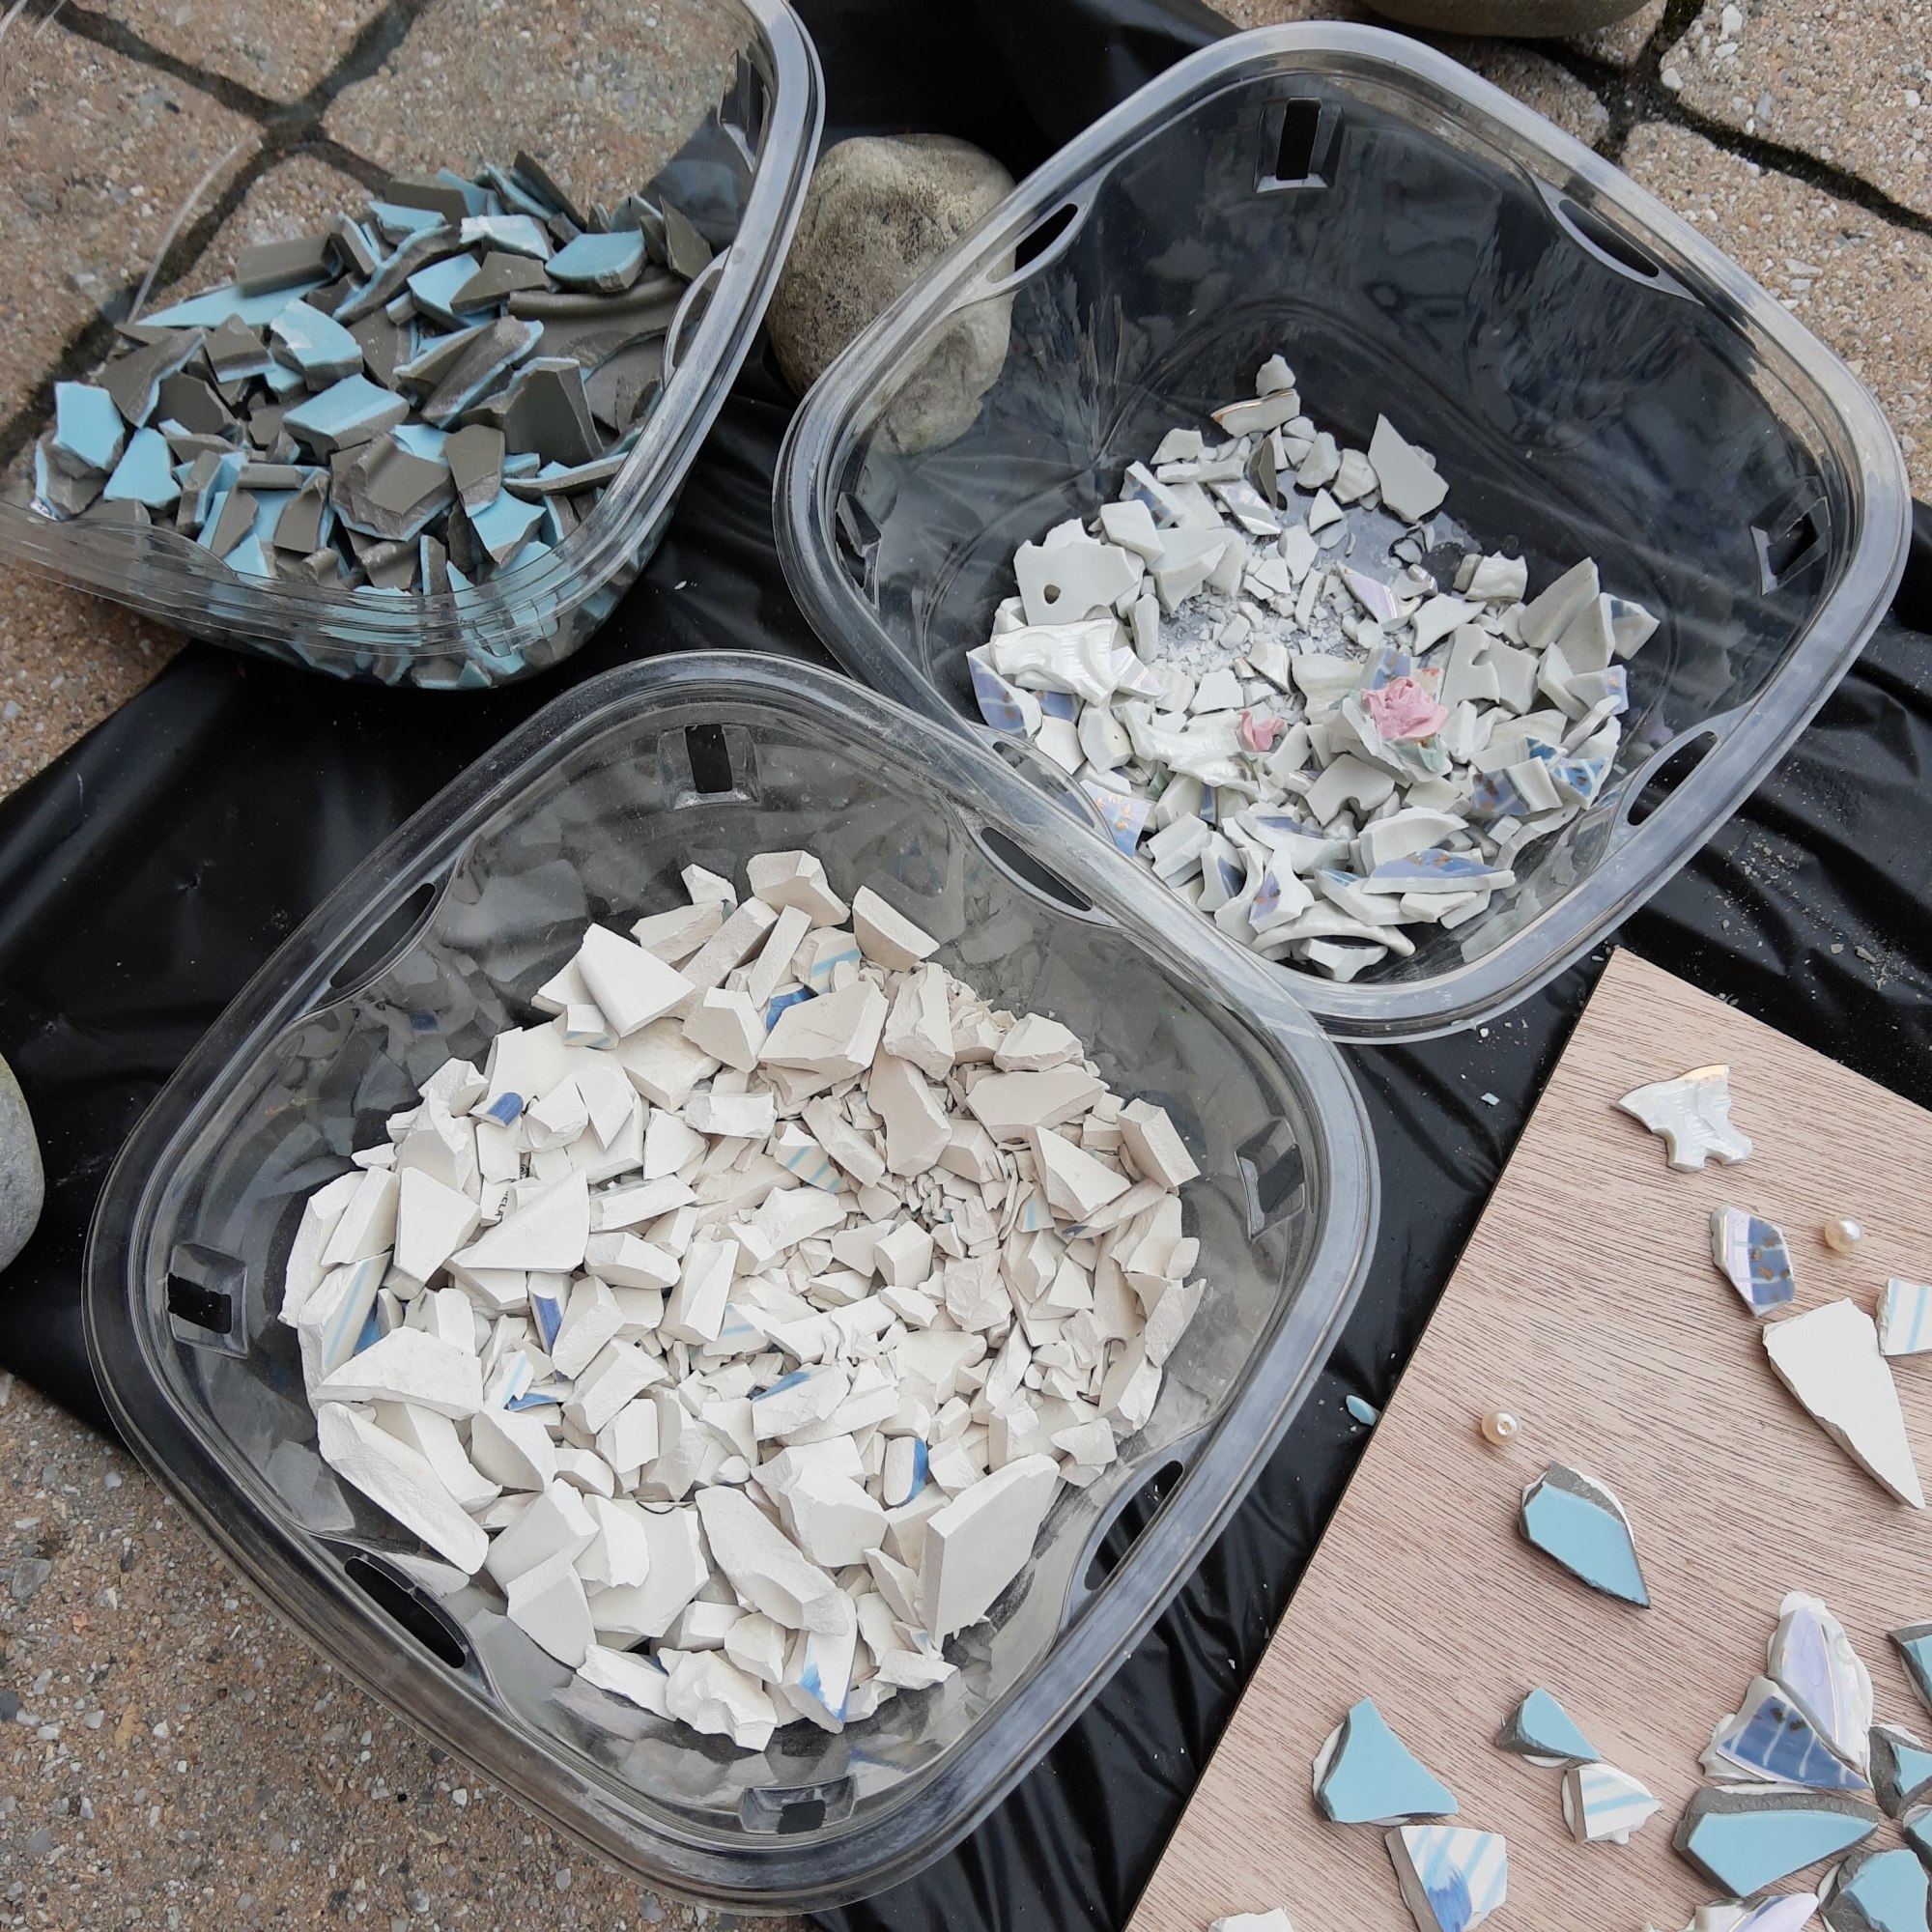
- Use containers to sort different colored pieces together.
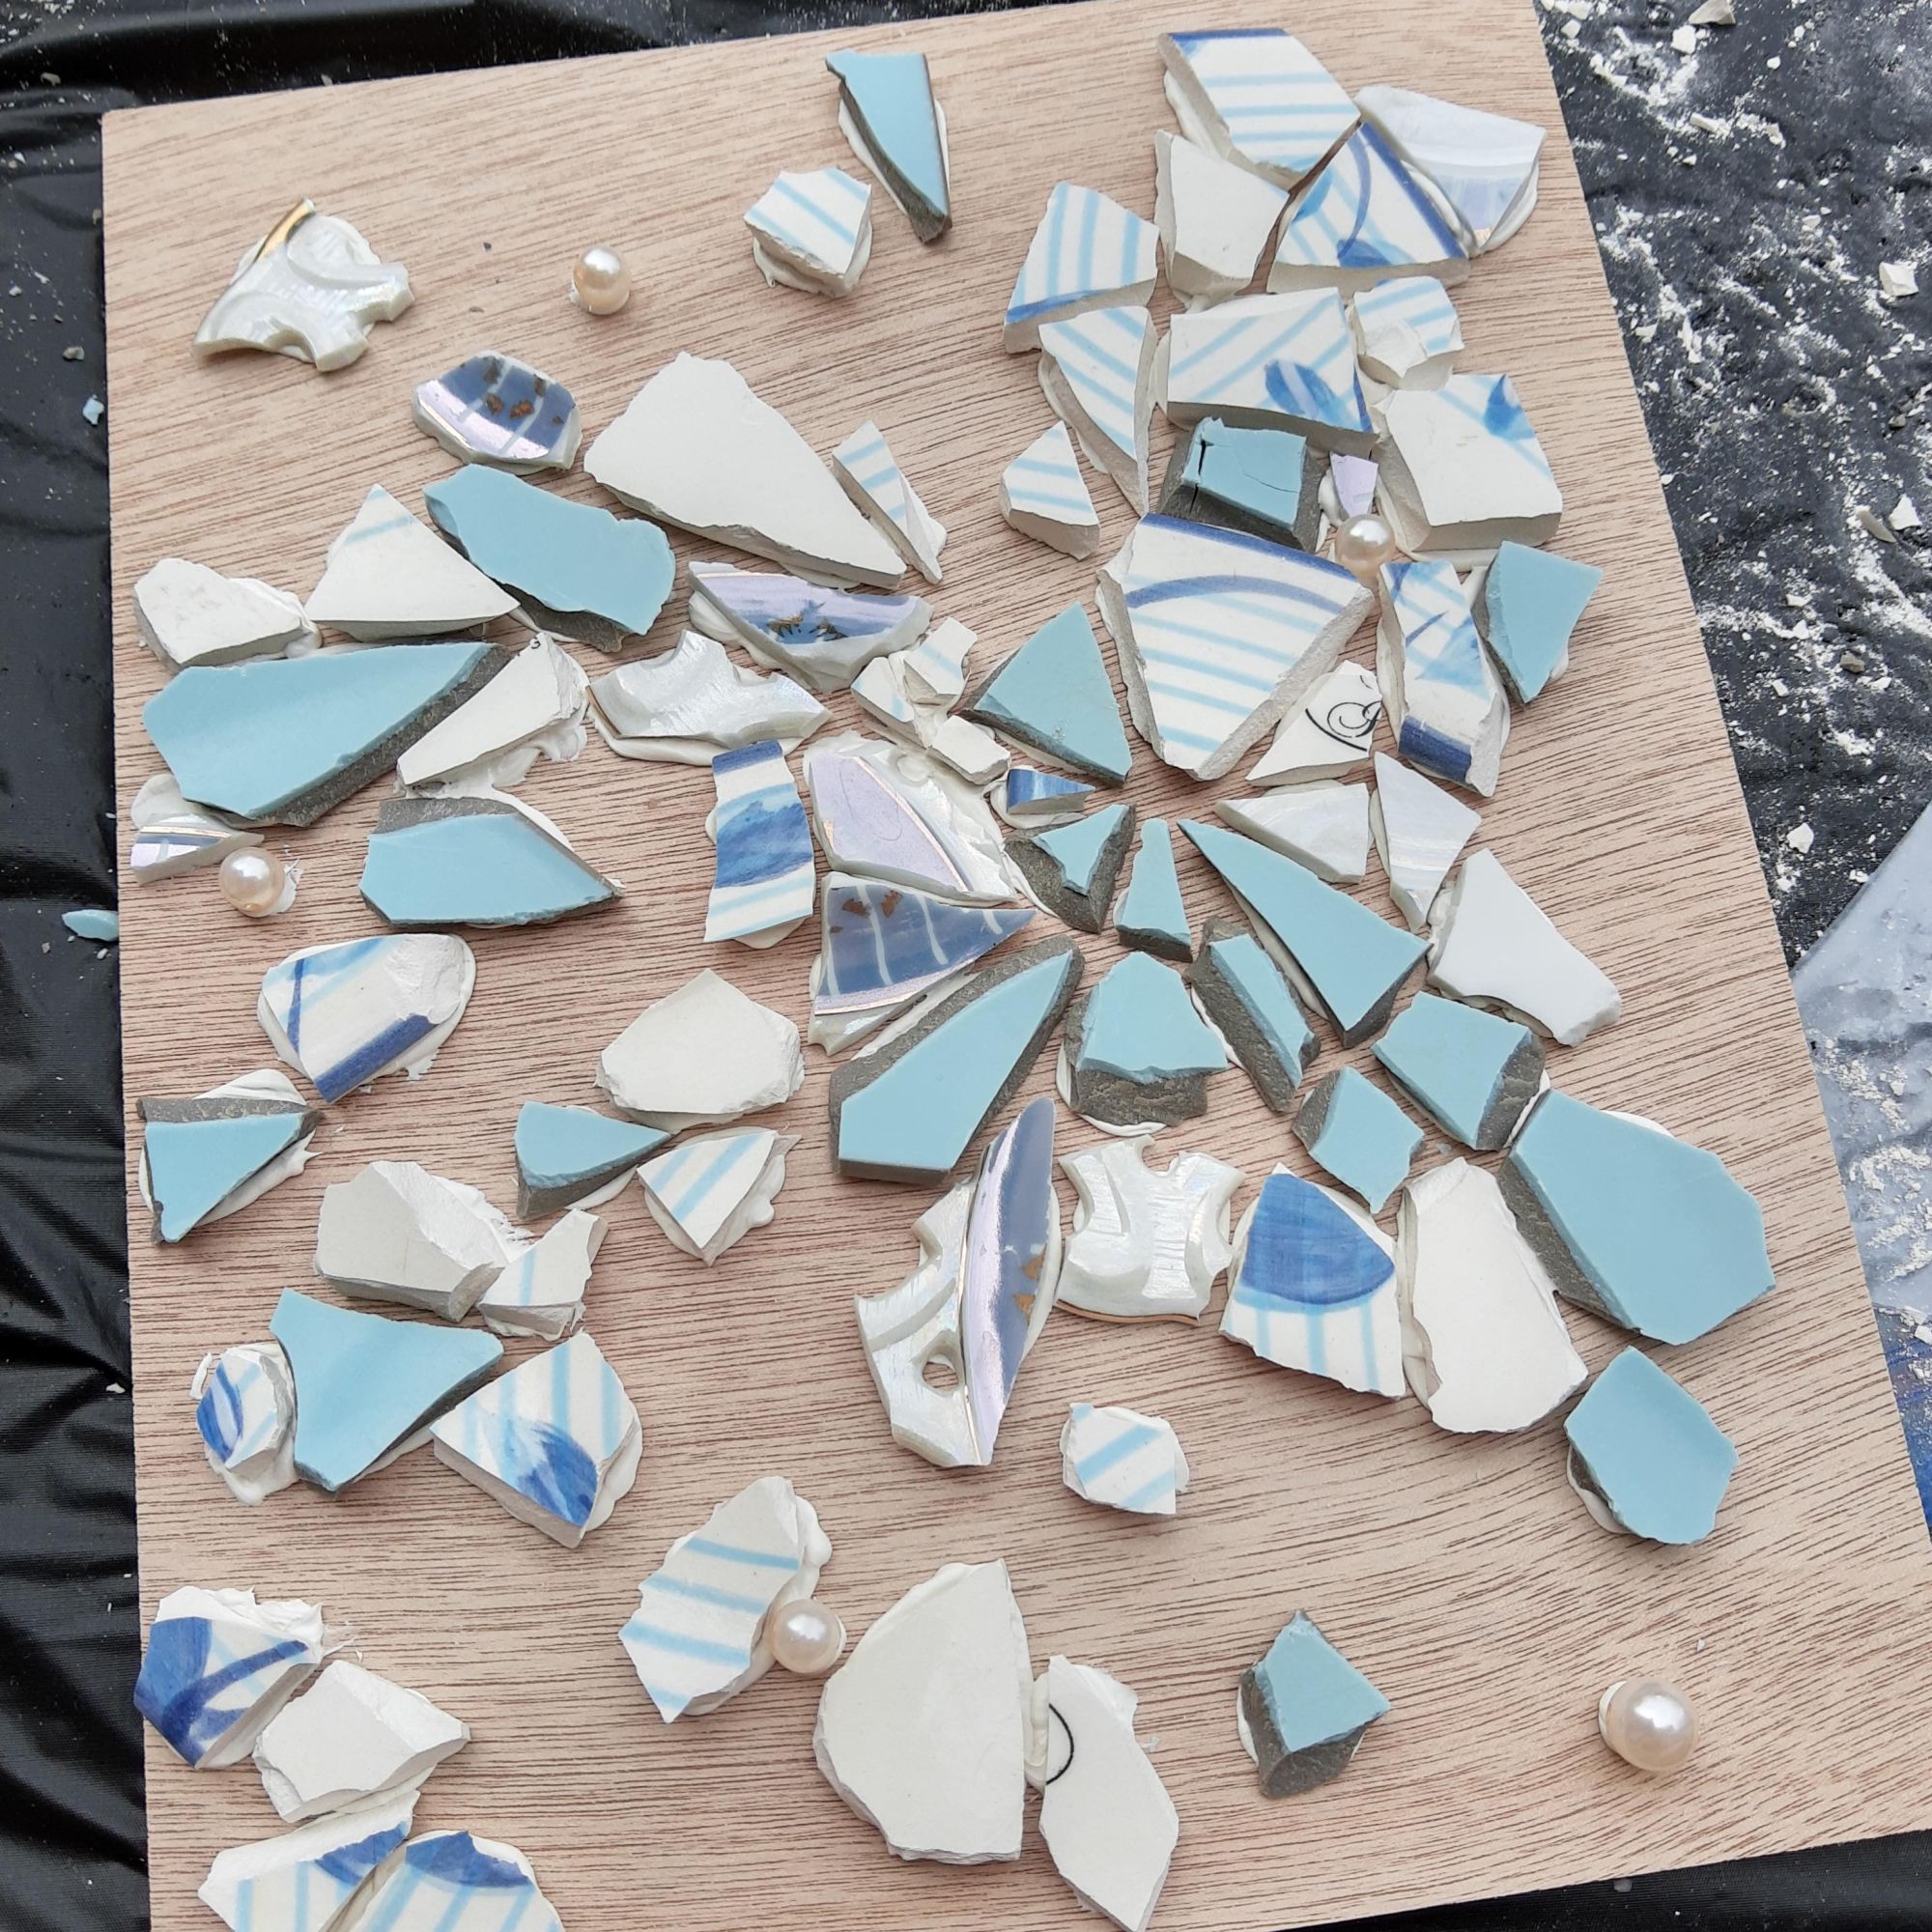
- Begin attaching the pieces to a wood panel or other surface. To attach the pieces, I used ceramic/tile fixture caulk.
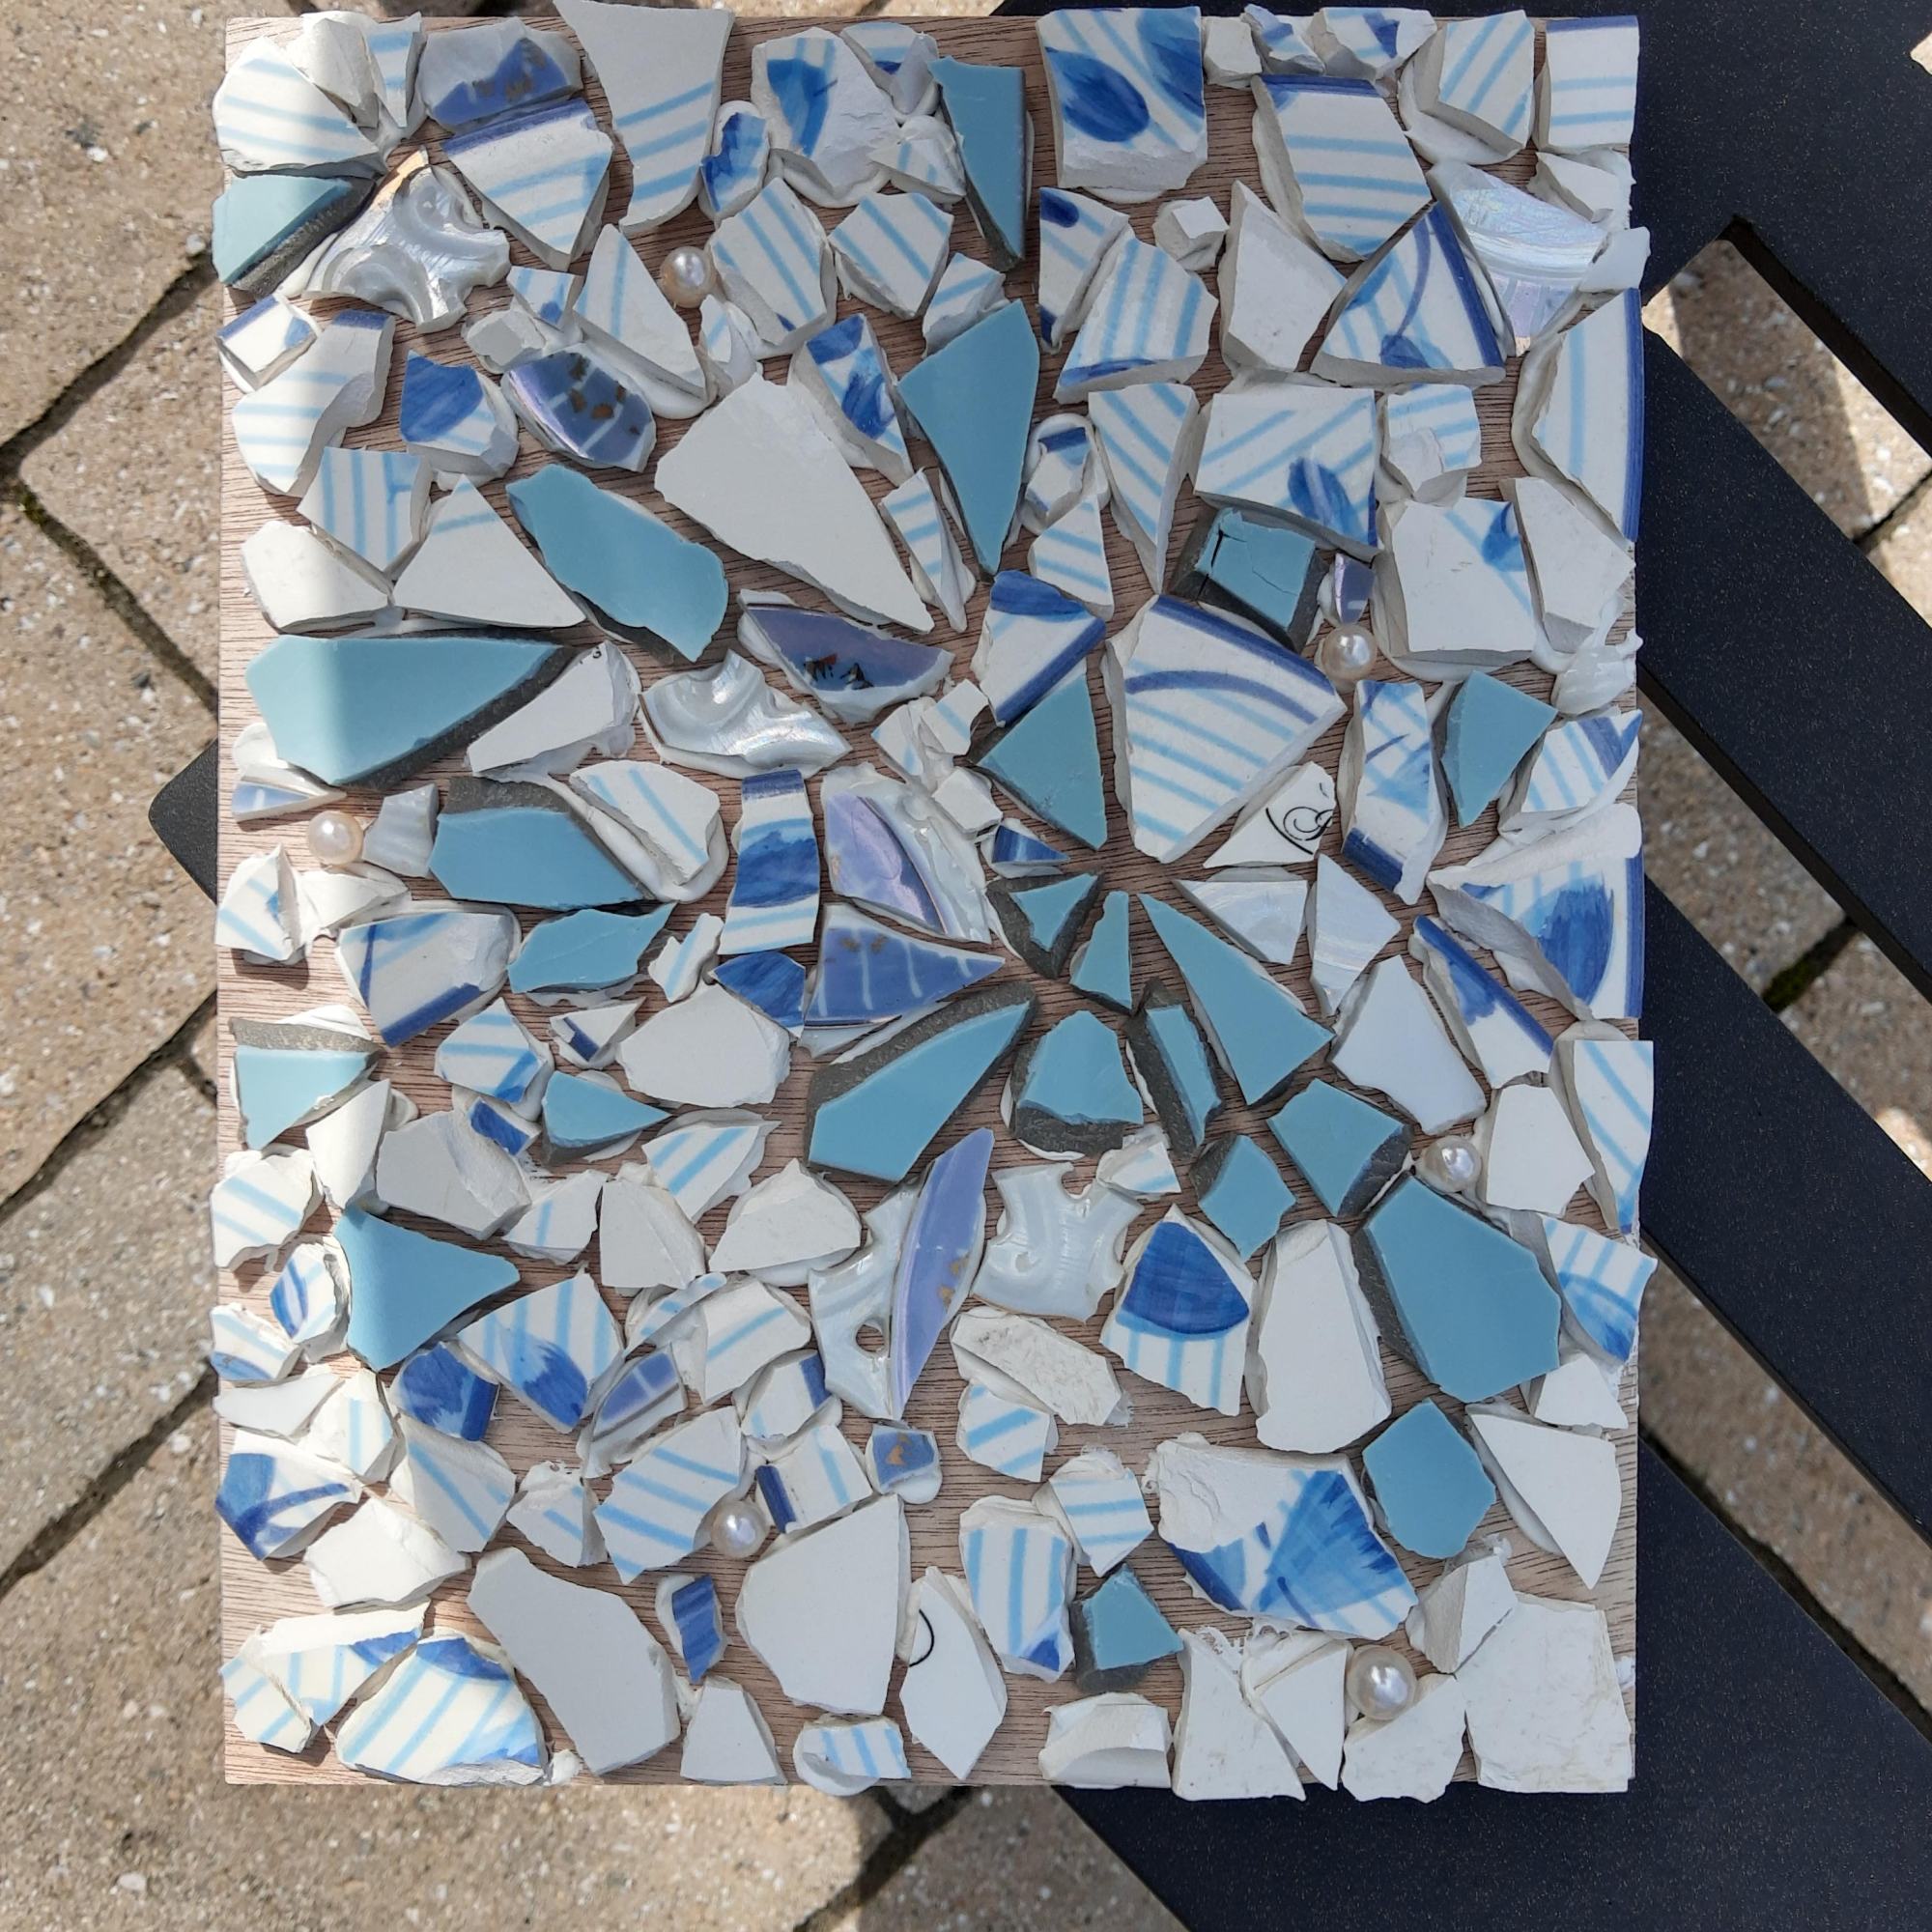
- Continue attaching pieces. I also added little plastic pearl beads.
- Once all the pieces are attached to the board/surface, let the caulk dry. It took about an hour.
- Once the caulk is dry and all the pieces are set, begin mixing the grout. I followed the directions on the grout container – I added water and stirred. Once the grout was ready, I scraped it on top of the tiles until all the cracks were filled.
- After waiting about 30 minutes, I took a damp sponge and wiped off all the excess grout from the tiles. I let the mosaic dry and then it was finished!


Above – the caulk and grout I used
I used sanded grout to make it more sturdy since the cracks between my tiles were larger.
My finished mosaic:

