
Collagraphs:
Lower elementary made collagraphs using different types of shapes. Students had fun stepping on their plates to make a clean print.


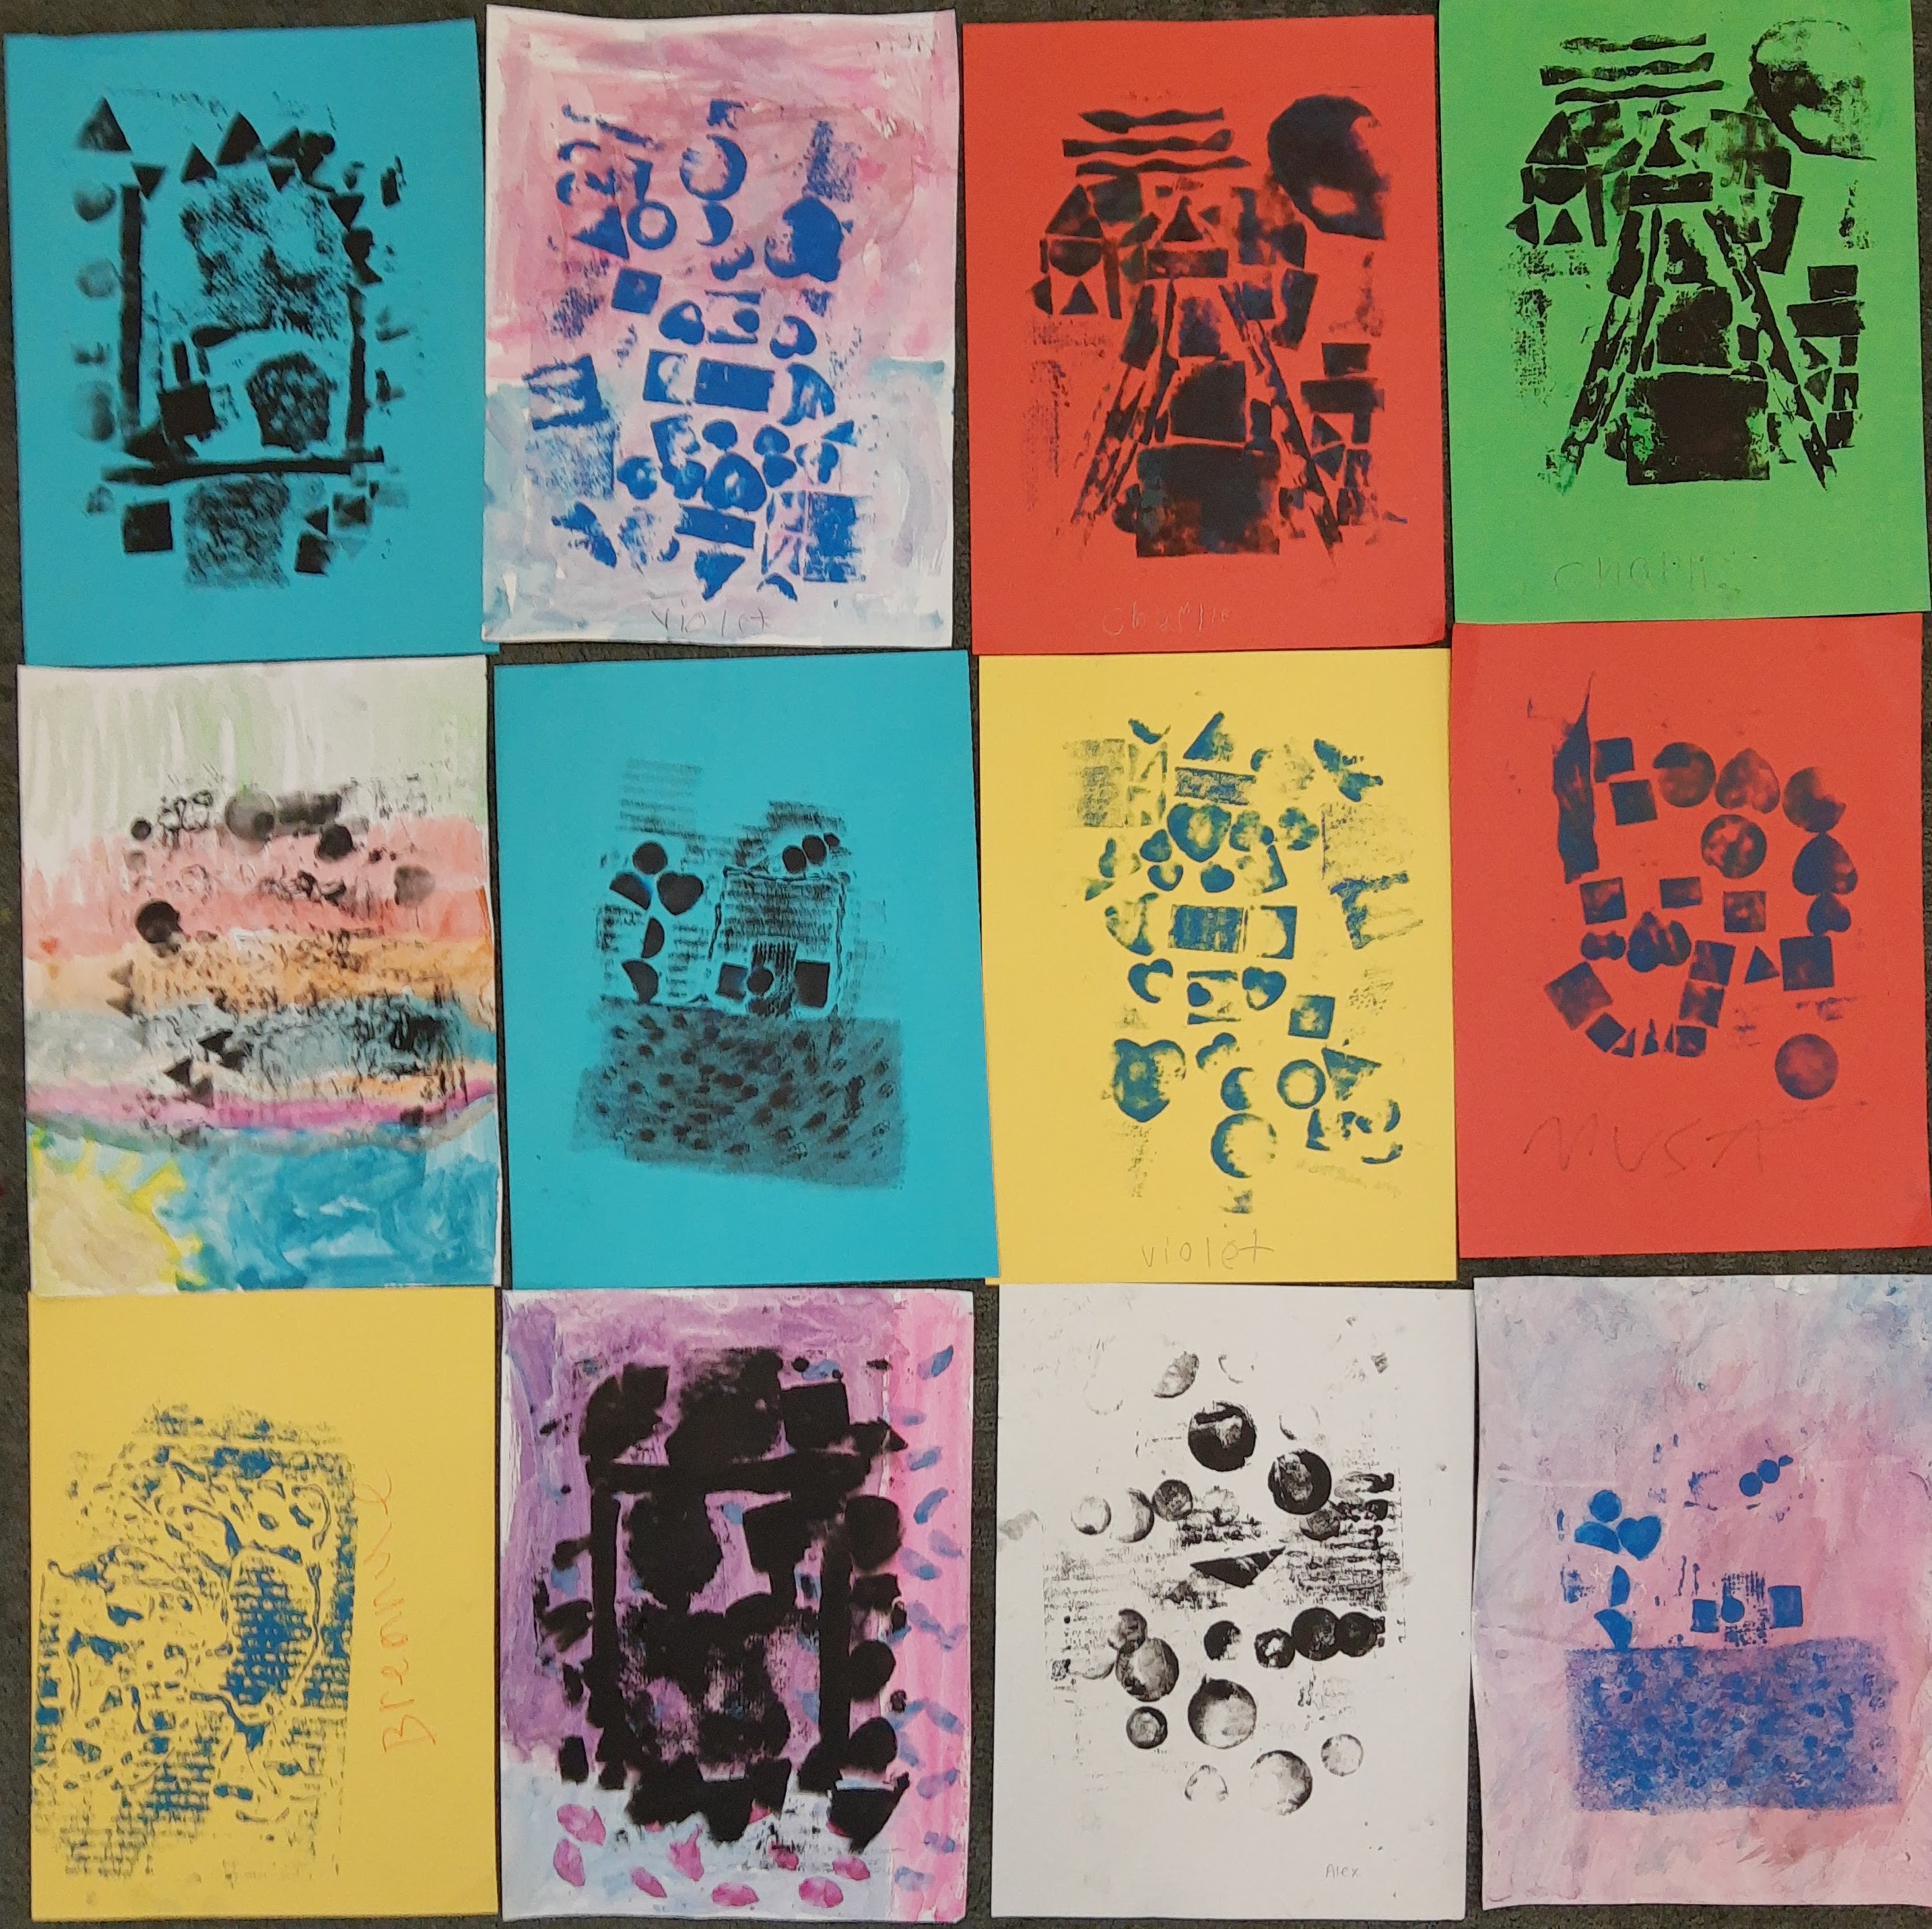
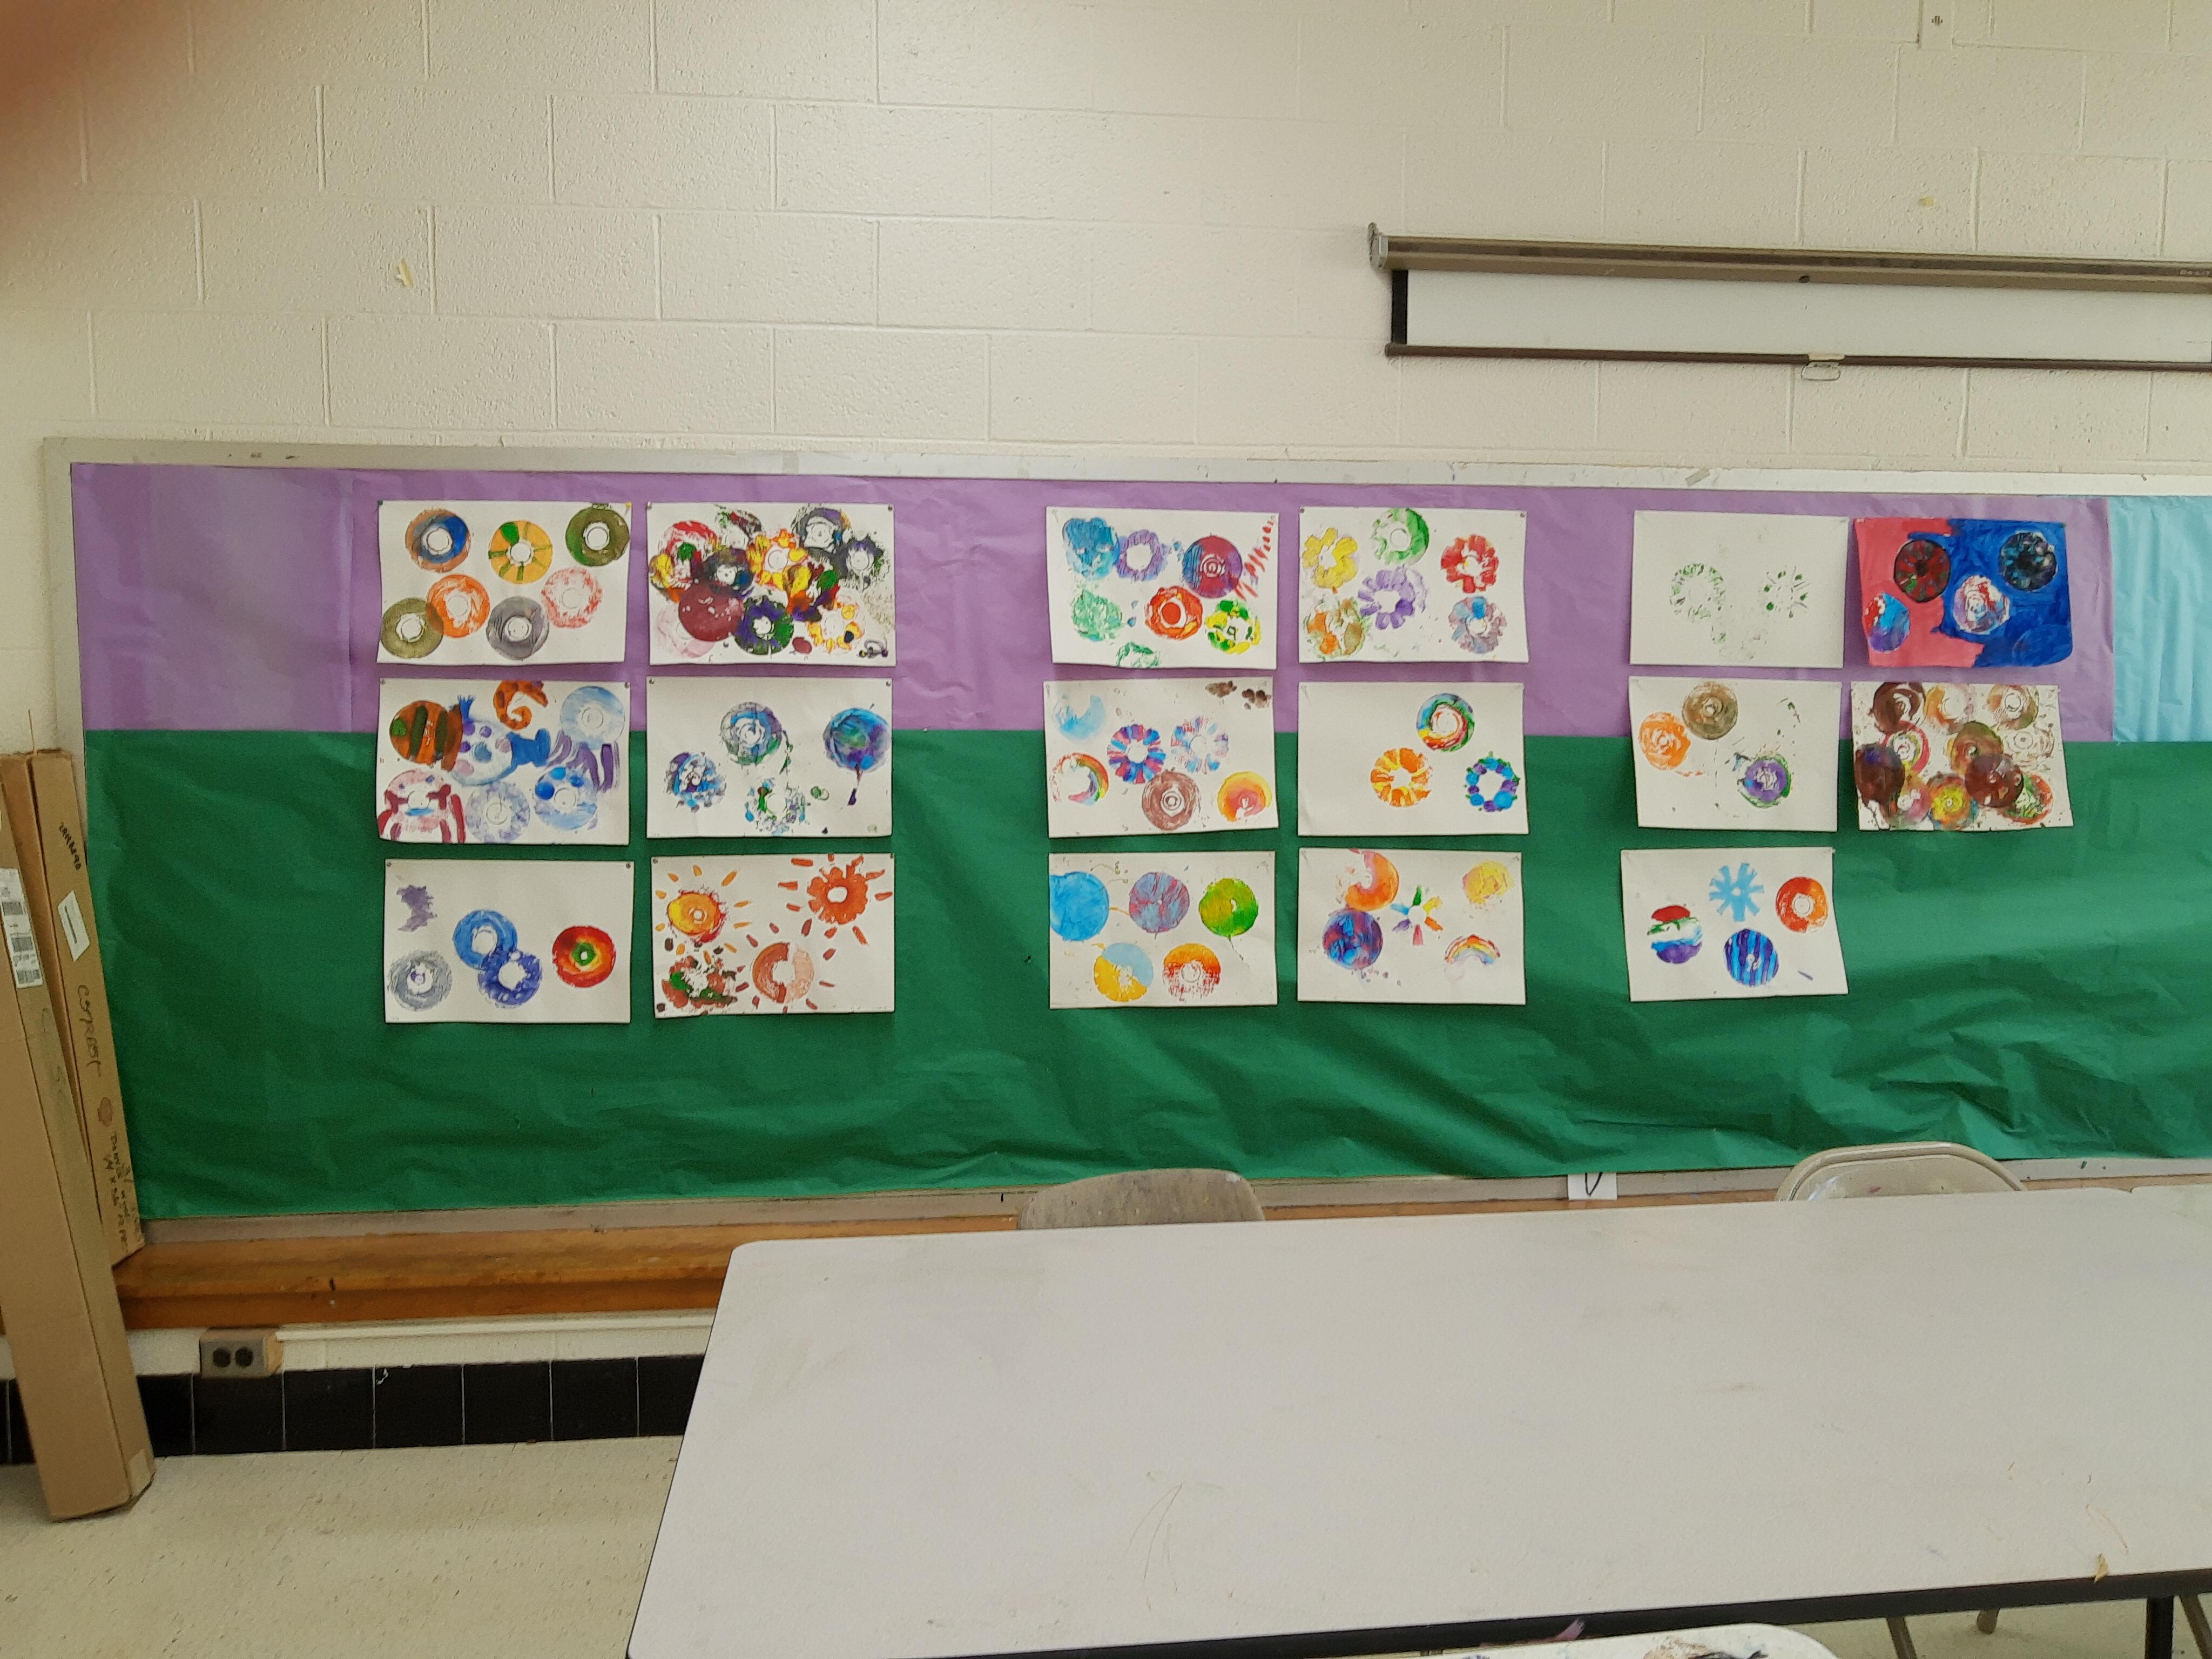
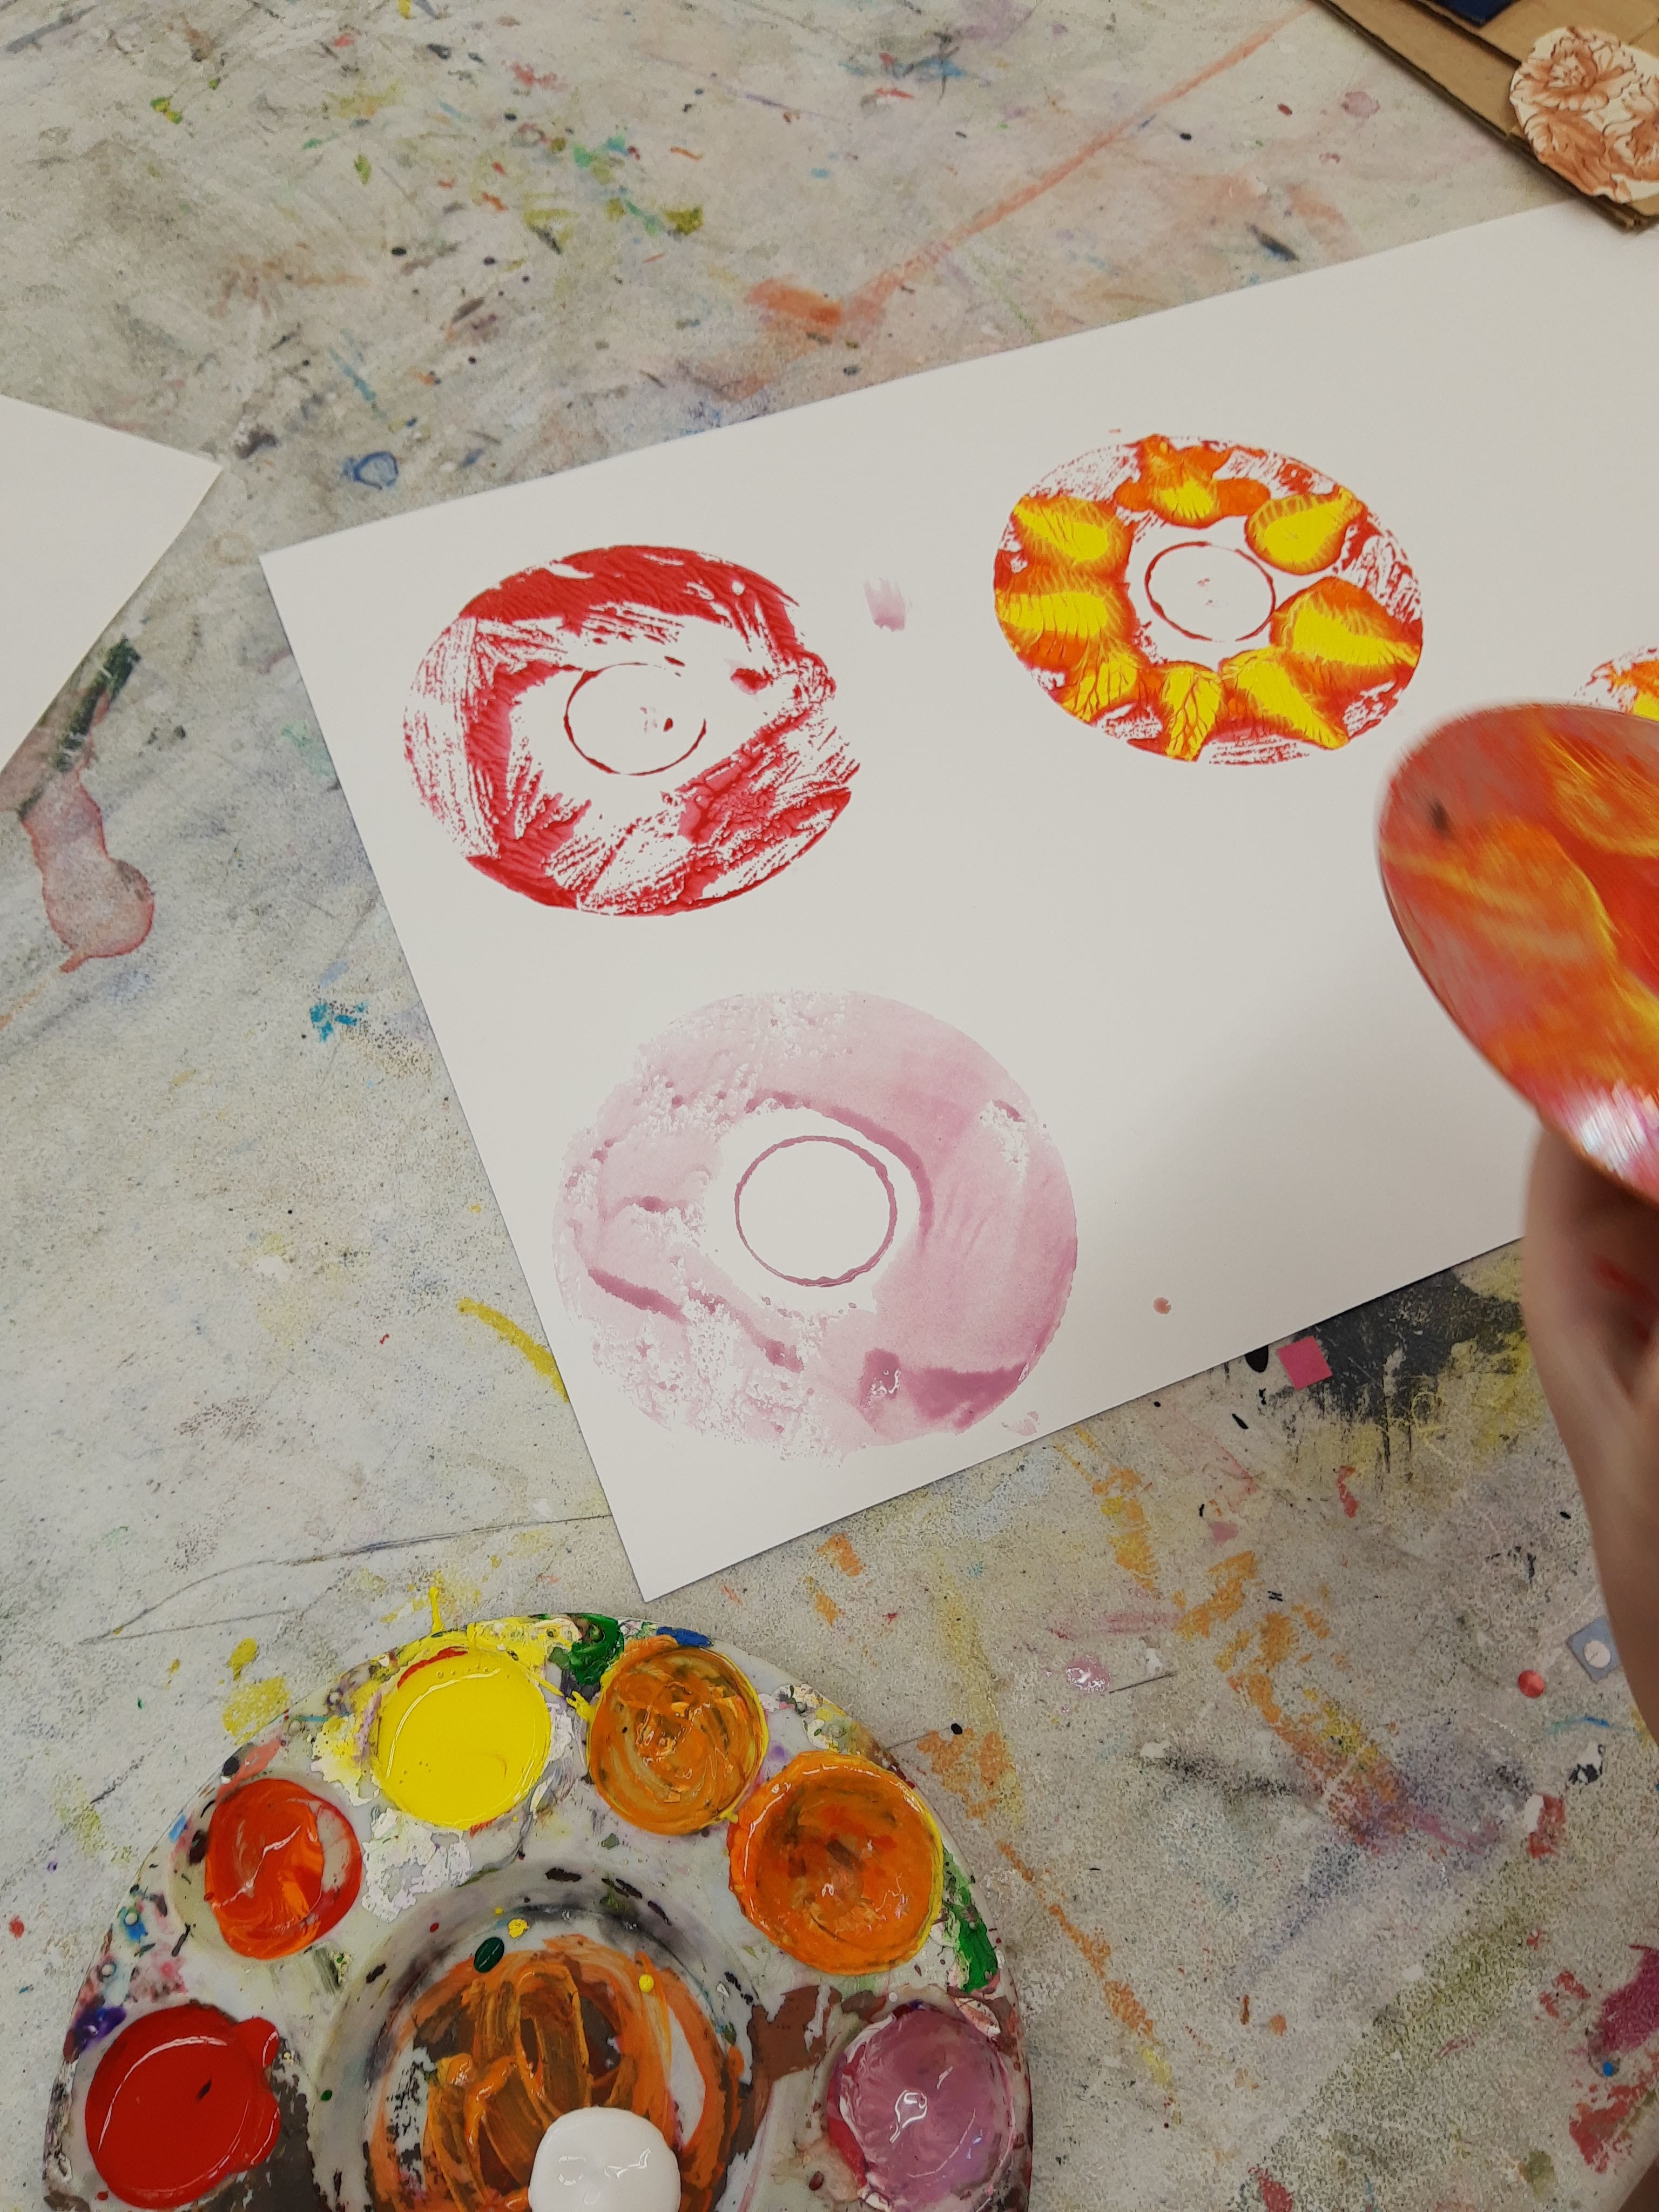
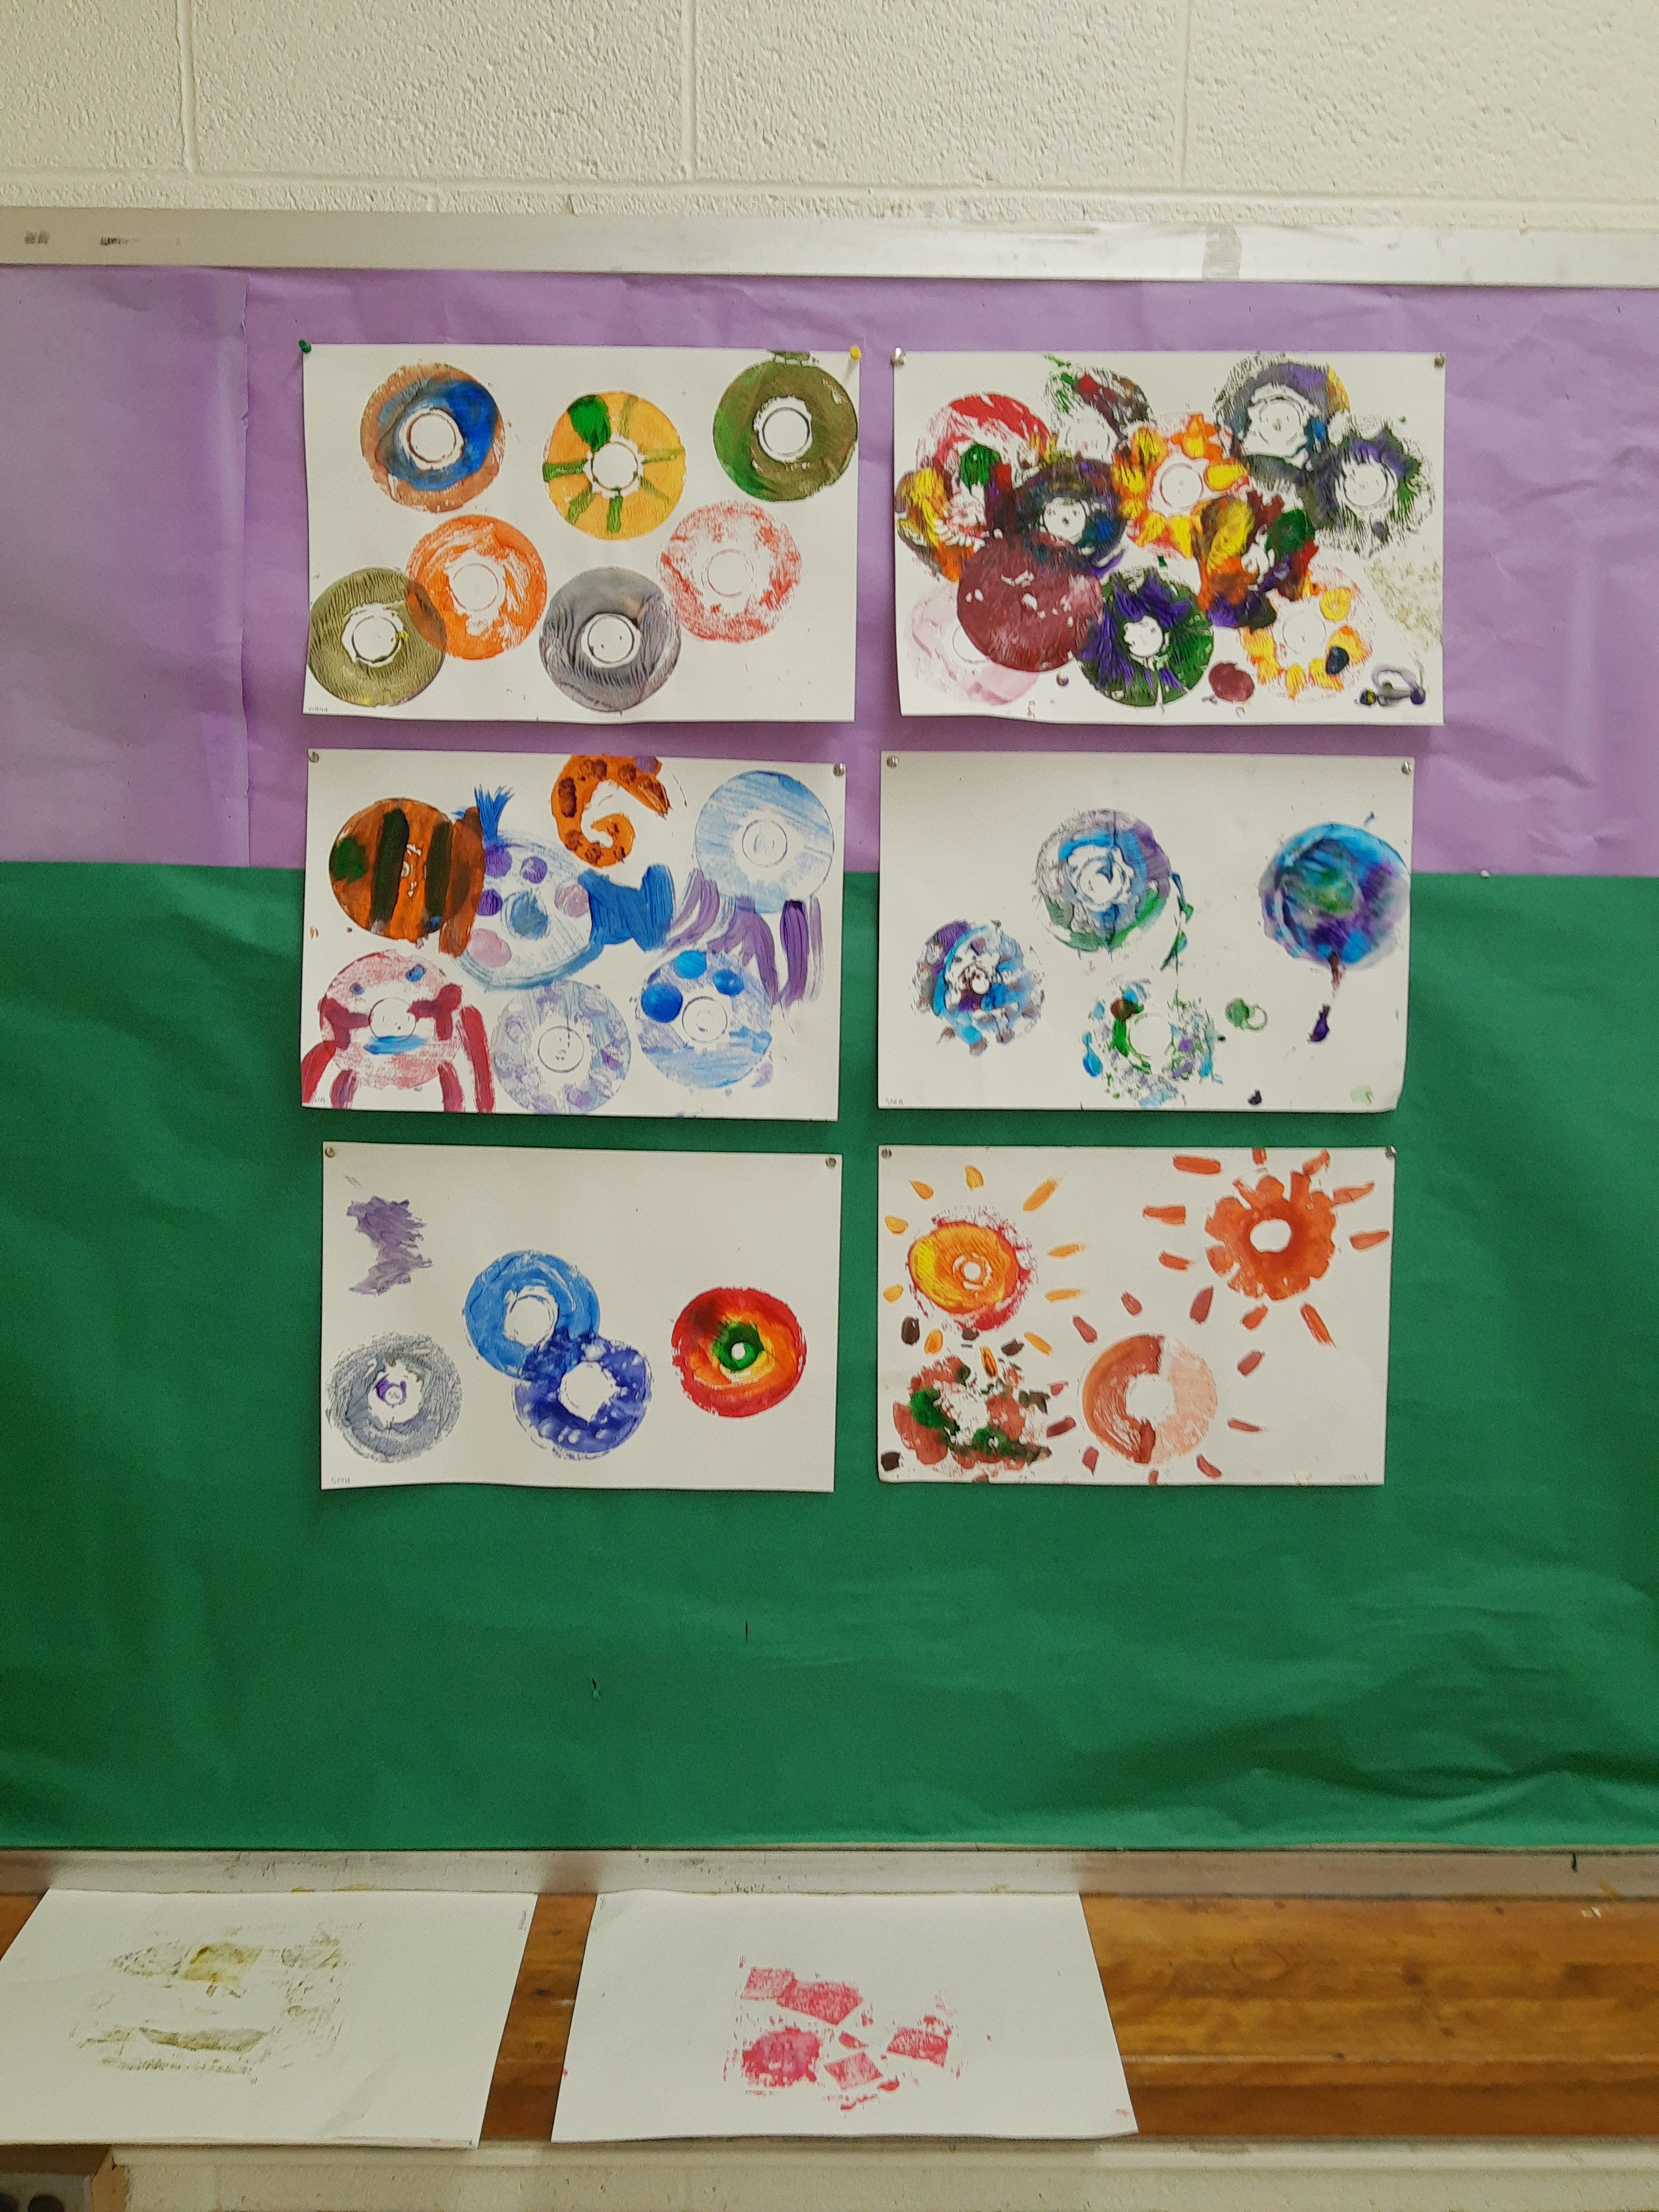
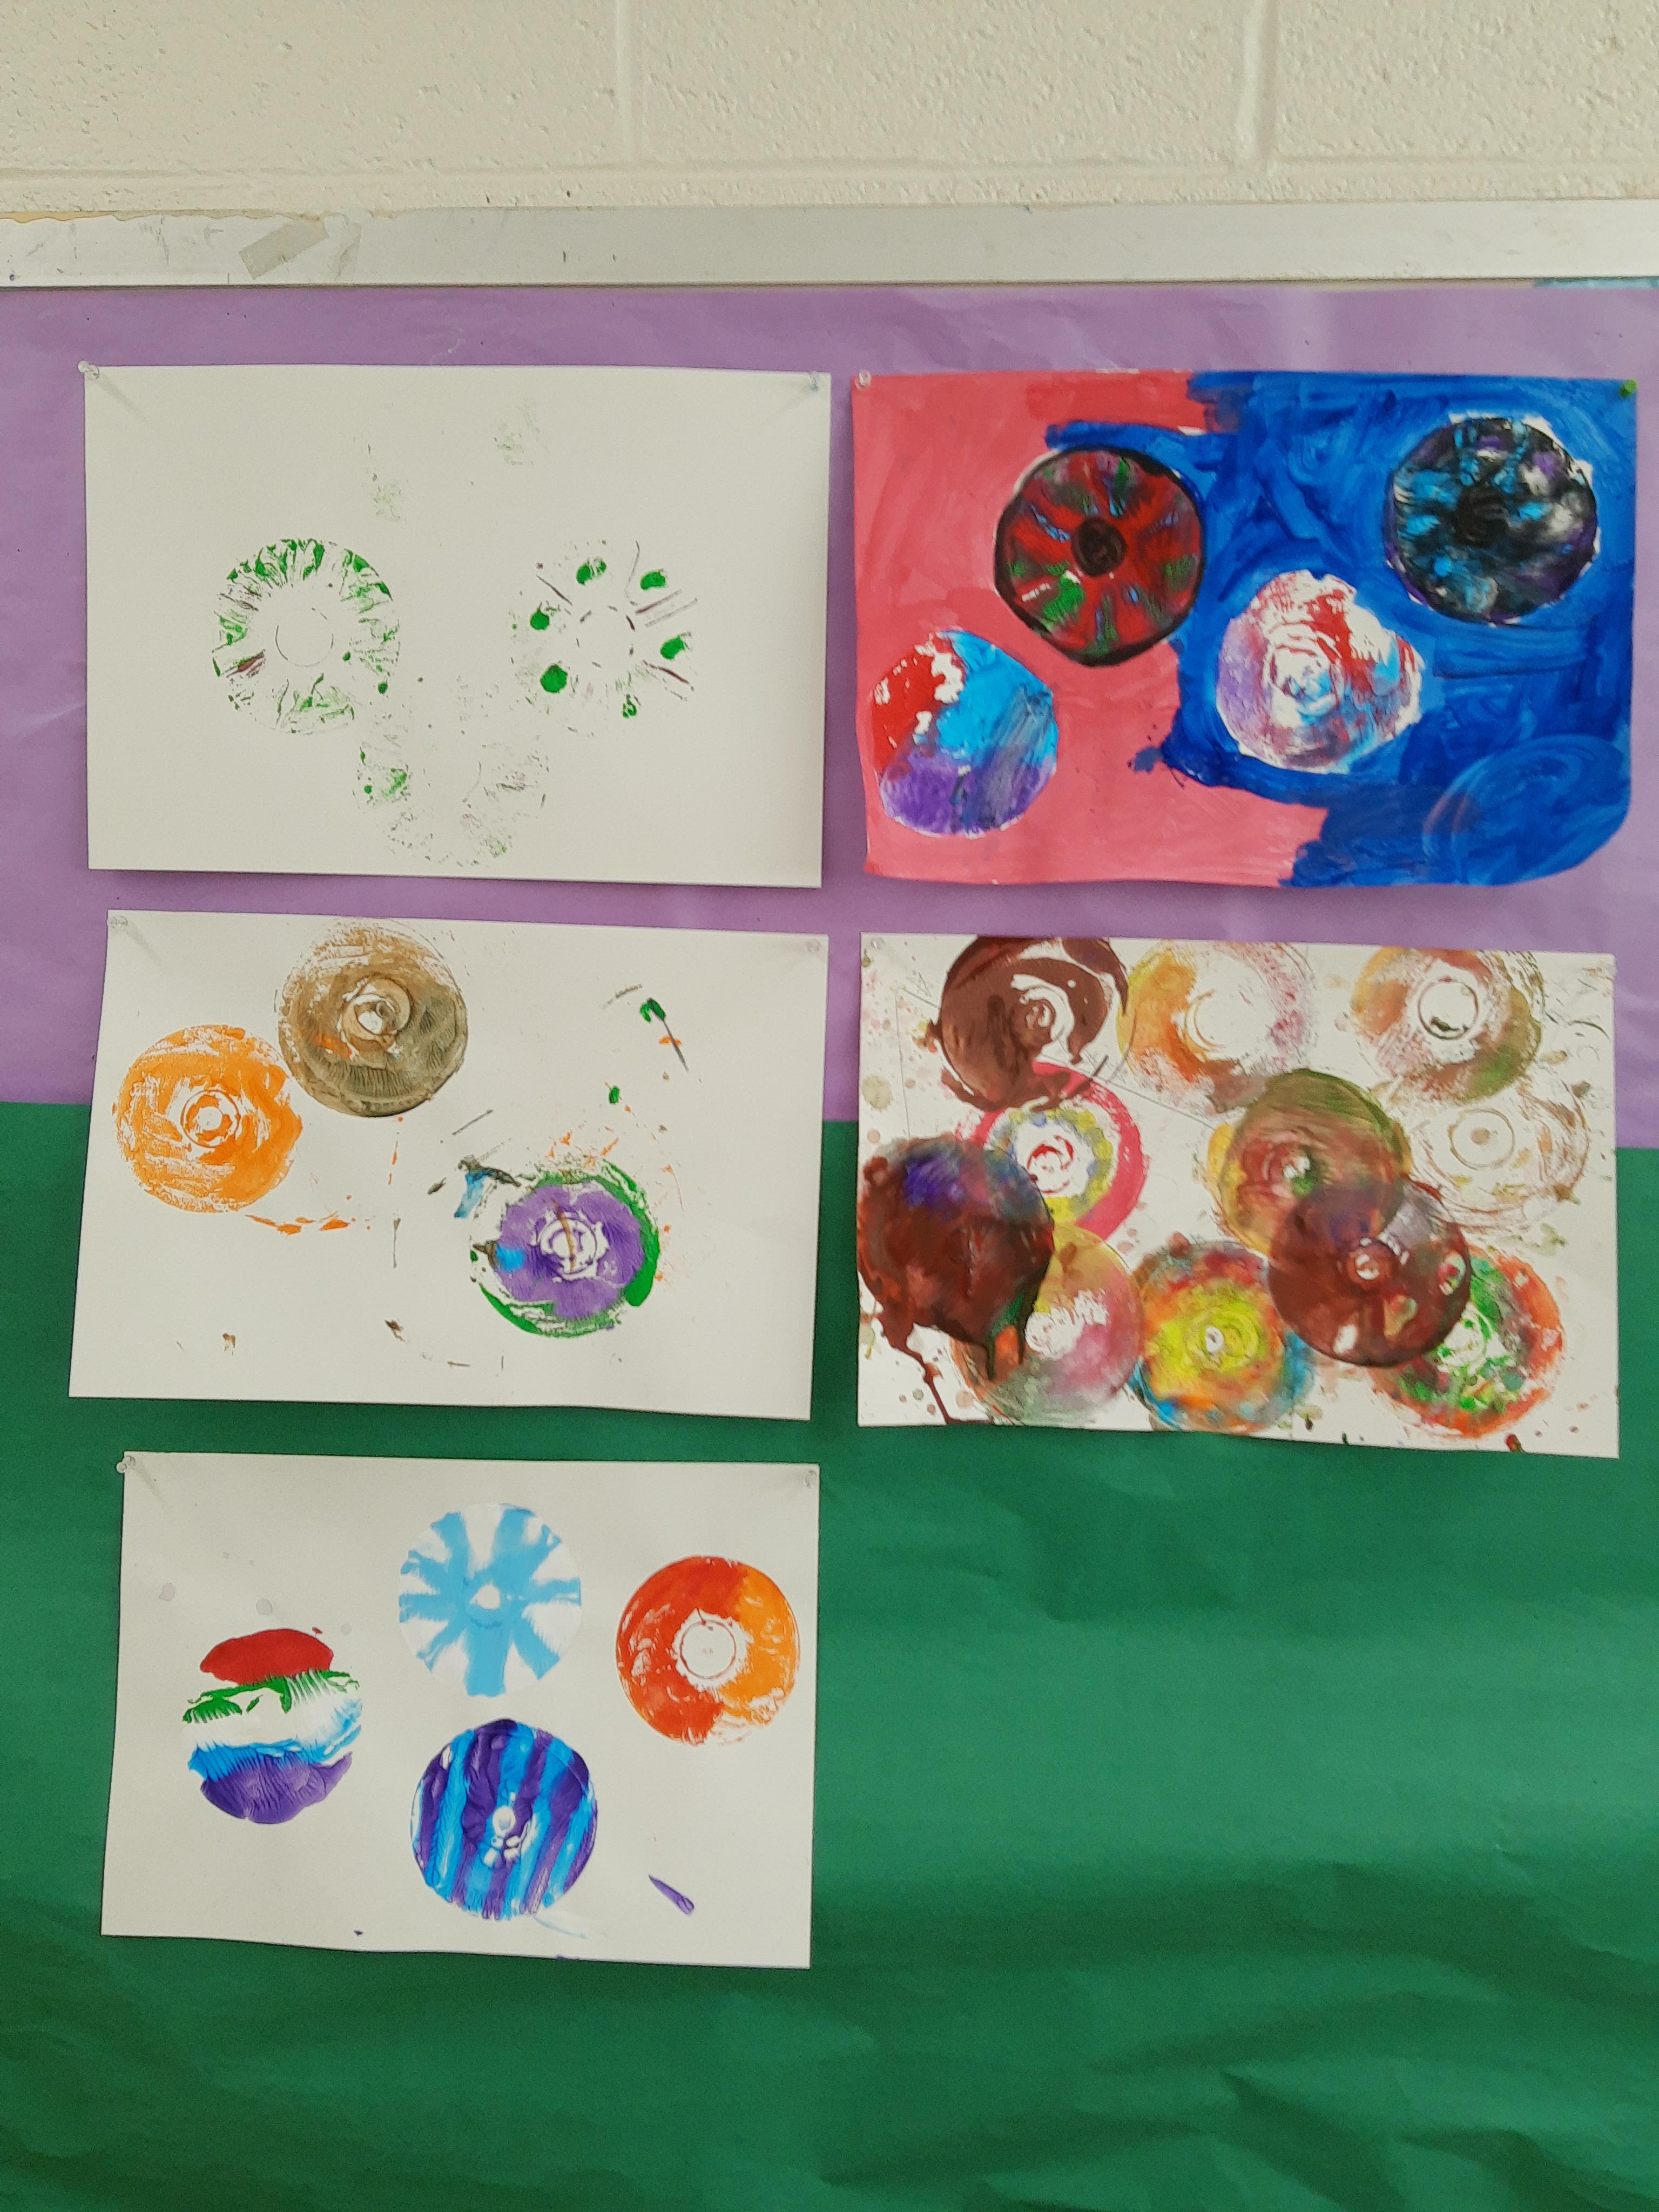
CD Monoprints:
My other students in my Saturday class made CD monoprints with tempera paint.


Last week, I taught a printmaking camp. I was subbing in for another teacher, and even though I had her lesson plan, I ended up changing a lot of things to account for the materials already available. For the first day, I wanted campers to make something really large using recycled materials. I remembered making collagraphs in my college printmaking class and it was really fun, so I went with it. I also love the textural aspect of collagraphs.

Collagraphs – On the first day of camp, campers learned about collagraphs and made BIG printing plates. I cut out cardboard that is about 22 x 16″ to fit on 24 x 18″ paper.
Before creating their plates, I gave campers the theme of animals and had them sketch out and brainstorm at least 4 different ideas. They all came up with different animals which was awesome!
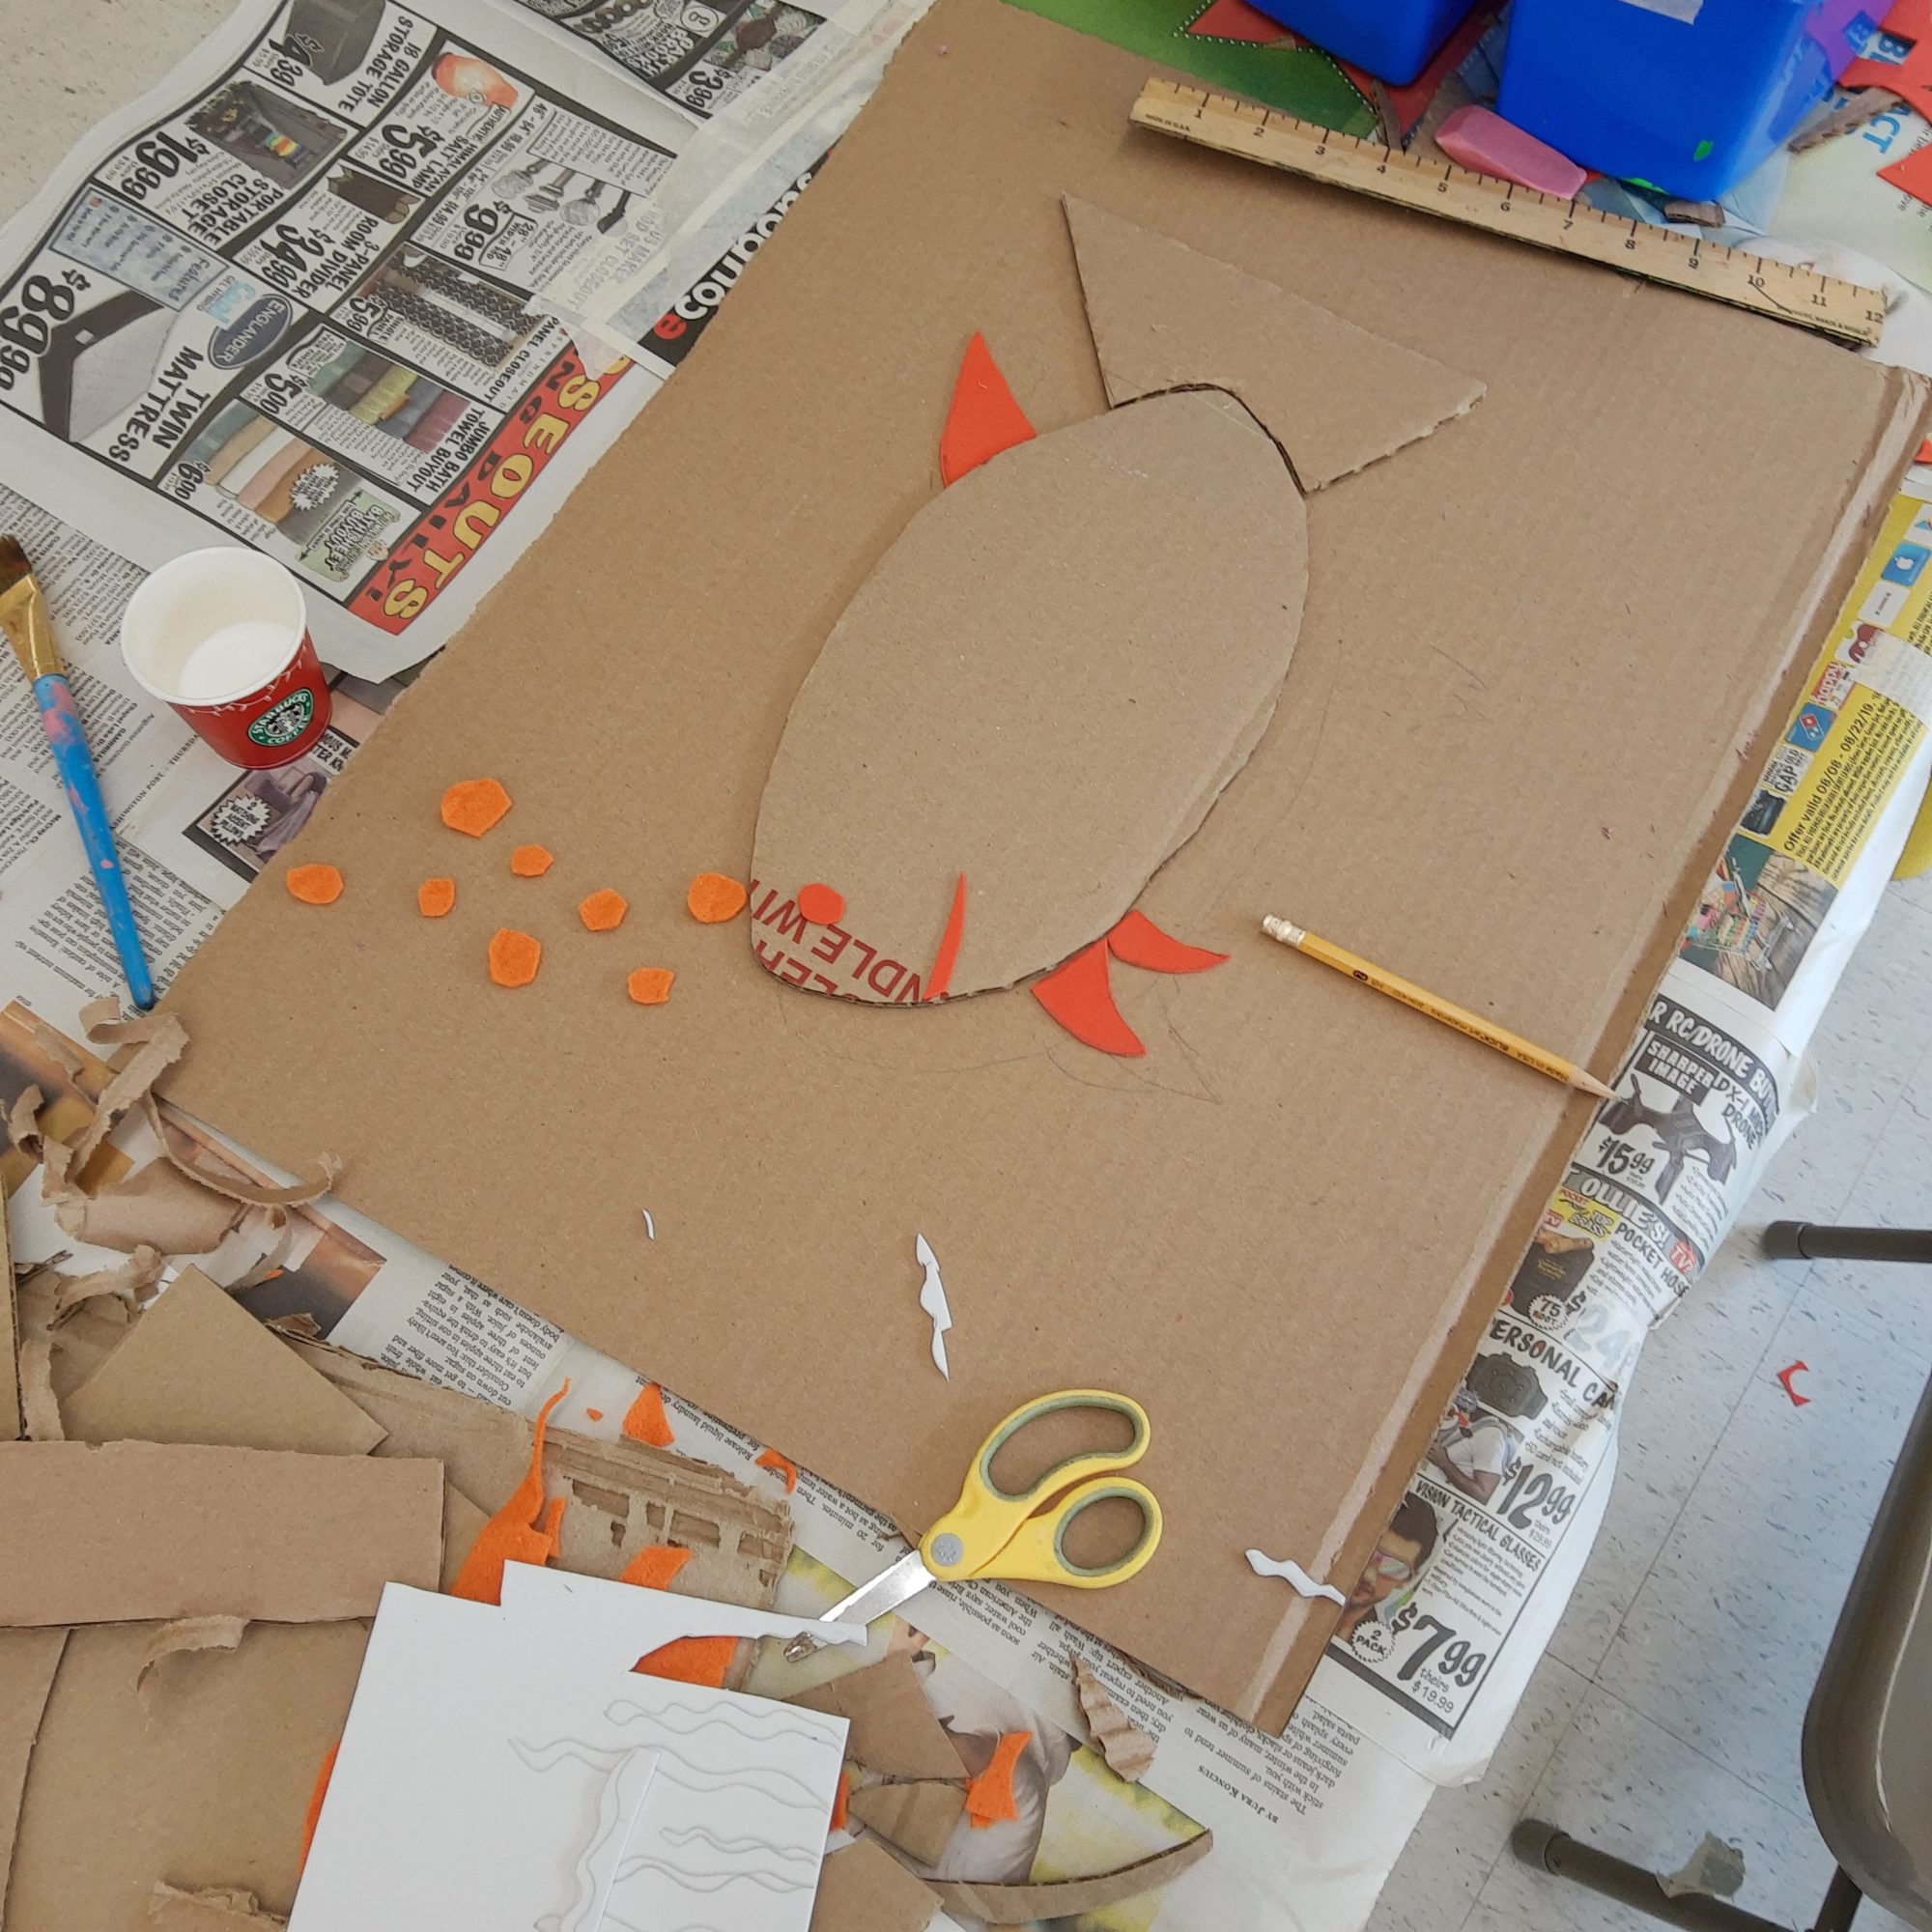
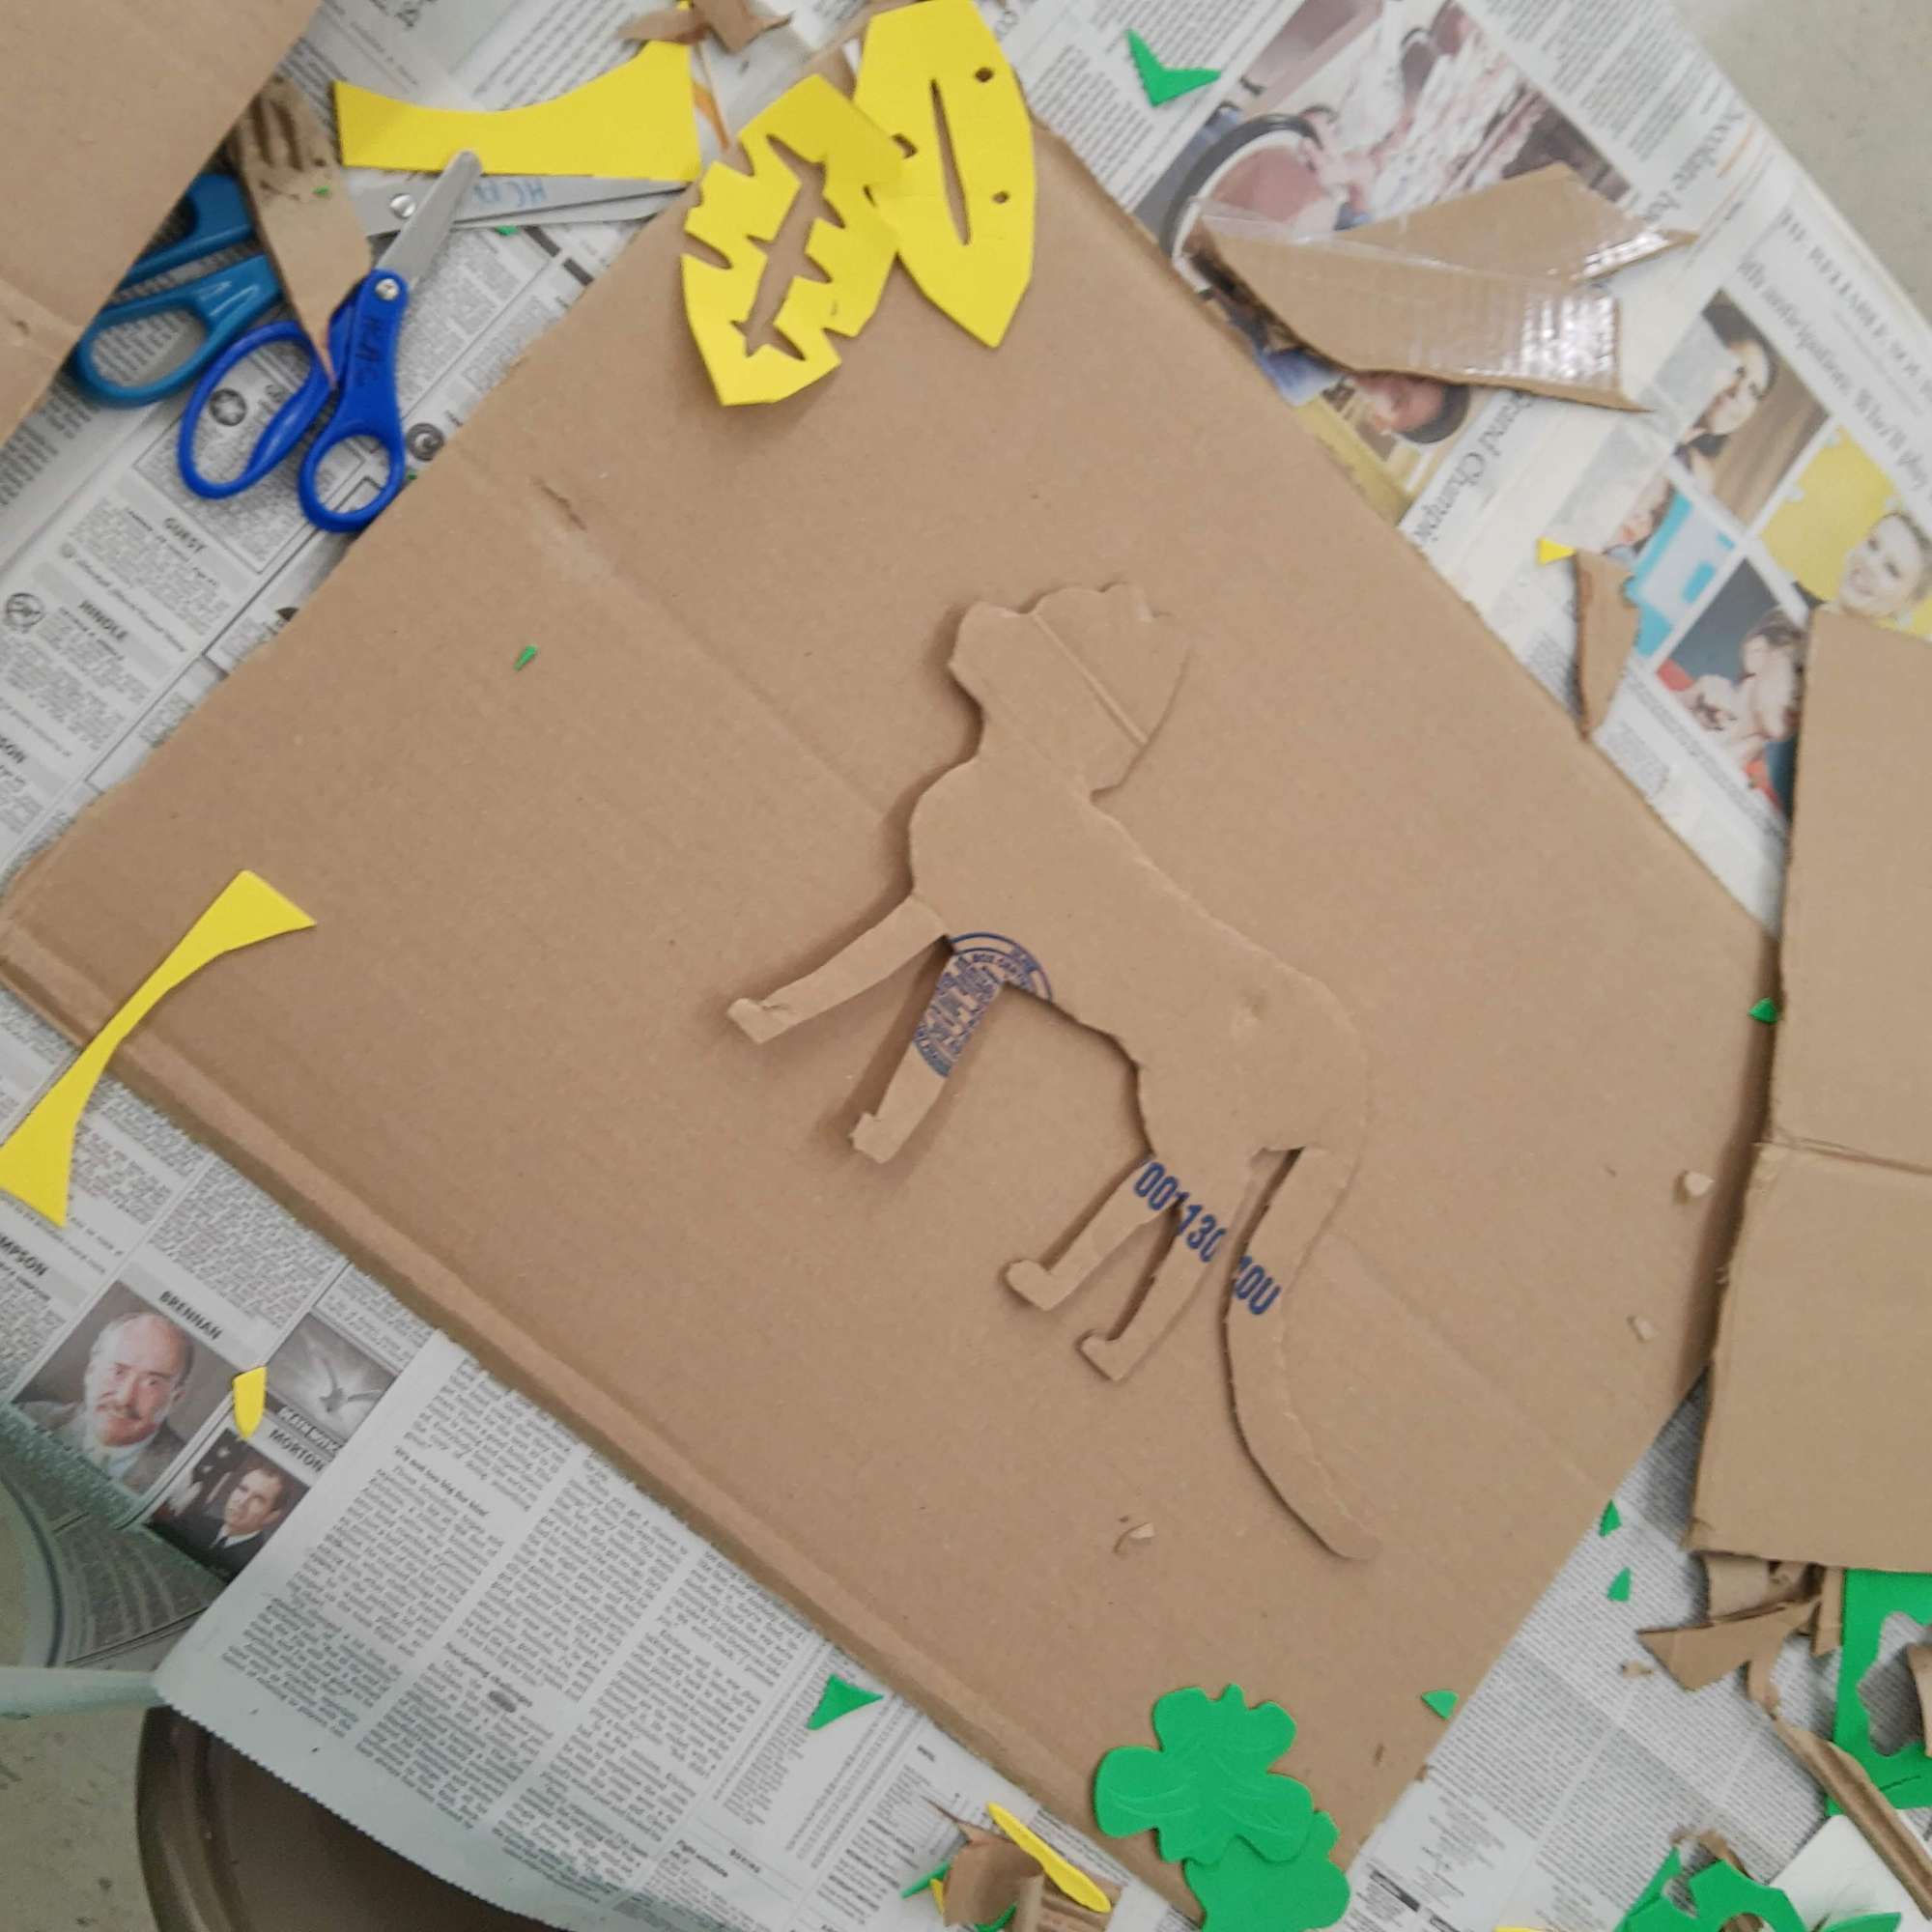
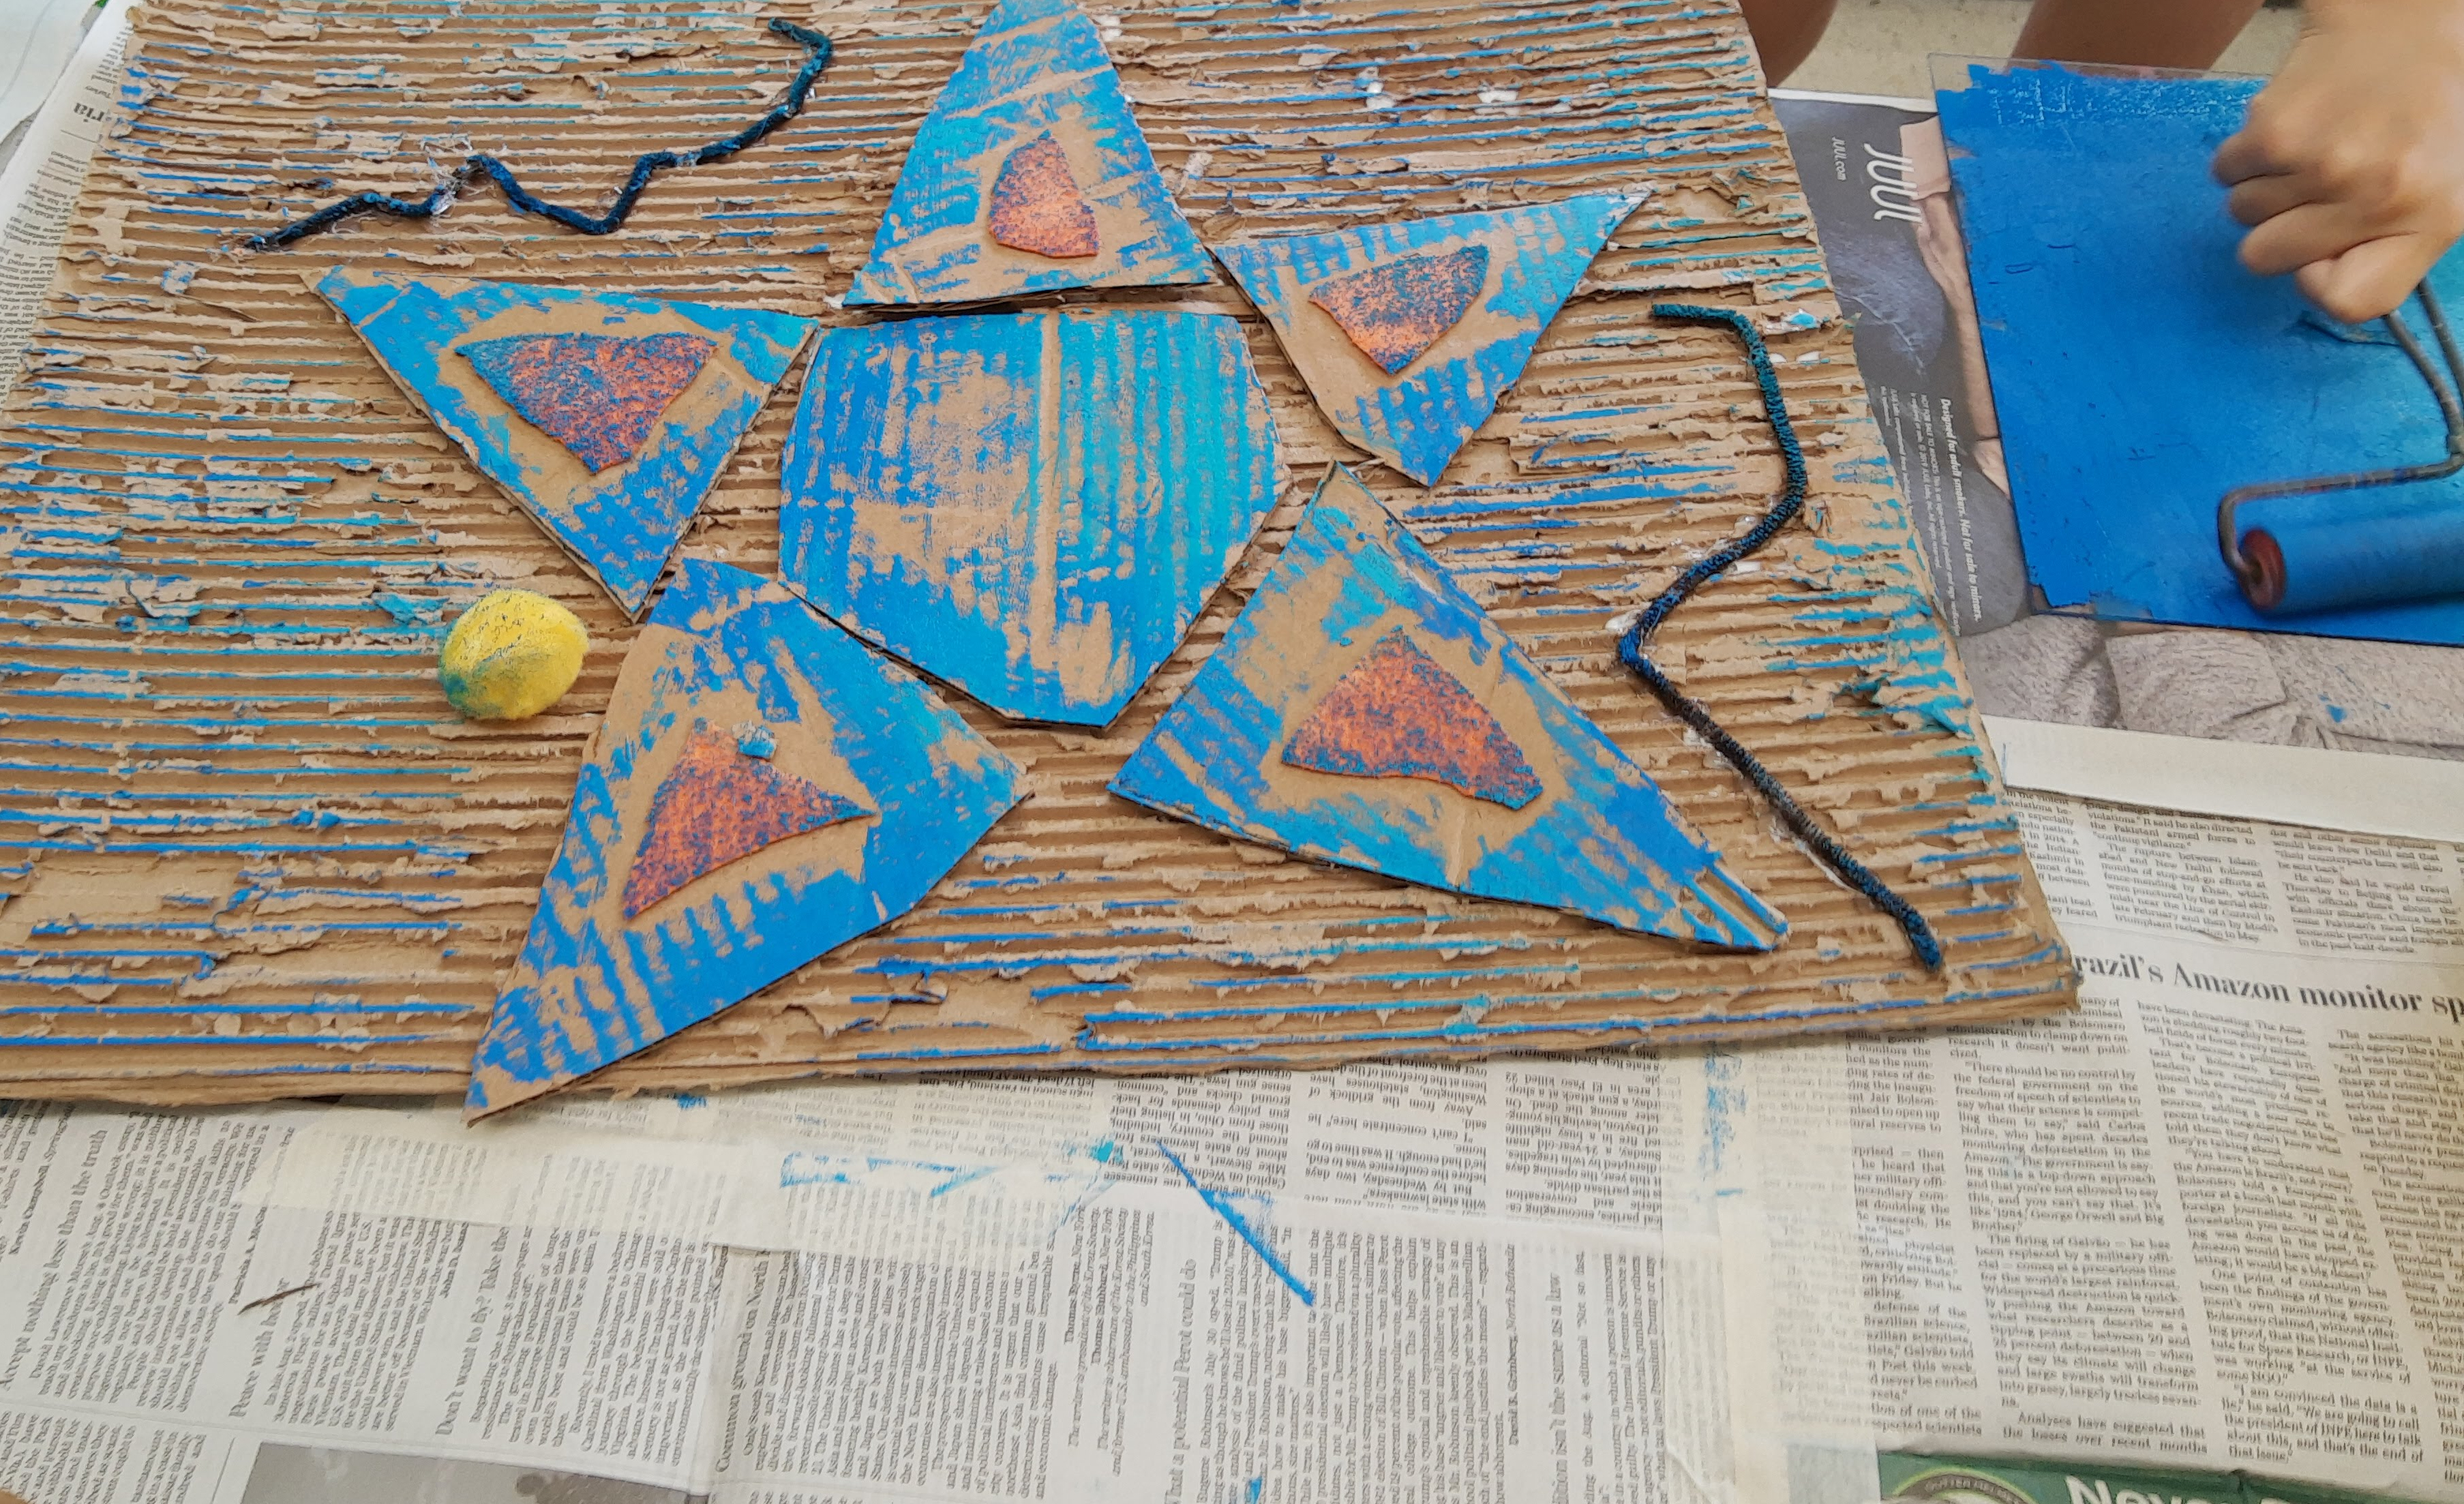
Once their ideas were set, they began assembling their collagraphs. I had different sizes of scrap cardboard laid out for campers to use as well as foam, felt, pipe-cleaners, and other crafty materials to attach to their cardboard plate. One camper even decided to remove the top layer of the cardboard to reveal the corrugation underneath to create texture. We also discussed how different materials will create different textures (fabric creates a fuzzy texture, cardboard appears rough).
Once everything had been glued down to the plate, I handed out cups of mod podge and brushes and campers applied mod podge all over the top surface of their plates so everything was sealed and ready for printing.
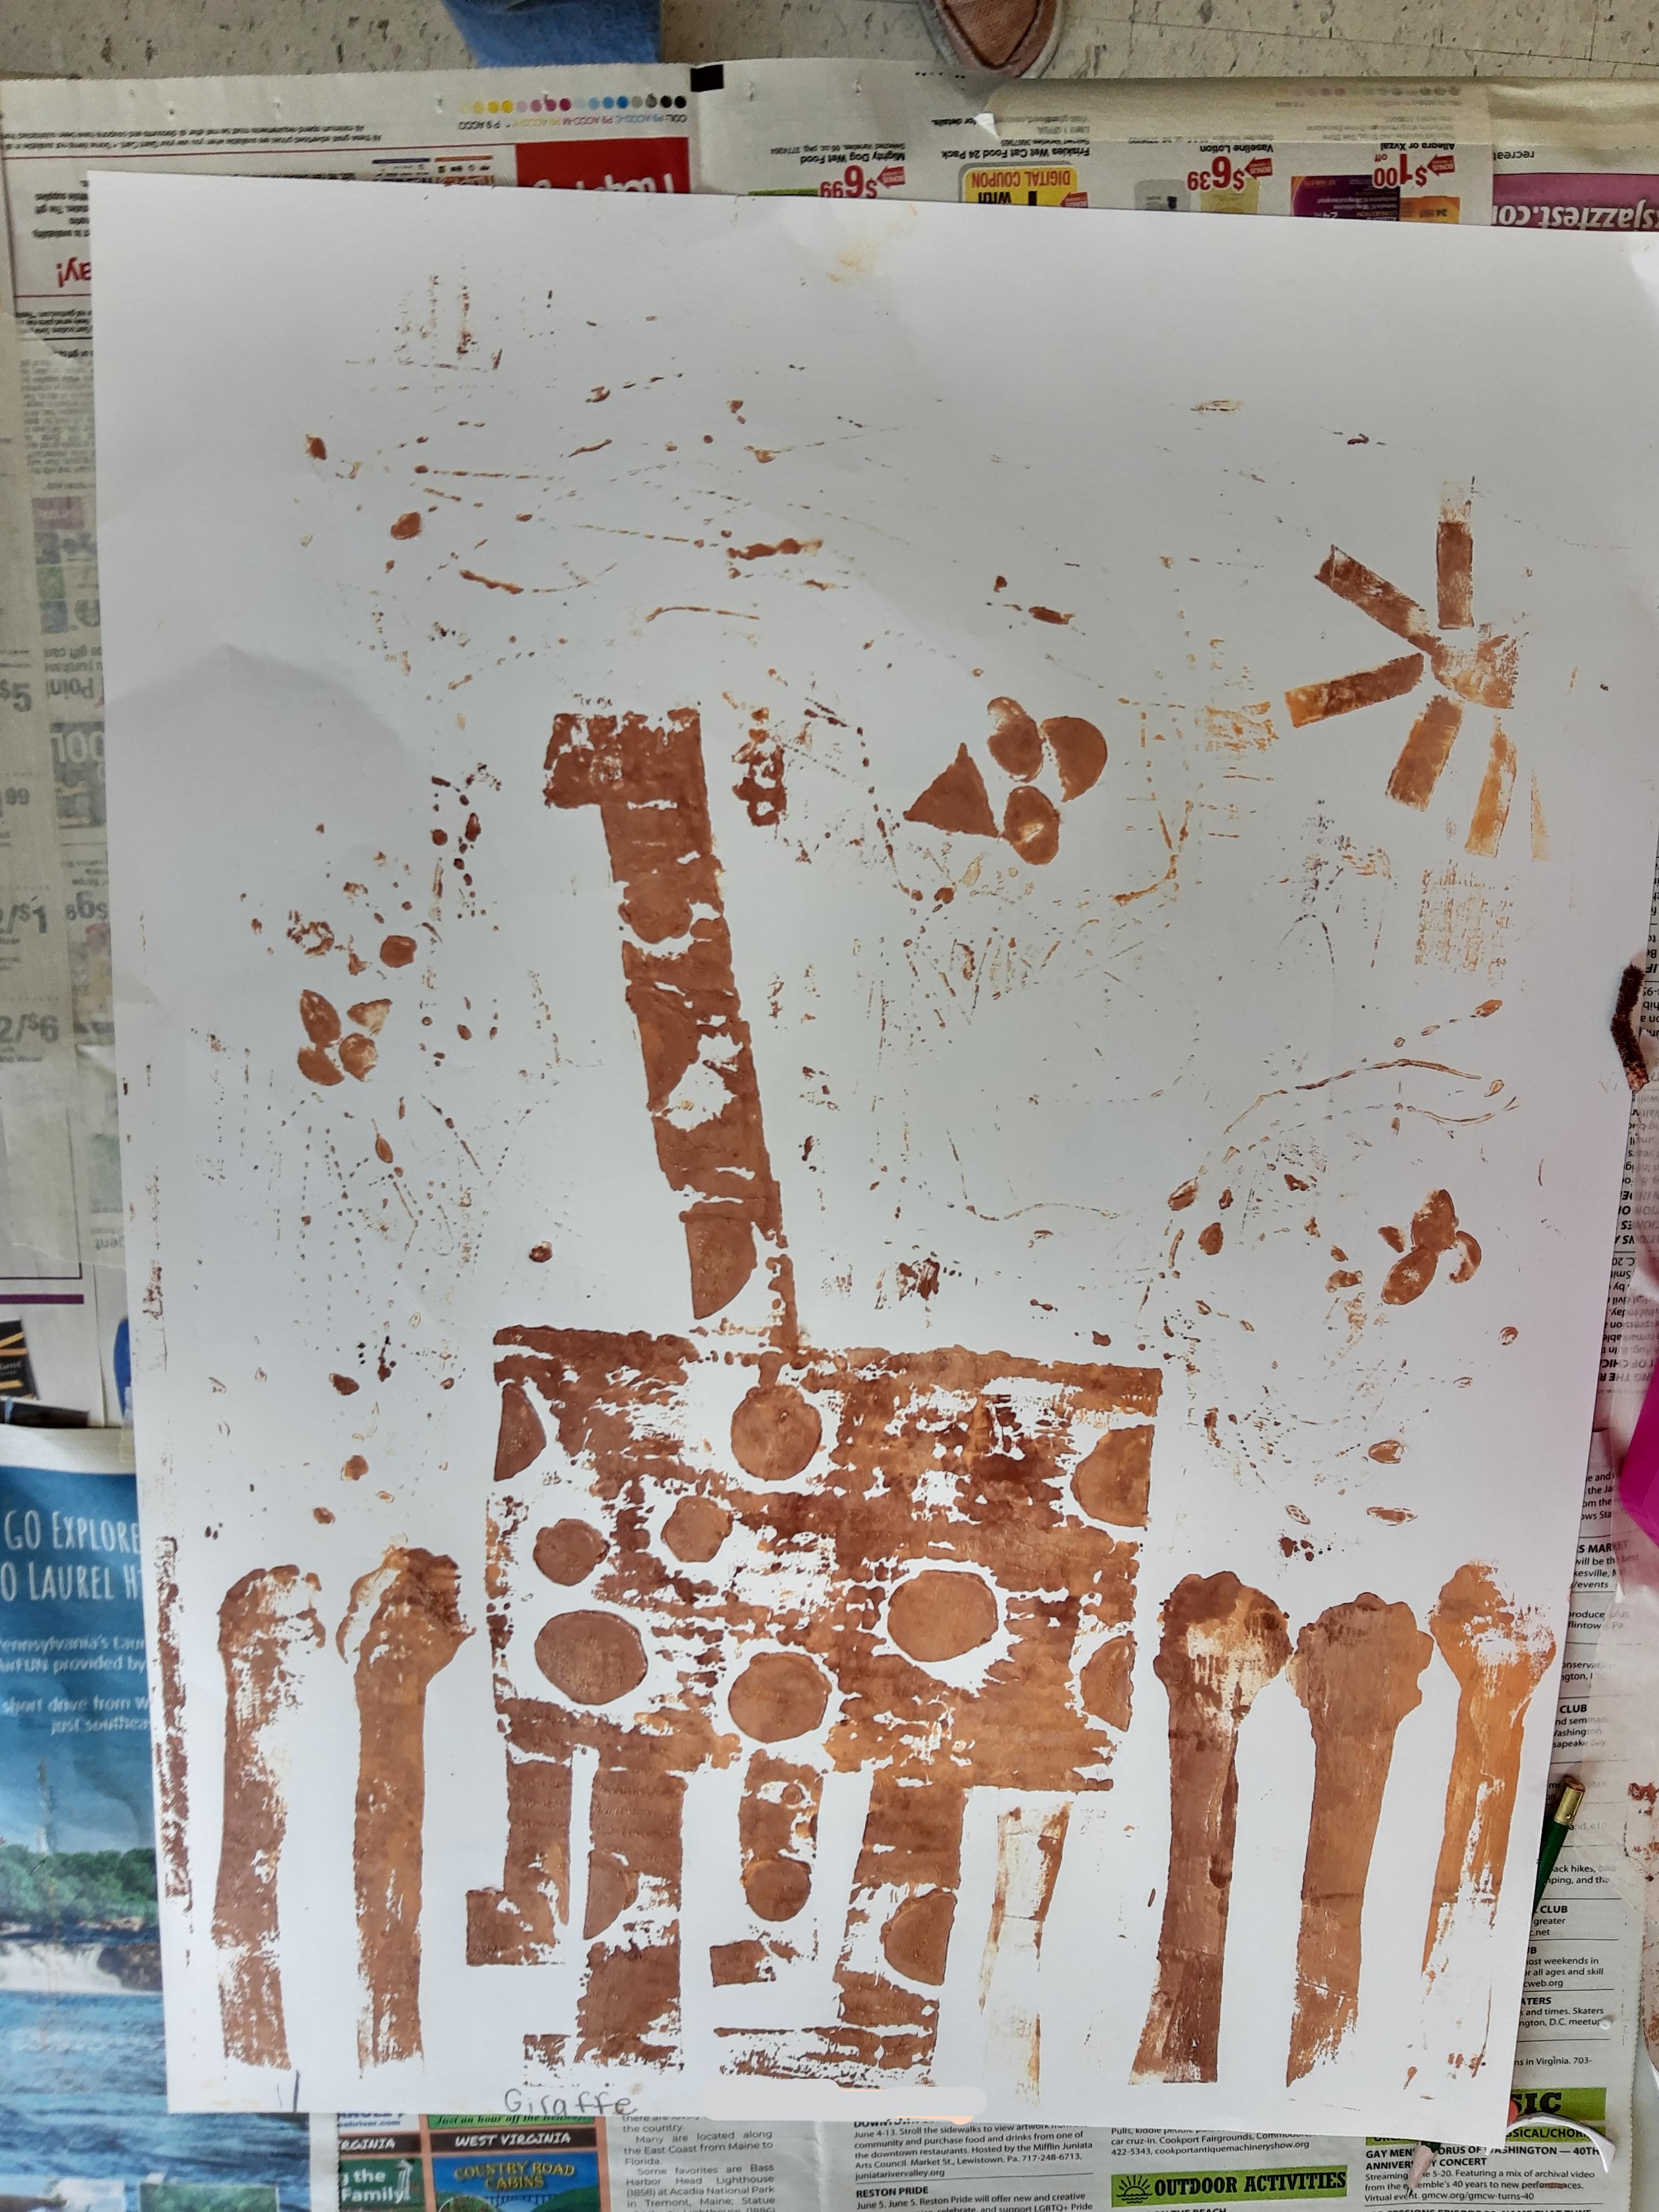
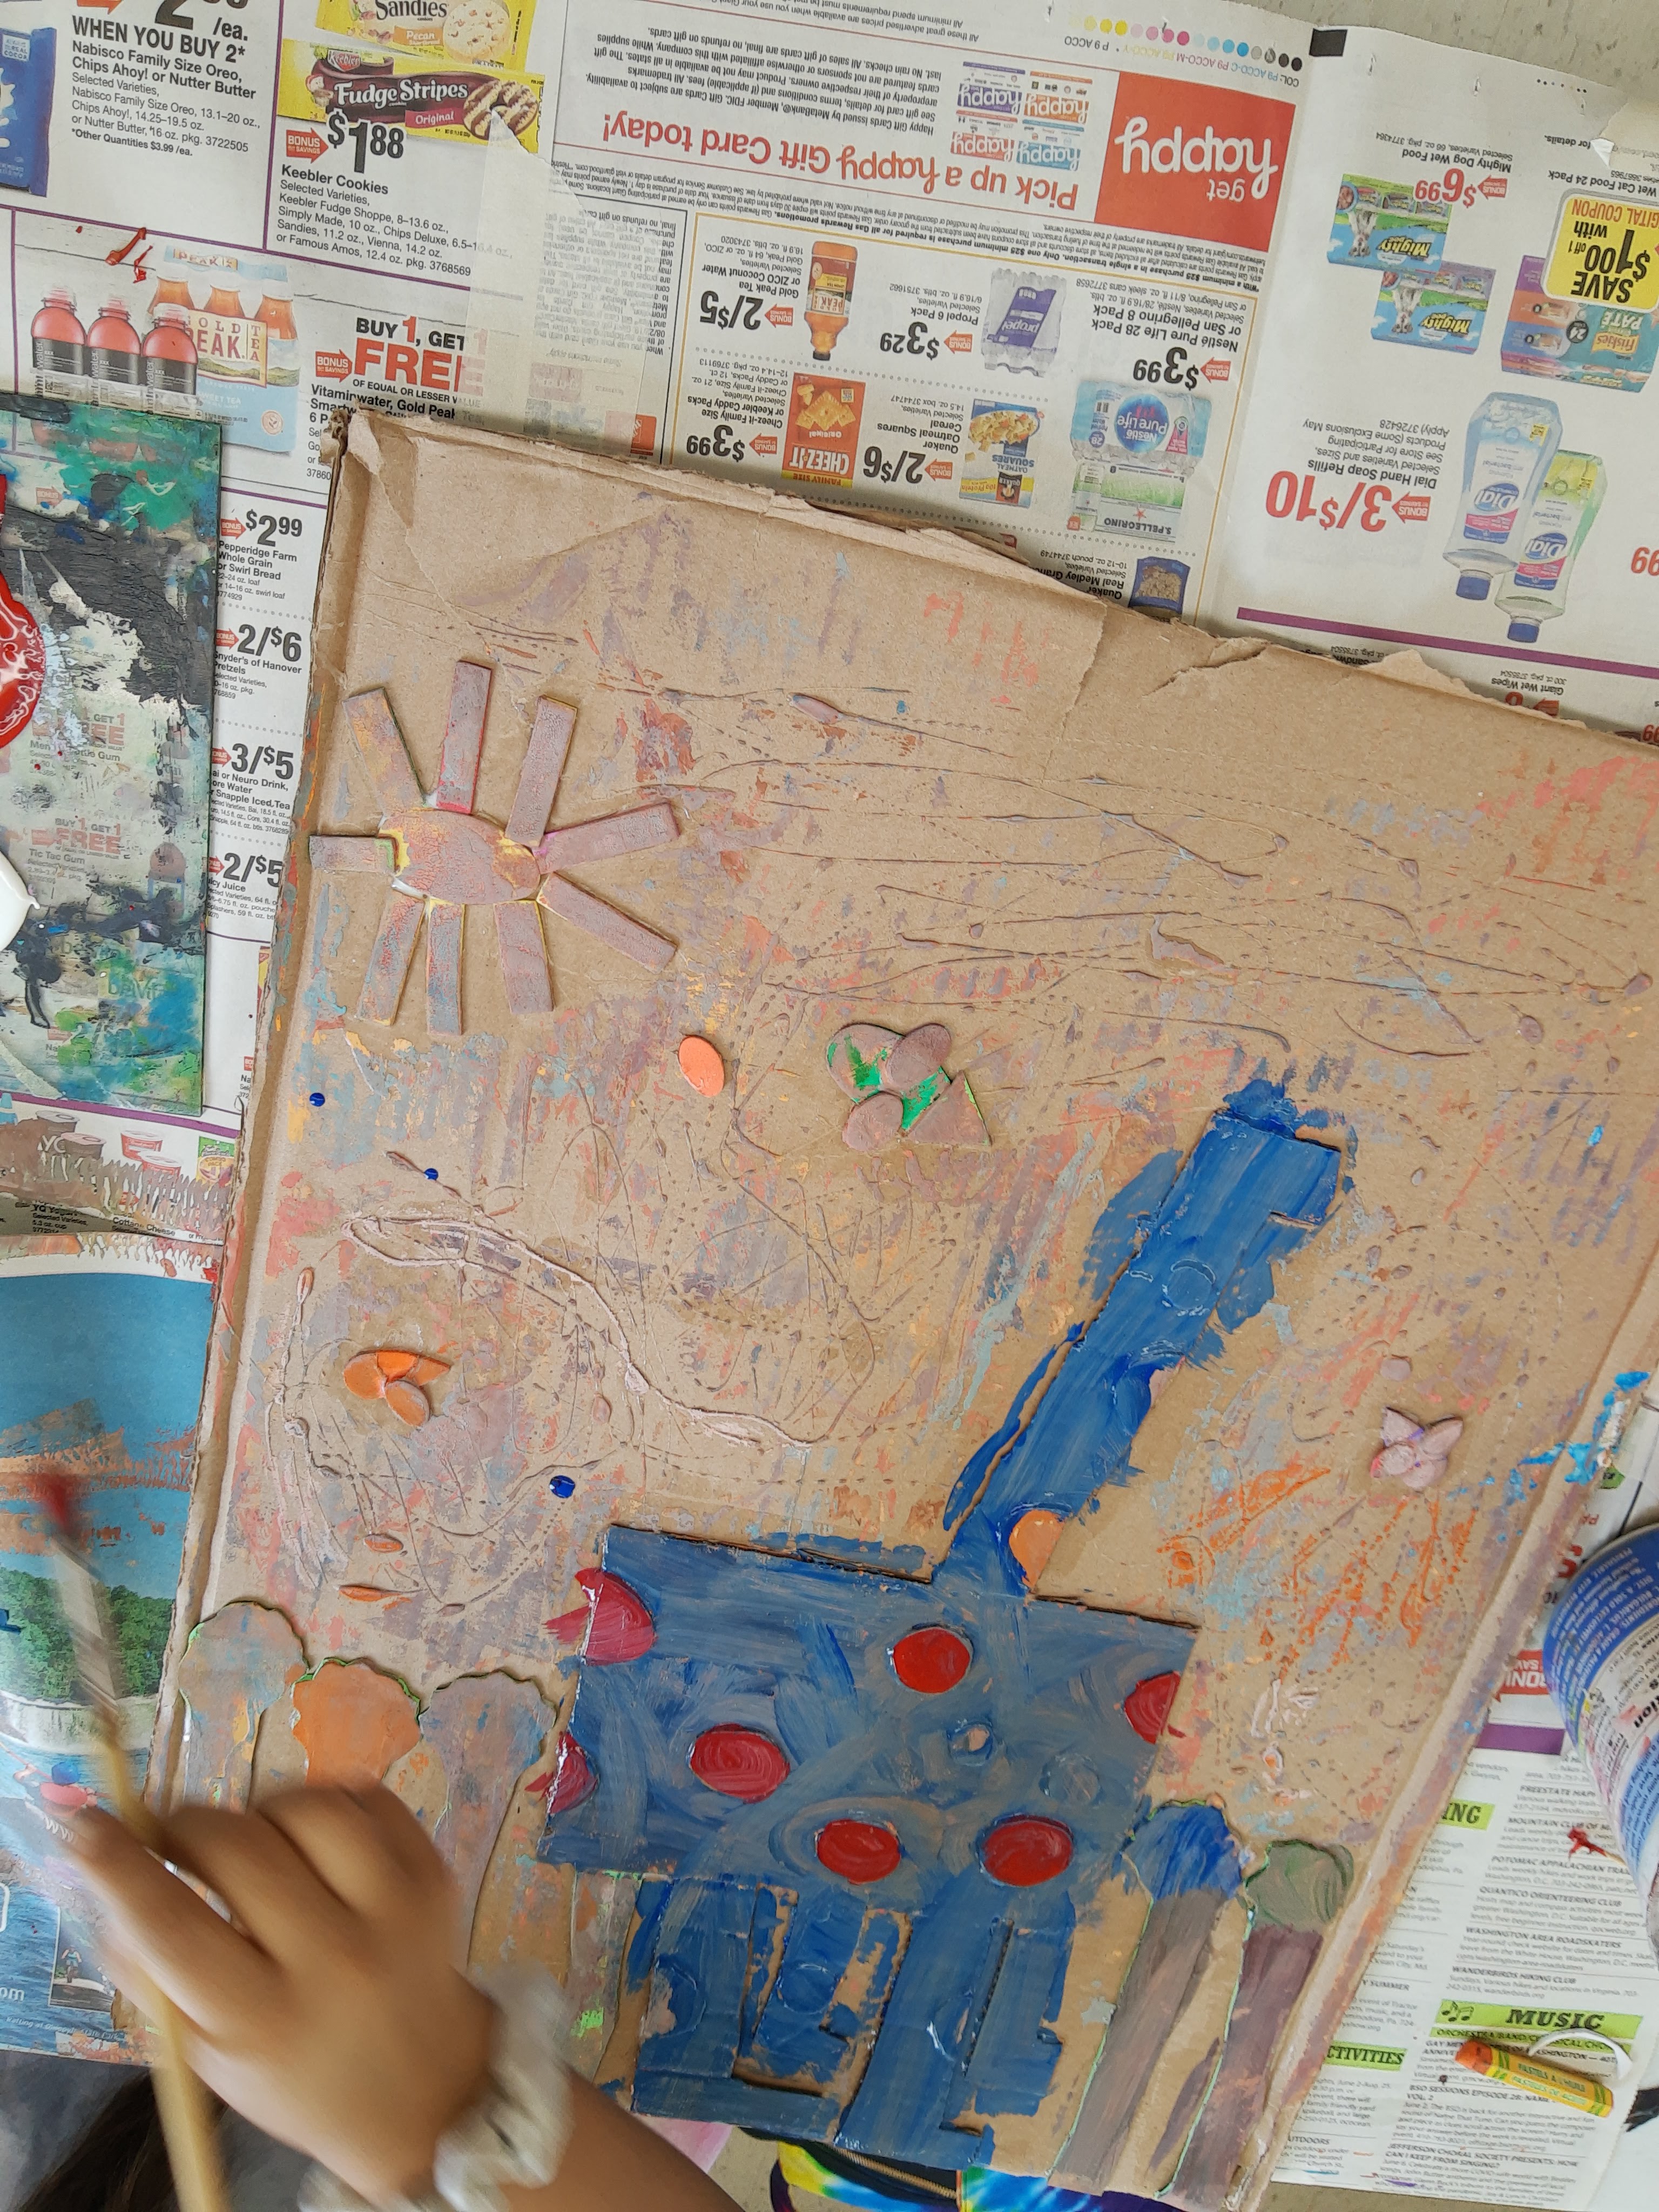
Some of the collagraph plates from campers:


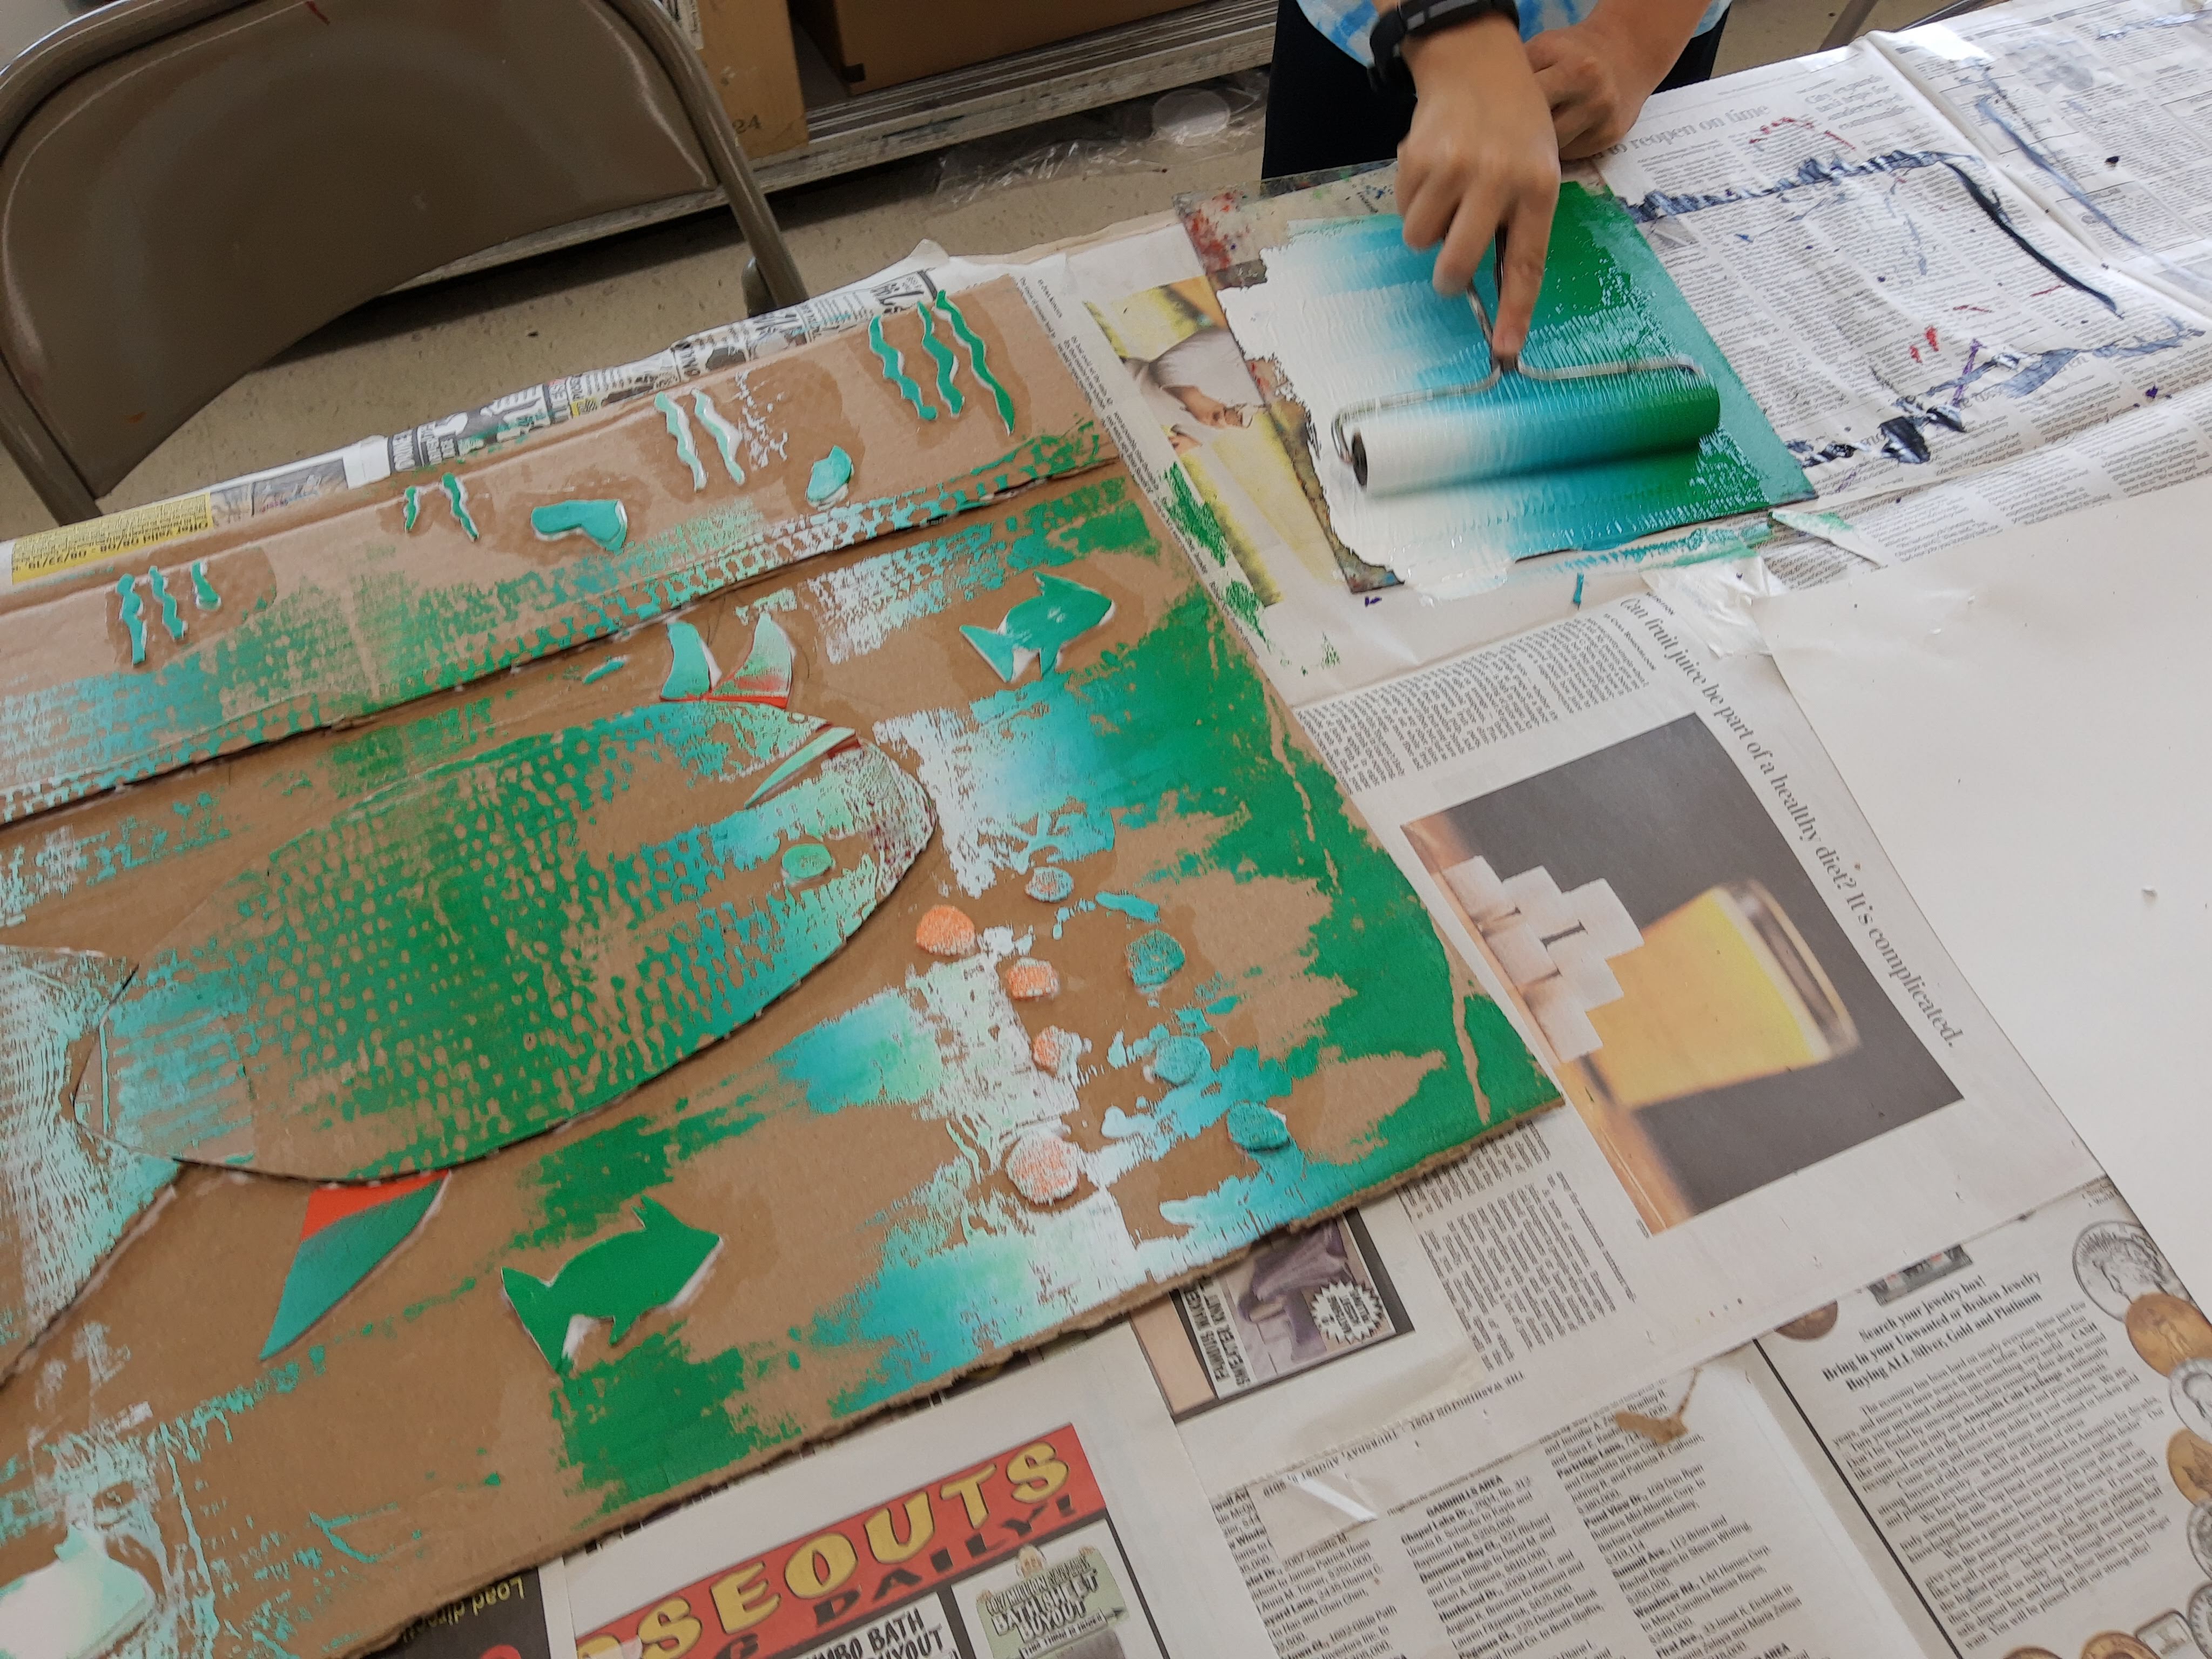
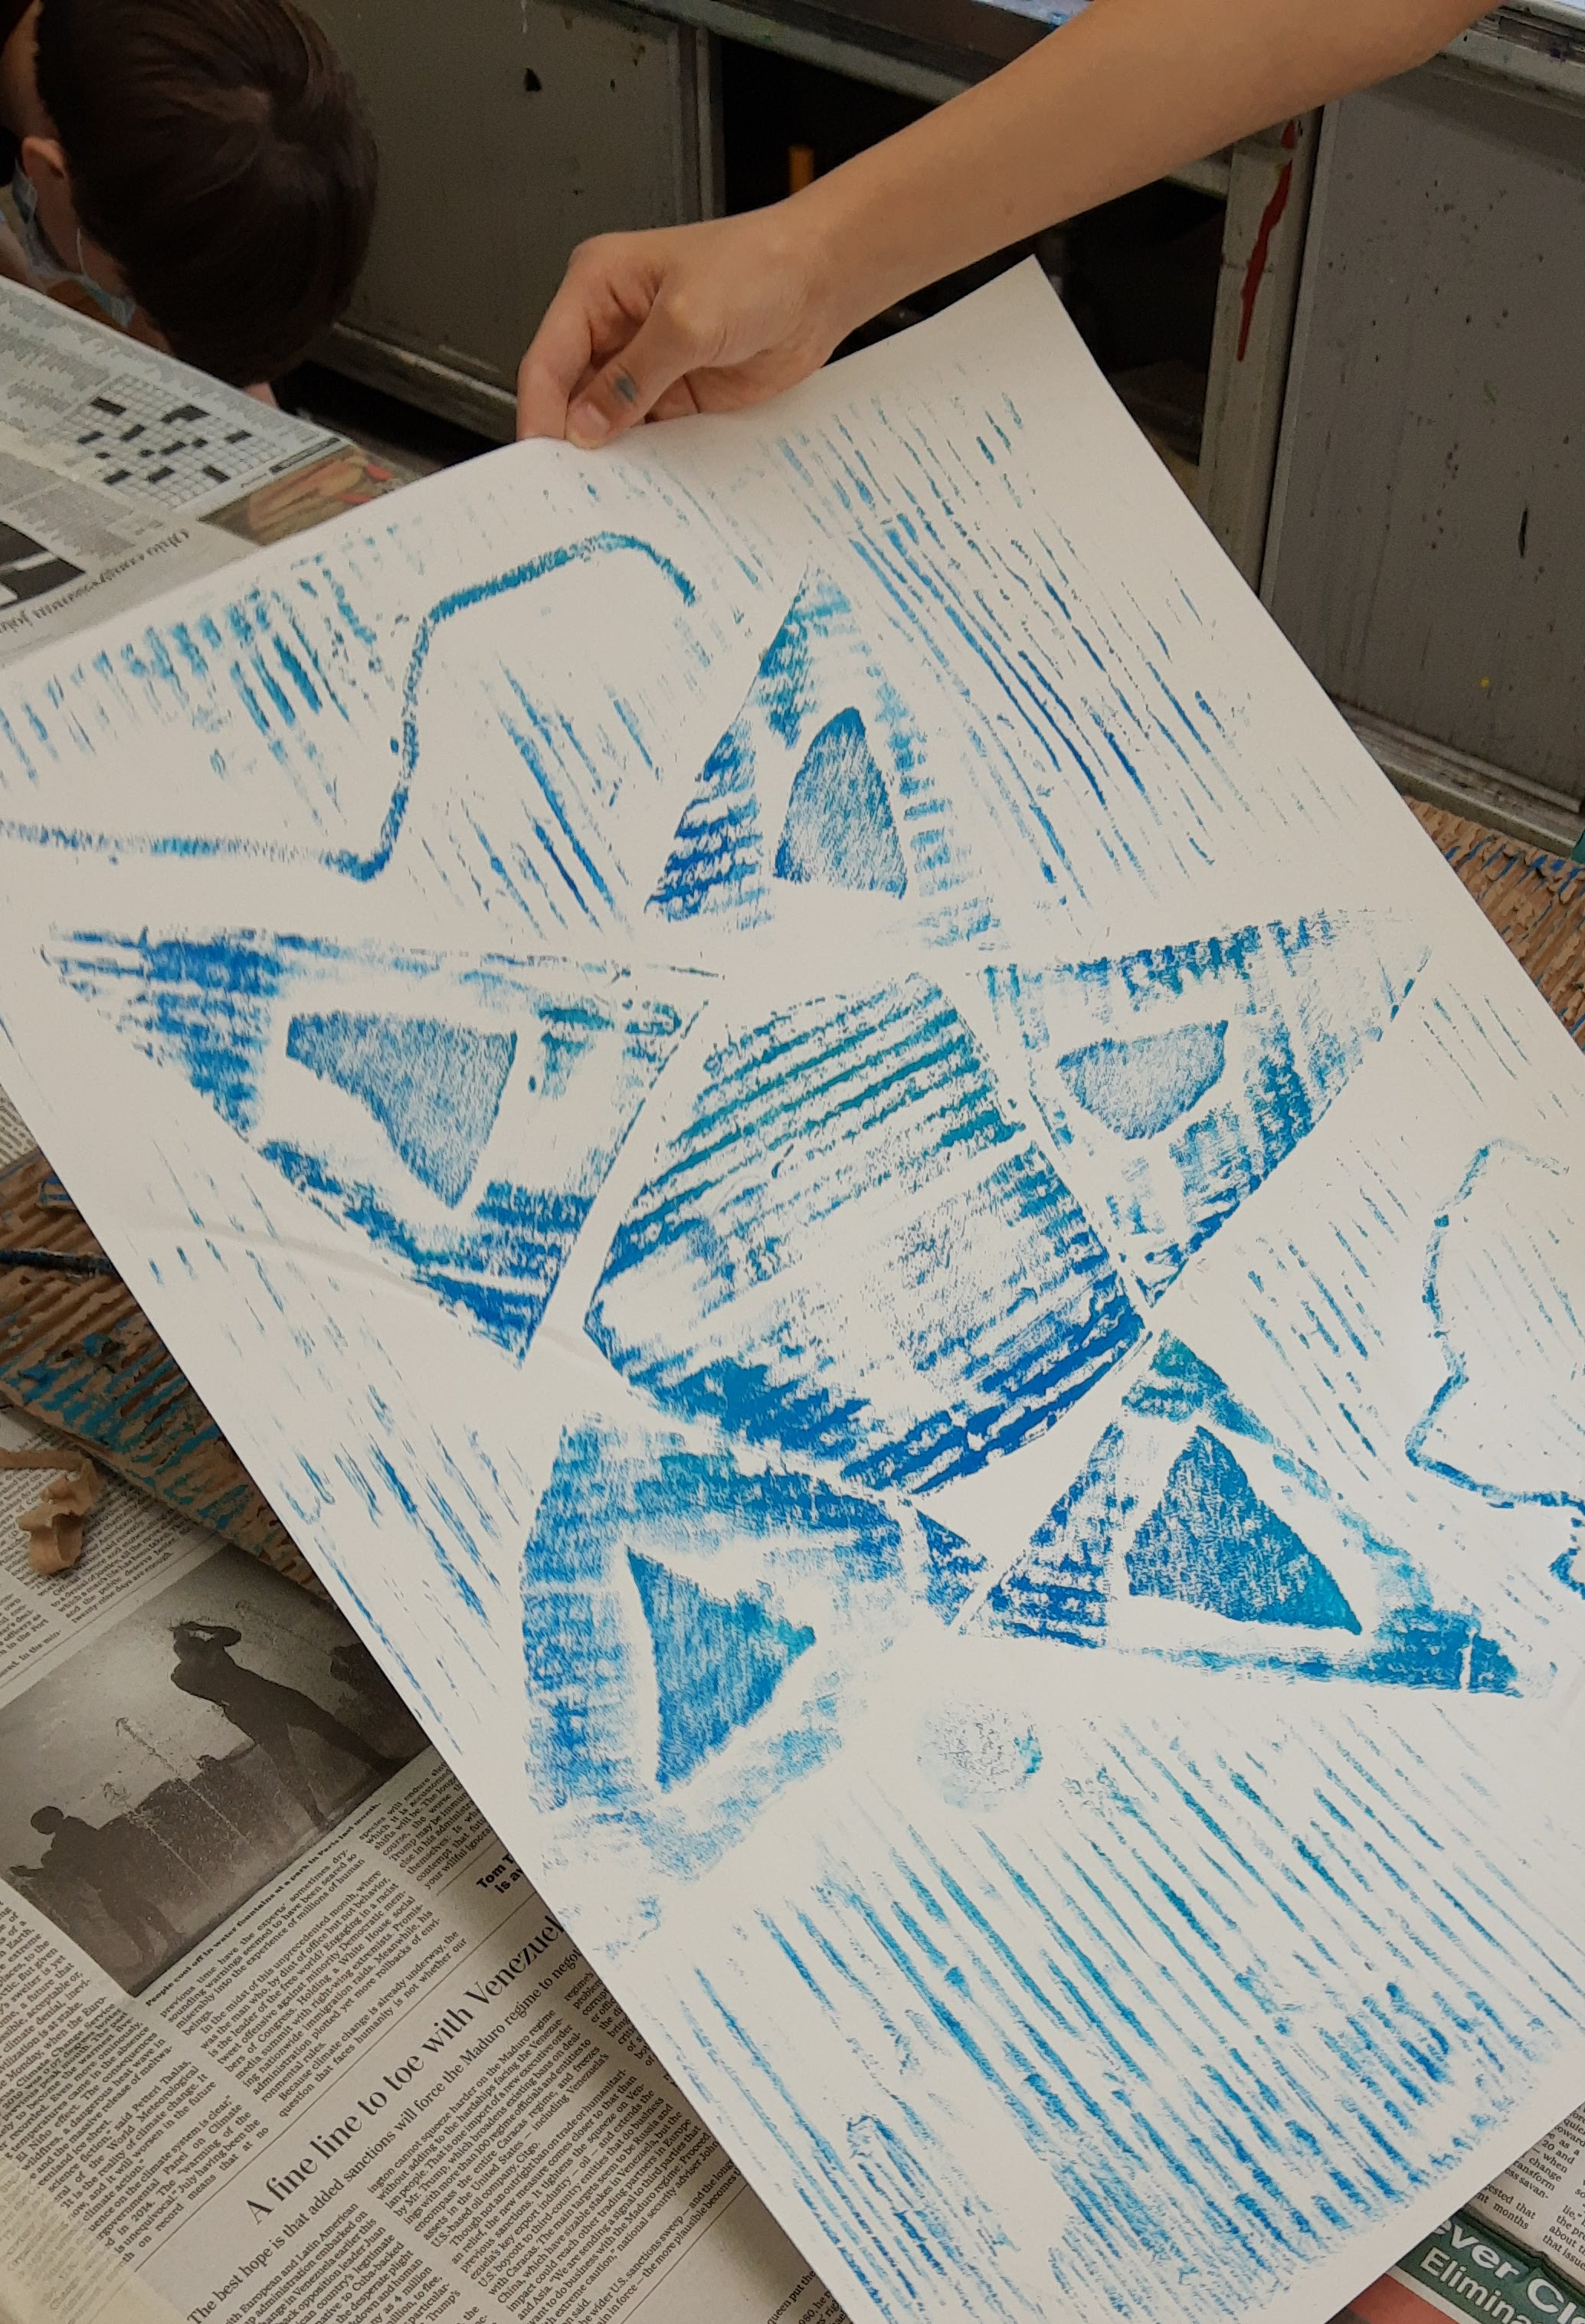
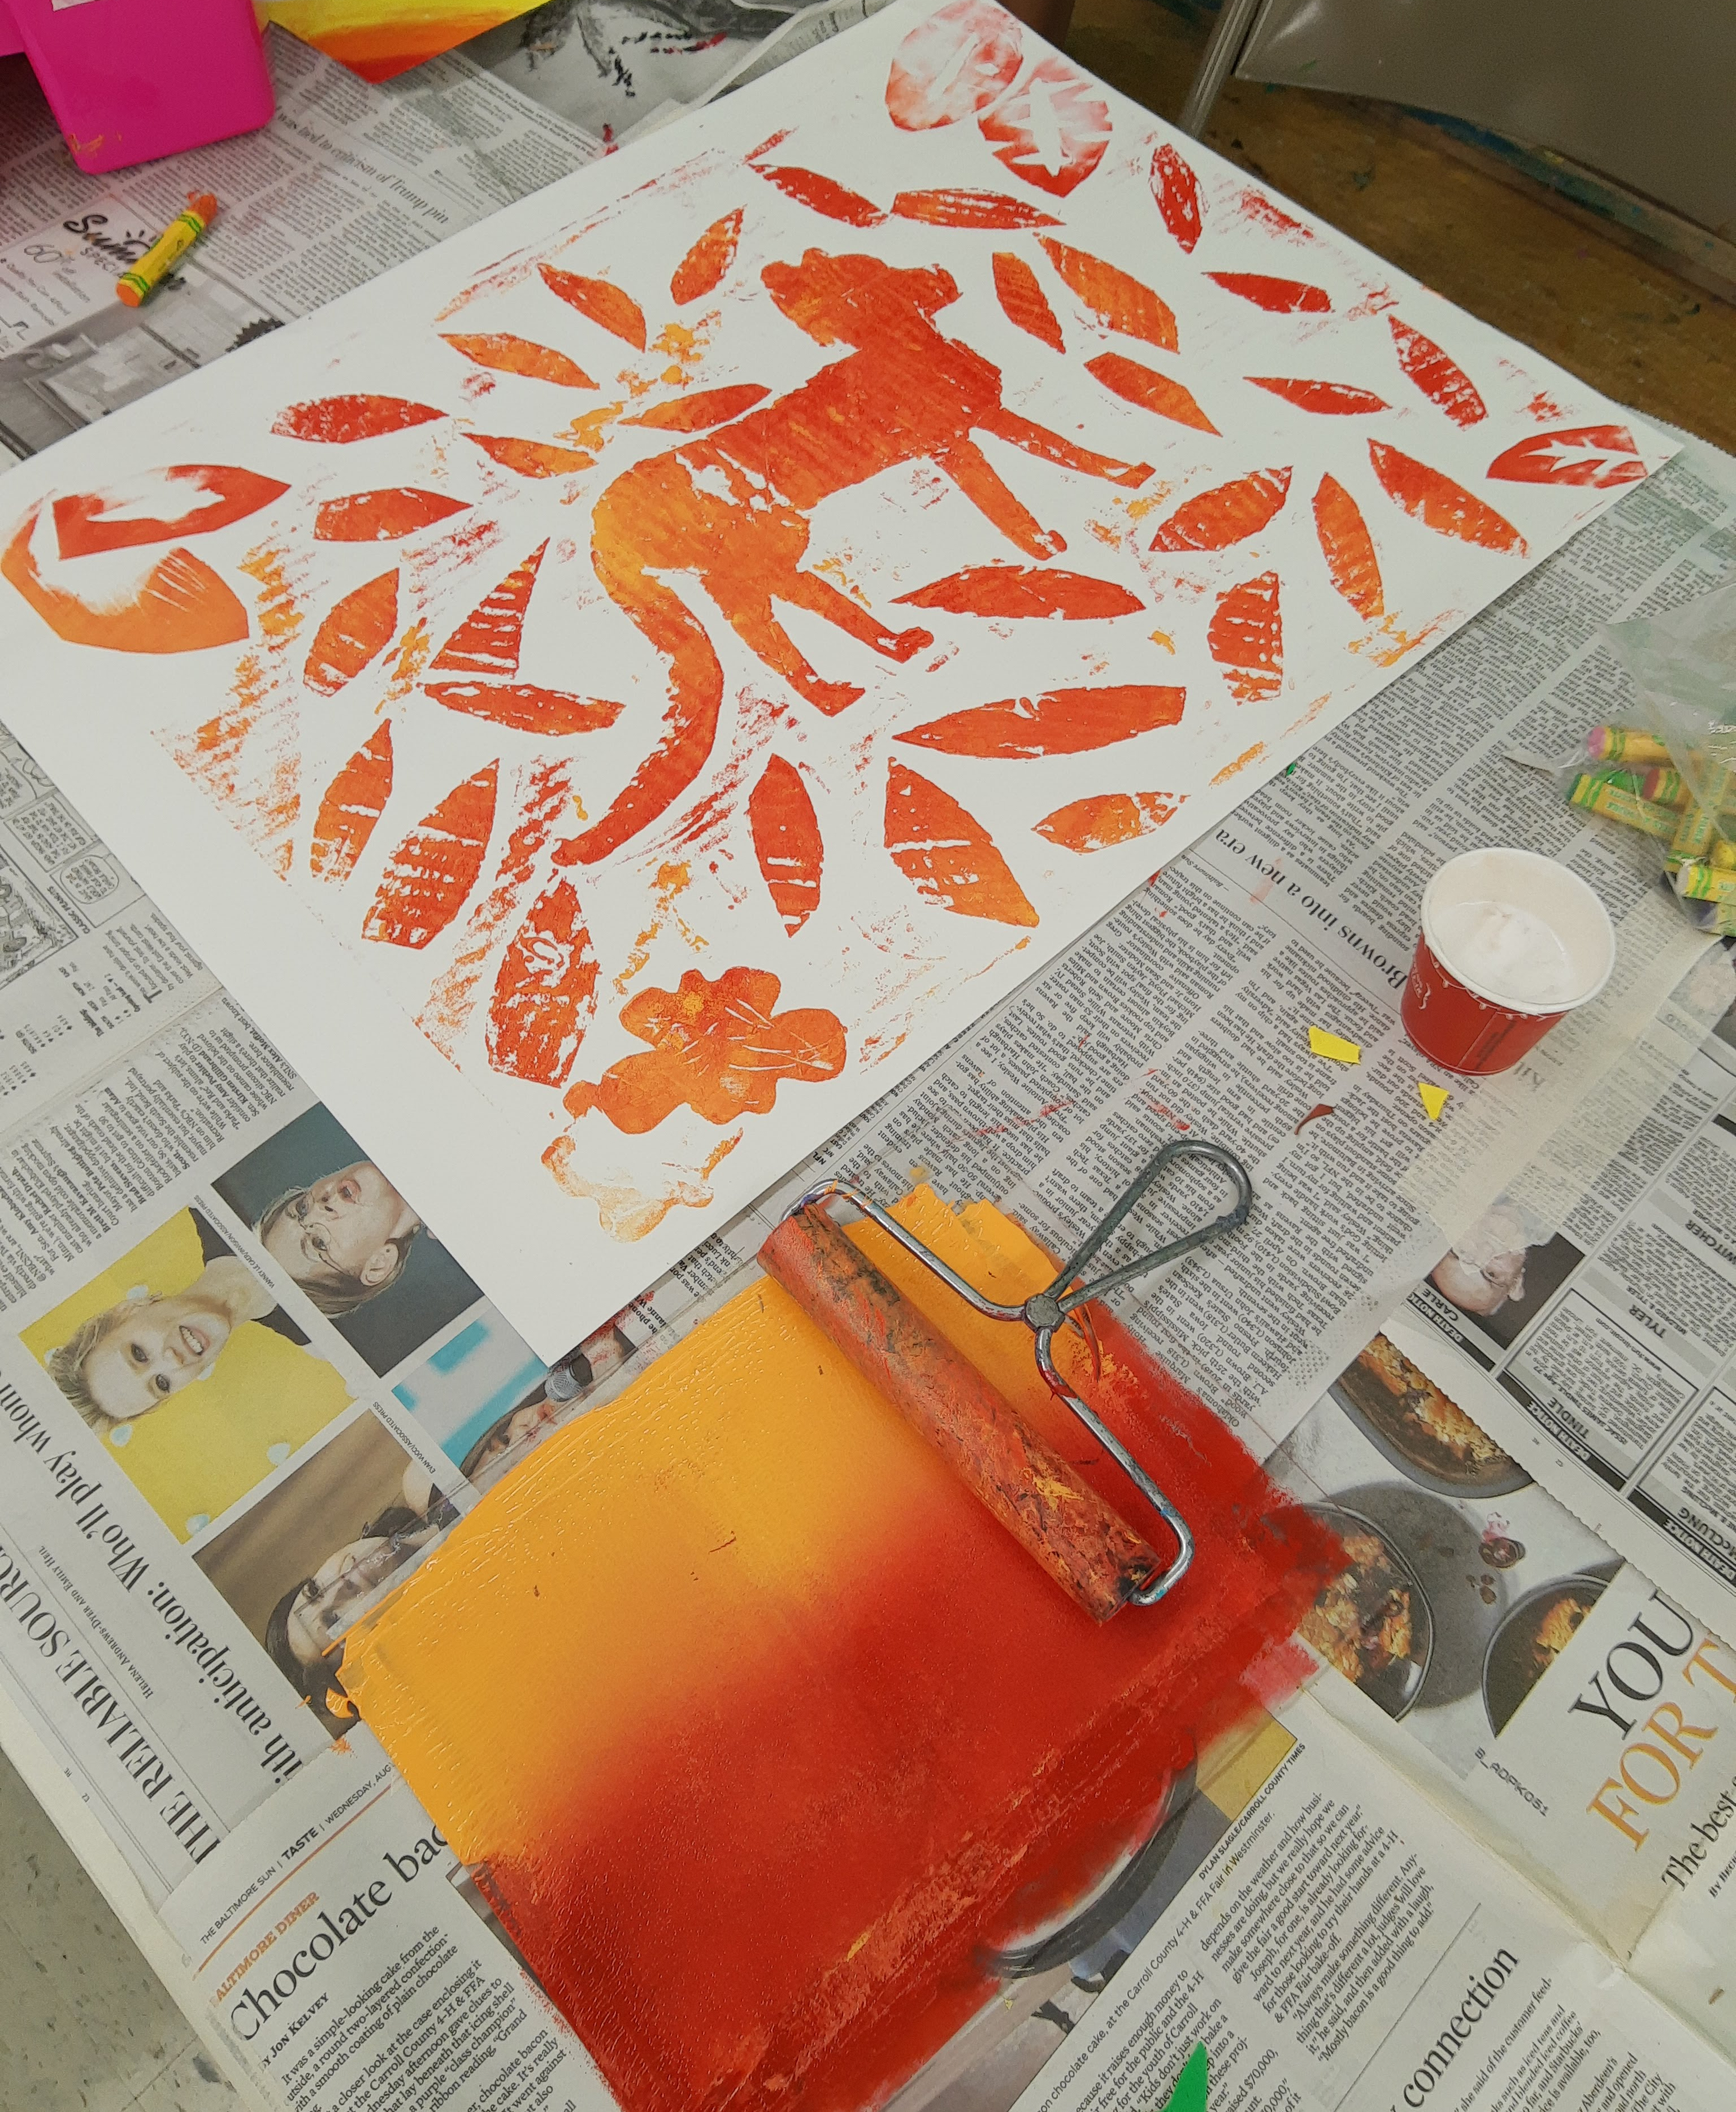
Once the plates were ready, we started printing! I showed the campers how to roll a gradient ink using two colors which they really enjoyed. A lot of them experimented with combining even more colors (some even did 10+ colors at once!). Then comes the fun part – the campers placed their plates face up on the floor with their papers on top and jumped on top to create a strong print. Once they printed, I showed them how to sign the print with the edition, title, and their name.
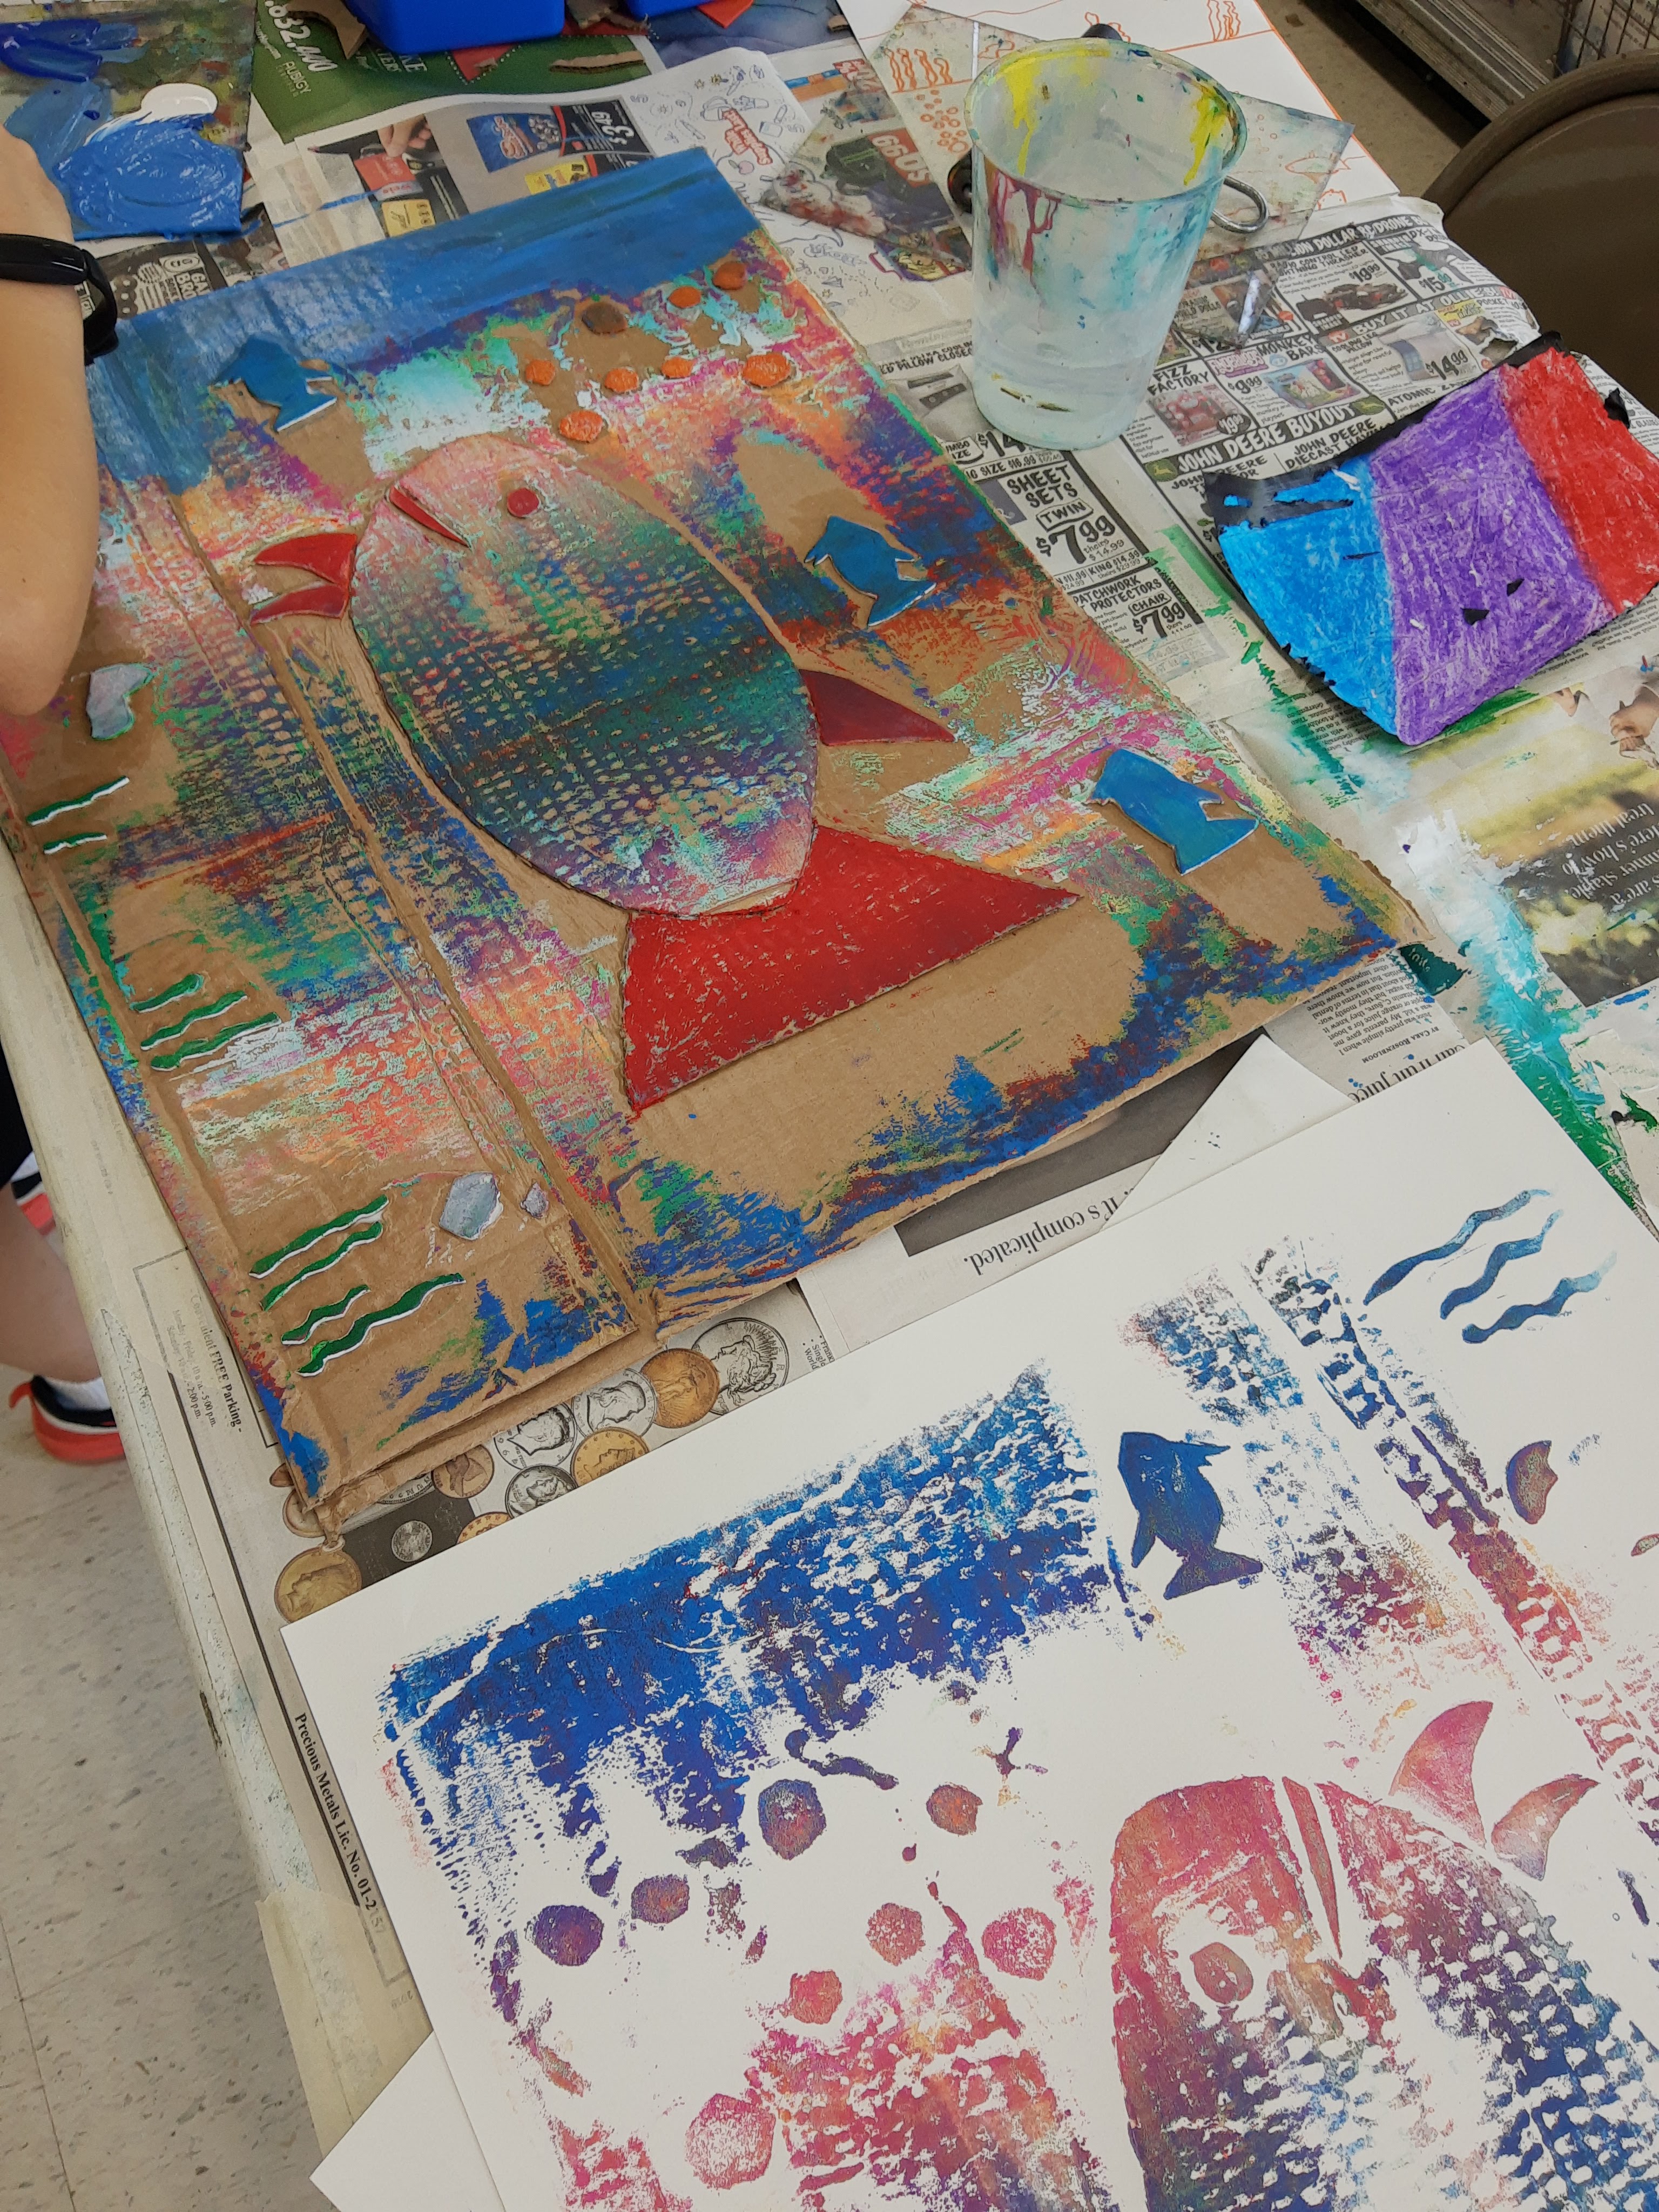
Some prints made by campers:

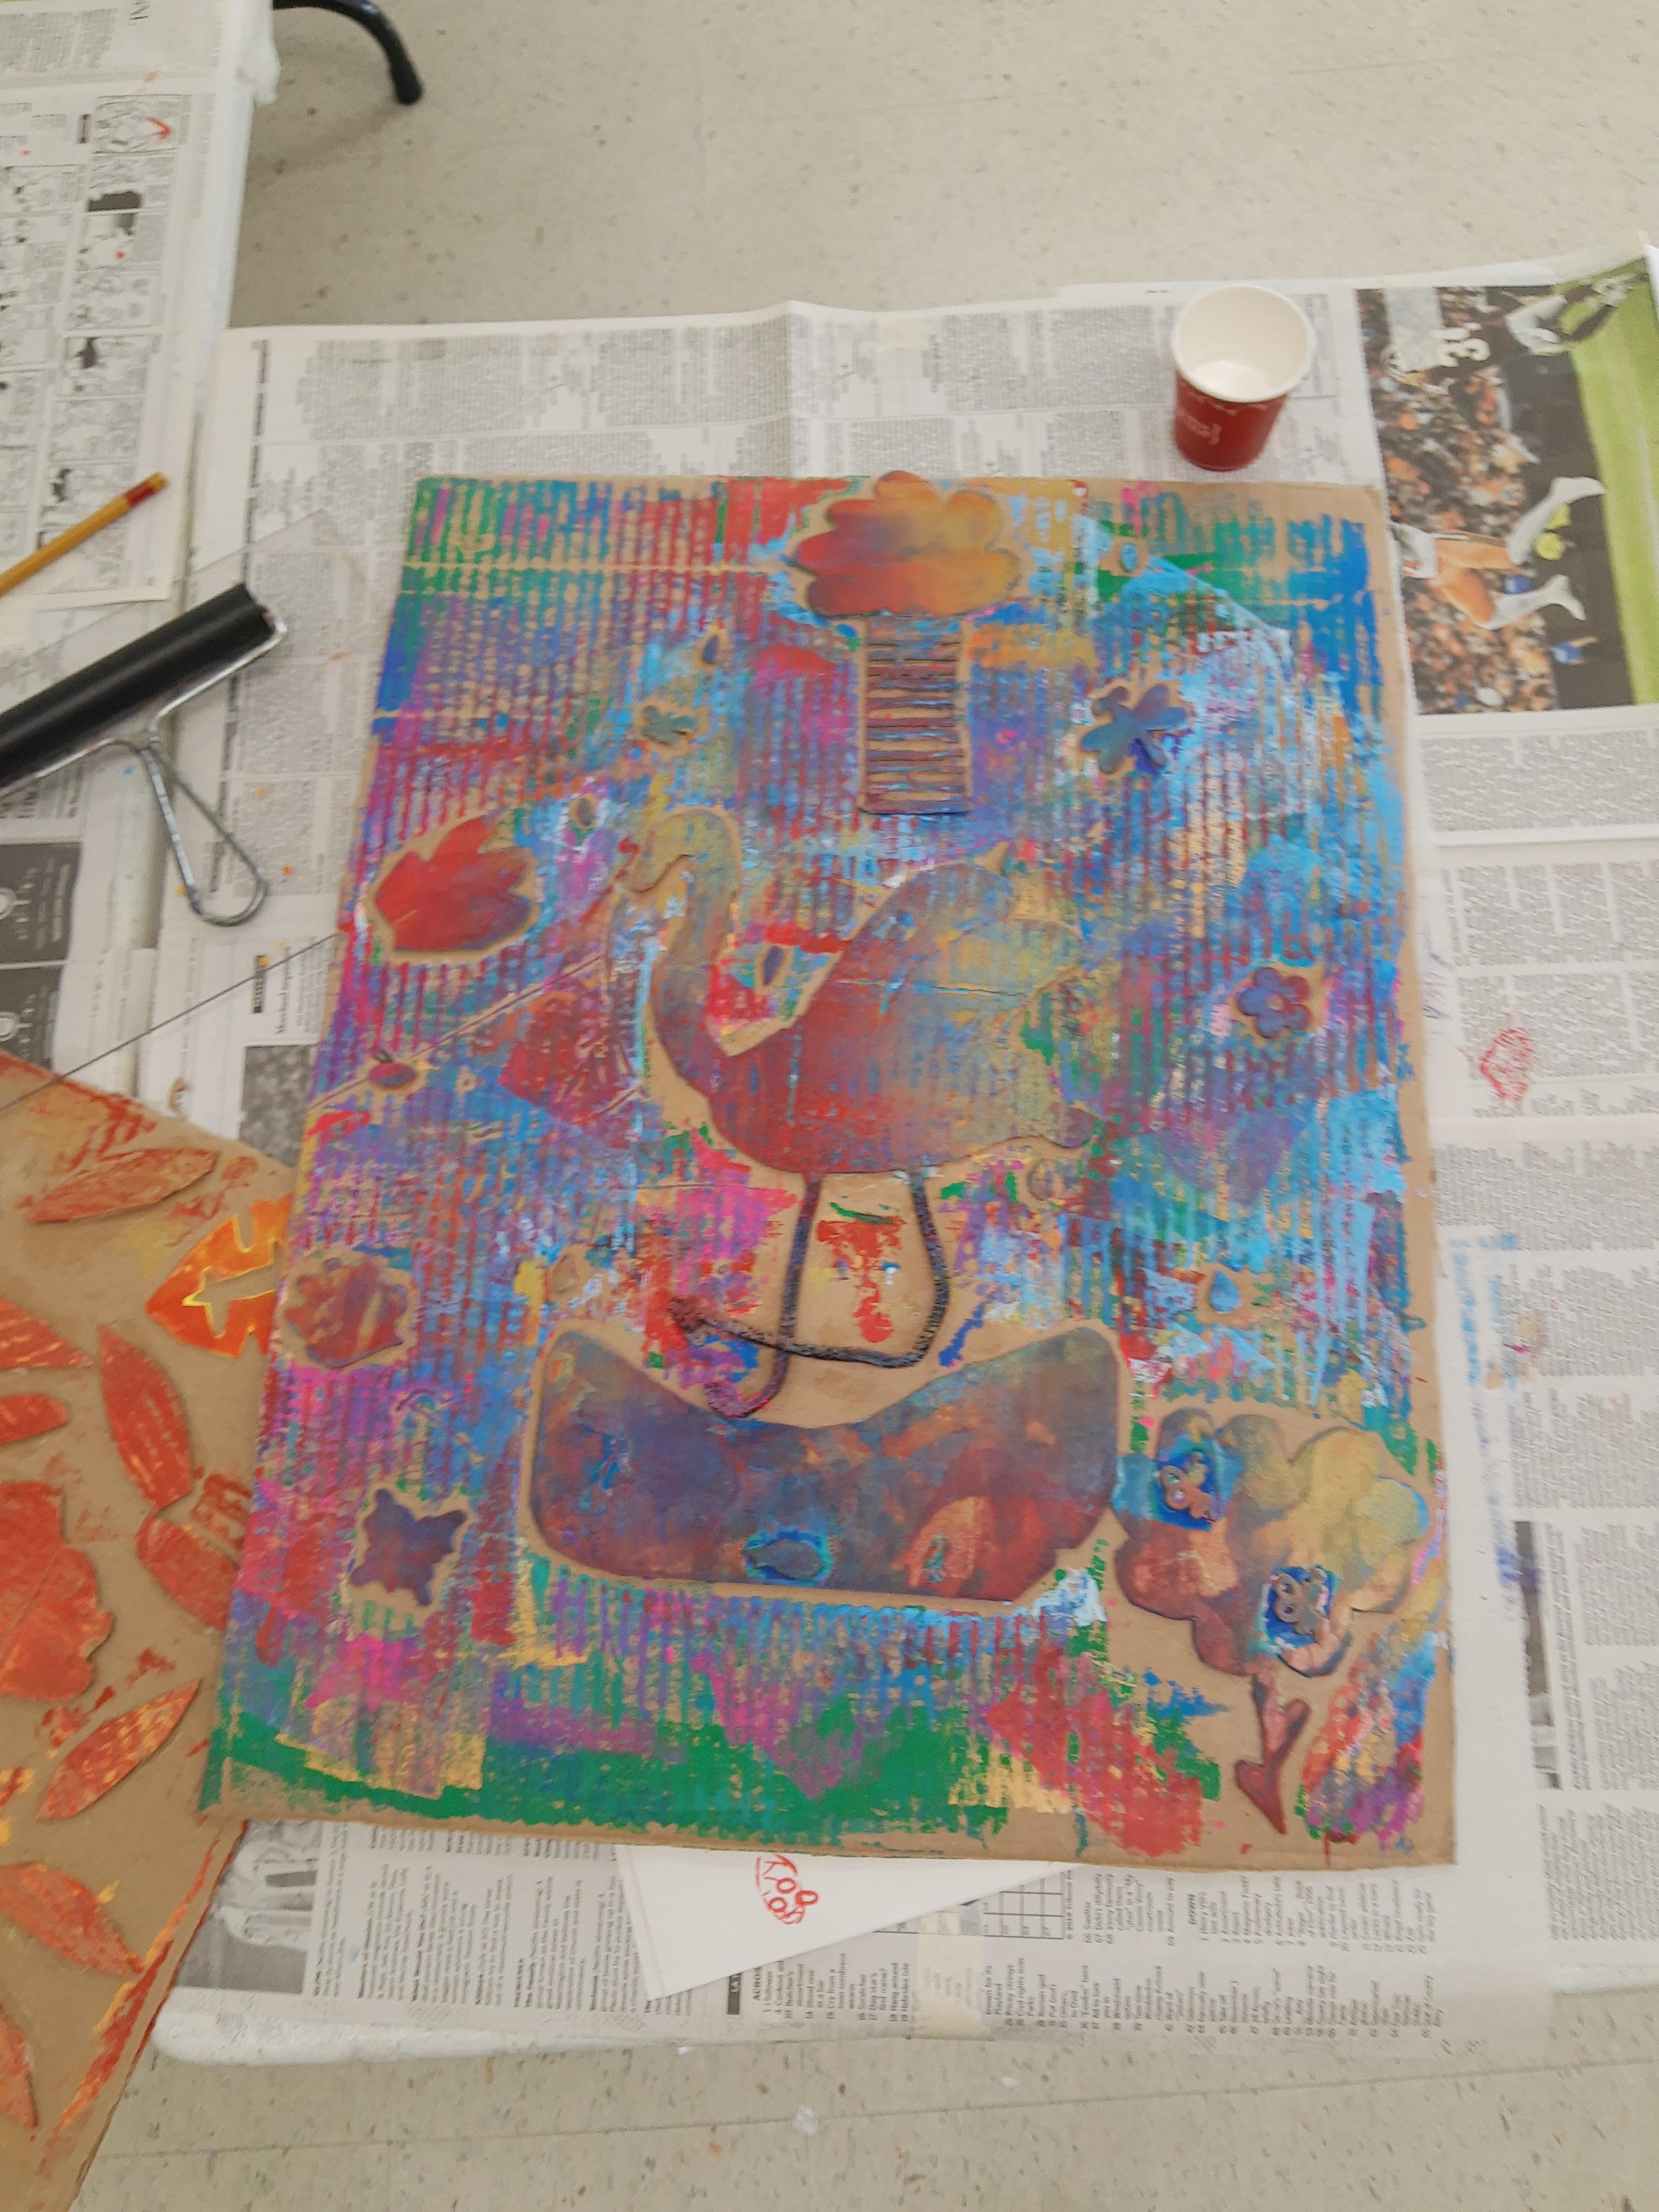


Once we were done printing, I set out tempera paint for campers to create a more finished, detailed collagraph plate. Only a few campers decided to add paint because many of them really liked all the ink colors from printing and did not want to cover it up.

I had so much fun teaching this printmaking camp and I am excited to bring some of the ideas/projects into my art classroom next school year!
These three lesson ideas are related to looking at cells and microbes up close and under microscopes.
Students will observe images of cells and create a three-dimensional model of the image of their choice. Students will construct their model on a cardboard base, but the materials for the actual cell are left open to interpretation.
Vocabulary: low-relief sculpture, cells/microbes, photomicrograph

Research – First, have students look up images of cells/ microbes using these websites:
Students should pick out 4-6 images and make thumbnail sketches of each image and jot down ideas about possible materials that could be used for each part of the cell/microbe. A sample sketch is below, but allow students to sketch out their ideas in the way that works best for them.

Once students have completed their thumbnail sketches, they should pick one sketch that they want to do the most, and then they can make one more sketch of their final idea, colors, and material choices.
Materials:
Next, students can begin to assemble their cell models. First, they need to create a circular base out of cardboard for their relief sculpture. Students can paint the base if they would like to (helpful hint – spray water on the back of the cardboard after painting to reduce warping). Next, students can choose whatever materials they want to construct the cell/microbe. Let students experiment with the materials and figure out what works best to create their cell model. Have a table with all the materials laid out so that students can visualize the possibilities for all the materials. Allow ample time for students to construct their models and add paint/ finishing touches.
In this variation, students create an in the round sculpture of a cell. This project is similar to the previous project, yet it is not a relief sculpture. Depending on the materials you have on hand, pick one of the projects to best fit what you have. First, have students create a base/cell body using either clay, newspaper/ paper mache, plaster, wires to create an armature, or aluminum foil. Next, students can paint the base, adding designs and surface texture with different materials (glitter, sequins, beads, etc.). To create raised areas of lines, hot glue, elmer’s glue, or fabric paint can be applied to the surface as well. Once the paint is dry, students can attach pipecleaners, toothpicks, pompoms, and other materials to form the areas that come off of the body of the cell.


