Middle school created hand designs inspired by Hamsa hands.
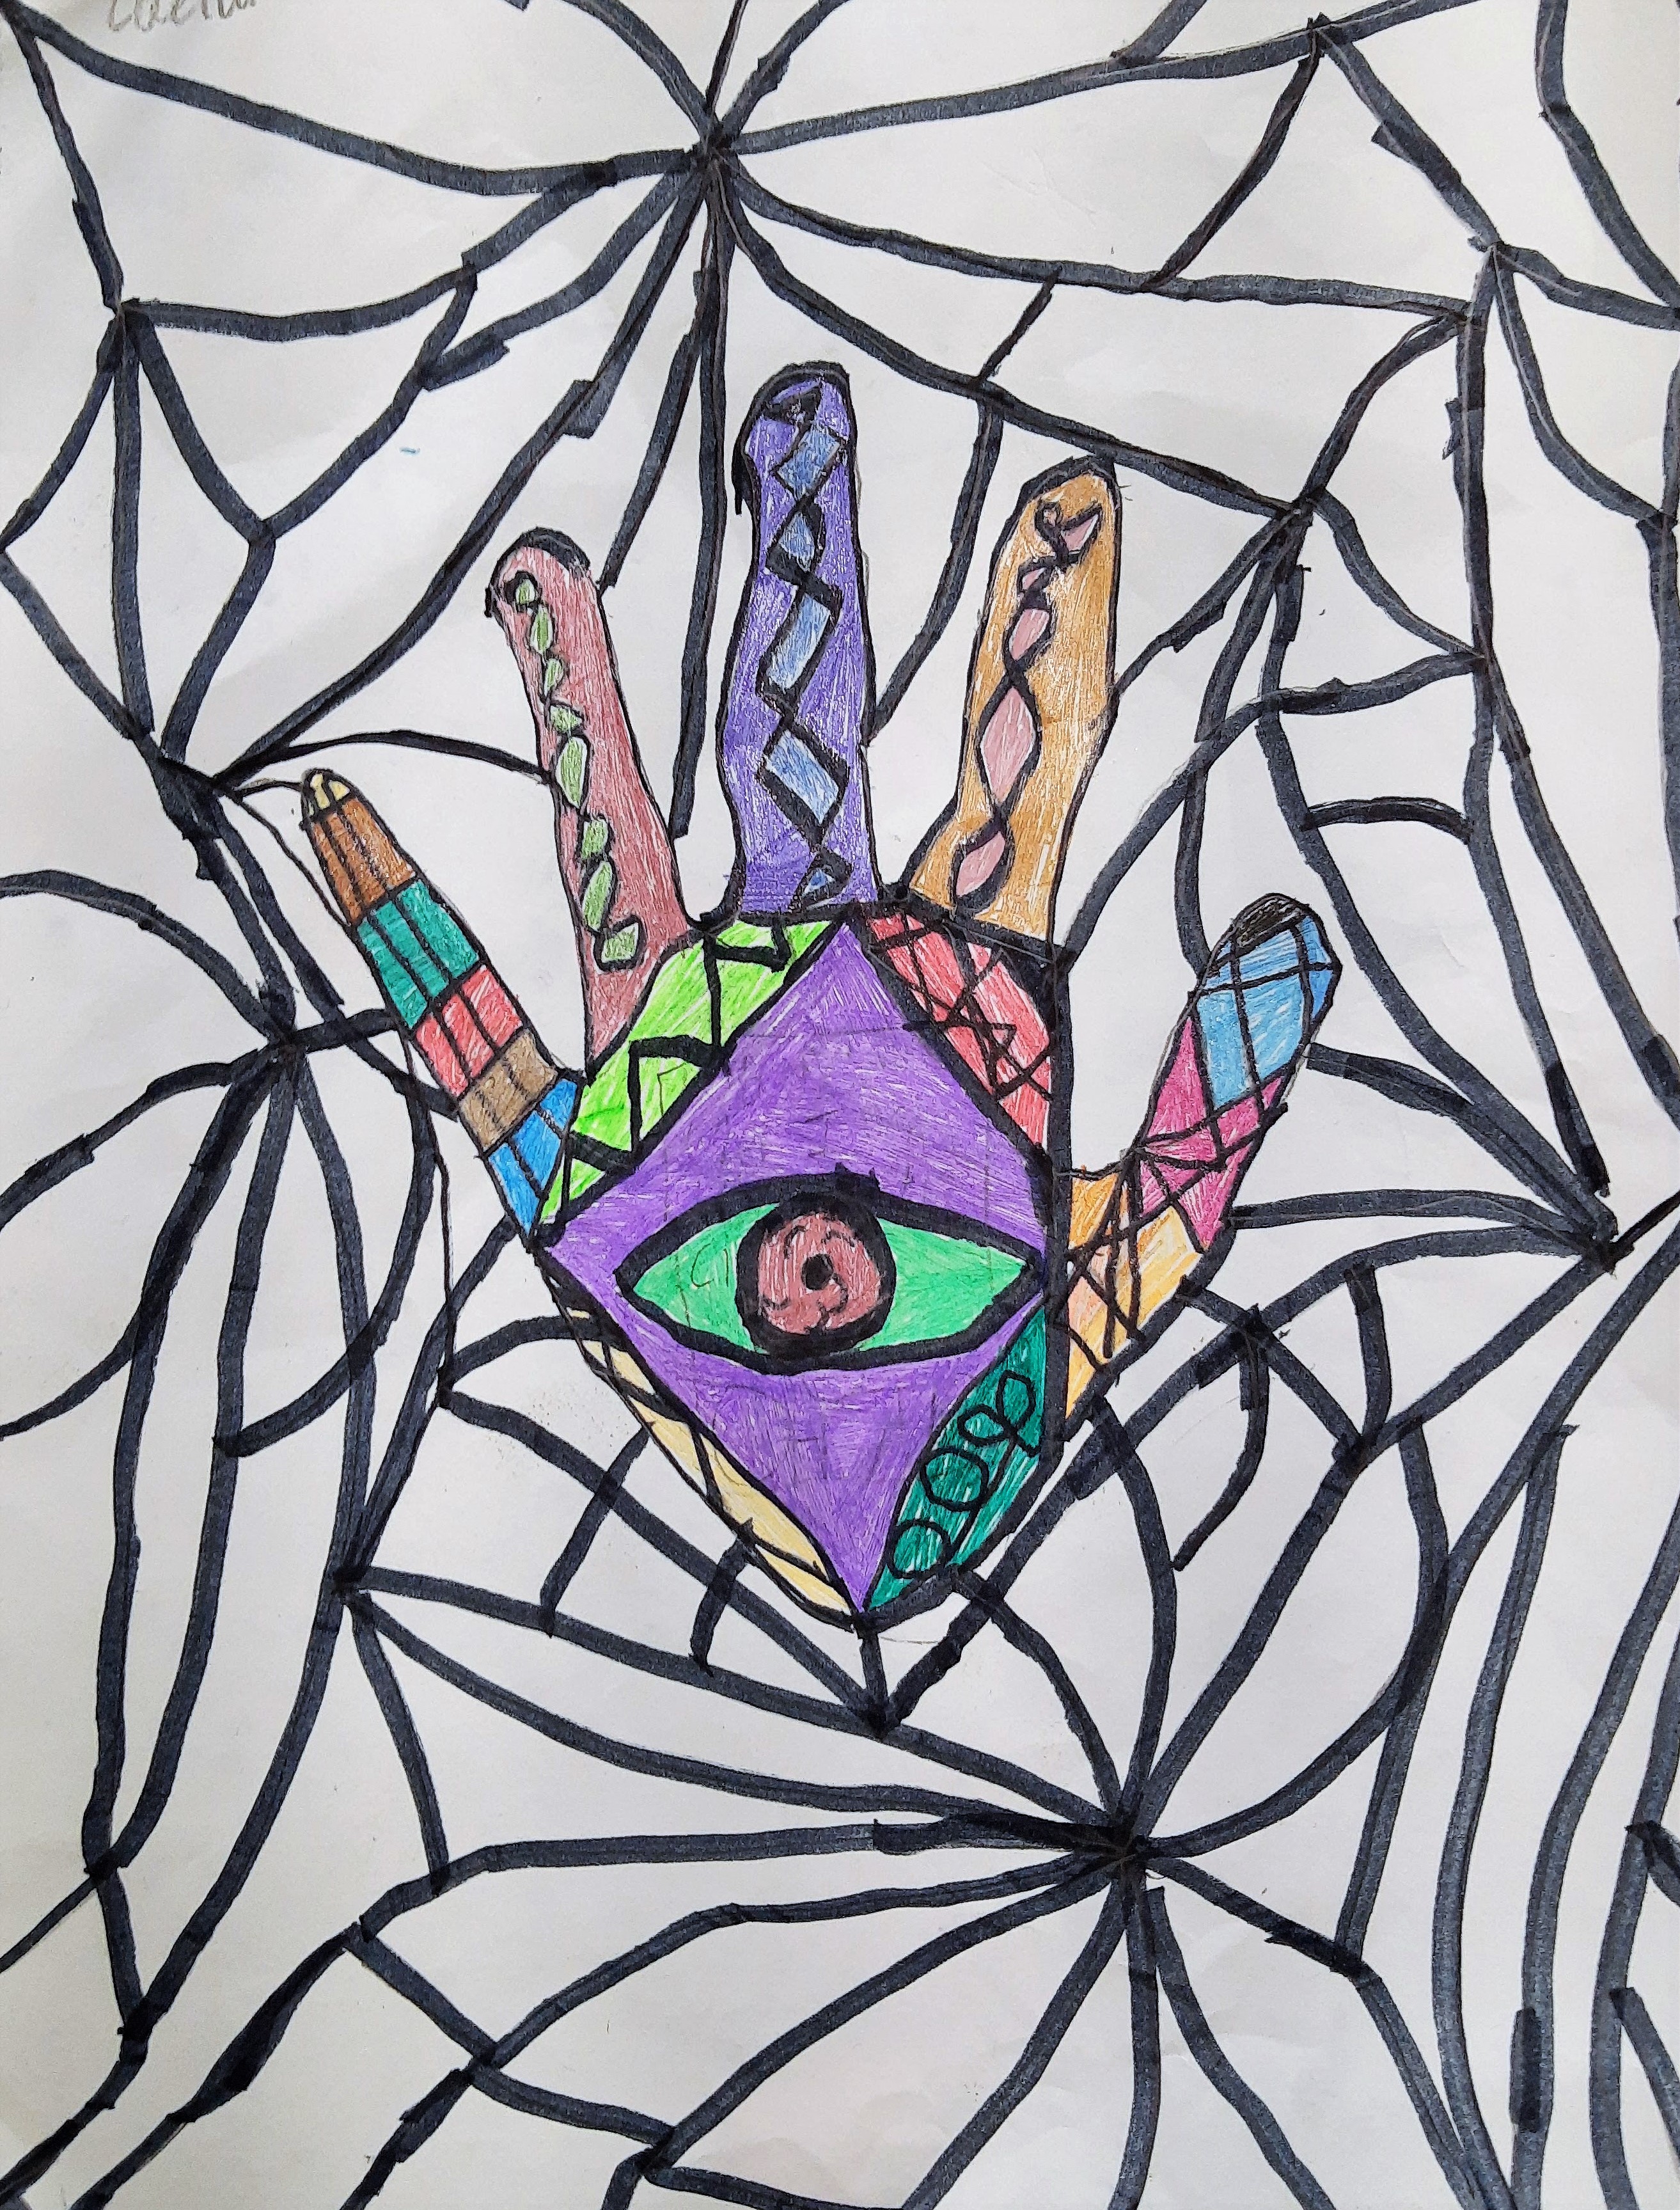
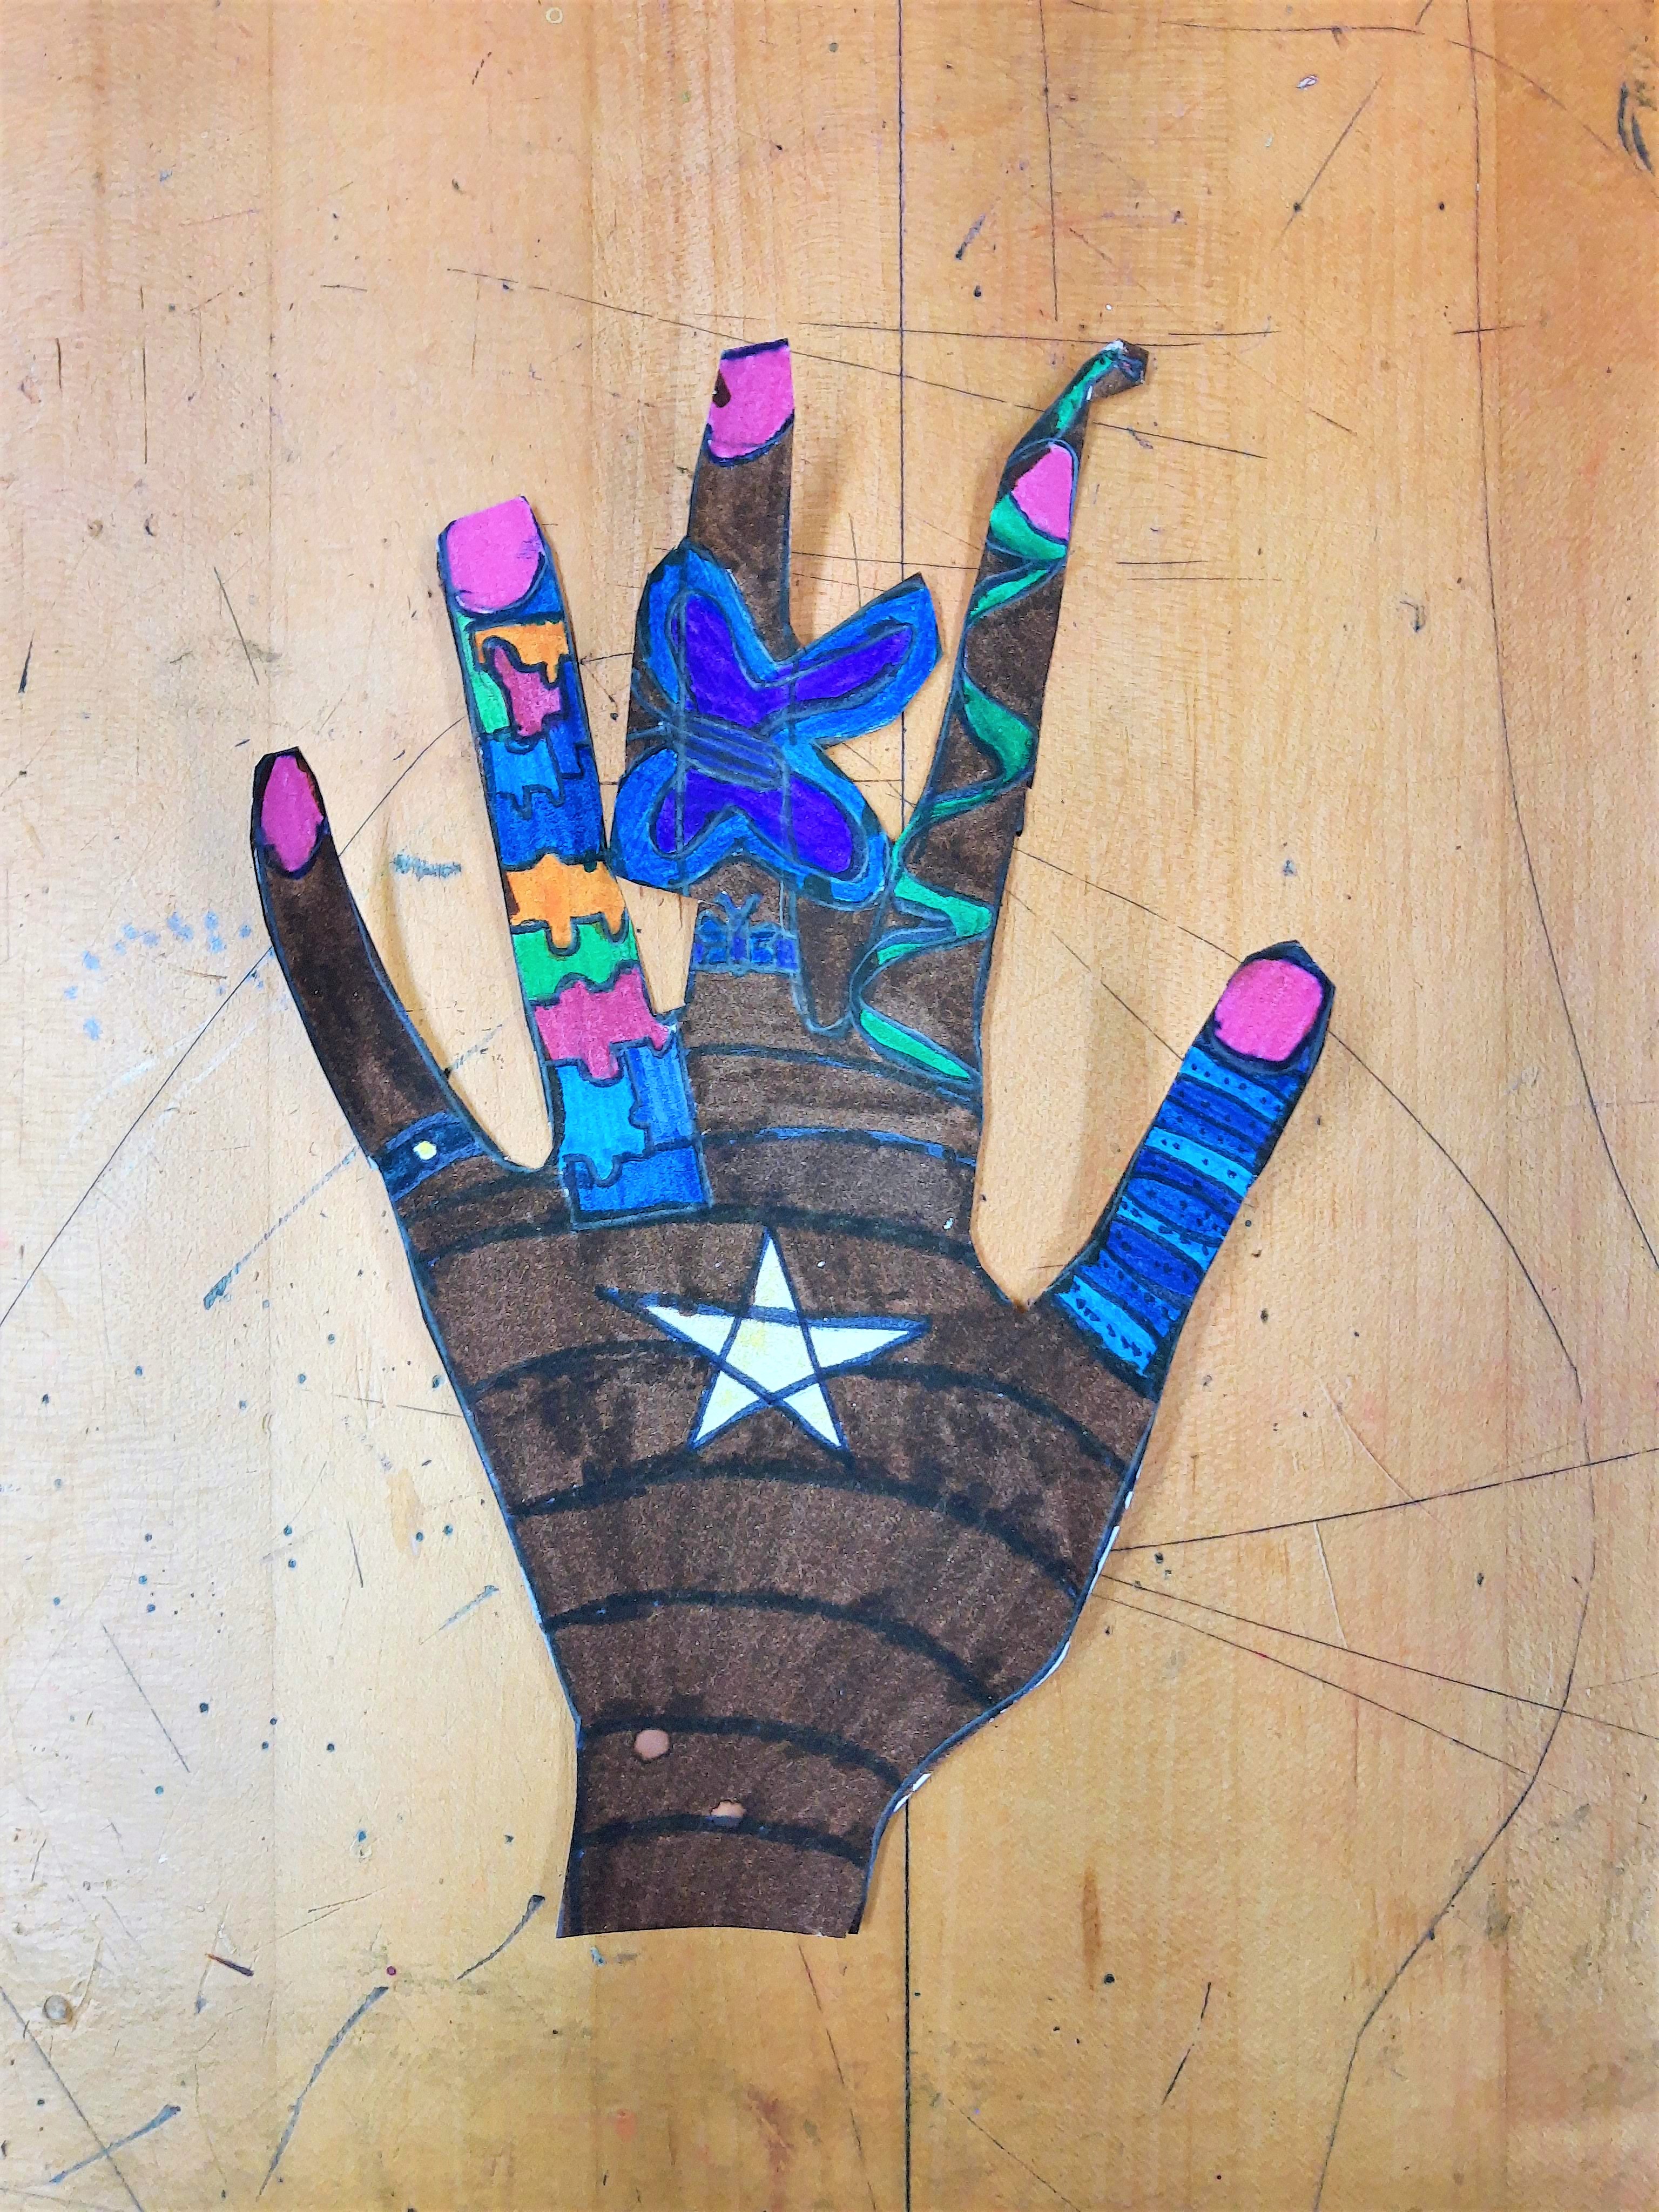
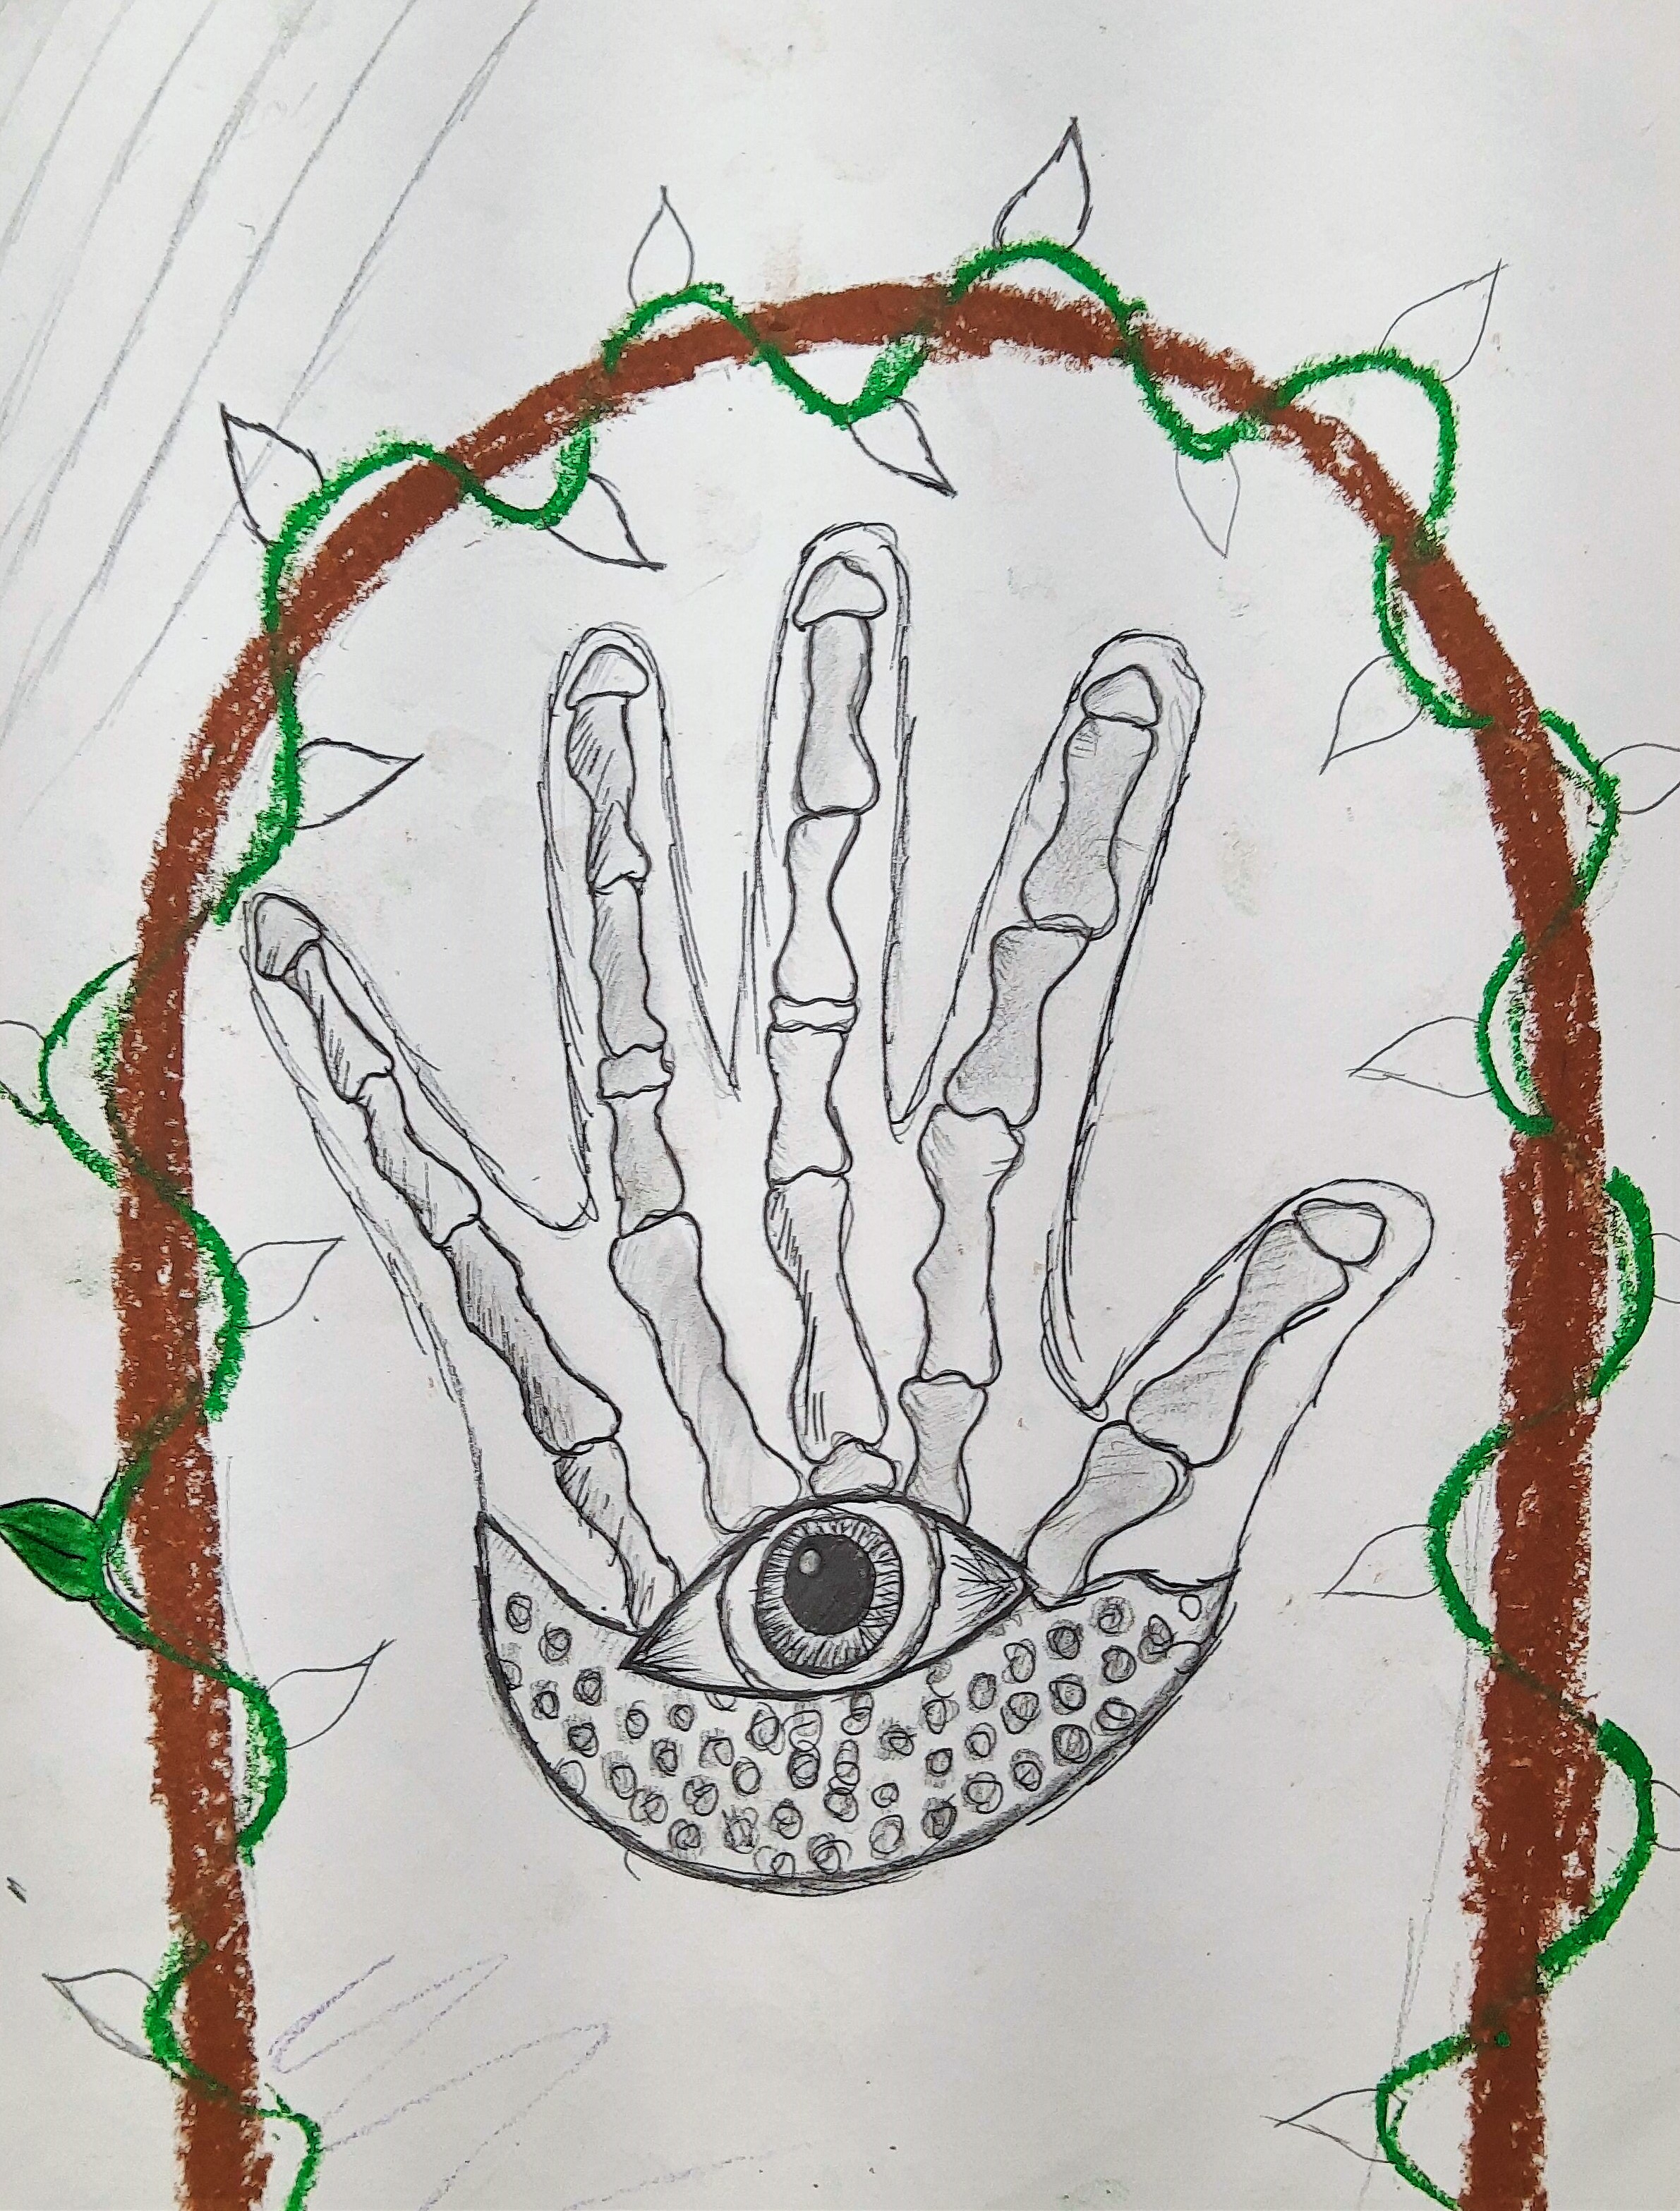
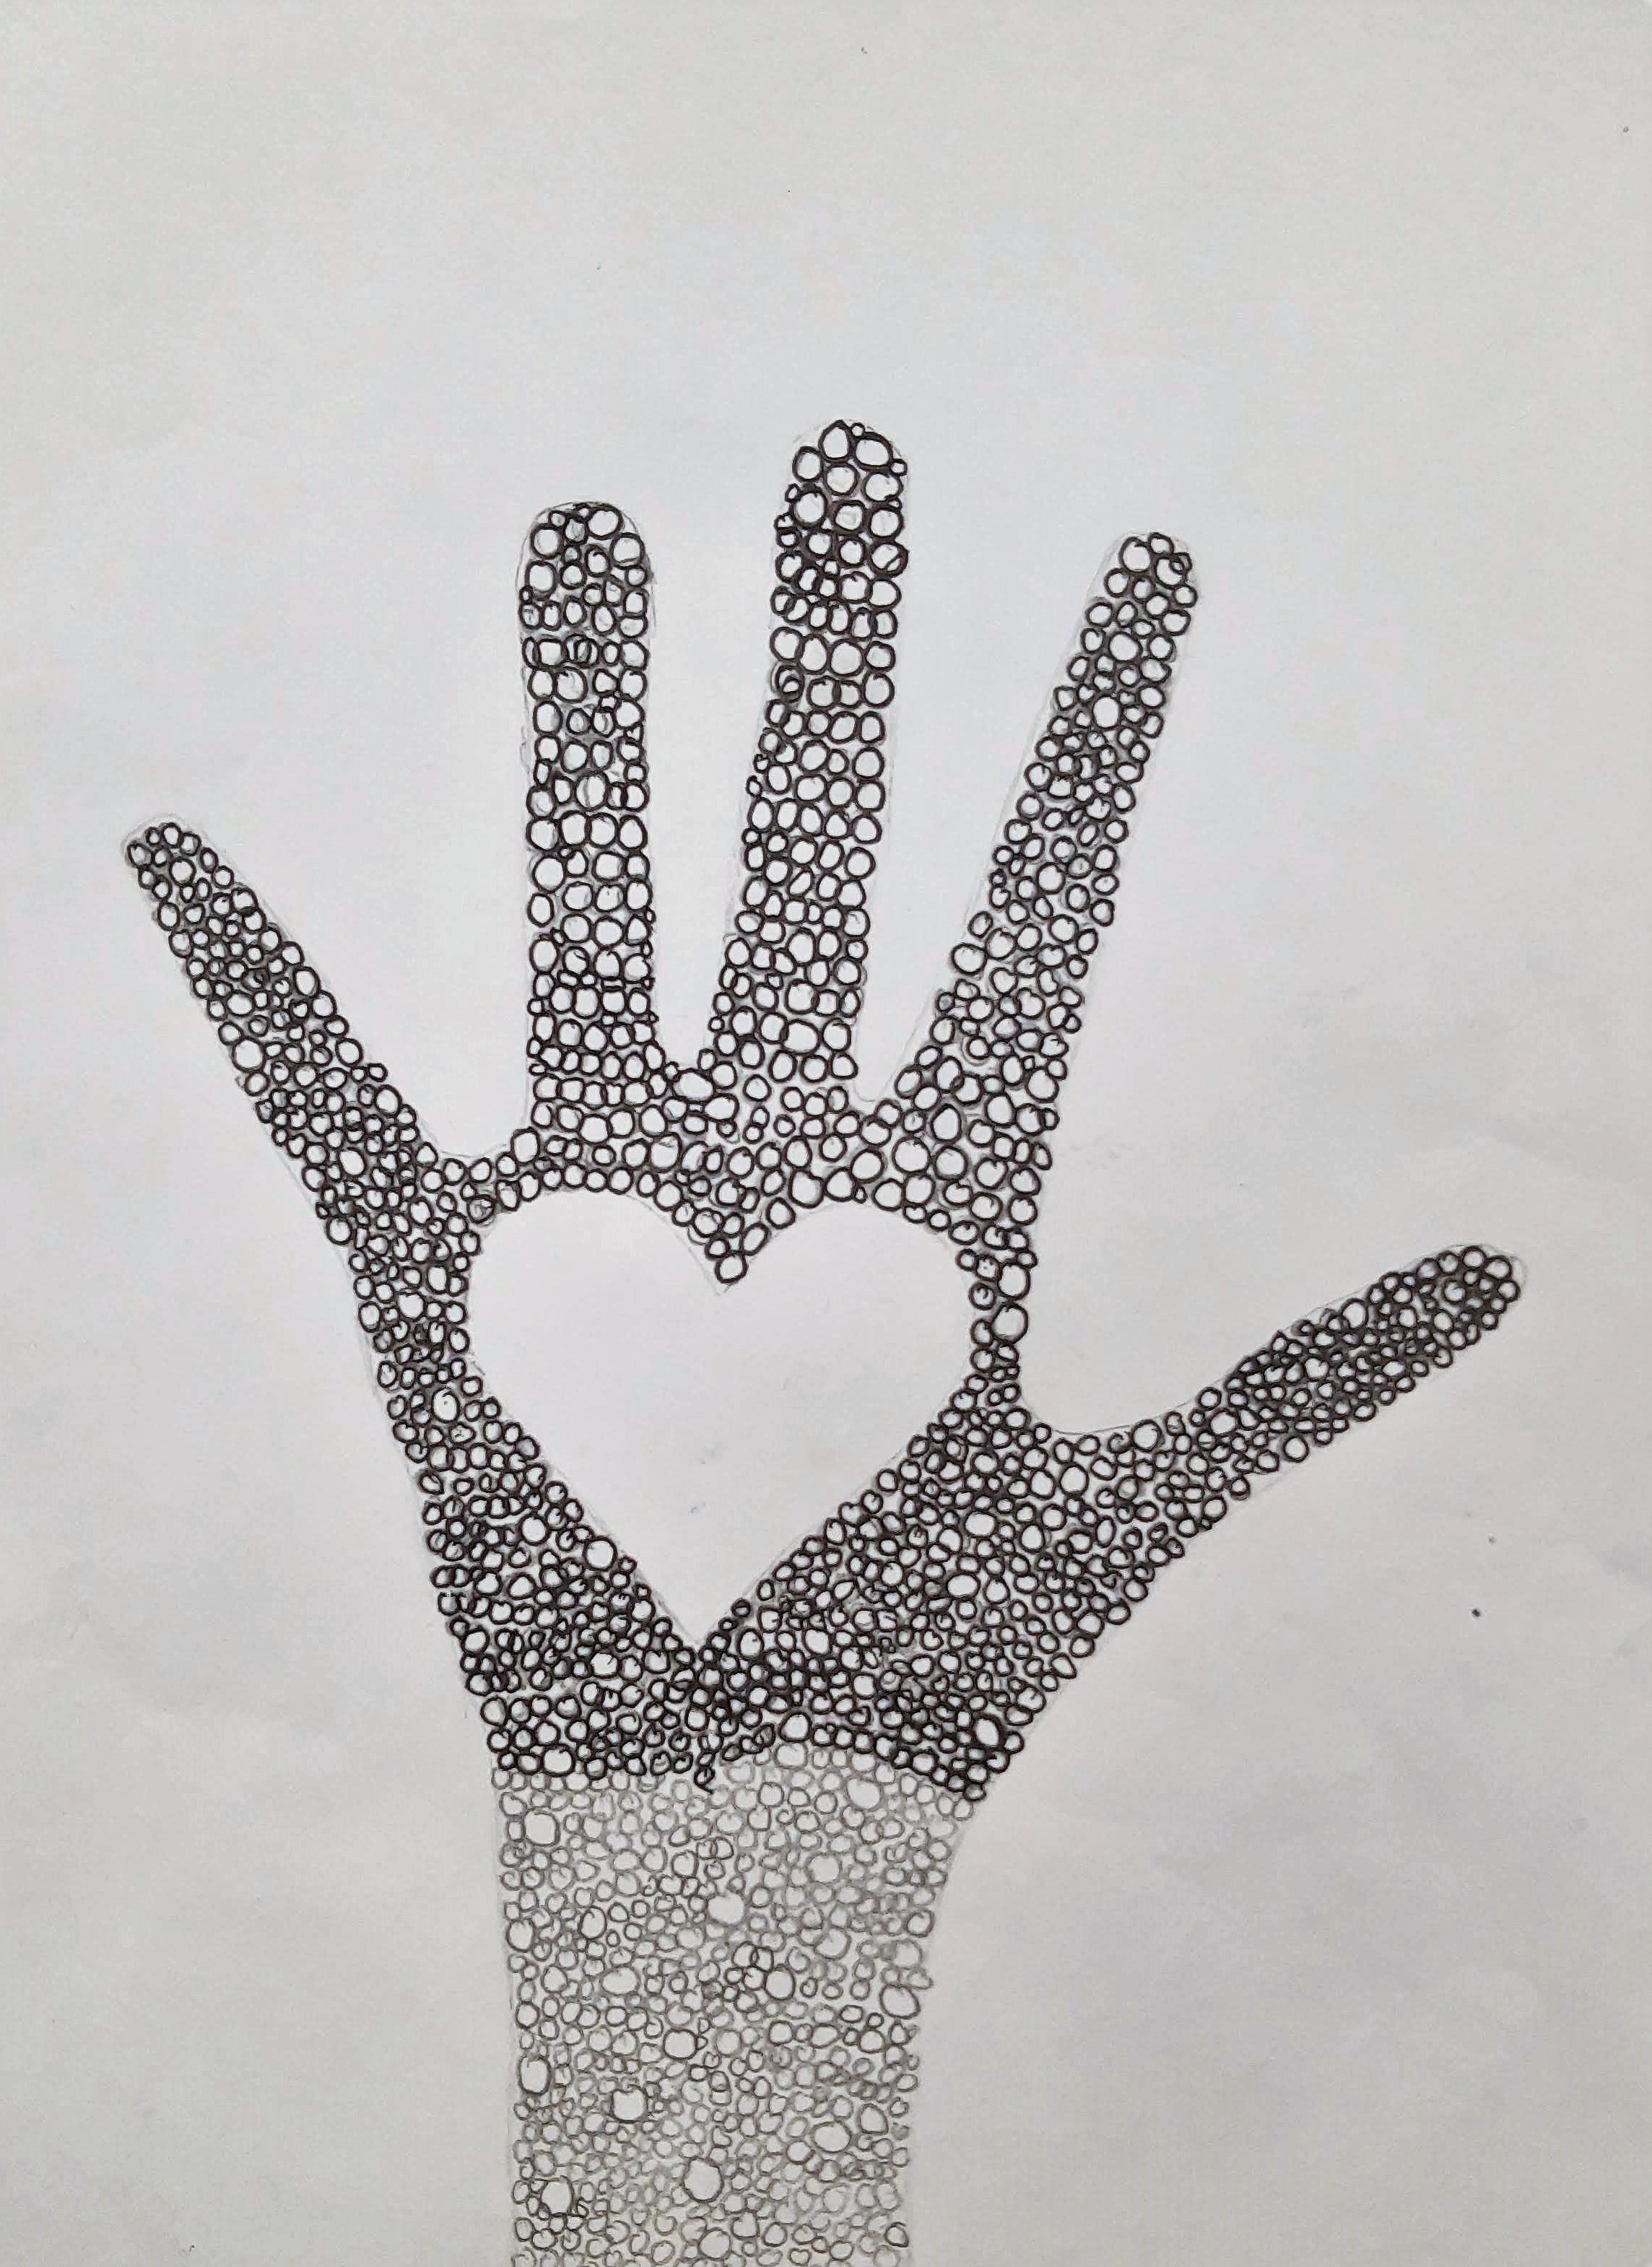
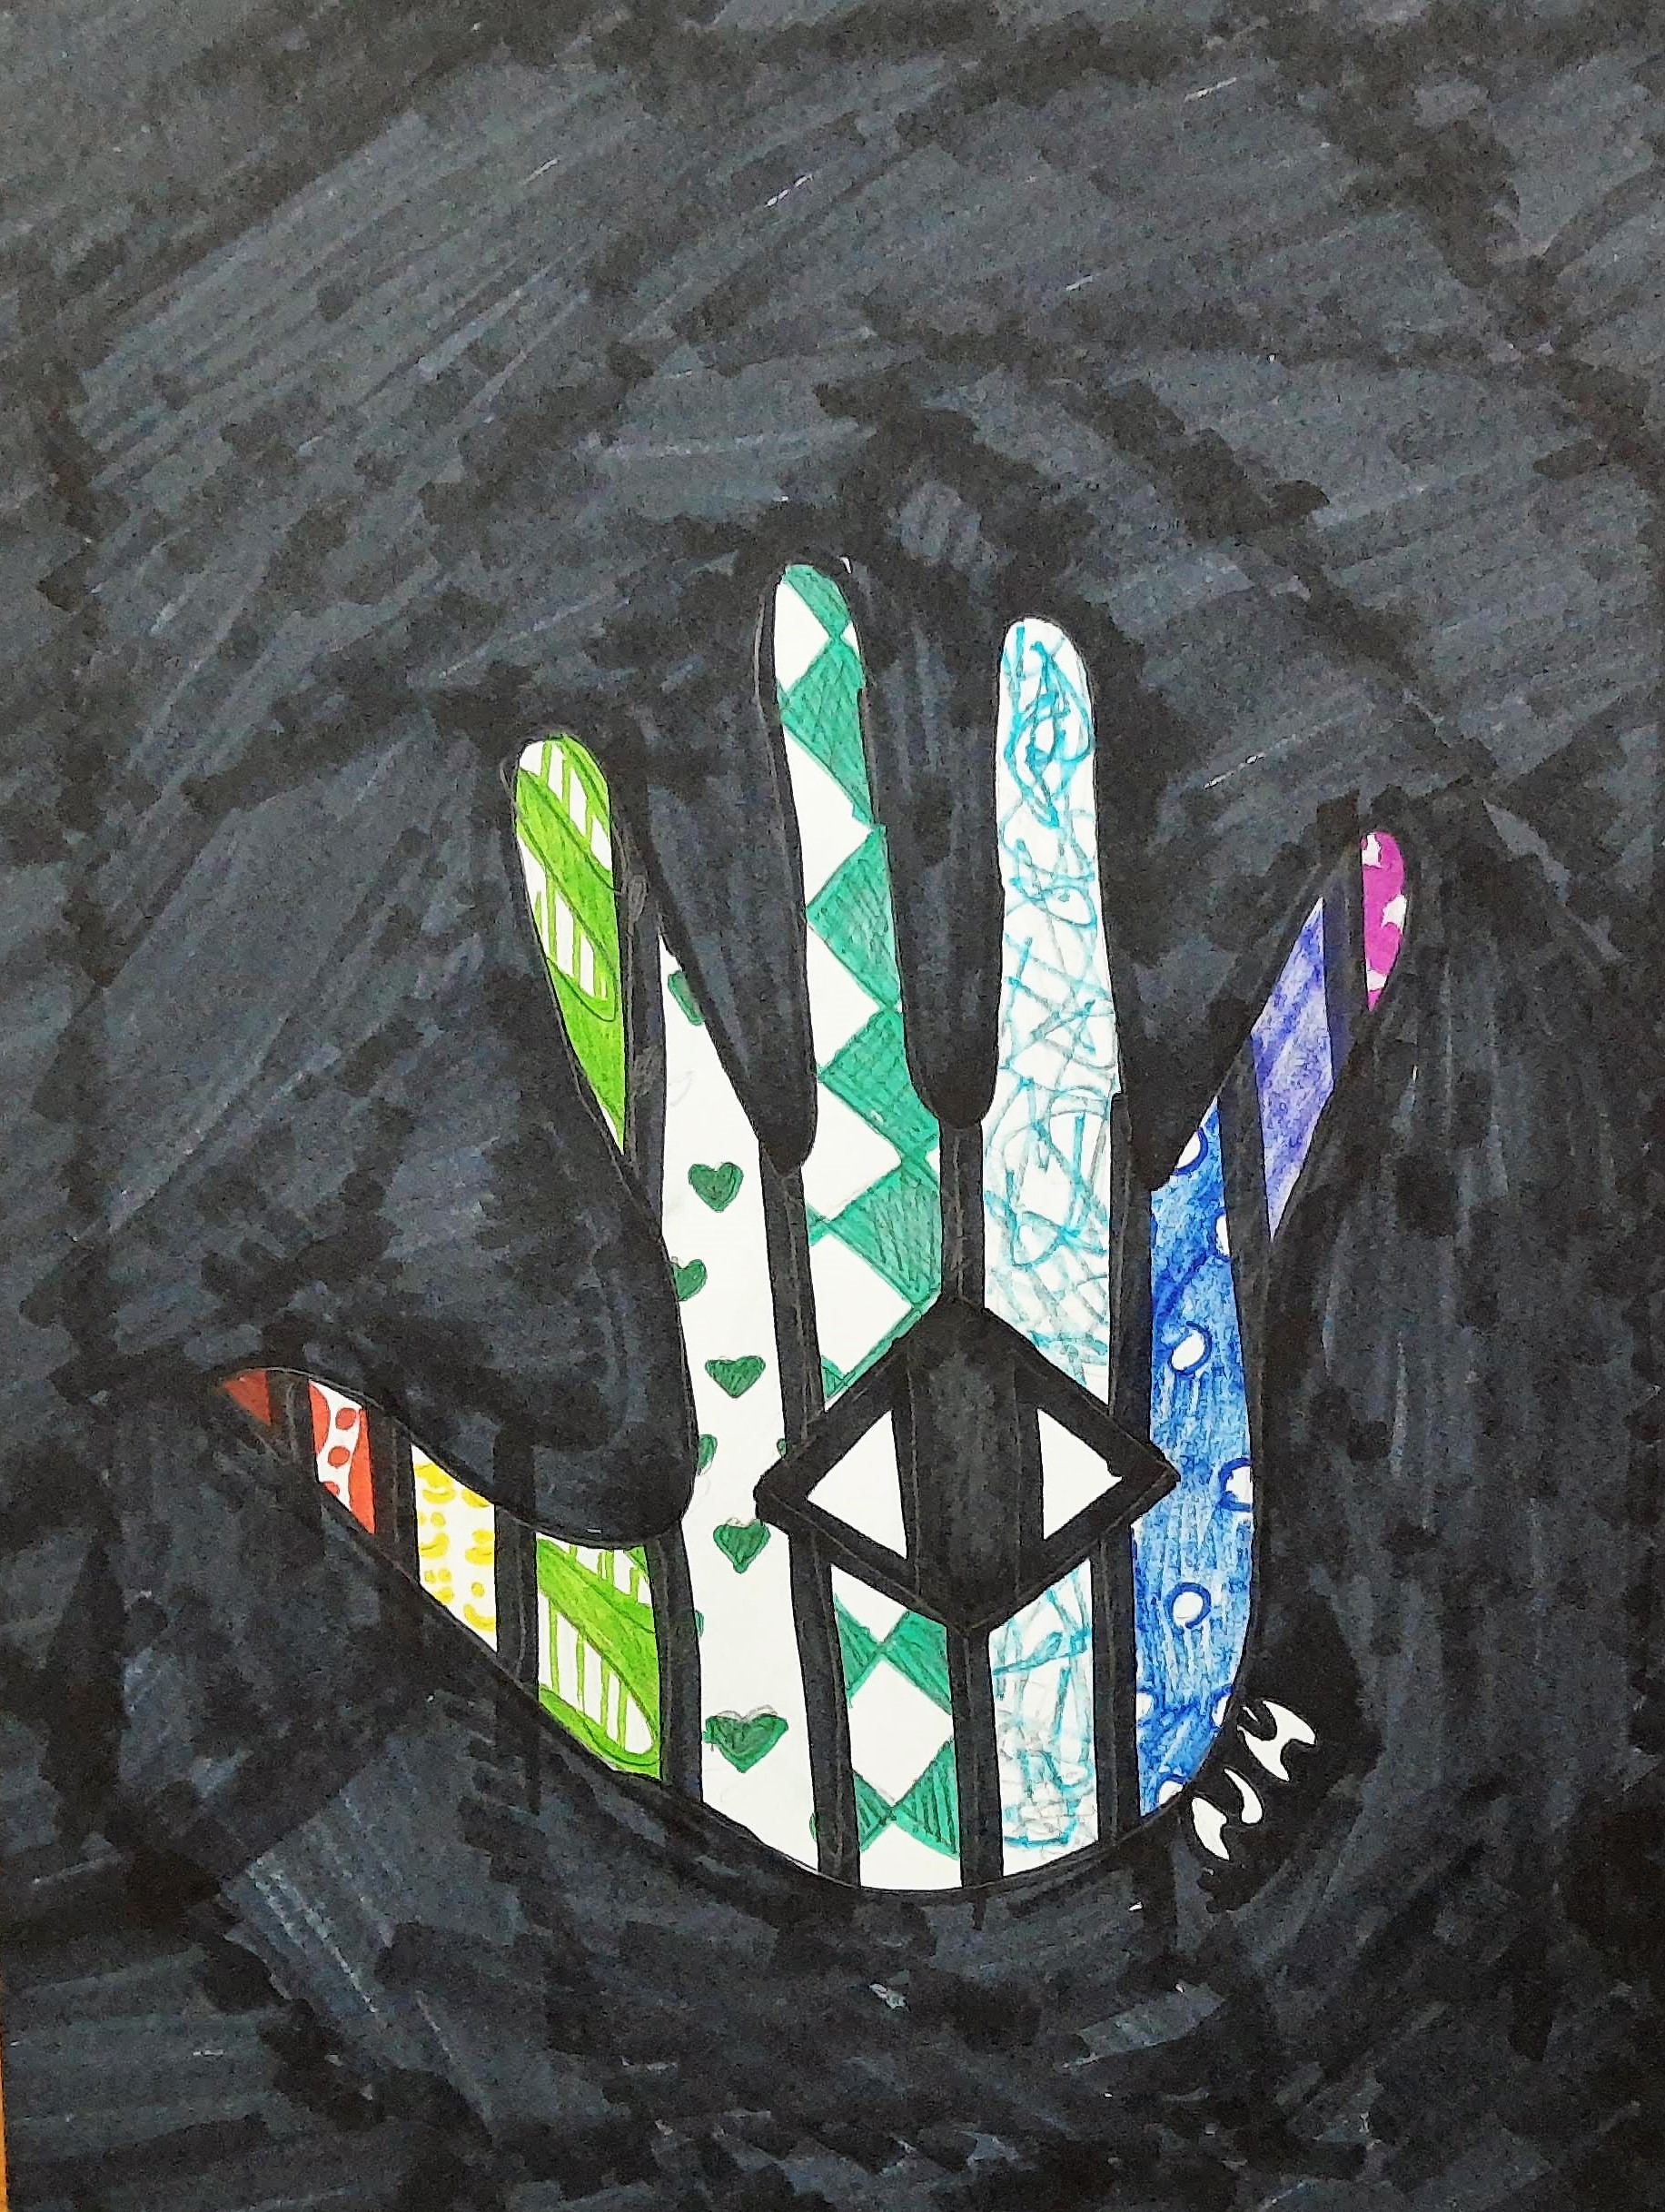


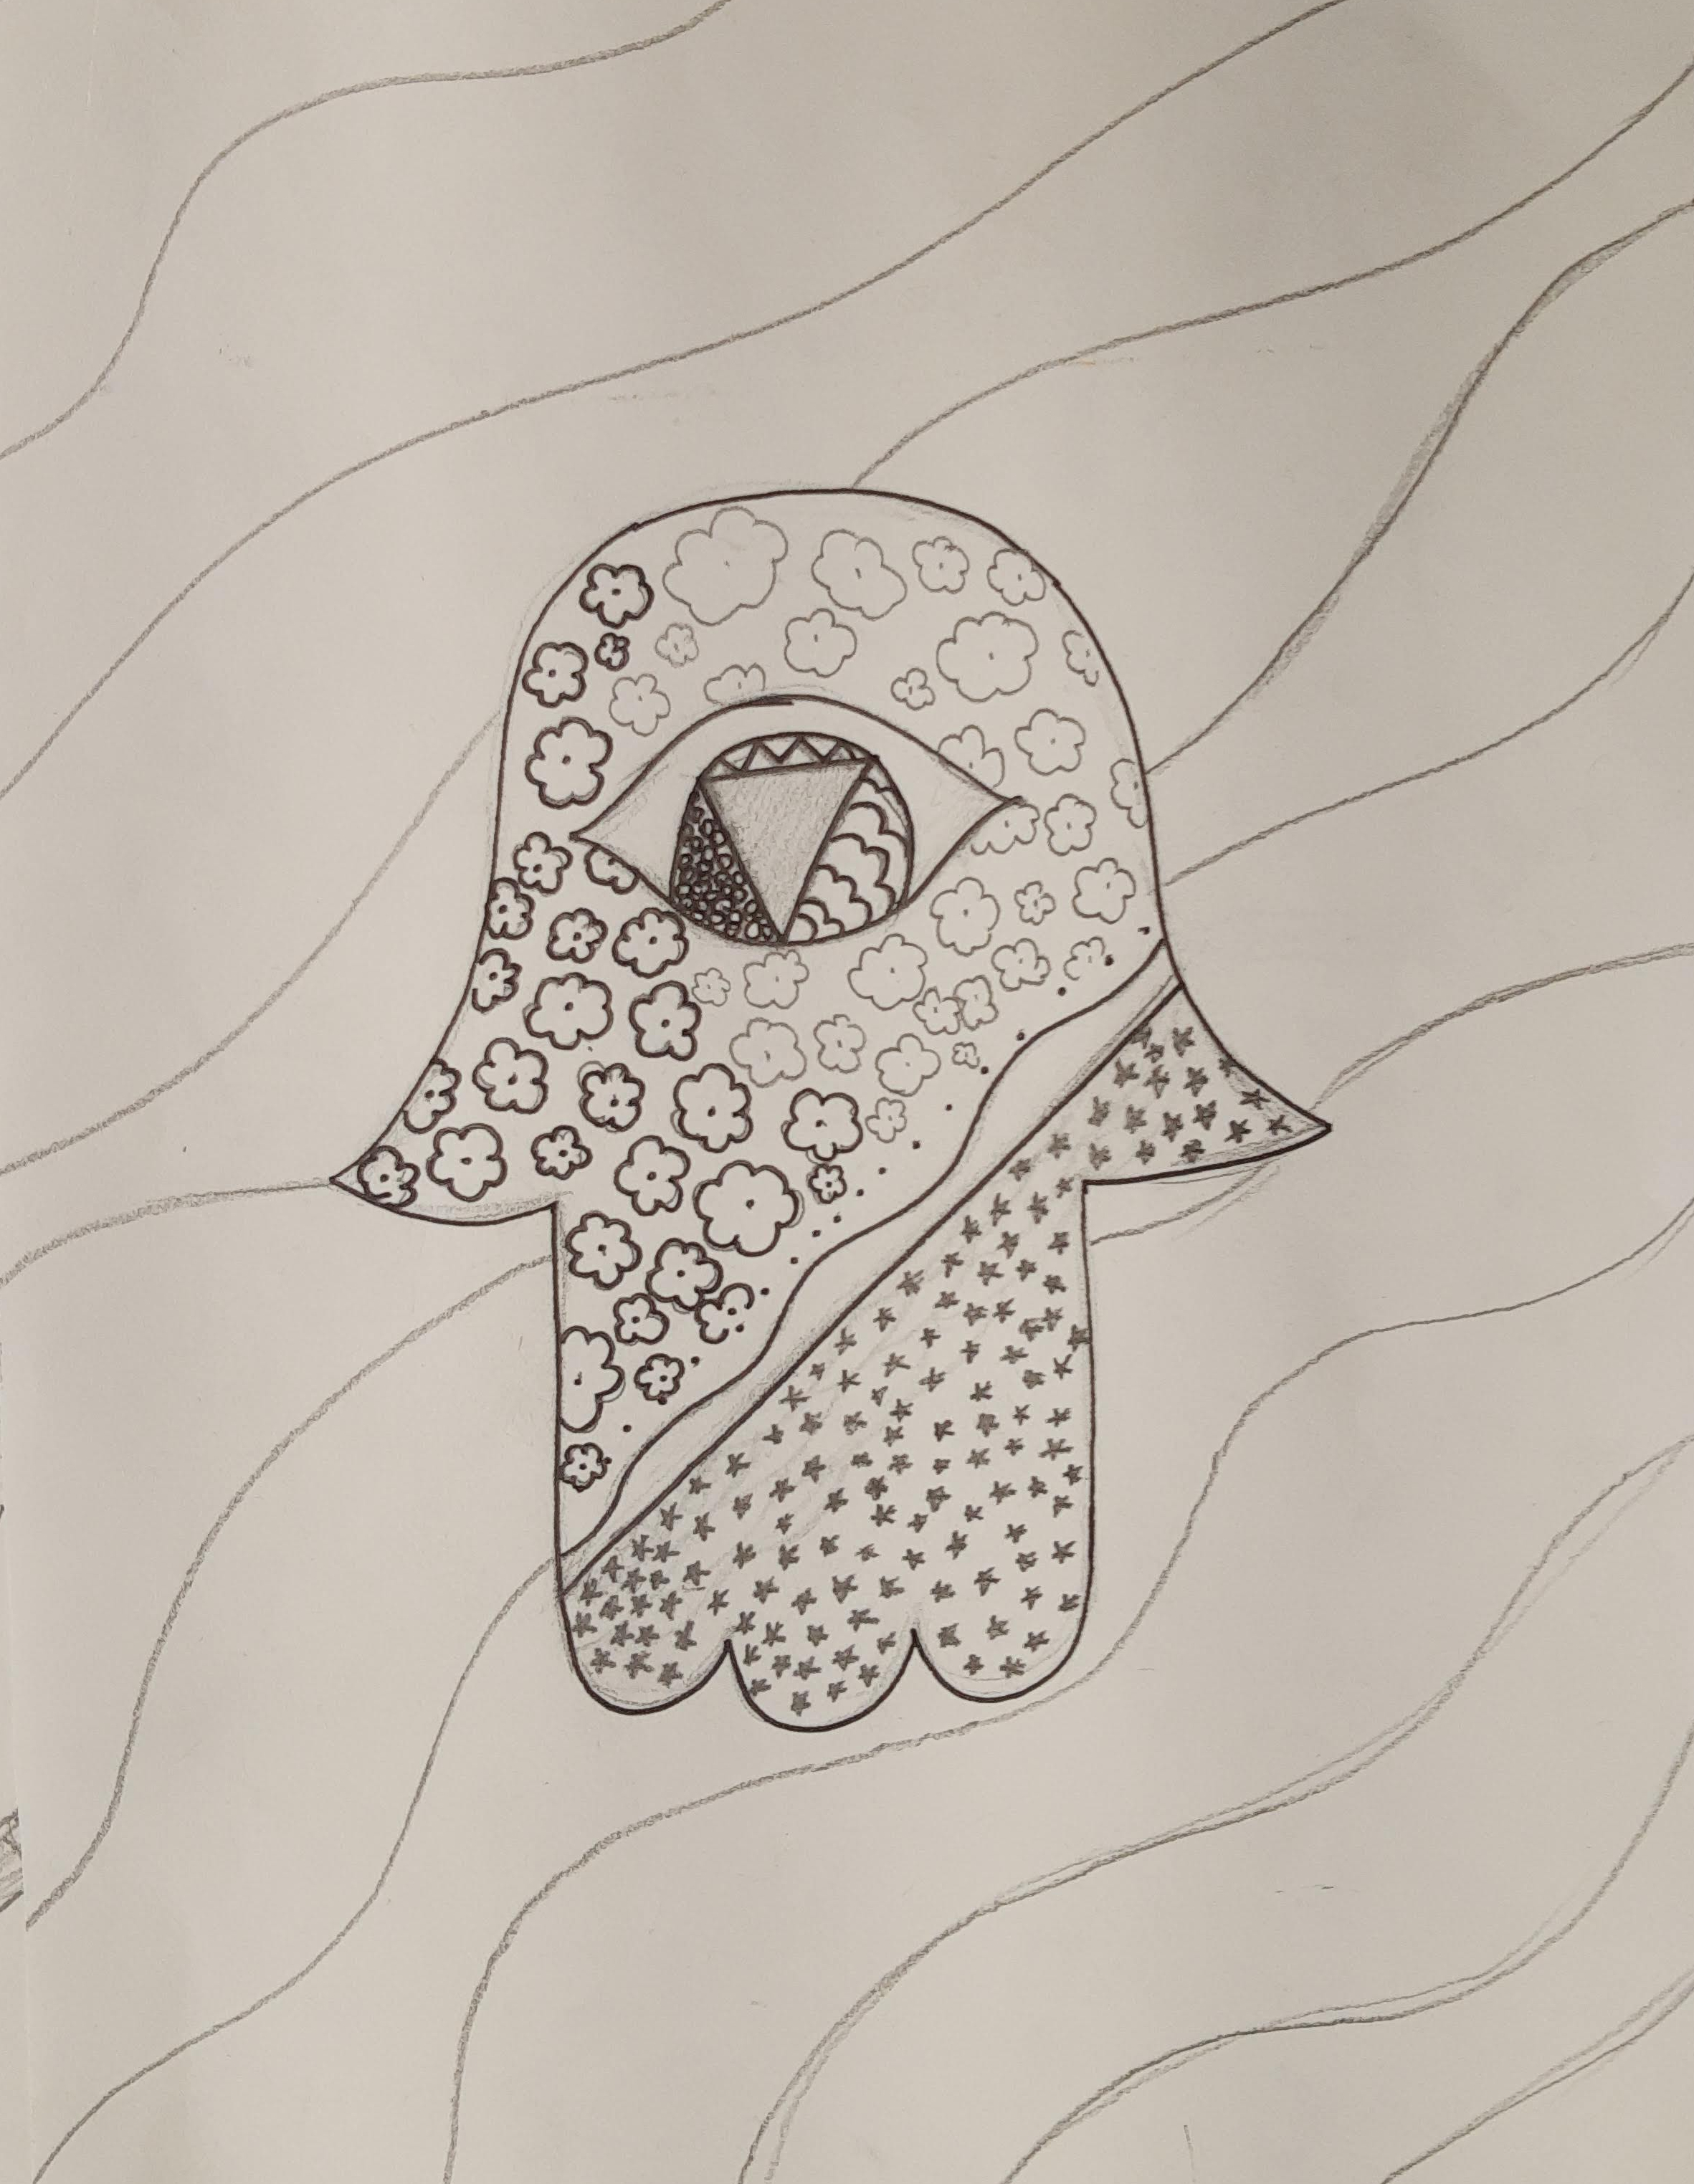
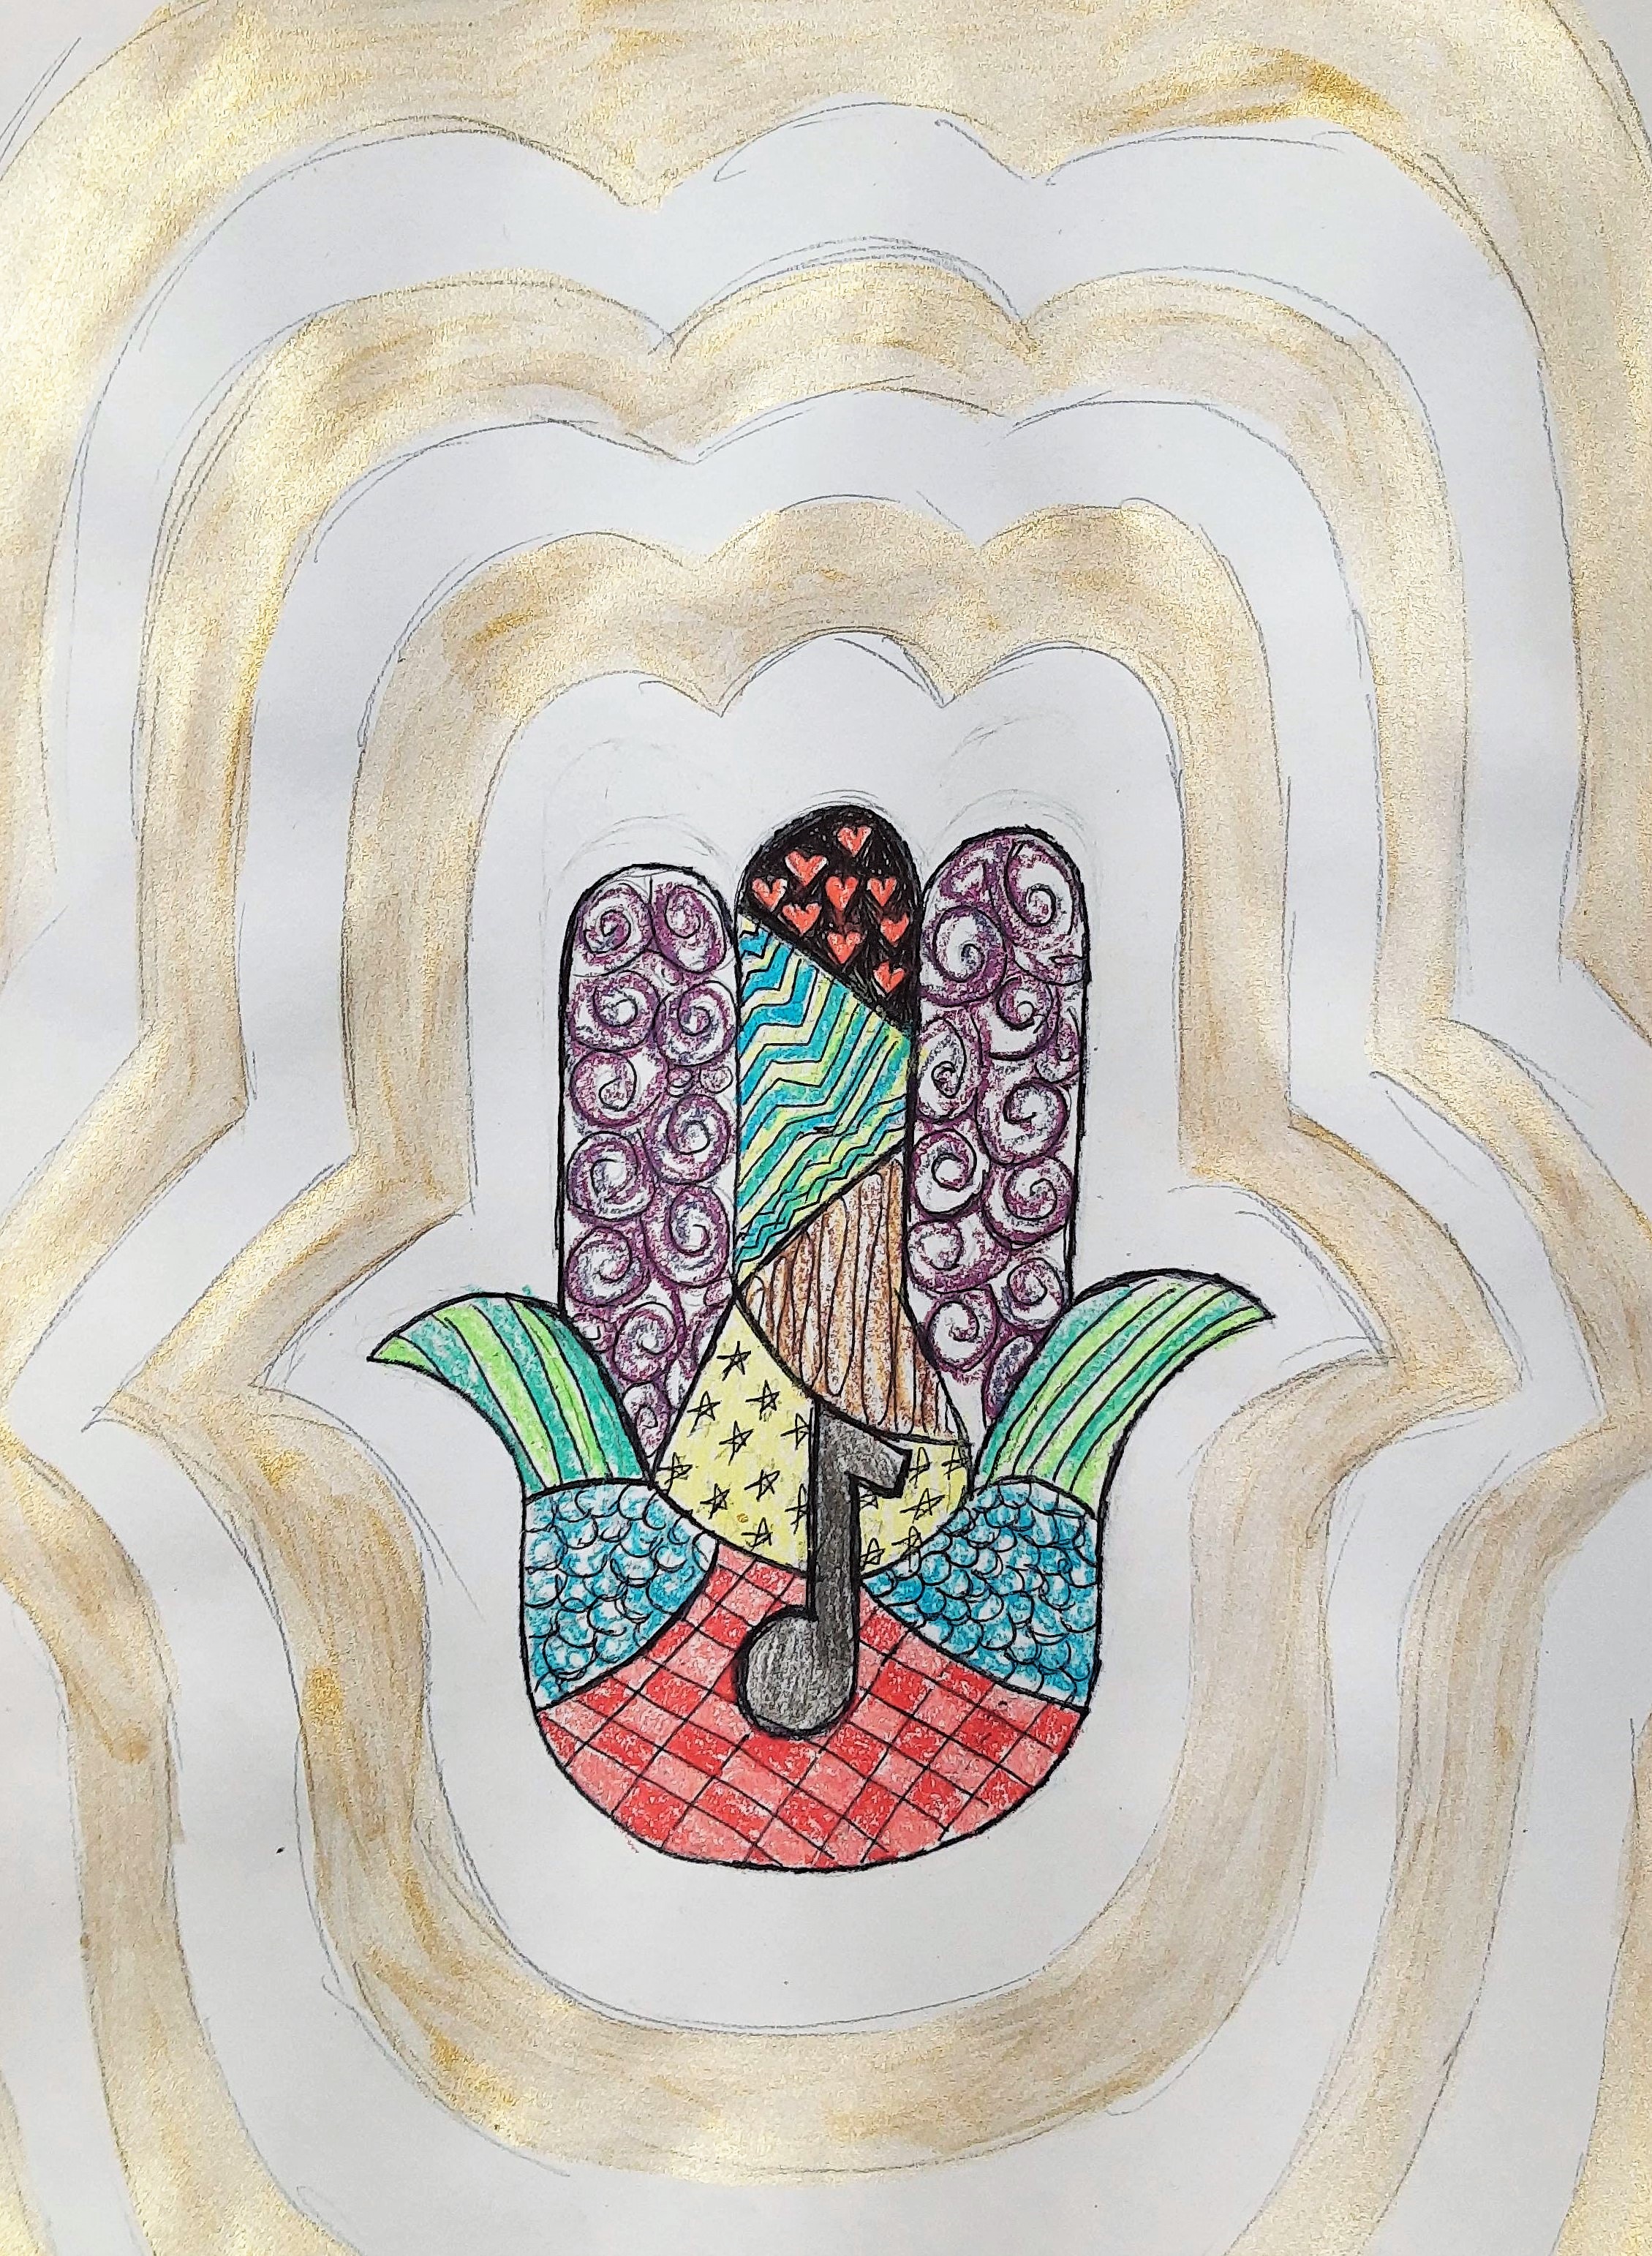

Middle school created hand designs inspired by Hamsa hands.
This fall, I taught a weekend art class at my local arts center. Since the classes were smaller, I really wanted to make paper with my students. It was a lot of prep work and my blender started smoking at one point, but it was really fun and a great way to introduce students to the paper-making process.
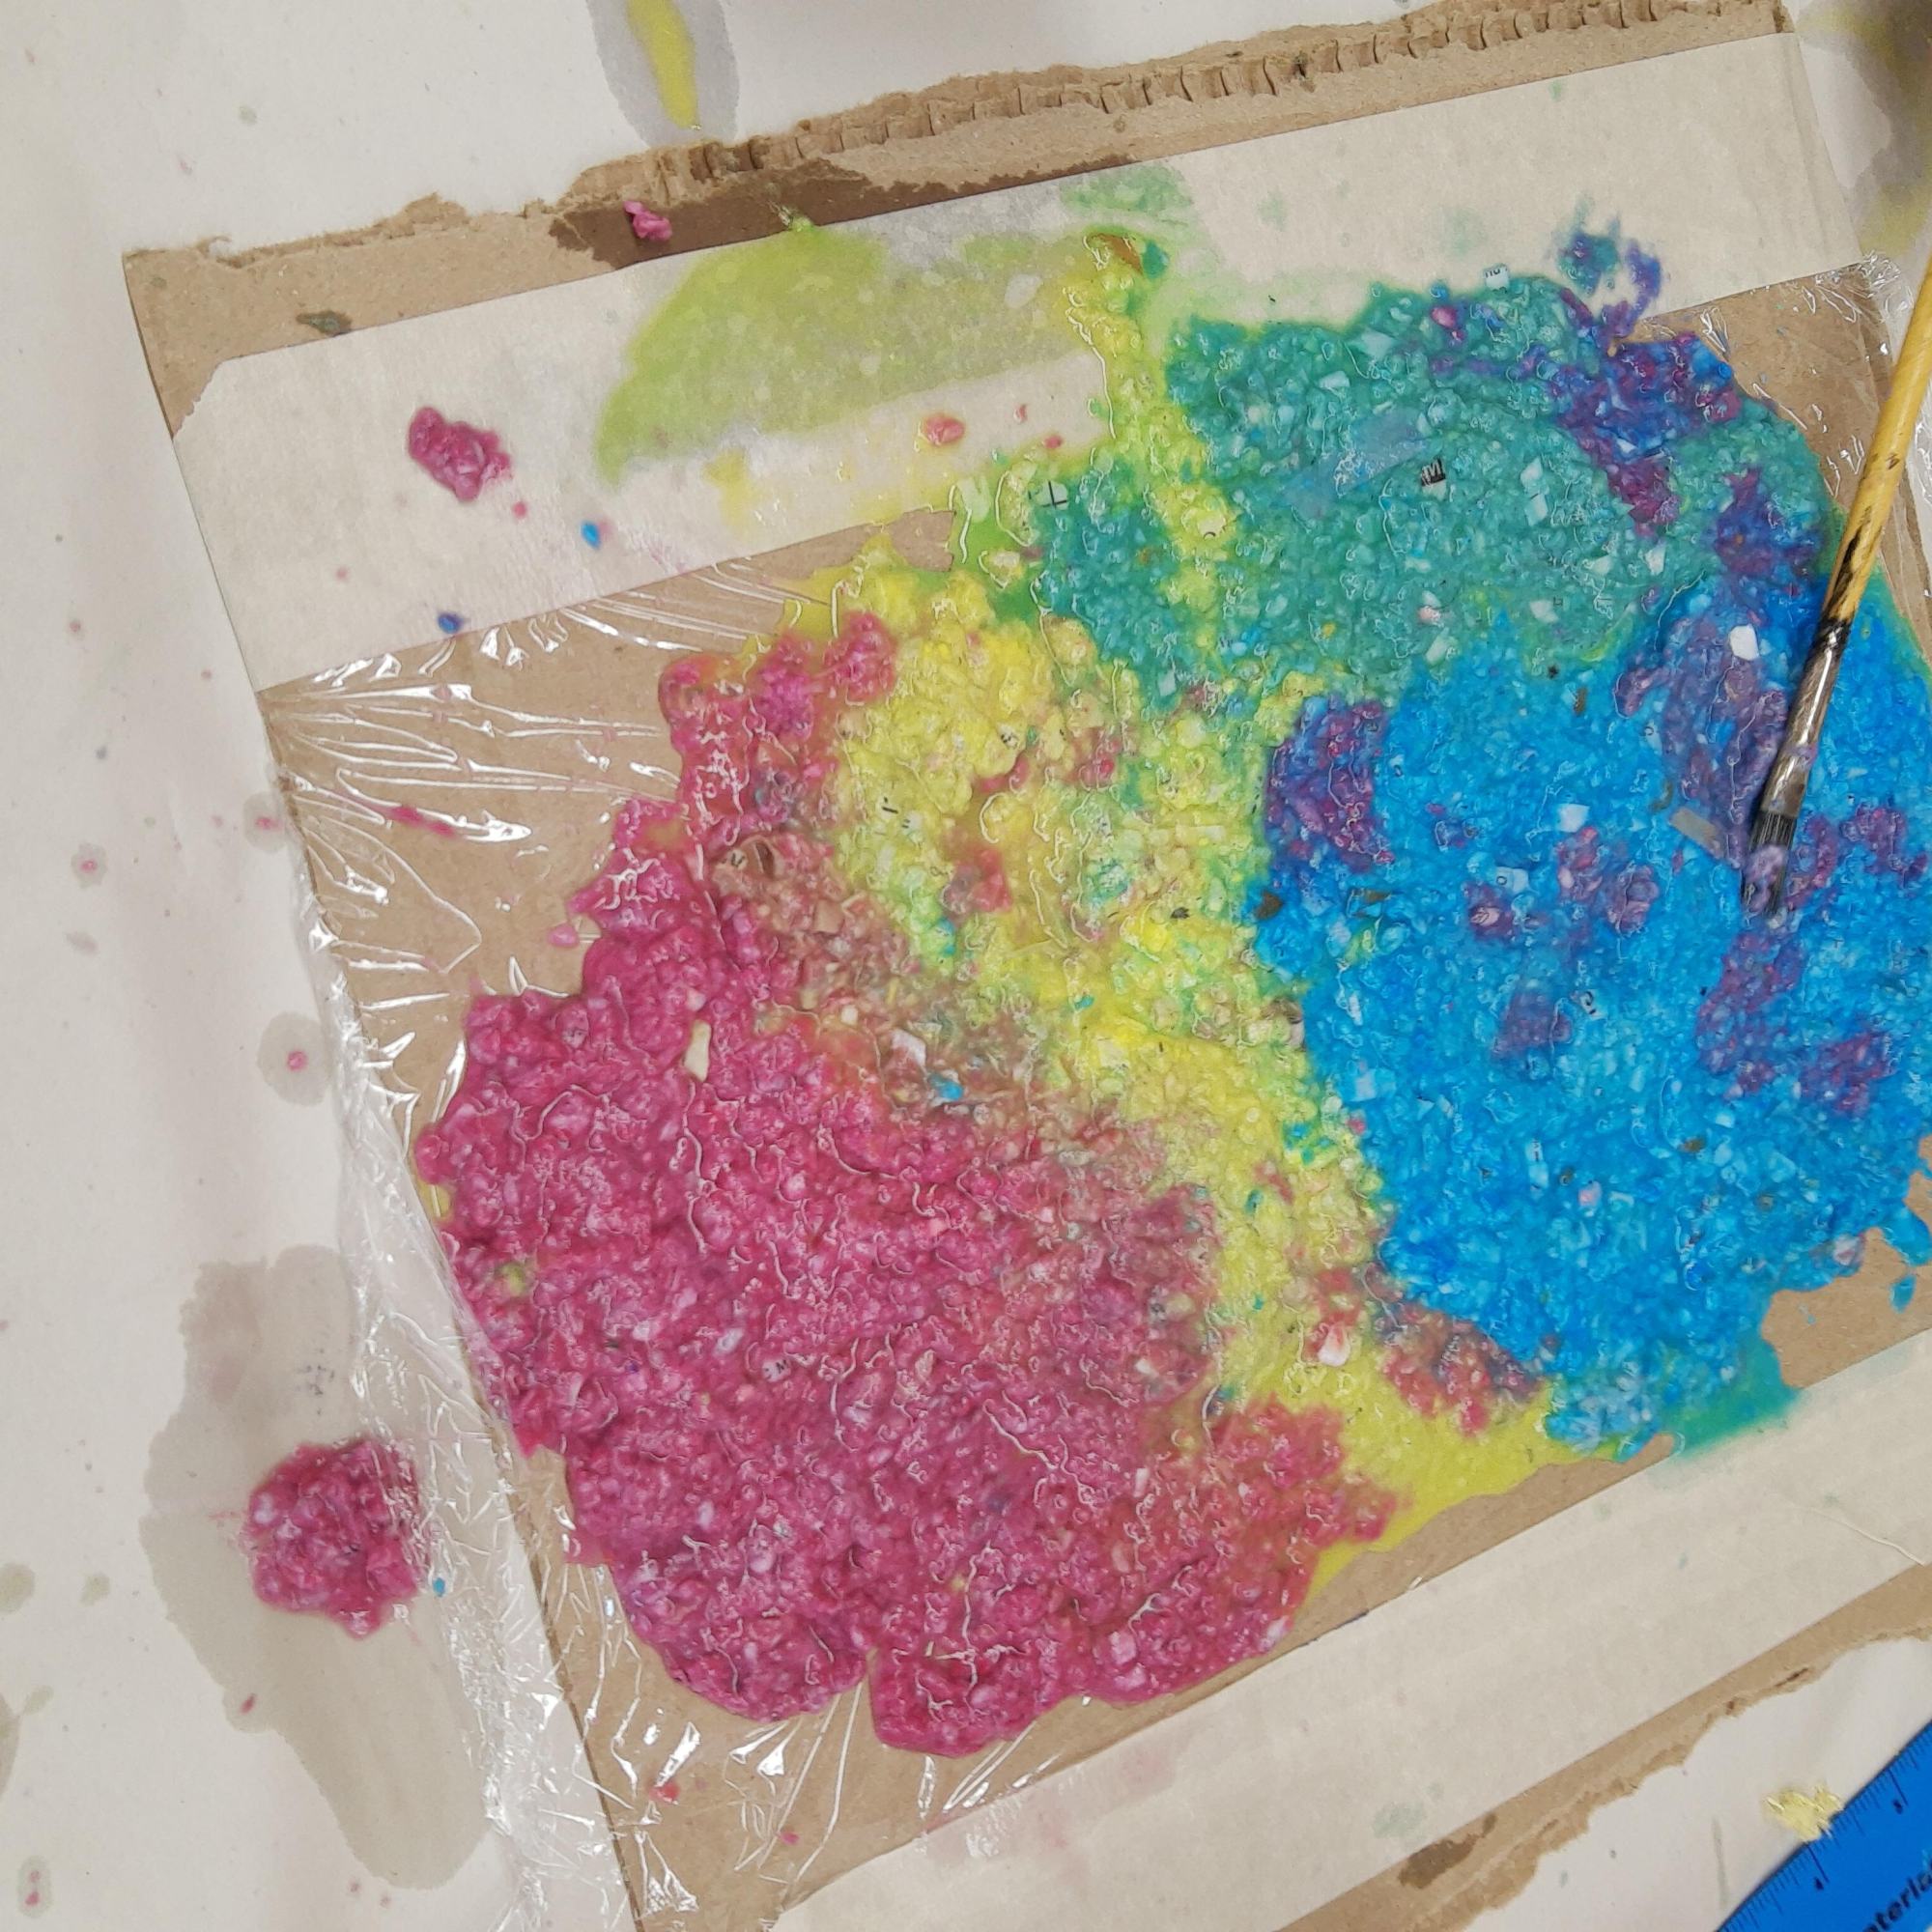
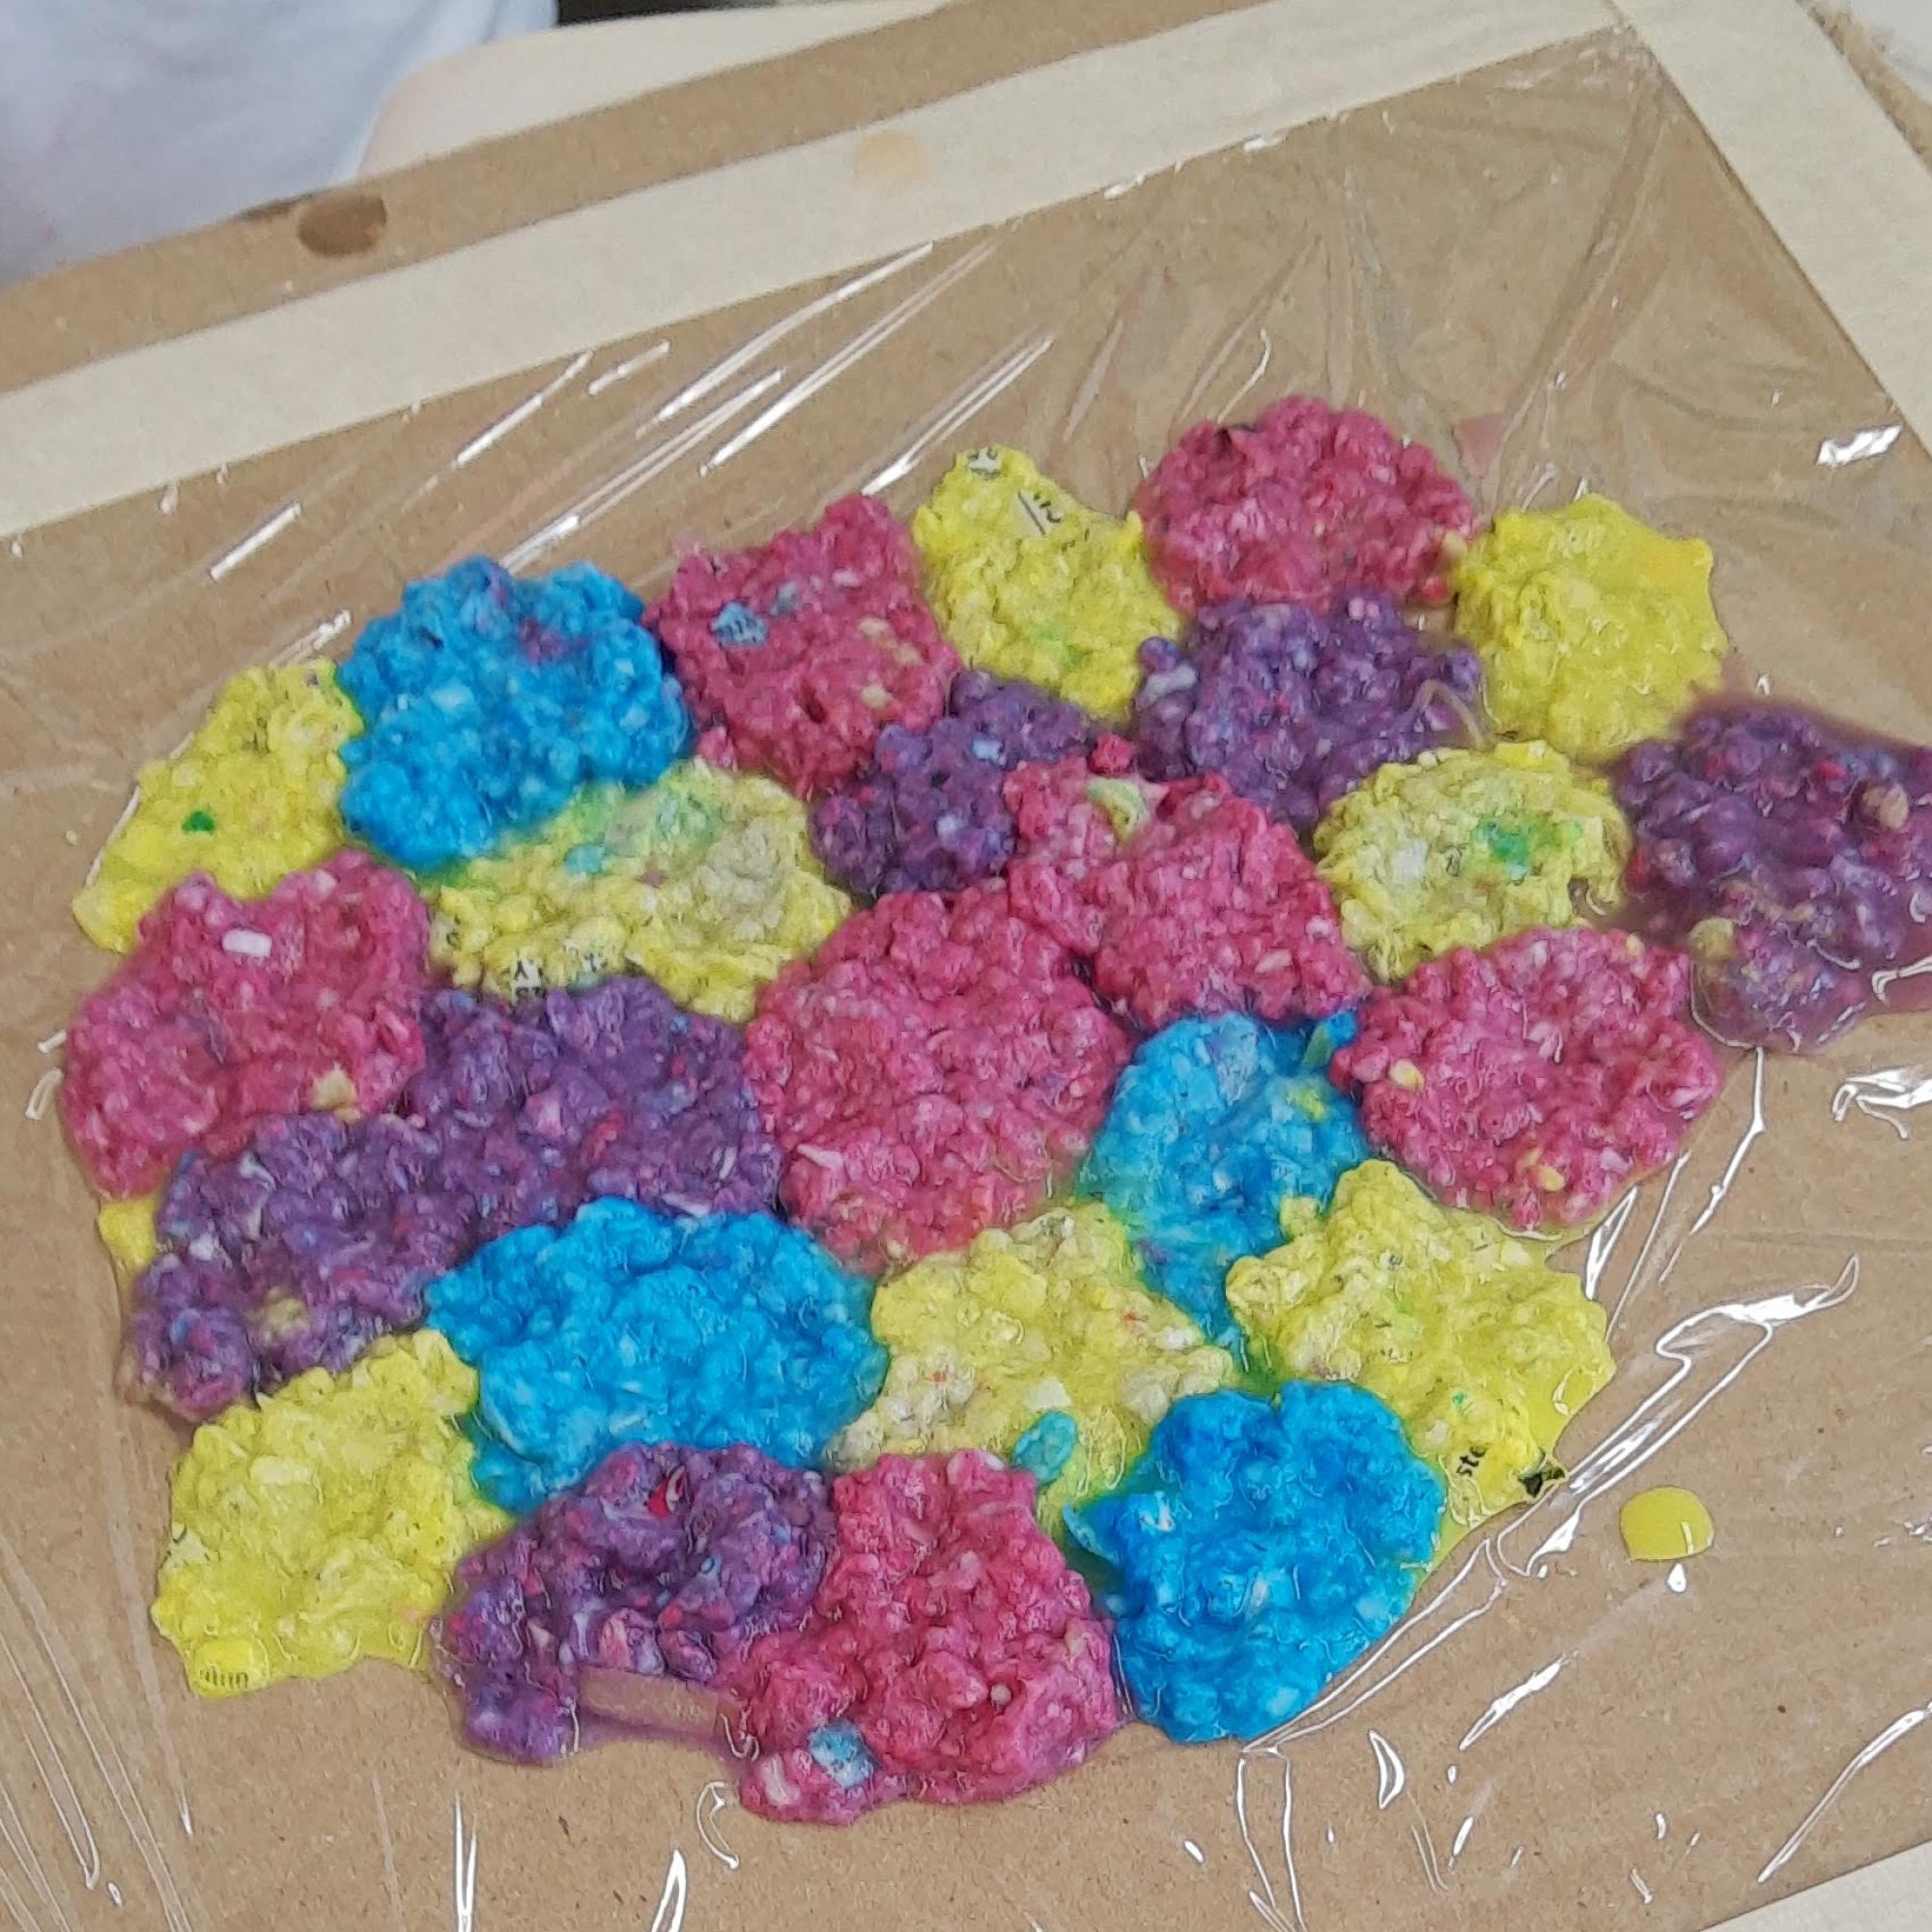
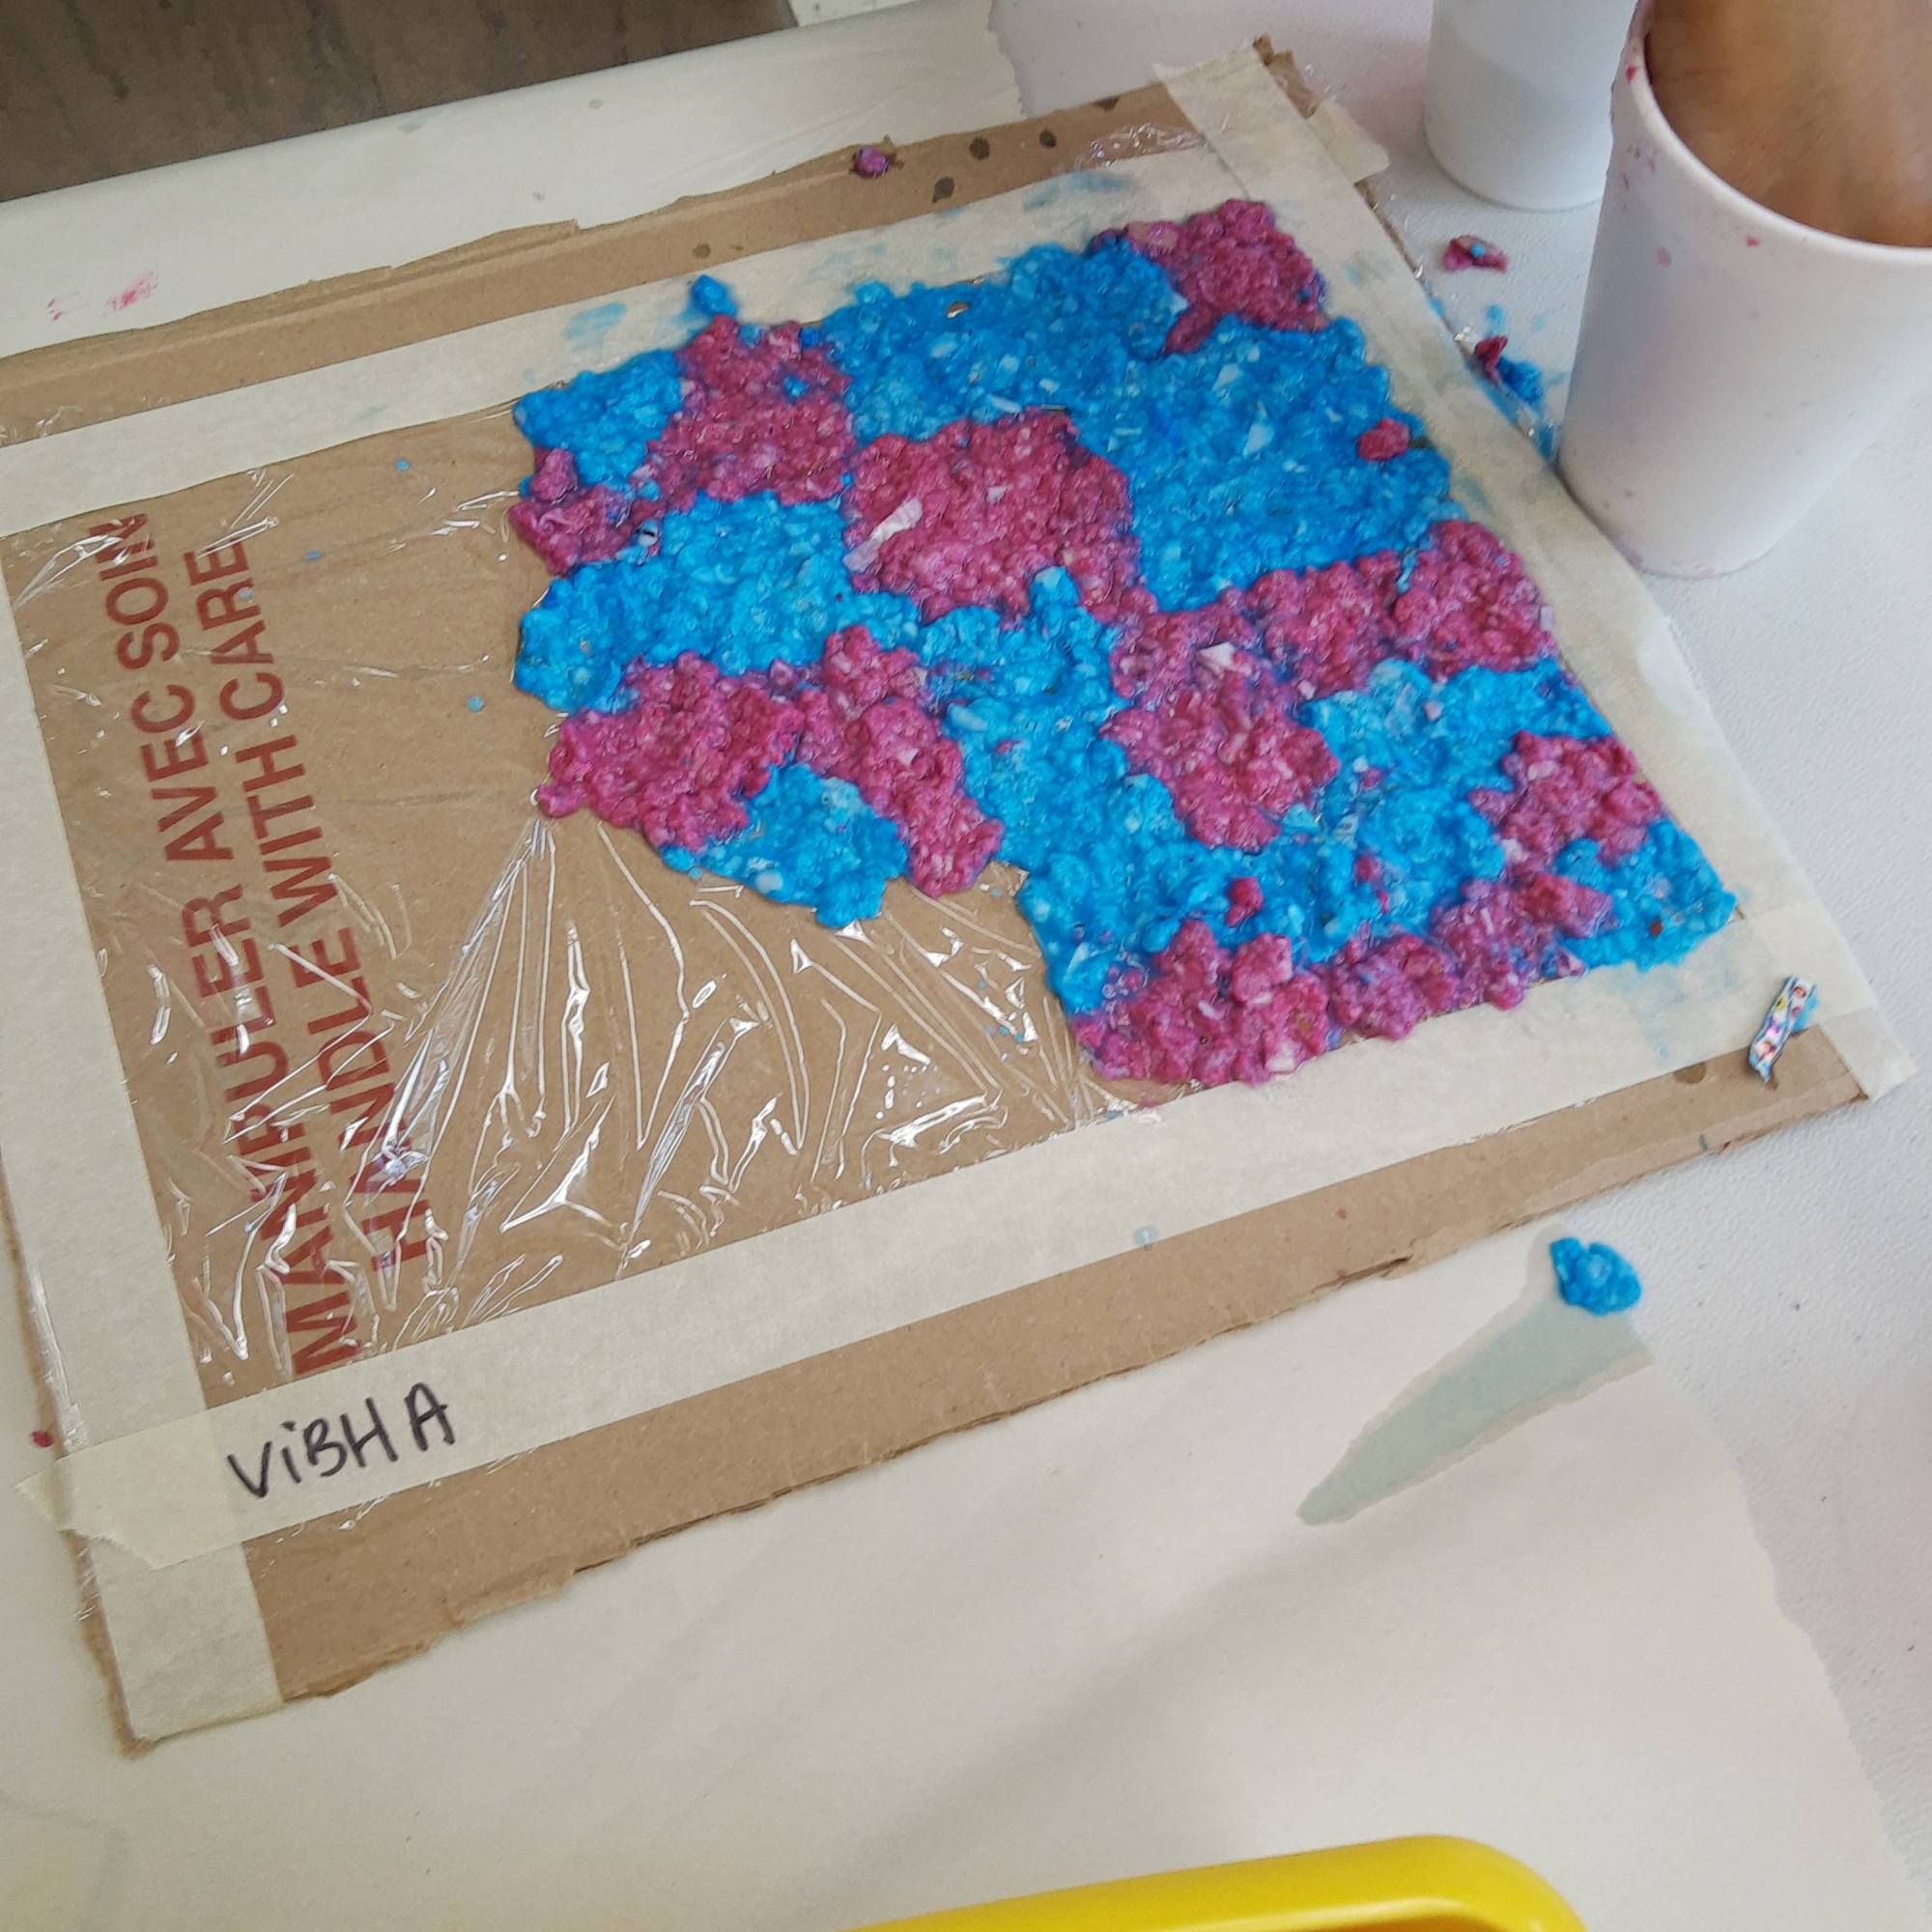
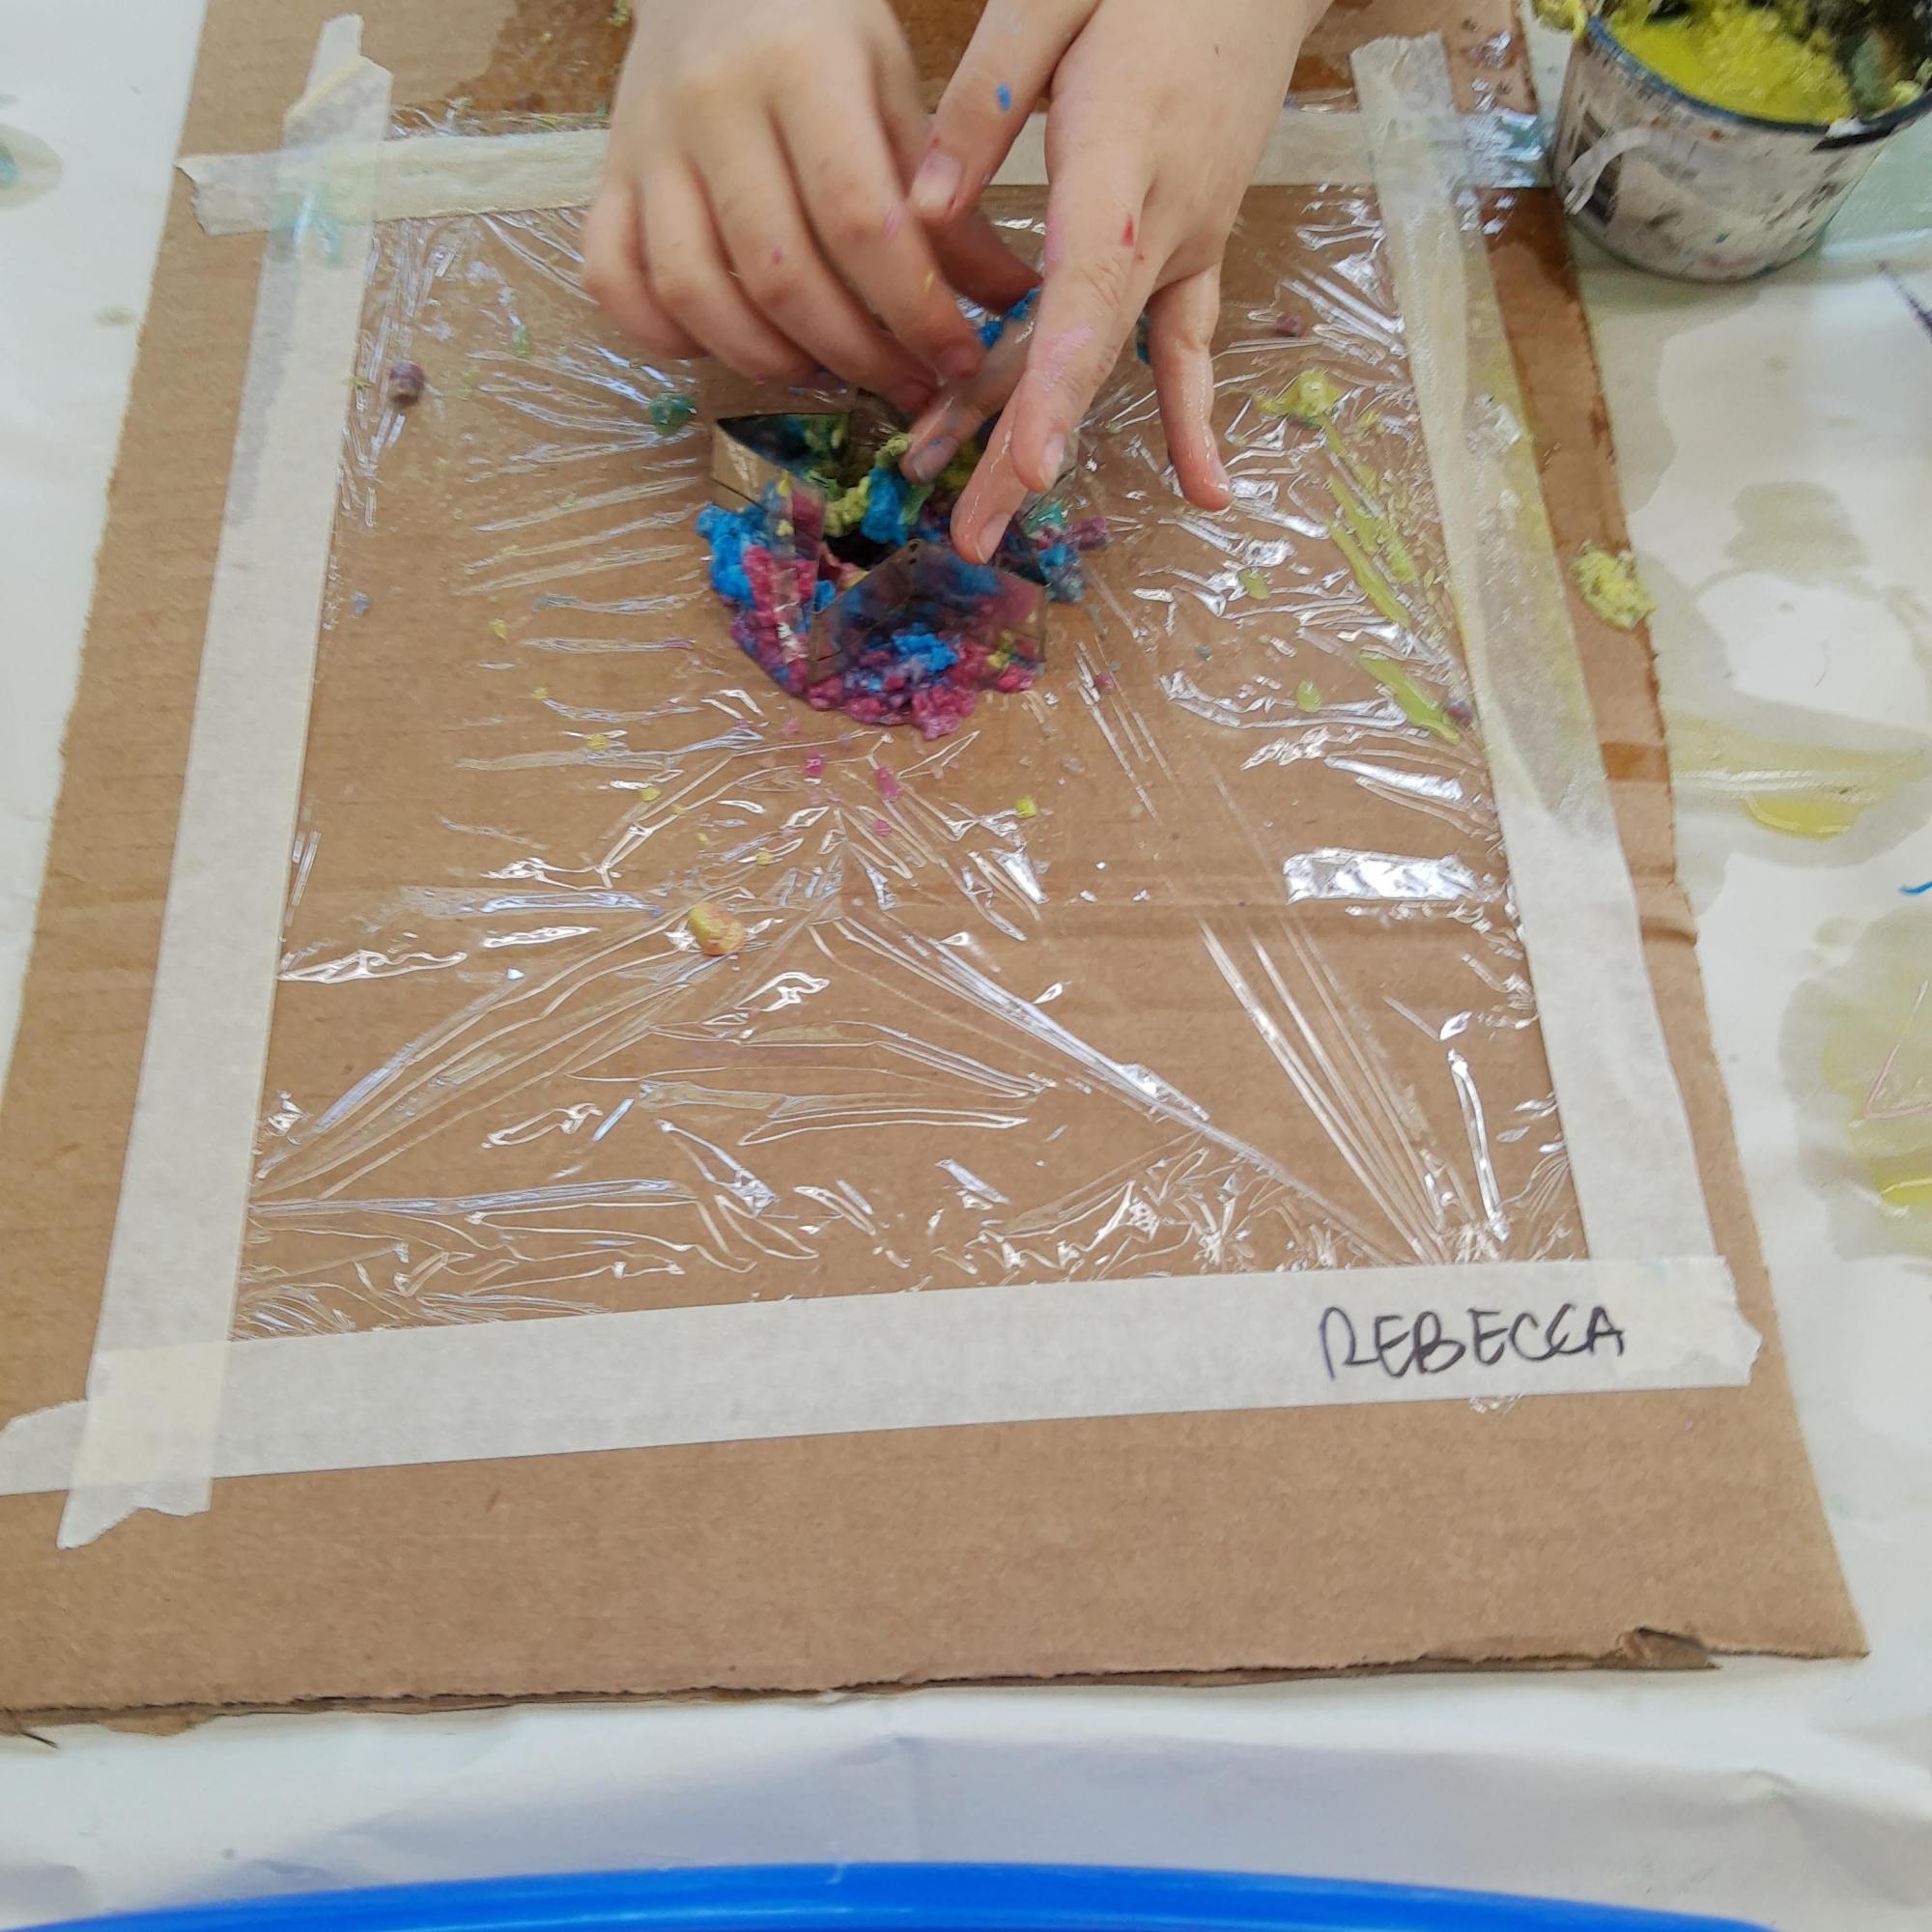
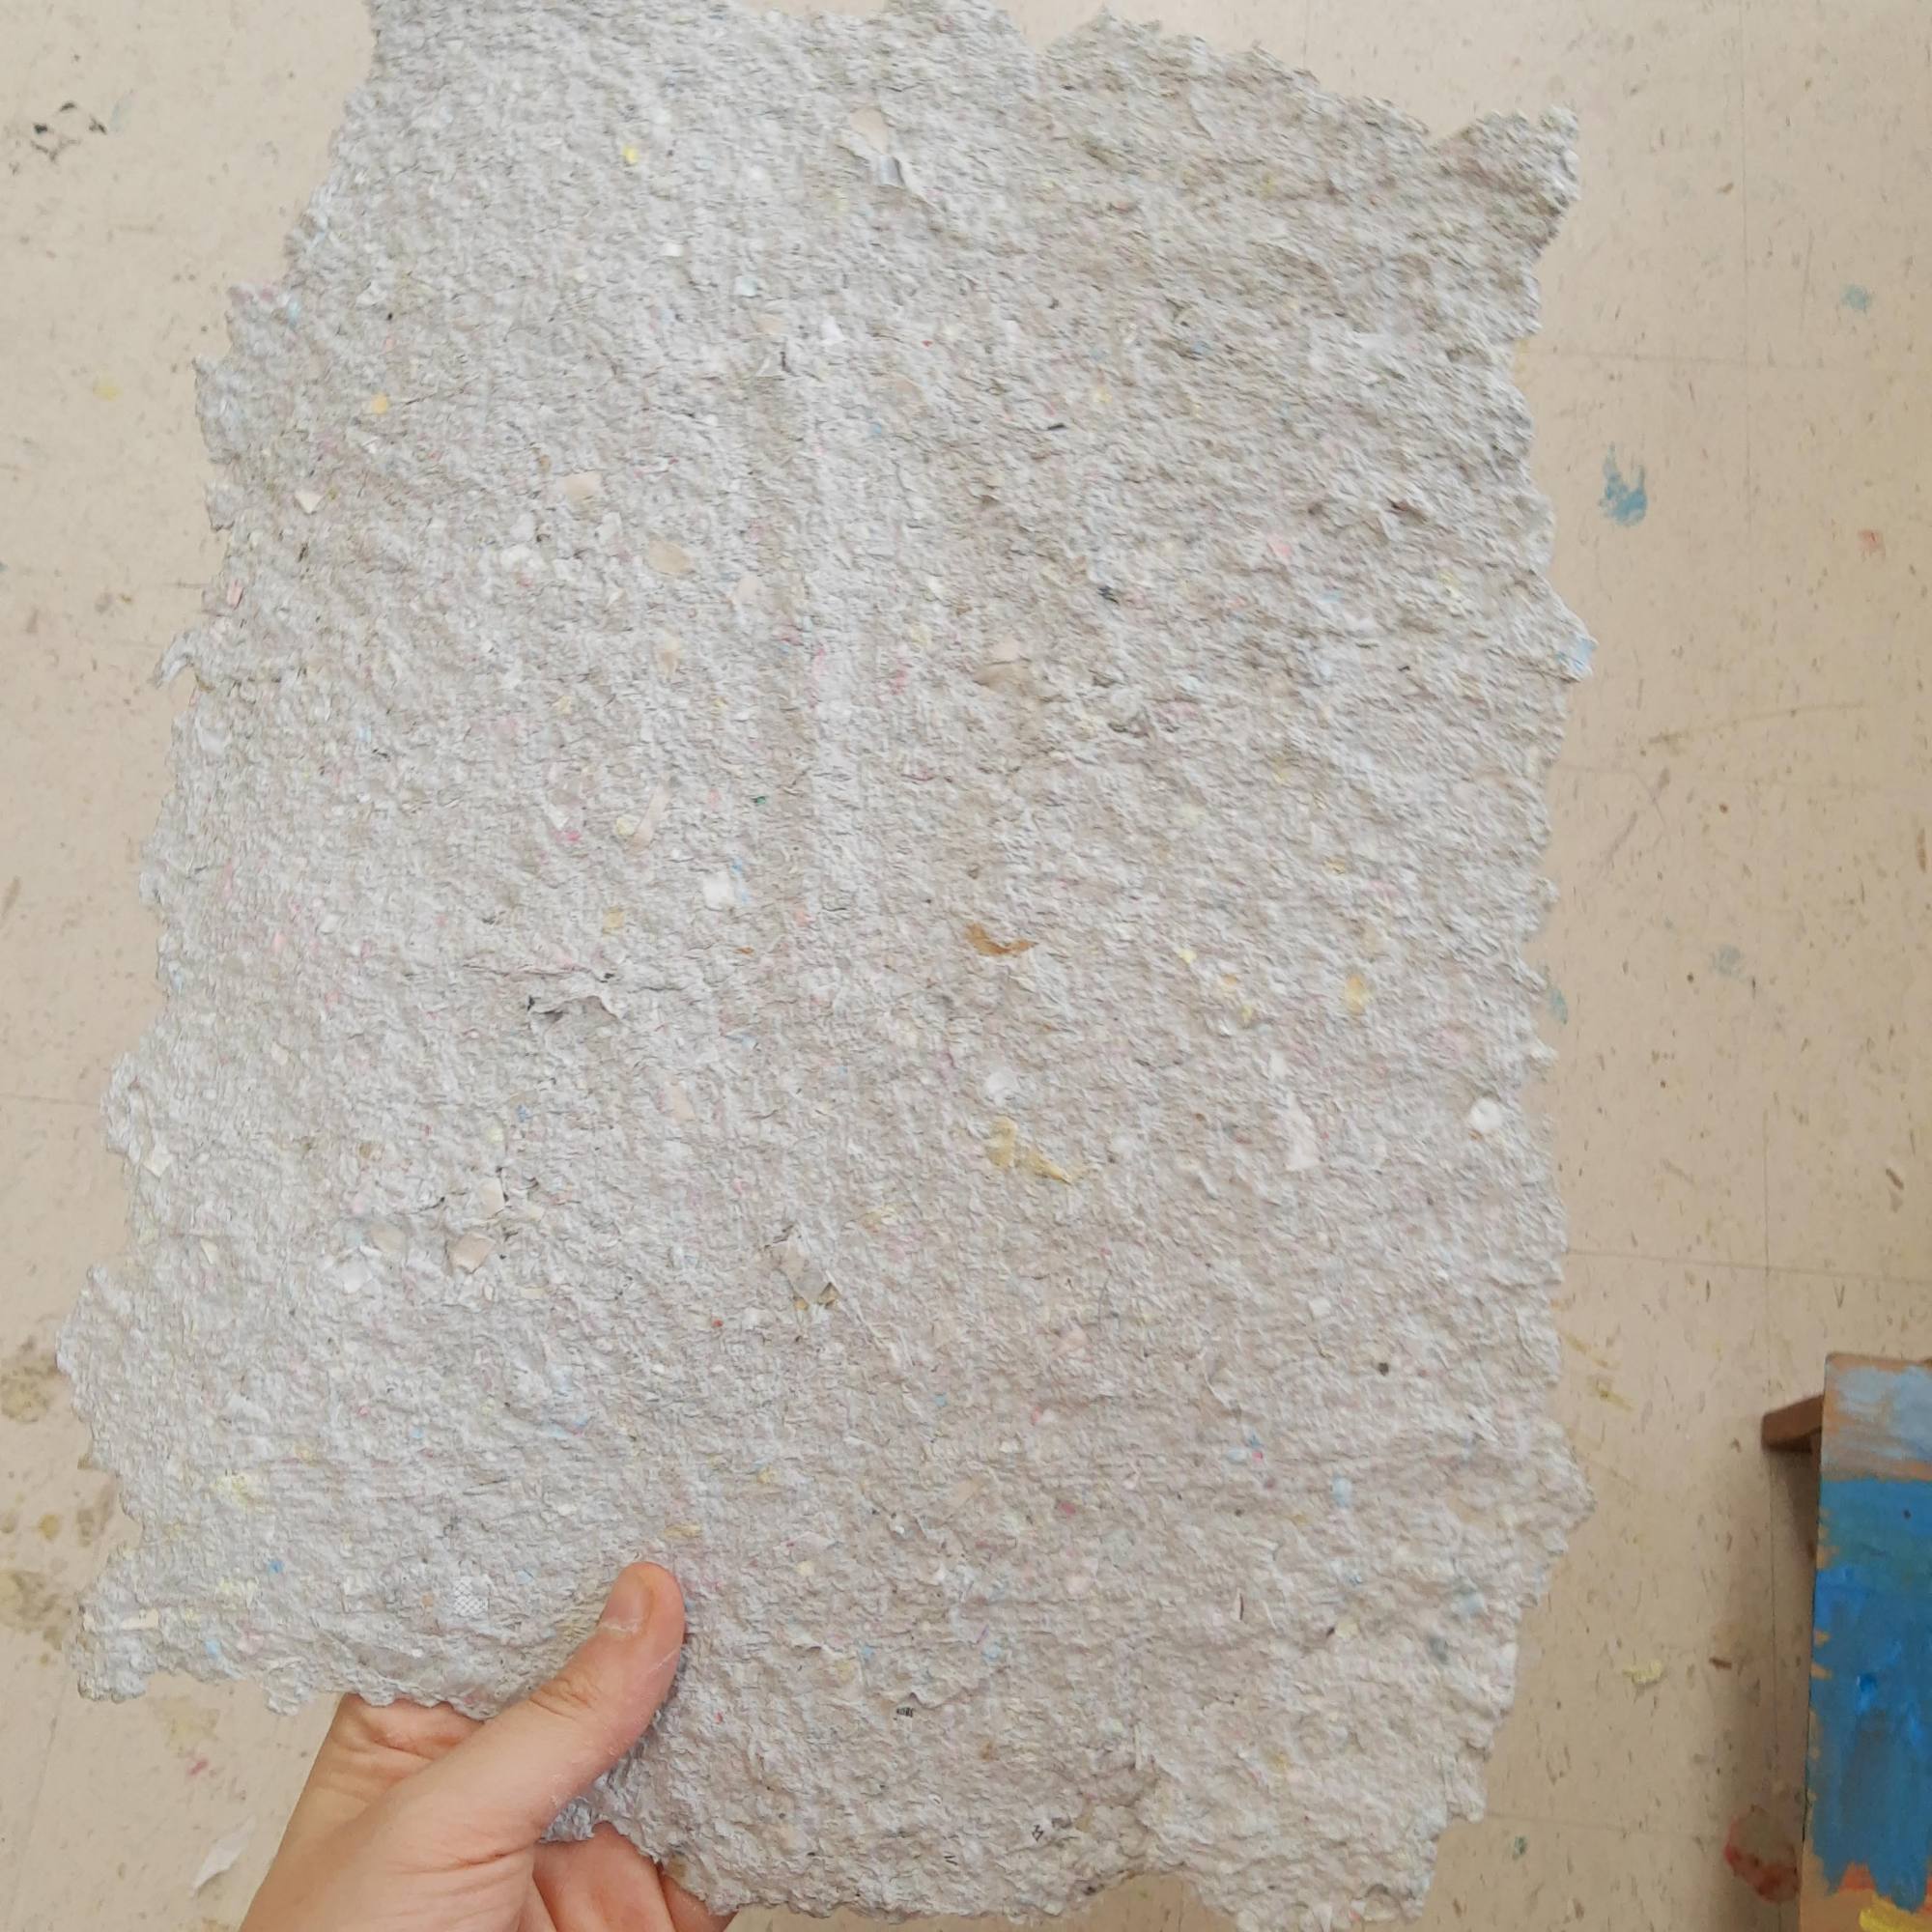
I prepped red, yellow, and blue paper pulp by blending soaked paper scraps and adding acrylic paint to the blender. The main paper pulp was in big tubs and students used smaller cups to scoop up paper pulp to take to their seats. Students created paper pulp designs on top of a piece of cardboard covered in plastic wrap.
Here is the process of making paper pulp designs:


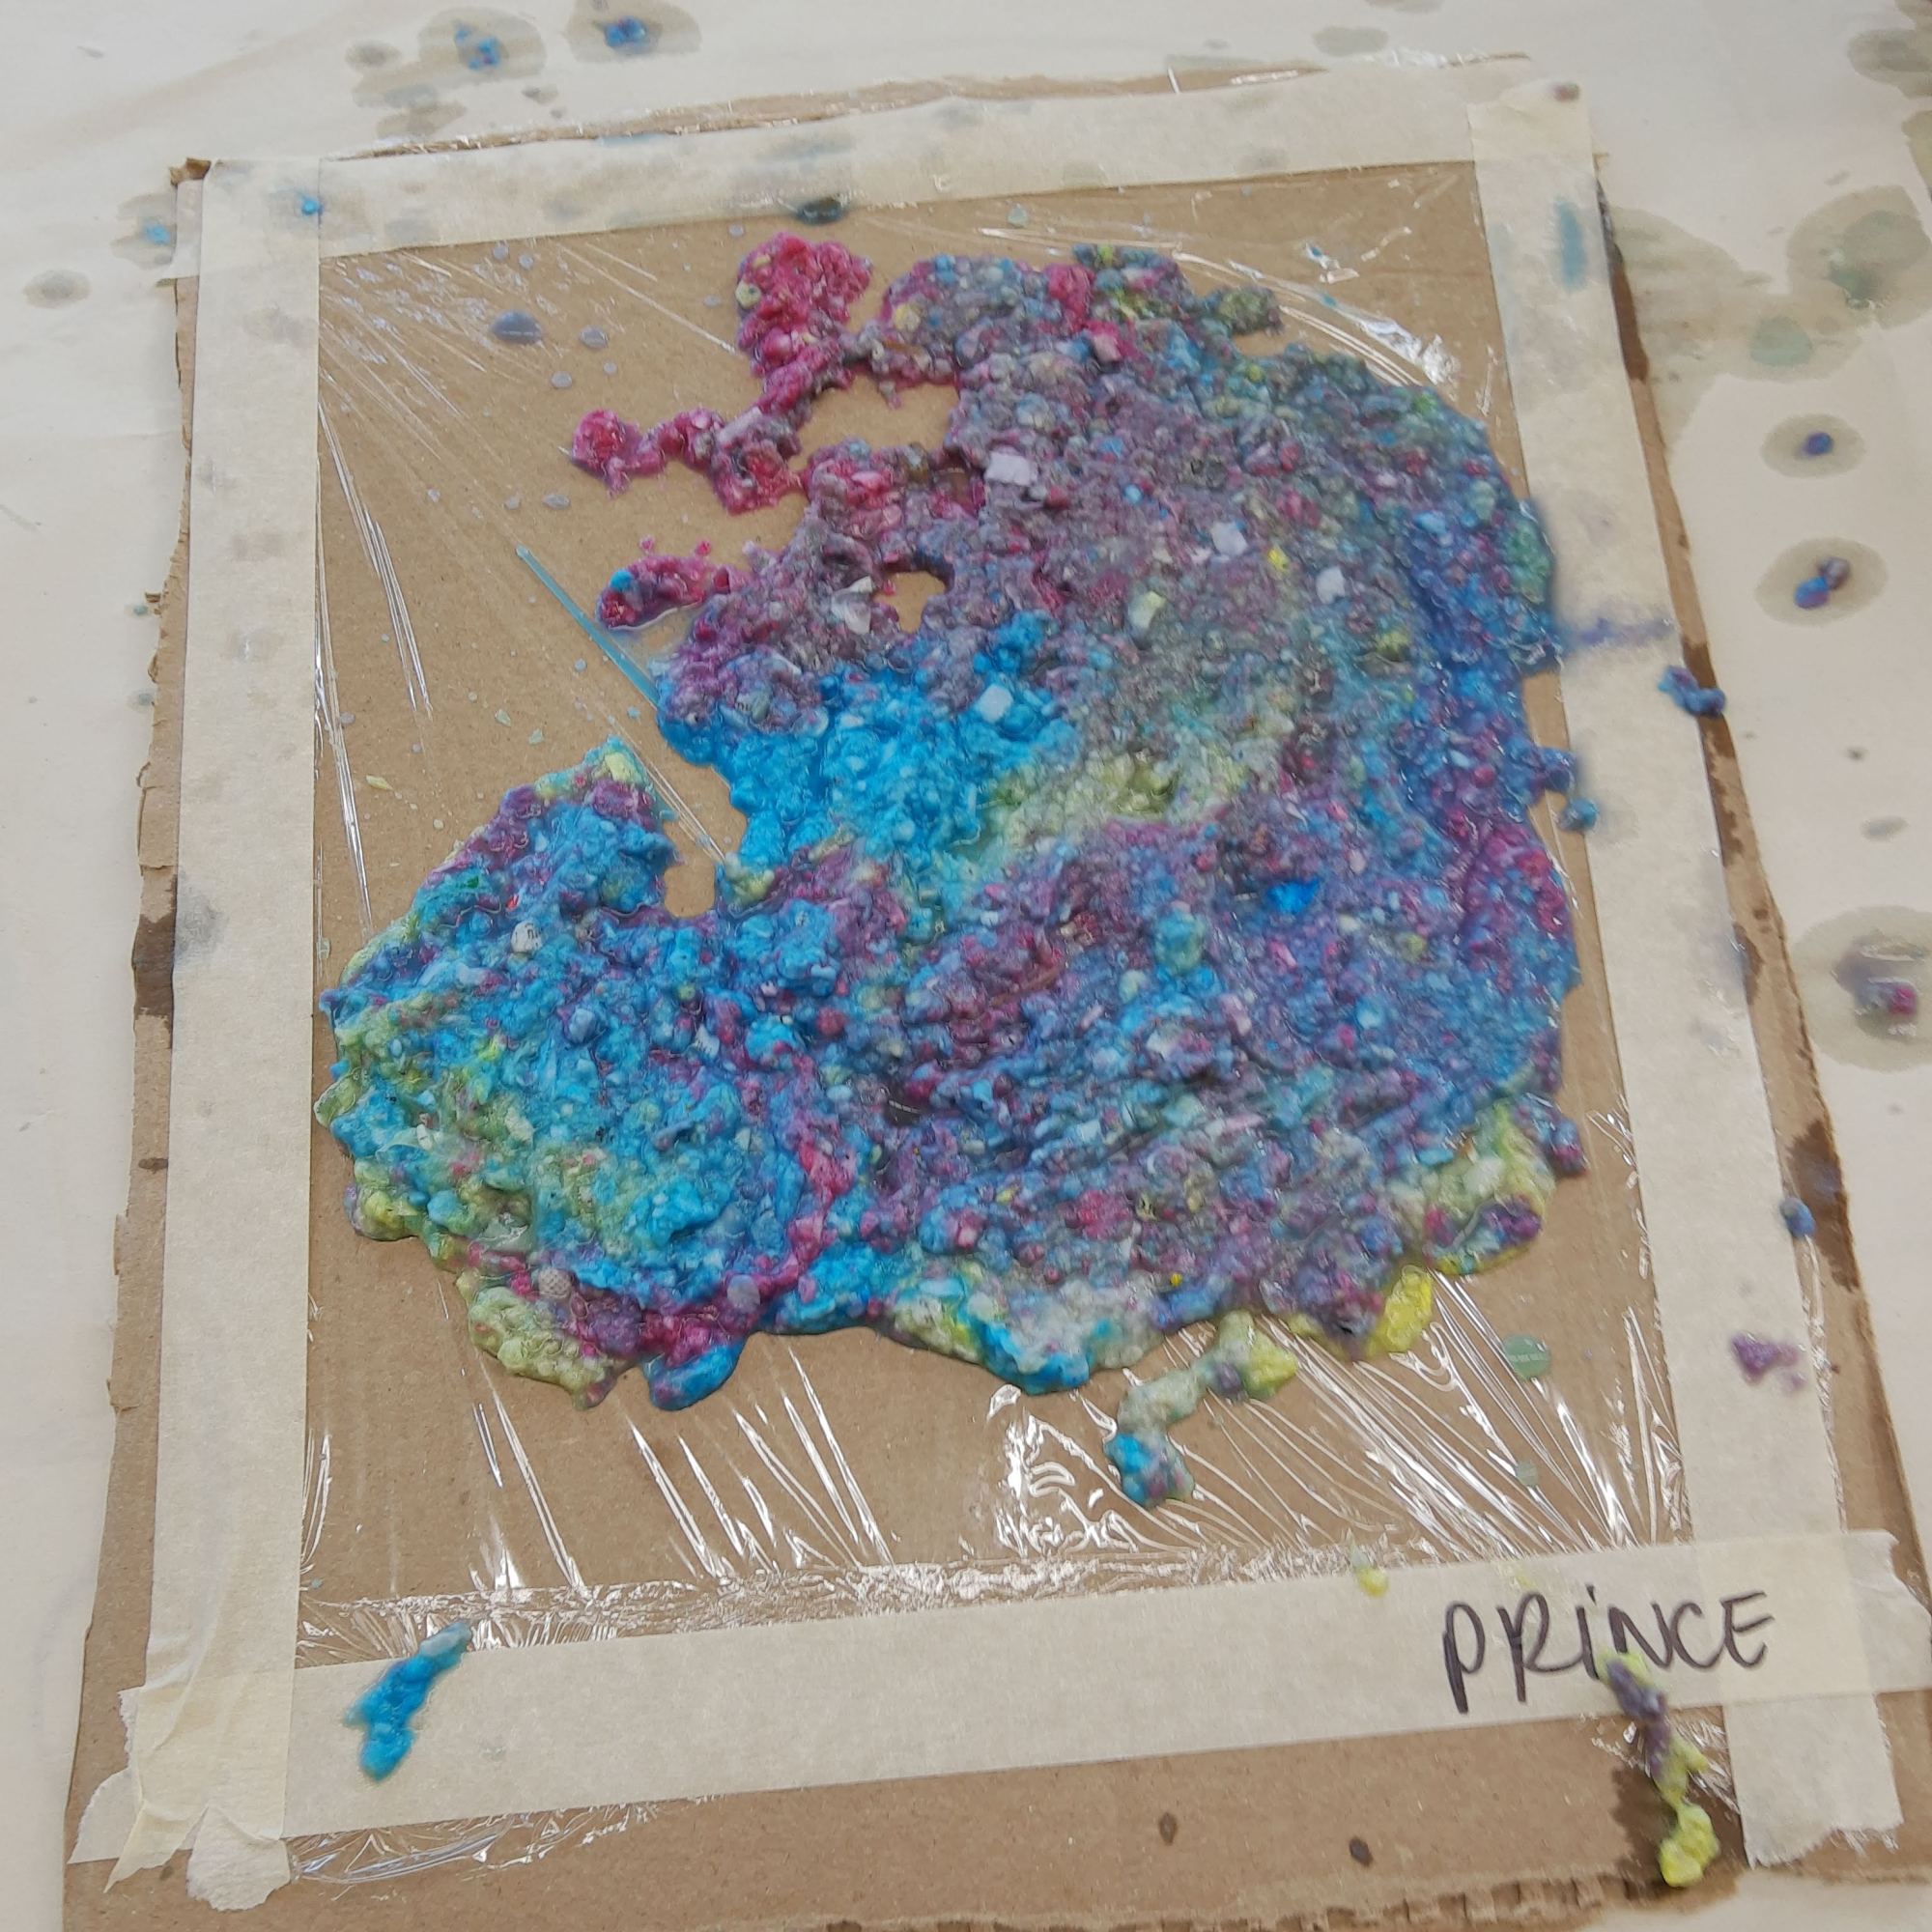
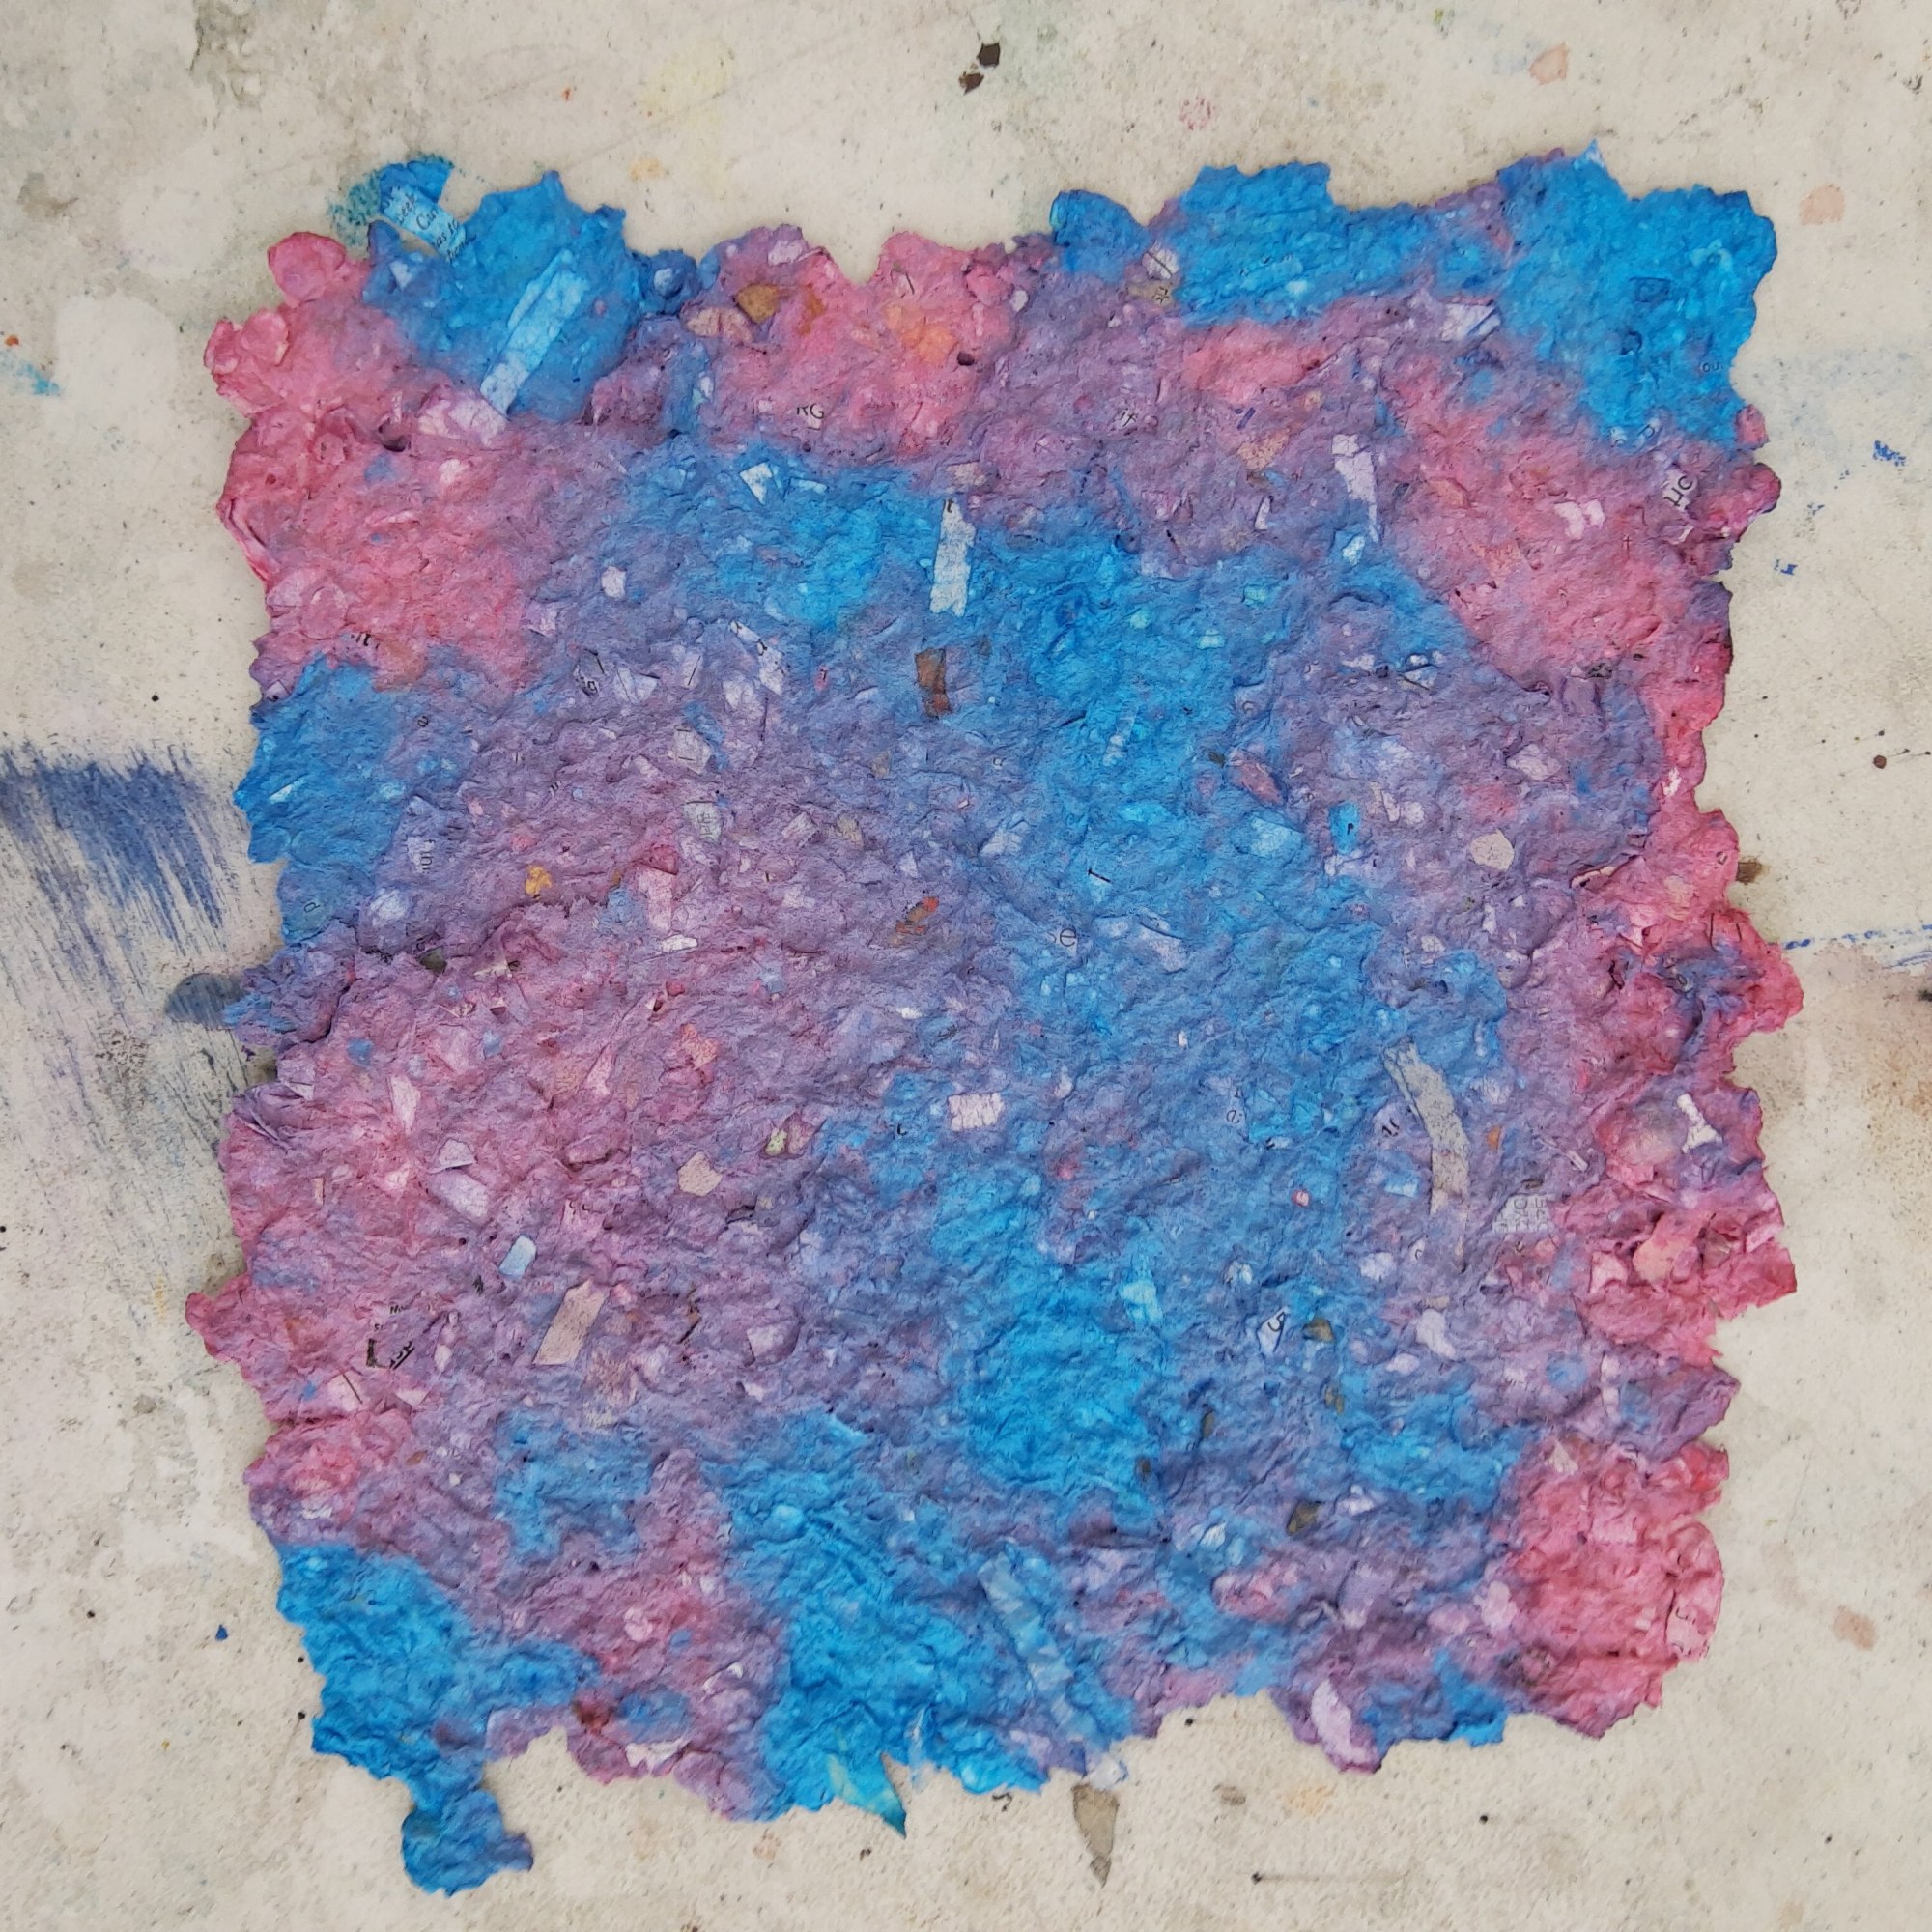
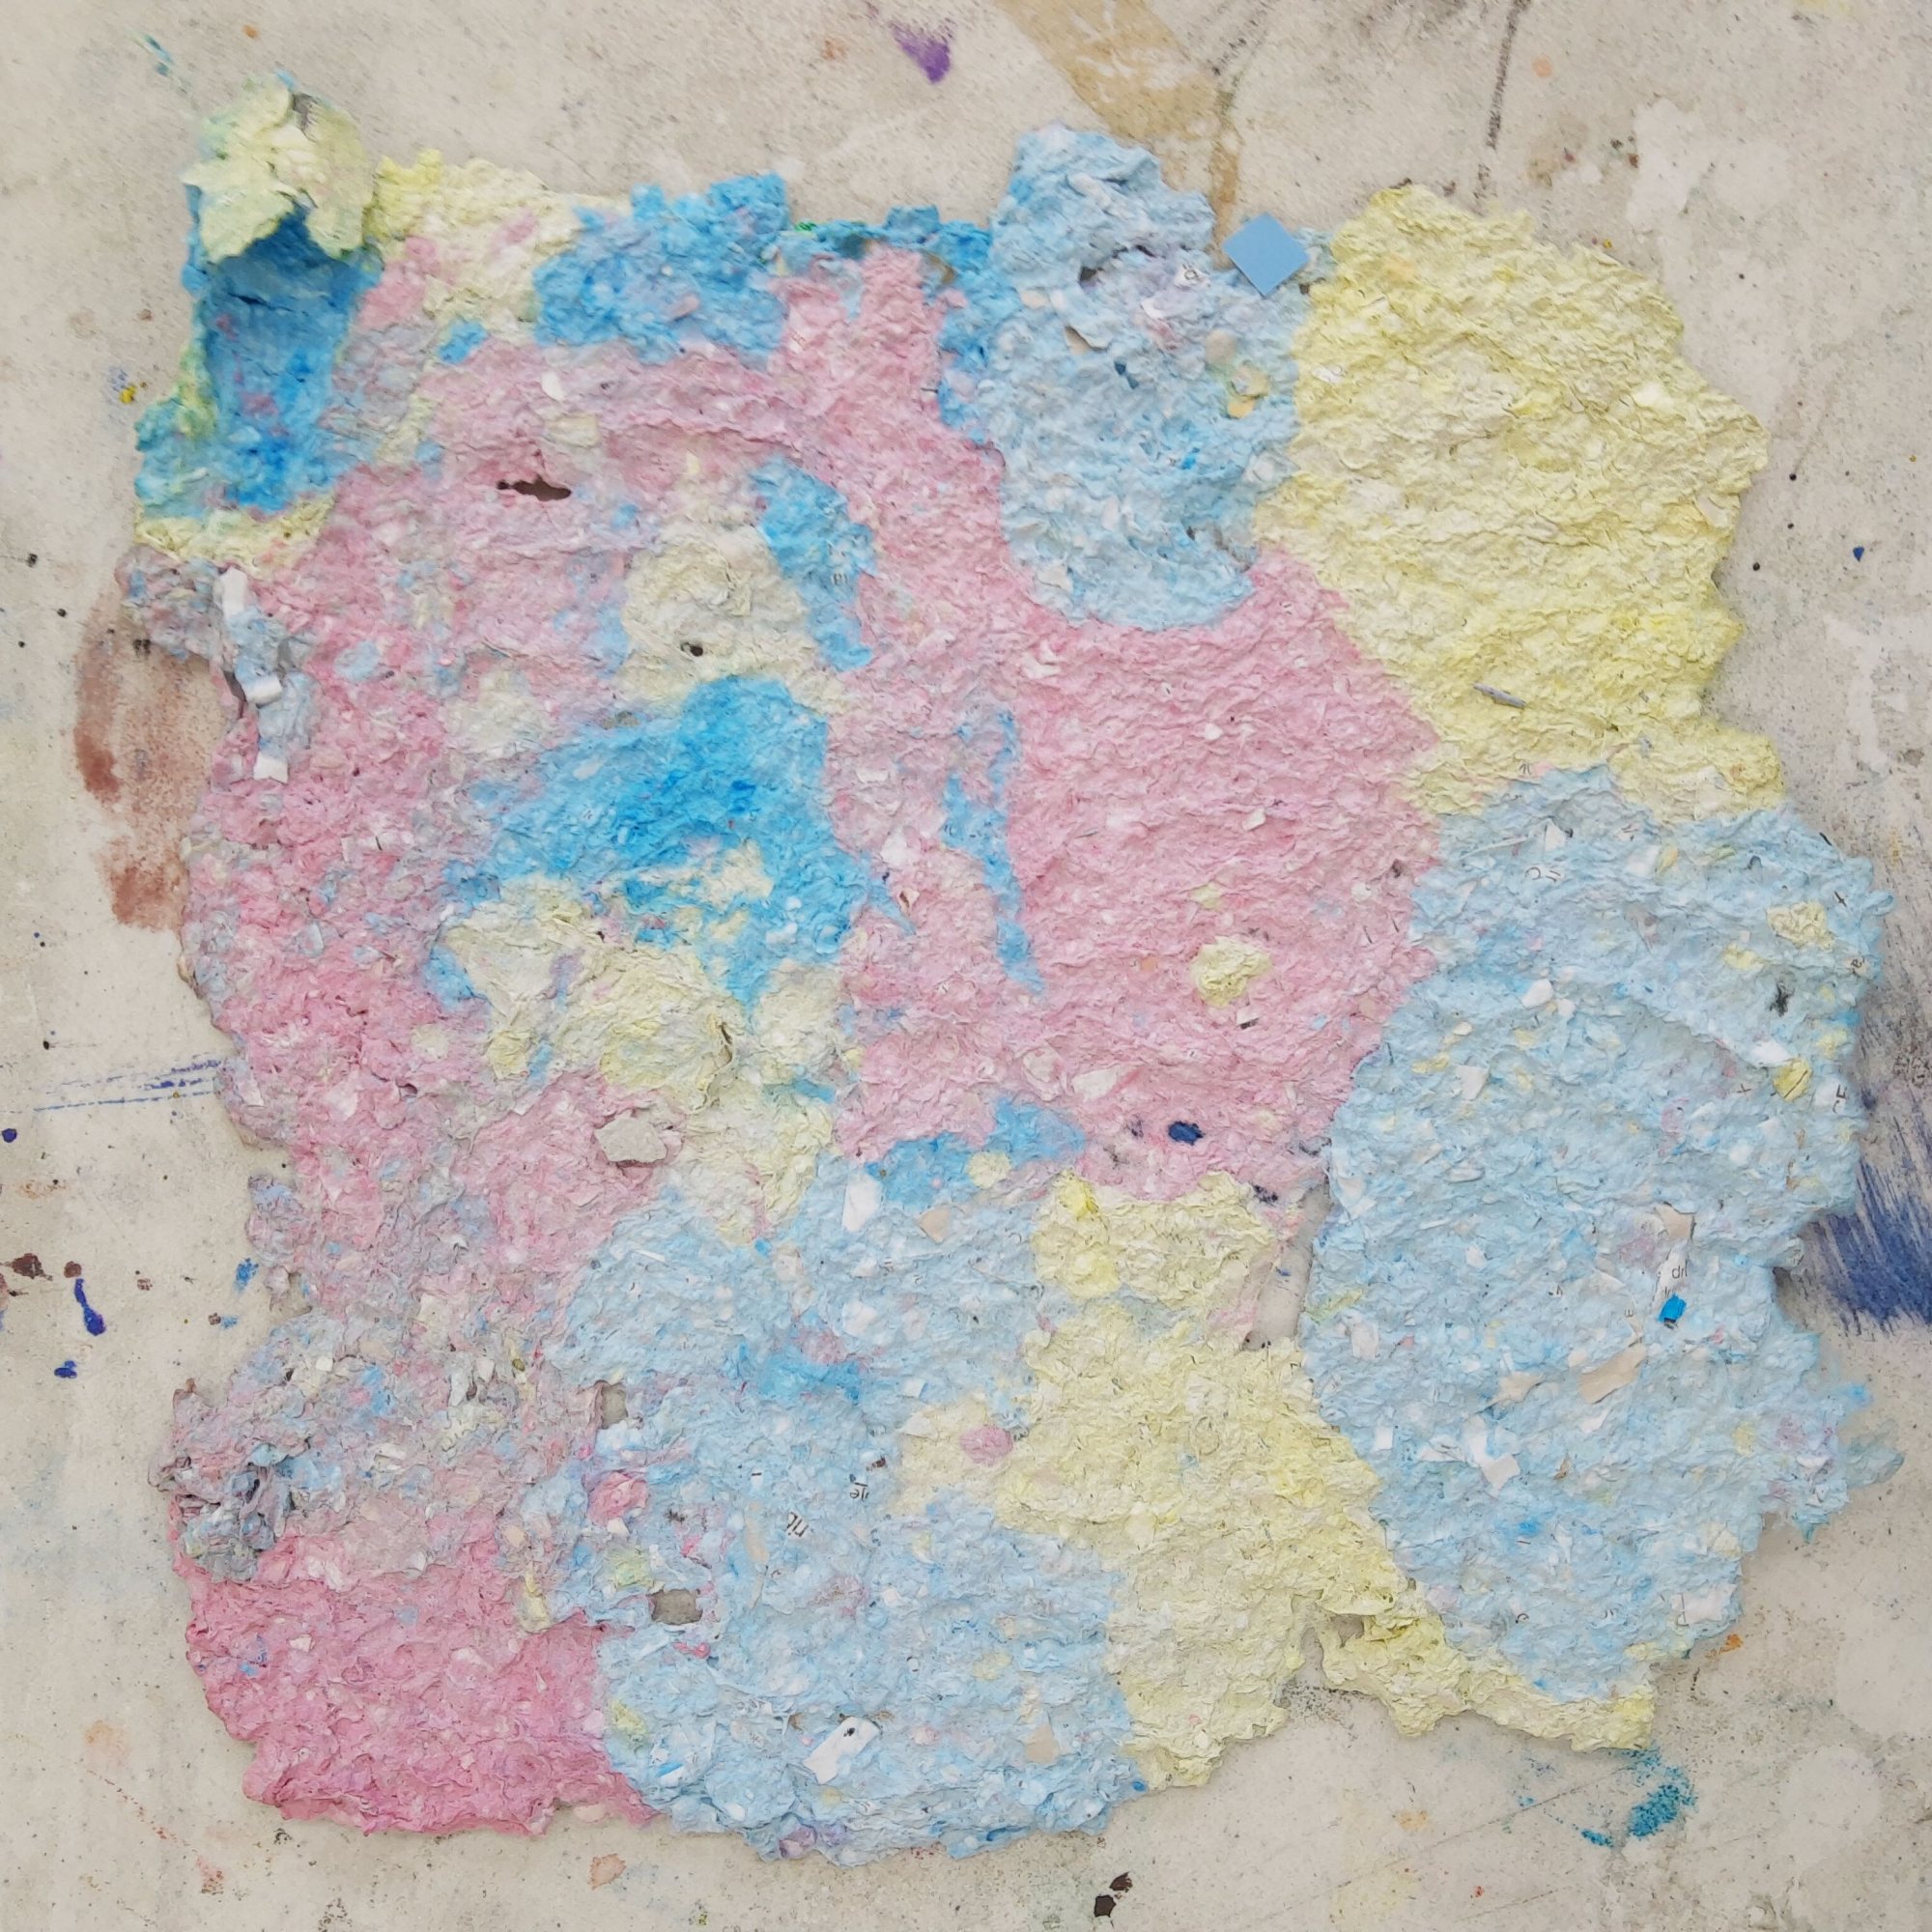
The finished paper!:


Last week, I taught a printmaking camp. I was subbing in for another teacher, and even though I had her lesson plan, I ended up changing a lot of things to account for the materials already available. For the first day, I wanted campers to make something really large using recycled materials. I remembered making collagraphs in my college printmaking class and it was really fun, so I went with it. I also love the textural aspect of collagraphs.

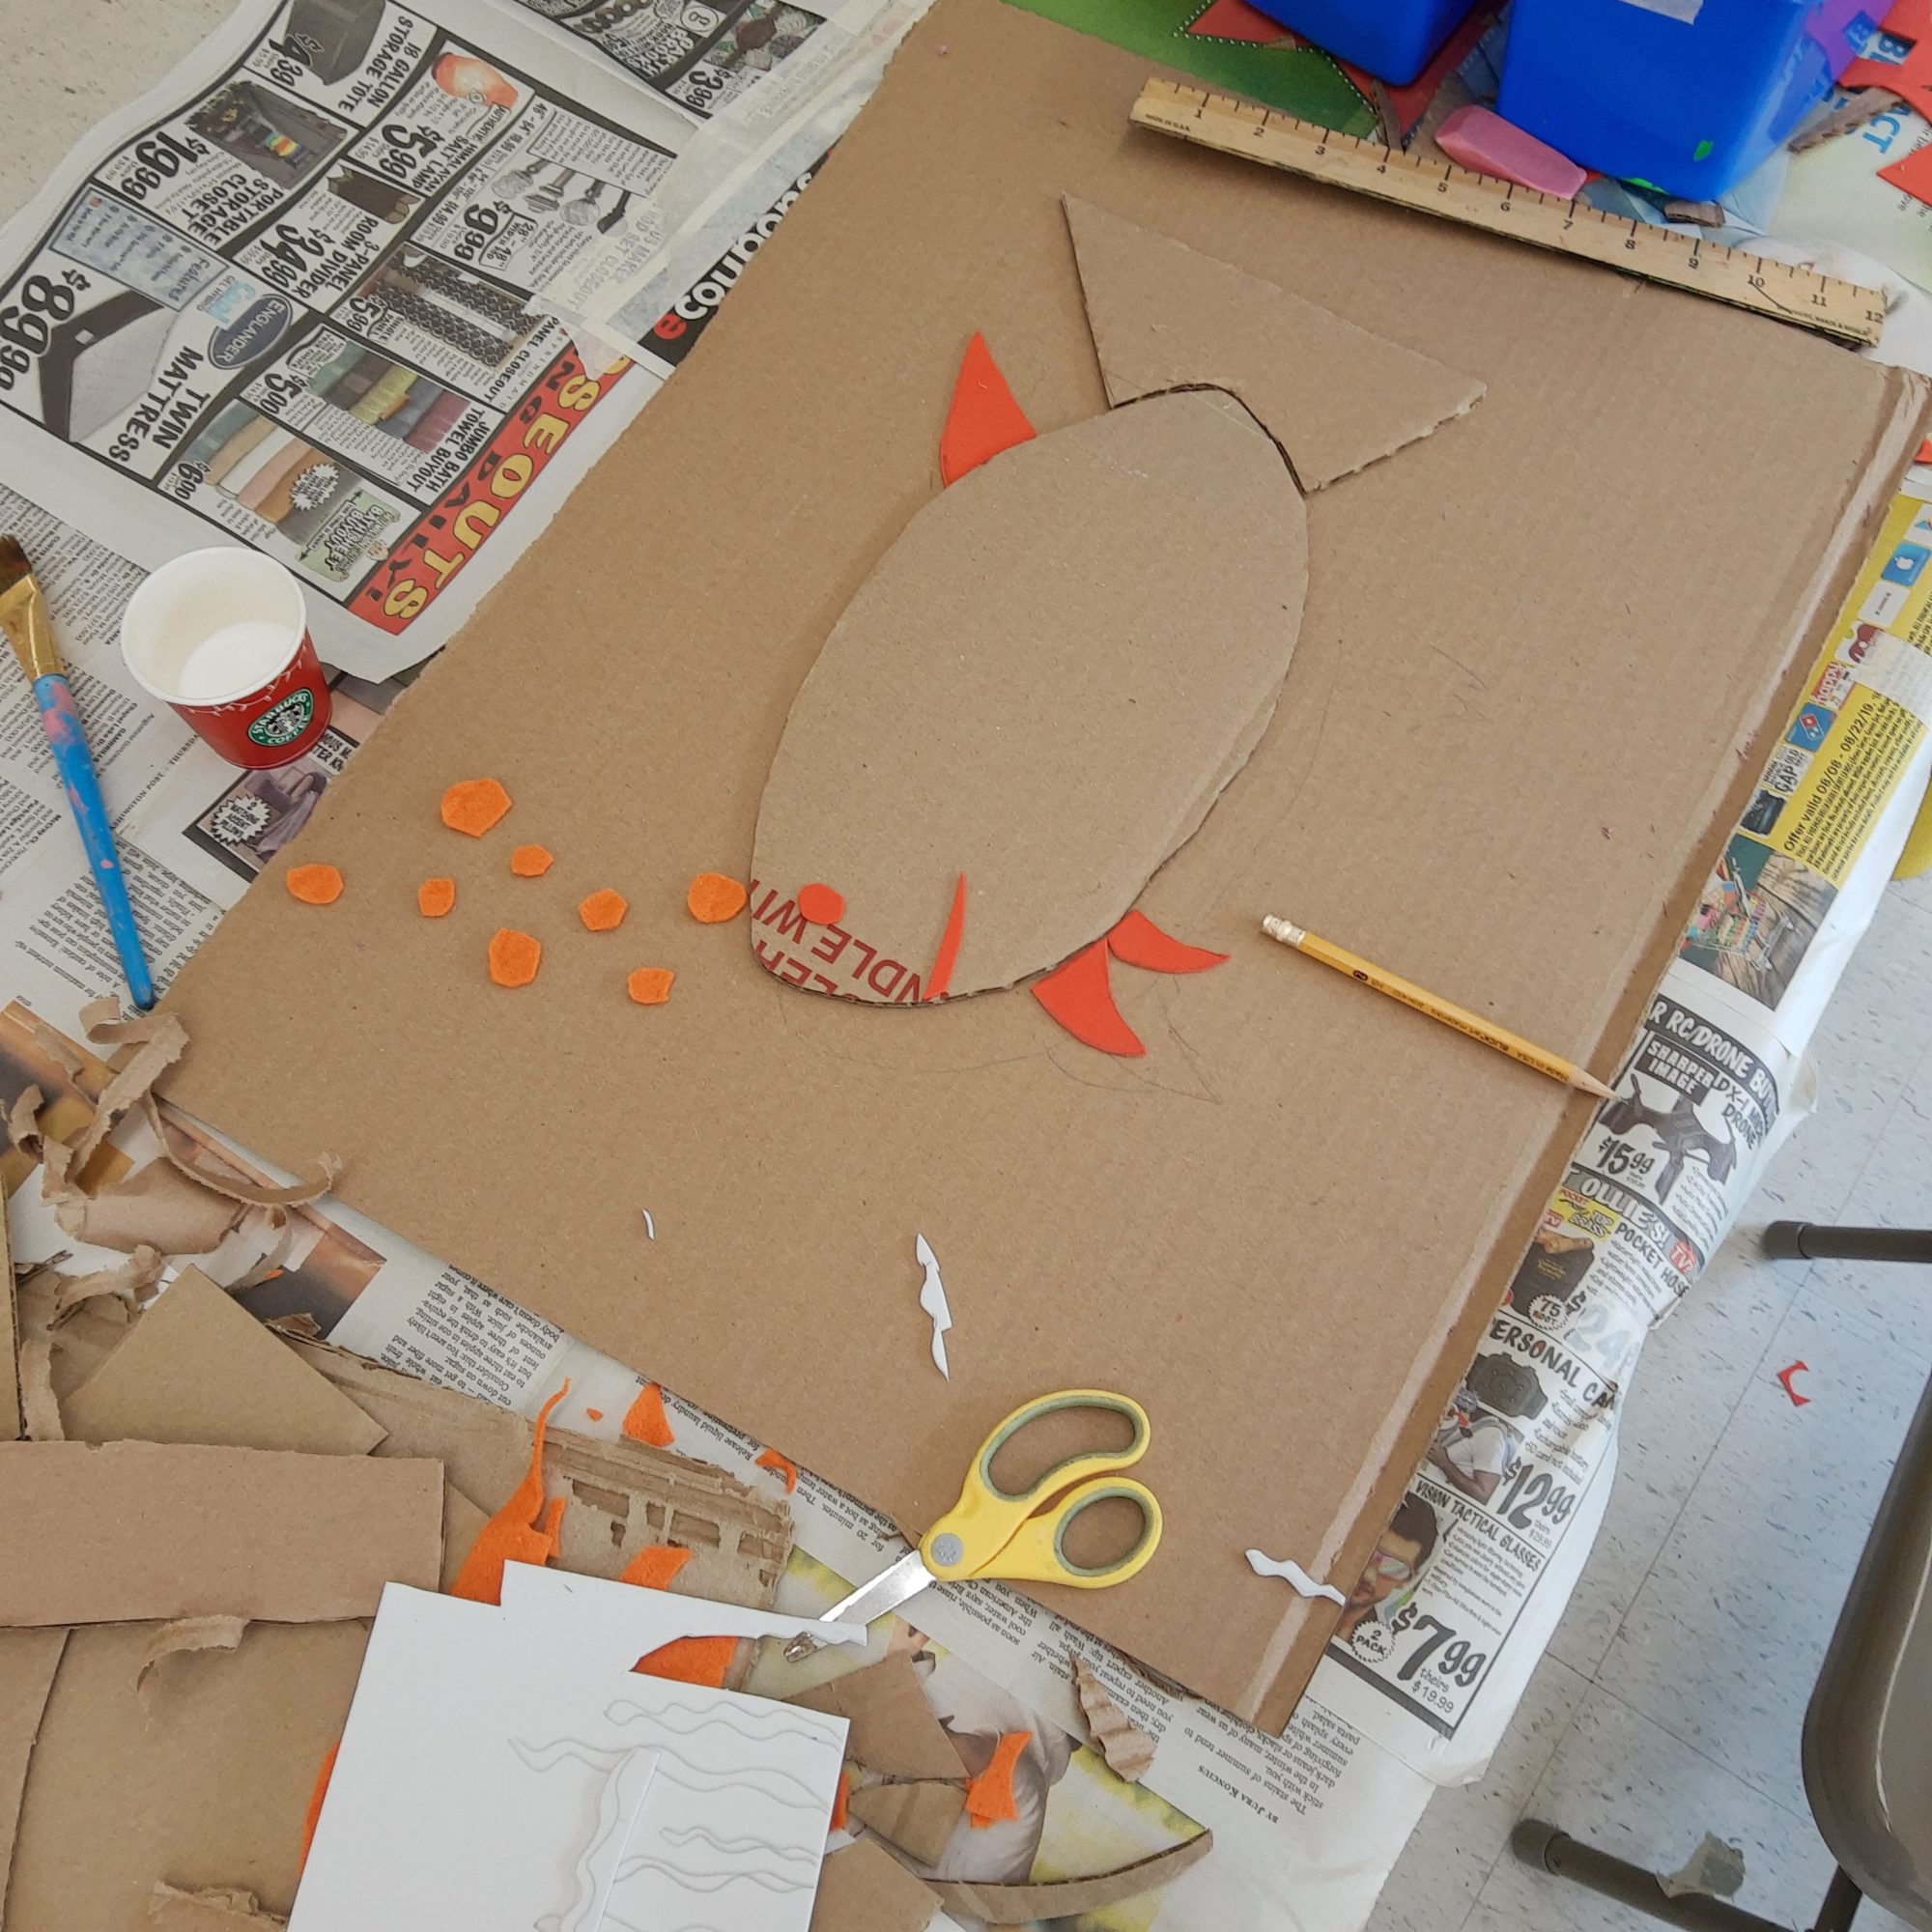
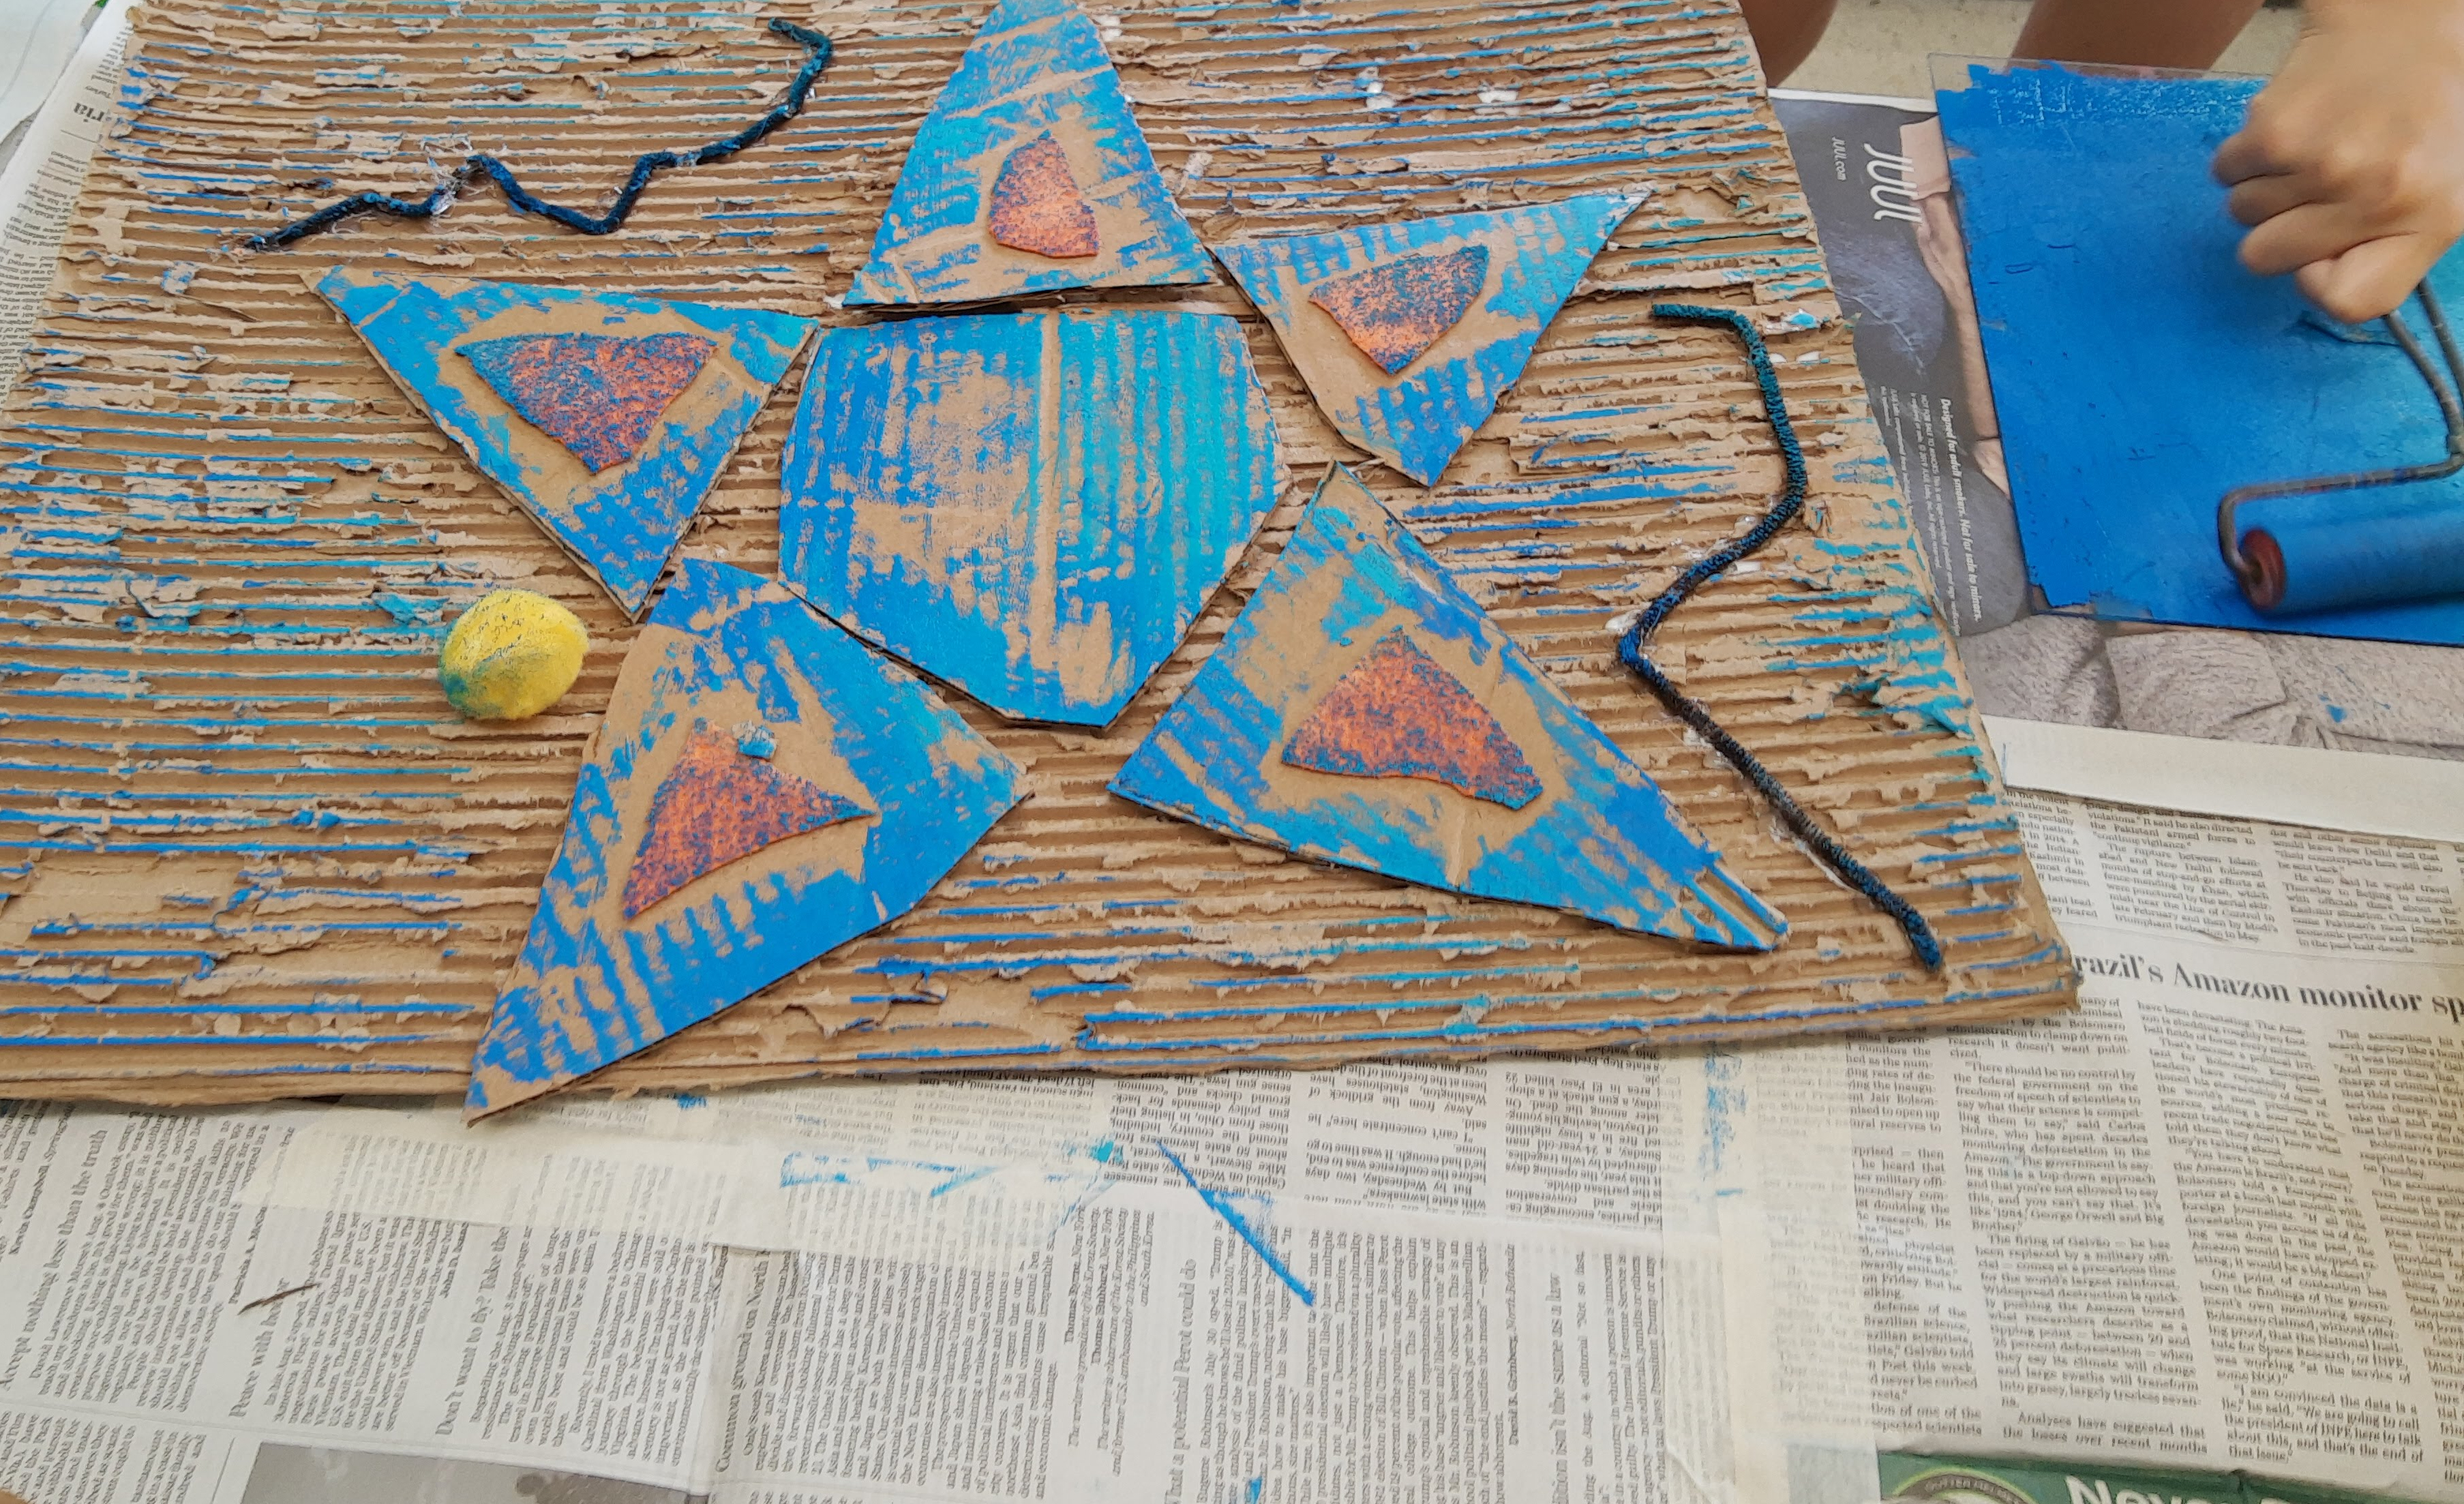
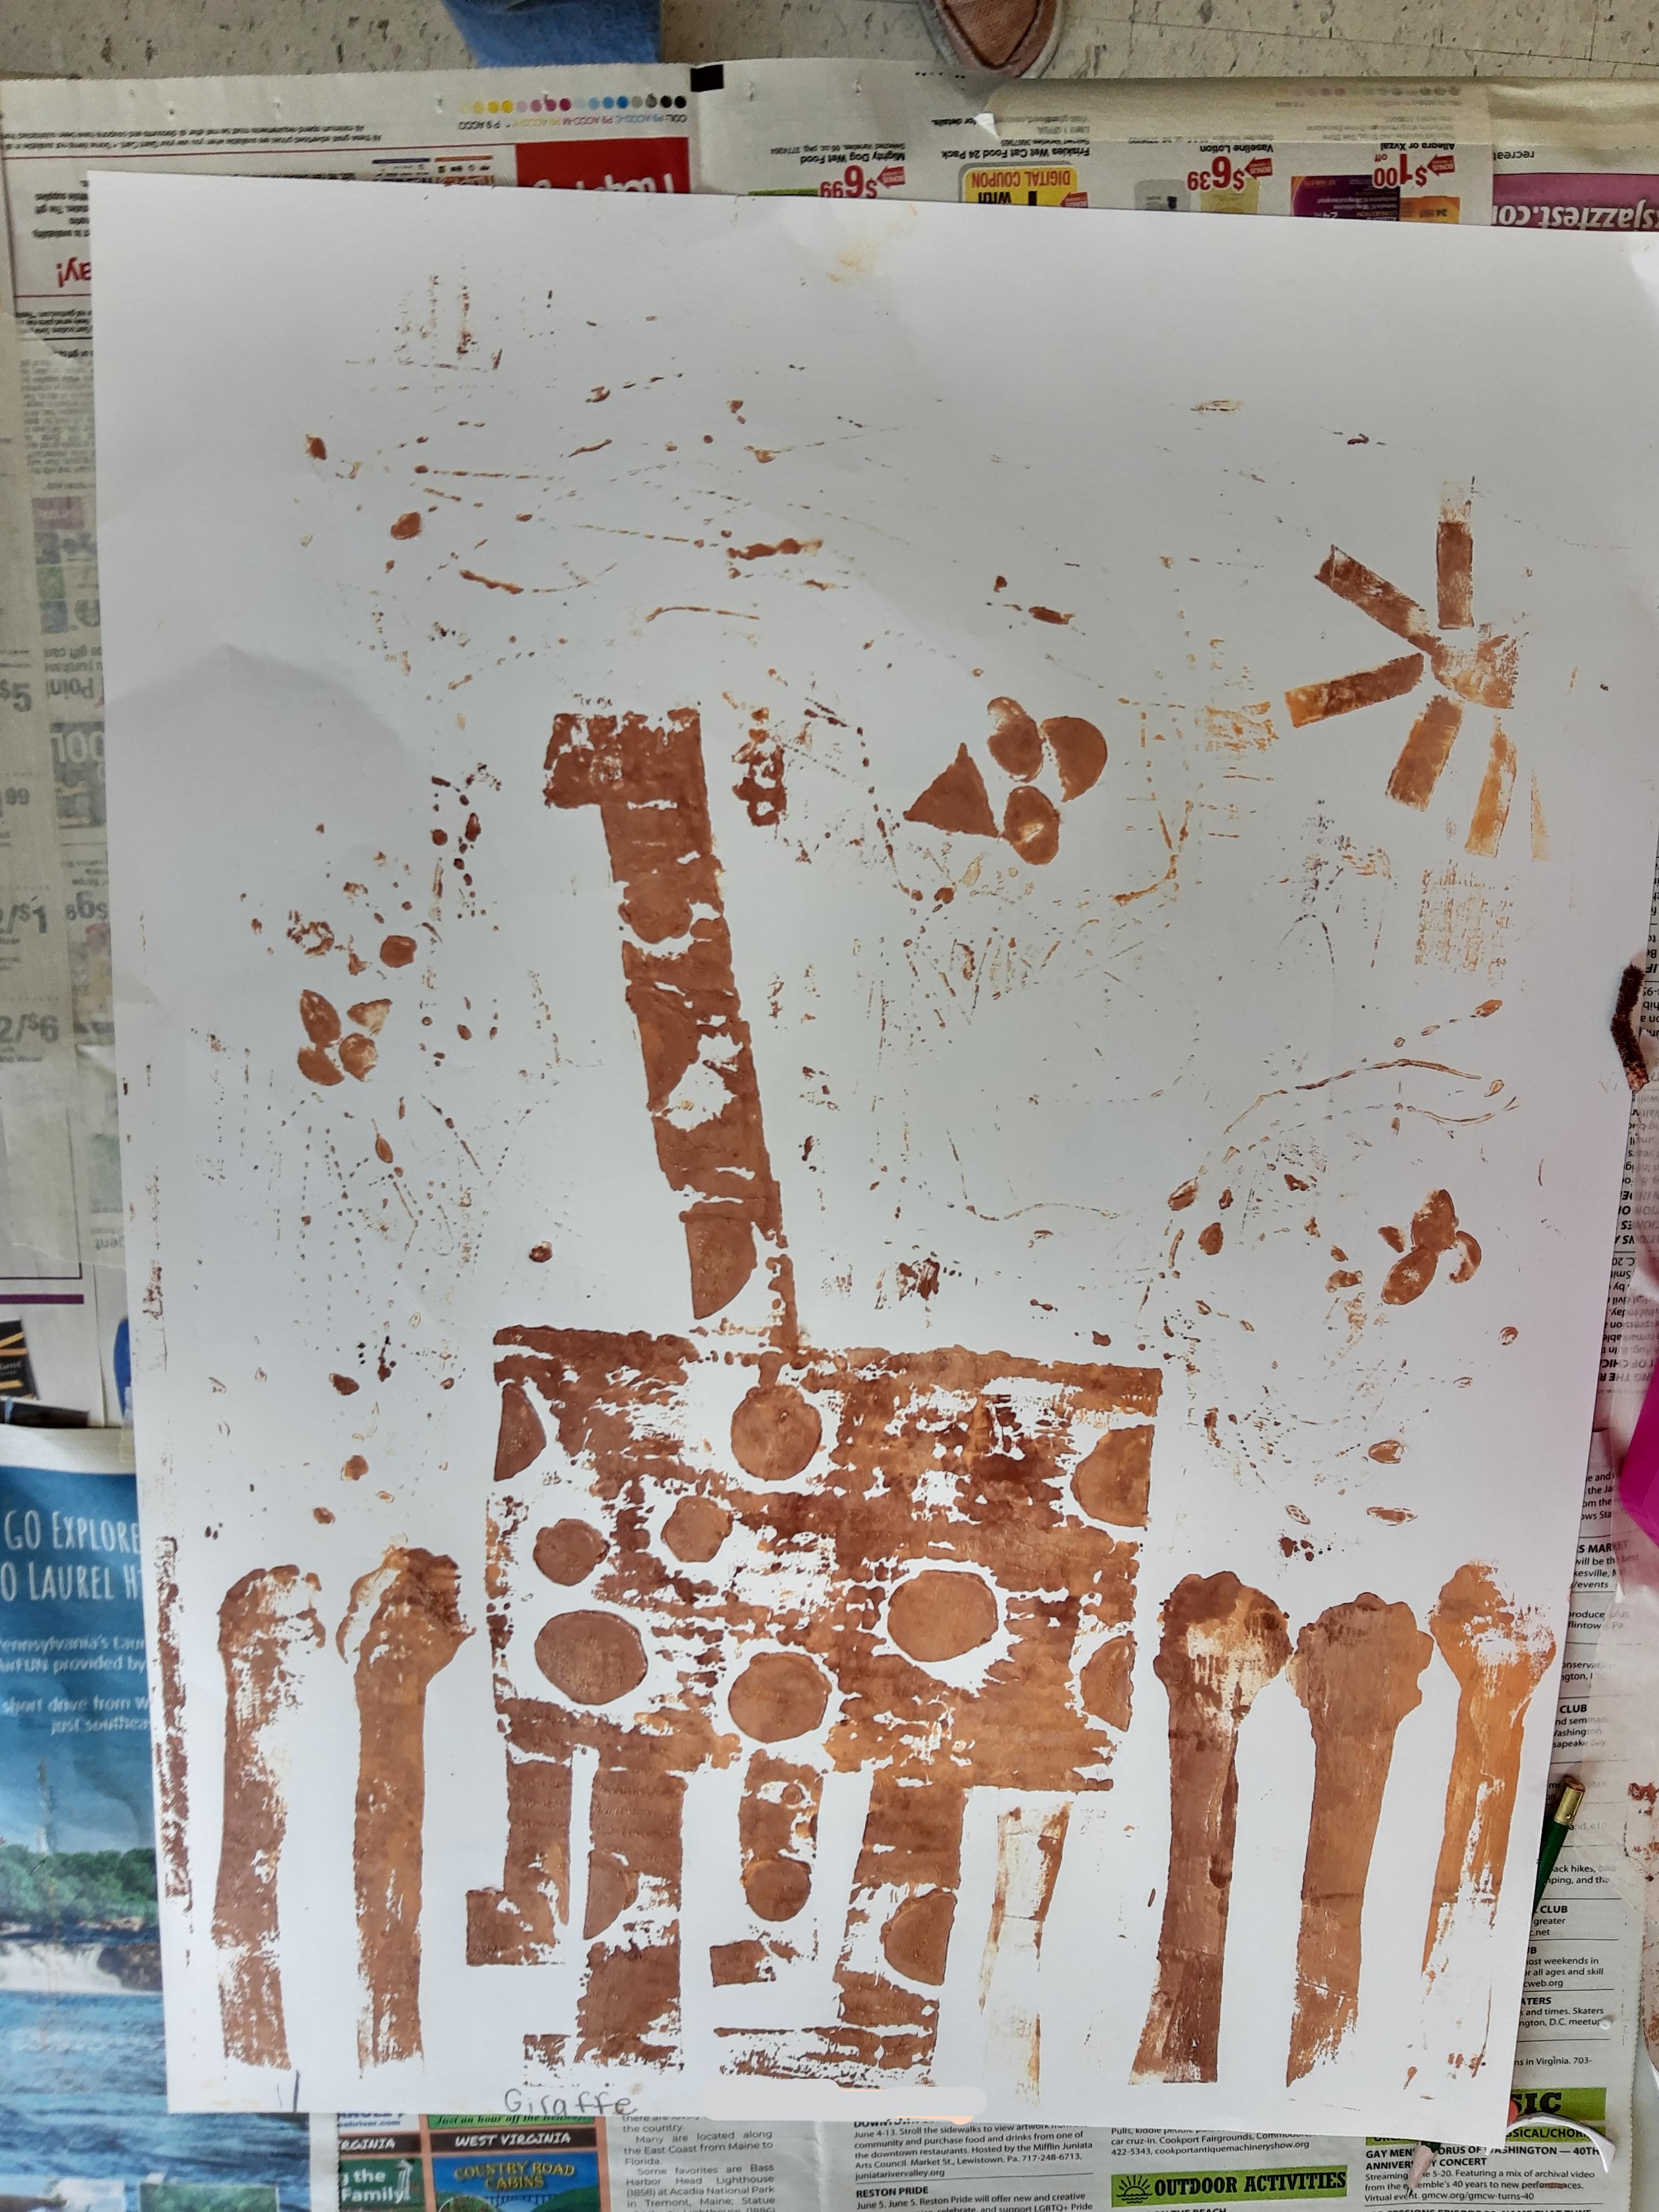
Collagraphs – On the first day of camp, campers learned about collagraphs and made BIG printing plates. I cut out cardboard that is about 22 x 16″ to fit on 24 x 18″ paper.
Before creating their plates, I gave campers the theme of animals and had them sketch out and brainstorm at least 4 different ideas. They all came up with different animals which was awesome!
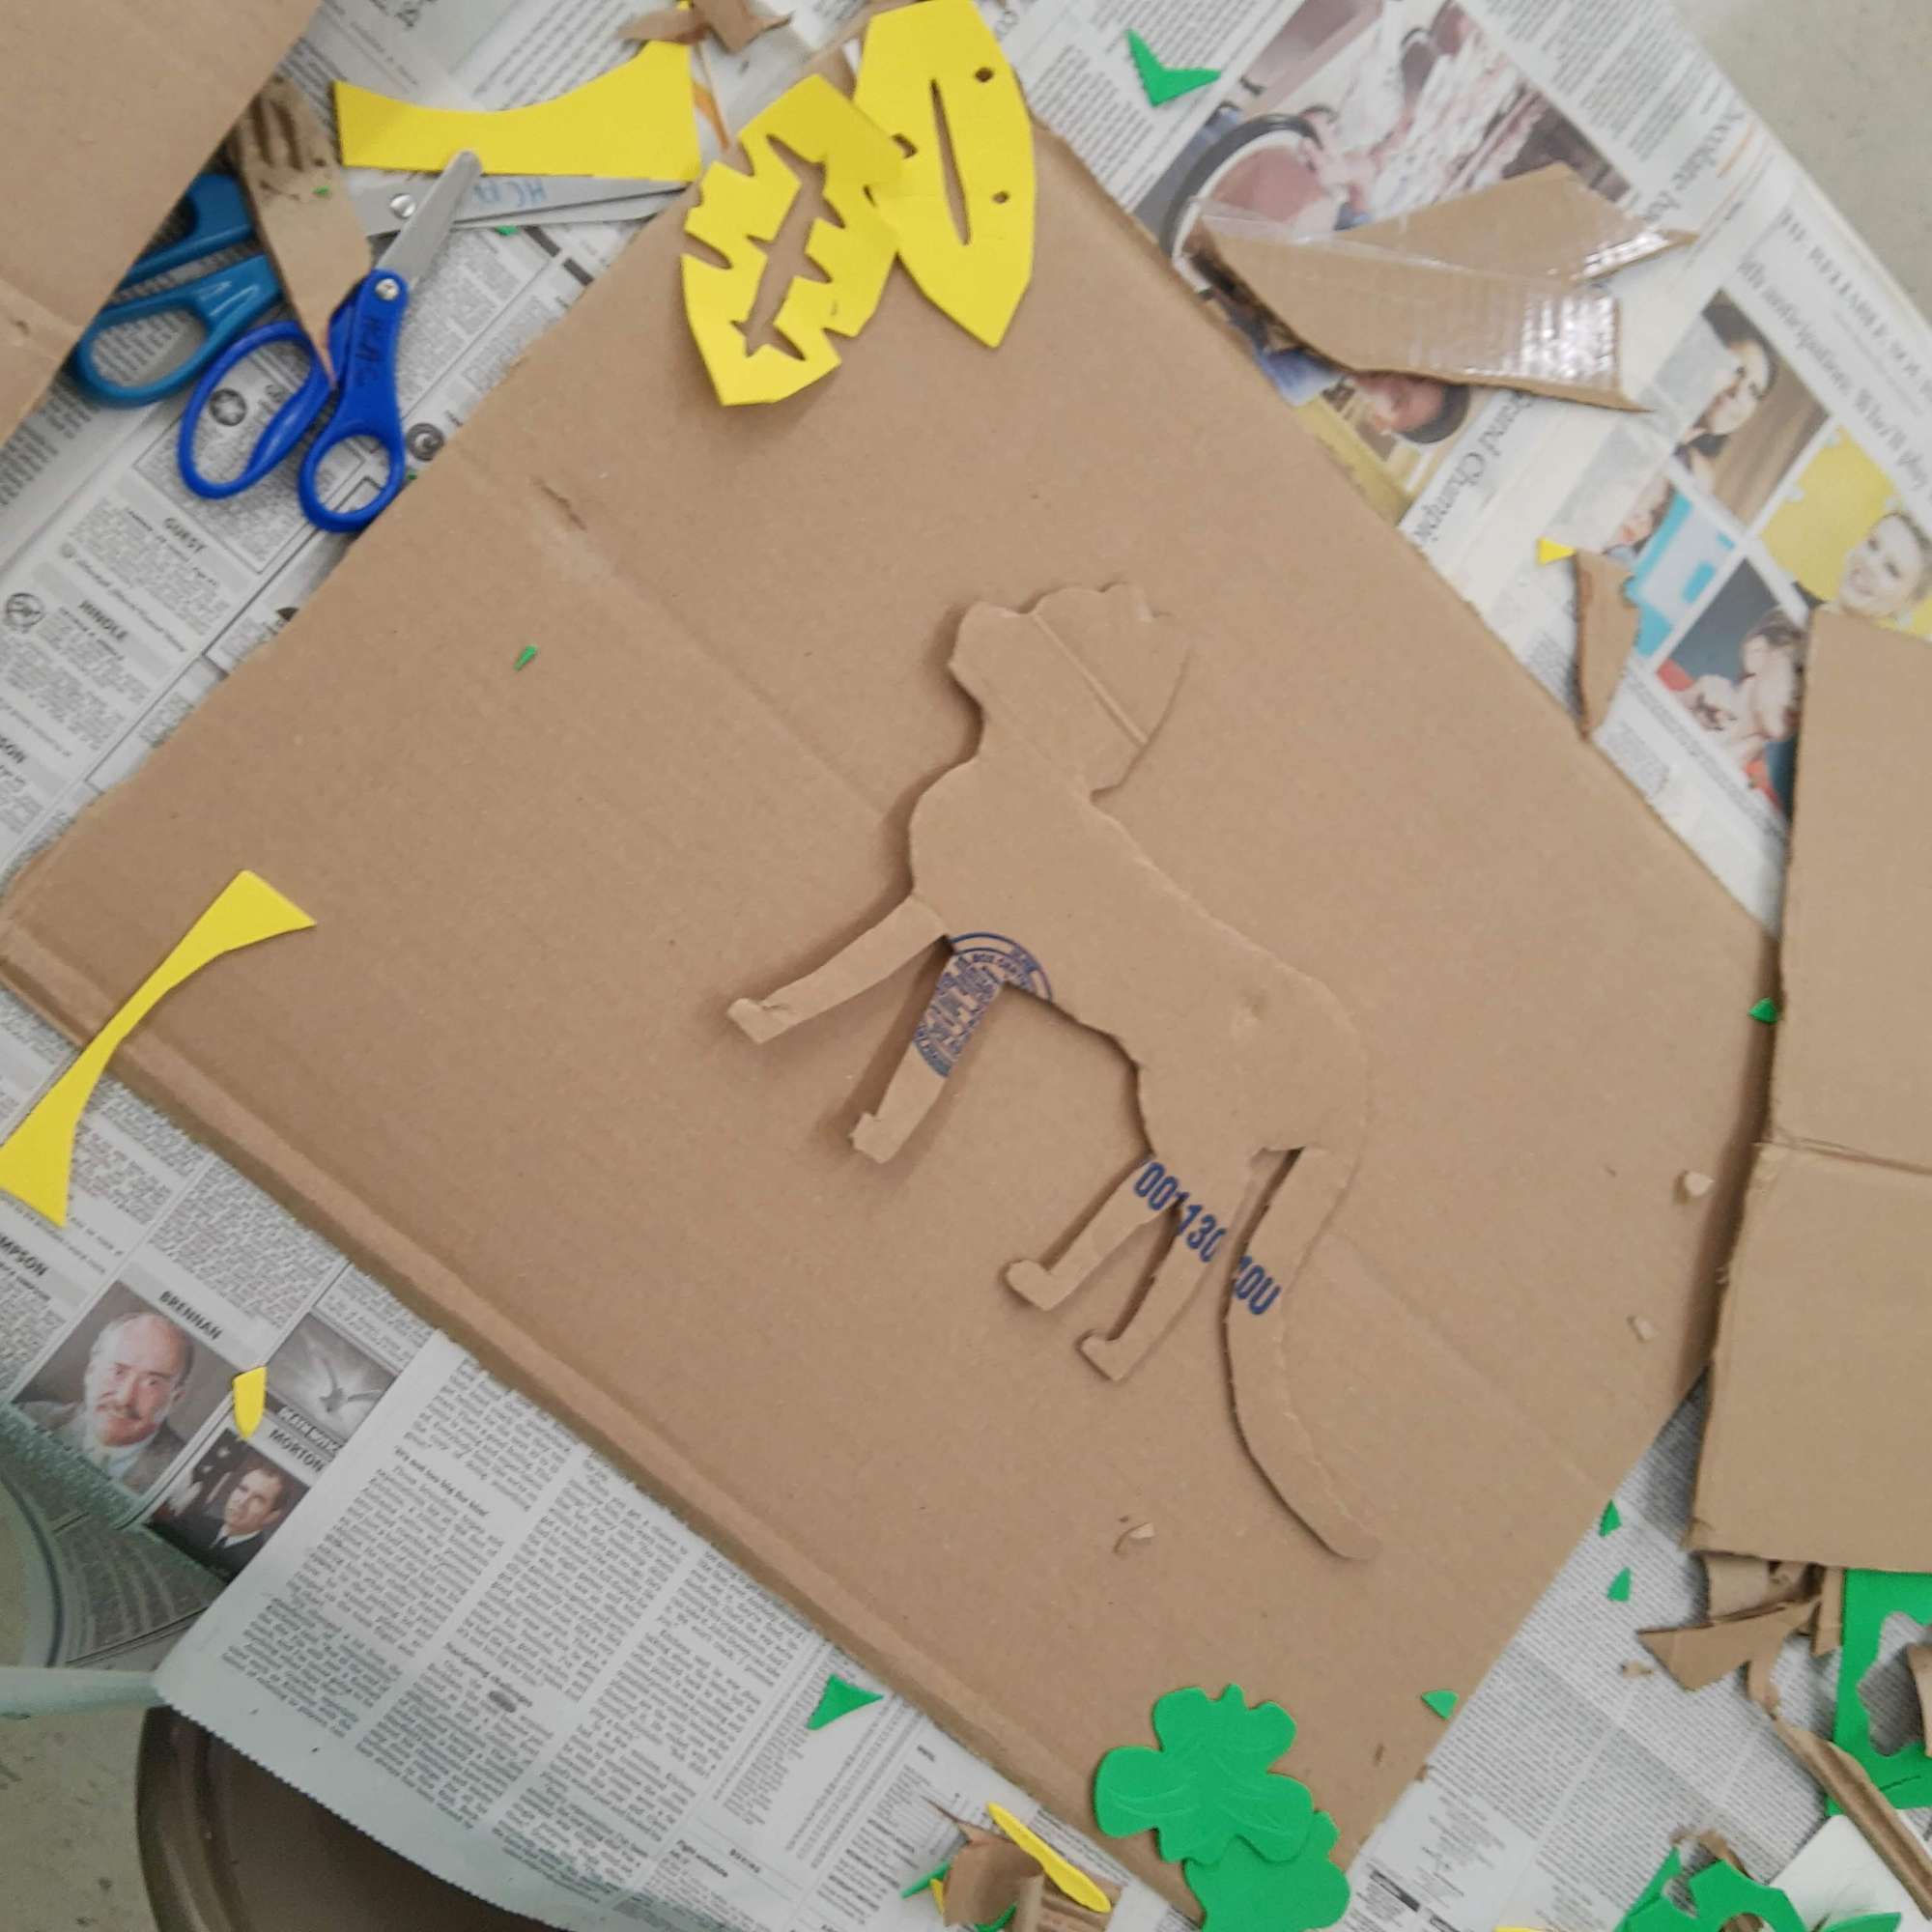
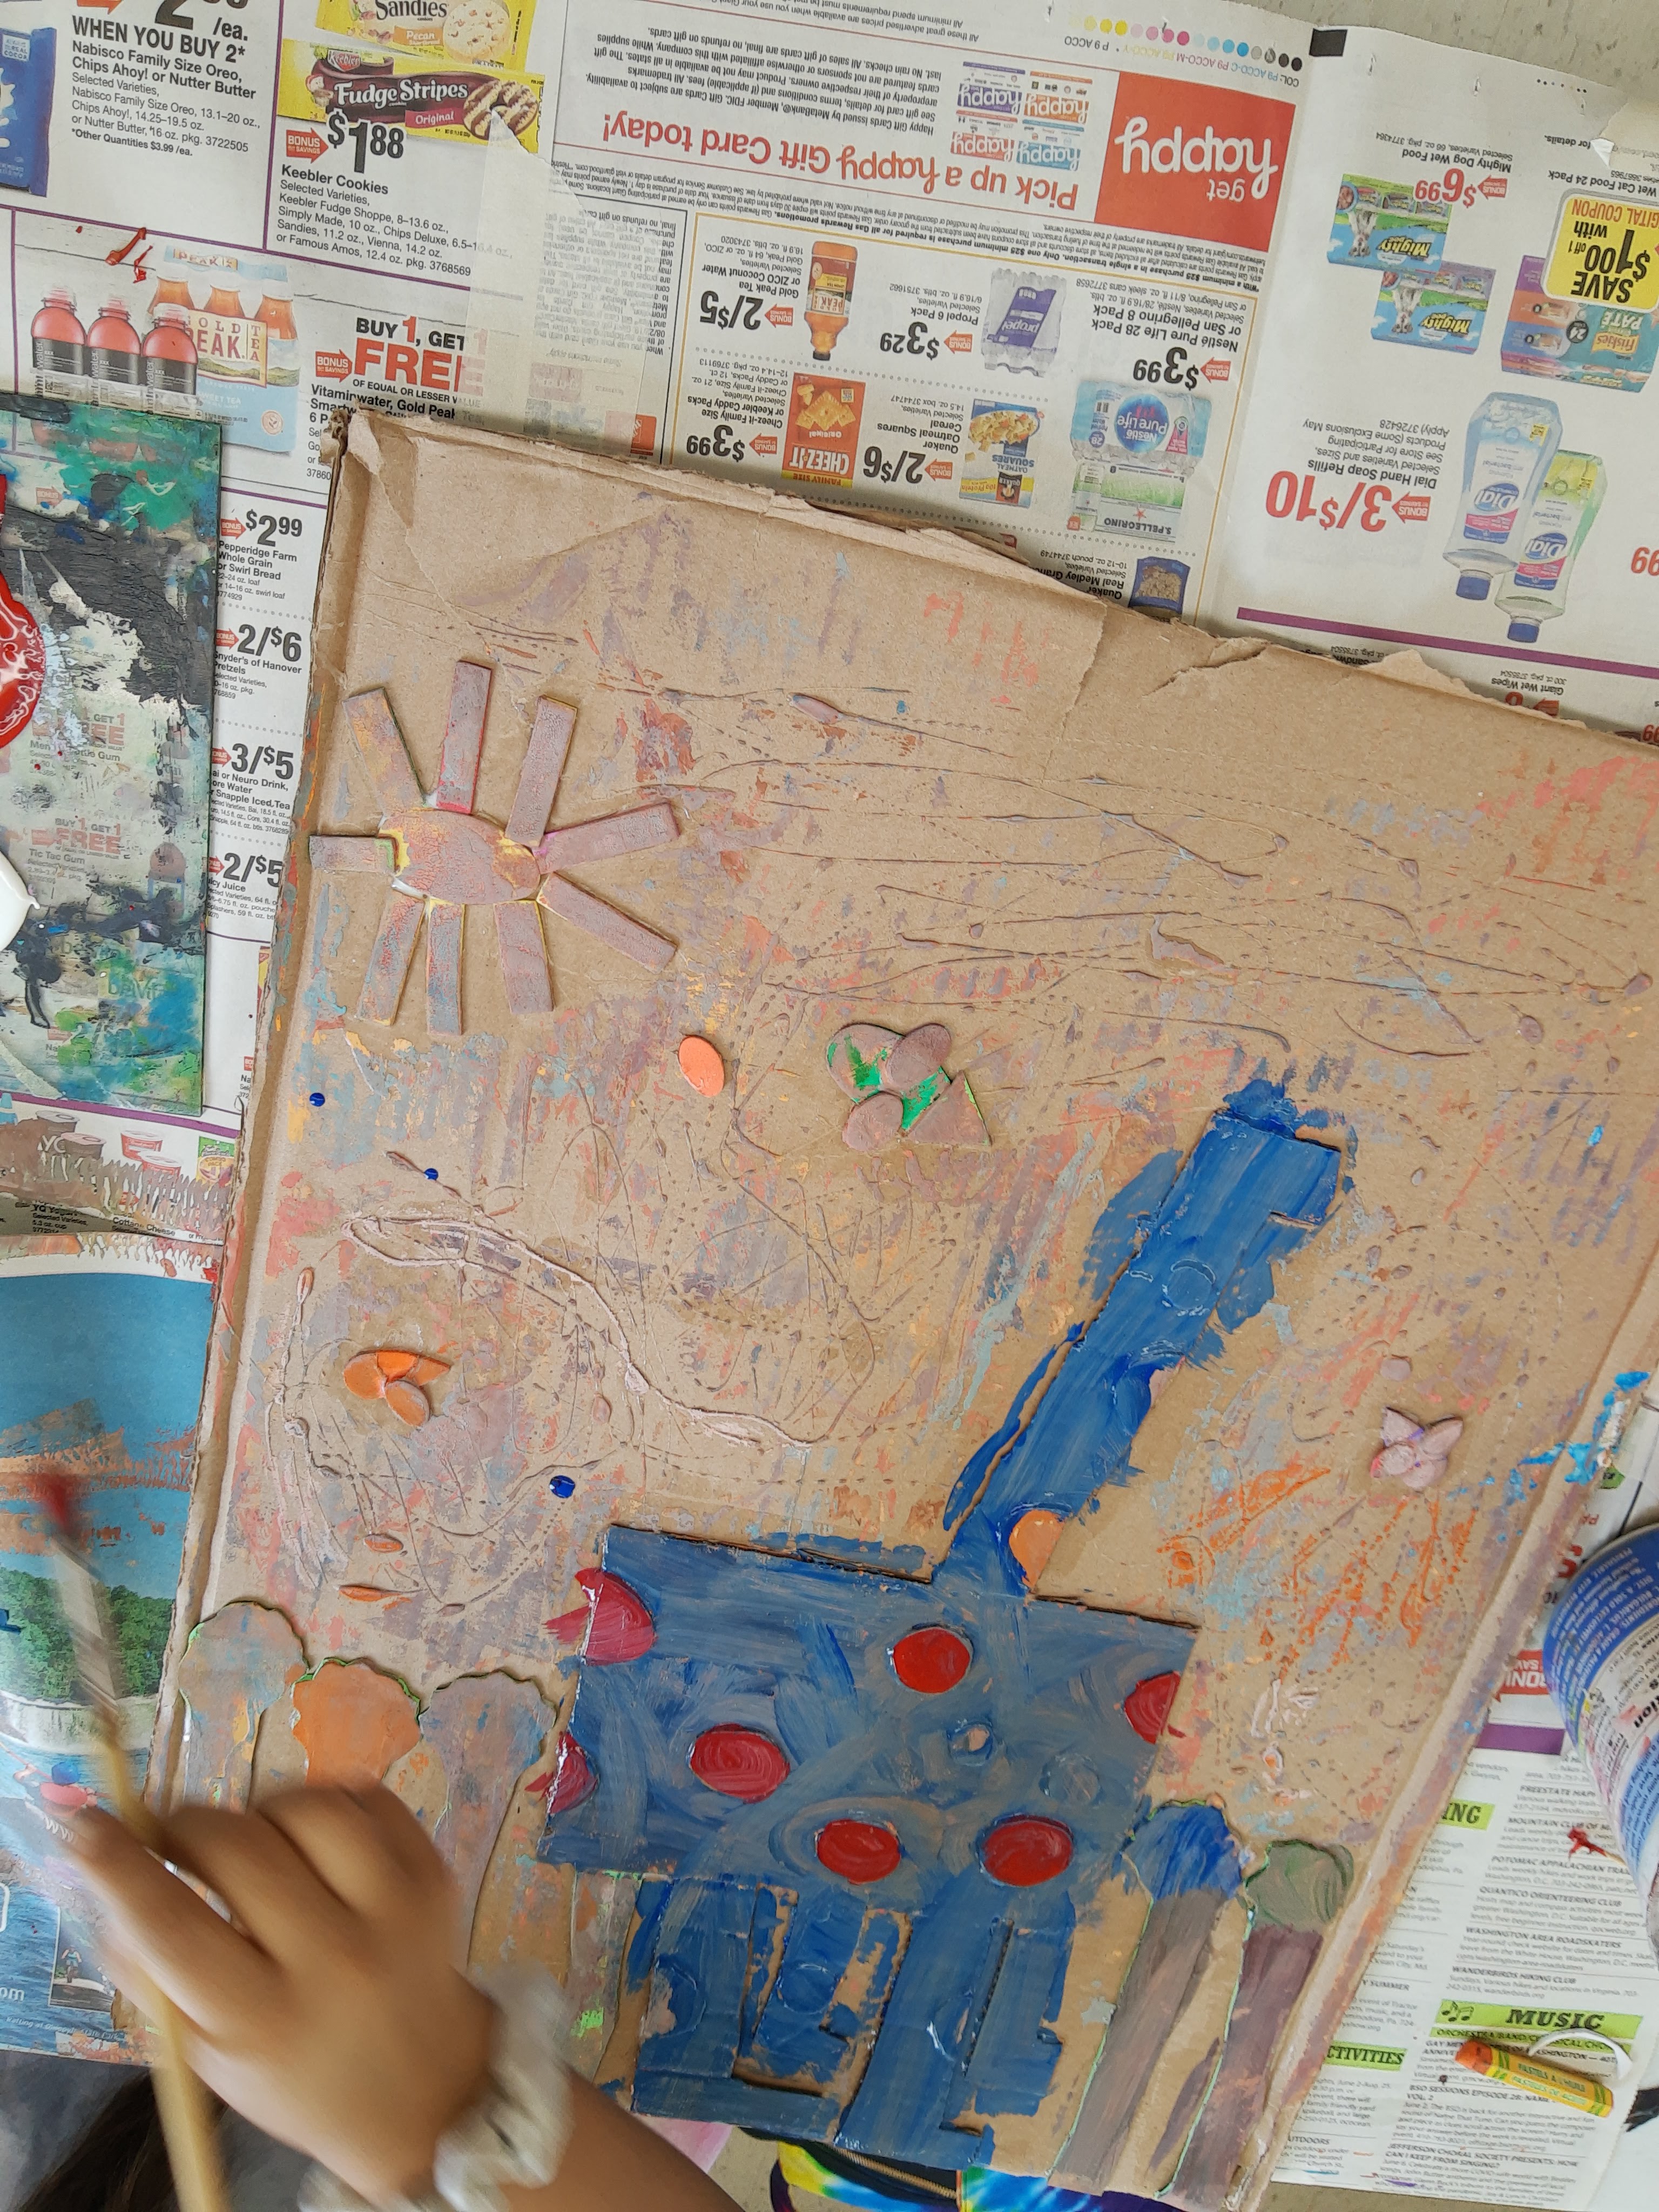
Once their ideas were set, they began assembling their collagraphs. I had different sizes of scrap cardboard laid out for campers to use as well as foam, felt, pipe-cleaners, and other crafty materials to attach to their cardboard plate. One camper even decided to remove the top layer of the cardboard to reveal the corrugation underneath to create texture. We also discussed how different materials will create different textures (fabric creates a fuzzy texture, cardboard appears rough).
Once everything had been glued down to the plate, I handed out cups of mod podge and brushes and campers applied mod podge all over the top surface of their plates so everything was sealed and ready for printing.
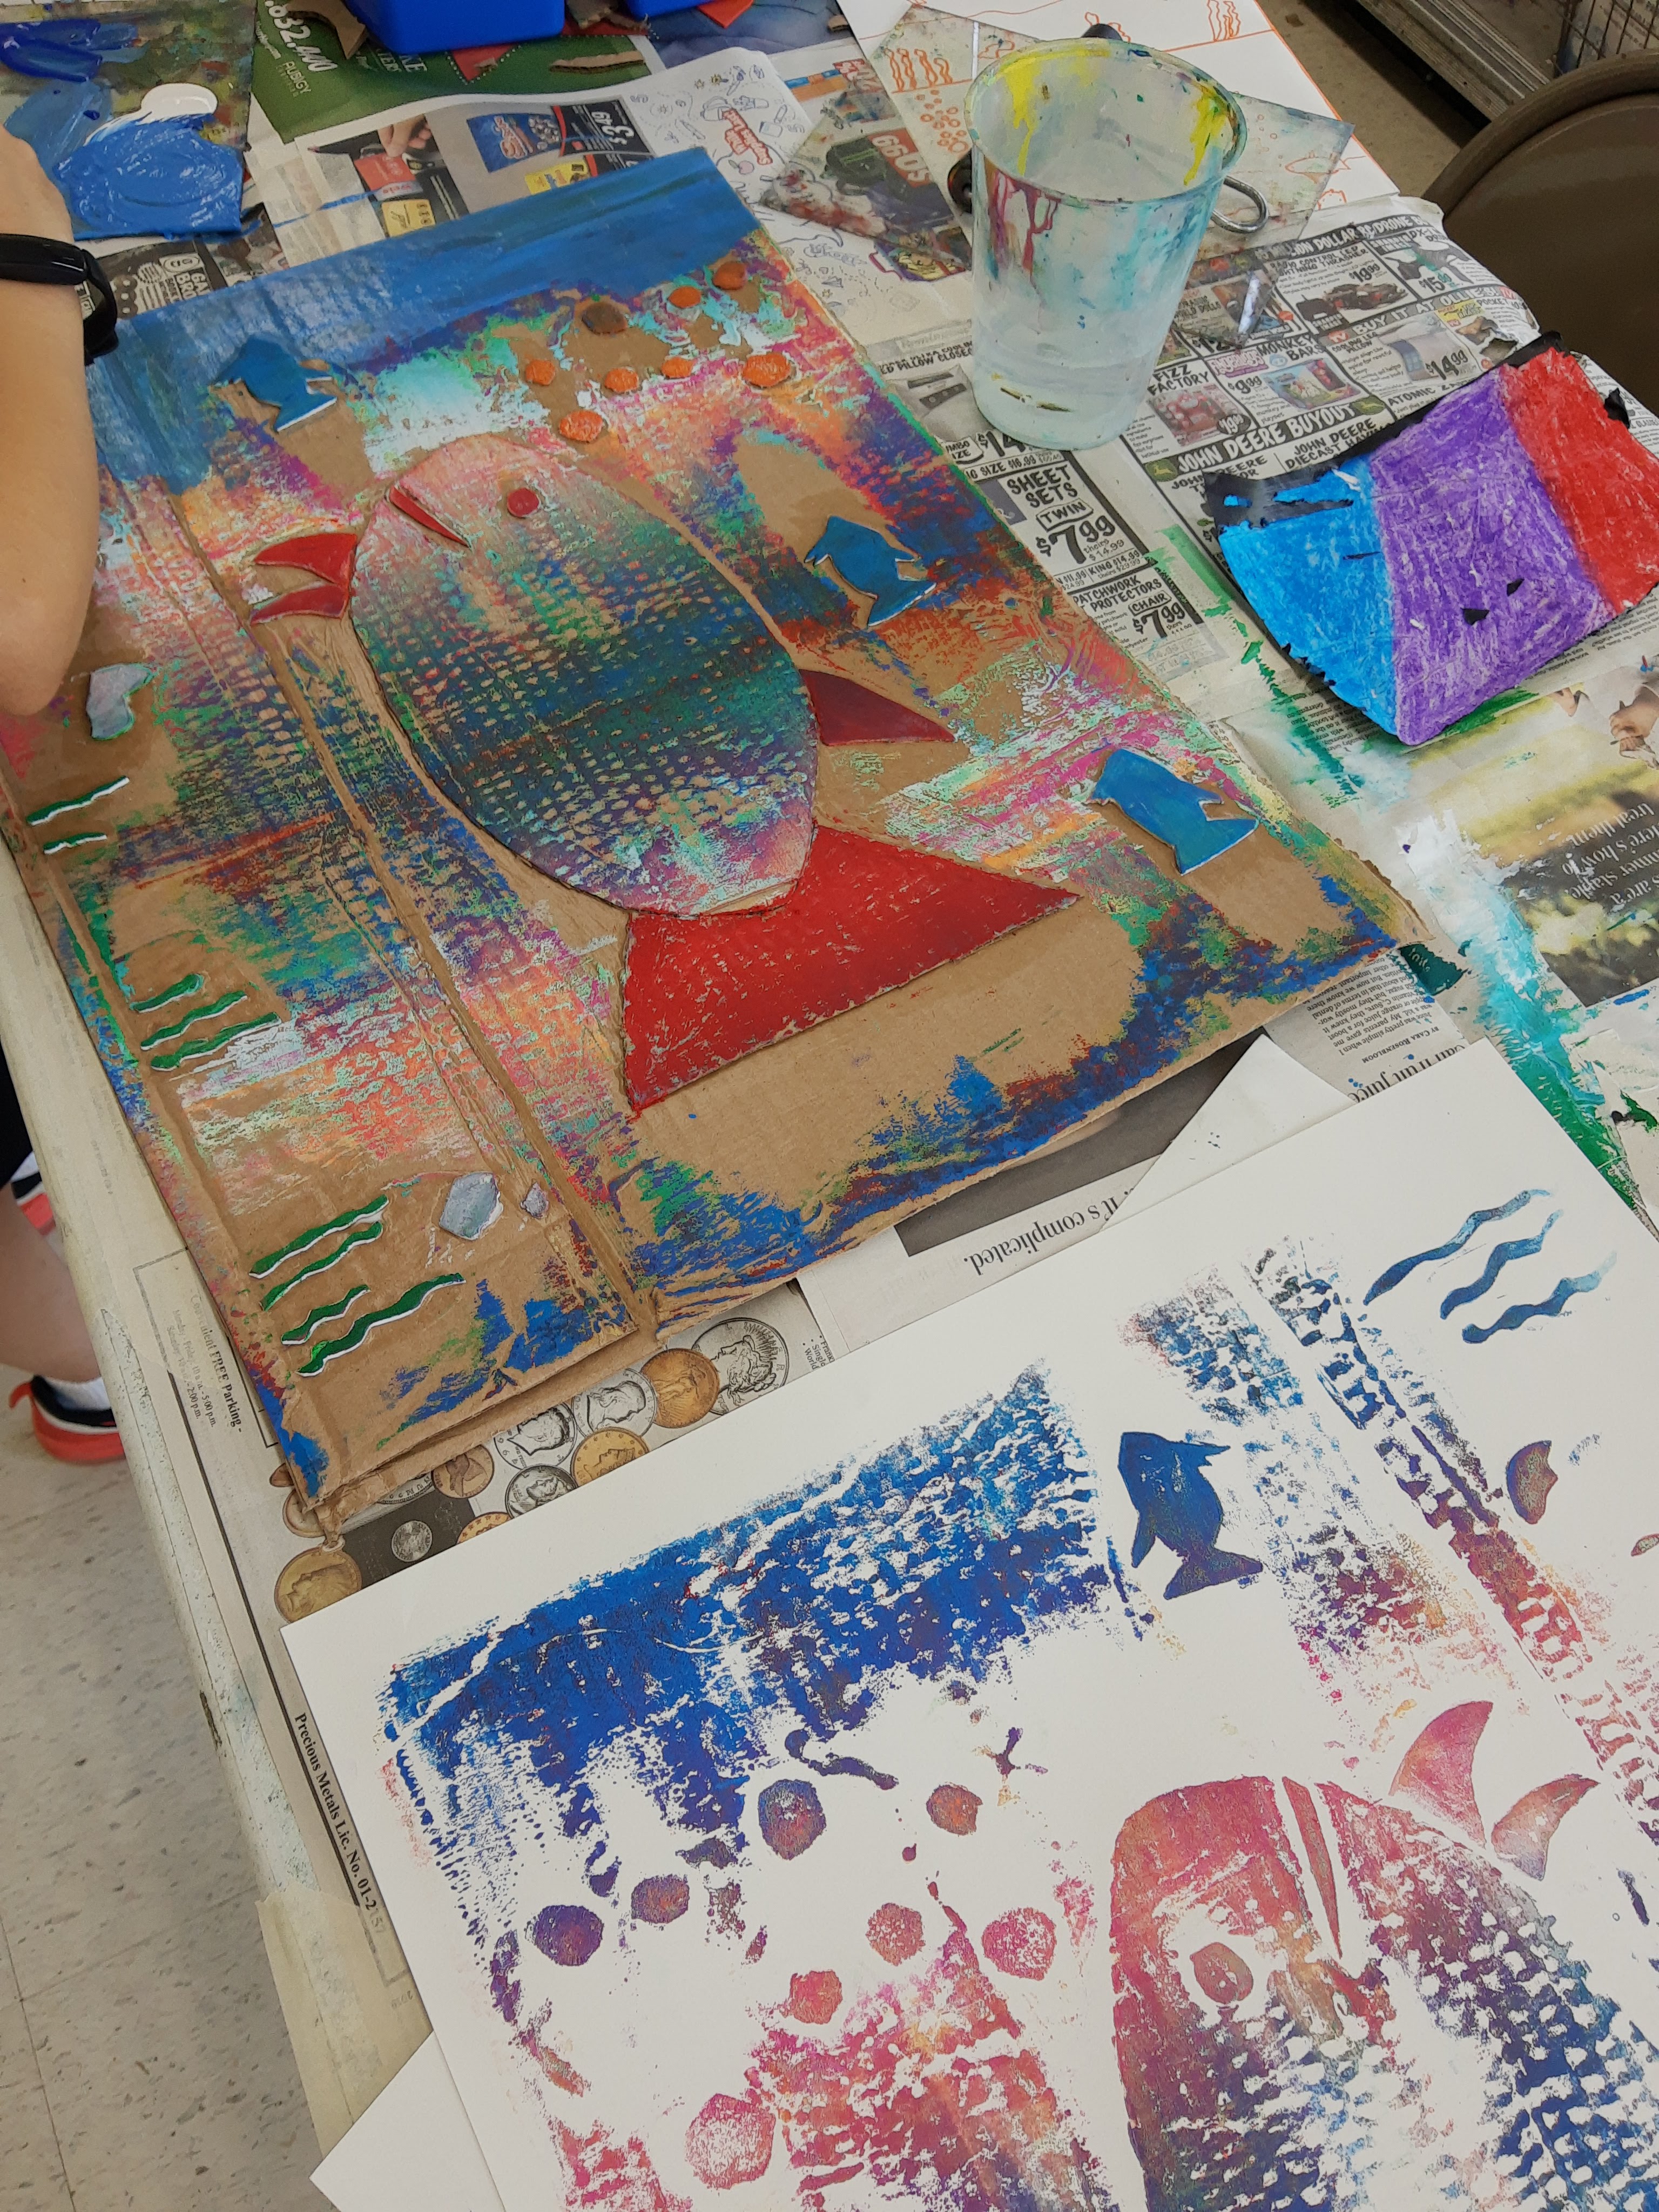
Some of the collagraph plates from campers:


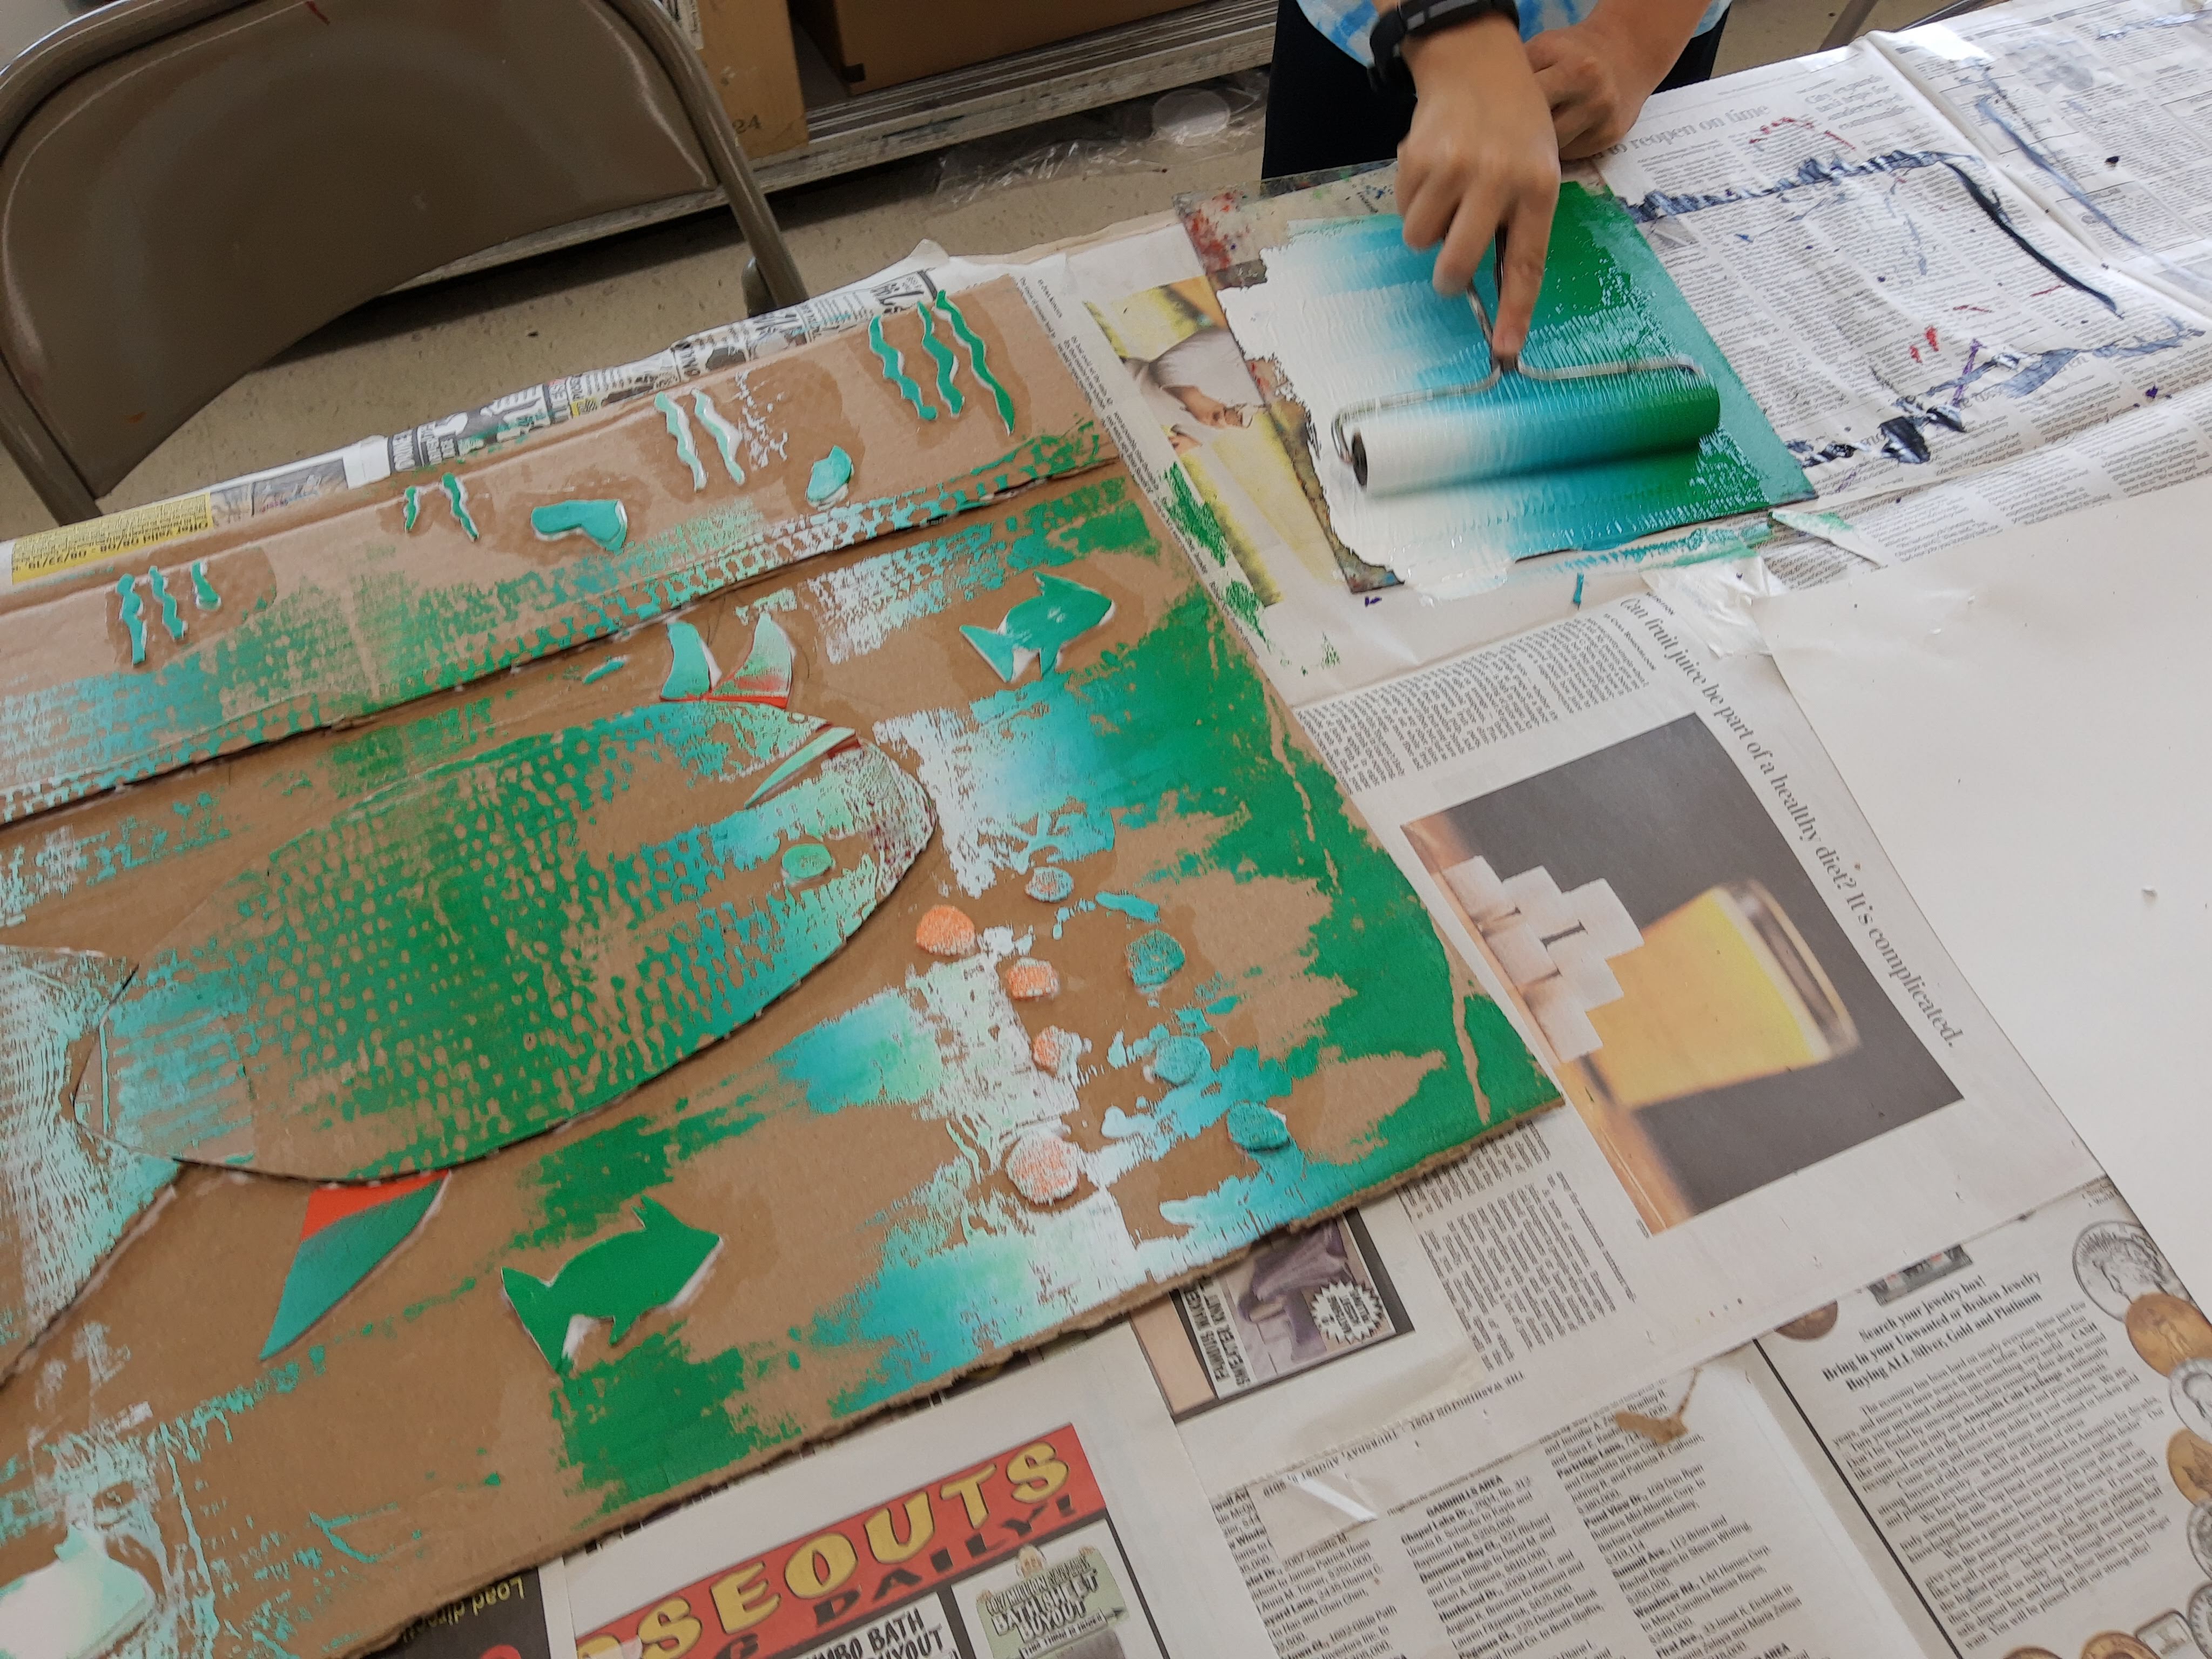
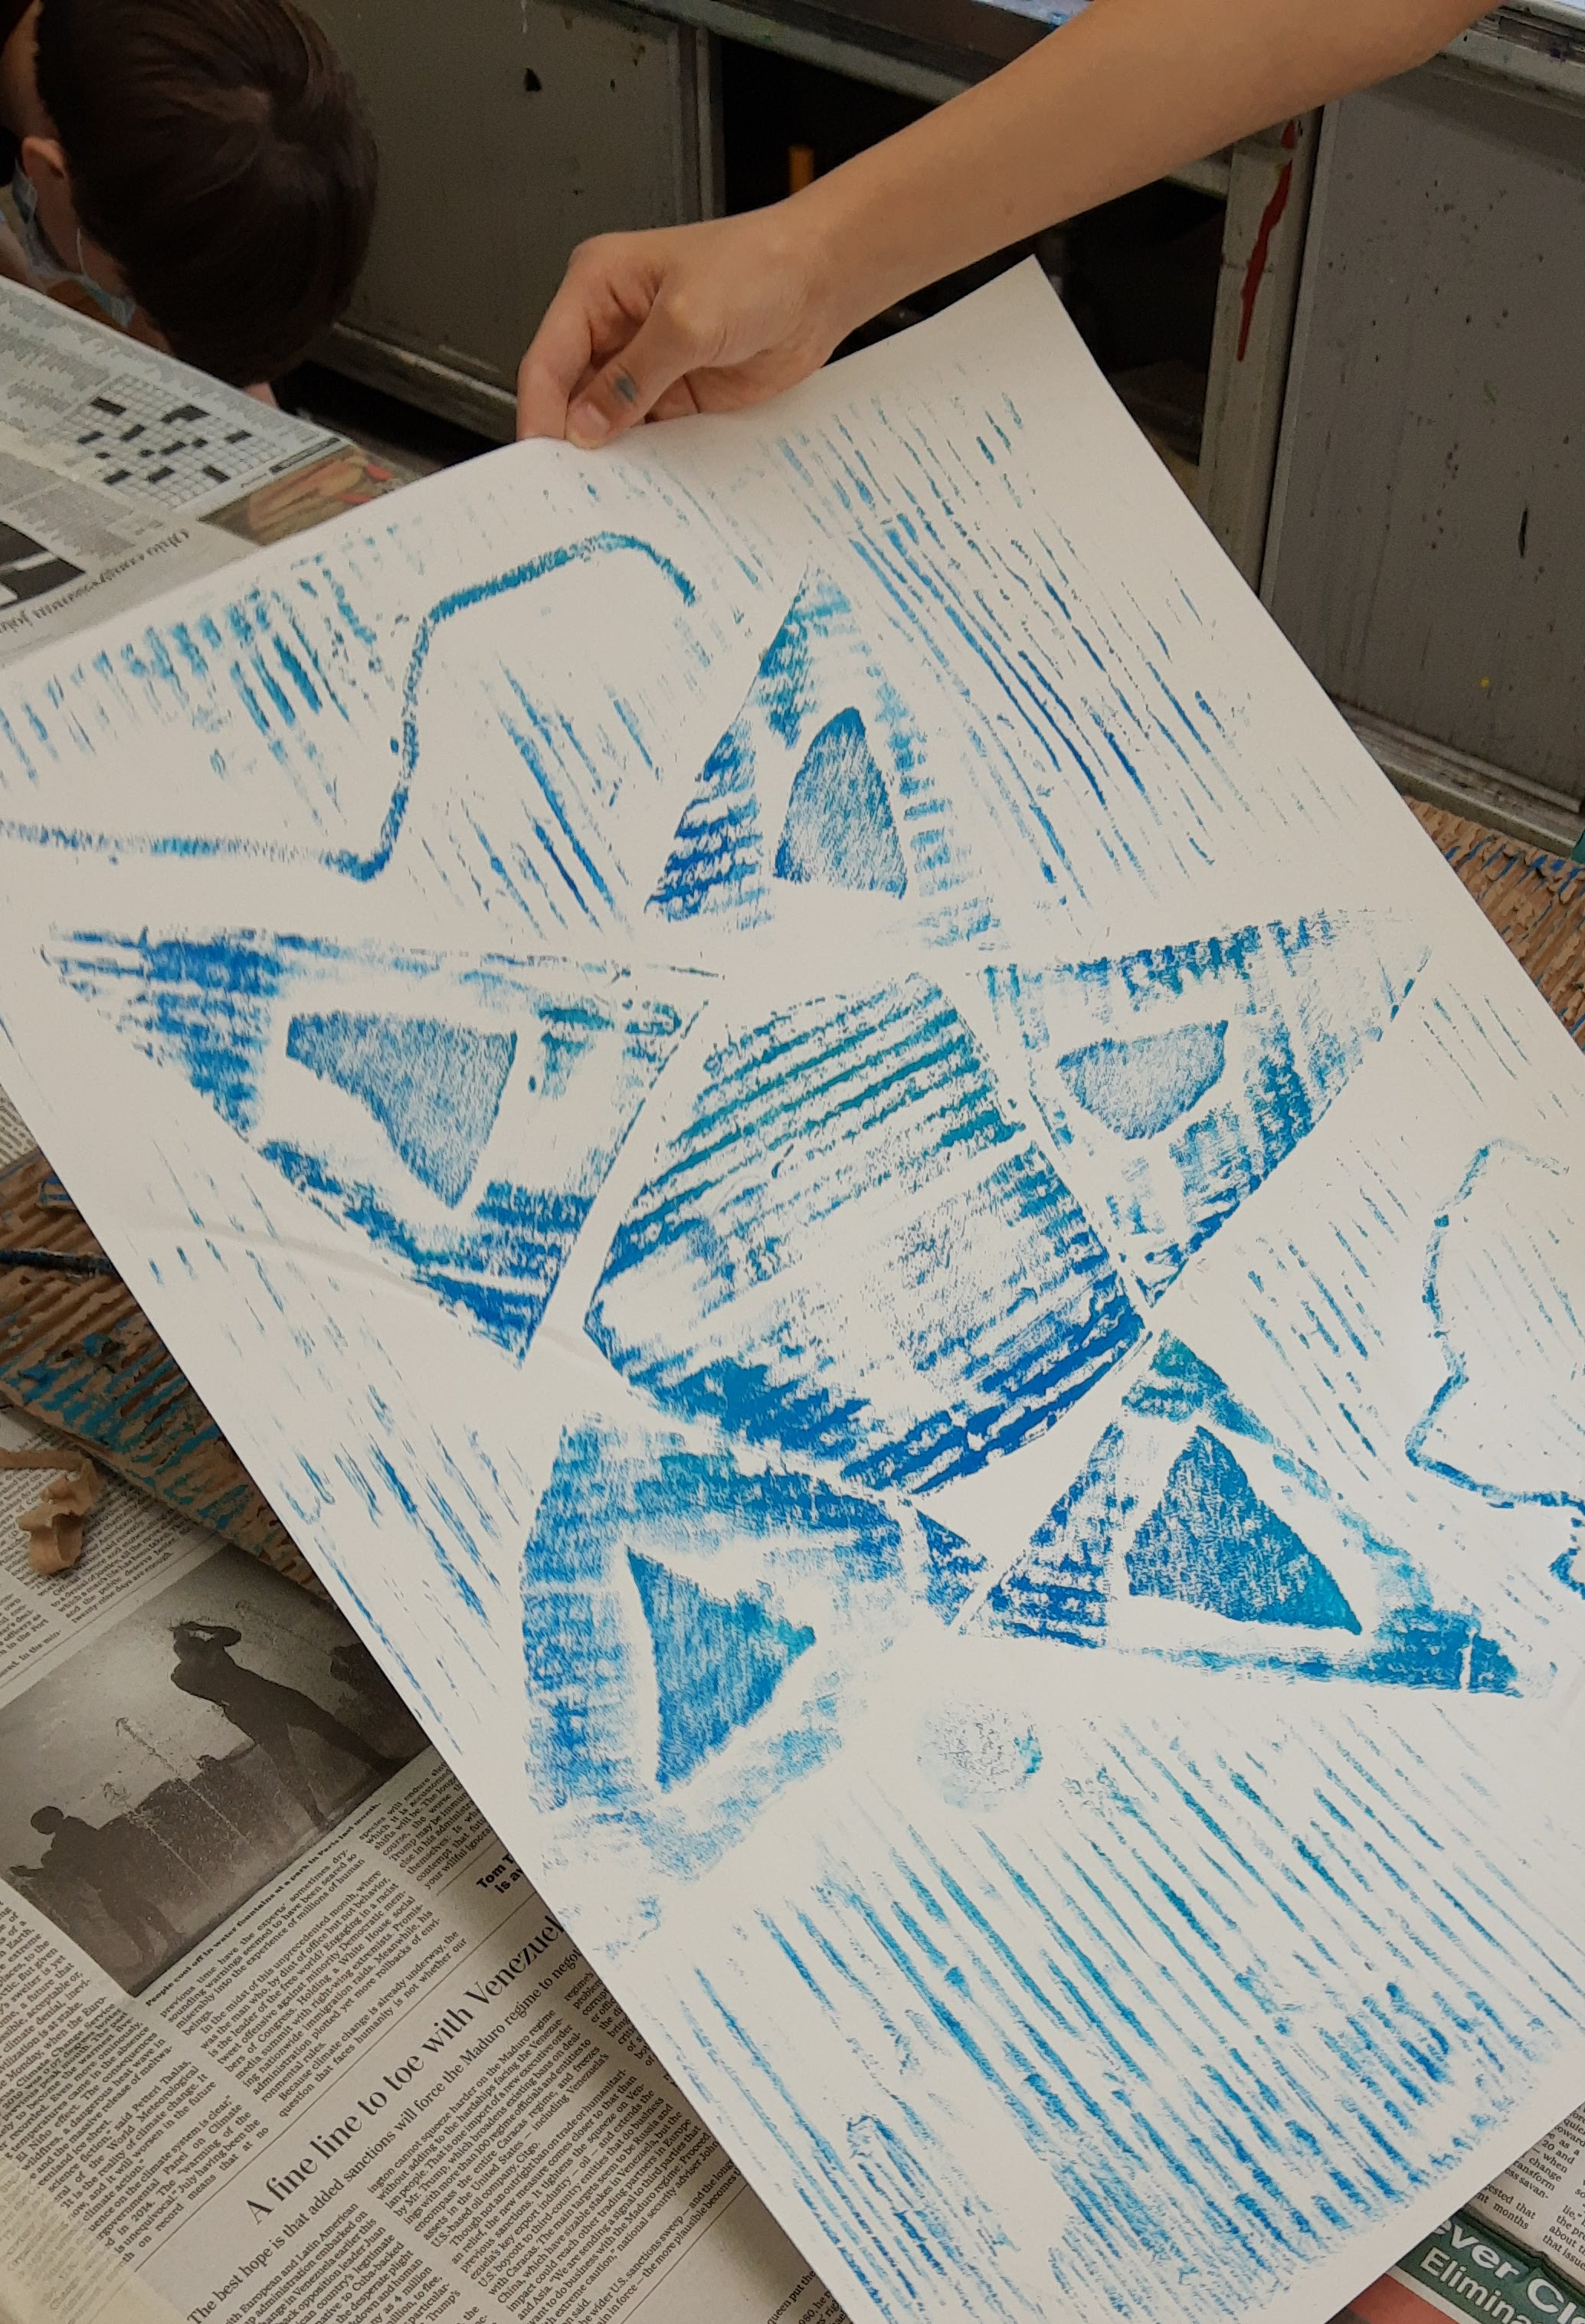
Once the plates were ready, we started printing! I showed the campers how to roll a gradient ink using two colors which they really enjoyed. A lot of them experimented with combining even more colors (some even did 10+ colors at once!). Then comes the fun part – the campers placed their plates face up on the floor with their papers on top and jumped on top to create a strong print. Once they printed, I showed them how to sign the print with the edition, title, and their name.
Some prints made by campers:
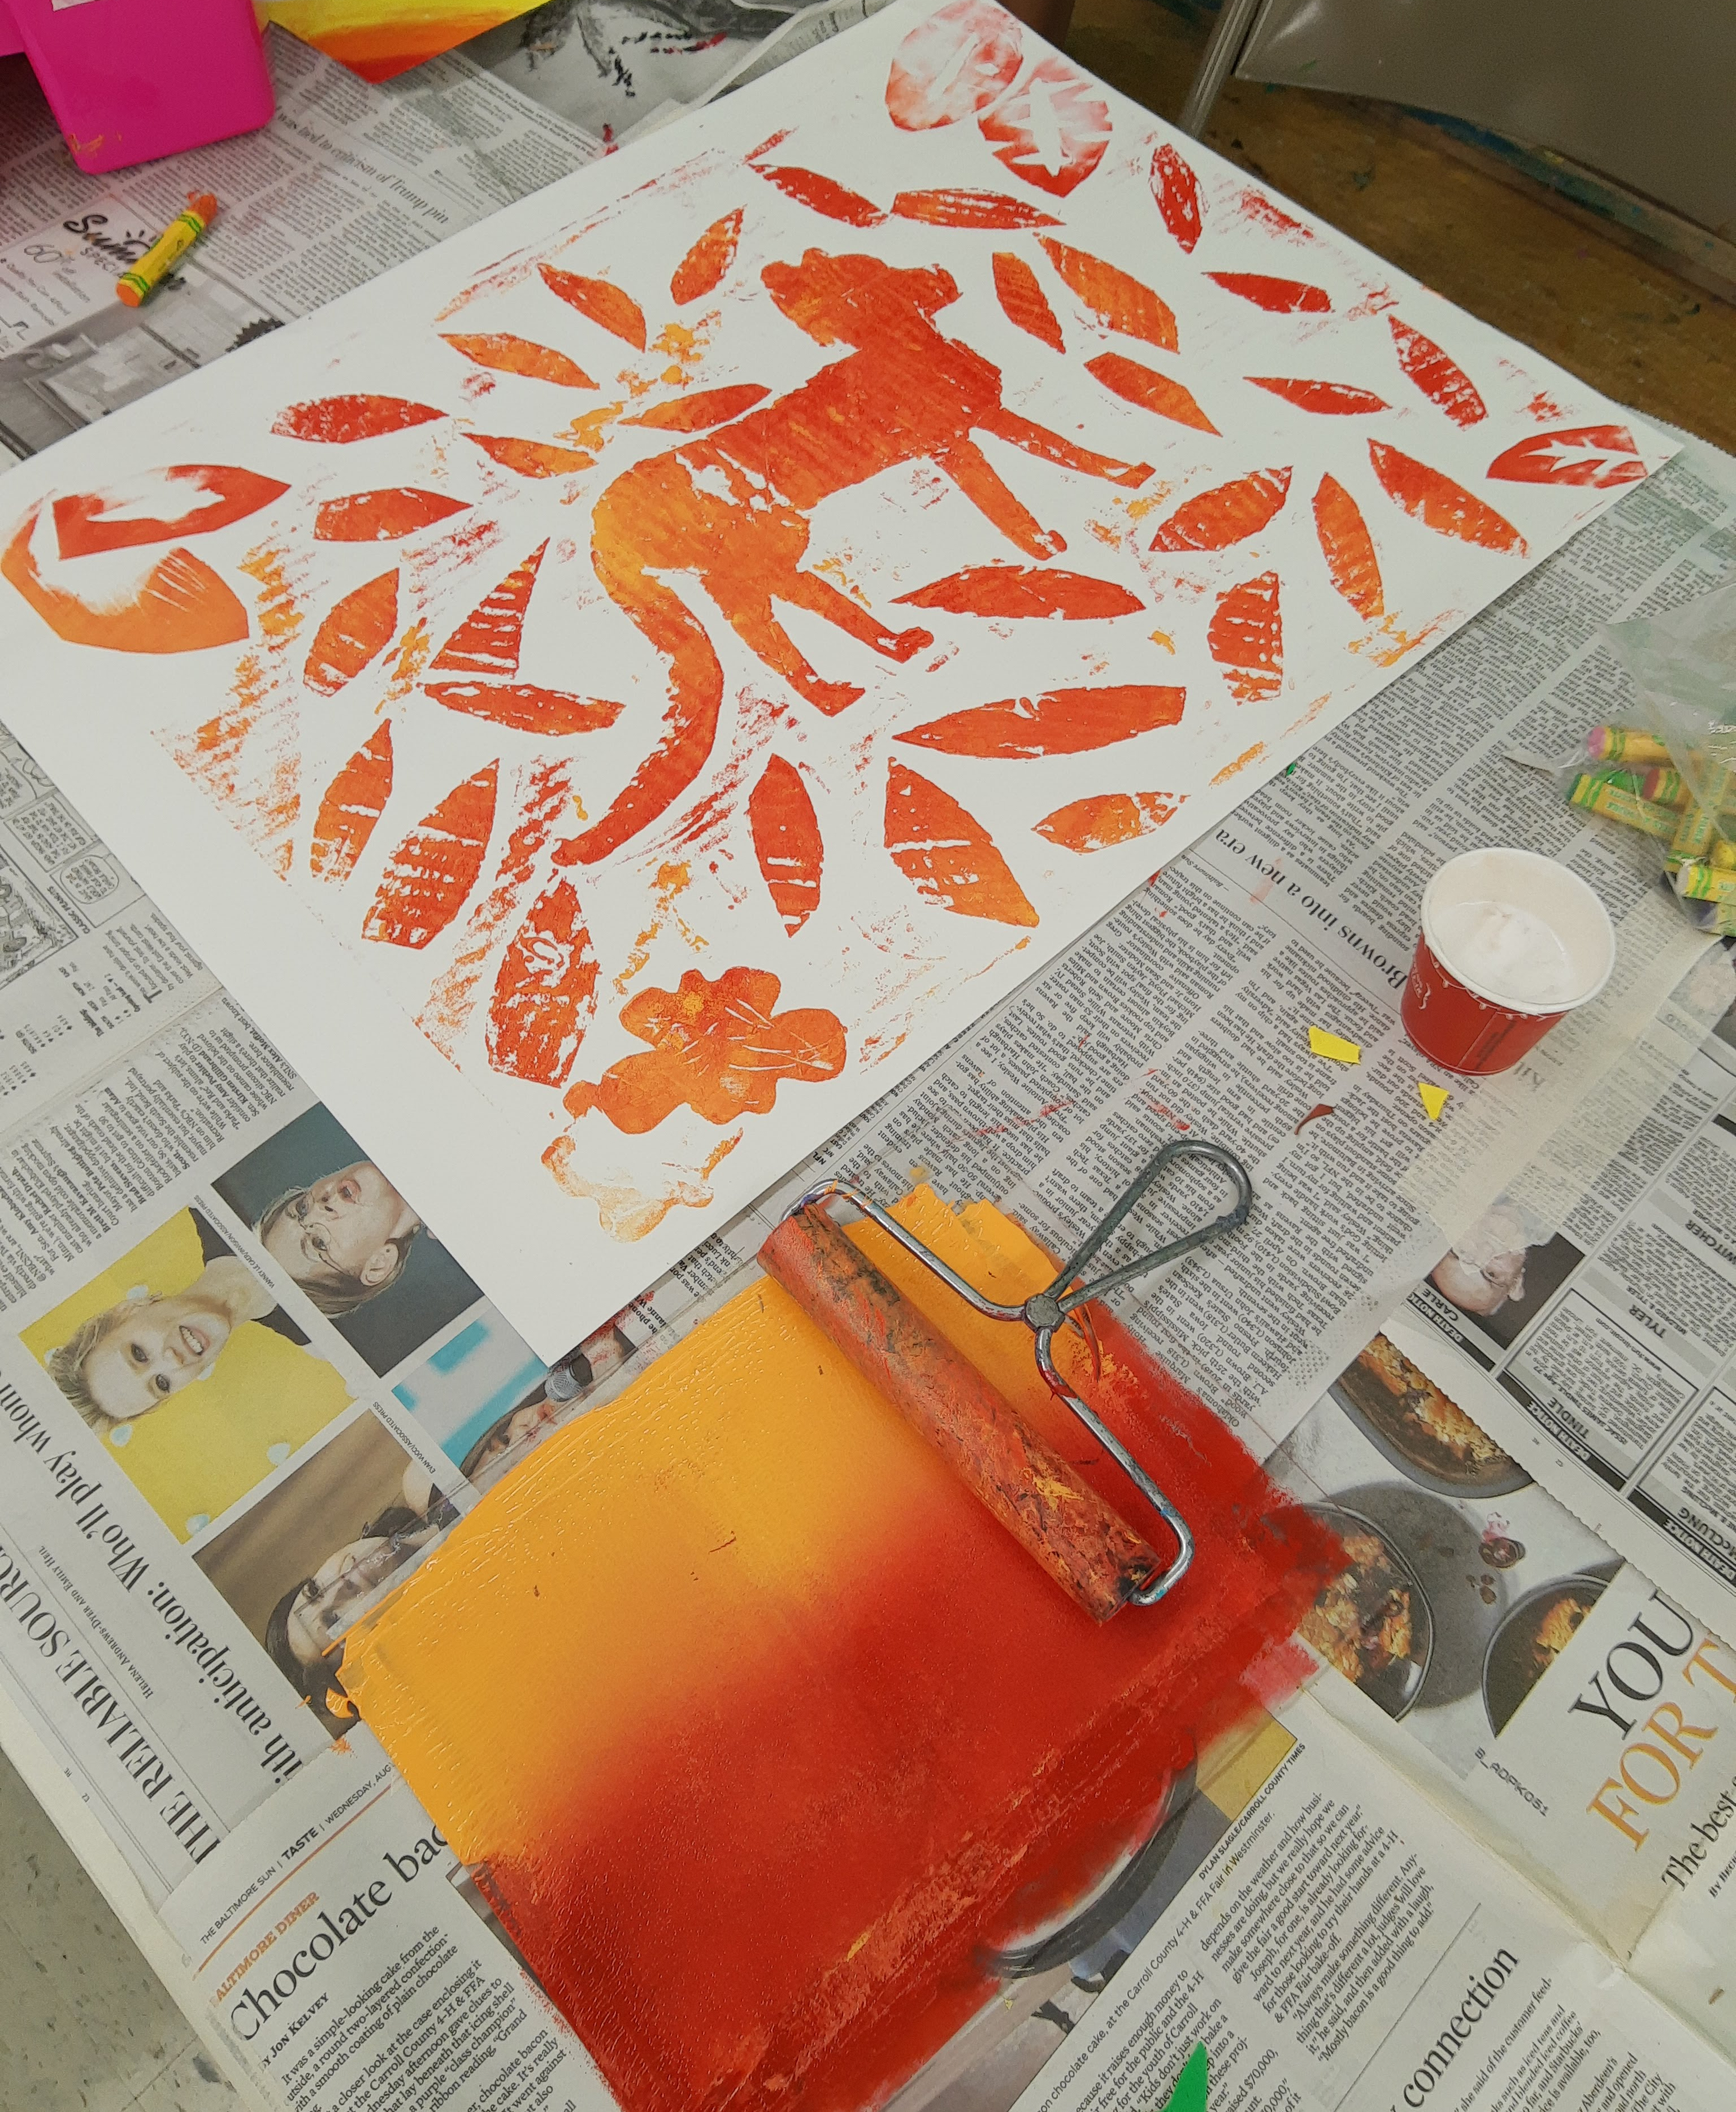

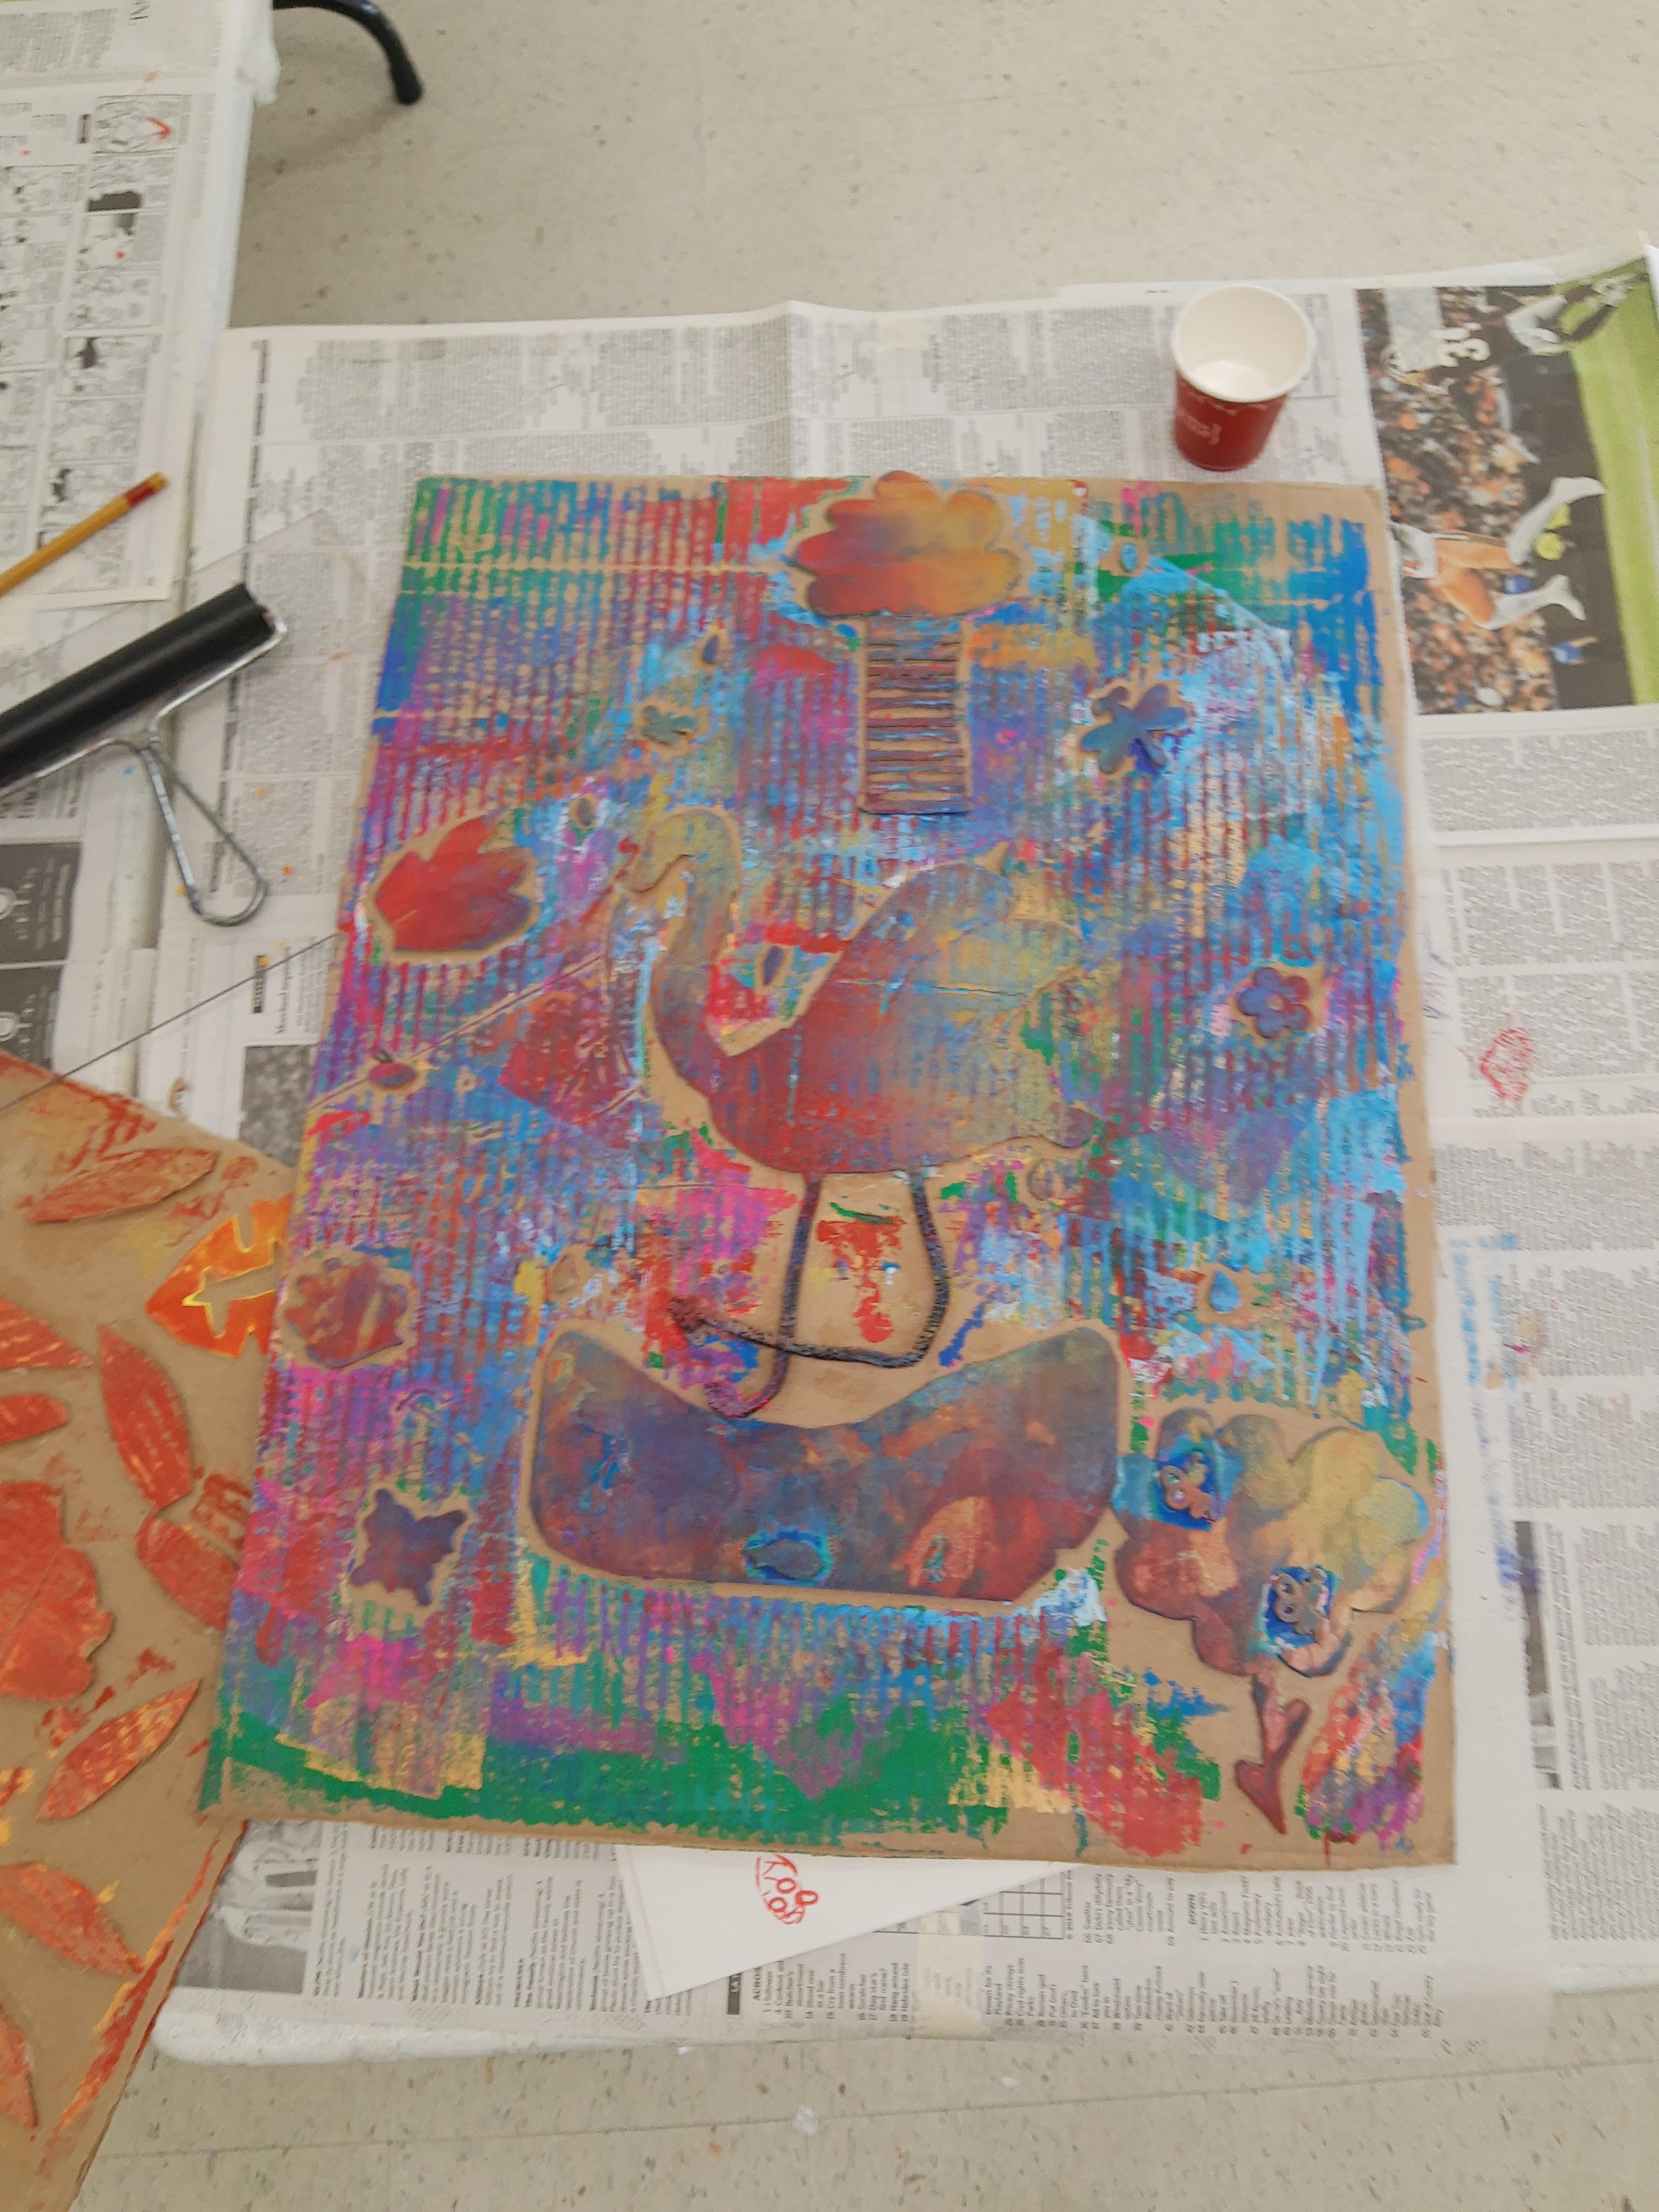


Once we were done printing, I set out tempera paint for campers to create a more finished, detailed collagraph plate. Only a few campers decided to add paint because many of them really liked all the ink colors from printing and did not want to cover it up.

I had so much fun teaching this printmaking camp and I am excited to bring some of the ideas/projects into my art classroom next school year!
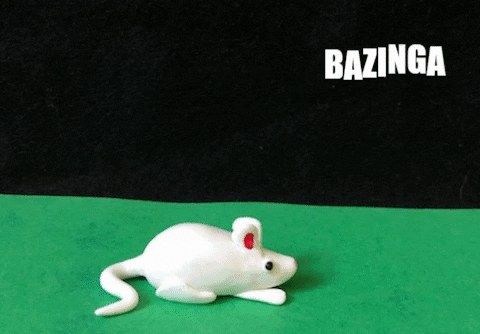
A few weeks ago, I taught a multi-day lesson on GIFs, stop motion, and appropriation to my middle school students.
We began by going over the history of the GIF and its invention in 1987 (everyone was quite shocked how long ago GIFs were invented). Then, we discussed appropriation in art and I had students share their thoughts on whether or not they believed appropriation in art is okay. We looked at Richard Prince’s Cowboy (a cropped, re-photographed version of a cigarette ad) and questioned at what level is art appropriation vs. inspiration vs. plagiarism. I also showed students some of Richard Prince’s artwork from his Instagram series, in which he printed out and scaled up random photos from Instagram, presented them in a show, and then sold them. This also prompted a great conversation on the value of art and whether or not it should be valued as it is.
Then we shifted the conversation from appropriation by famous artists (like Richard Prince), to appropriation in mainstream, pop-culture images produced by the general public (memes, GIFs, etc.). Are memes/GIFs on the internet okay to create if it’s not your own source material? We also discussed fair use images and videos vs. copyrighted ones.
After discussing appropriation, we briefly went over the stop motion process and how it’s used to create animation.
For this assignment, students had the choice of either appropriating images/videos to create a GIF, or to digitally or traditional draw out frame by frame a short, stop motion GIF. Most students used the following GIF makers (below) and either drew out each frame by hand and took photos to input into the GIF maker, or they drew out each frame digitally within Pixilart.
If I were to teach this lesson again, I would make sure to explain how to set up Pixilart and other GIF makers so the aspect ratios/pixels are larger so they don’t come out so pixelated.
Day 1 – Intro to GIFs. Discuss appropriation. Discuss stop motion. Intro to assignment, brainstorm ideas.
Day 2 – Continue brainstorming ideas for GIFs. Demo how to use GIF makers. Look at examples of GIFs on the internet.
Day 3 – Draw out storyboard/plan for GIF. Begin assembling materials to create GIF.
Day 4/5 – Finish creating GIF. Write artist statement.