This fall, I taught a weekend art class at my local arts center. Since the classes were smaller, I really wanted to make paper with my students. It was a lot of prep work and my blender started smoking at one point, but it was really fun and a great way to introduce students to the paper-making process.
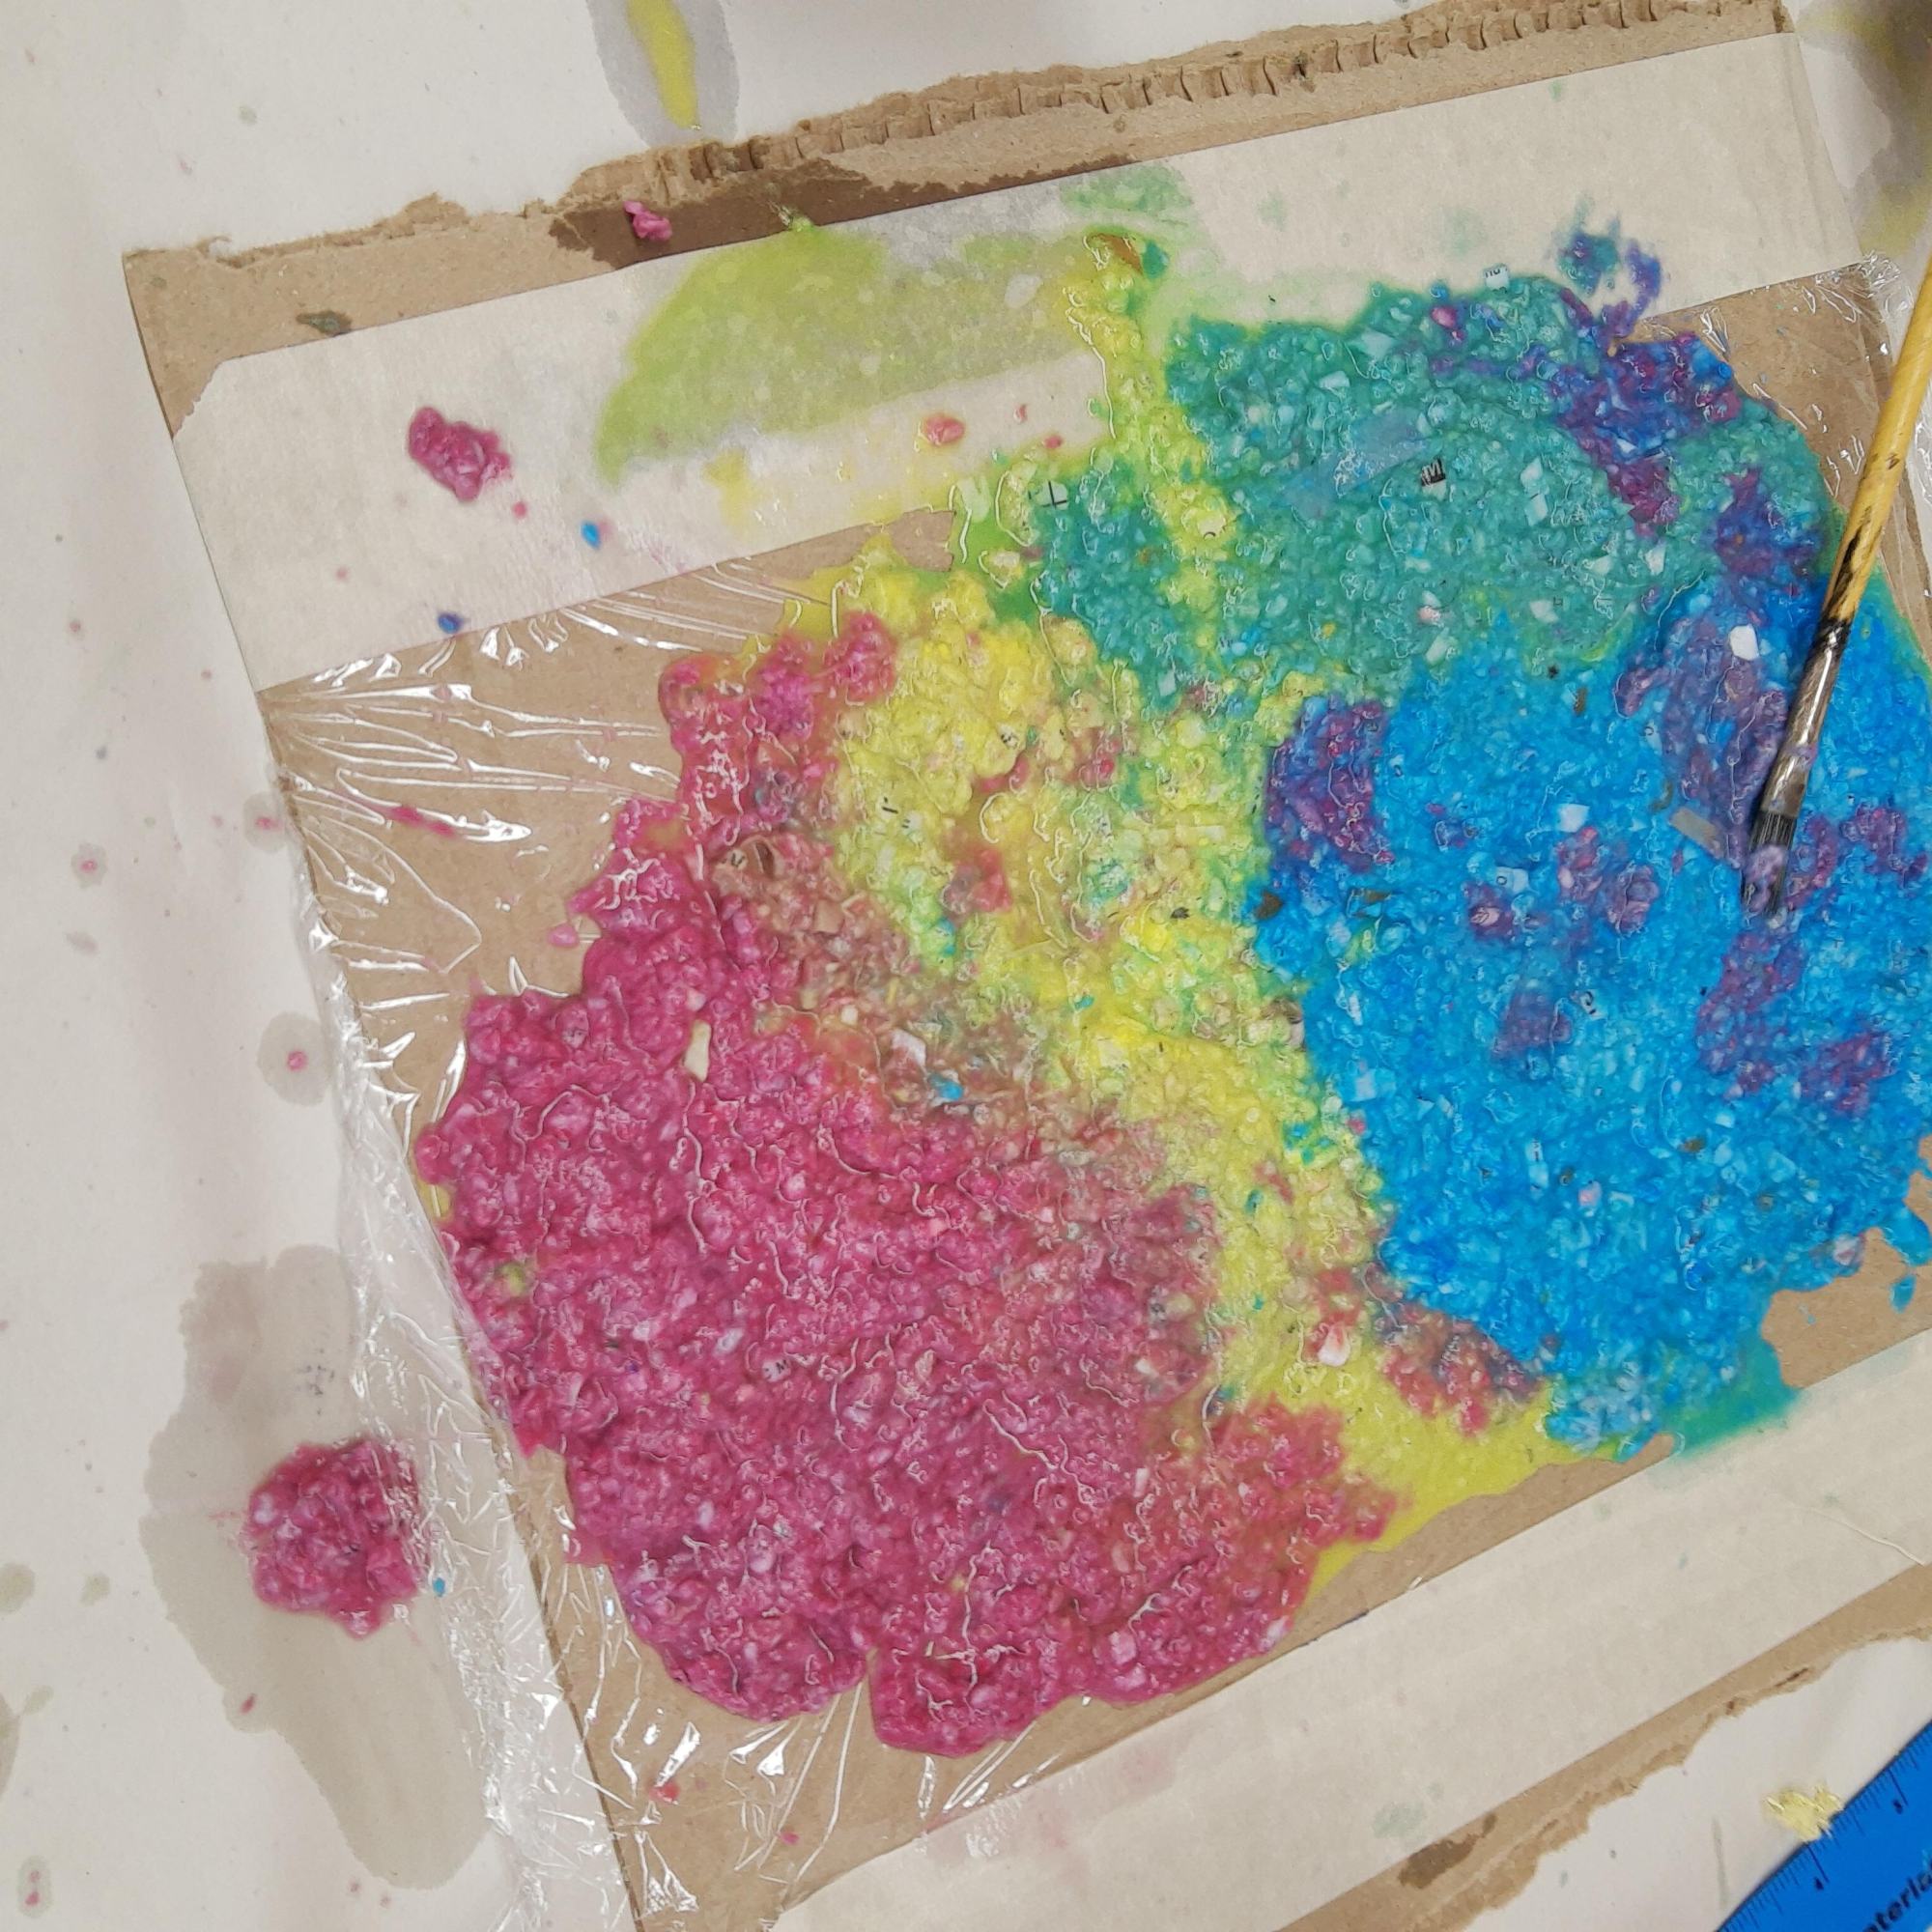
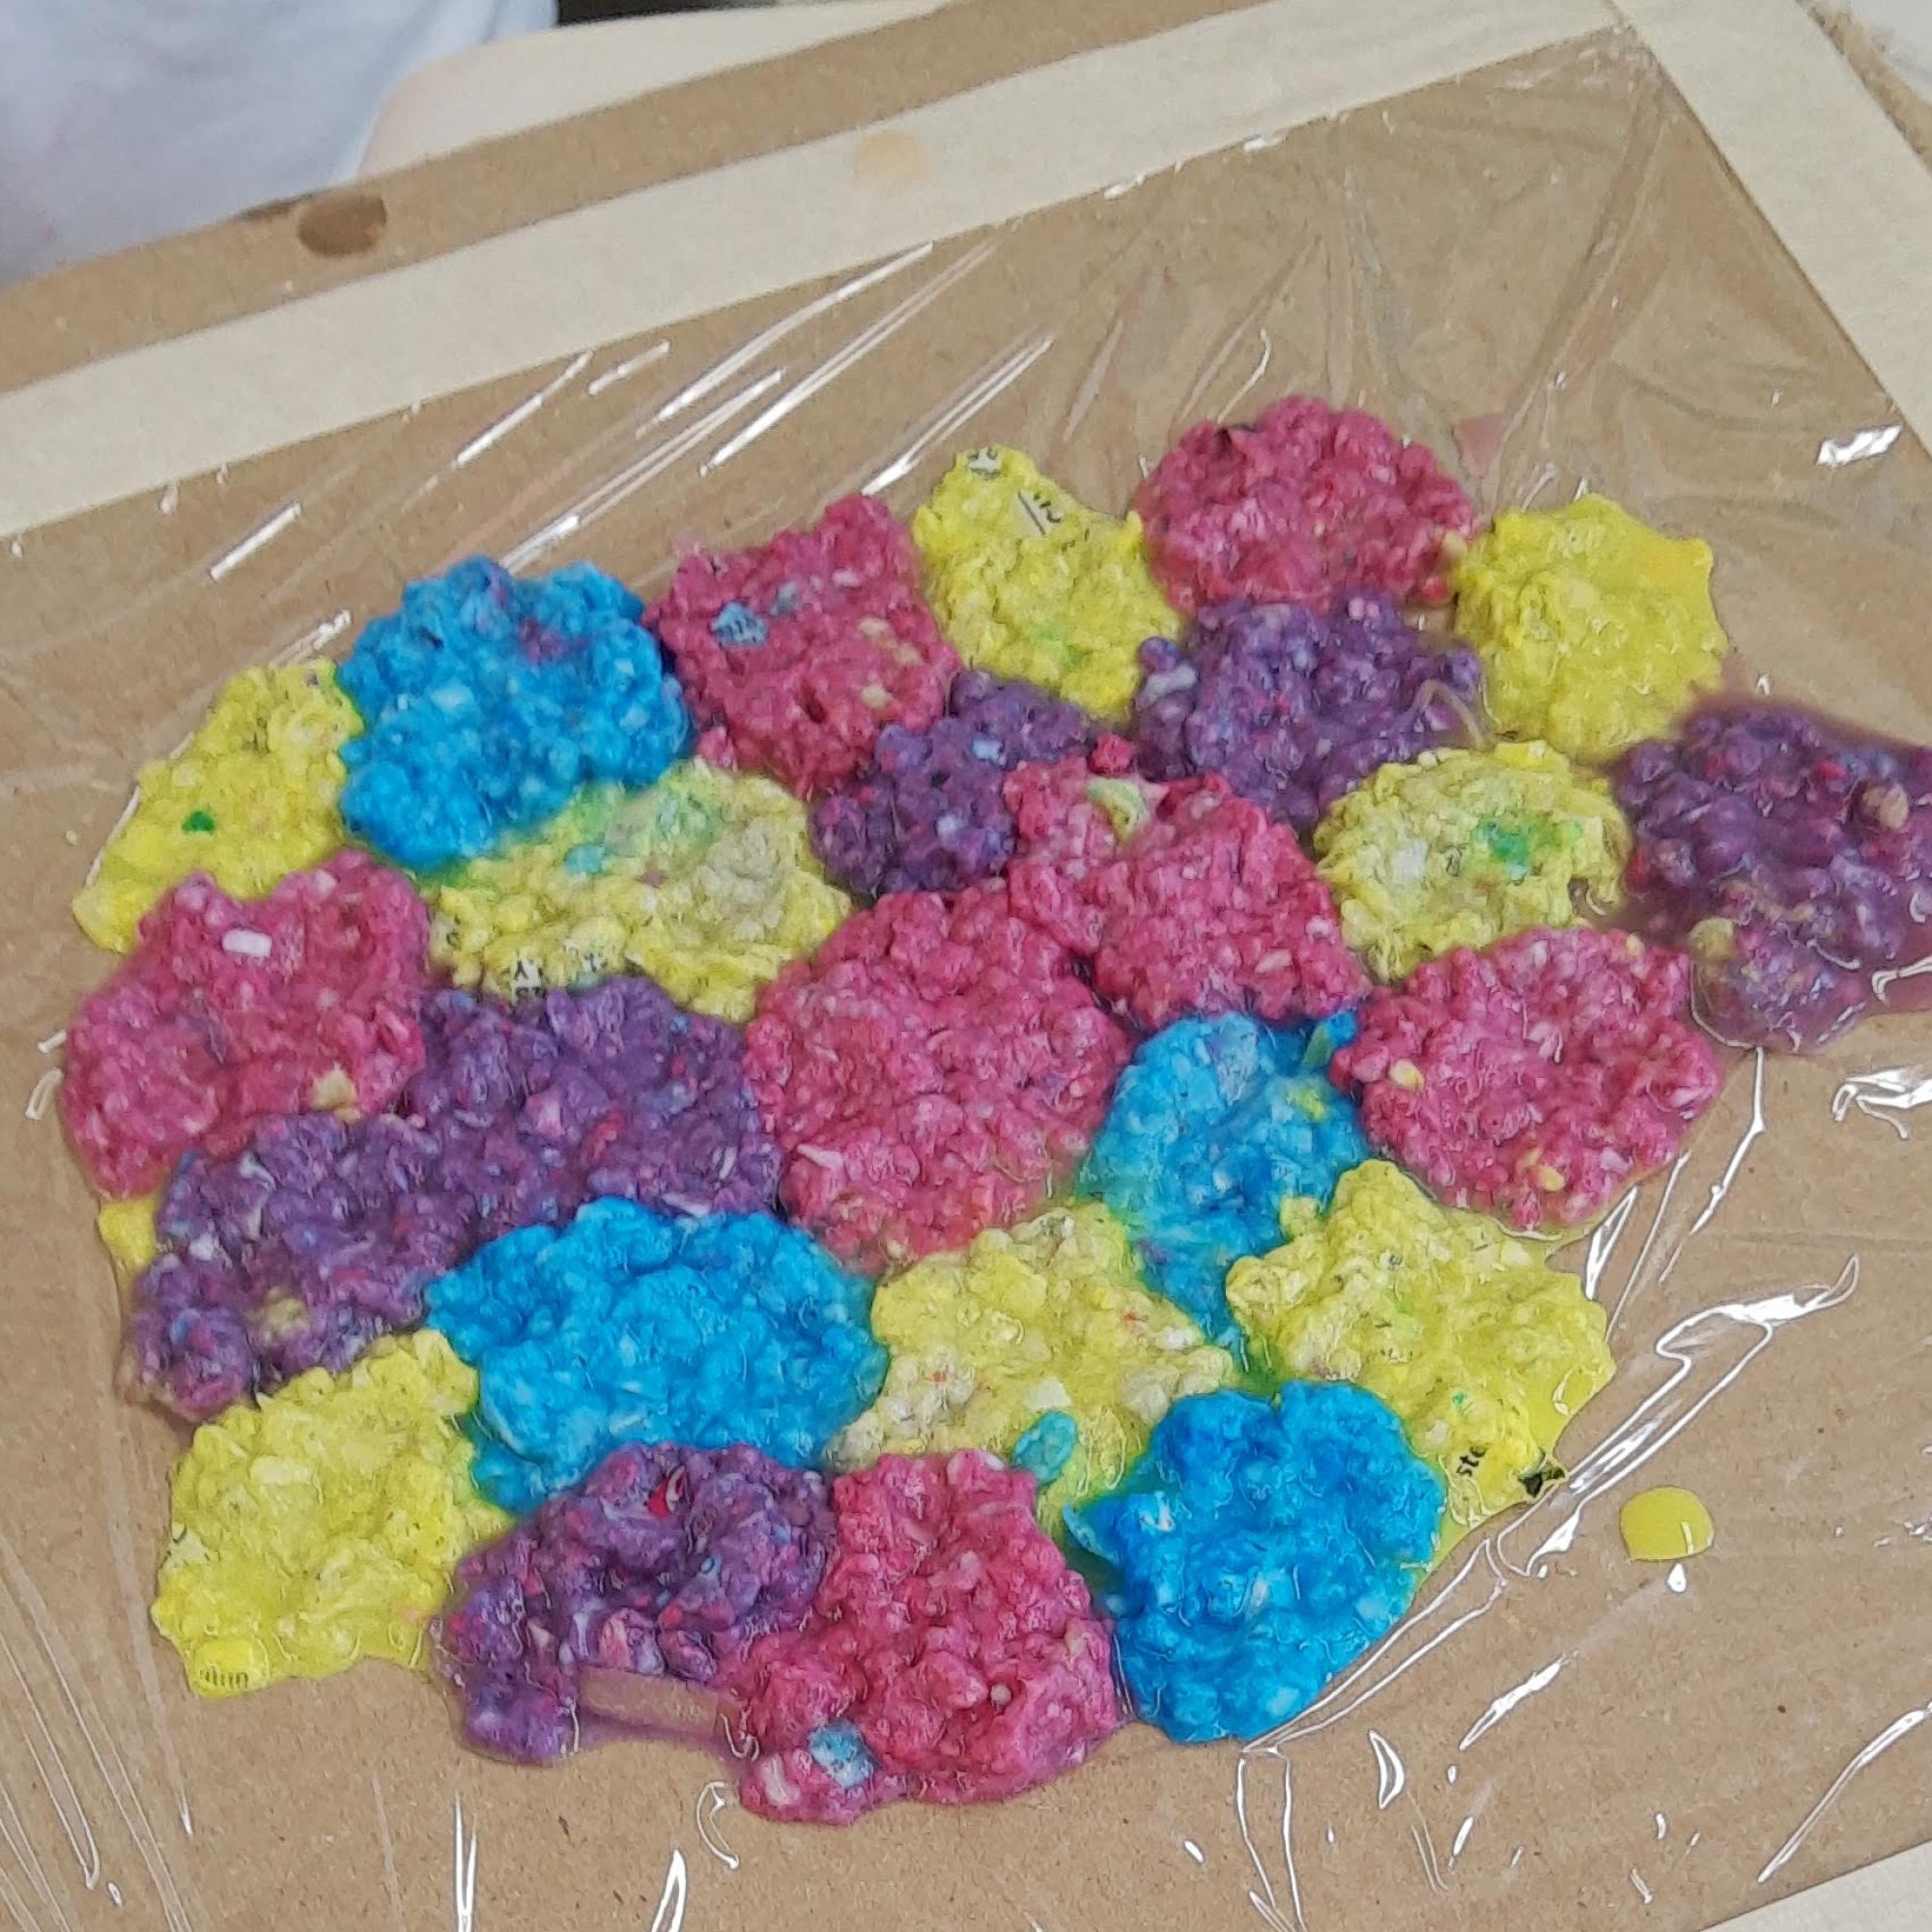
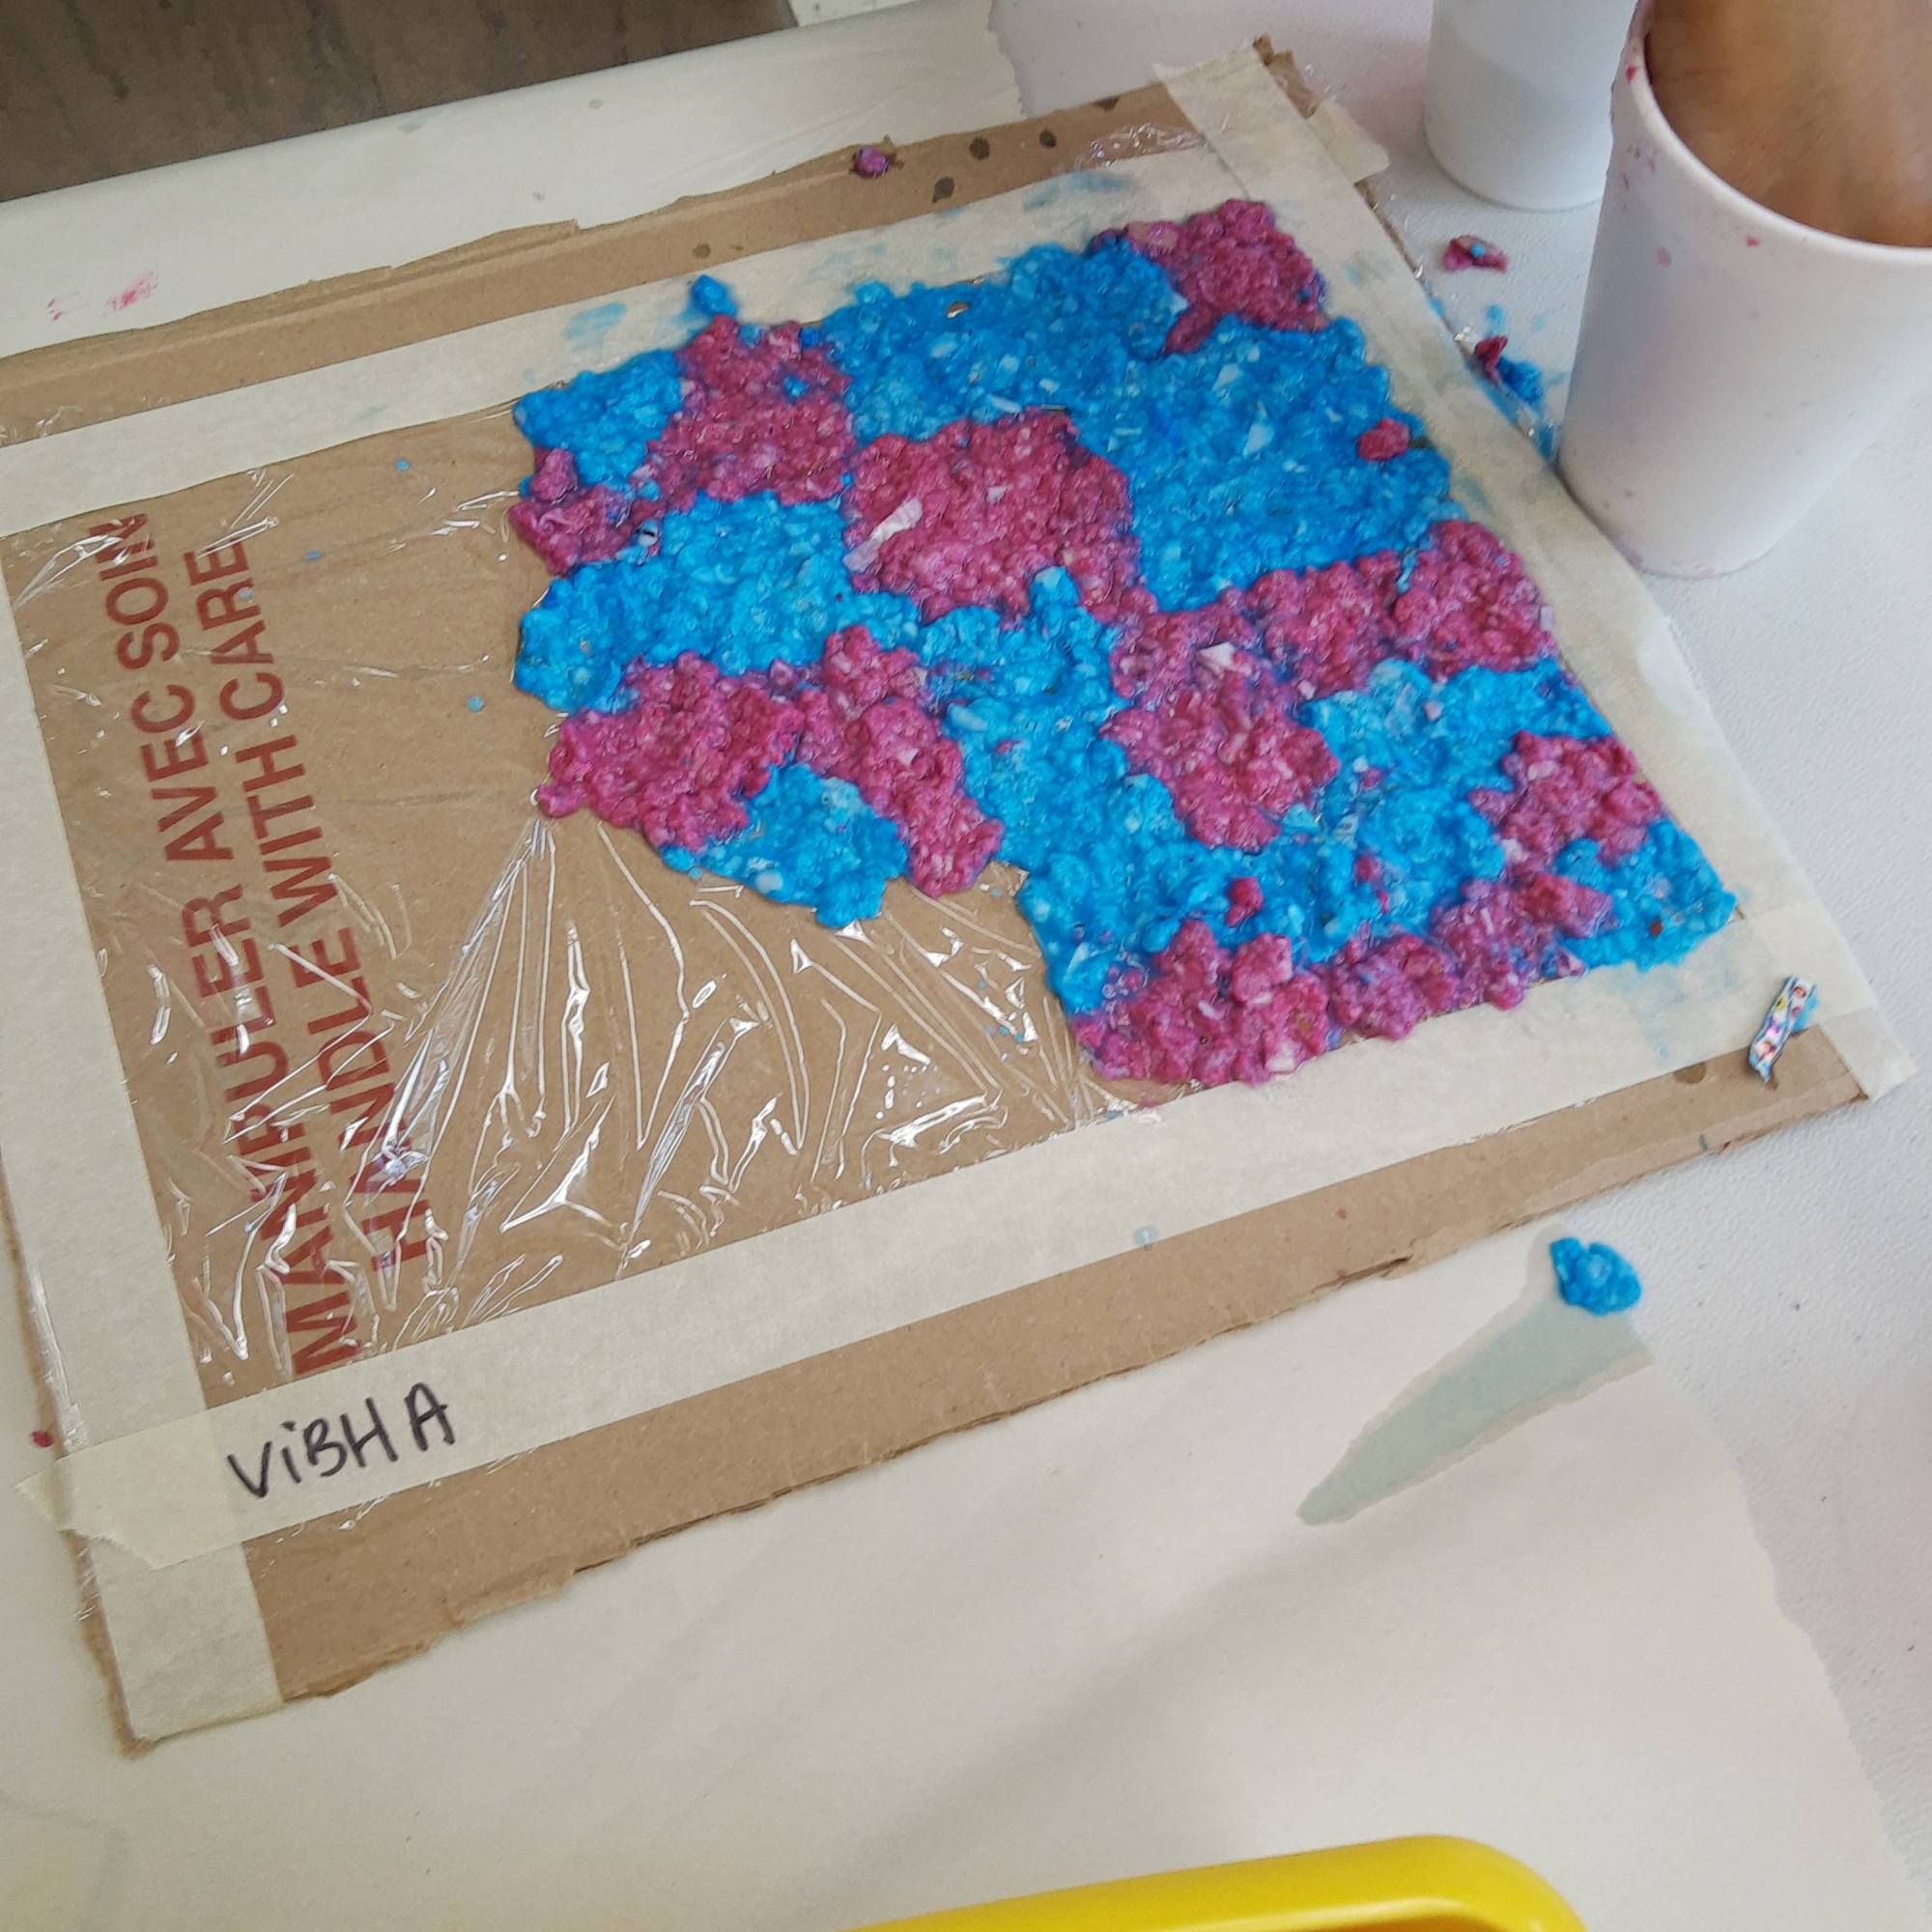
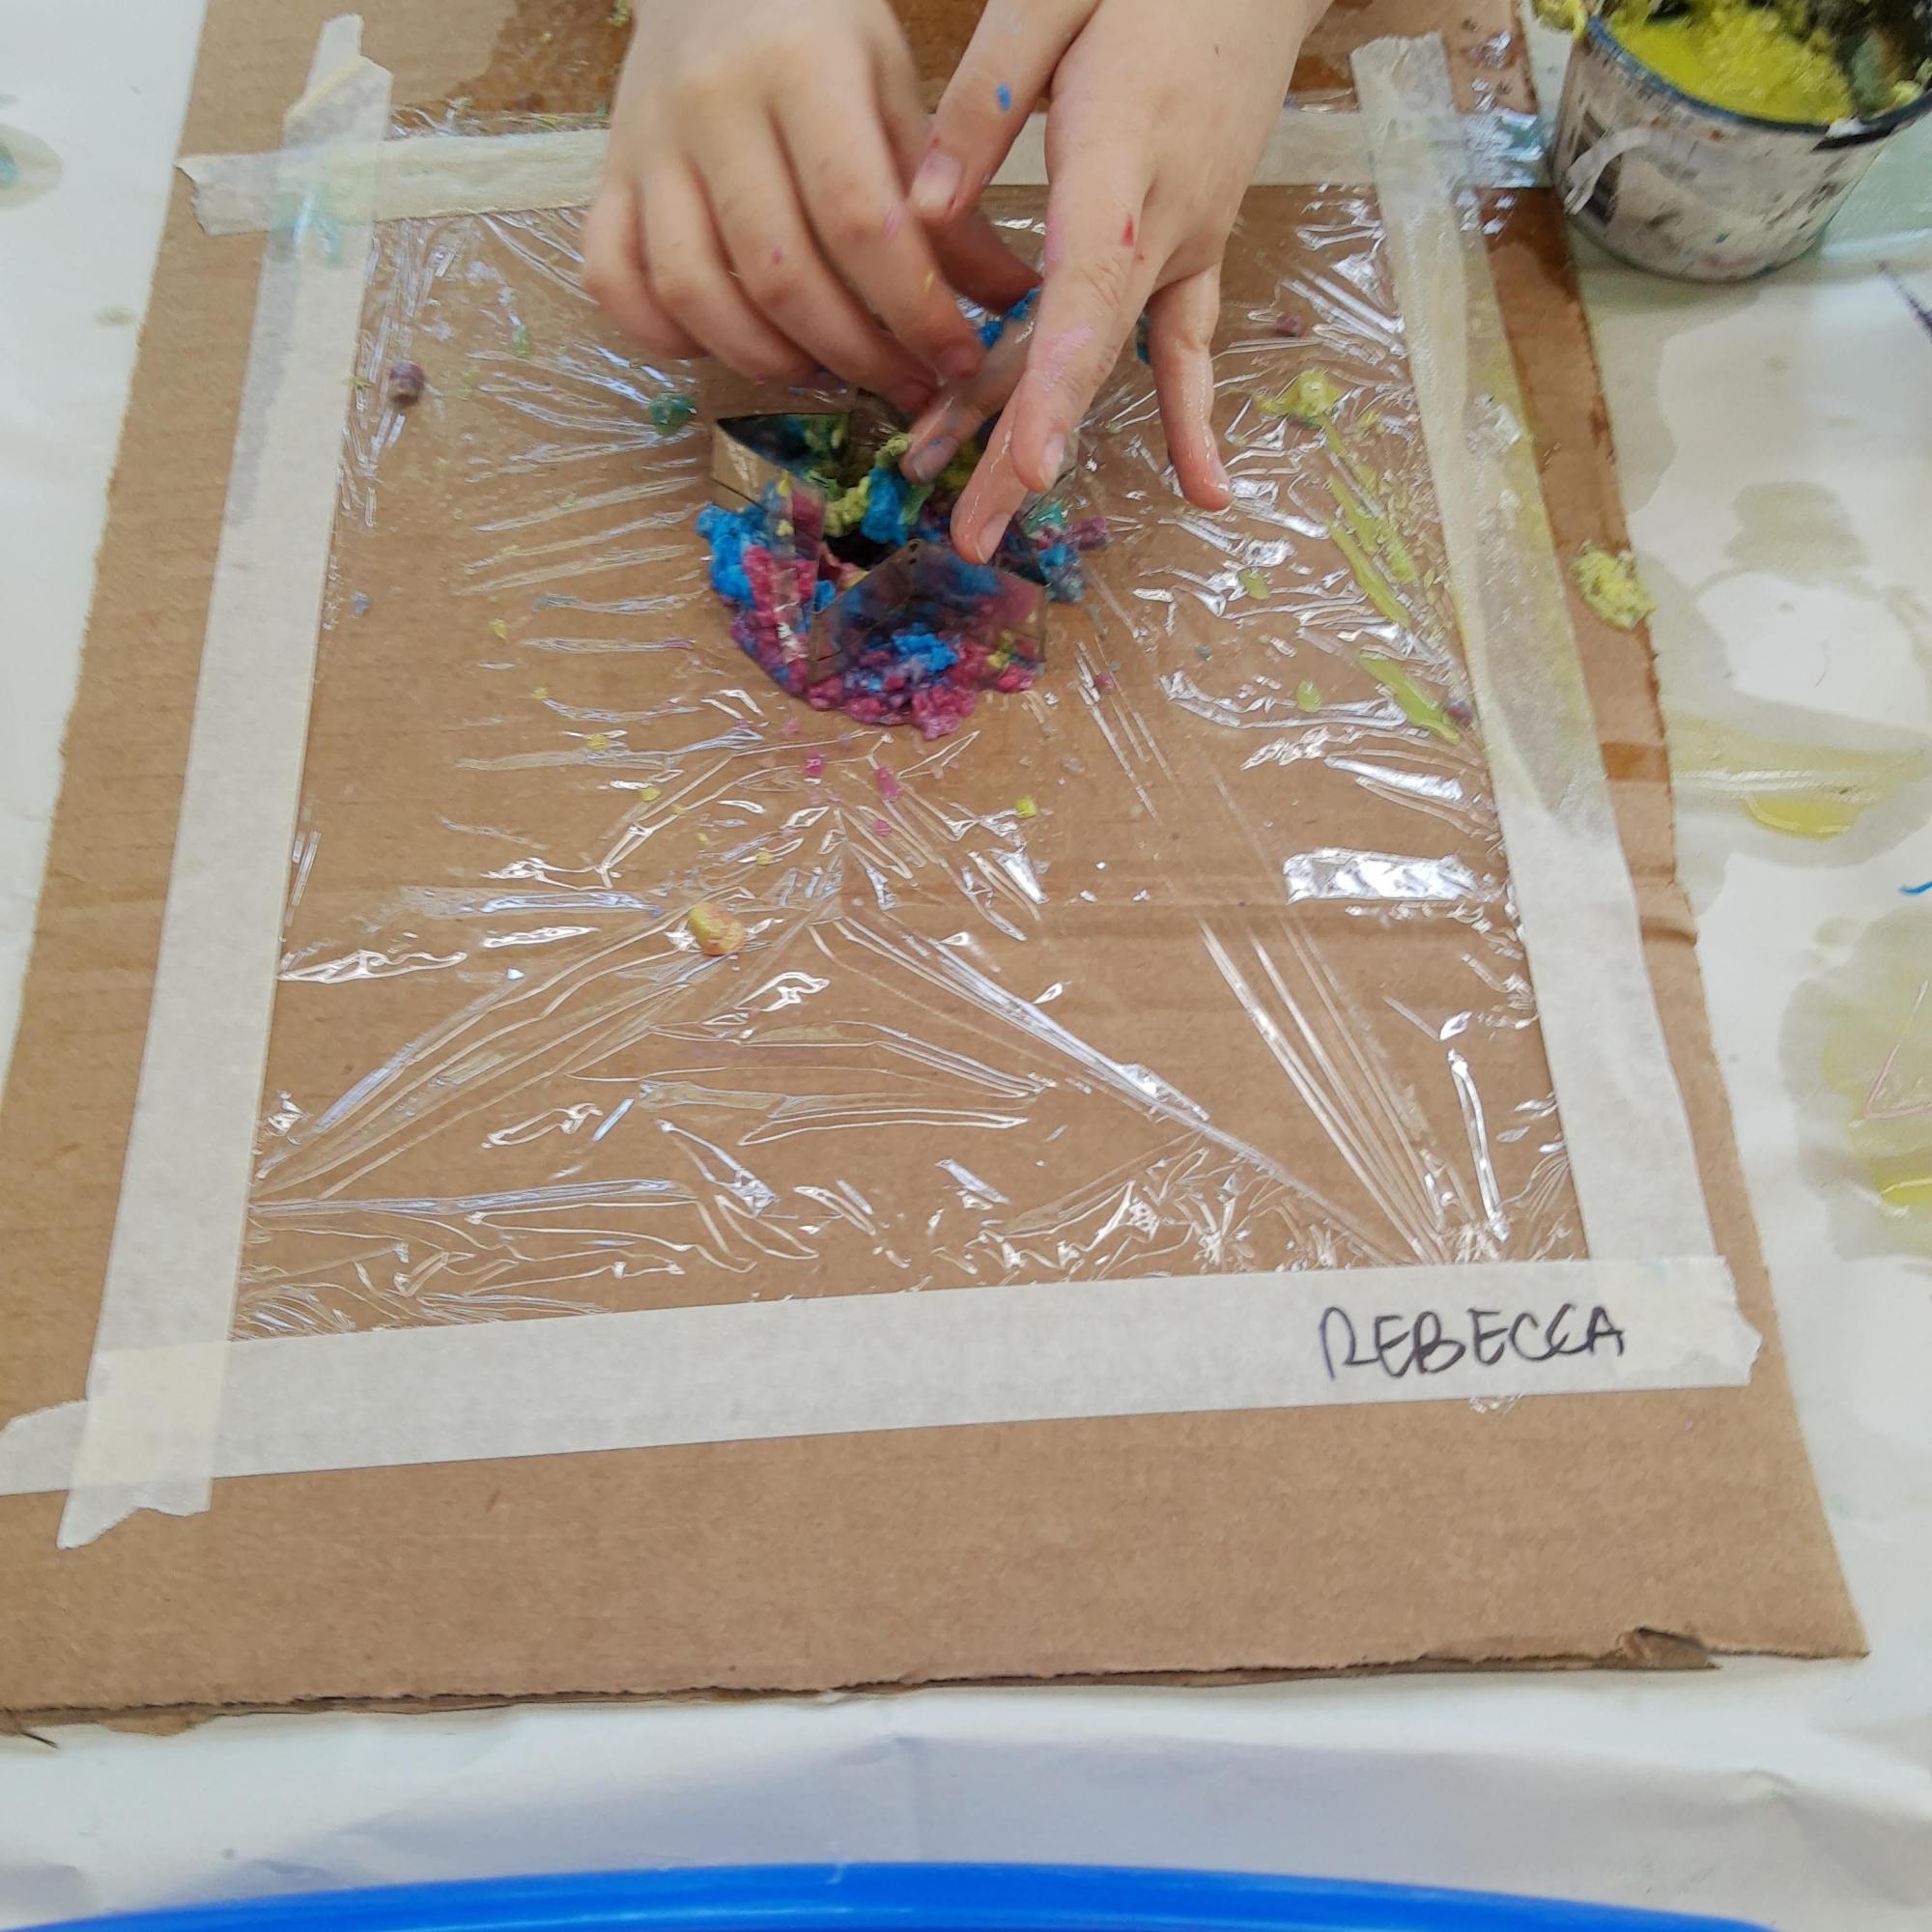
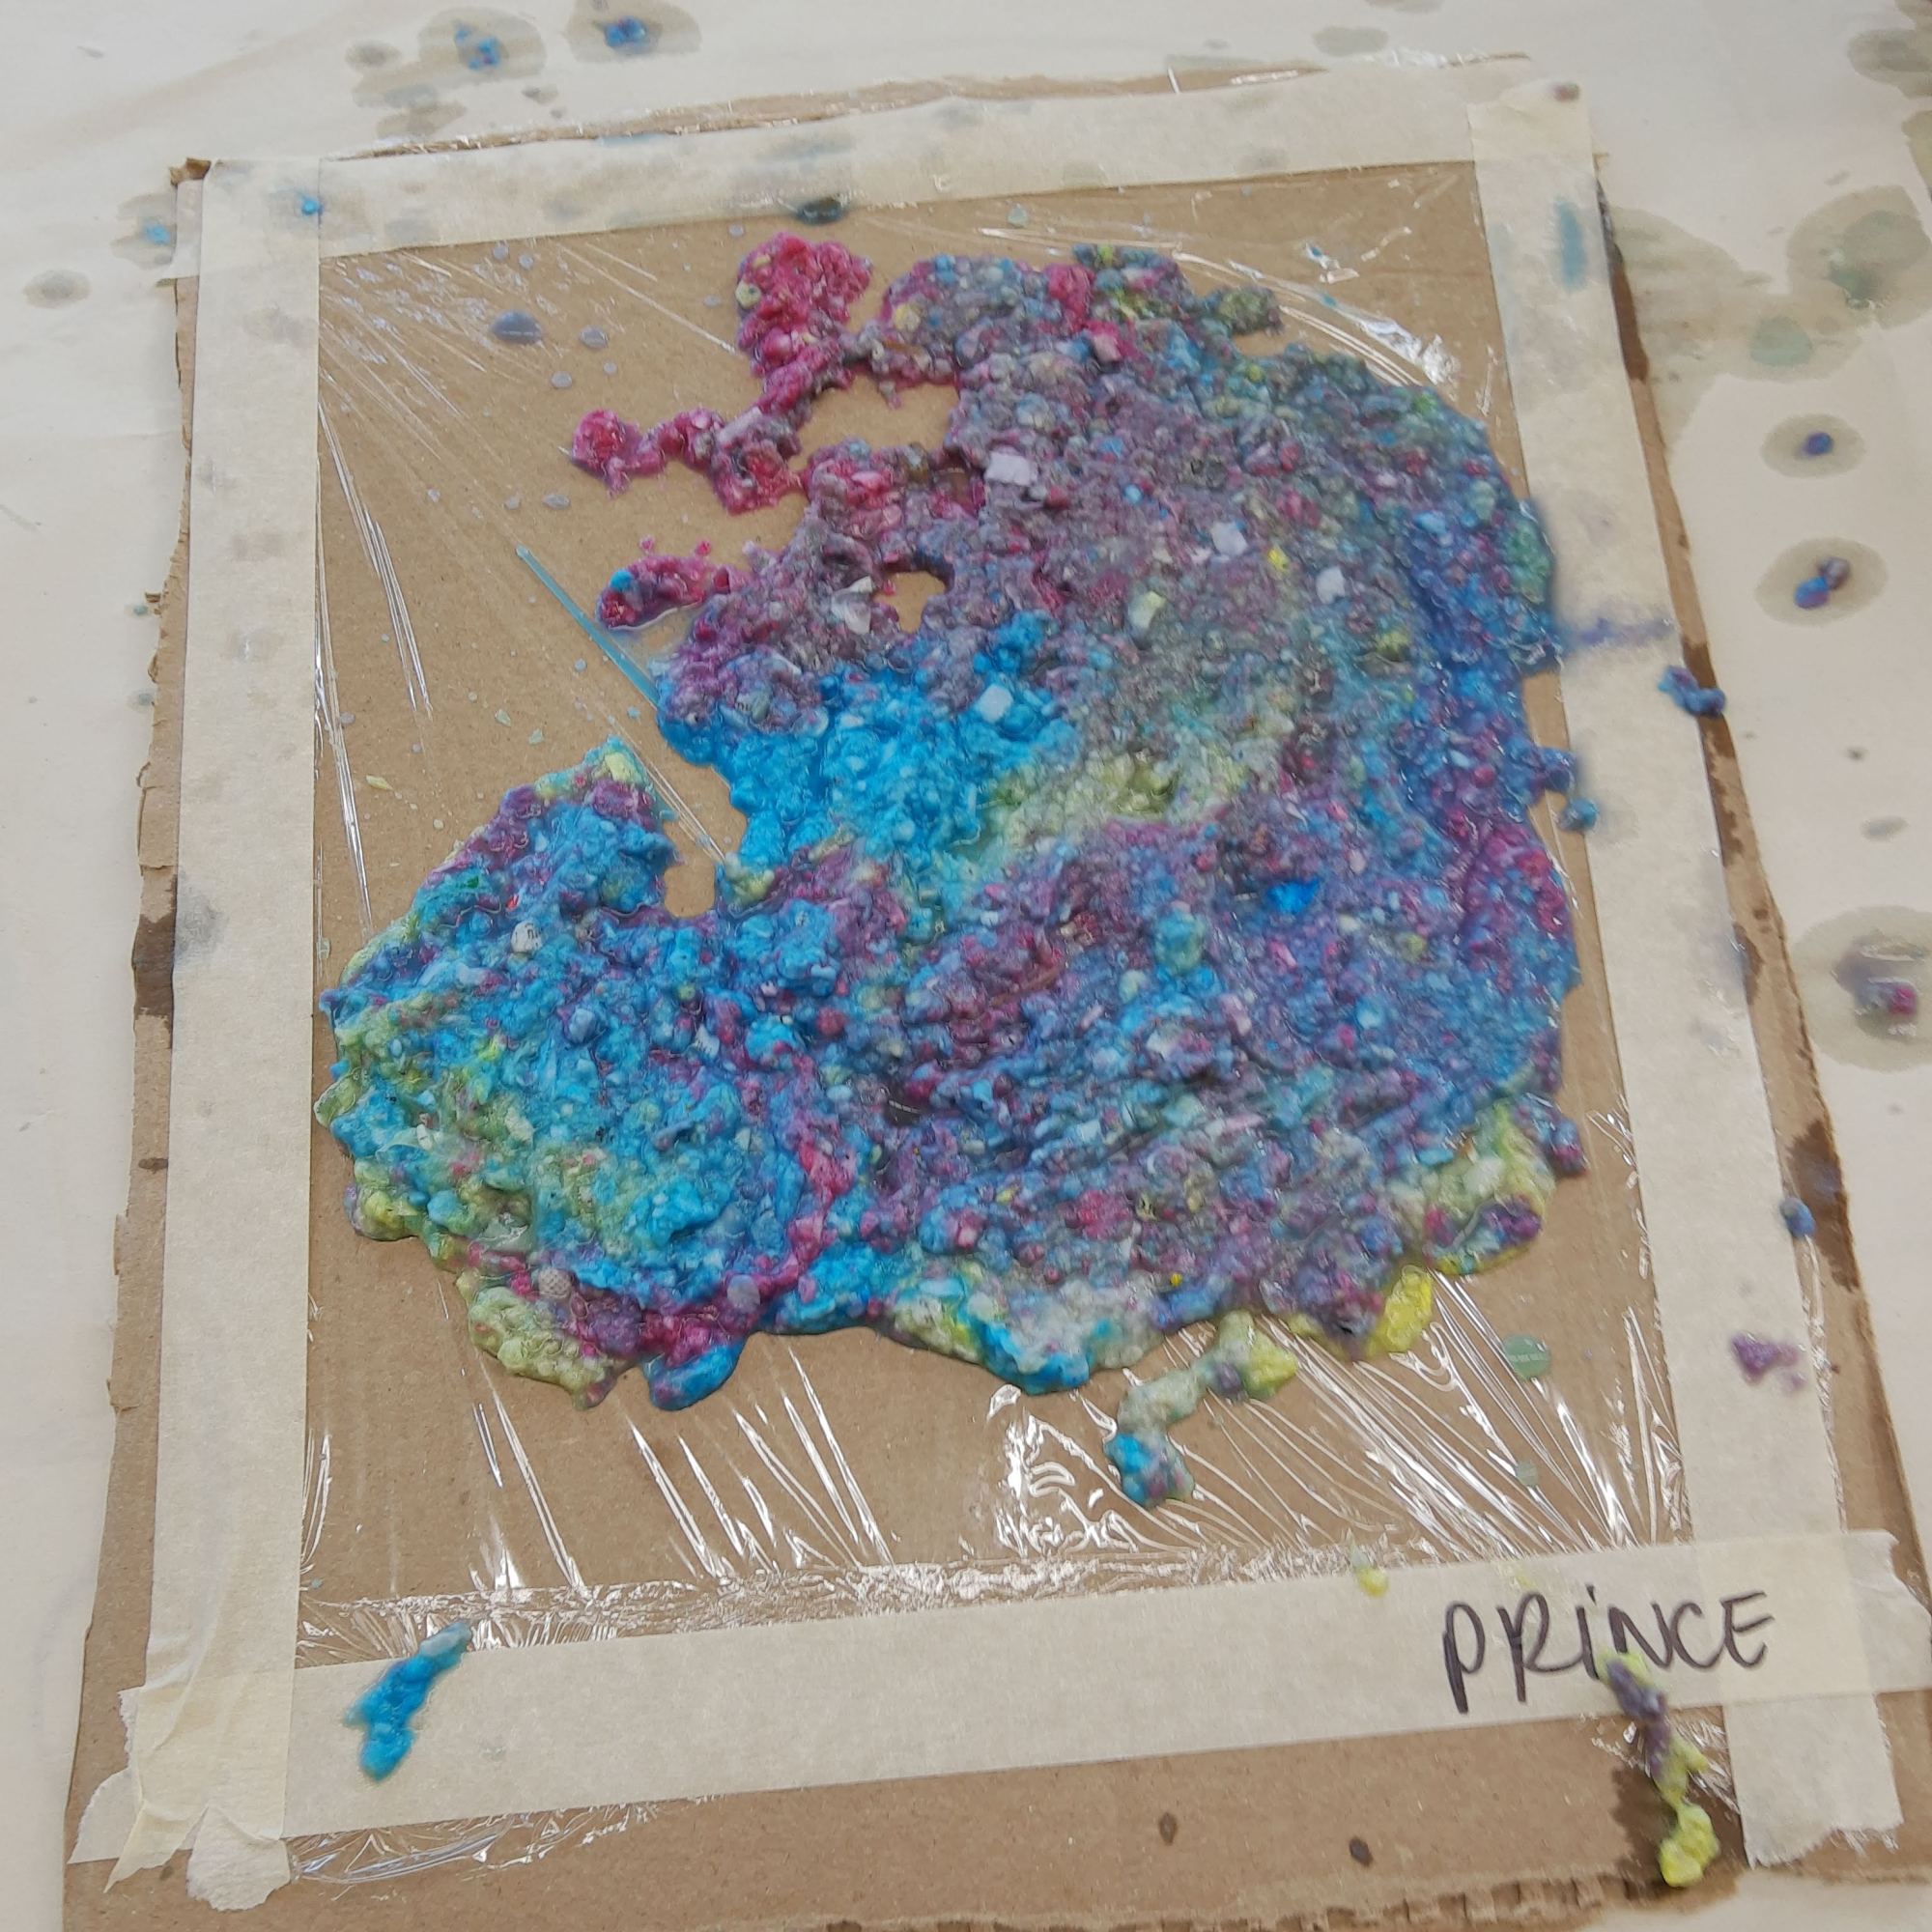
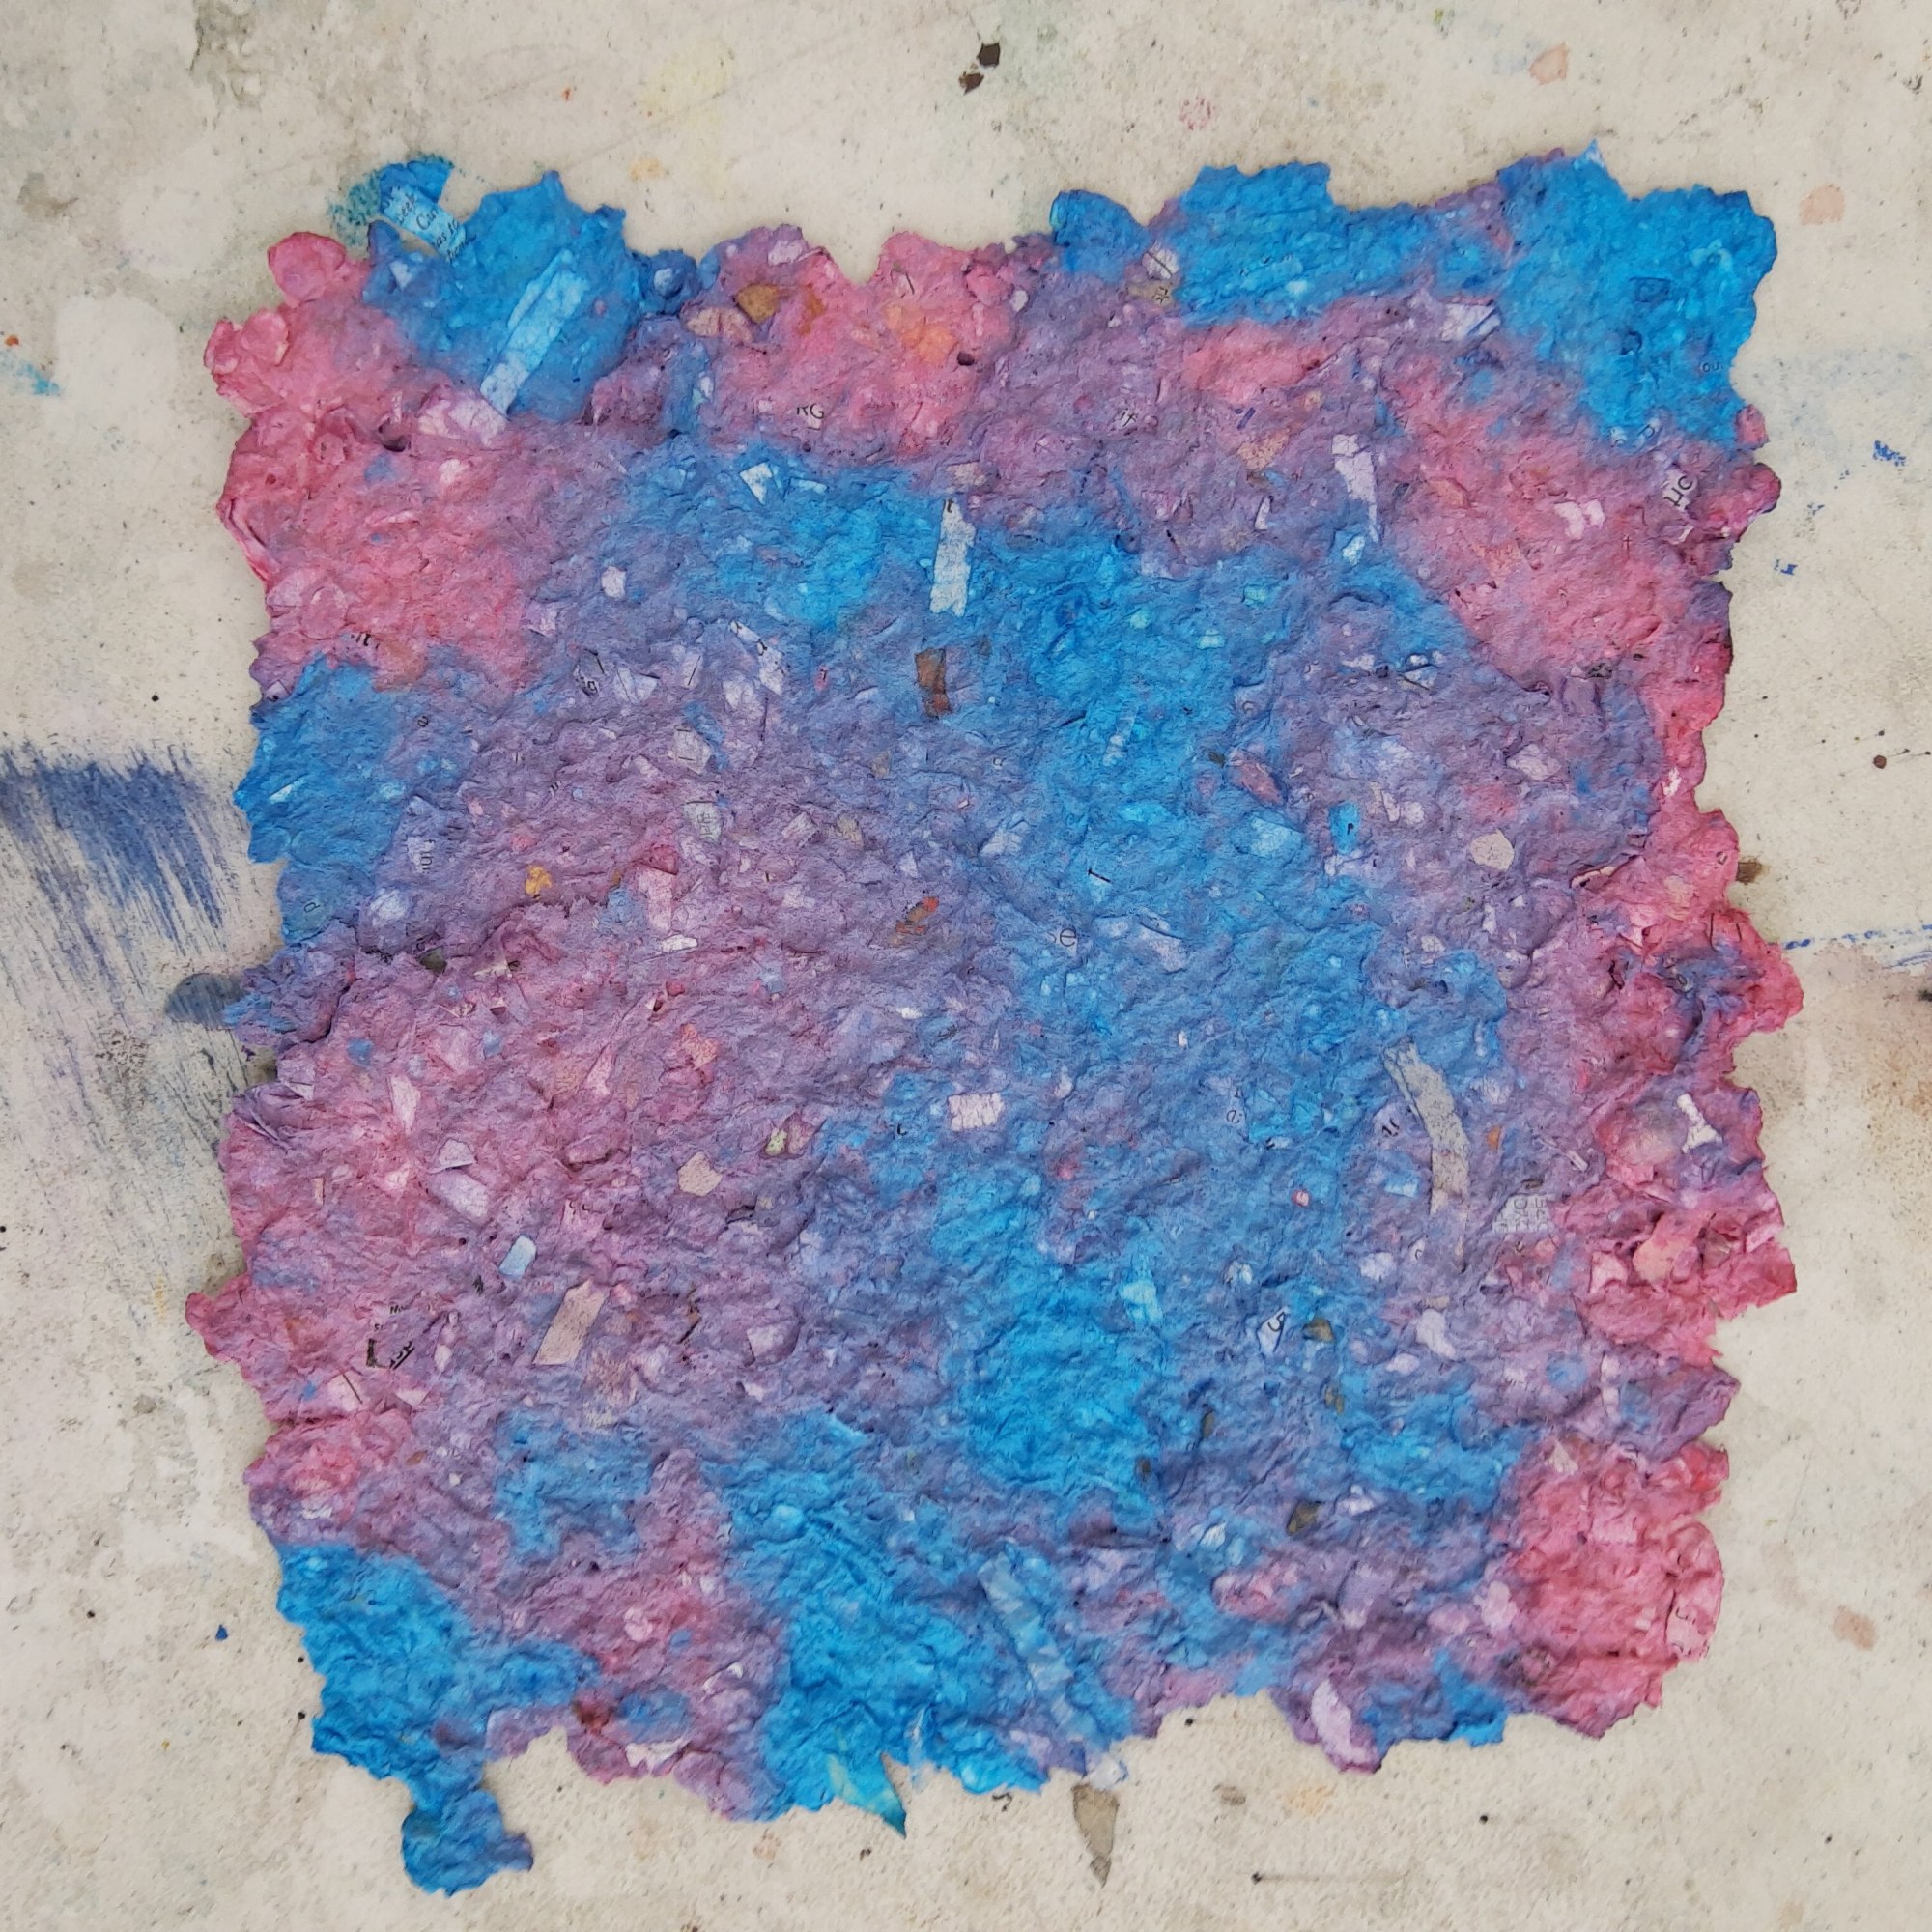
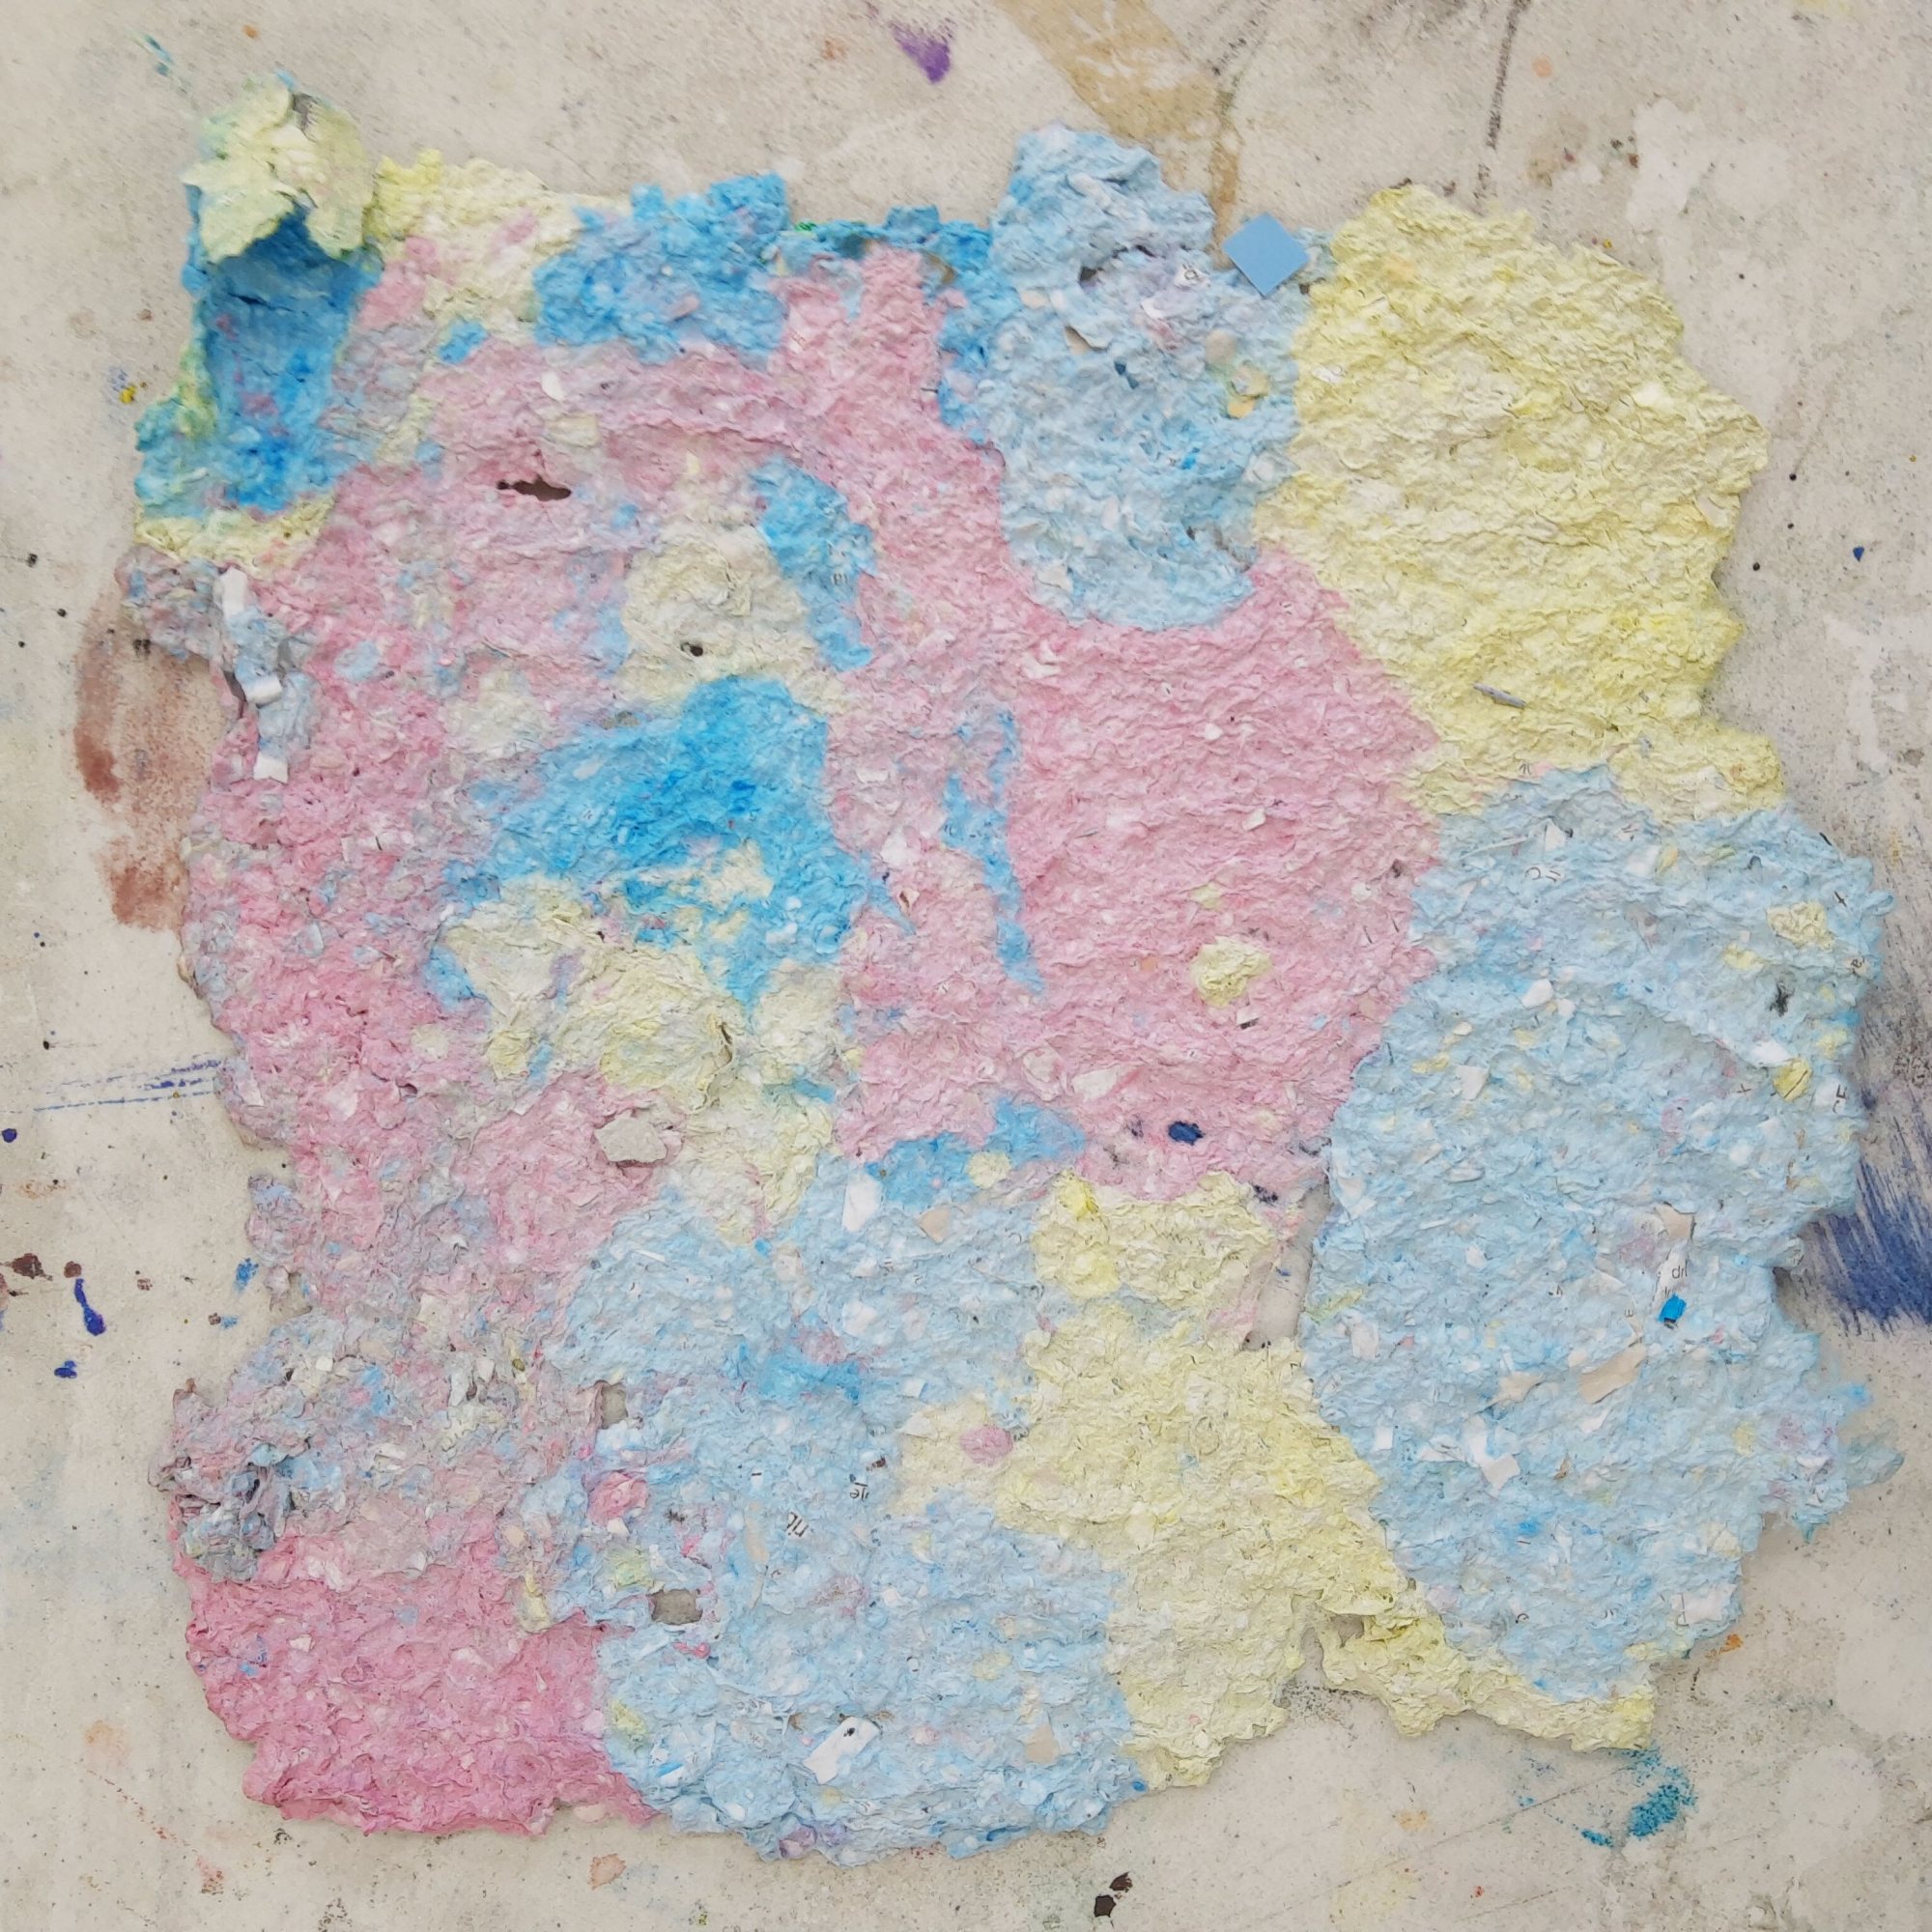
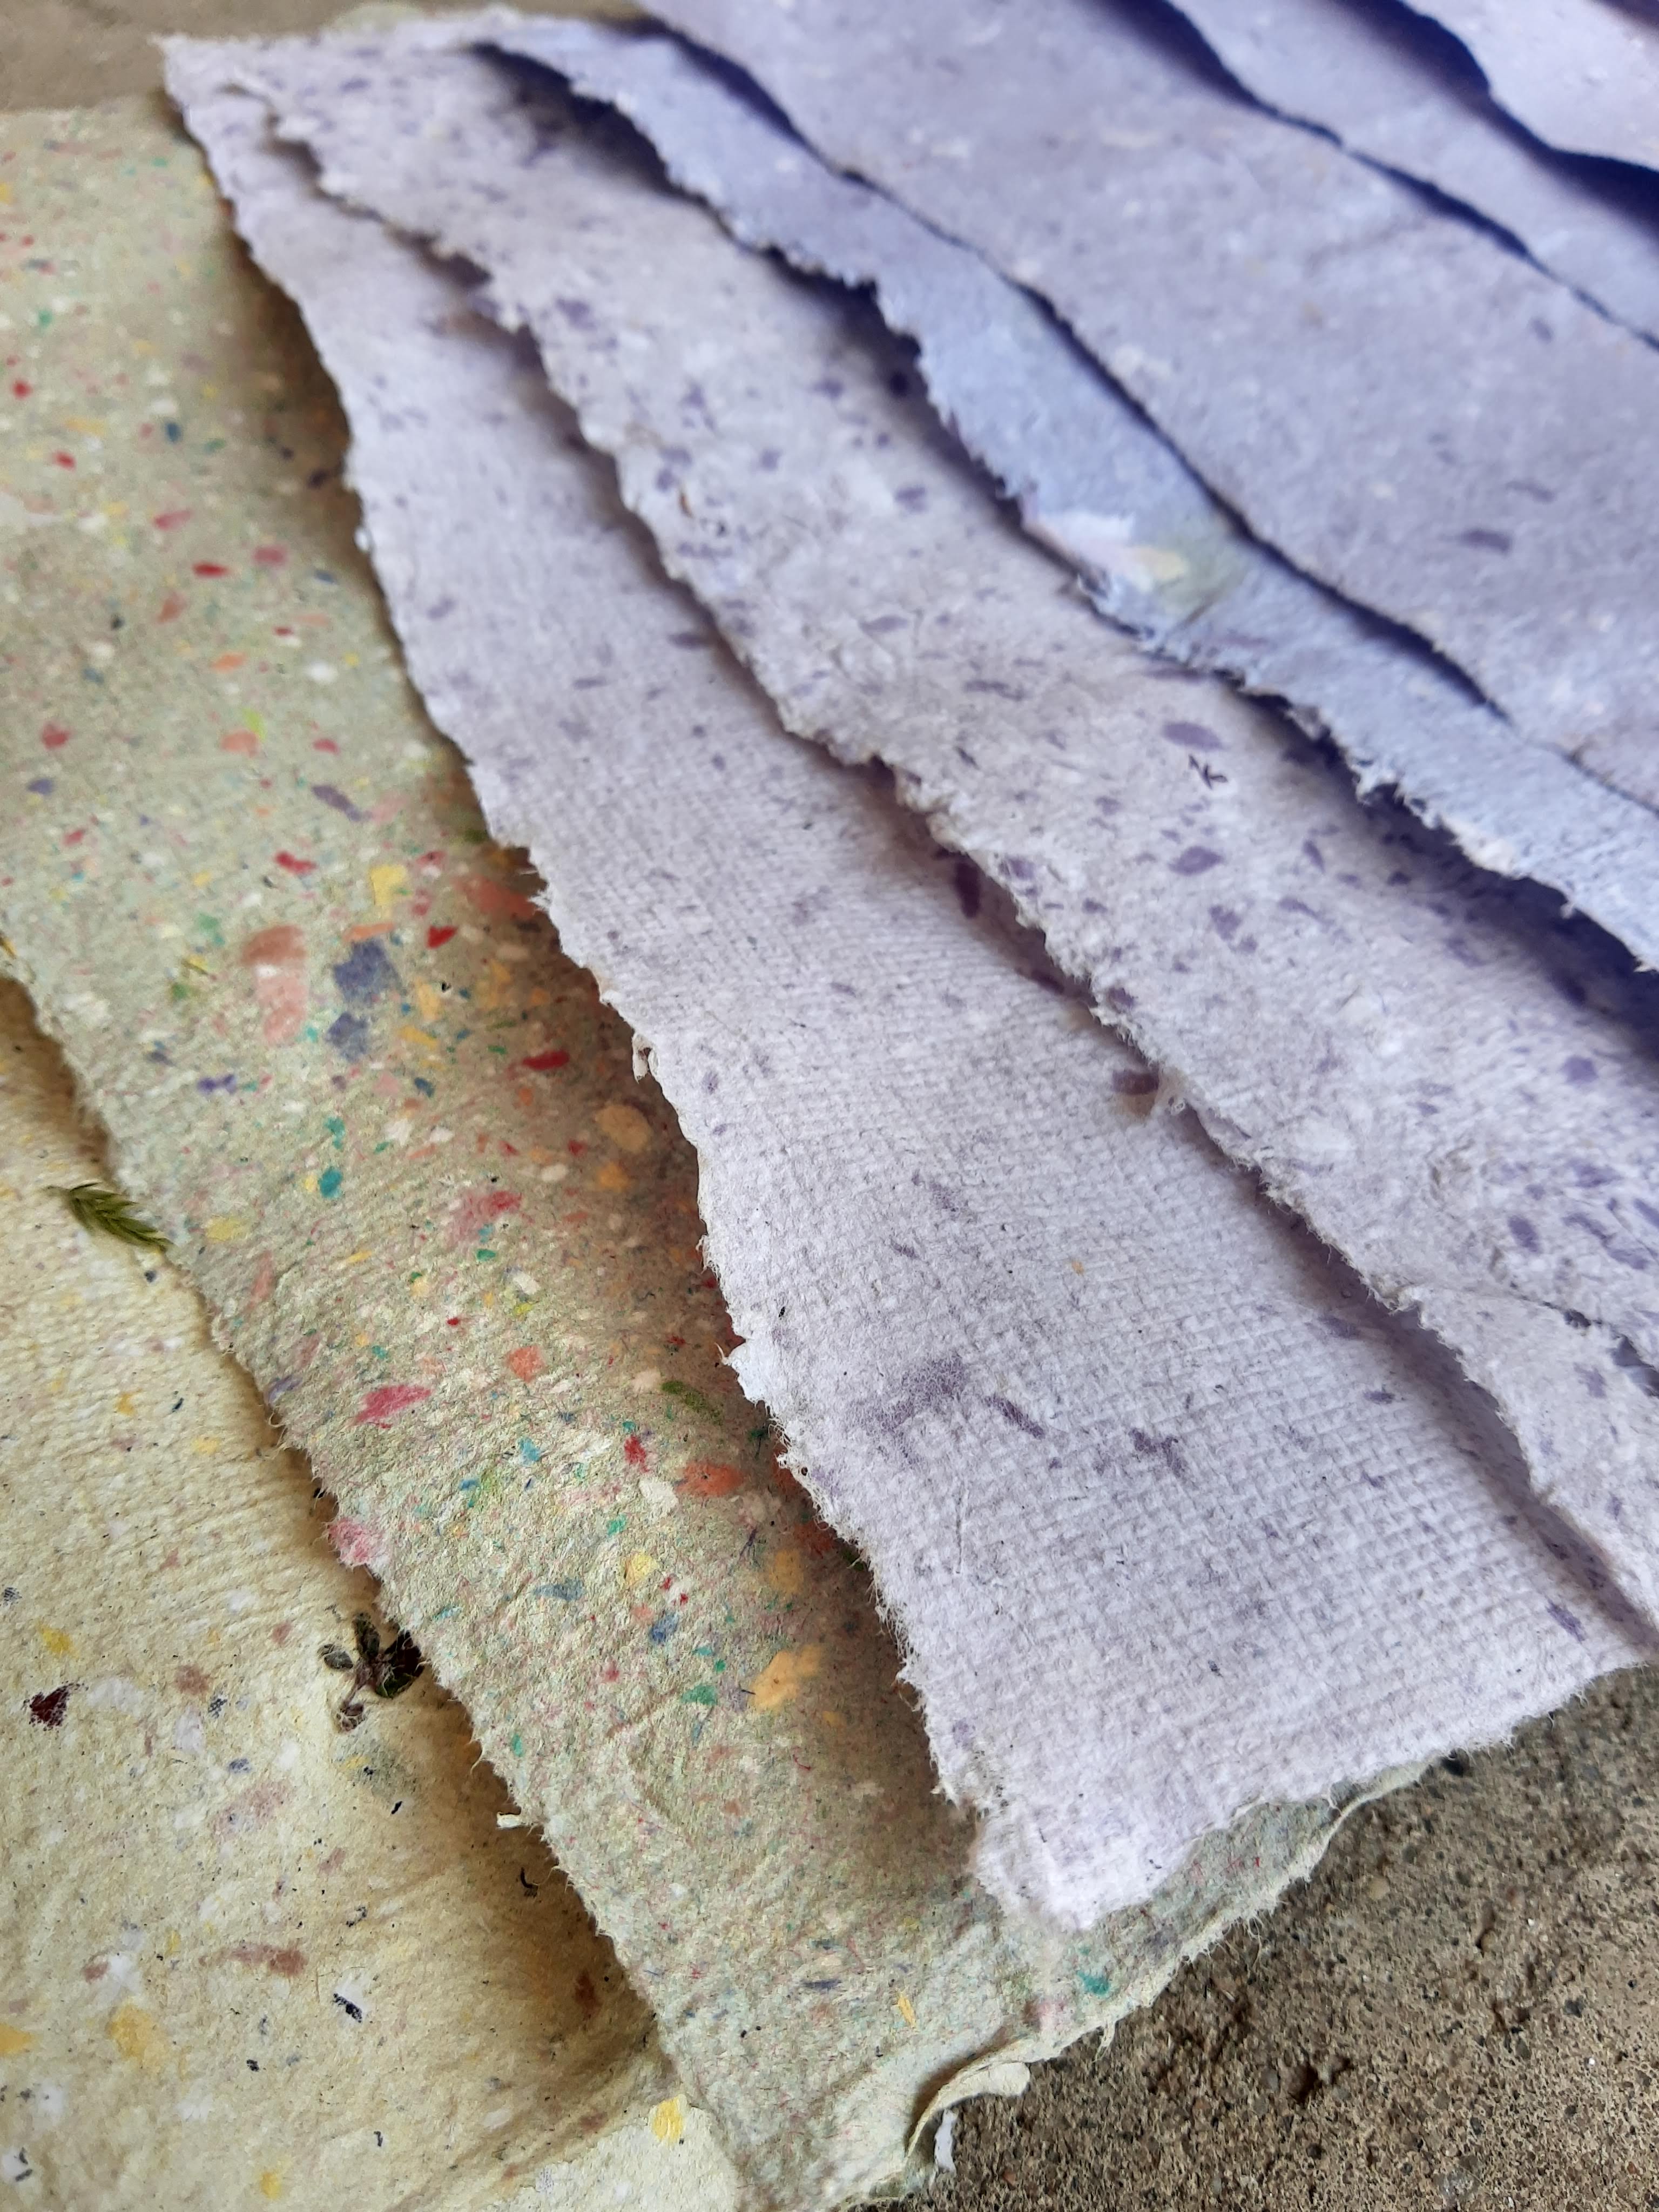
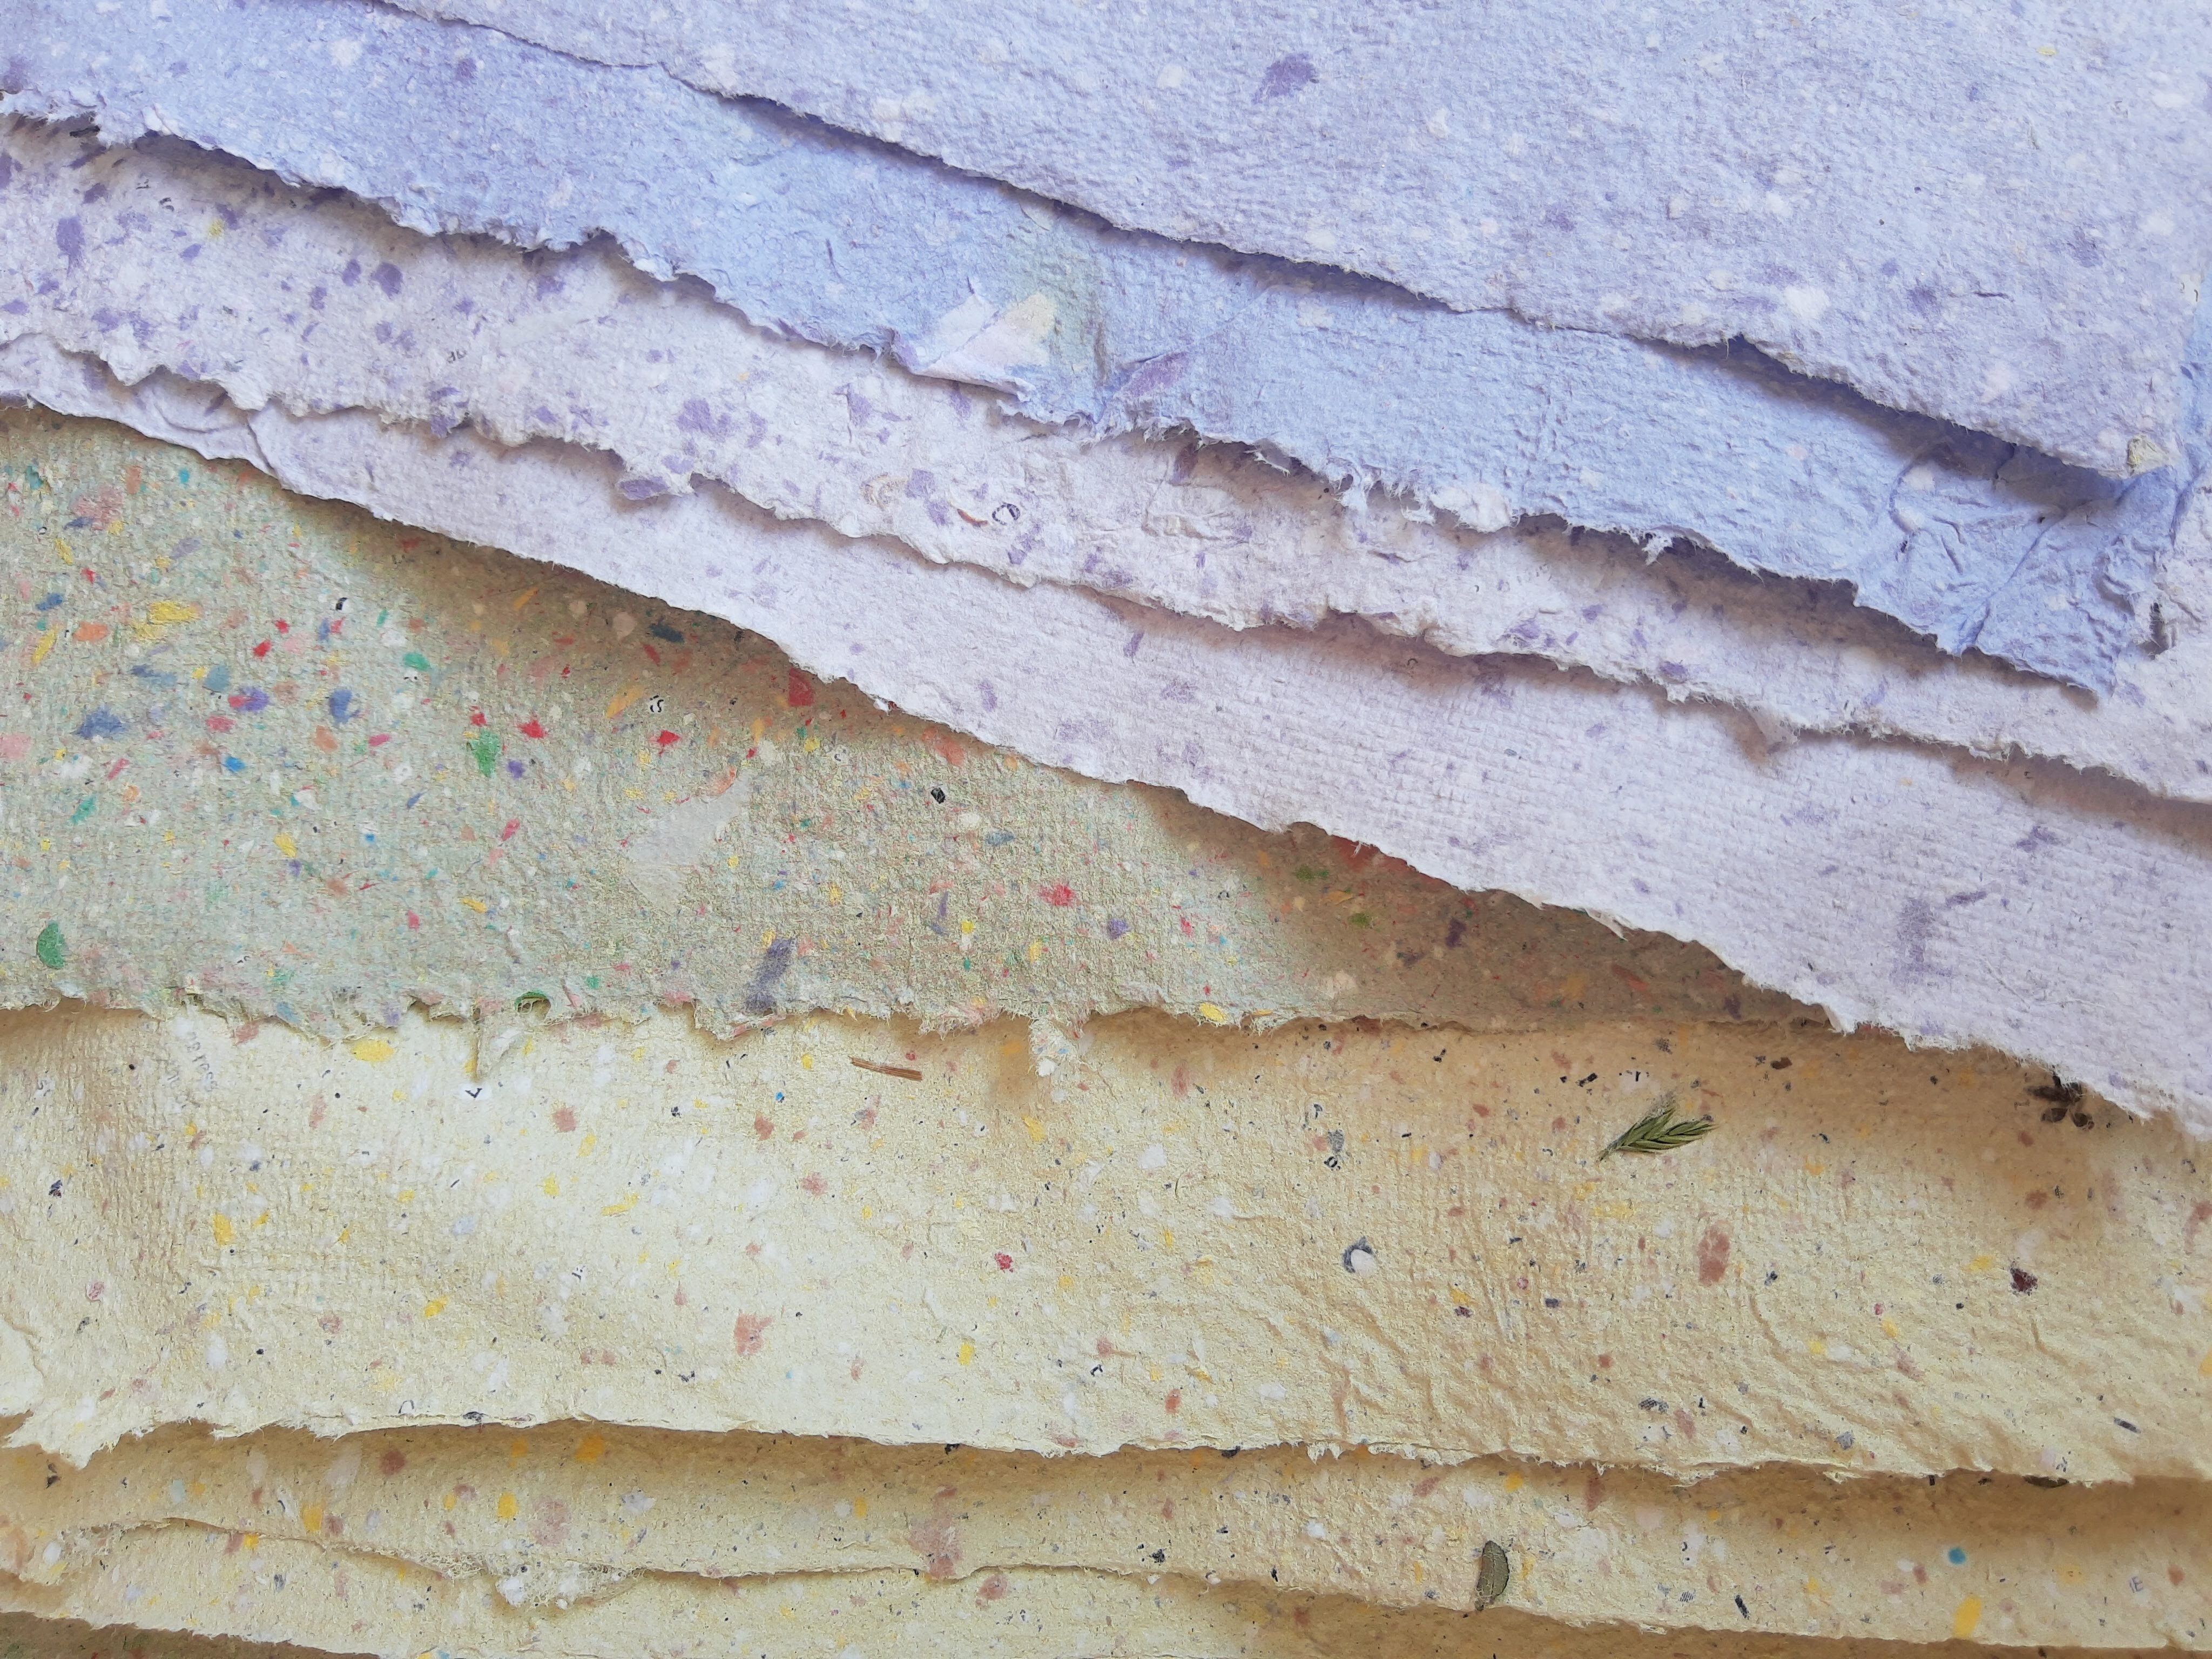
I prepped red, yellow, and blue paper pulp by blending soaked paper scraps and adding acrylic paint to the blender. The main paper pulp was in big tubs and students used smaller cups to scoop up paper pulp to take to their seats. Students created paper pulp designs on top of a piece of cardboard covered in plastic wrap.
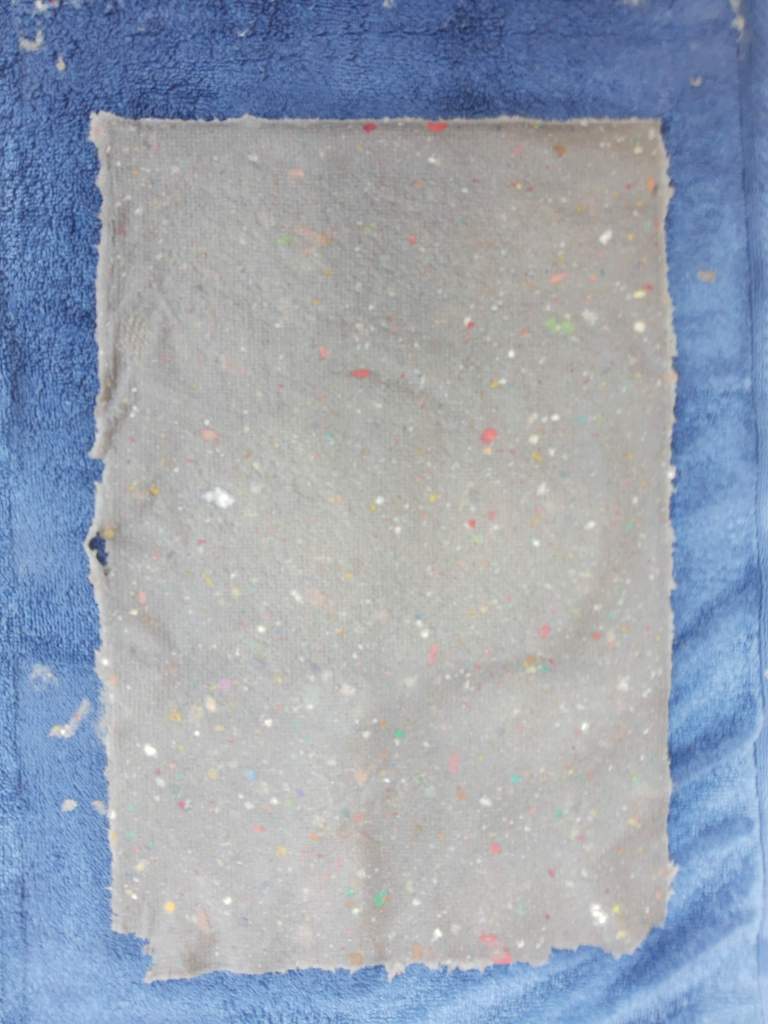
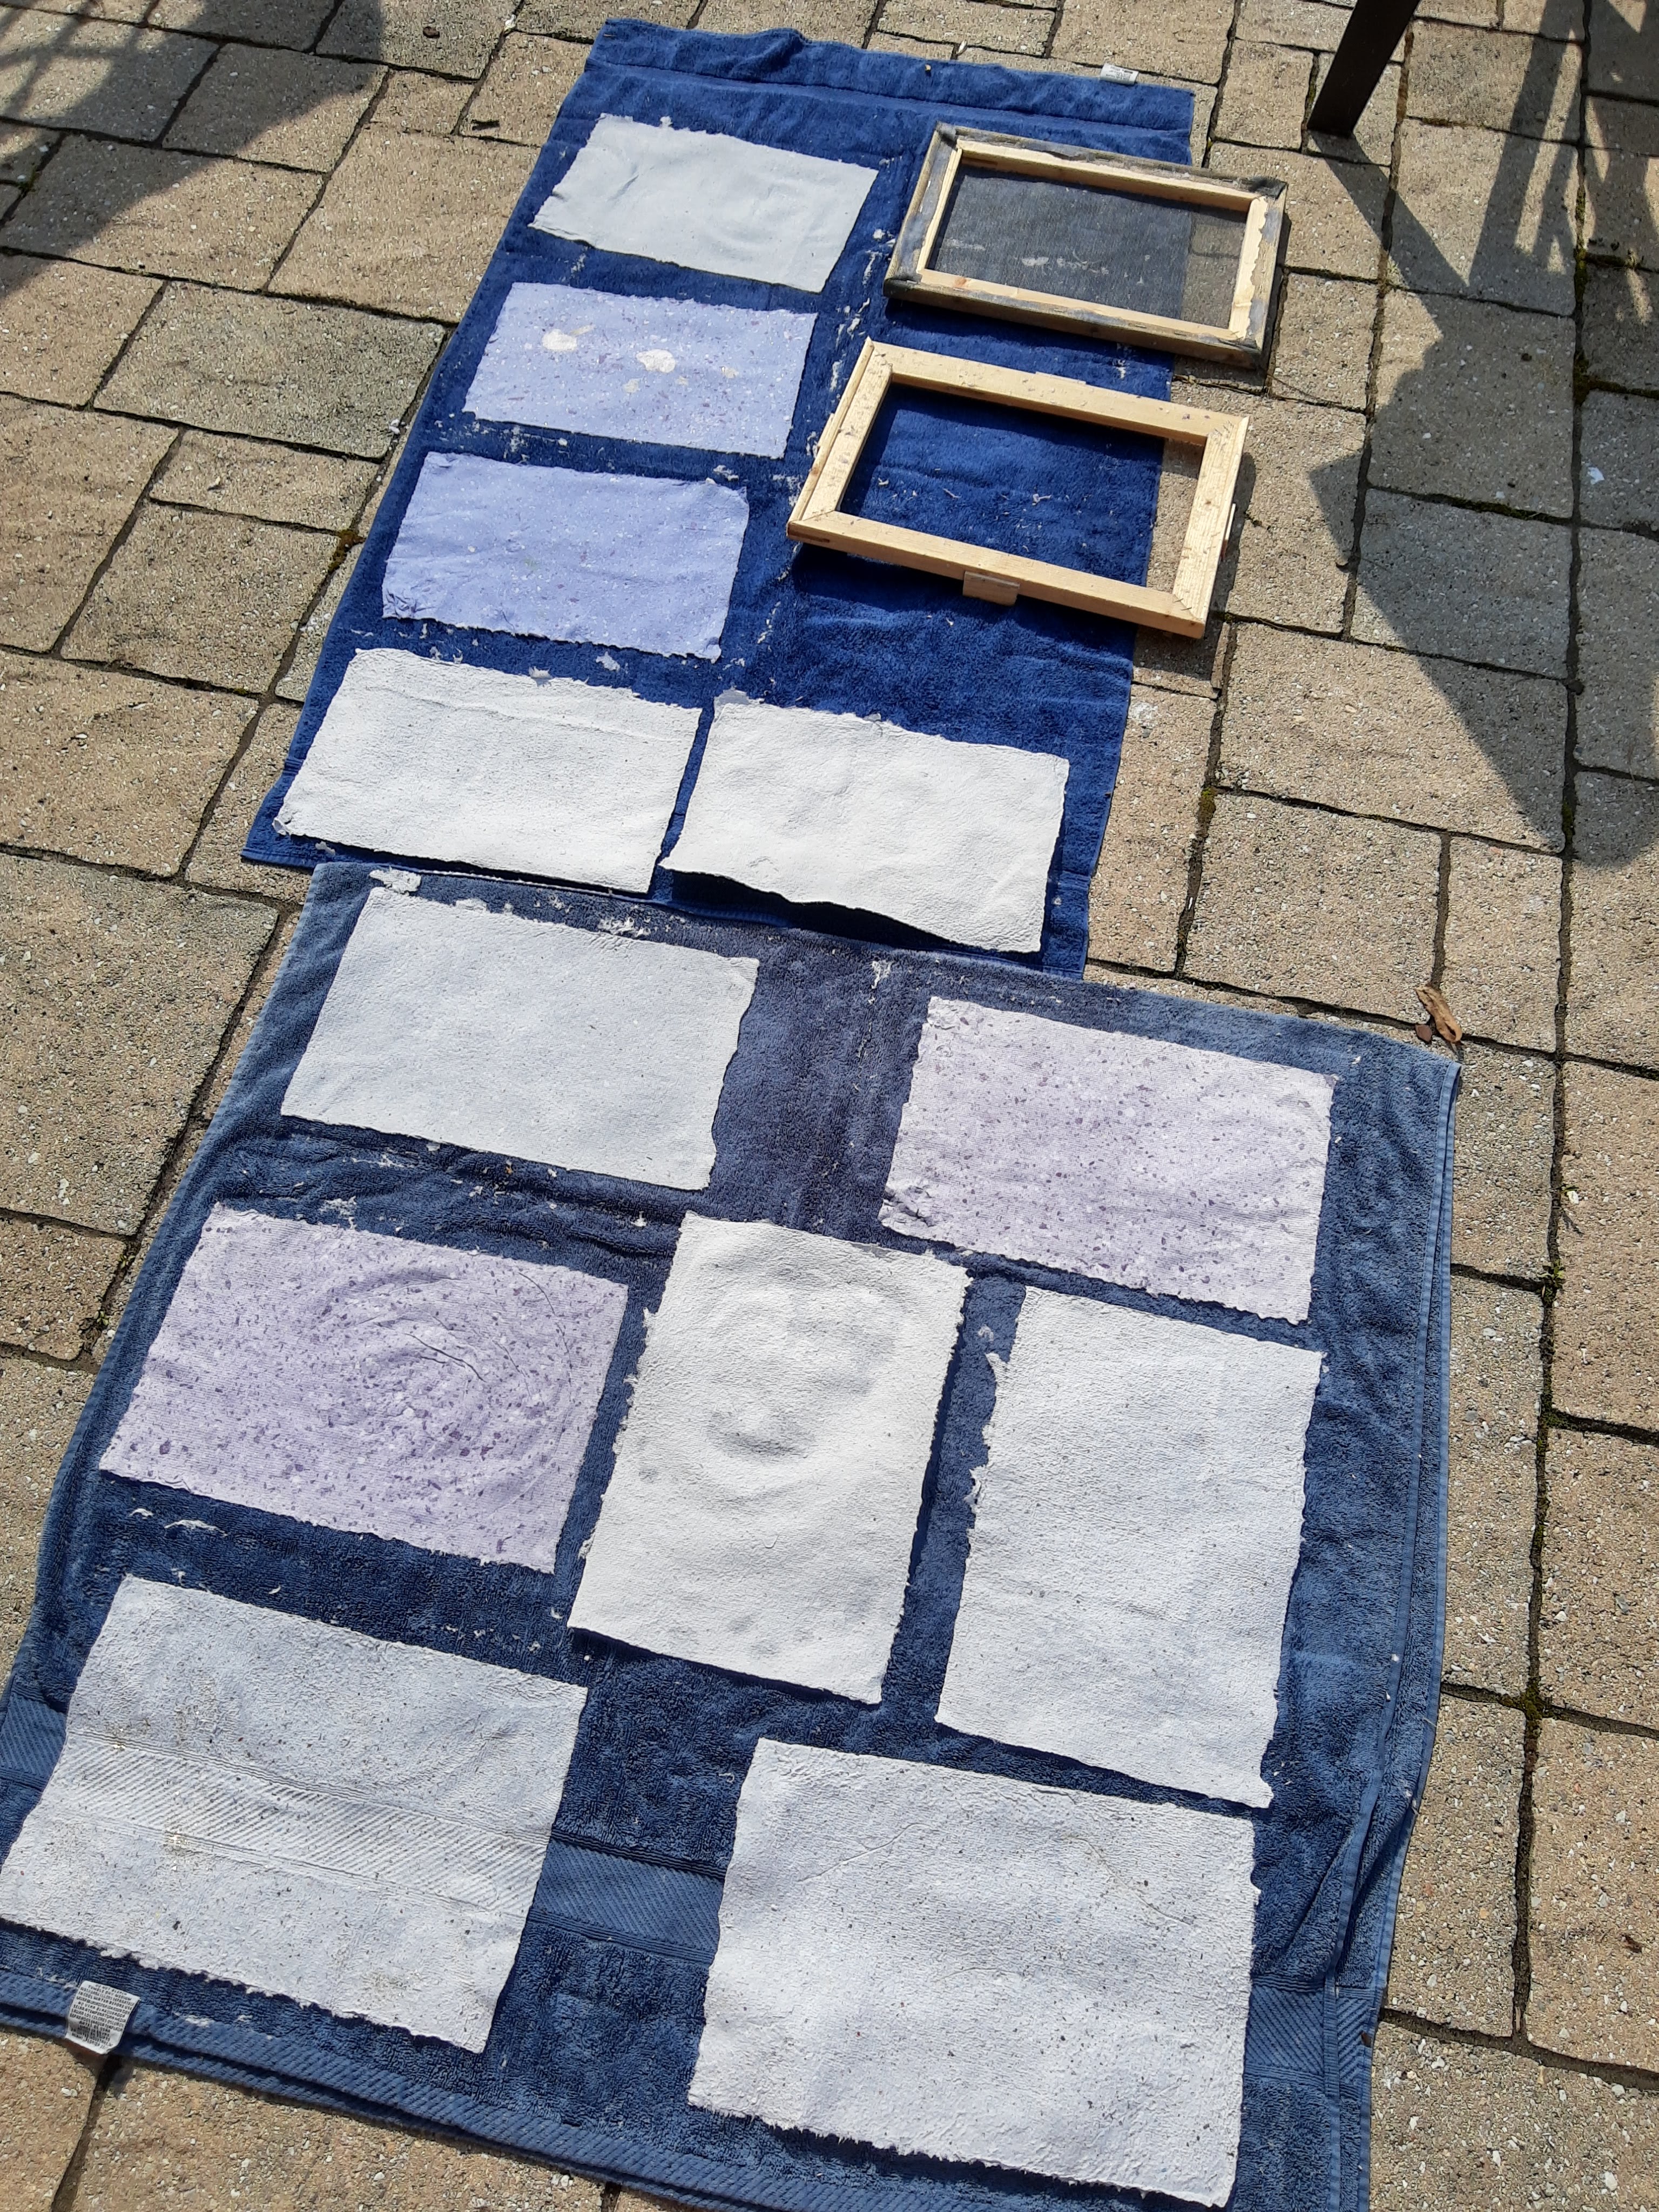
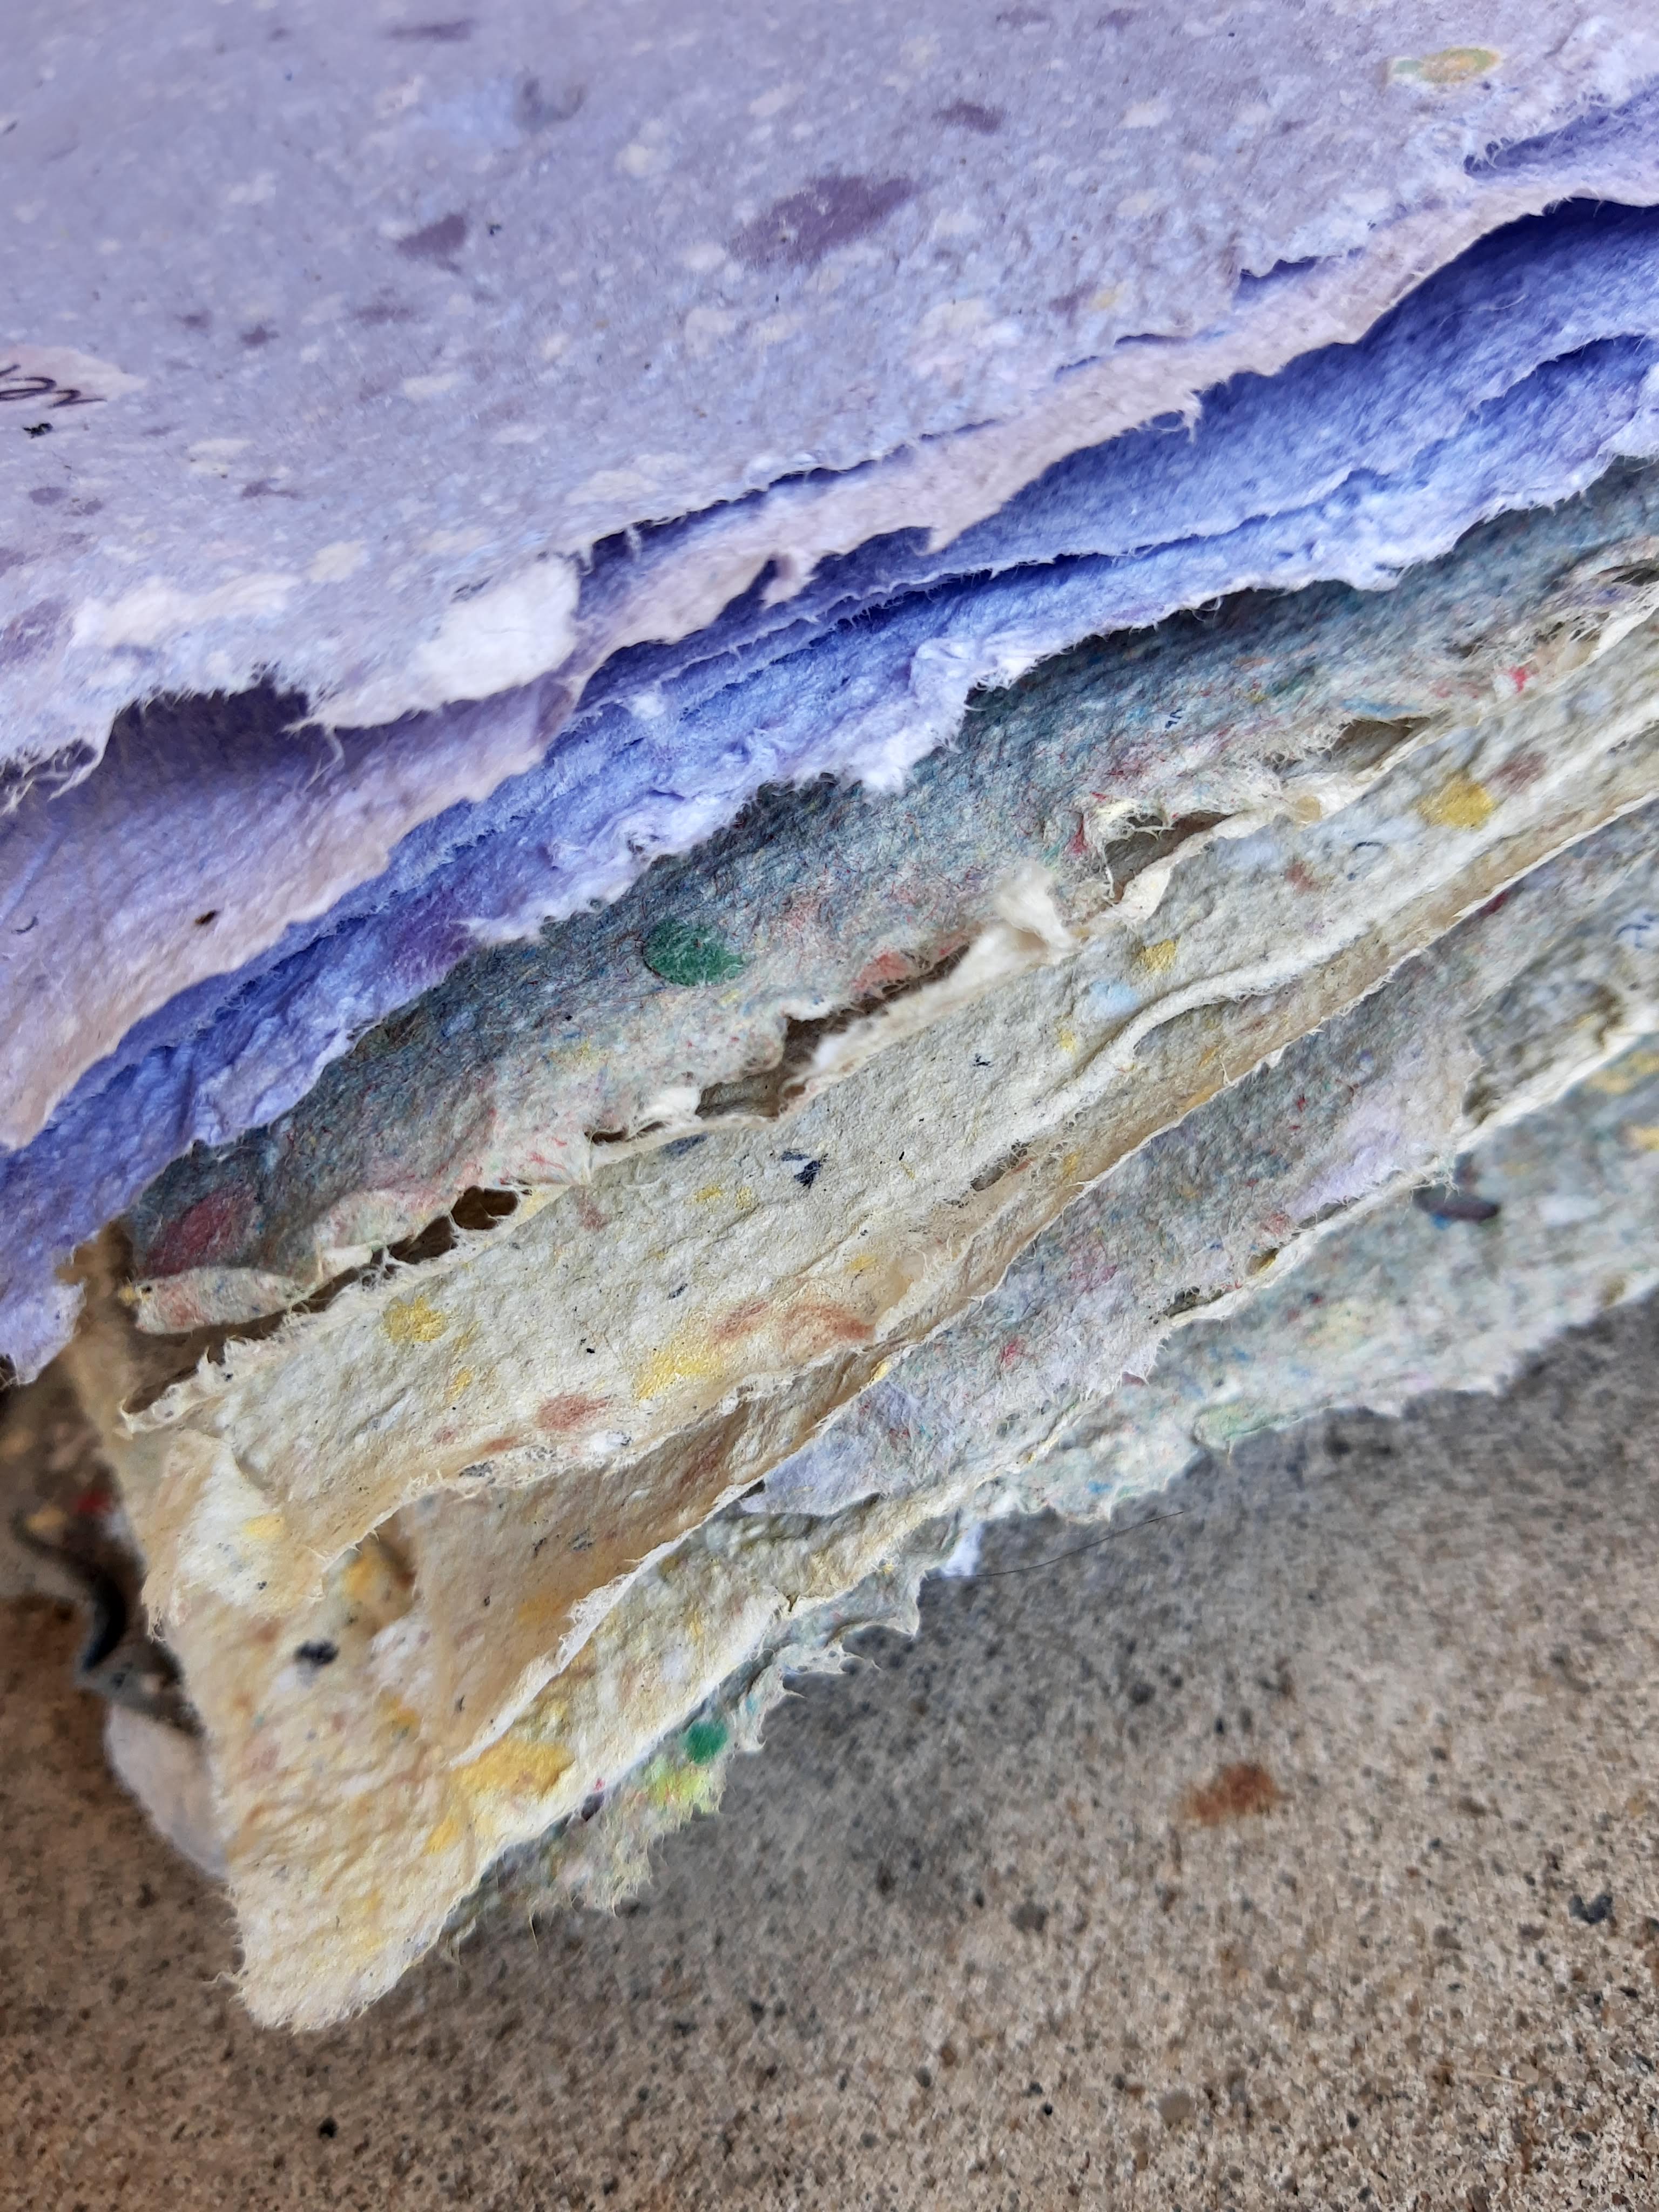
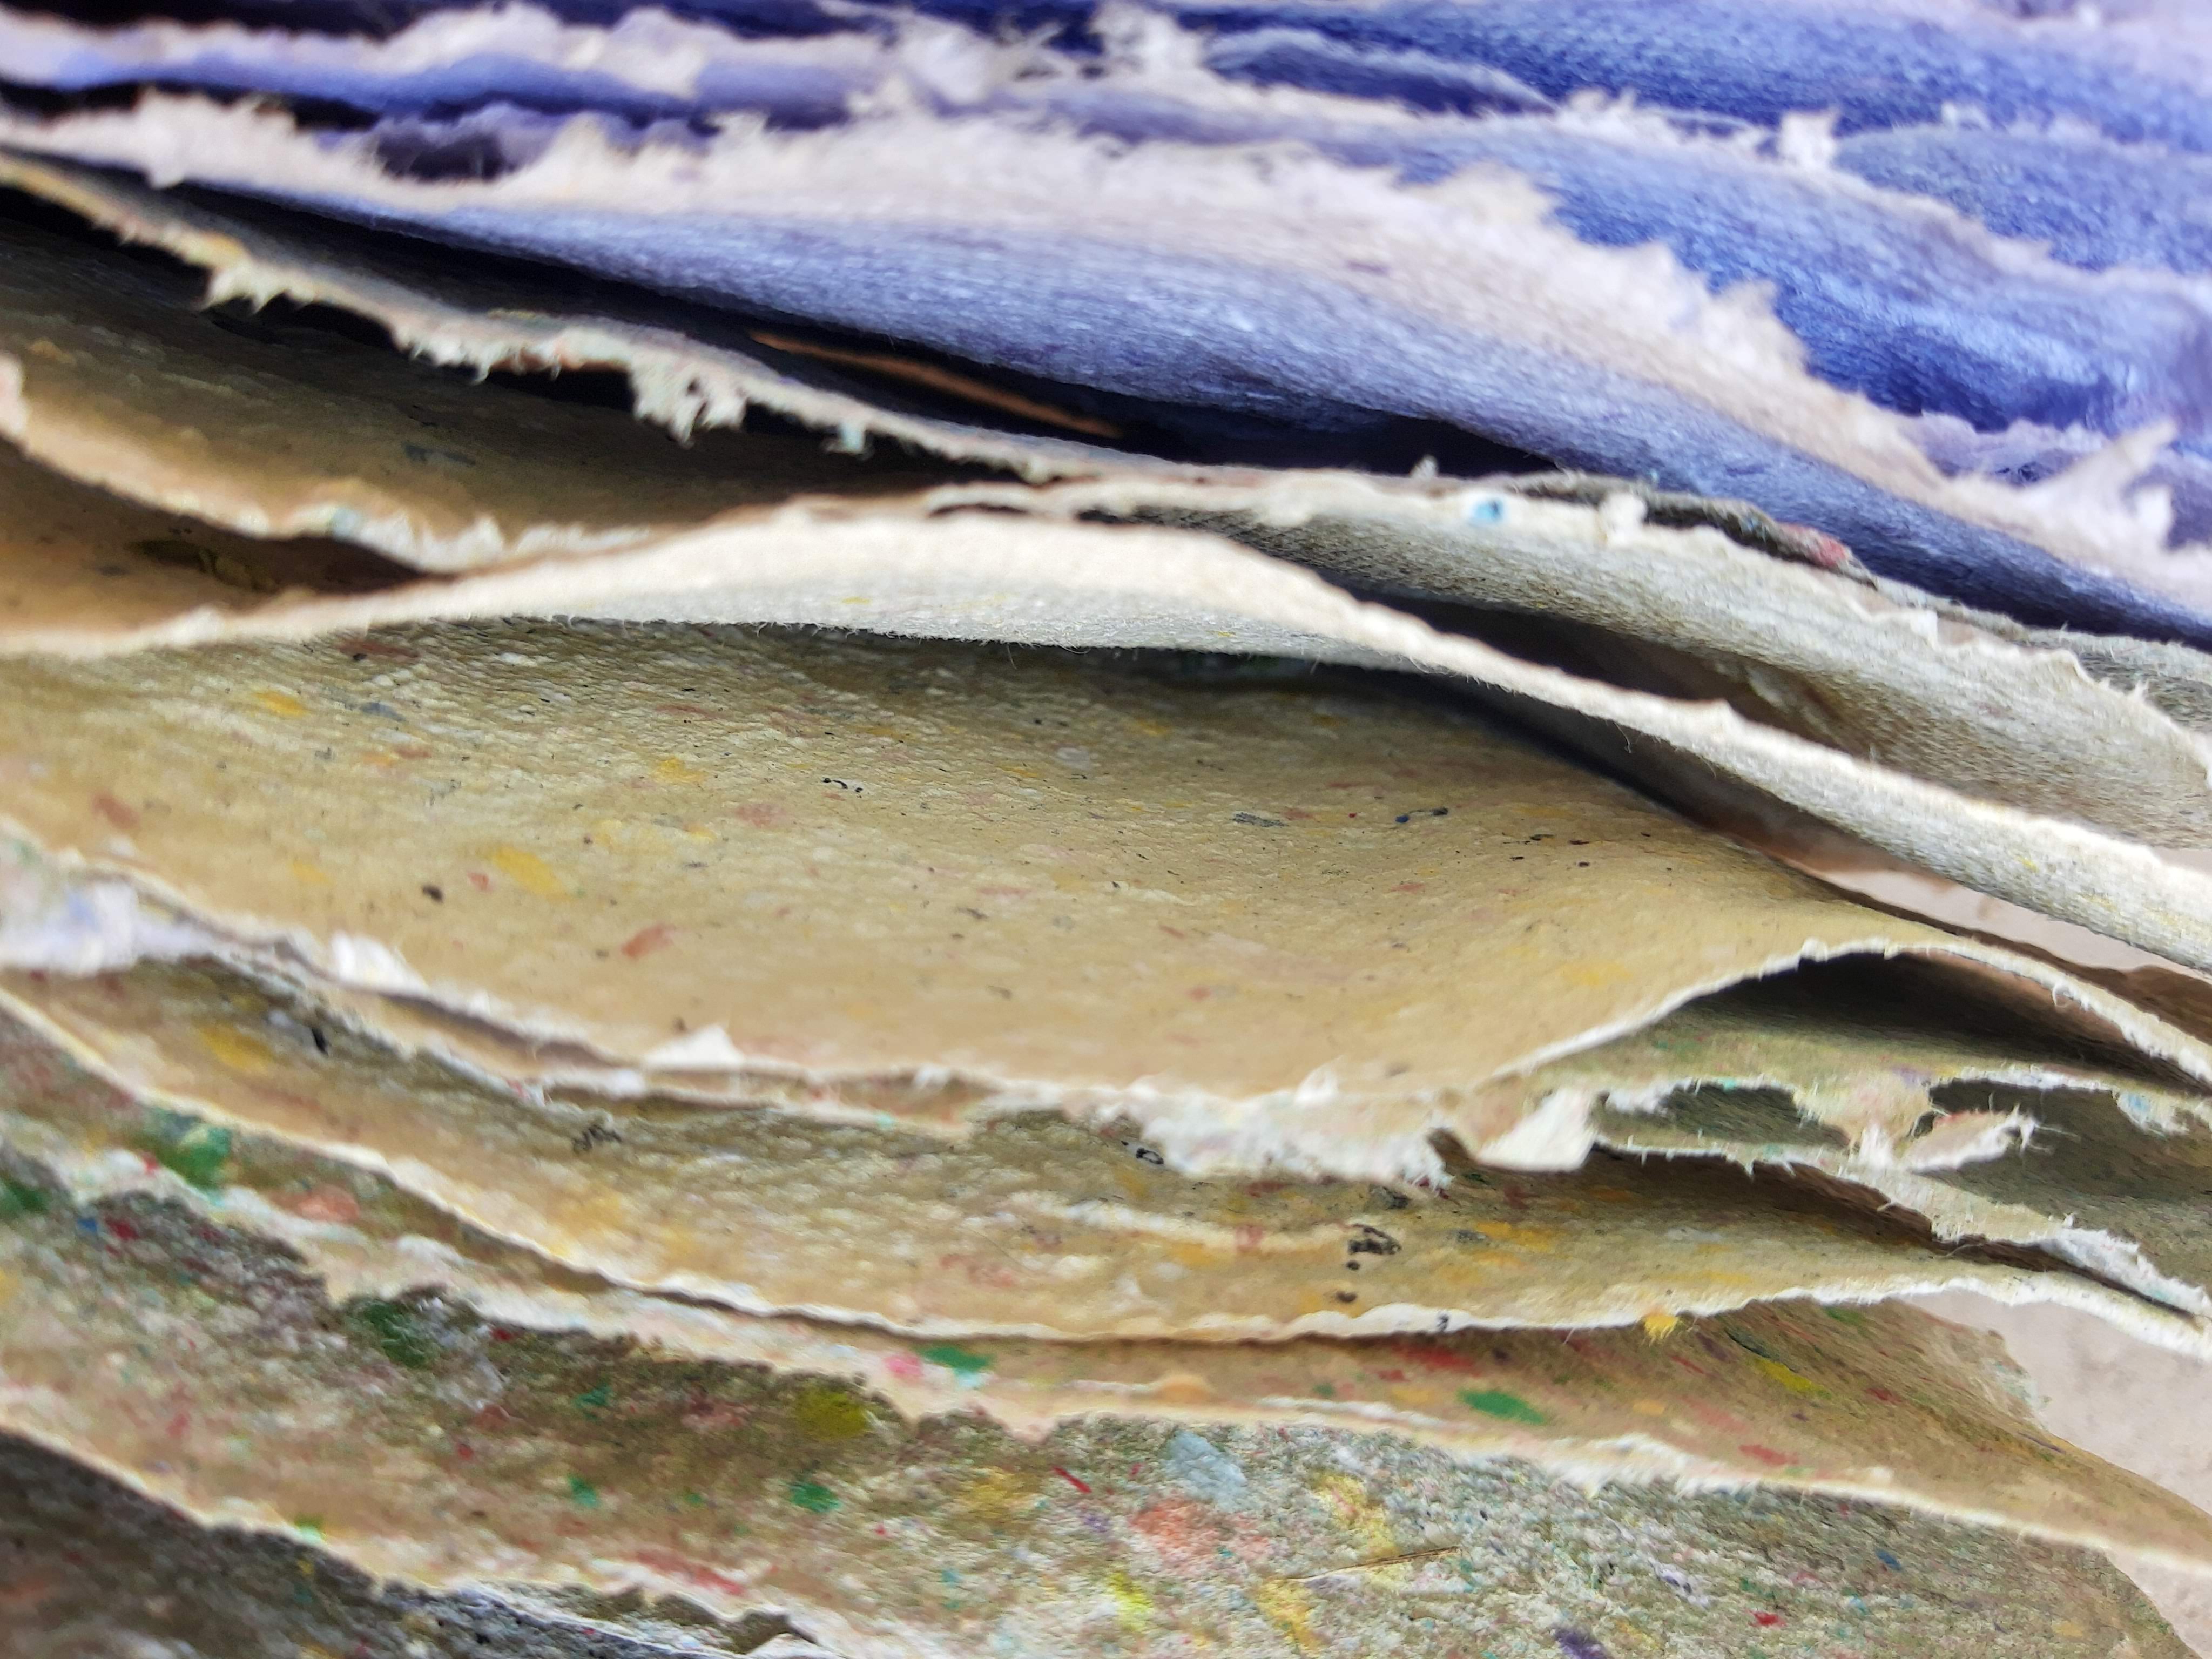
This was my first time making paper! (Actually, technically, I did make a sheet of paper at a paper mill a few years ago, but everything was already set up – this is my first time making it all by myself). I spent 5 hours yesterday making paper and I ended up with about 25 sheets. This morning I also made a few more sheets using the last little bits of paper pulp. I made my paper outside because a lot of water and messiness is involved with paper-making. It was very hot yesterday, but it helped to have the sun for drying my paper. If you make paper outside during the summer, it’s best to start in the early morning so the paper can have the whole afternoon in the hot sun to dry.
Before making paper, I watched a ton of YouTube videos and read different “how to make paper” articles. The following steps are what I learned from both my research and experimenting with the process.
Materials I used:
scrap papers (envelopes, construction paper, junk mail, newspaper, paper bags) (yes, you need paper to make paper, but you can transform junk paper into something beautiful)
deckle and mould
big tub
water
blender
extra decorations (grass, plants, flowers, herbs, glitter, sequins)
acrylic paint (to add color)
towels/mats
Deckle and mould: My mom graciously made me a deckle and mould. Thank you mom 🙂 – it worked very well. The mould is the screened frame and the deckle is the outer frame that lays on top of the mould.
The deckle and mould fit together with the deckle placed on top of the flat side of the mould.
These are the steps I followed and things I figured out:
Step 1: Rip up a bunch of paper into small squares (about 1-2″). I used construction paper scraps, envelopes, scrap paper, and junk mail.
Step 2: Soak paper in water for a few hours (or 5-10 minutes if you’re impatient like me). Thinner paper like envelopes from junk mail become softer much quicker than thicker papers.
paper soaking
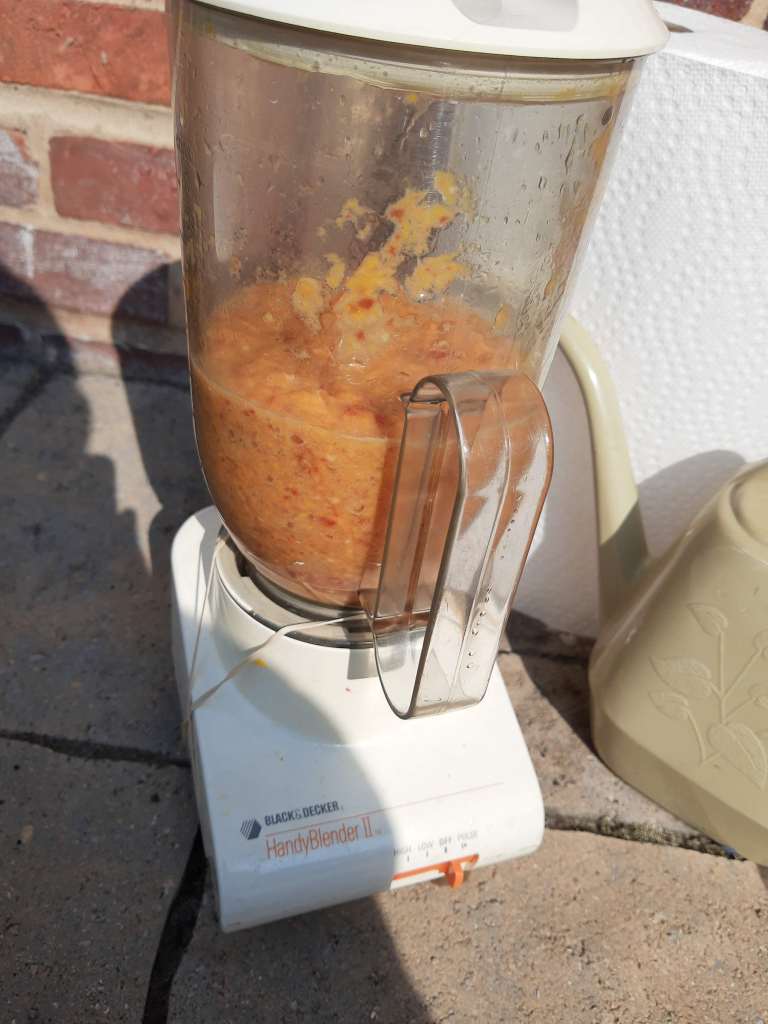
Step 3: Blend soaked paper with water until it makes a fine pulp. If you want to alter the colors, add acrylic paint to the blender and blend until color is incorporated. Construction paper usually remains in larger pieces and doesn’t soak up color like other papers.
paper blended
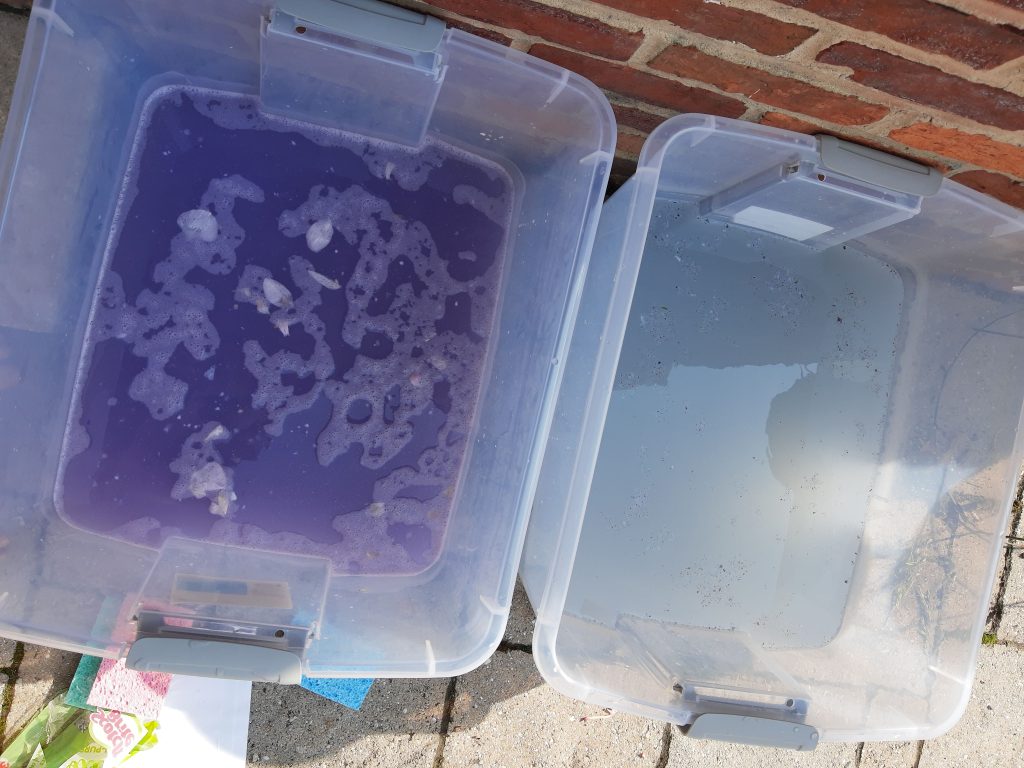
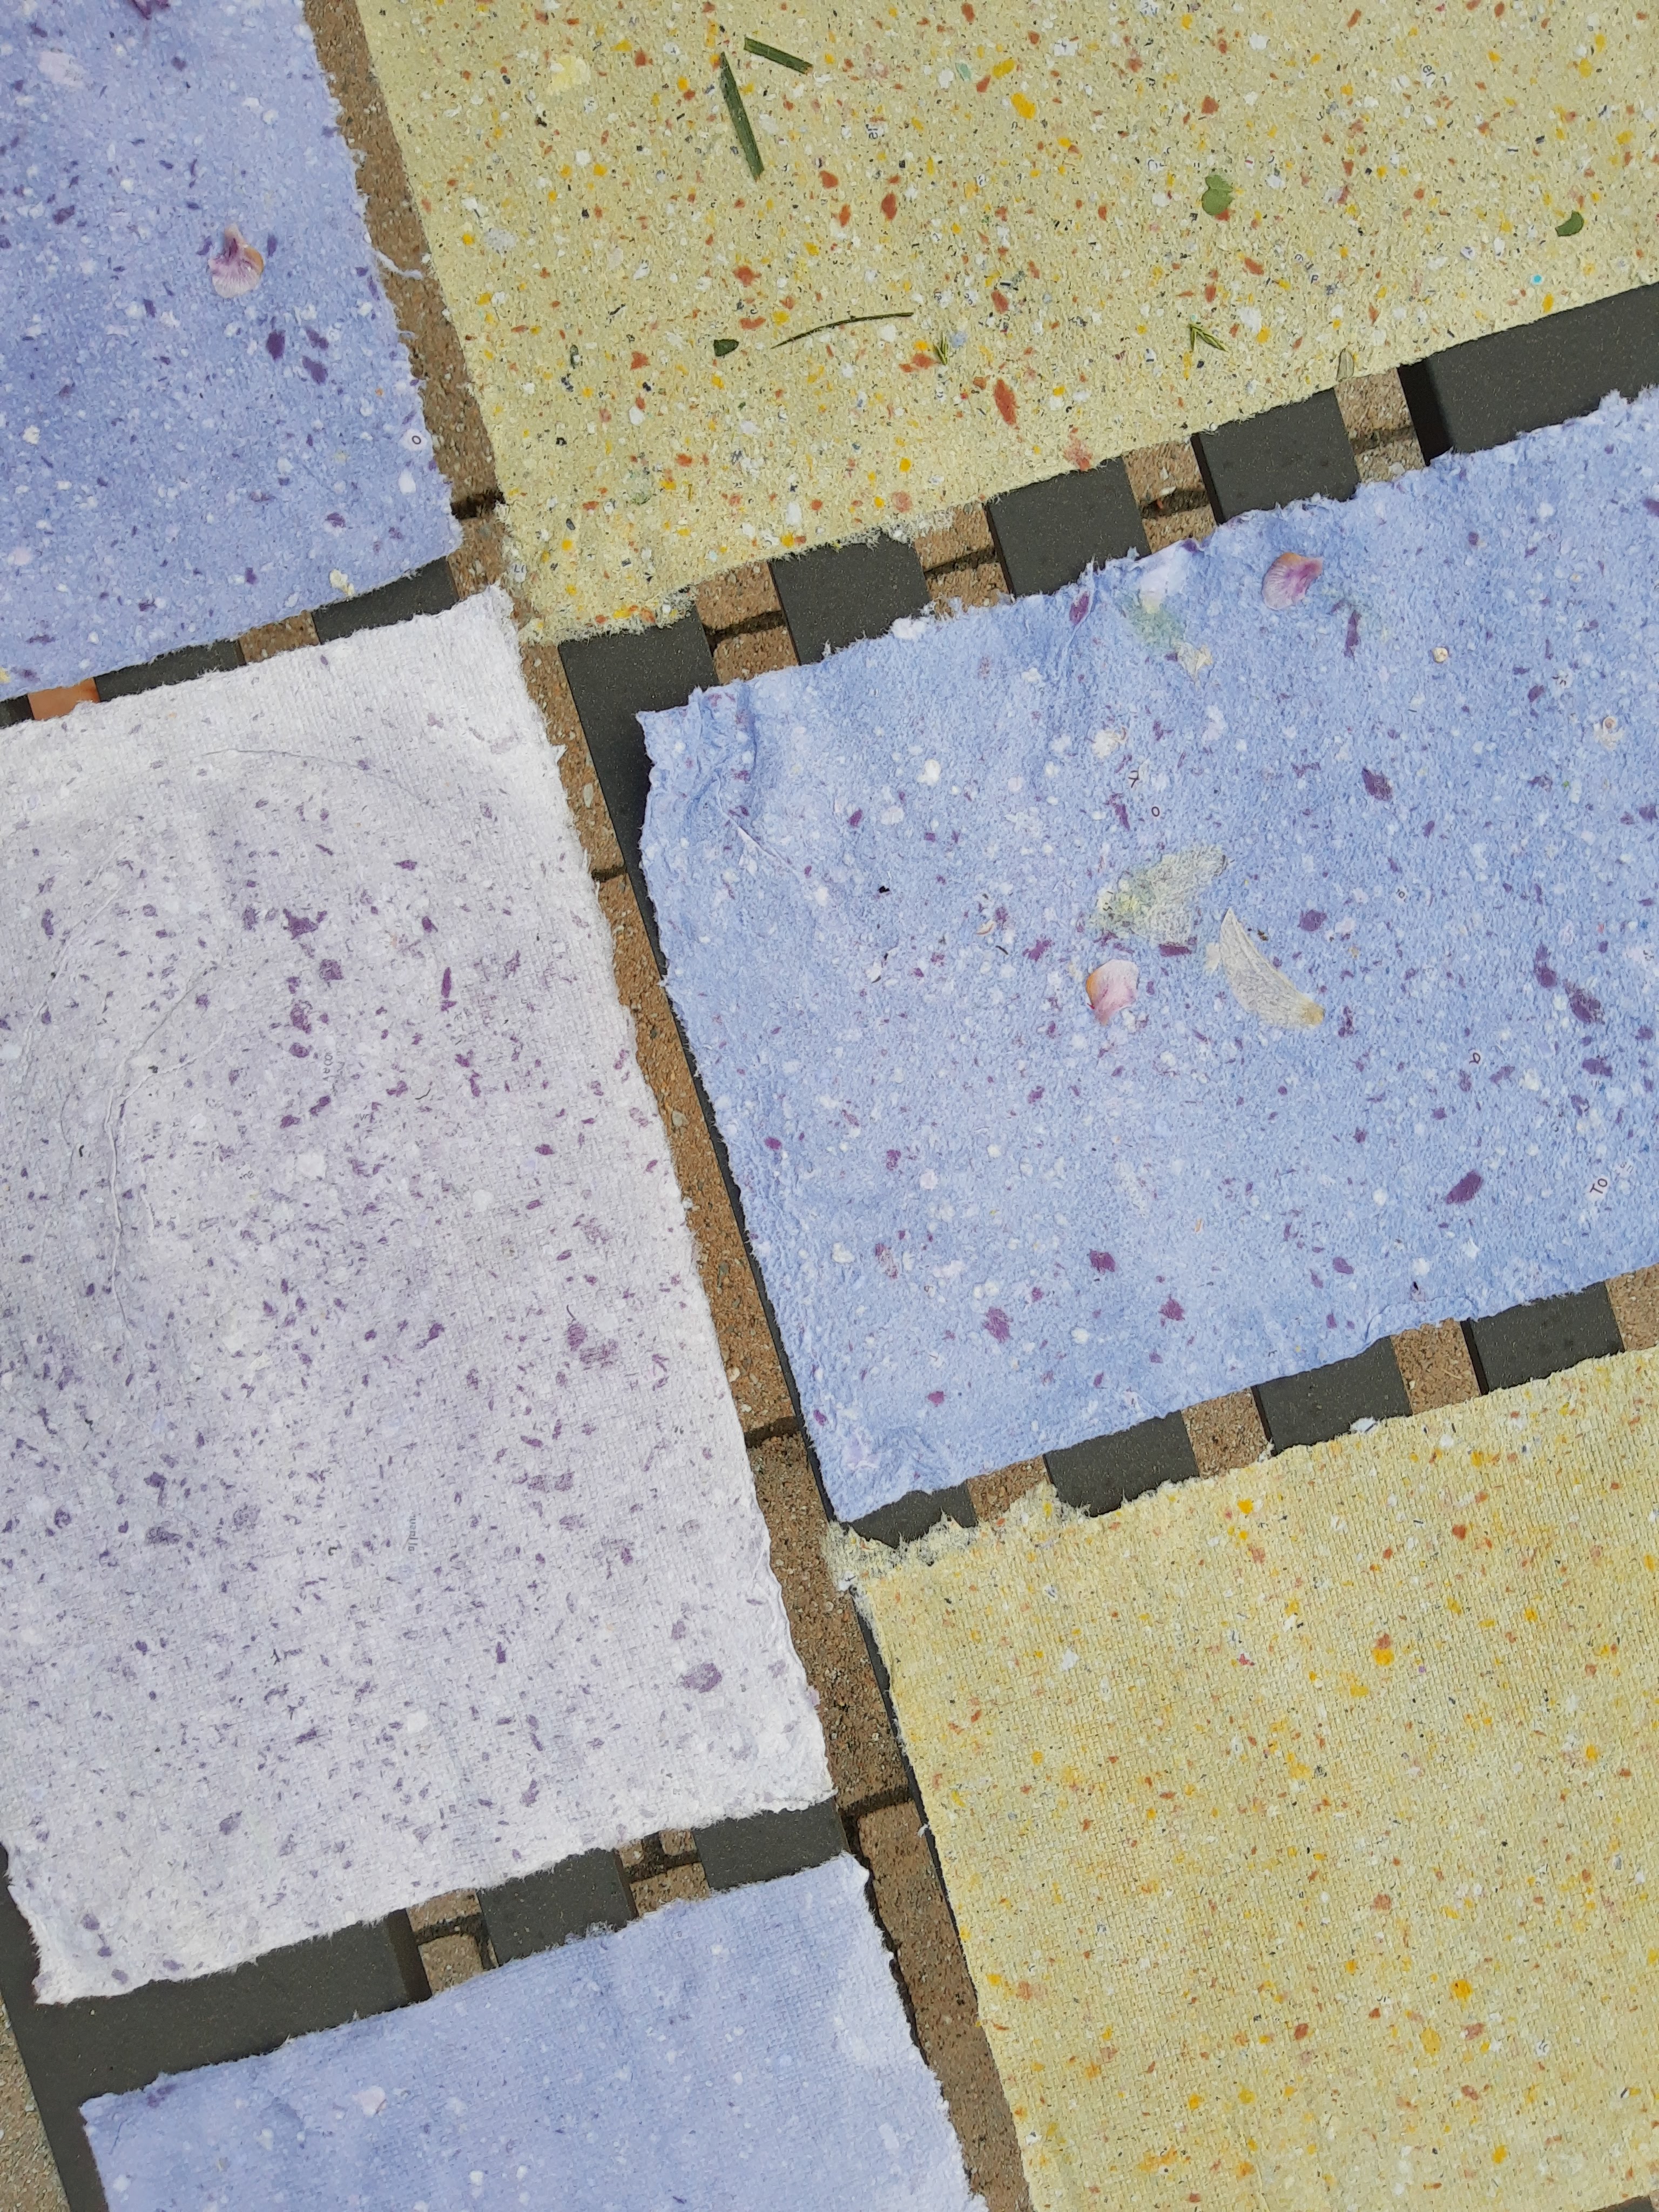
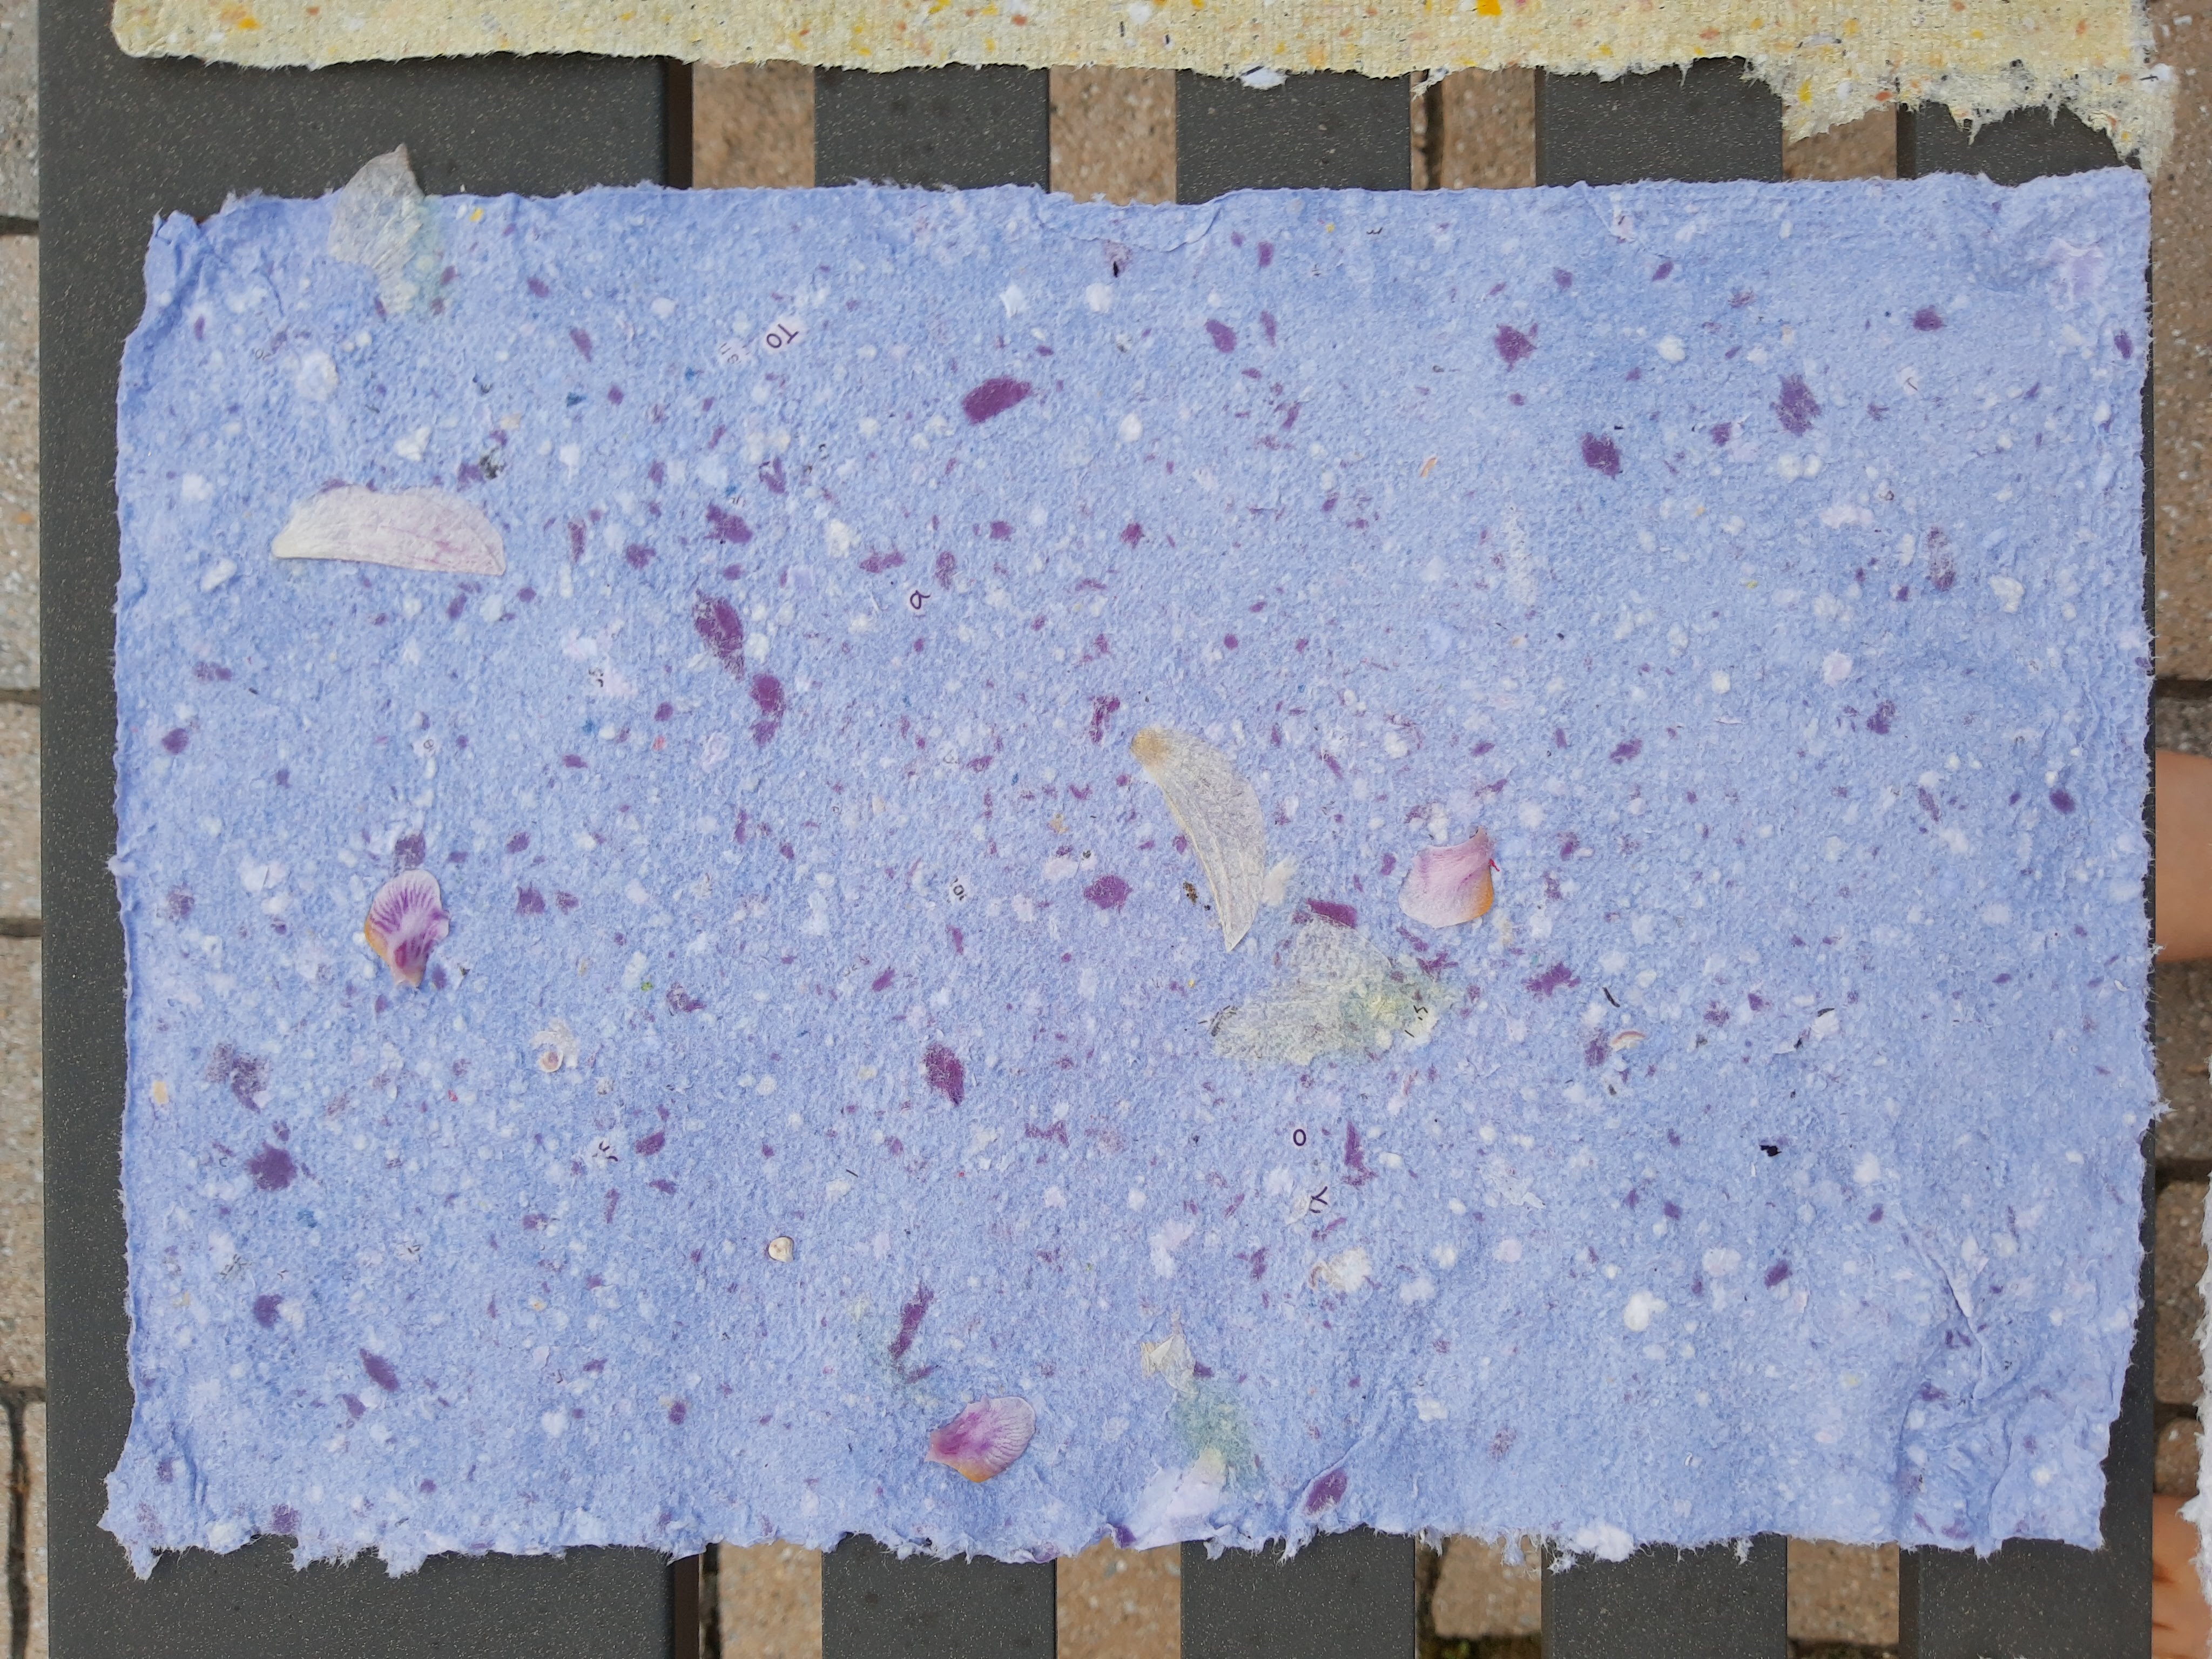
Step 4: Fill a big tub with water (I filled it about 1/3 of the way). Add the paper pulp to the tub. Add glitter, flower petals, grass, sequins, leaves, and any other decorative elements to the water. More paper pulp added to the tub = thicker paper
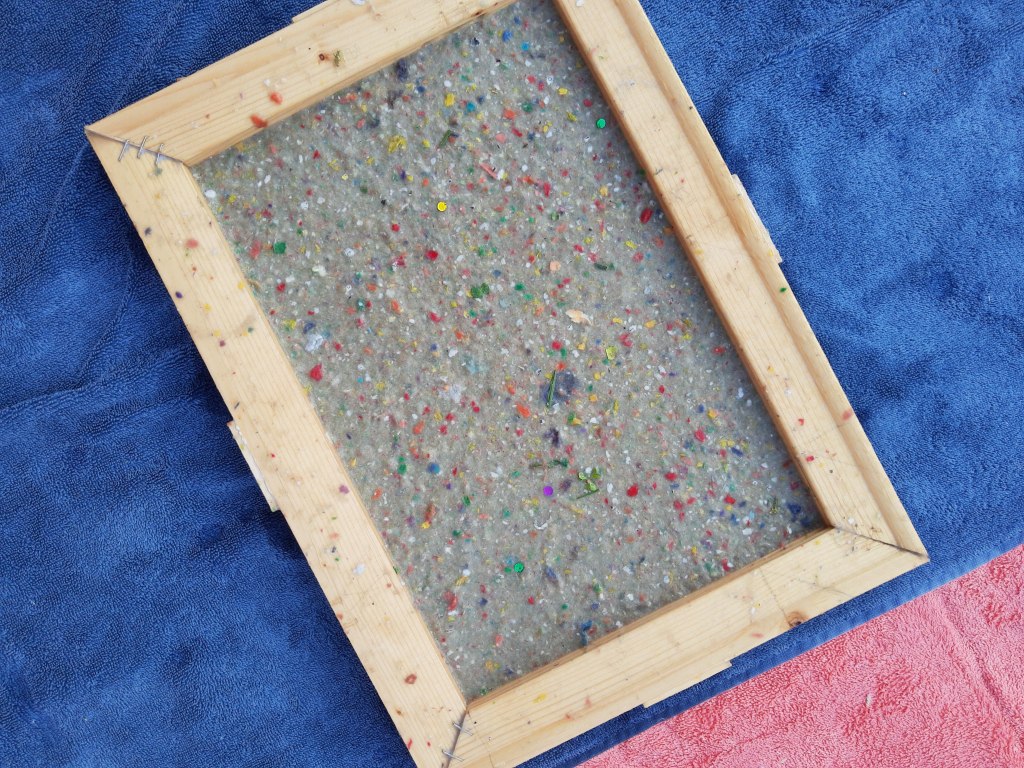
Step 5: Stir the water/pulp mixture in the tub each time you are going to create a new sheet. Stir, slide mould and deckle into the tub at an angle, and then level it out once it is completely submerged. Lift mould and deckle out of the tub and gently shake to even out the pulp. Let the rest of the water drip.
Once you lift the mould and deckle from the tub, it should look like this:
Step 6: Place the mould and deckle on a towel. Remove the deckle
Step 7: Flip the mould, paper side down, onto the towel.
Step 8: Dab the mesh with a towel or sponge to get rid of as much moisture as possible. If the paper doesn’t come off easily in the next step, dab the paper more with towel/sponge.
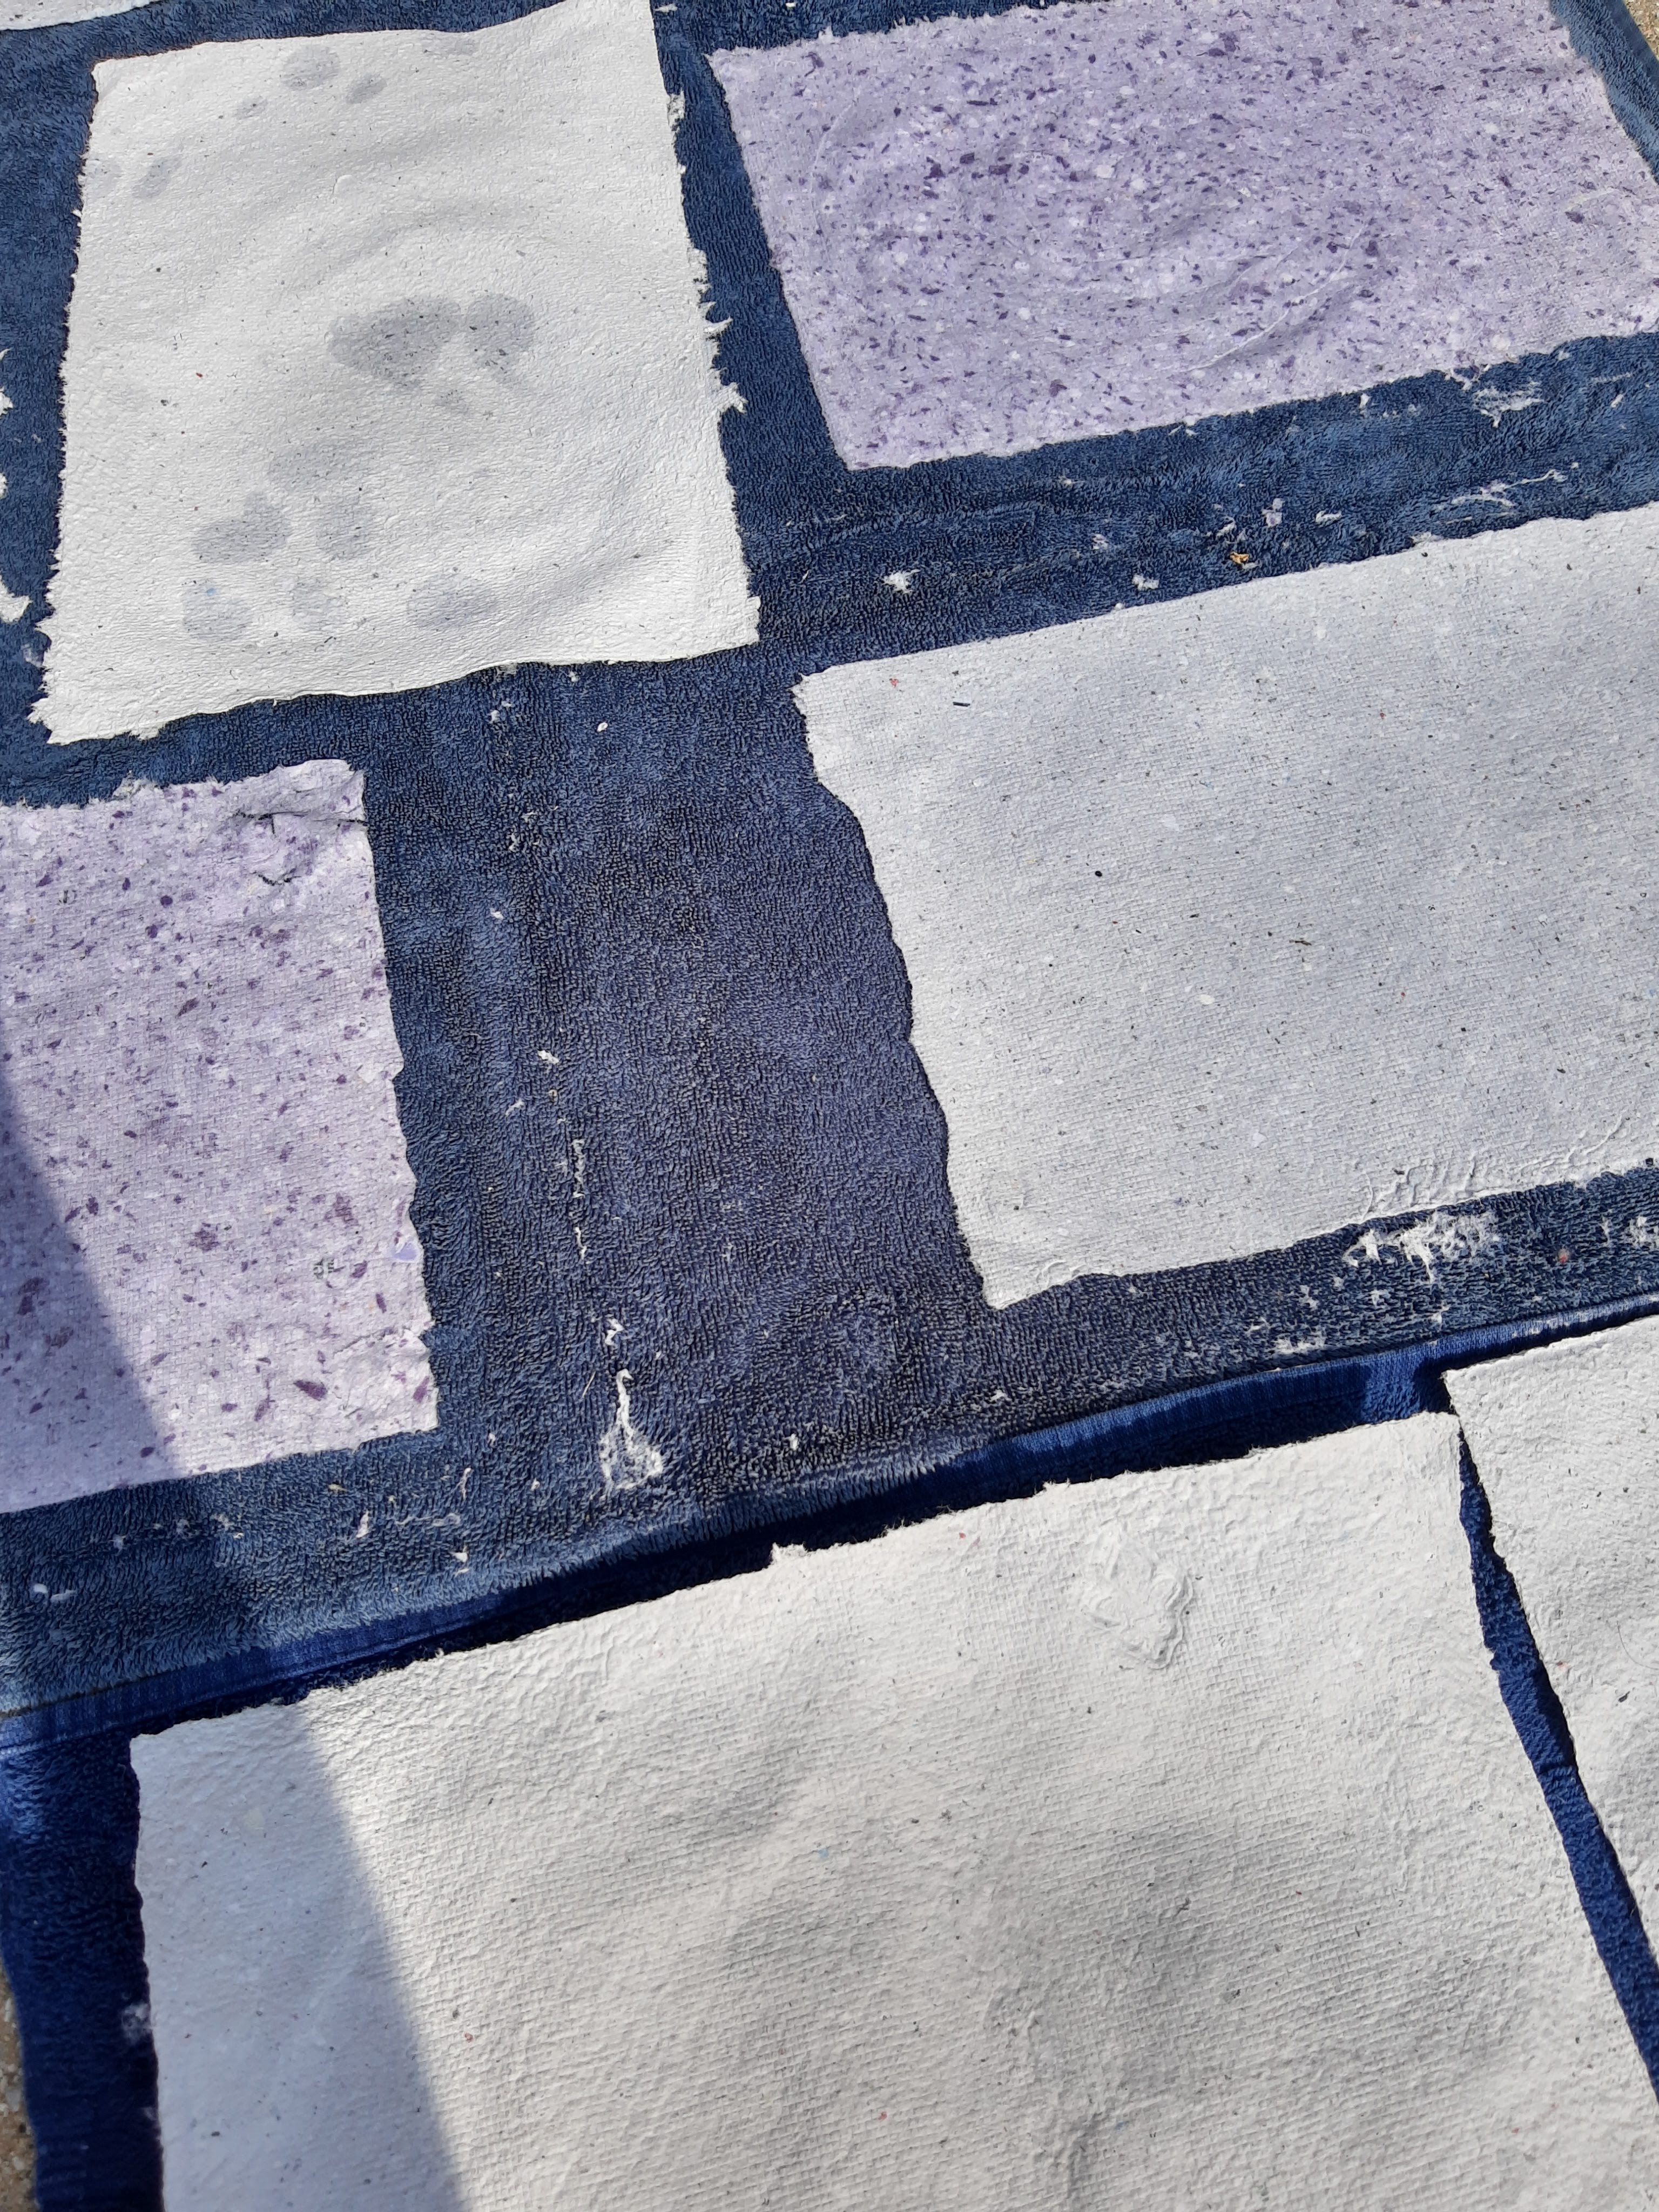
Step 9: Treat the mould like a hinge. Slowly lift one side of the mould and the paper will lift off and stick to the towel. Leave the paper on the towel to dry for a few hours (usually it takes overnight for the paper to dry completely).
Step 10: Repeat the process. Make a ton of paper 🙂
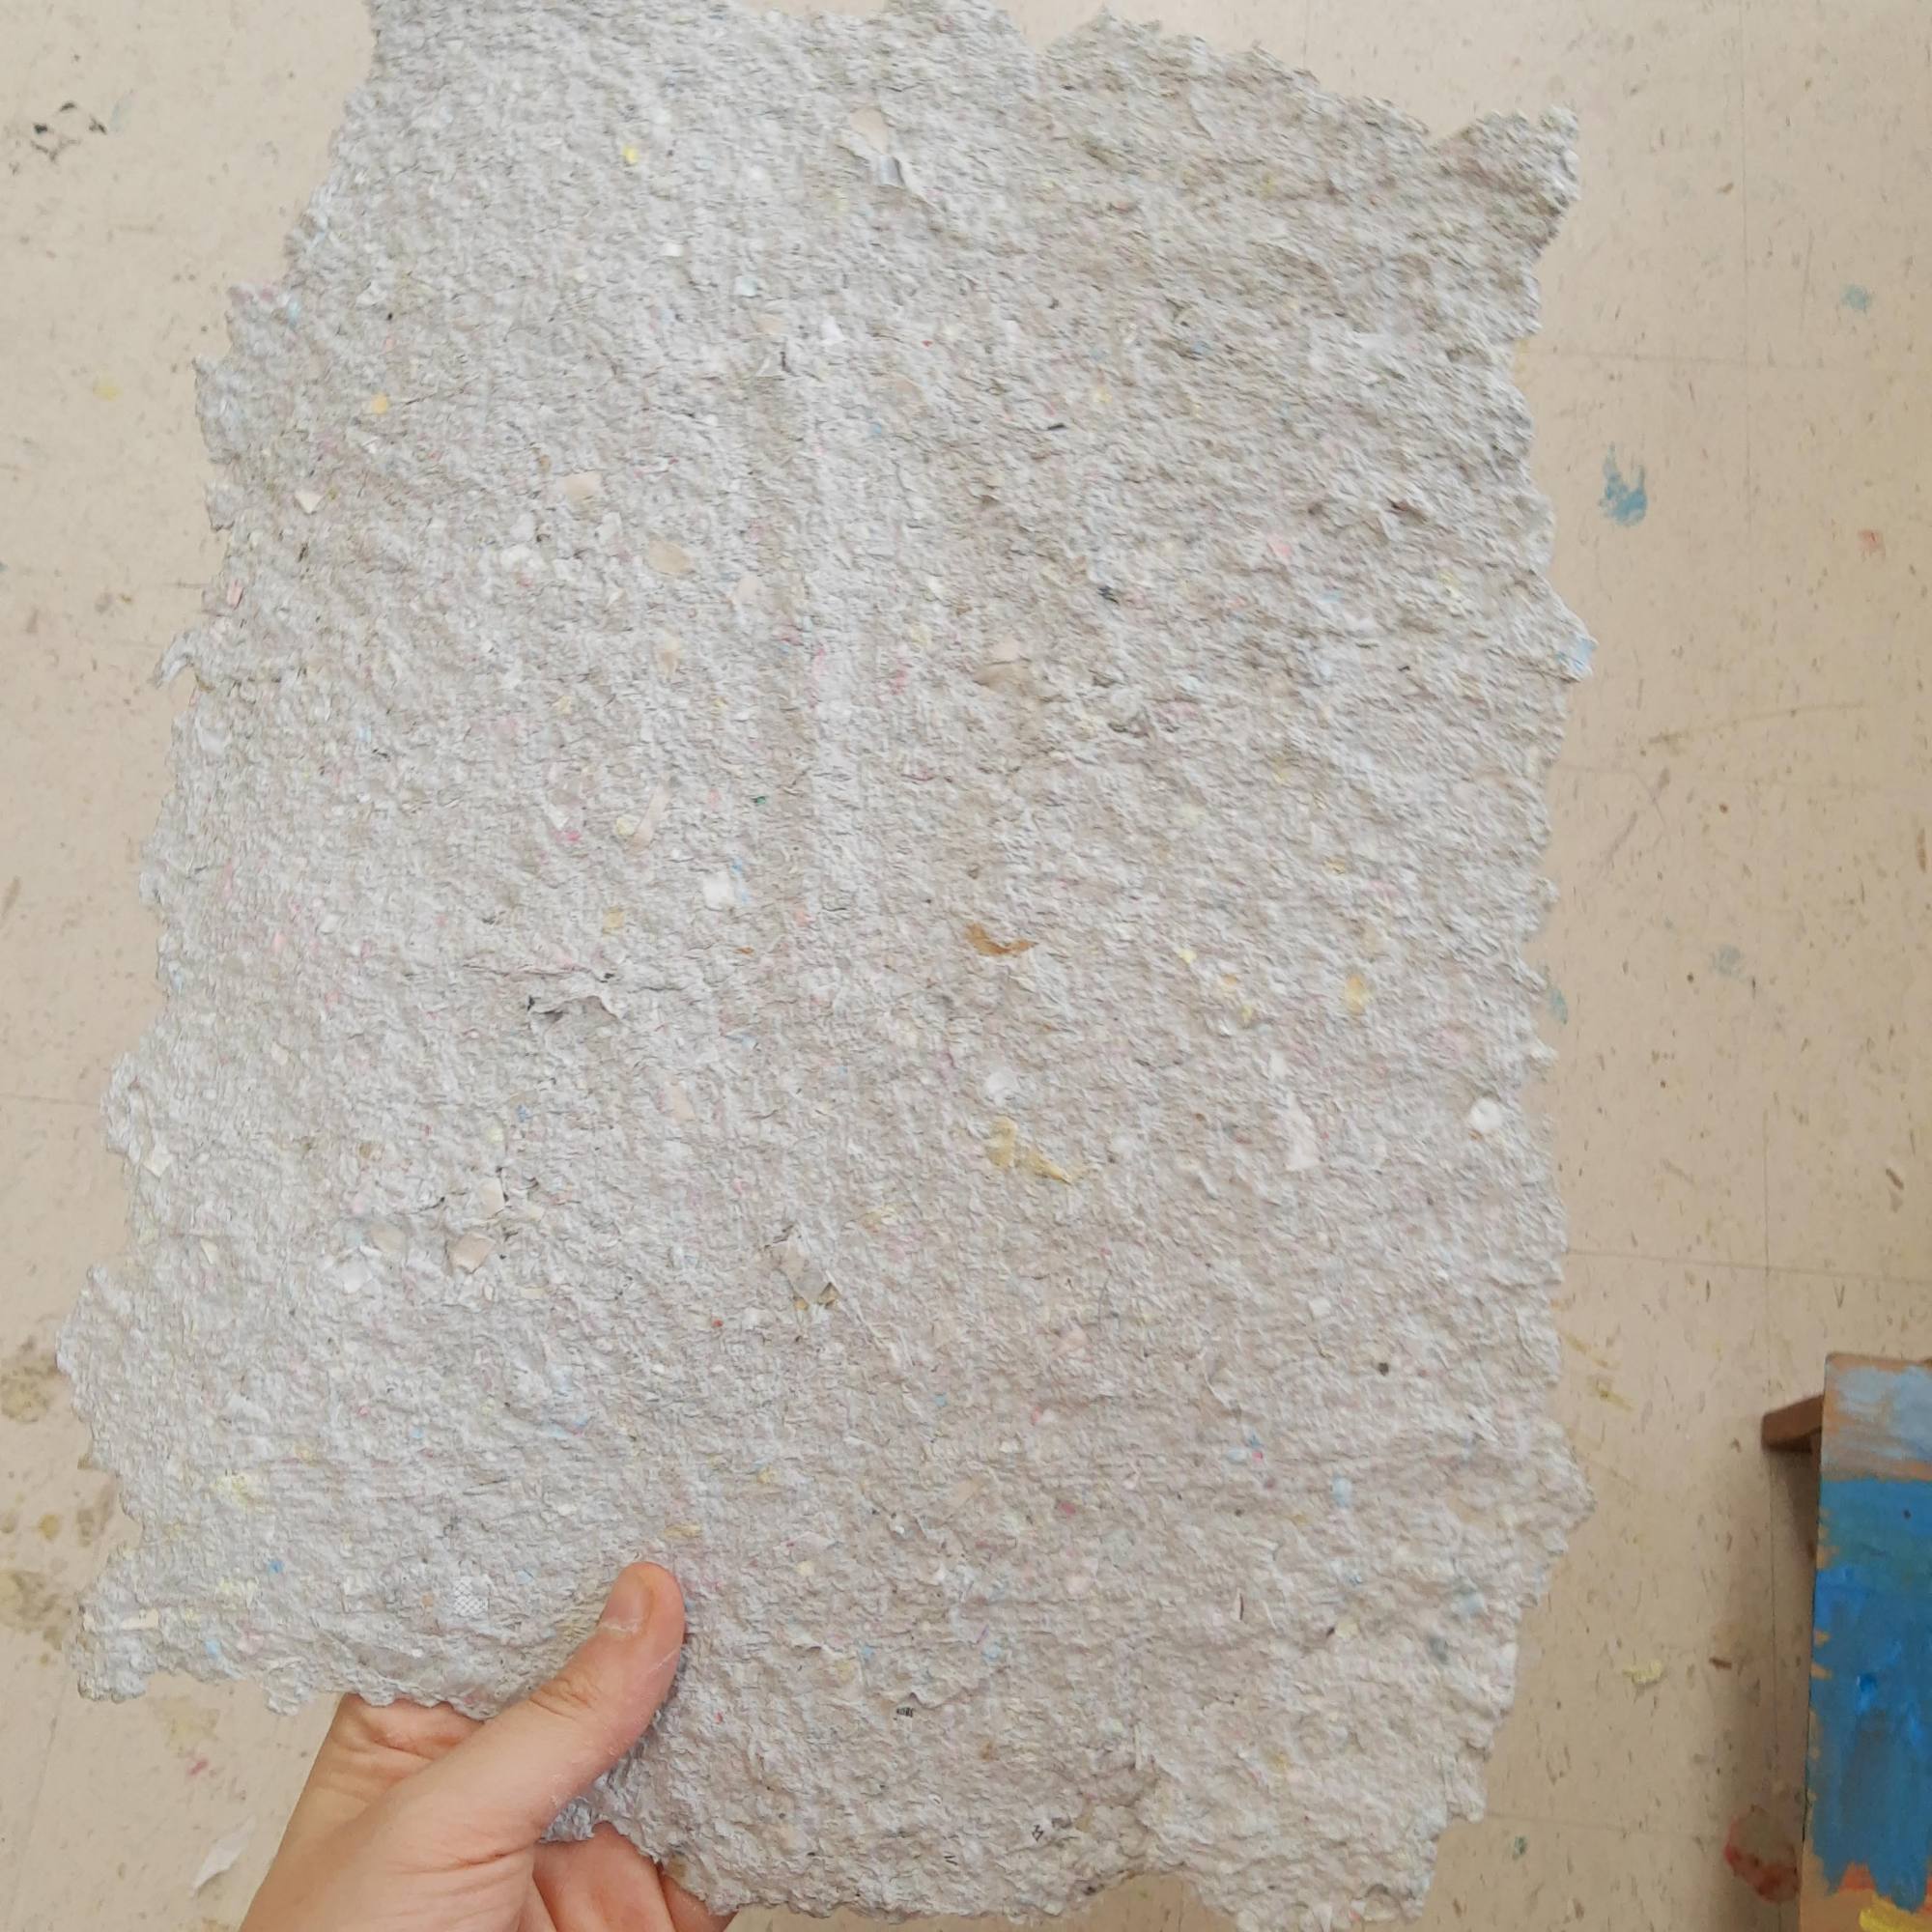
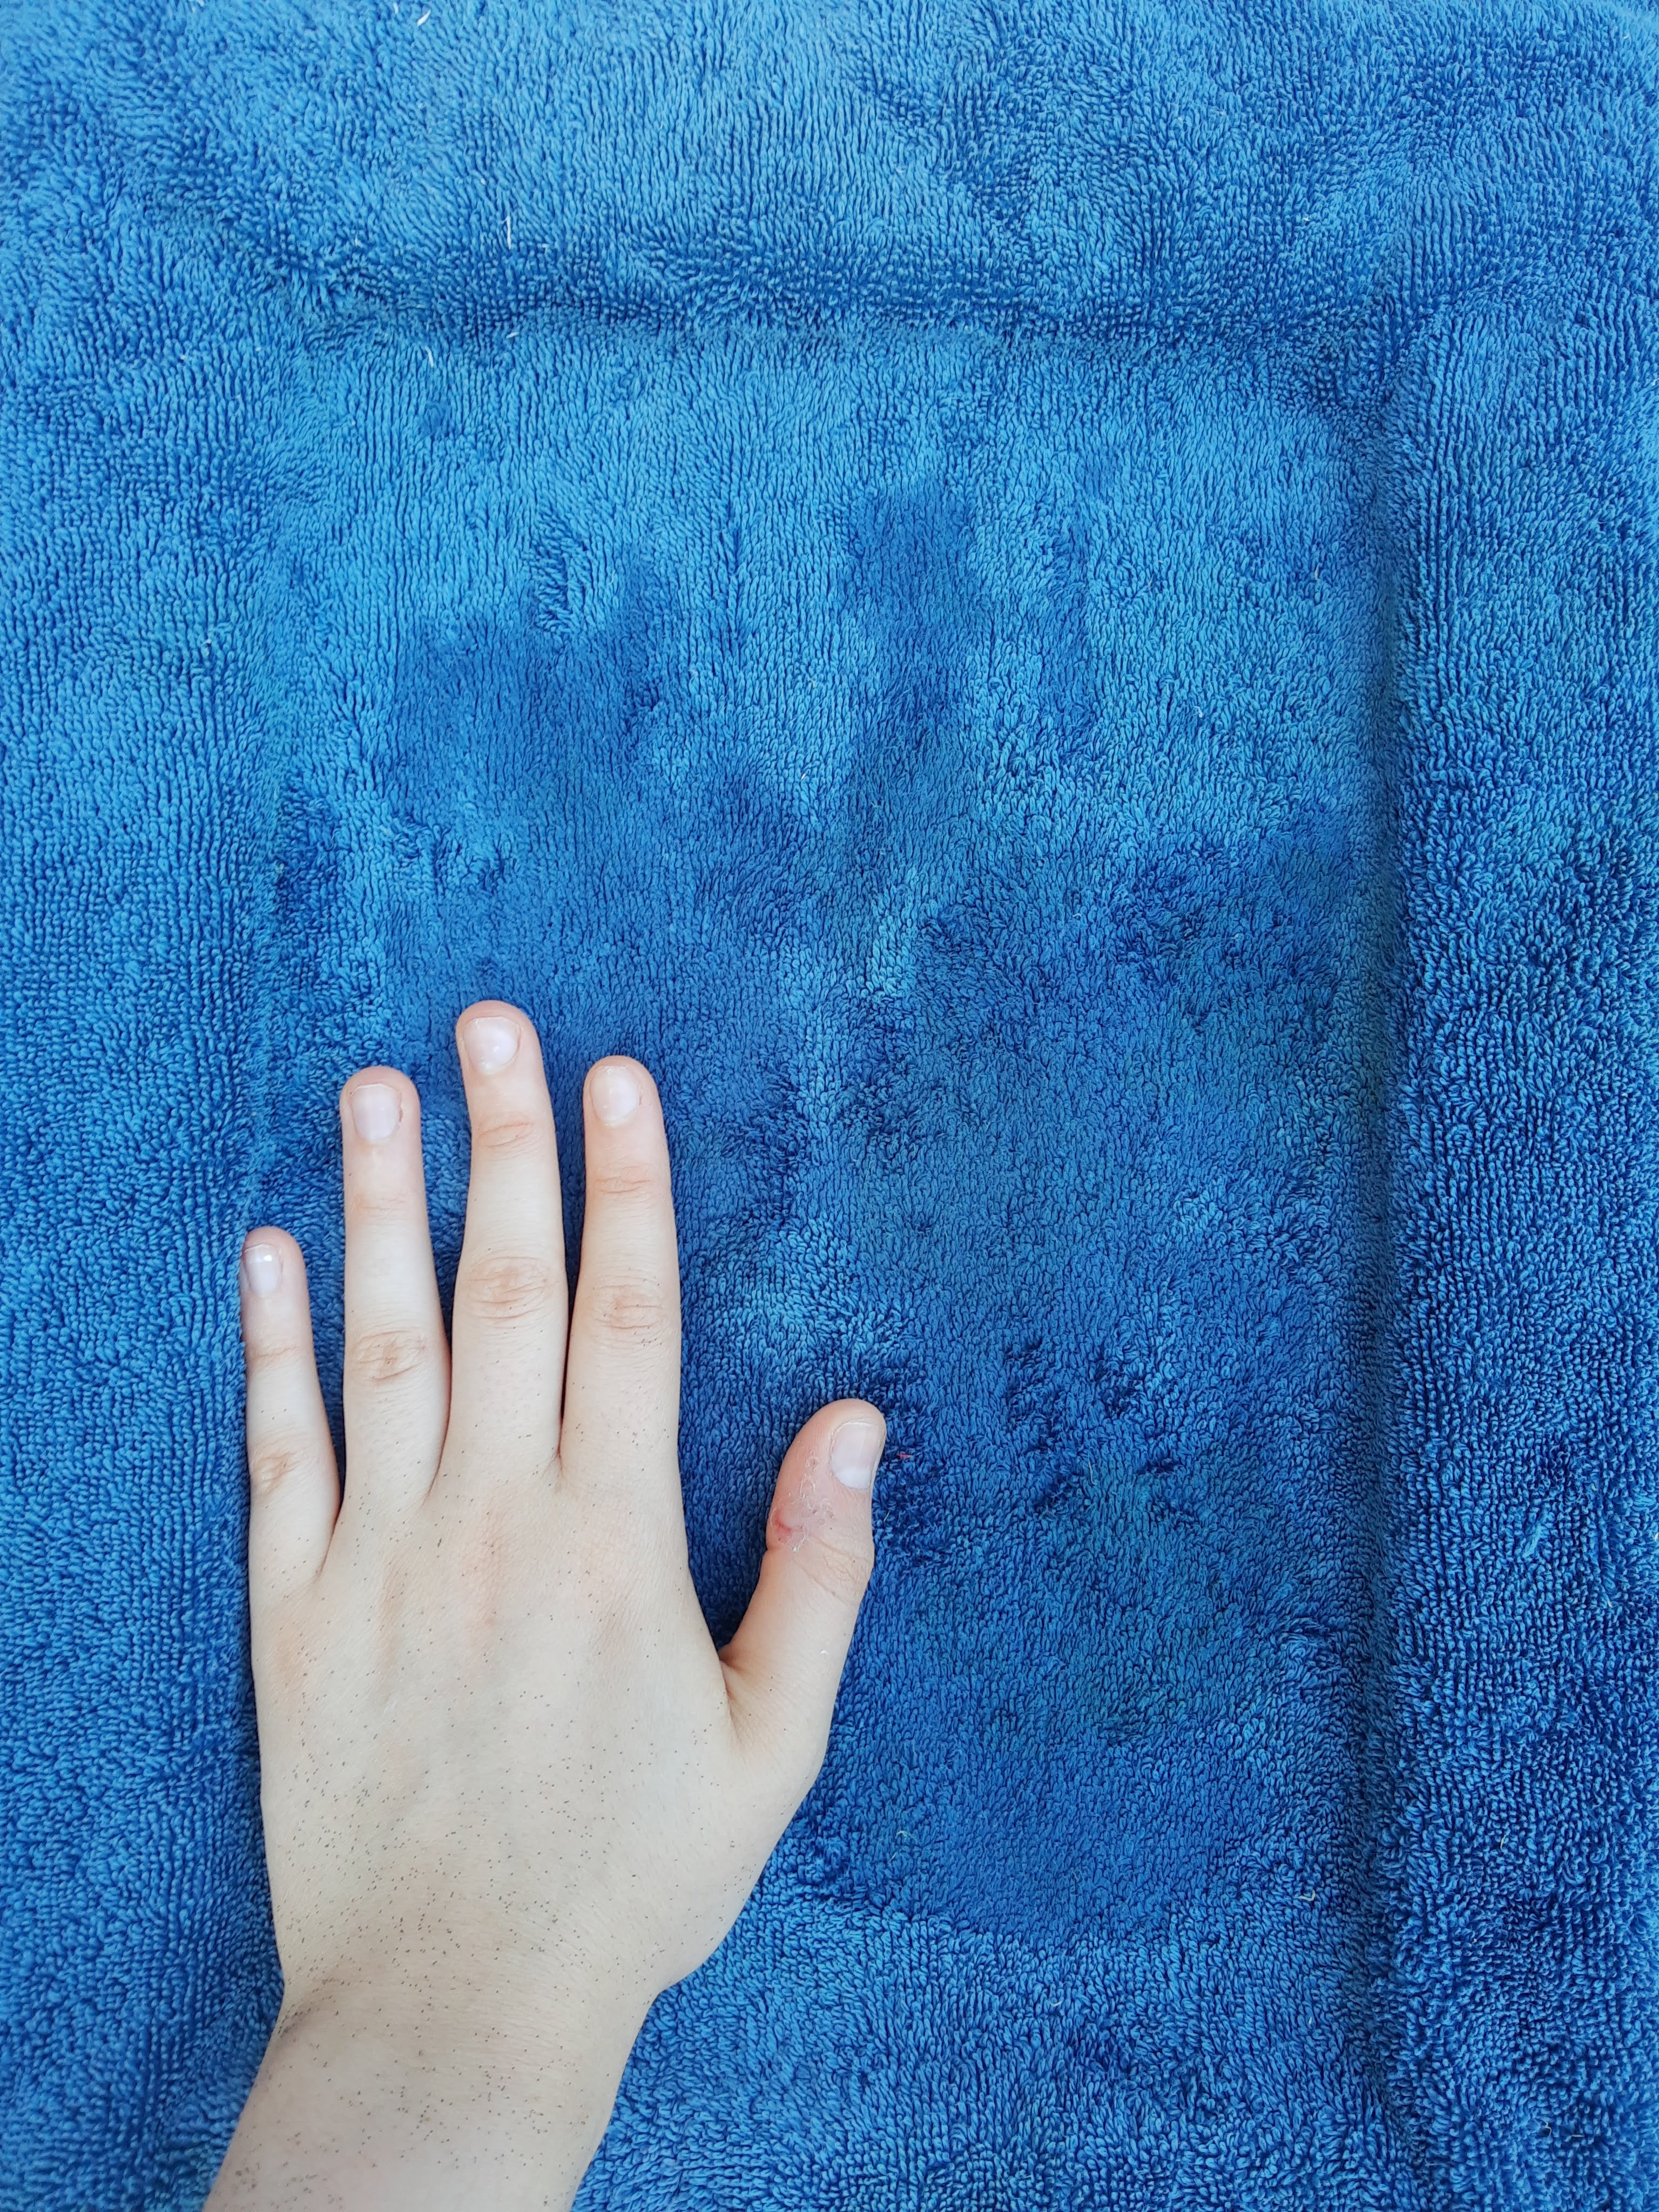
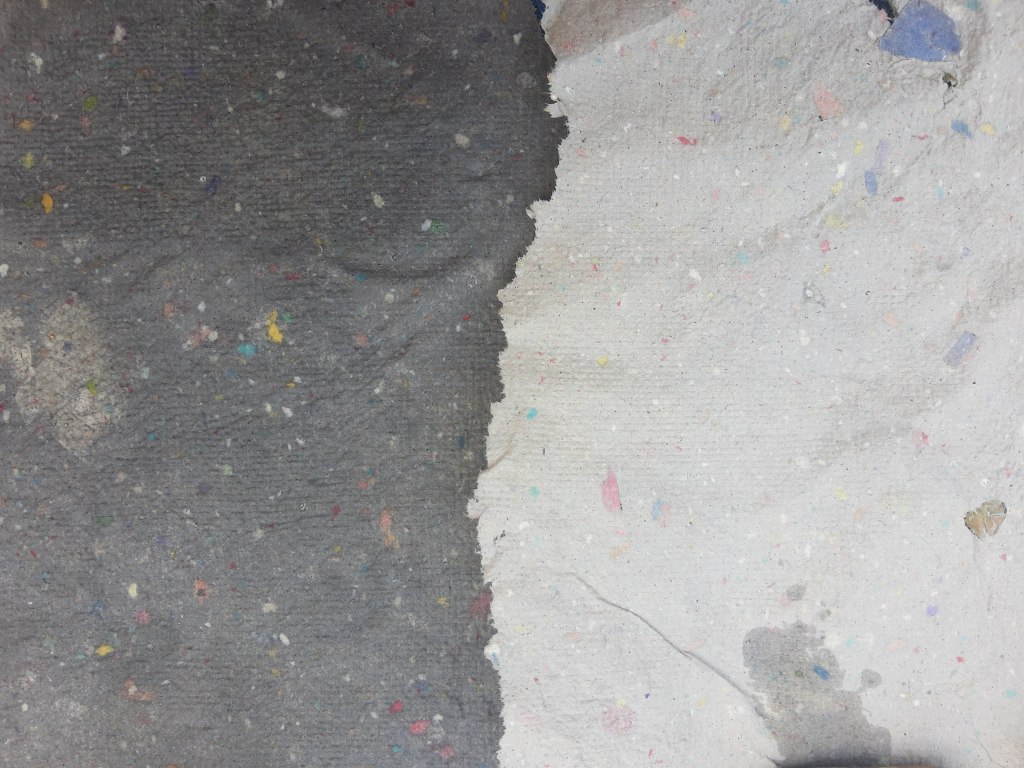
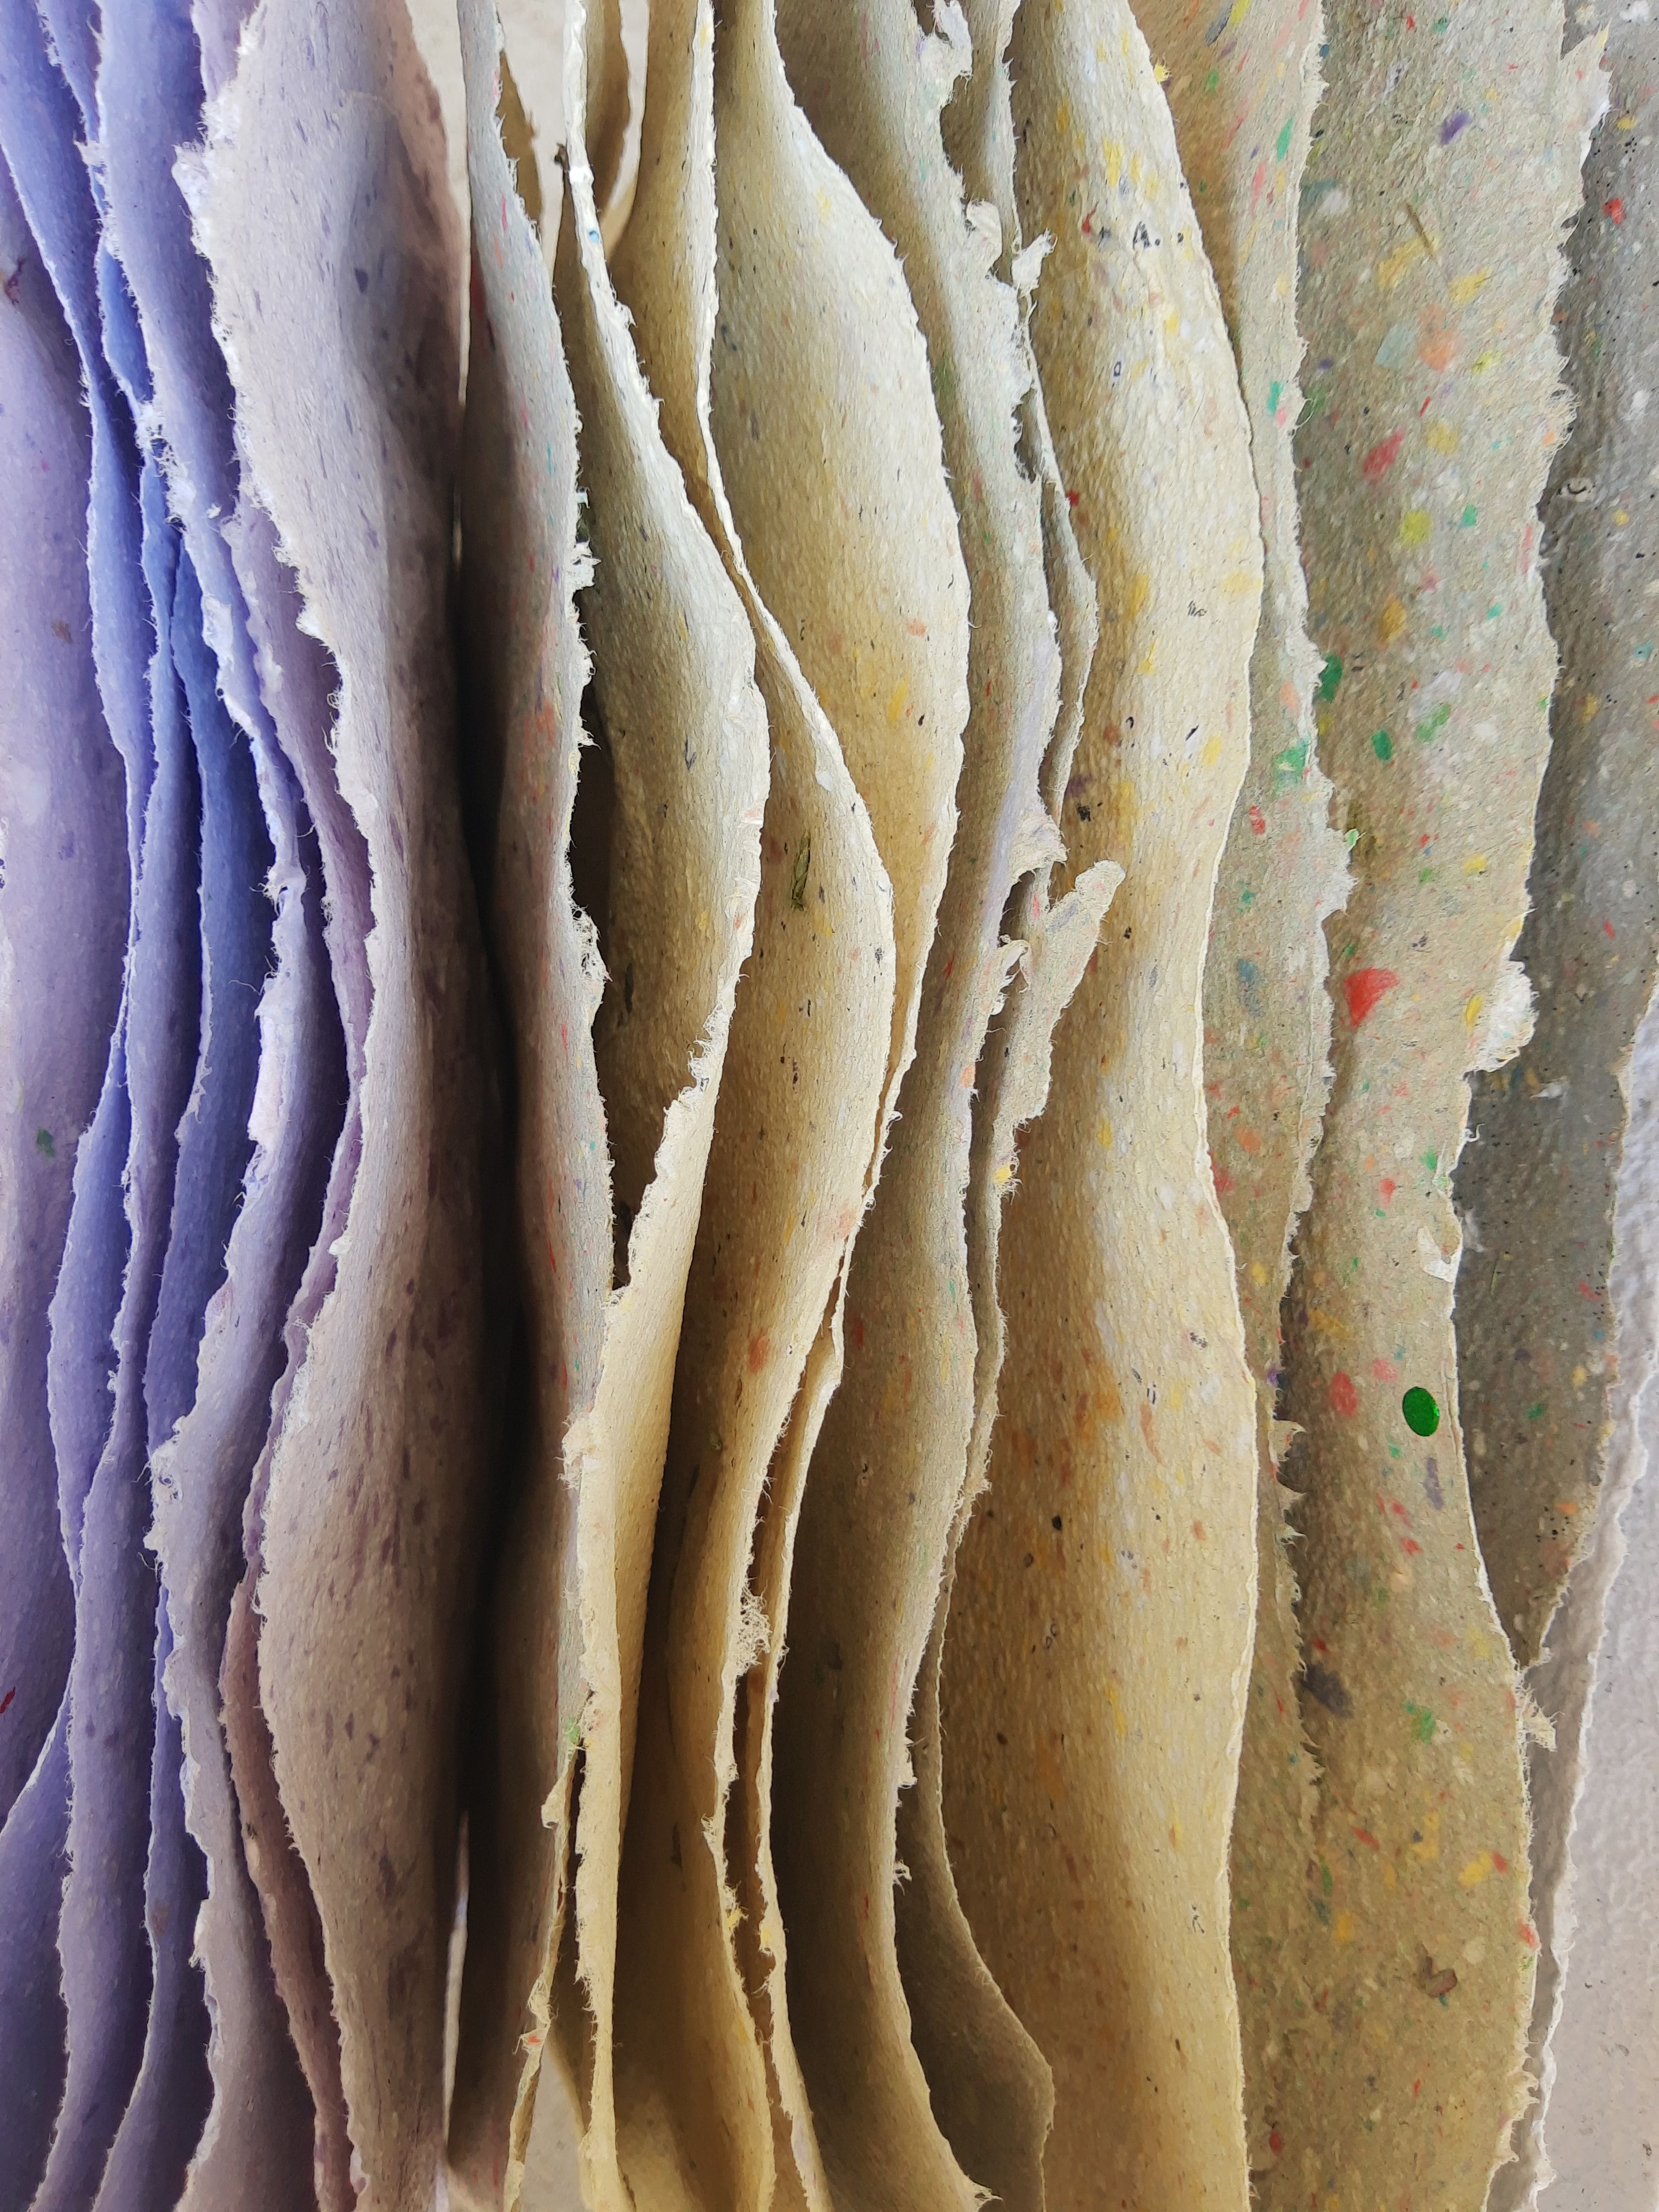
Note: Paper dries lighter than it appears when wet.
Left – wet paper; Right – dry paper (papers are the same color)
Left – wet paper; Right – dry paper (papers are the same color)