I graduated college in December 2020 and then I started interviewing and looking for a job as an art teacher. One of the places I applied to had an immediate opening, so after interviewing and being offered the job, I excitedly accepted it! I have been teaching K-8 art at the school since February 2021 and I love it! One of the parts I was excited about when starting my job was getting to set up the art room in a way that made students excited to learn and provided different centers and stations where students could use different art media. Currently, I teach all my elementary classes virtually, and only some middle school students come to the art room. Even though I don’t see a ton of students in my art room, I’ve used the time to get organized, take inventory of materials, and prepare for next year when I will hopefully get to see more students in the art room.
When I arrived in my new art room, my first steps were to go through everything and take note of what materials I have and don’t have so I can plan for future lessons. I am a bit of a neat freak, and I like everything to be labelled and have a set spot so I remember where it is.


Image Above: Process of organizing and labelling shelves in cabinets

Image Above: Me in my new art room before organizing or decorating
When I started teaching, at first everyone was still virtual as the second quarter ended. At the start of the third quarter, the school switched to hybrid, and at first I thought I would still be teaching virtually, but then I was informed at the last minute that middle school would come to the art room. I had to quickly throw my room together so it would be ready for students and have enough room in between each table so students were distanced from each other.
At first, keeping track of materials was tricky – I assigned each student a box with supplies for their personal use during class. But it was difficult when I wanted students to be able to use other materials. Luckily, I was subbing at the end of the day for another teacher and I noticed she had a shelf for materials in quarantine and I absolutely LOVED the idea, so I made my own materials in quarantine shelf. This has been a lifesaver. Whenever students use something from a regular materials shelf, they put it on the quarantine shelf and then I can keep track of which materials have been used and make sure I sanitize the materials before students use them again.

Image Above: Materials in Quarantine Shelf
DECORATING!!
Decorating is my favorite part. I love organizing too, but decorating brings everything together.
I decided to separate the room into different stations so all similar materials are together:
Painting Station:


Printmaking Station: All printmaking supplies are to the right of the paint station.

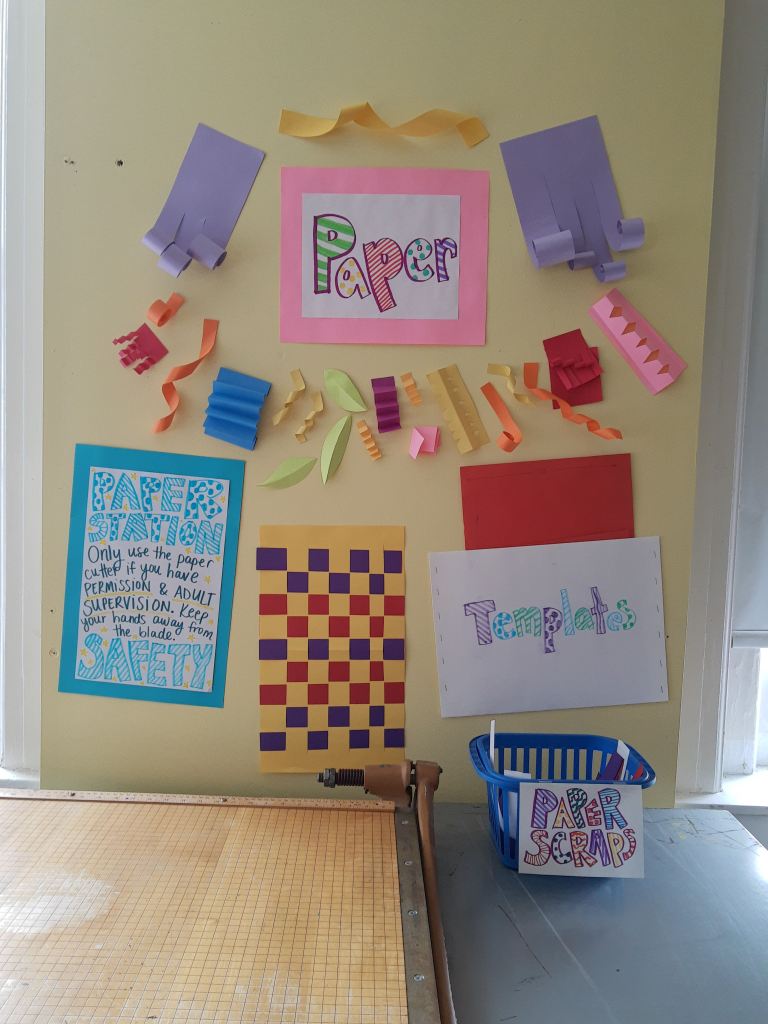
Paper Station:

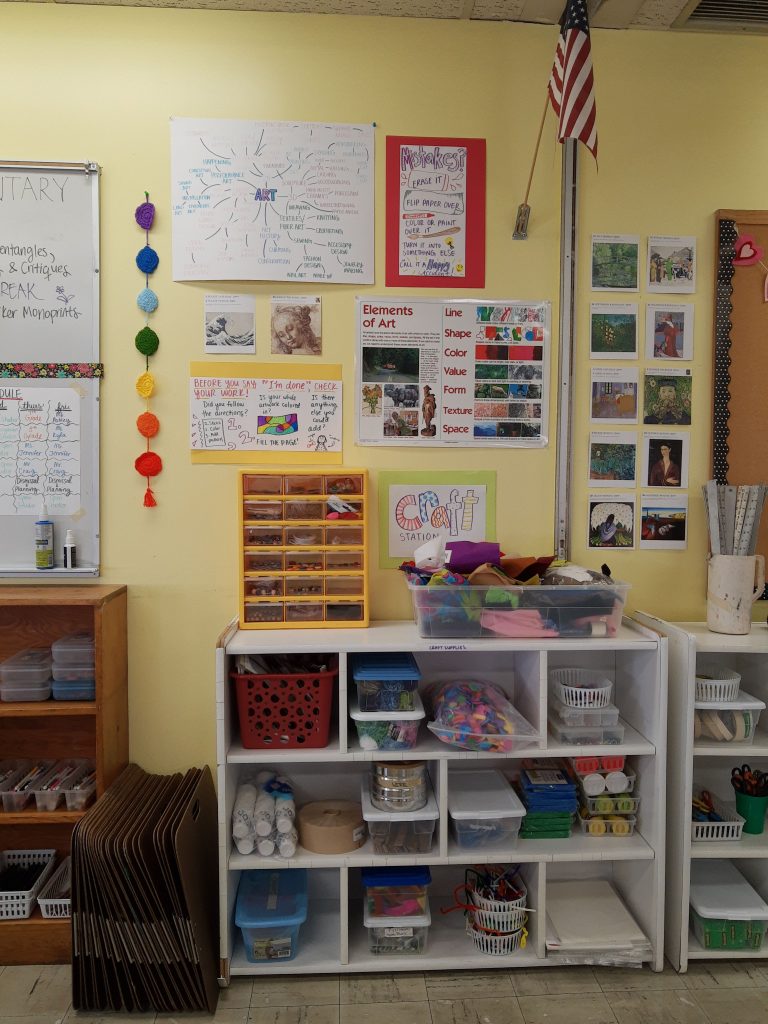
Craft Station:
Early Finishers Station:

The whole art room:

For now, I am happy with how the art room is set up. I want to continue adding more activities to my early finisher station and figure out how I’m going to run the art room next year when I’ll have a lot more students.
Oh, and I almost forgot to add, I made most of the posters in the art room and once I placed the posters around the room, I discovered a whole drawer full of posters. I hung up some of the posters I found to fill in extra spaces with some splashes of color.

I hope to share more of my journey as a new art teacher and everything I’m learning 🙂