Paper Weaving

A few weeks ago, I taught a lesson on paper weaving to lower and upper elementary. We looked at textiles from the Shipibo Conibo tribe and discussed how different textiles are created. Then, we looked at the weaving process and learned that to weave, we need to follow an over, under, over, under pattern. Students decorated their papers to create their own patterned textiles to prepare for weaving, then they cut out slits in one paper for the loom, and strips from the other paper for weaving strips.

I think it was a bit difficult for students to understand the weaving process virtually. I had videos, step by step photo directions, and live demos of the weaving process, but after teaching this lesson, I think weaving might be easier to see and understand in person. I would love to do another weaving lesson once I teach in person, hopefully with yarn! Regardless of the challenges that we face when doing virtual school, I think the weavings turned out amazing!

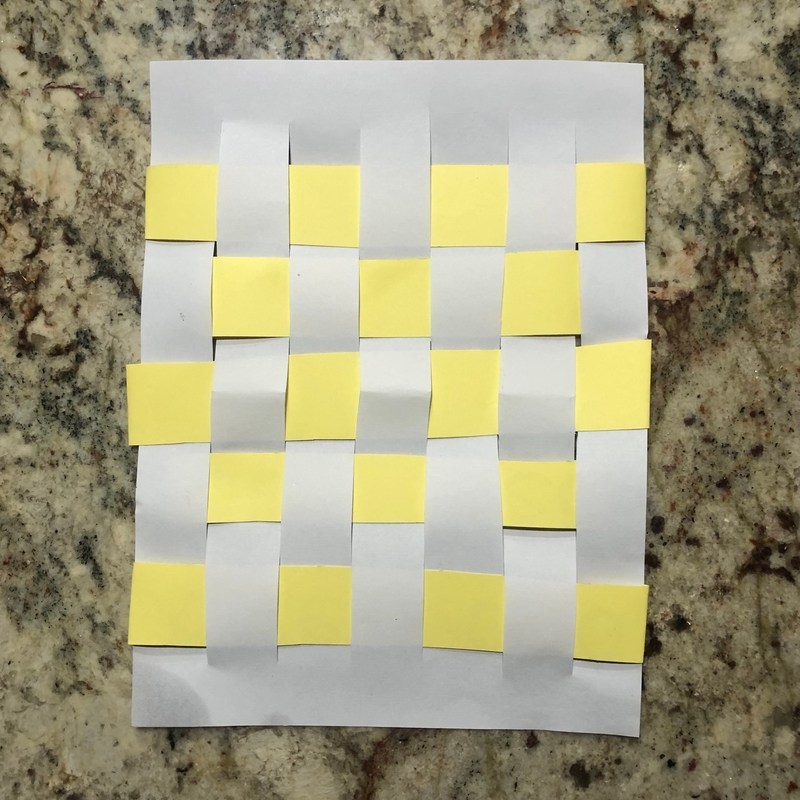
Some students lost their decorated papers, so they just used construction paper or notebook paper.

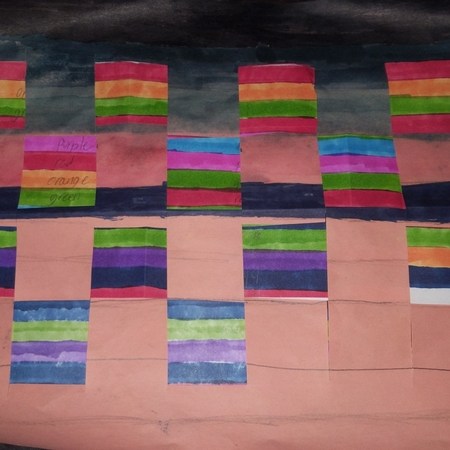
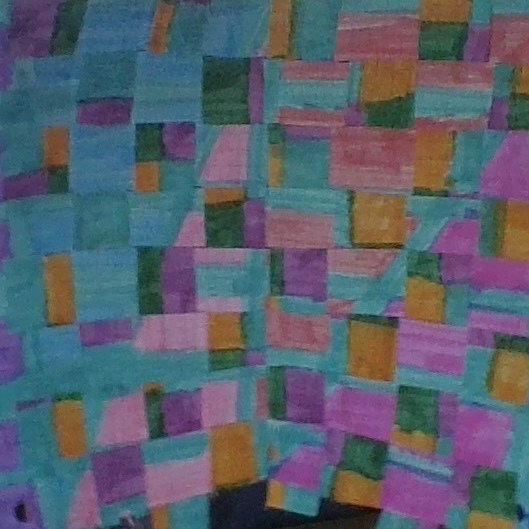
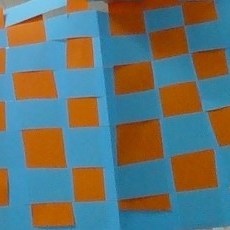
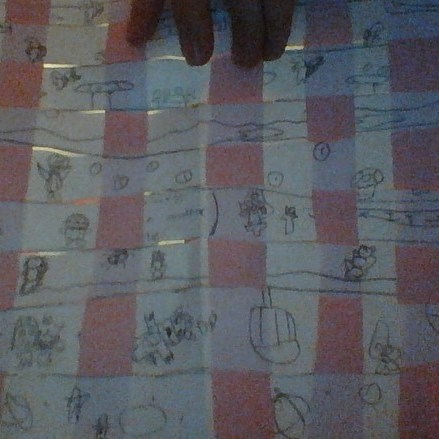
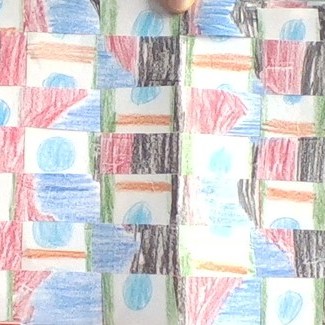
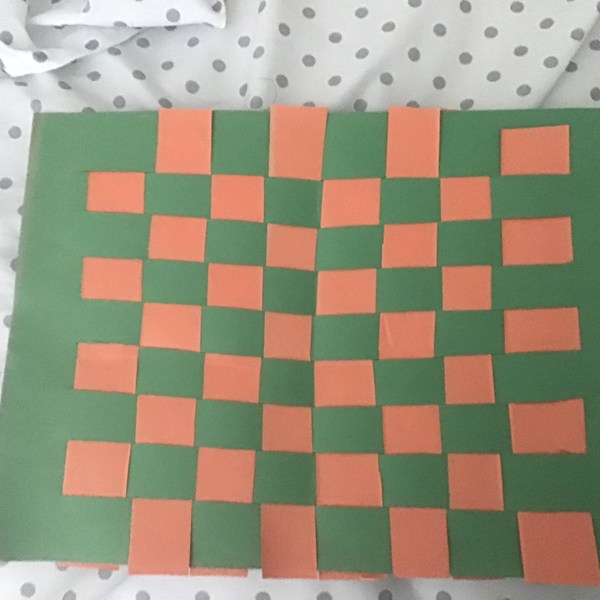
Here are some of my students’ finished weavings:

DIY Woven Tapestry Earrings

I made this pair of woven tapestry earrings using embroidery thread, yarn, pieces from a wooden skewer stick, thread, and fishhook earrings.

How I Made My Earrings:

  1. First, I cut off 2 4 cm pieces from a wooden skewer stick. I tied thread onto each side of the stick. I slid a crimping bead onto the loop, and then attached the earring hooks to the thread loop. I crimped each bead in place below the hook.
  2. Then, I taped down both my earring hooks to a board and cut out 12 pieces of embroidery thread measuring about 11cm in length.
  3. I tied each thread onto the stick, knotting it once in the center, until all the threads were attached.
  4. I smoothed out the threads so they laid flat and even on the board, and then…
  5. …I taped the ends of the threads onto the board
  6. Then I began weaving. I threaded a piece of embroidery thread onto an embroidery needle and went under, over, under, over, etc. until I made it to the end of the row.
  7. I wove a few more rows using the purple embroidery thread.
  8. Then I switched threads and added a chunkier yarn to give the weaving more texture and dimension
  9. When I finished weaving, I tied off the end of the yarn and trimmed the ends of the weaving so all the threads were an even length.

My Earrings: