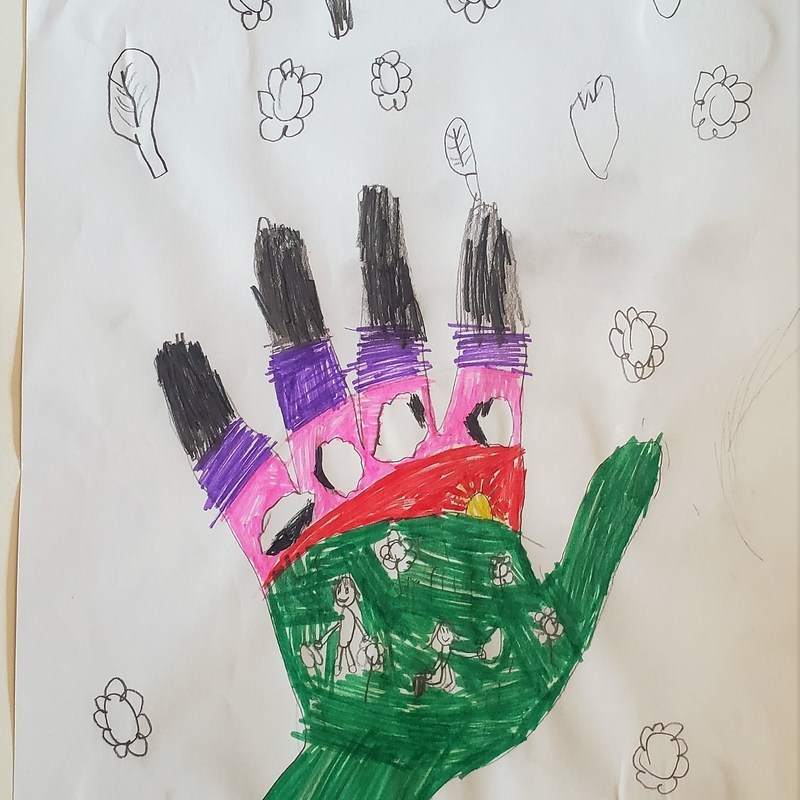
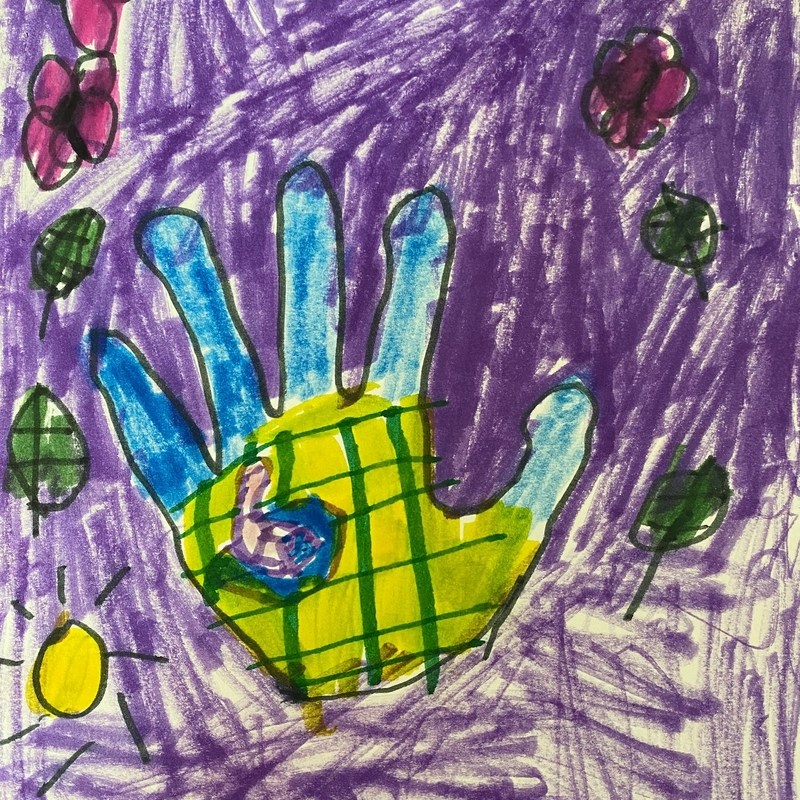
Earth Day Stewardship Hands
For Earth Day with lower elementary and kindergarten, we read the book Earth Day by Todd Parr, which is about different ways people can help the Earth. Then, we brainstormed different ways we can help and honor the Earth (turning off the lights, planting flowers, recycling, walking, etc.). Students traced their hand onto their paper and drew a picture of themselves helping the environment inside the hand, and in the background, students drew their favorite place in nature or other things they appreciate about nature.
In the spring, we were still mostly doing virtual school, so short, one-day lessons worked the best, because otherwise, many students misplaced their art and would have to start over in the next class.


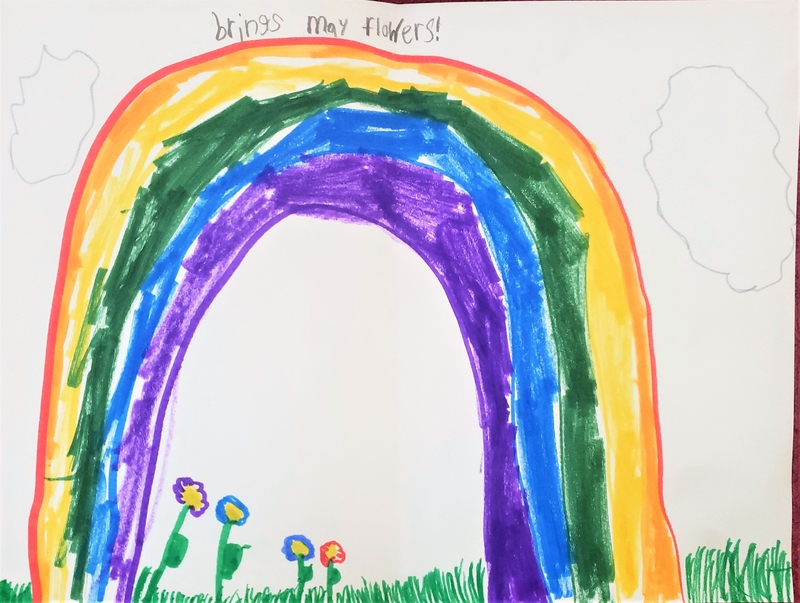
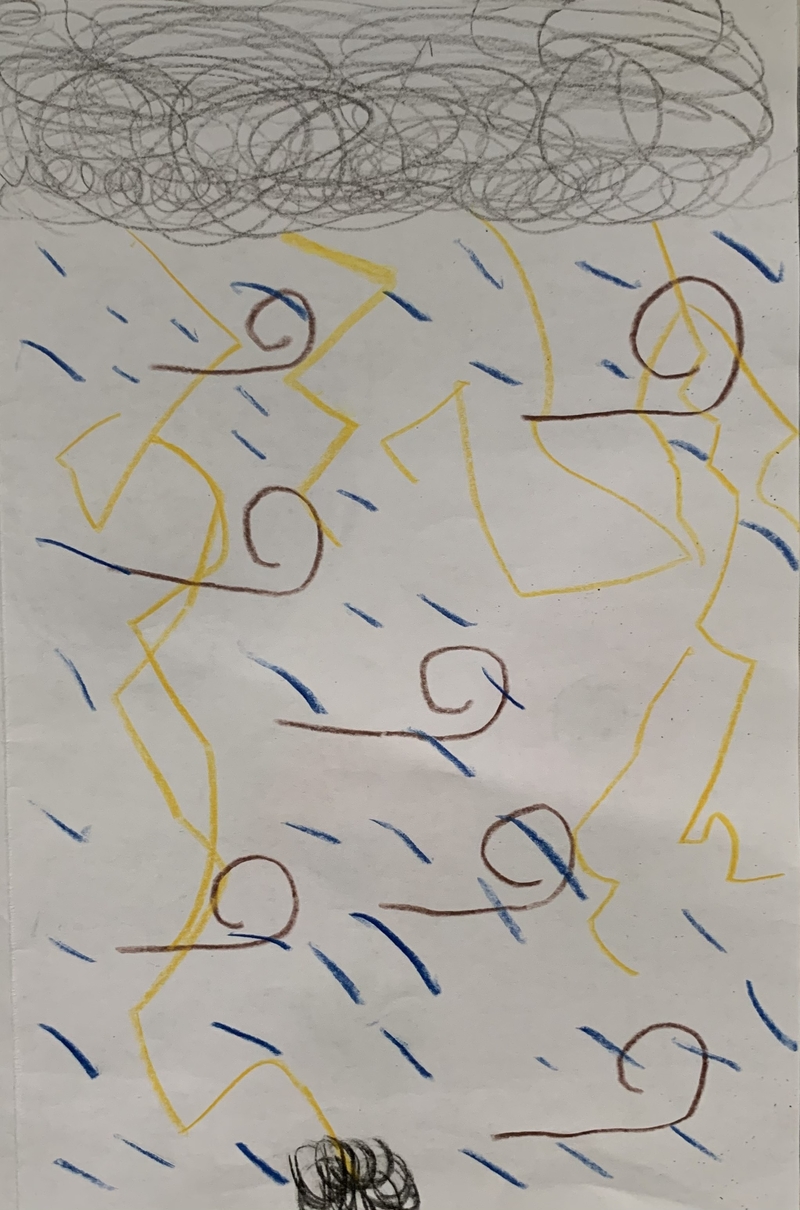
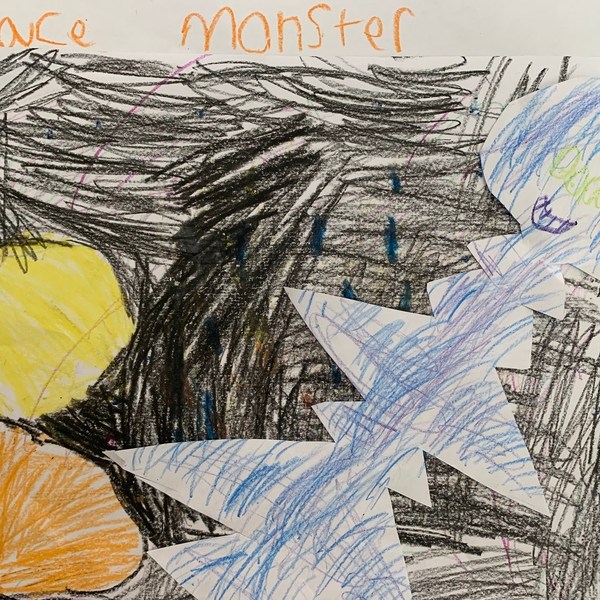
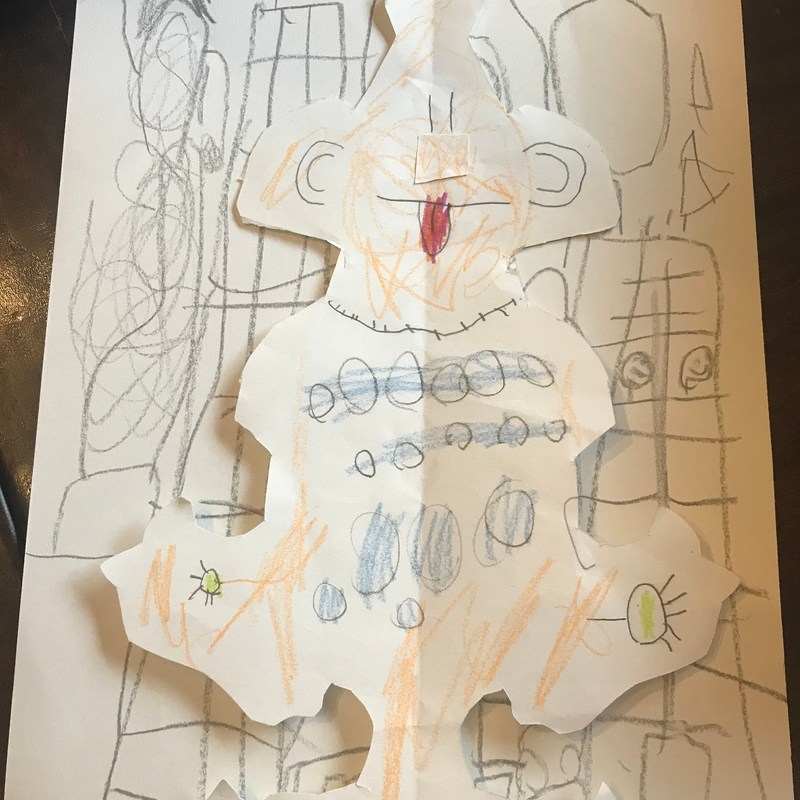
April Showers Bring May Flowers
Another one-day lesson I did was this “April Showers Bring May Flowers” card. On the outside, students used cool and neutral colors for April Showers, and on the inside, students used bright colors and the rainbow to show “May flowers”. We also reviewed the colors of the rainbow (can’t forget about indigo!).