I’ve been doing some experimental tiny paintings to see what I can do with different materials. I have been working with glitter hot glue (my new favorite thing), yarn, and mosaic tiles. And paint of course. I’m having such a fun time with these!
I’ve also been doing some really big paintings on unstretched canvas. These aren’t quite finished yet.
I’m excited to see what else I create. So far, I’m about 2 weeks into the program and I’ve already filled two studios. I am very much enjoying working so large.
My aunt gifted me these fabulous lemon fabrics and I finally got inspired to use them. I love lemons so I decided to make a little quilt square highlighting my love of lemons. It took a while to do the stitching, but it was fun. It was also interesting working with a mostly yellow color palette because I usually stick to pinks and blues and greens. I wanna make more with yellow though.
Thinking about: lemon yellow painting, making a big quilt with all my tinier quilt squares/rectangles
Listening to: Karma Taylor Swift & Barber: Adagio for Strings
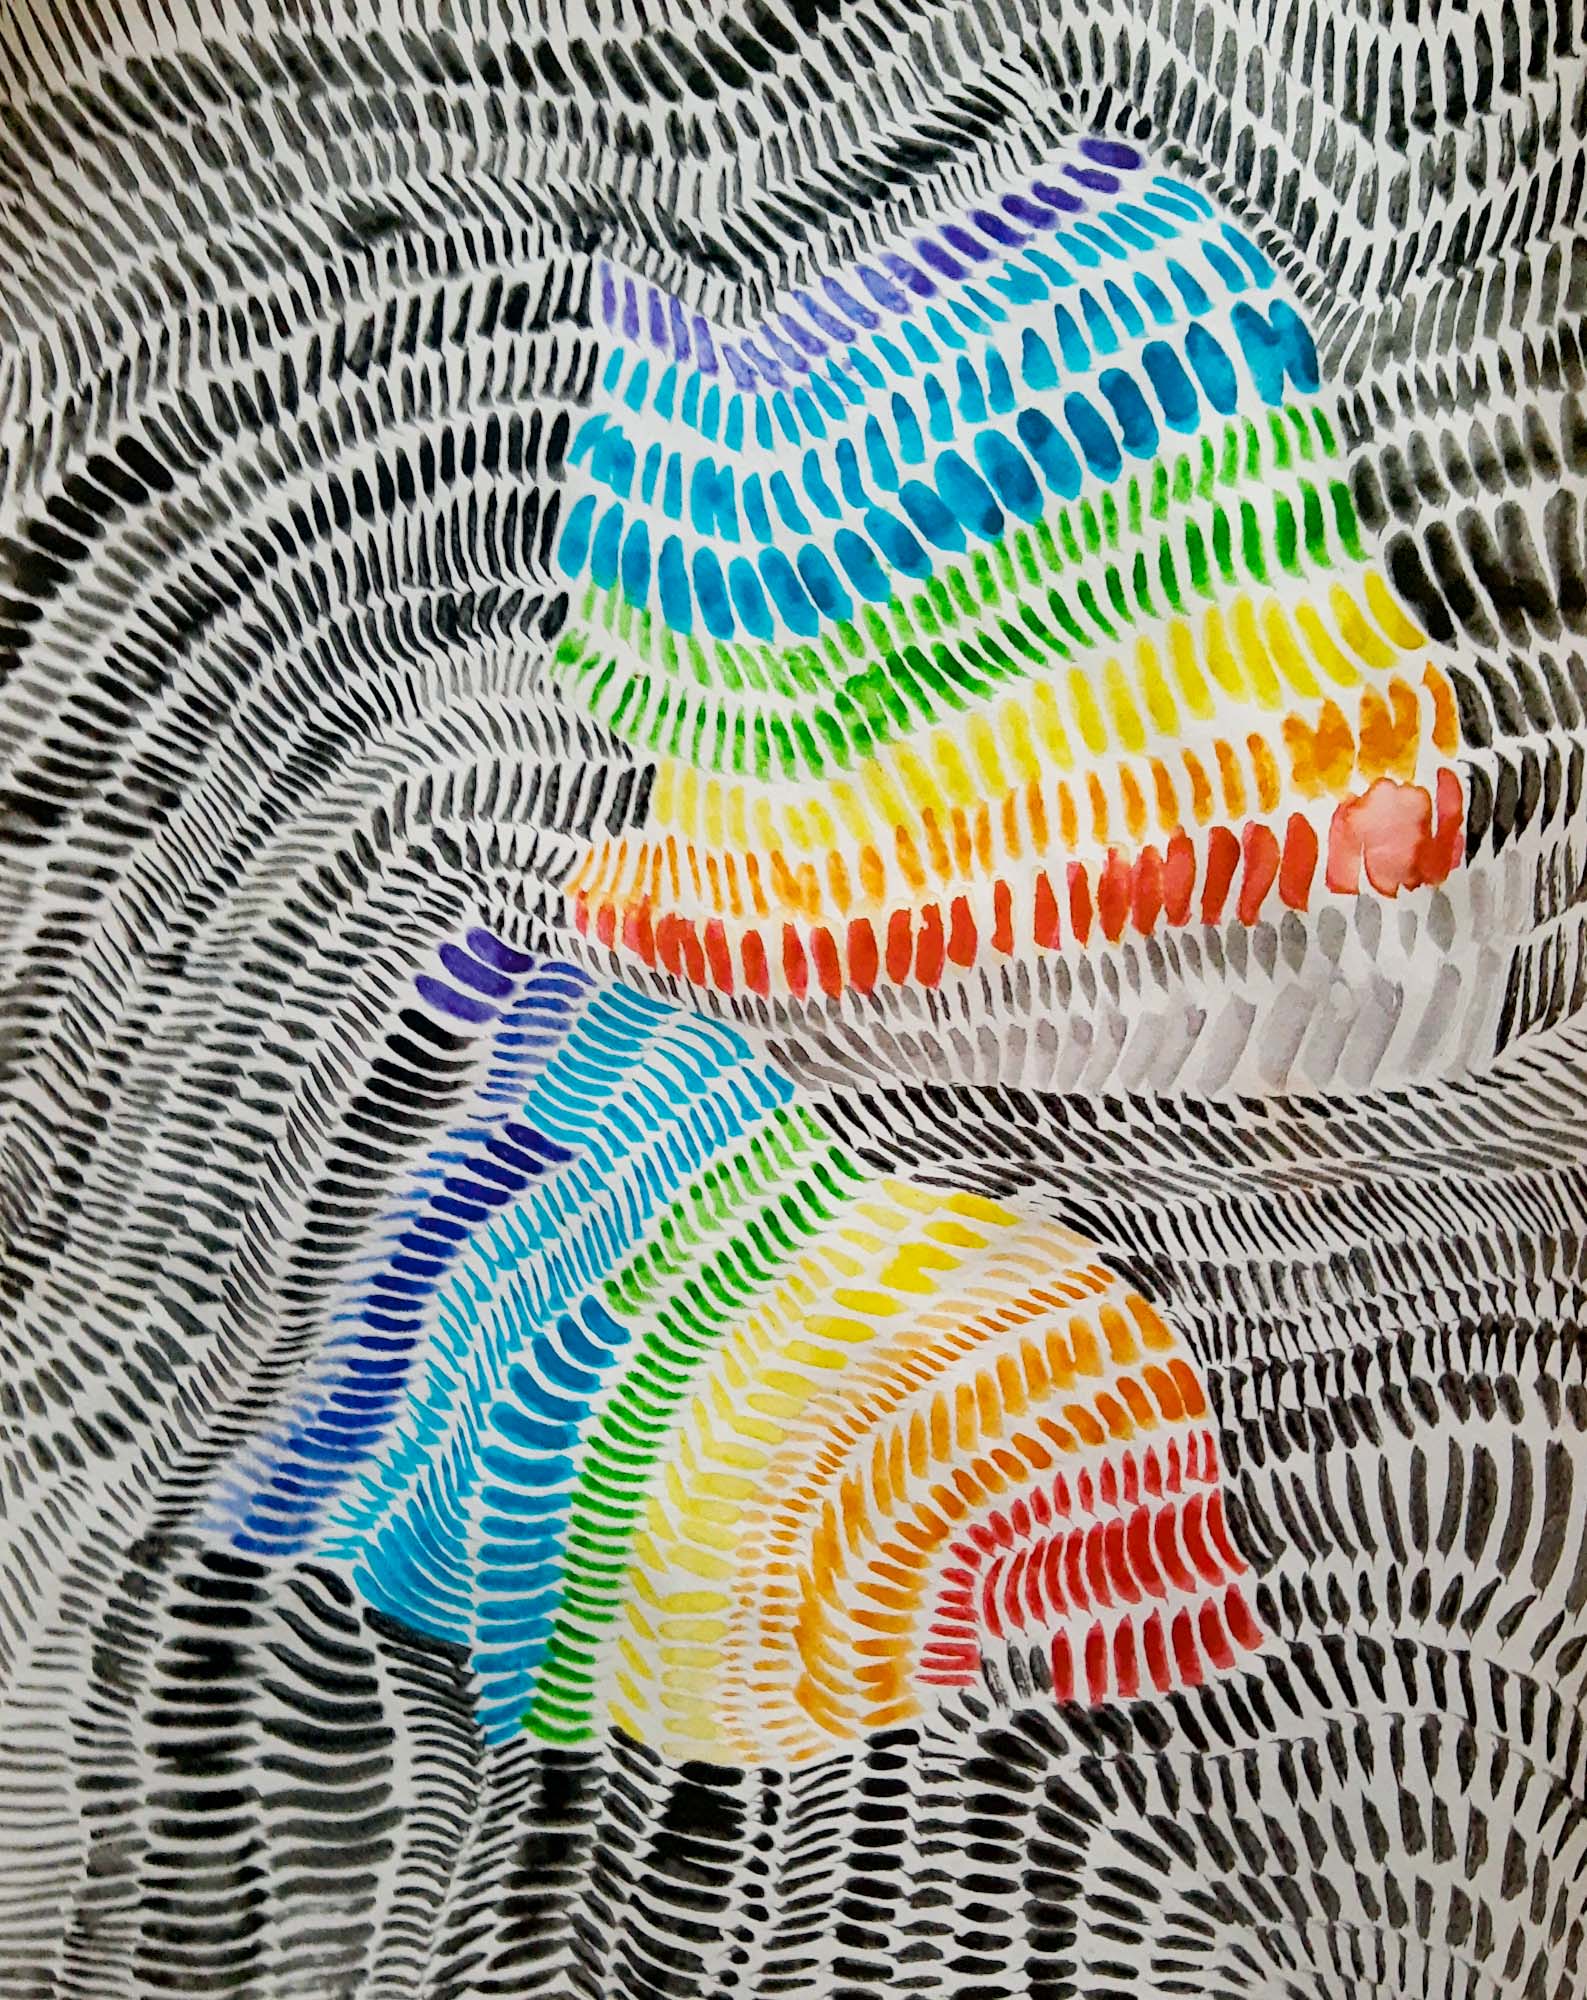
I made the knit swatch in the lower left corner in high school art class when I found one knitting needle and yarn and I used a pencil for the other knitting needle. I’ve held onto it for the past 6 years and I’ve finally used it in a project. I love scraps that can be combined into art later on in my life. Revisiting old memories and pieces from the past and incorporating them into something new.
I’m trying to do at least one art every day. Daily art can include any media, any craft, any artistic gesture. I’m gonna try to keep track on here or somewhere so I can hold myself accountable. Also trying to keep the prompt loose/broad/forgiving so I can still think about art every day and not feel pressured to make something really detailed and time-forever-taking. That’s why it can be simply an artistic gesture.
Daily Art/Craft/Gesture Ideas
Drawing
Painting
Printmaking
Textiles – Knitting/Crochet/Sewing
Natural objects arranged in a pattern
Line drawing in sand
Poem
Brain dump
Doodle
Sketch
Here’s today’s sketch. I just drew and scribbled with colored pencils. Matisse the chameleon and a selfie with a fidget toy on top of my face and lines and ceilings and walls and windows and space.
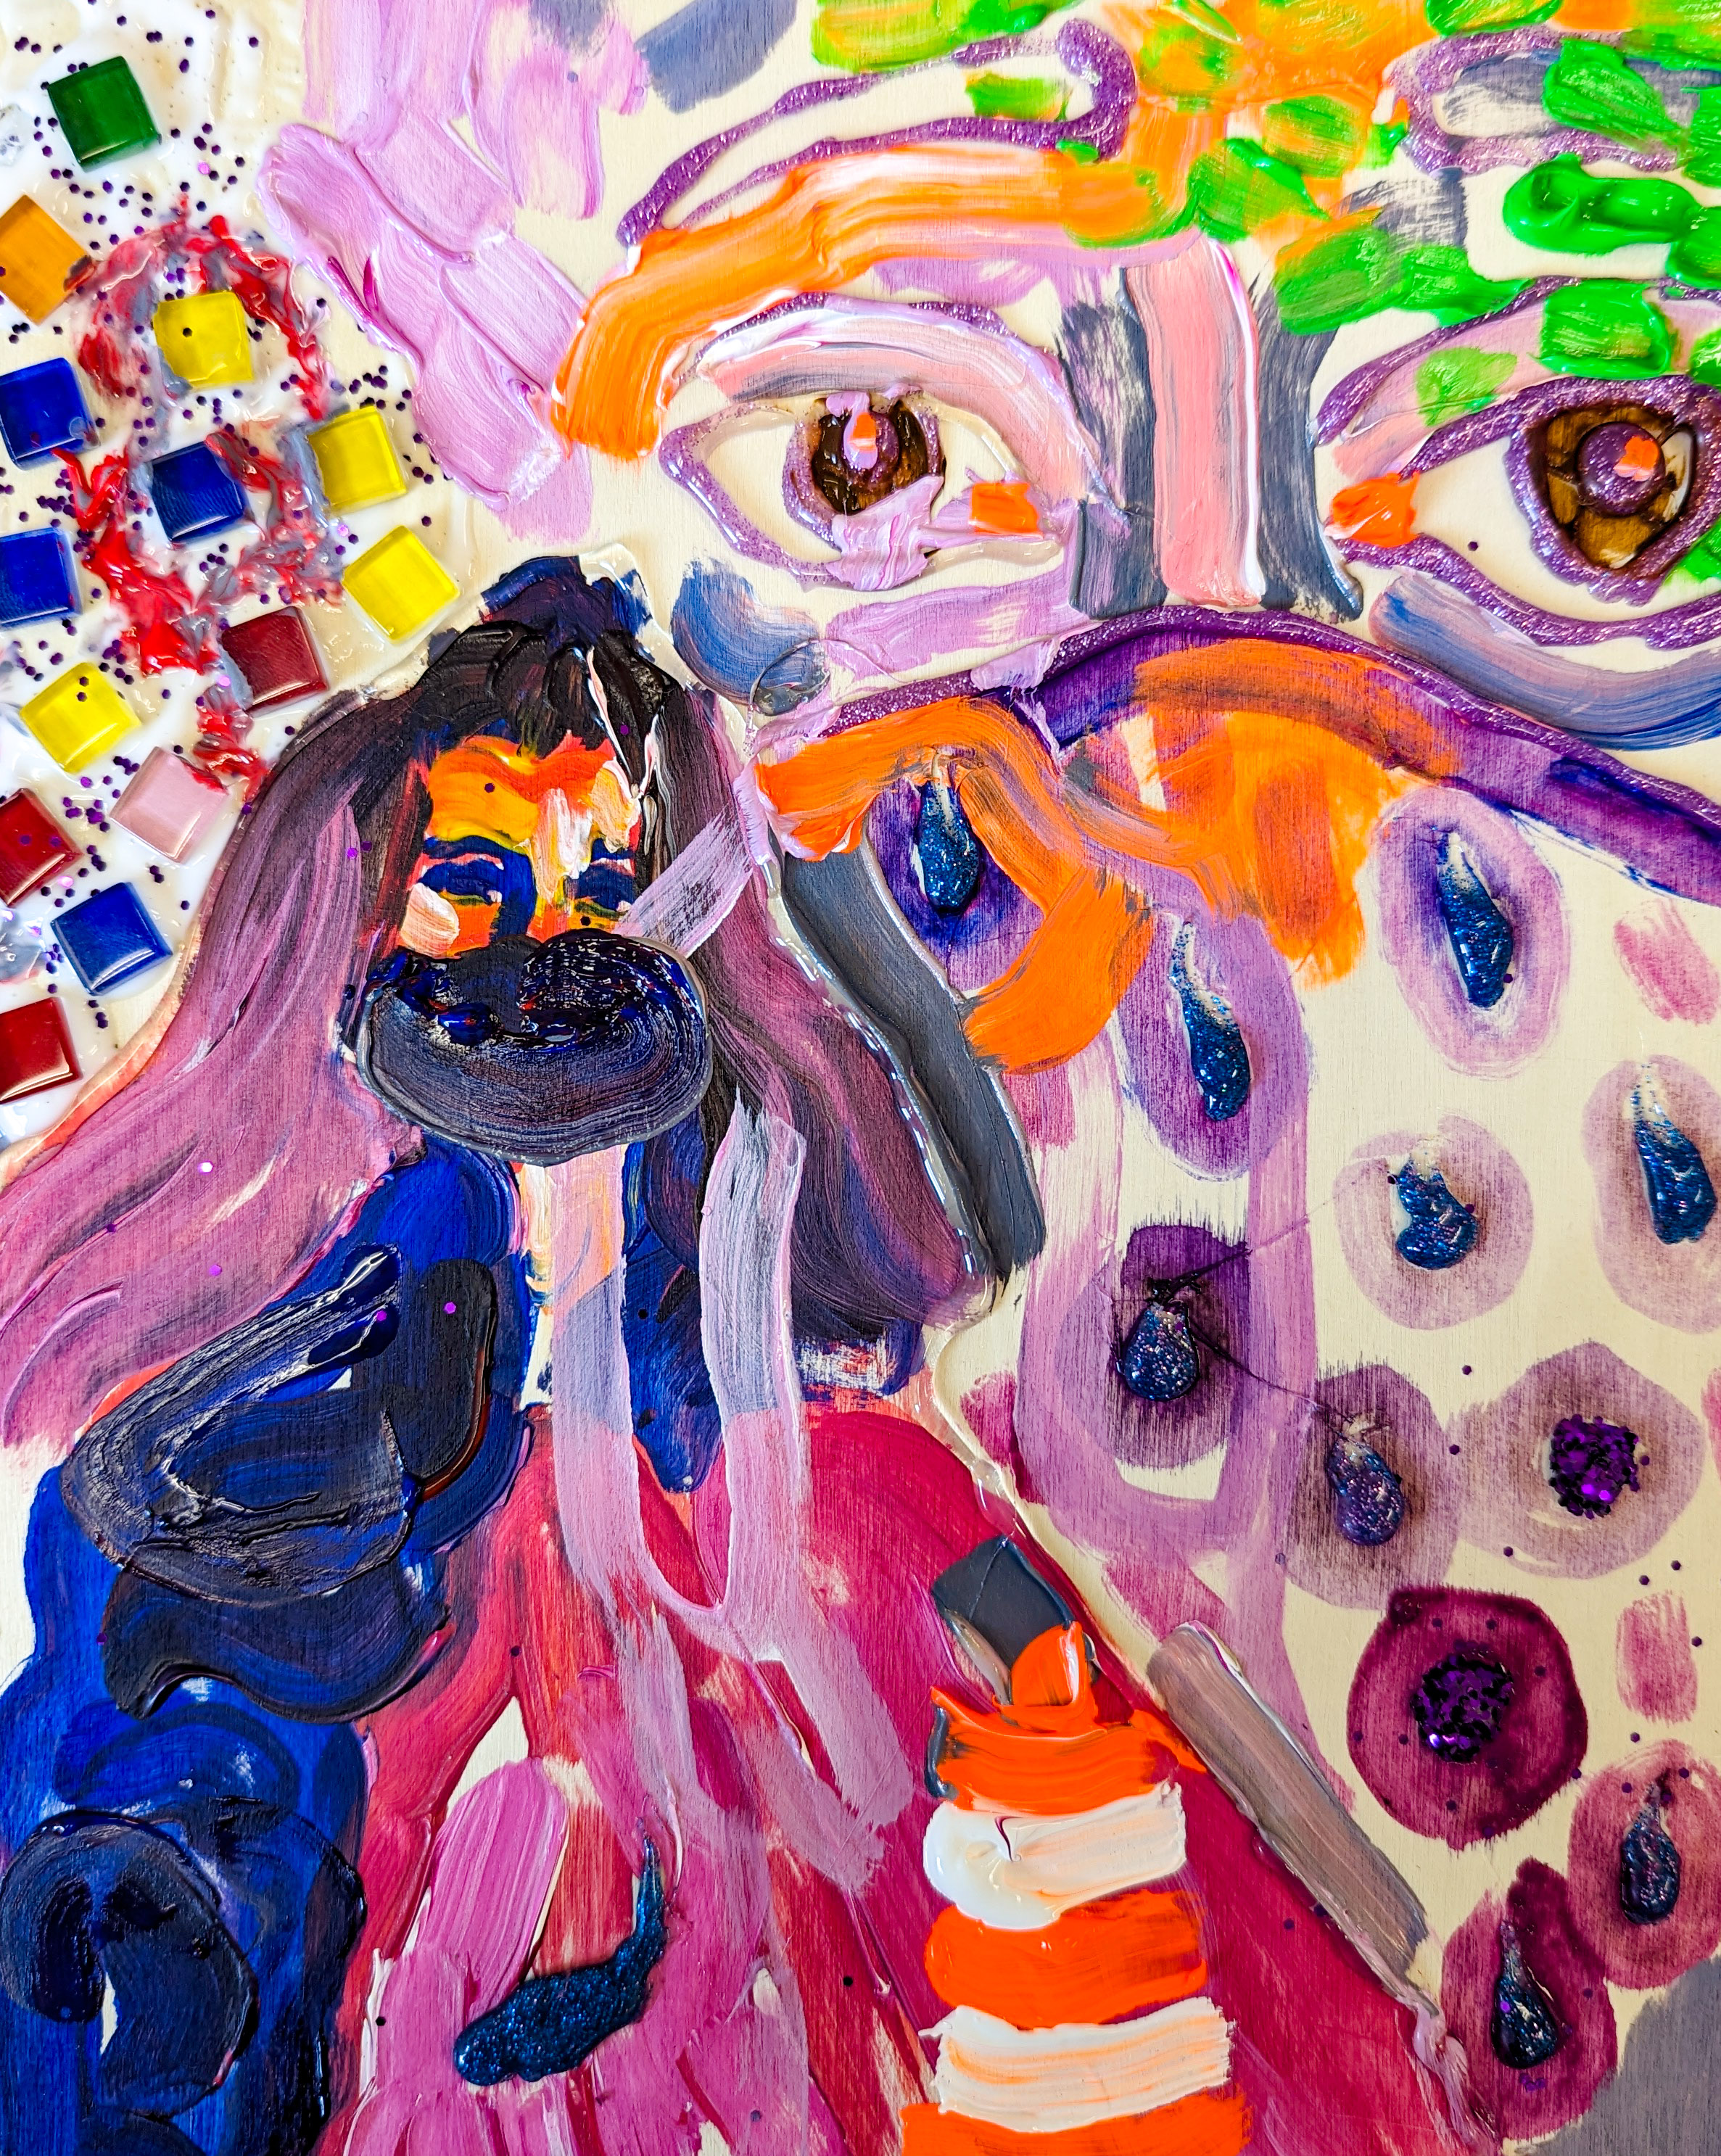
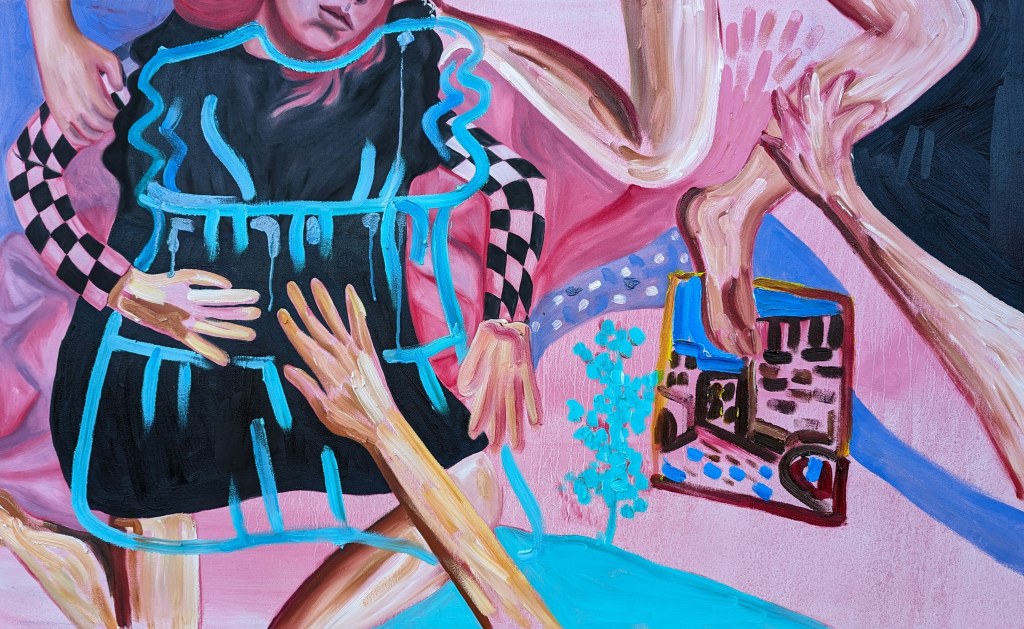
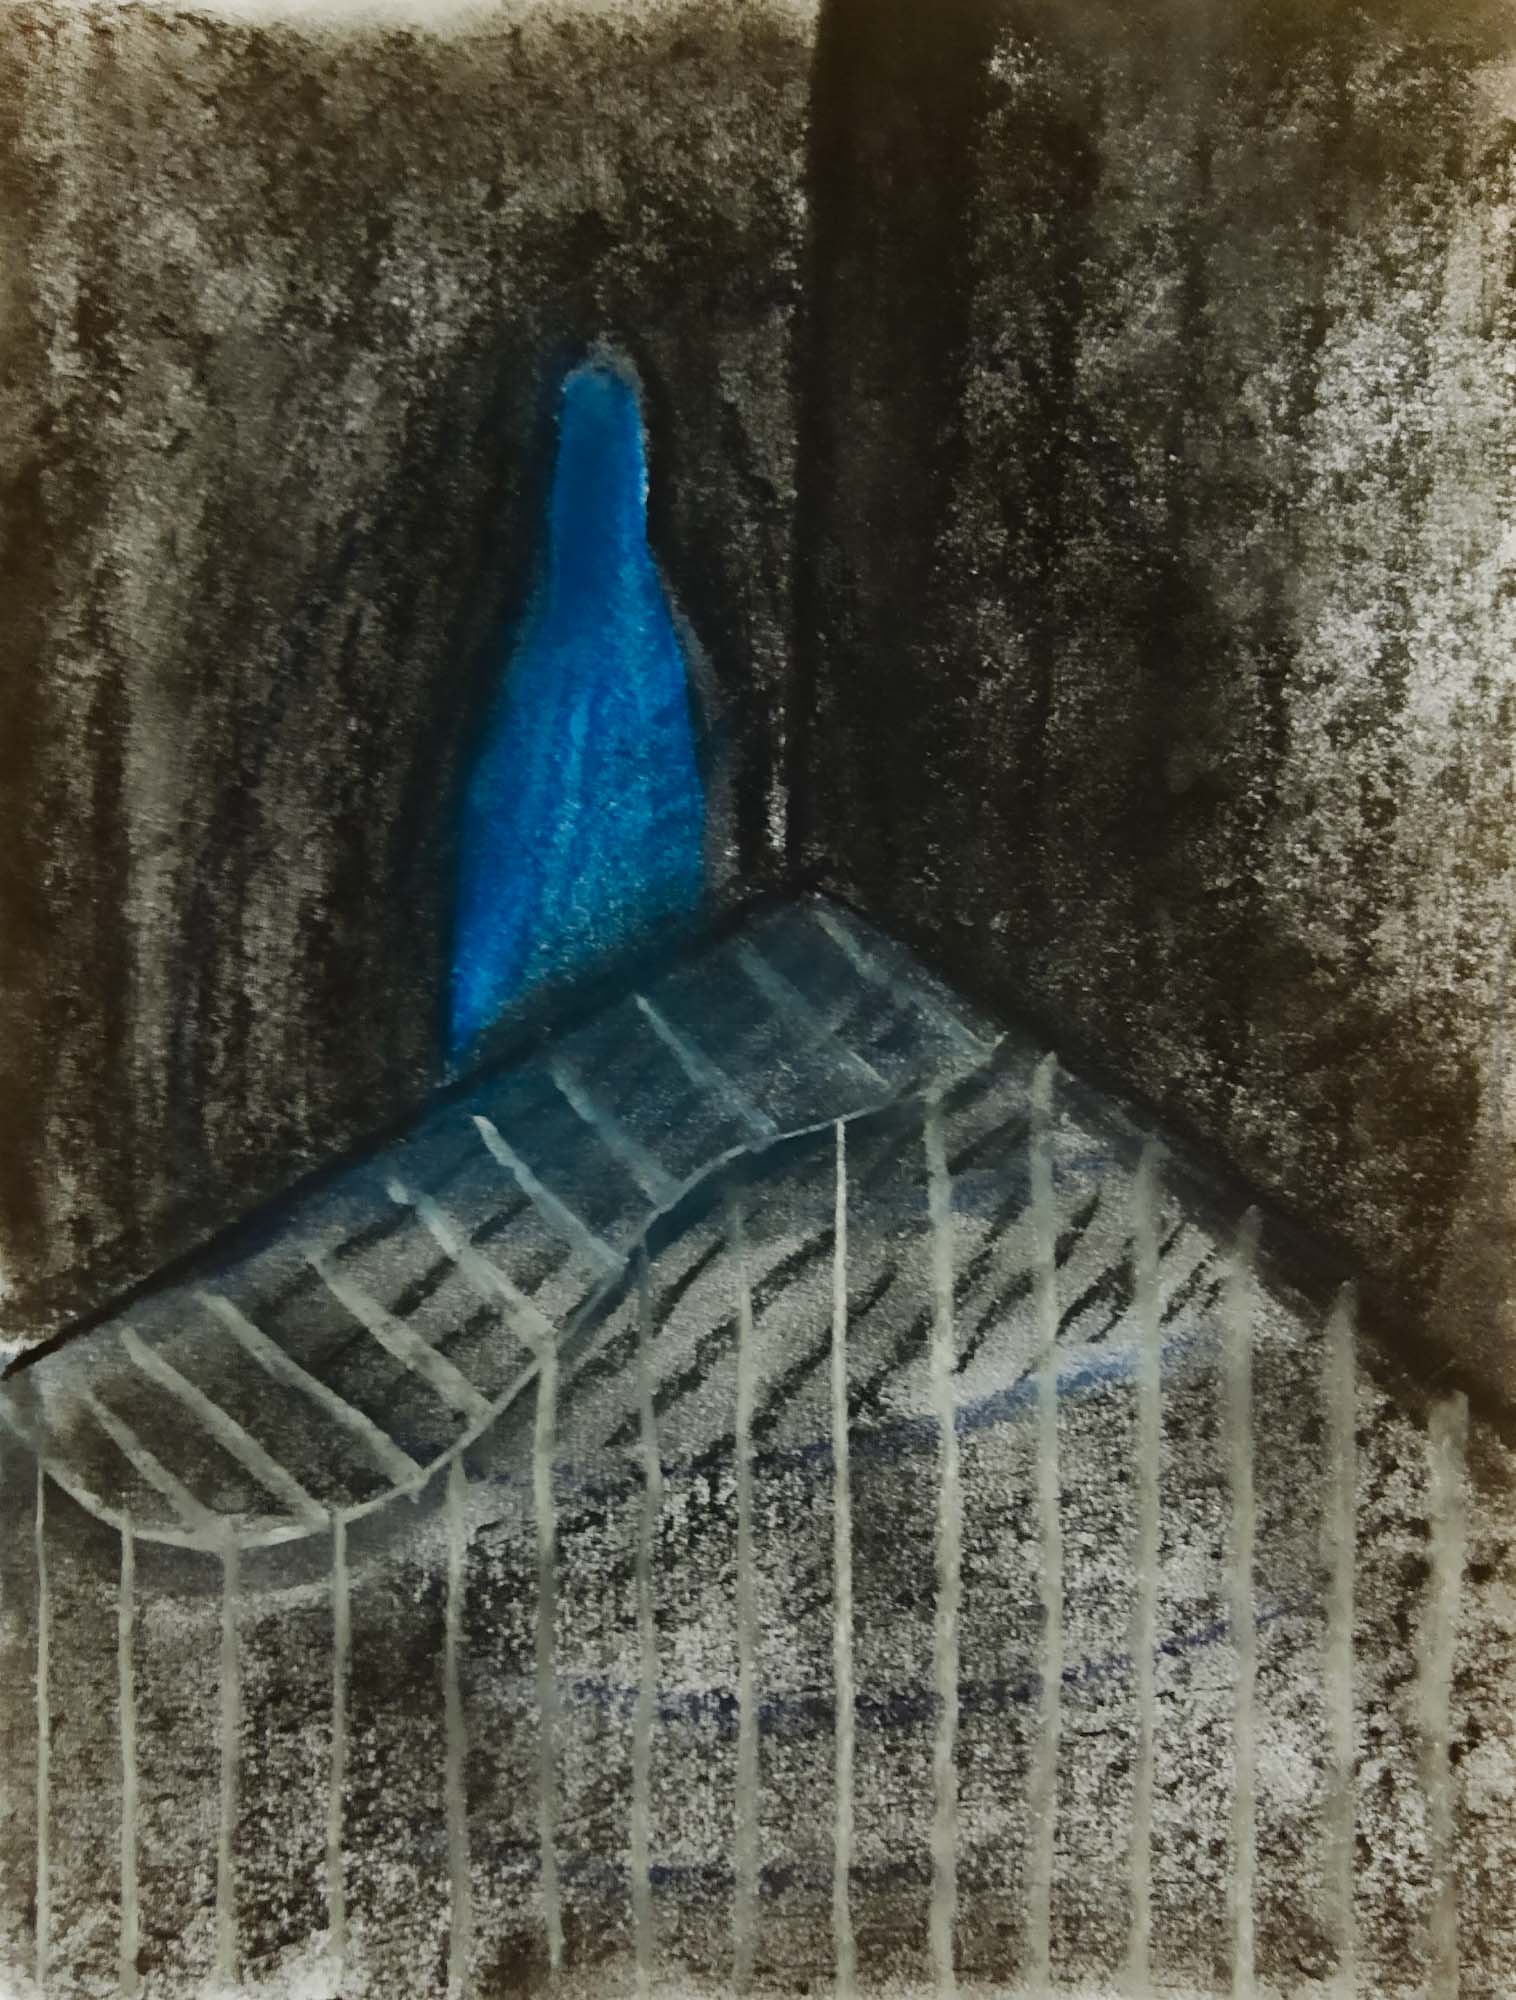
A while ago, probably 3 months ago, I had a dream where I was painting a painting. As soon as I woke up, I sketched out the painting to the best of my memory. This painting is that painting that I was painting in a dream. I want to do more of these. Just gotta figure out how to dream about painting and remember it. The base was pink of course. The color PINK is informing a lot of my work lately. think pink…
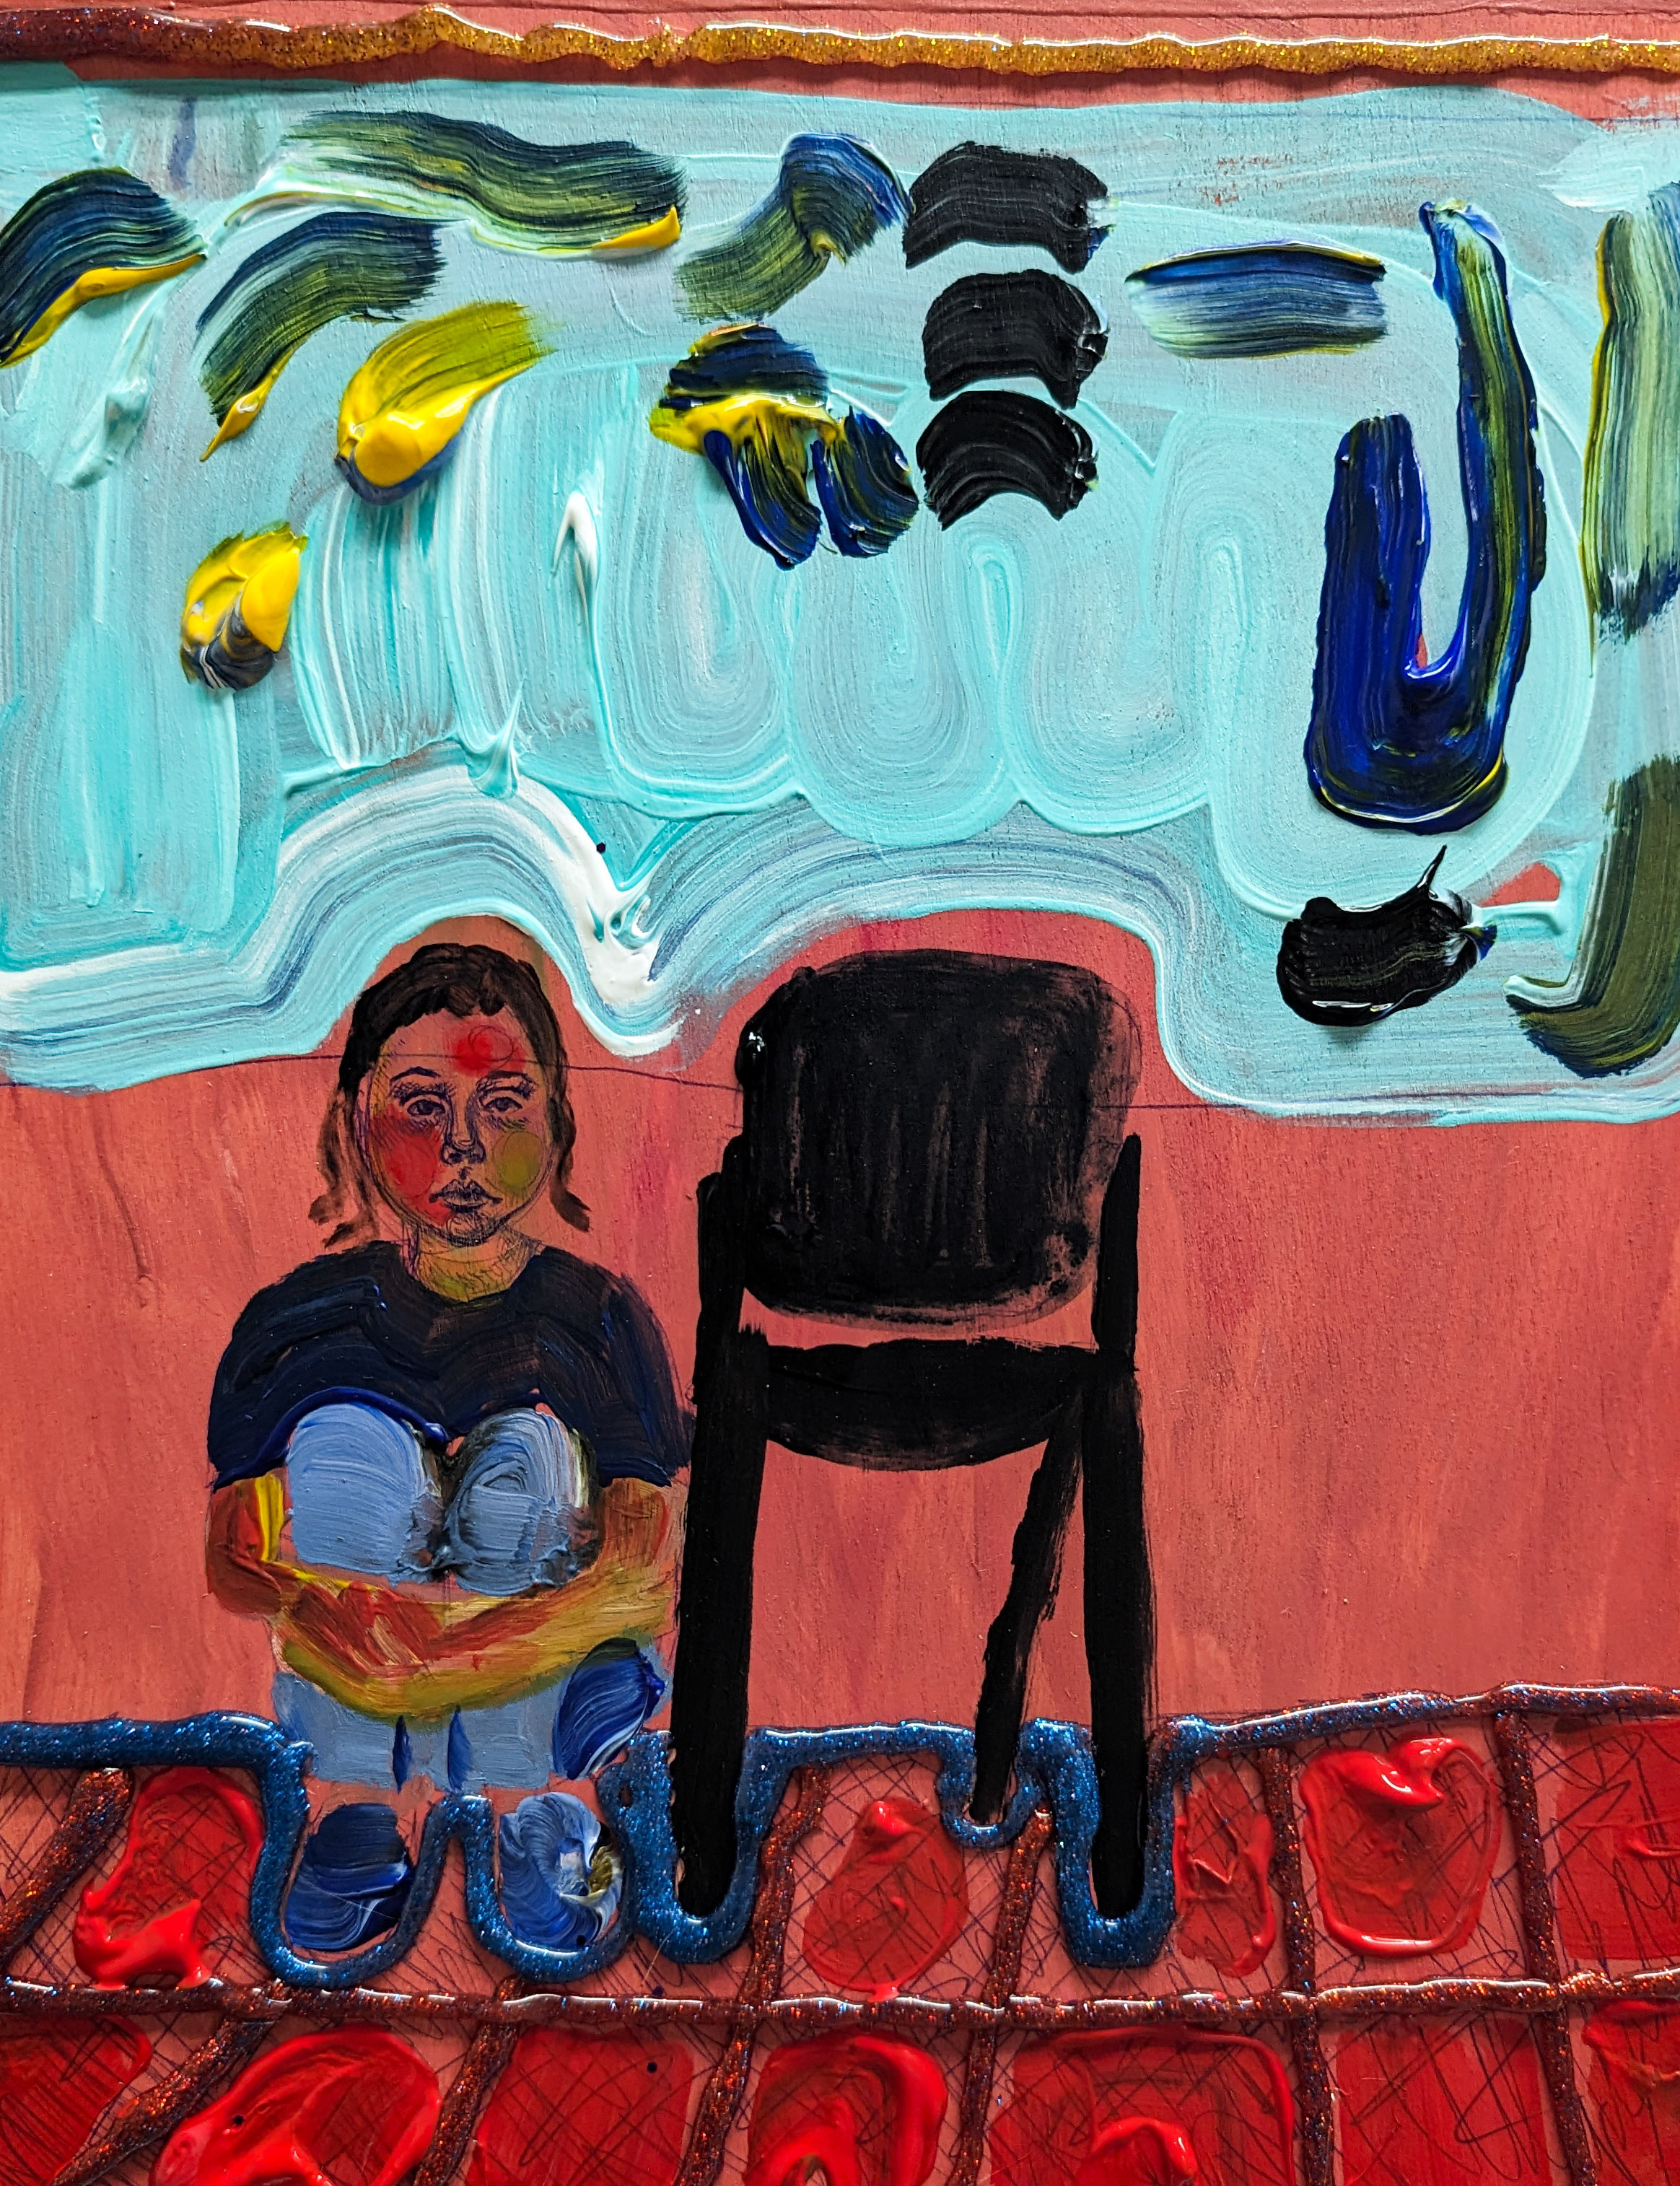
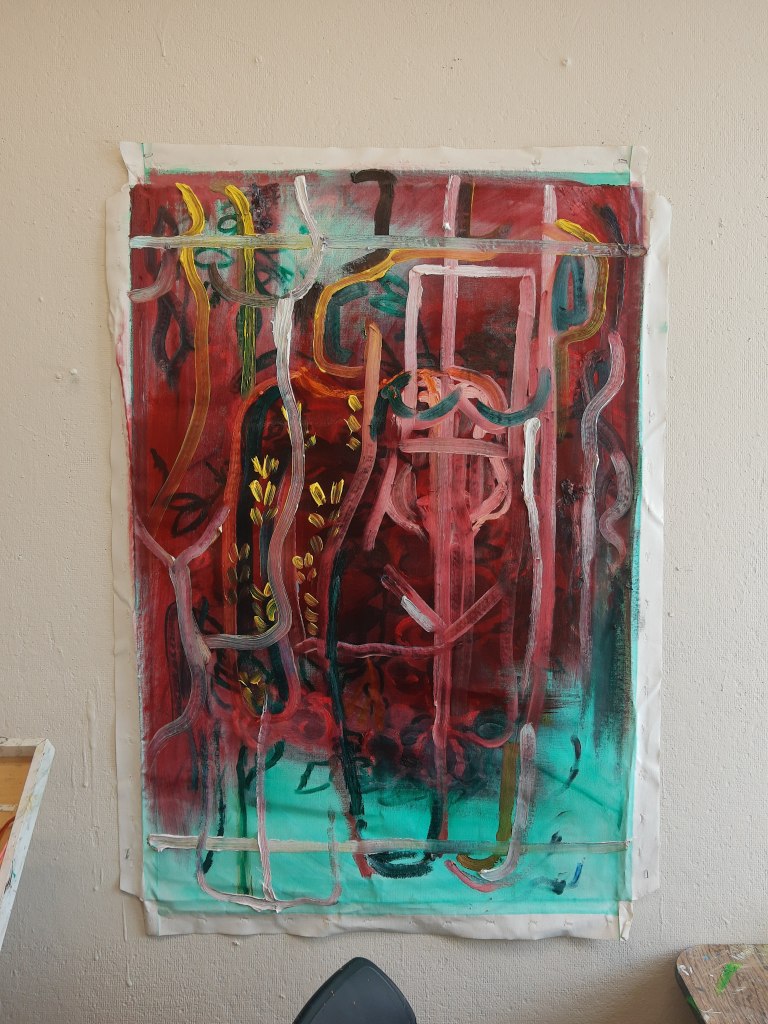
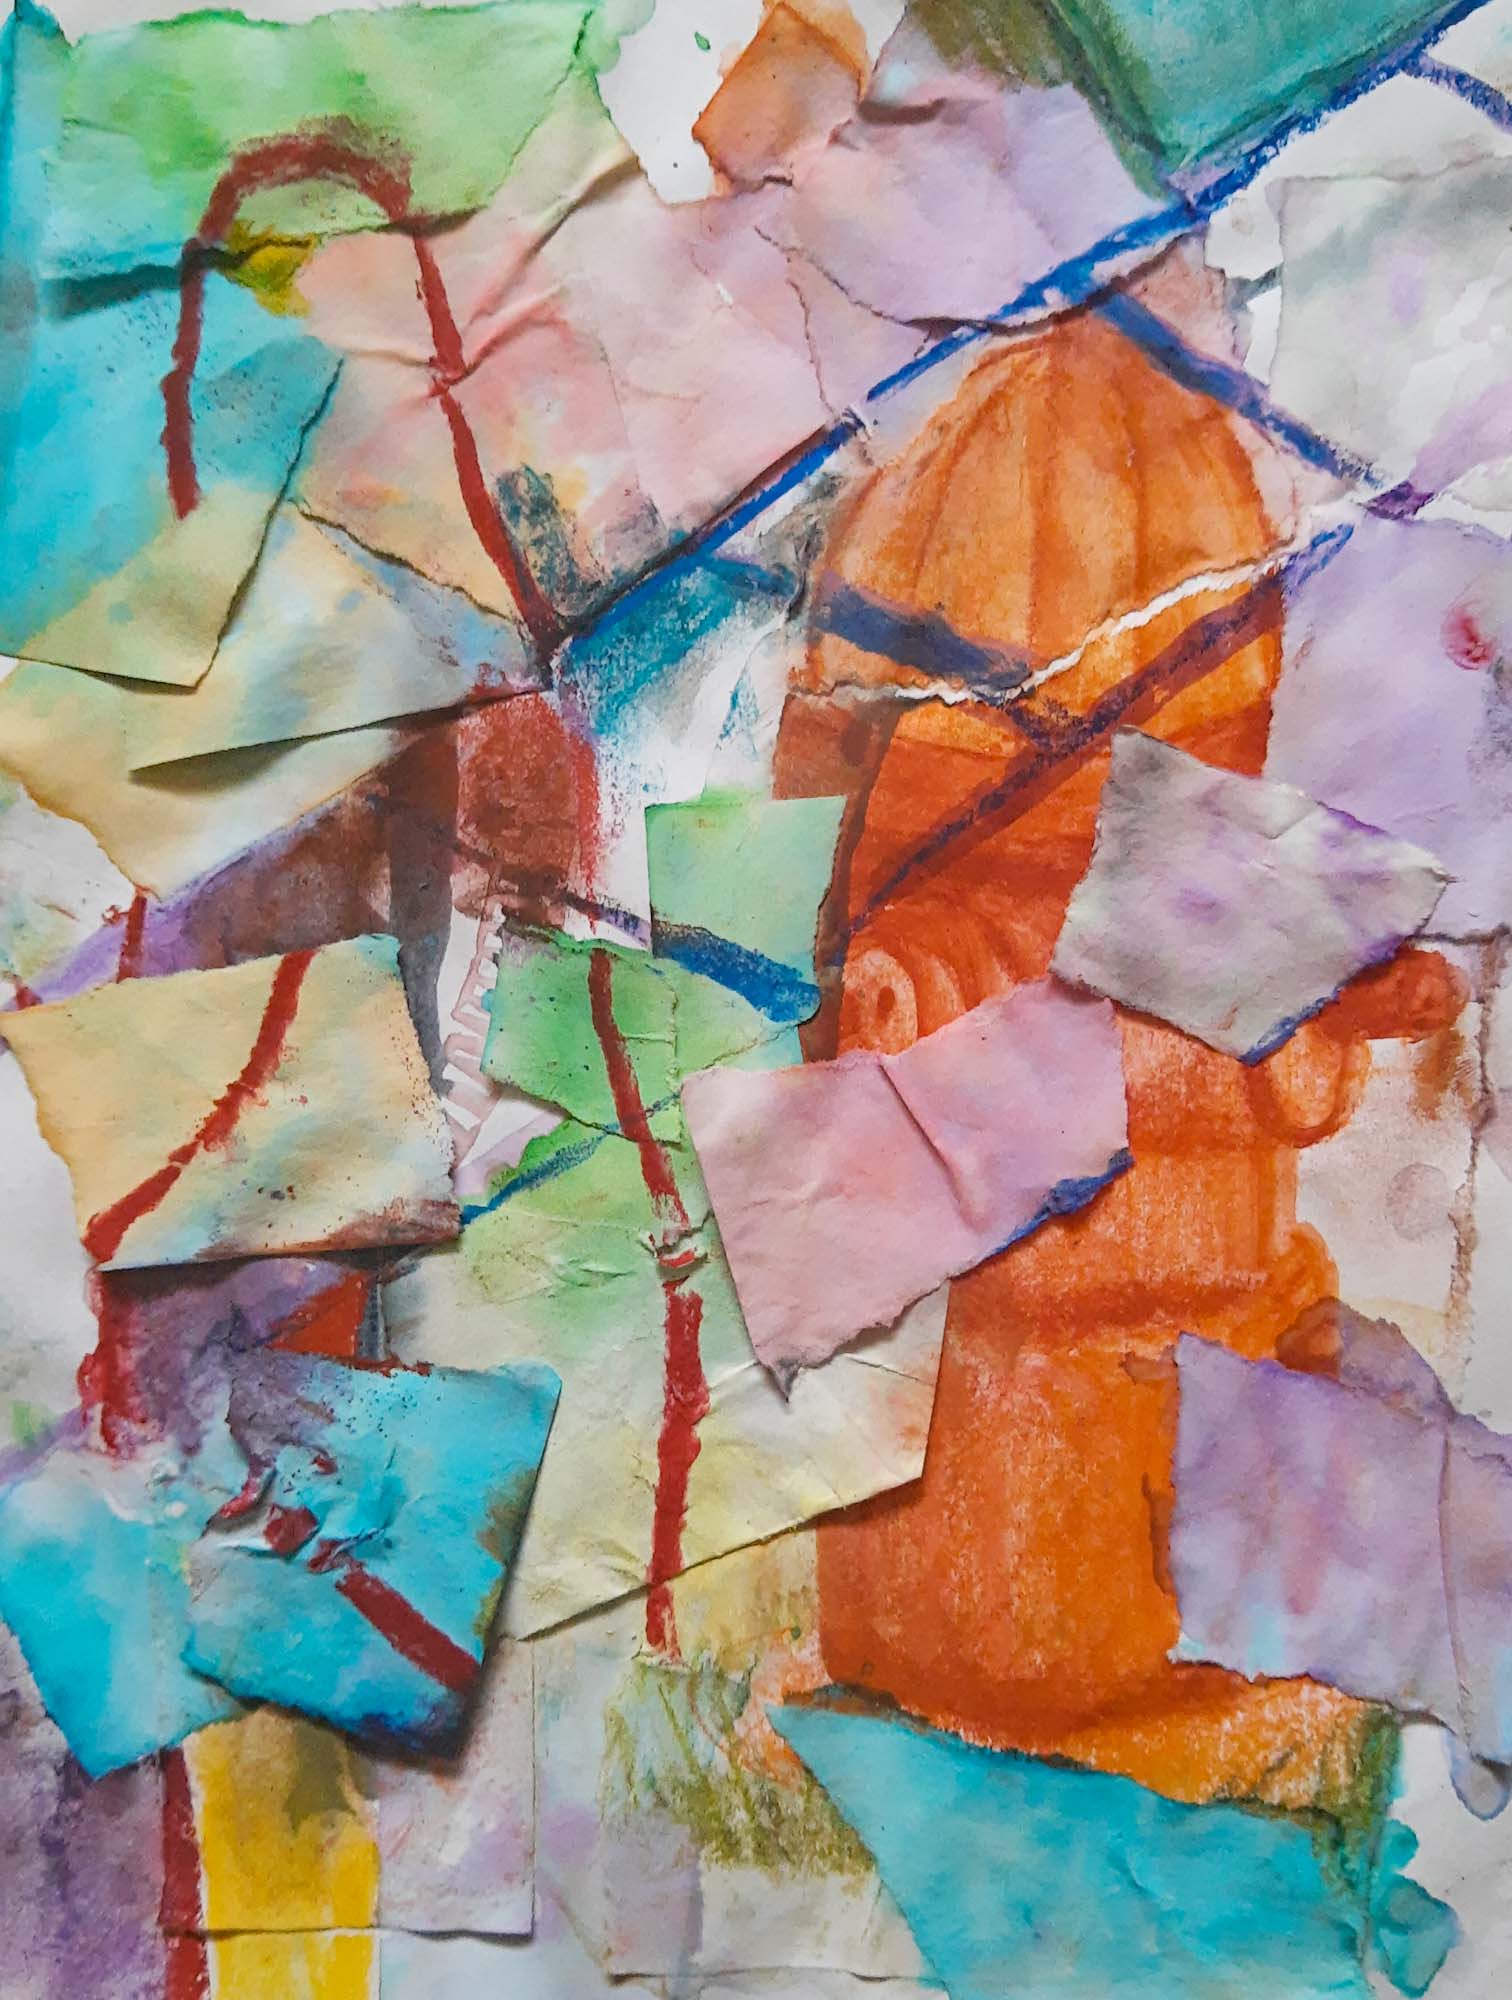
This work below is much smaller. Acrylic on paper. 24 x 12 inches. Thinking about warm colors and electric blue. Phthalocyanine blue mixed with white creates such a warm, powerful blue. Memories. Pieces and fragments of time connected together. A self-portrait on an ordinary day. Pipes. Sunset from a cold, autumn walk. A hand, twisted and contorted for the camera. A parking lot, empty except for one car outside of the frame. Moments bleeding together. Connected by random thoughts of bowls and hands and places.
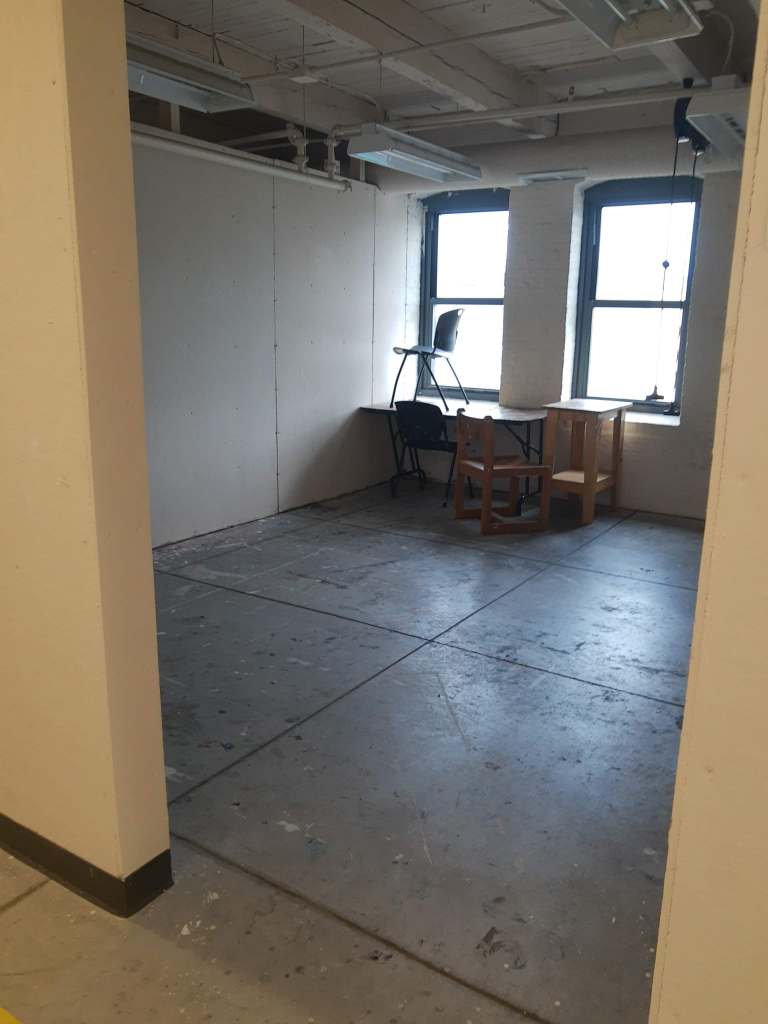
I have a new studio for grad school! So far, I am loving my studio and the space it gives me to create and be messy. I have learned so much about art already. In a studio visit with artist Alejandra Seeber, she gave me some advice to let the painting stay unfinished in sections, don’t give all the information, don’t equalize it too much, and let the painting breathe. In the “painting possibly finished”, (3rd painting, first row below), the phthalo green under the alizarin crimson is like a breeze of fresh air, letting the painting breathe and flow together. Without the phthalo green, the painting would become flat and equalized and all the parts would blend together without a break of unfinished color.
the new studio!painting in progresspainting possibly finishedme in the new studiogessoing a sheetbase layer done!my studio friendworks in progress
everything moves too quickly too slowly at the same time. I’m frozen in time and I’m speeding down the highway days blur, weeks and weeks go by I’m tumbling, struggling hanging on by a thread; I’m lost – but how can I even be lost if I’ve never known where I want to be. How can I be lost without a destination. 2/11/2020 11:33PM
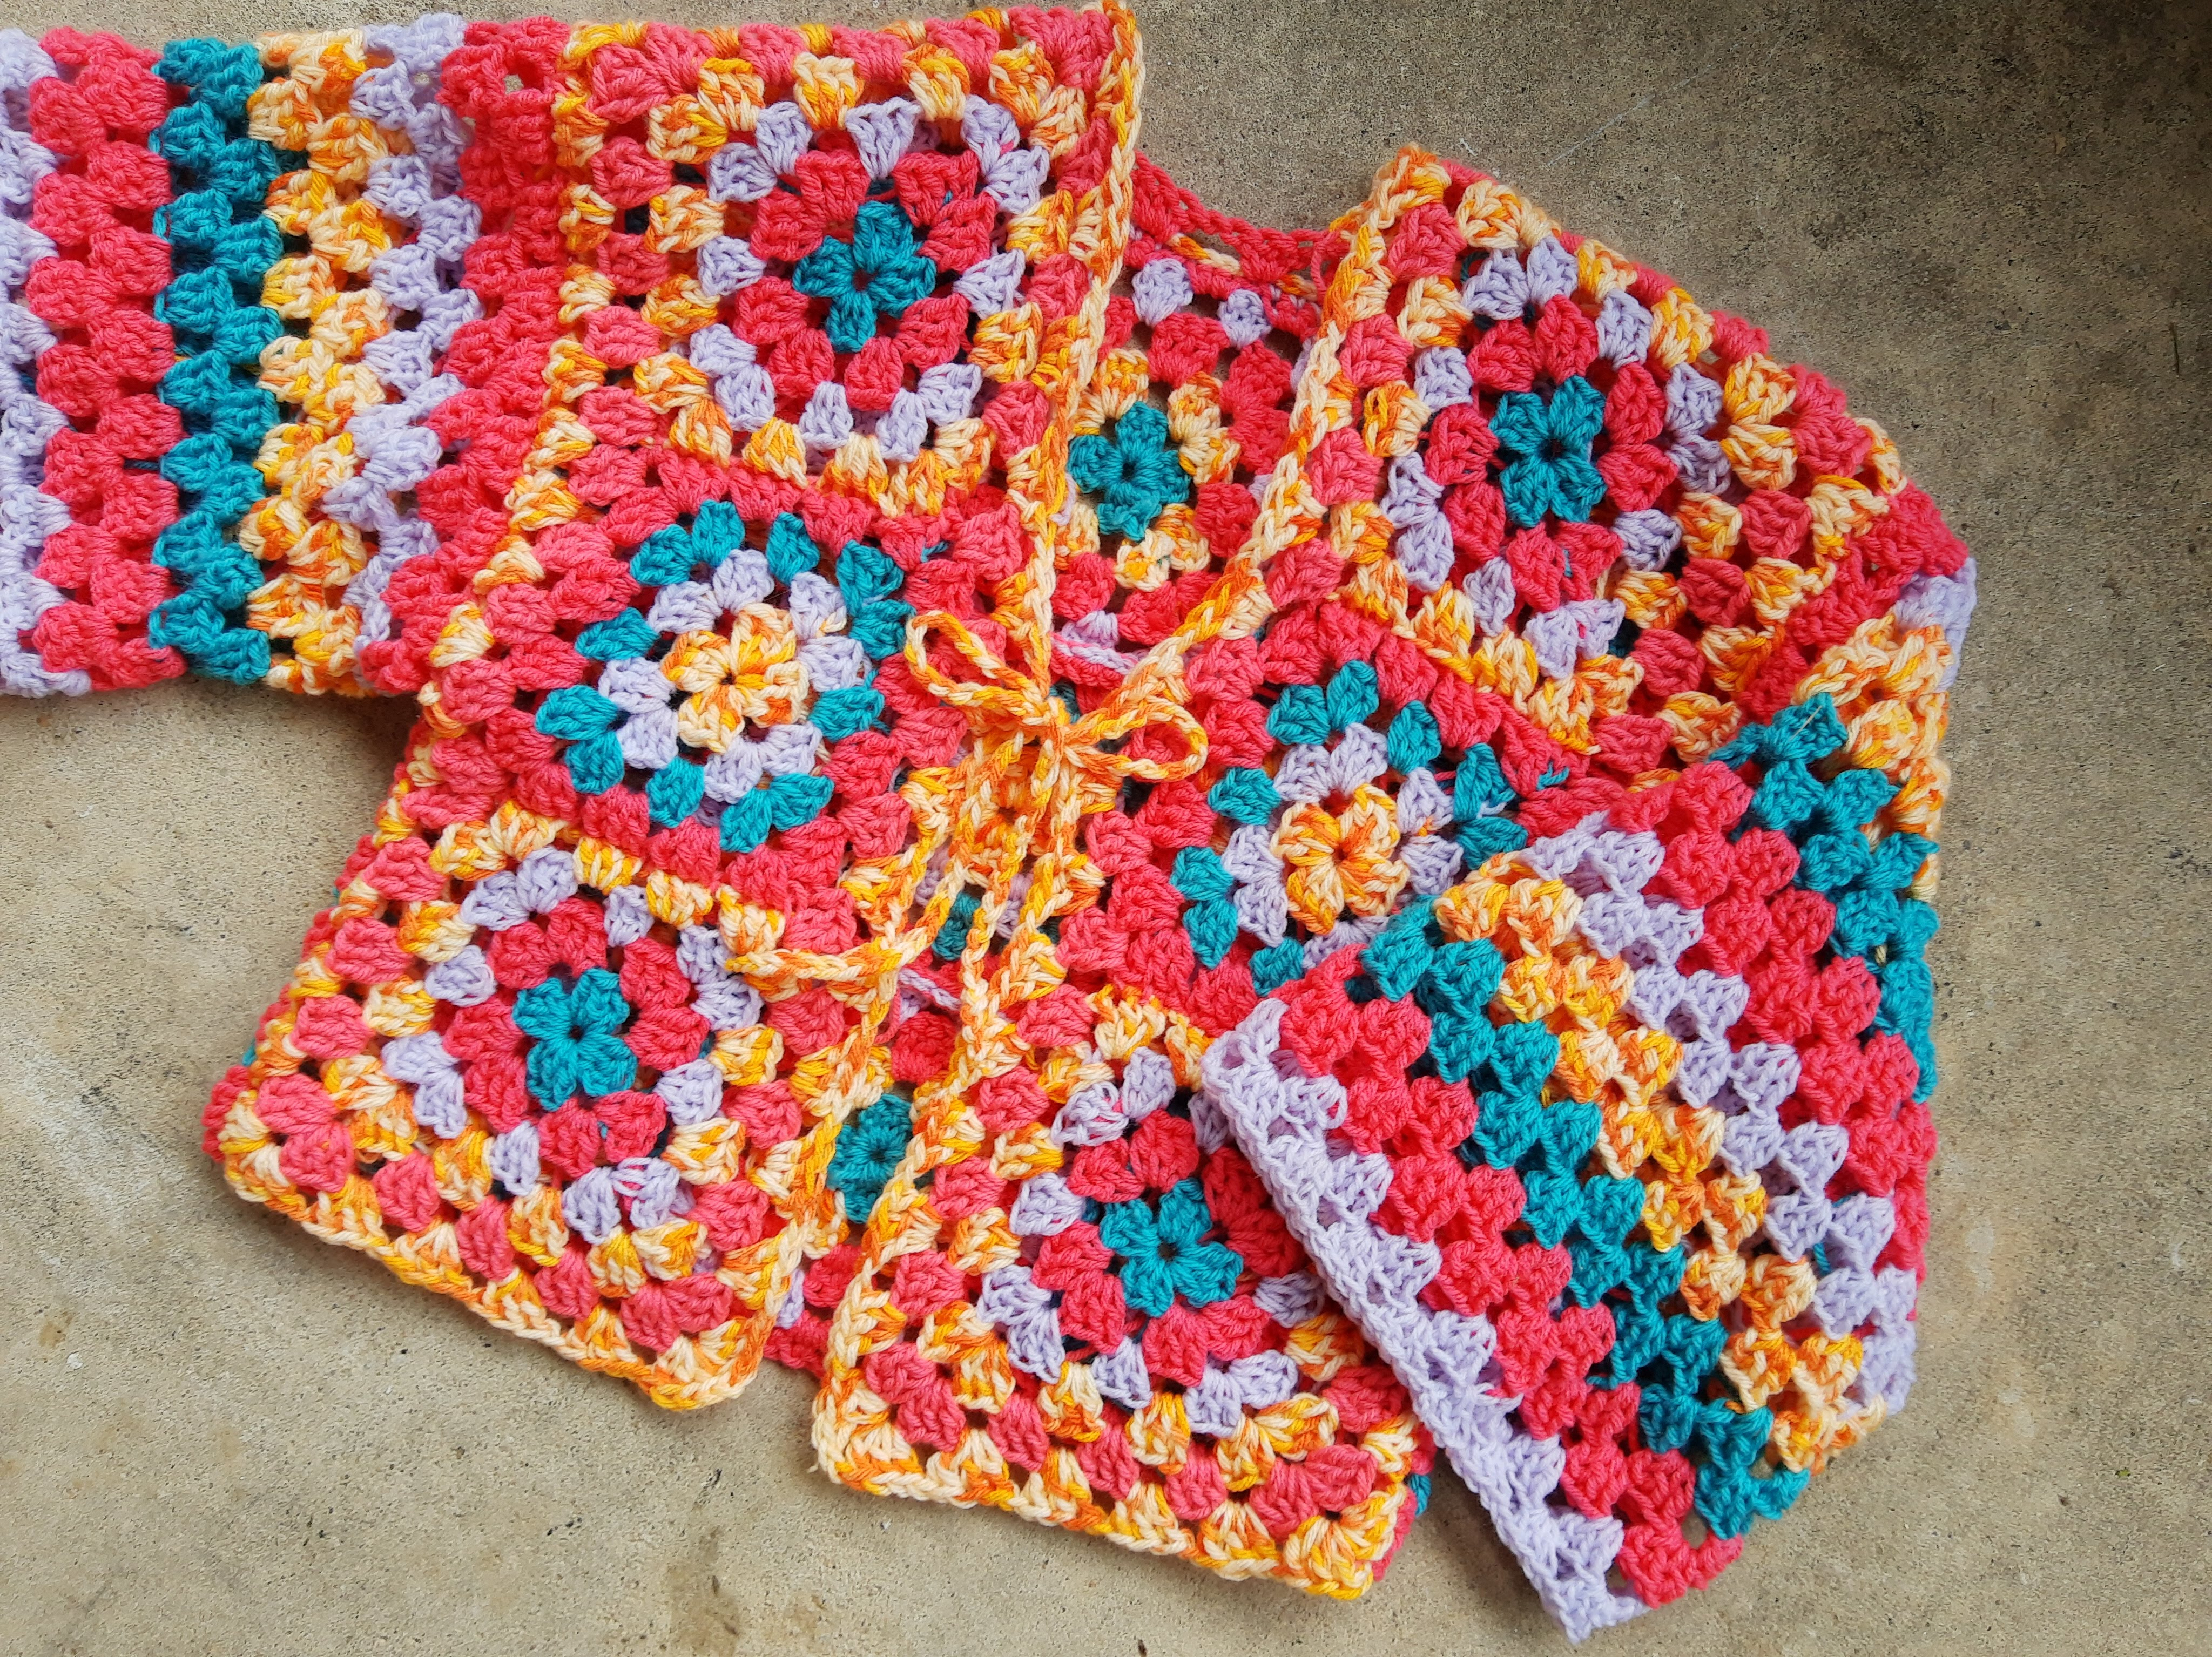
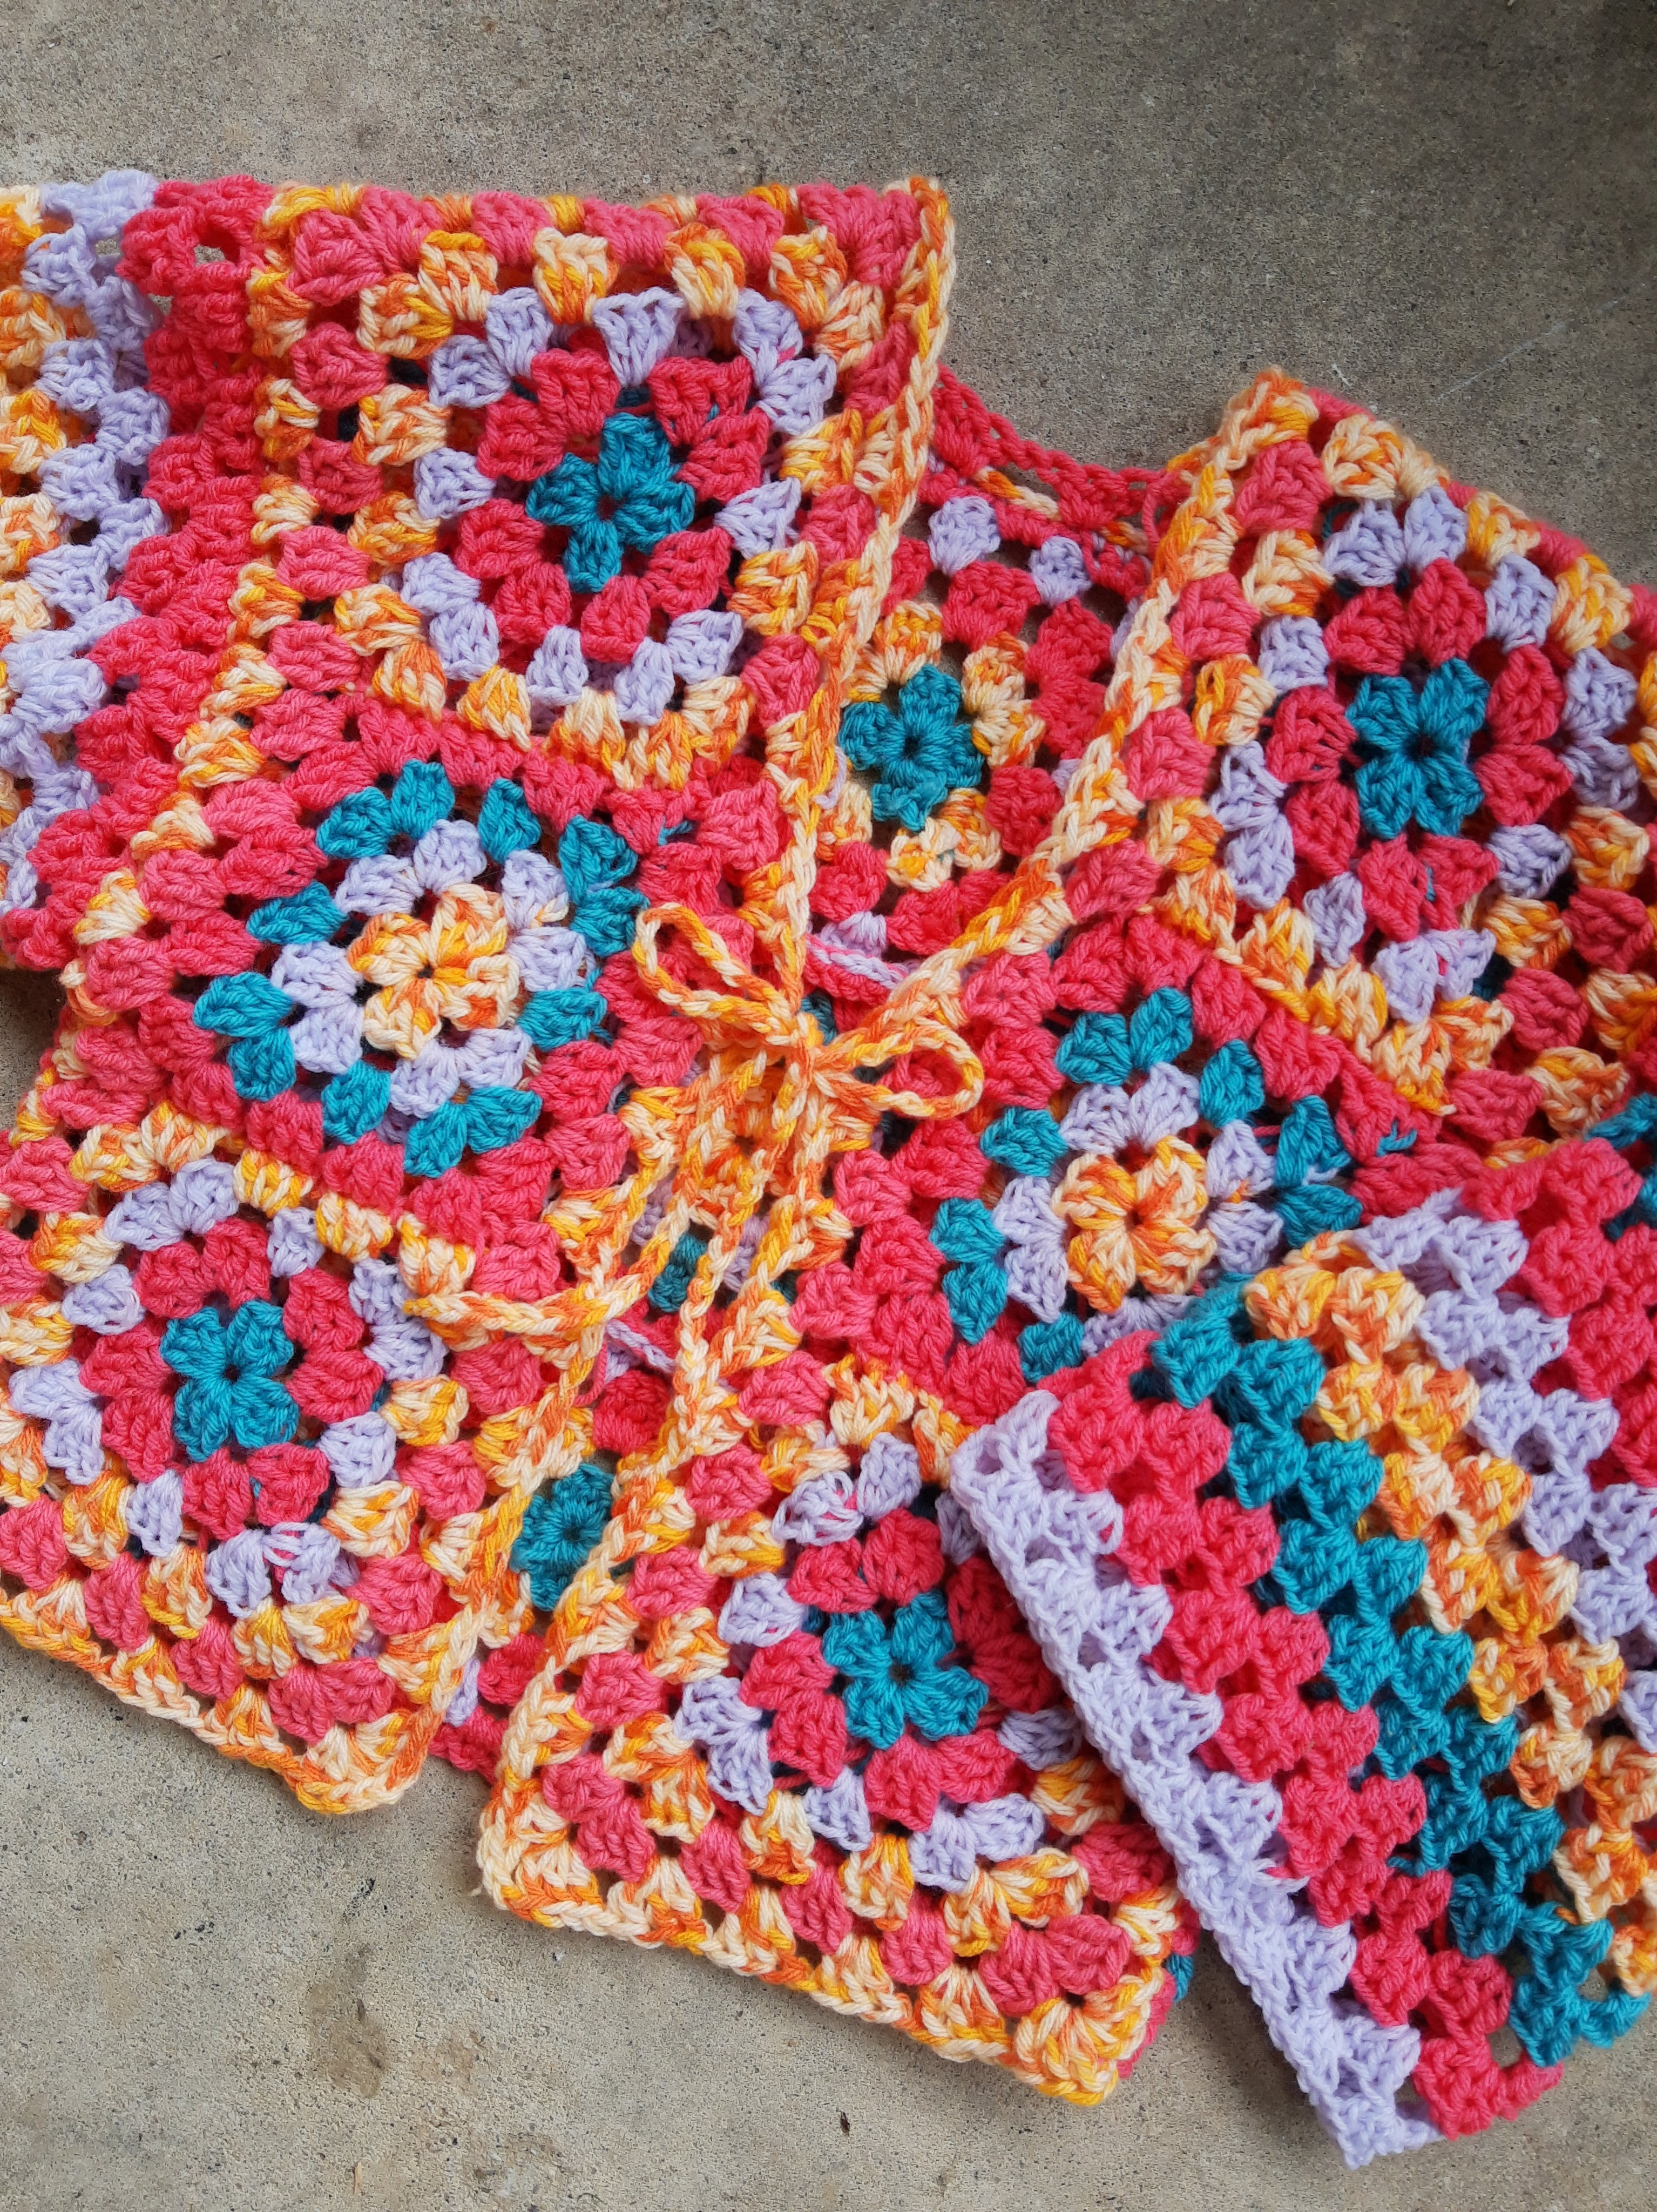
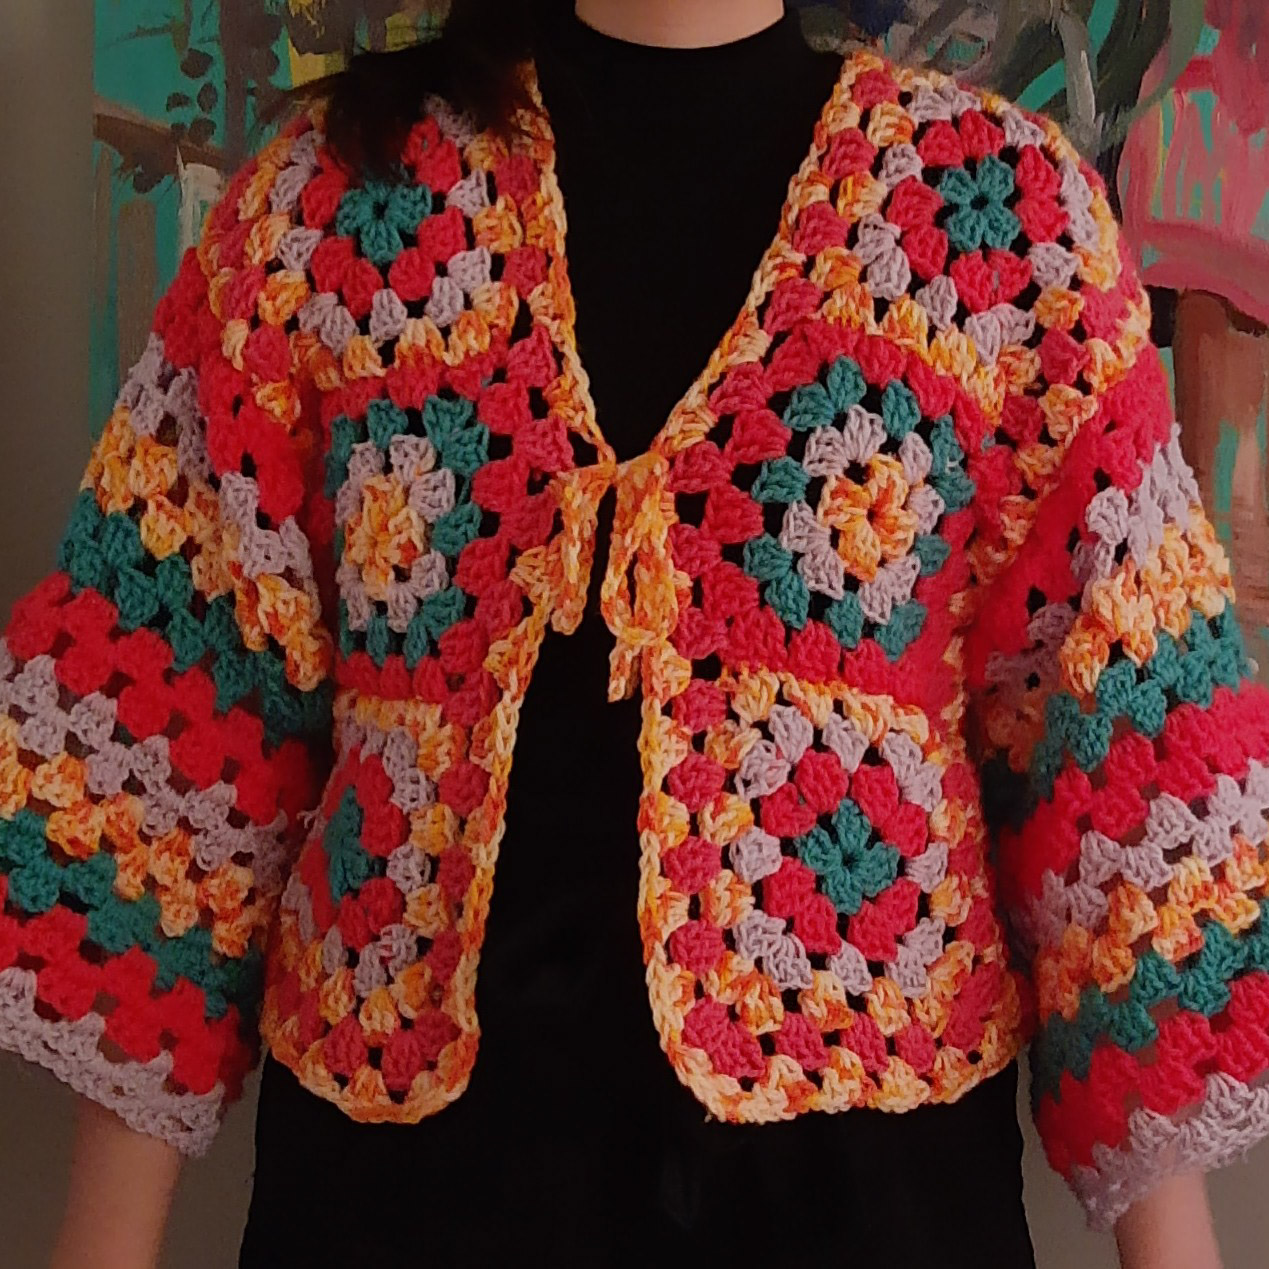
I finished my crocheted cardigan! At the beginning, I planned to make a pullover sweater, but then as I was working on it, I decided it would look better as a cardigan.
It took a long time to make and I still have a lot of loose strings to weave in. I might just wear it without finishing up all those loose strings.
I am so happy with how it turned out and I can’t wait to wear it!
I’m working on a ton of small projects lately. I get bored of working on one thing and then I have another idea and I don’t really have enough focus to work on any one project right now and I’m frustrated with art and crafting currently. Just a bit of art/creative unmotivation. I finished some of them though.
I’m bored so I’m just gonna write about all my ideas and current projects here and organize my brain a bit.
The Projects:
1) Crocheting a granny square sweater – I decided to use my crazy colorful yarn to make a bright, patchwork-y sweater. I love crazy clothes and I am always trying to incorporate more colorful, patterned clothing pieces into my collection. I have the front panel of the sweater all sewn together and crocheted. I just need to do the sleeves and back panel, which is 21 more granny squares which I am kinda over making after the first 9. I’ll get to it eventually… (haha we’ll see). If I ever crochet the rest of it, I plan to add a cute little scalloped trim to the bottom of the sleeves and sweater.
2) The start of a new painting – beginning layers, we’ll see what happens to it…
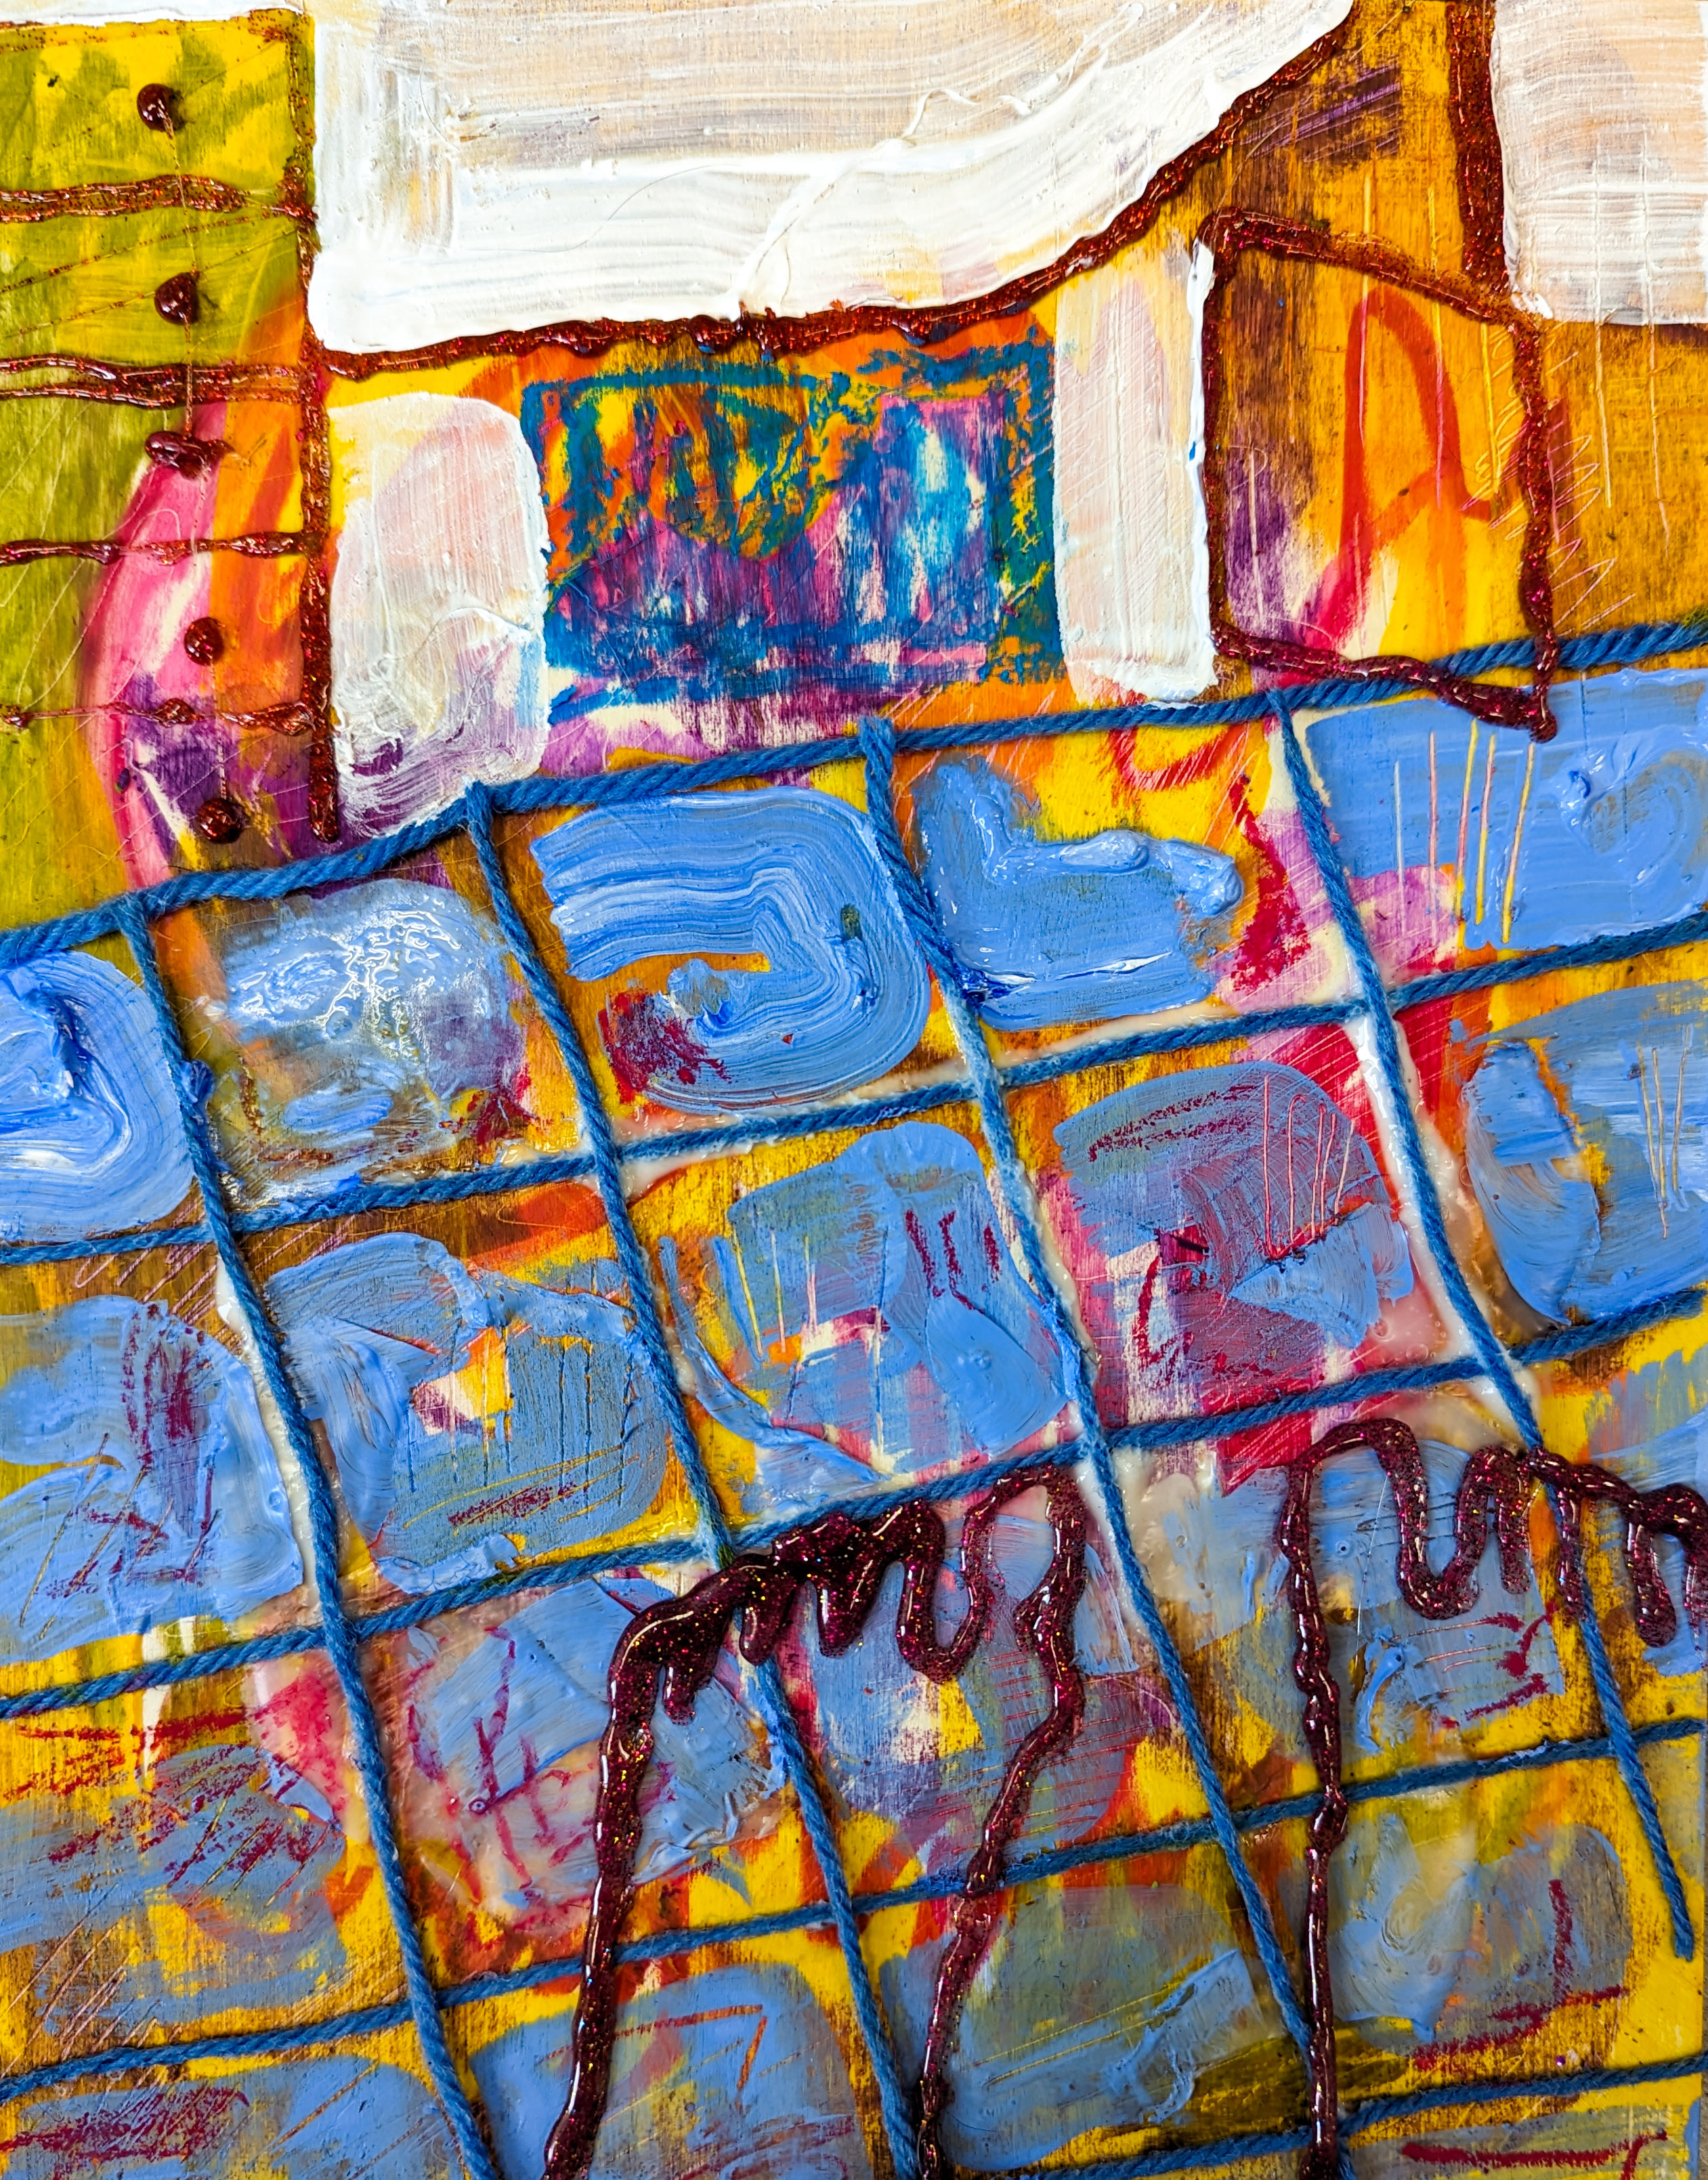
3) Painting fabric with this pattern. When I’m done painting it, I hope to make either a quilt-like thing, or a tapestry-like thing
4) I painted a frisbee with oil paint
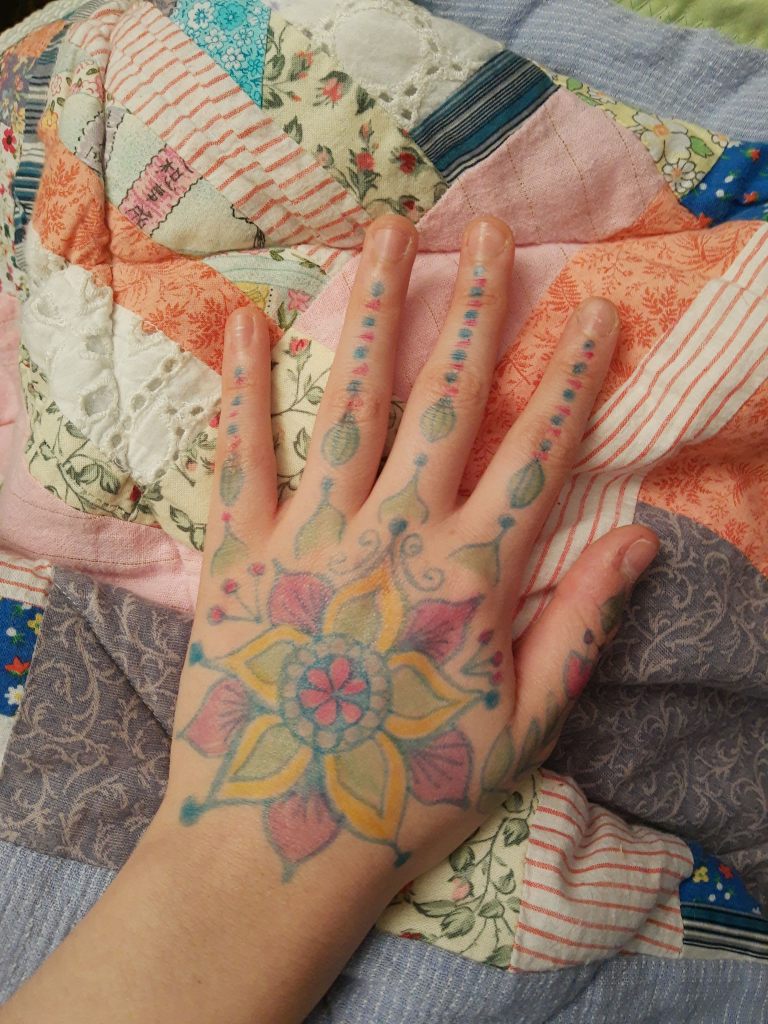
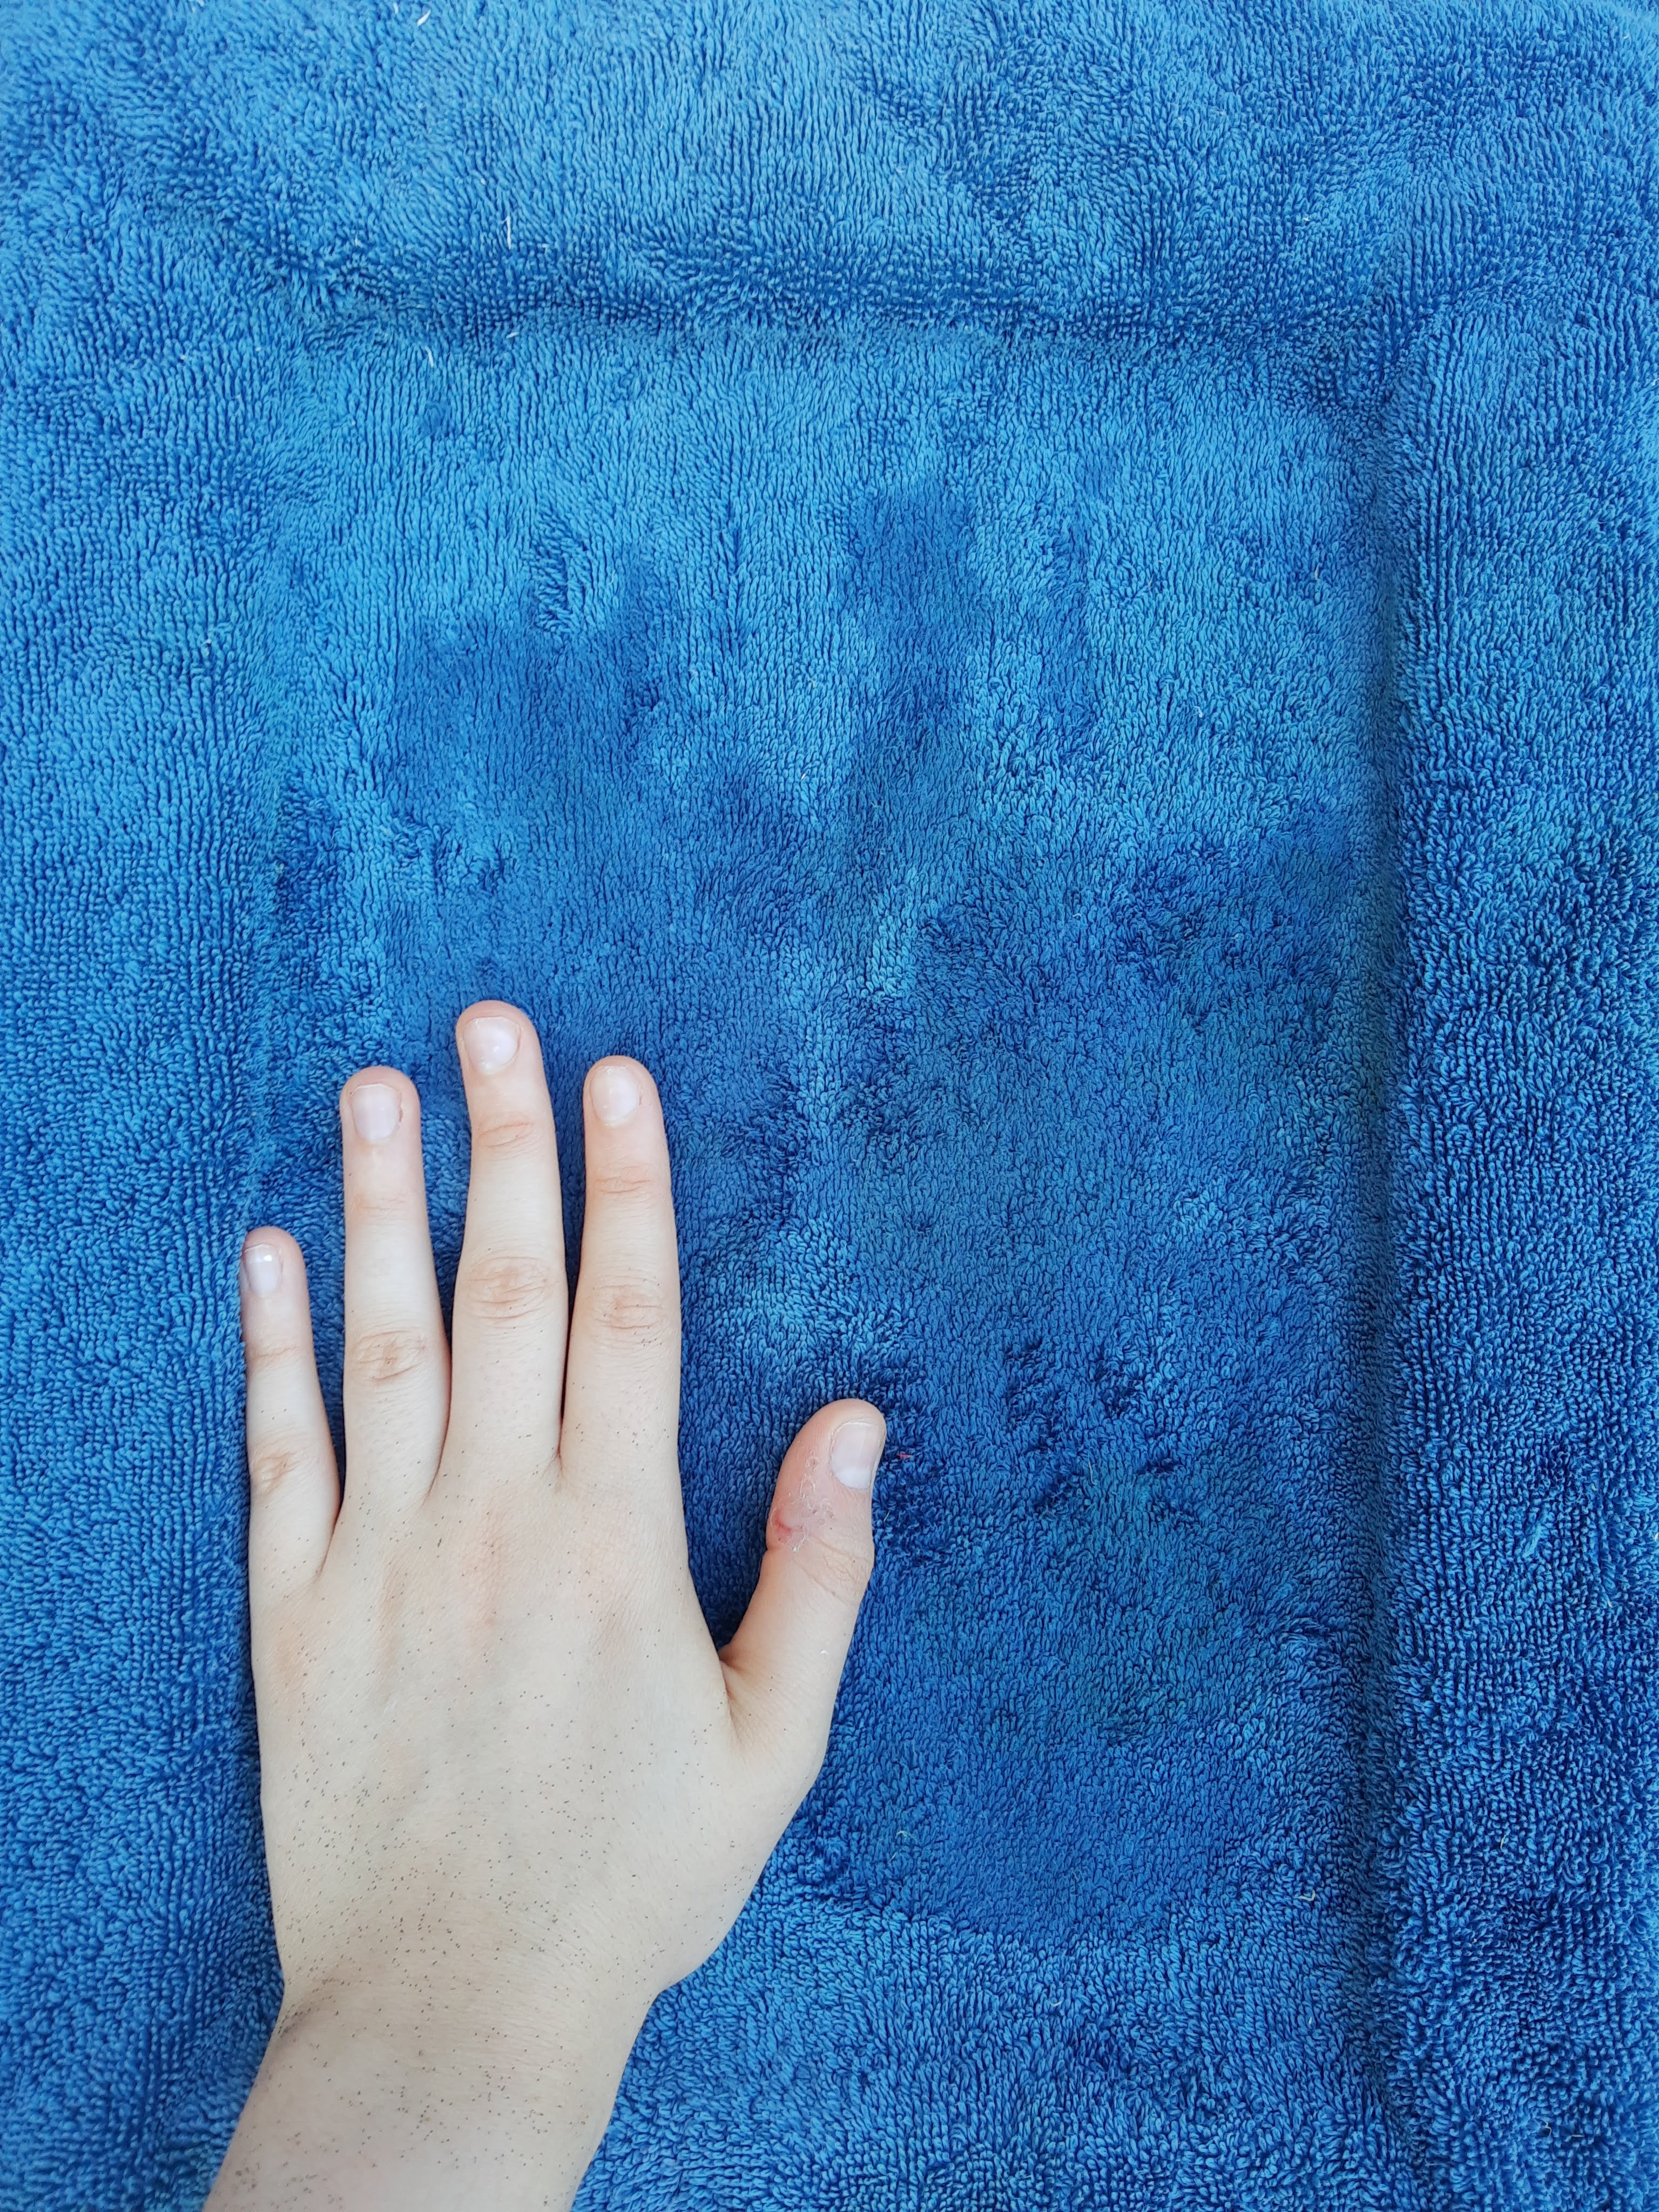
5) I drew on my hand
6) I destroyed an old painting that was already really ugly.
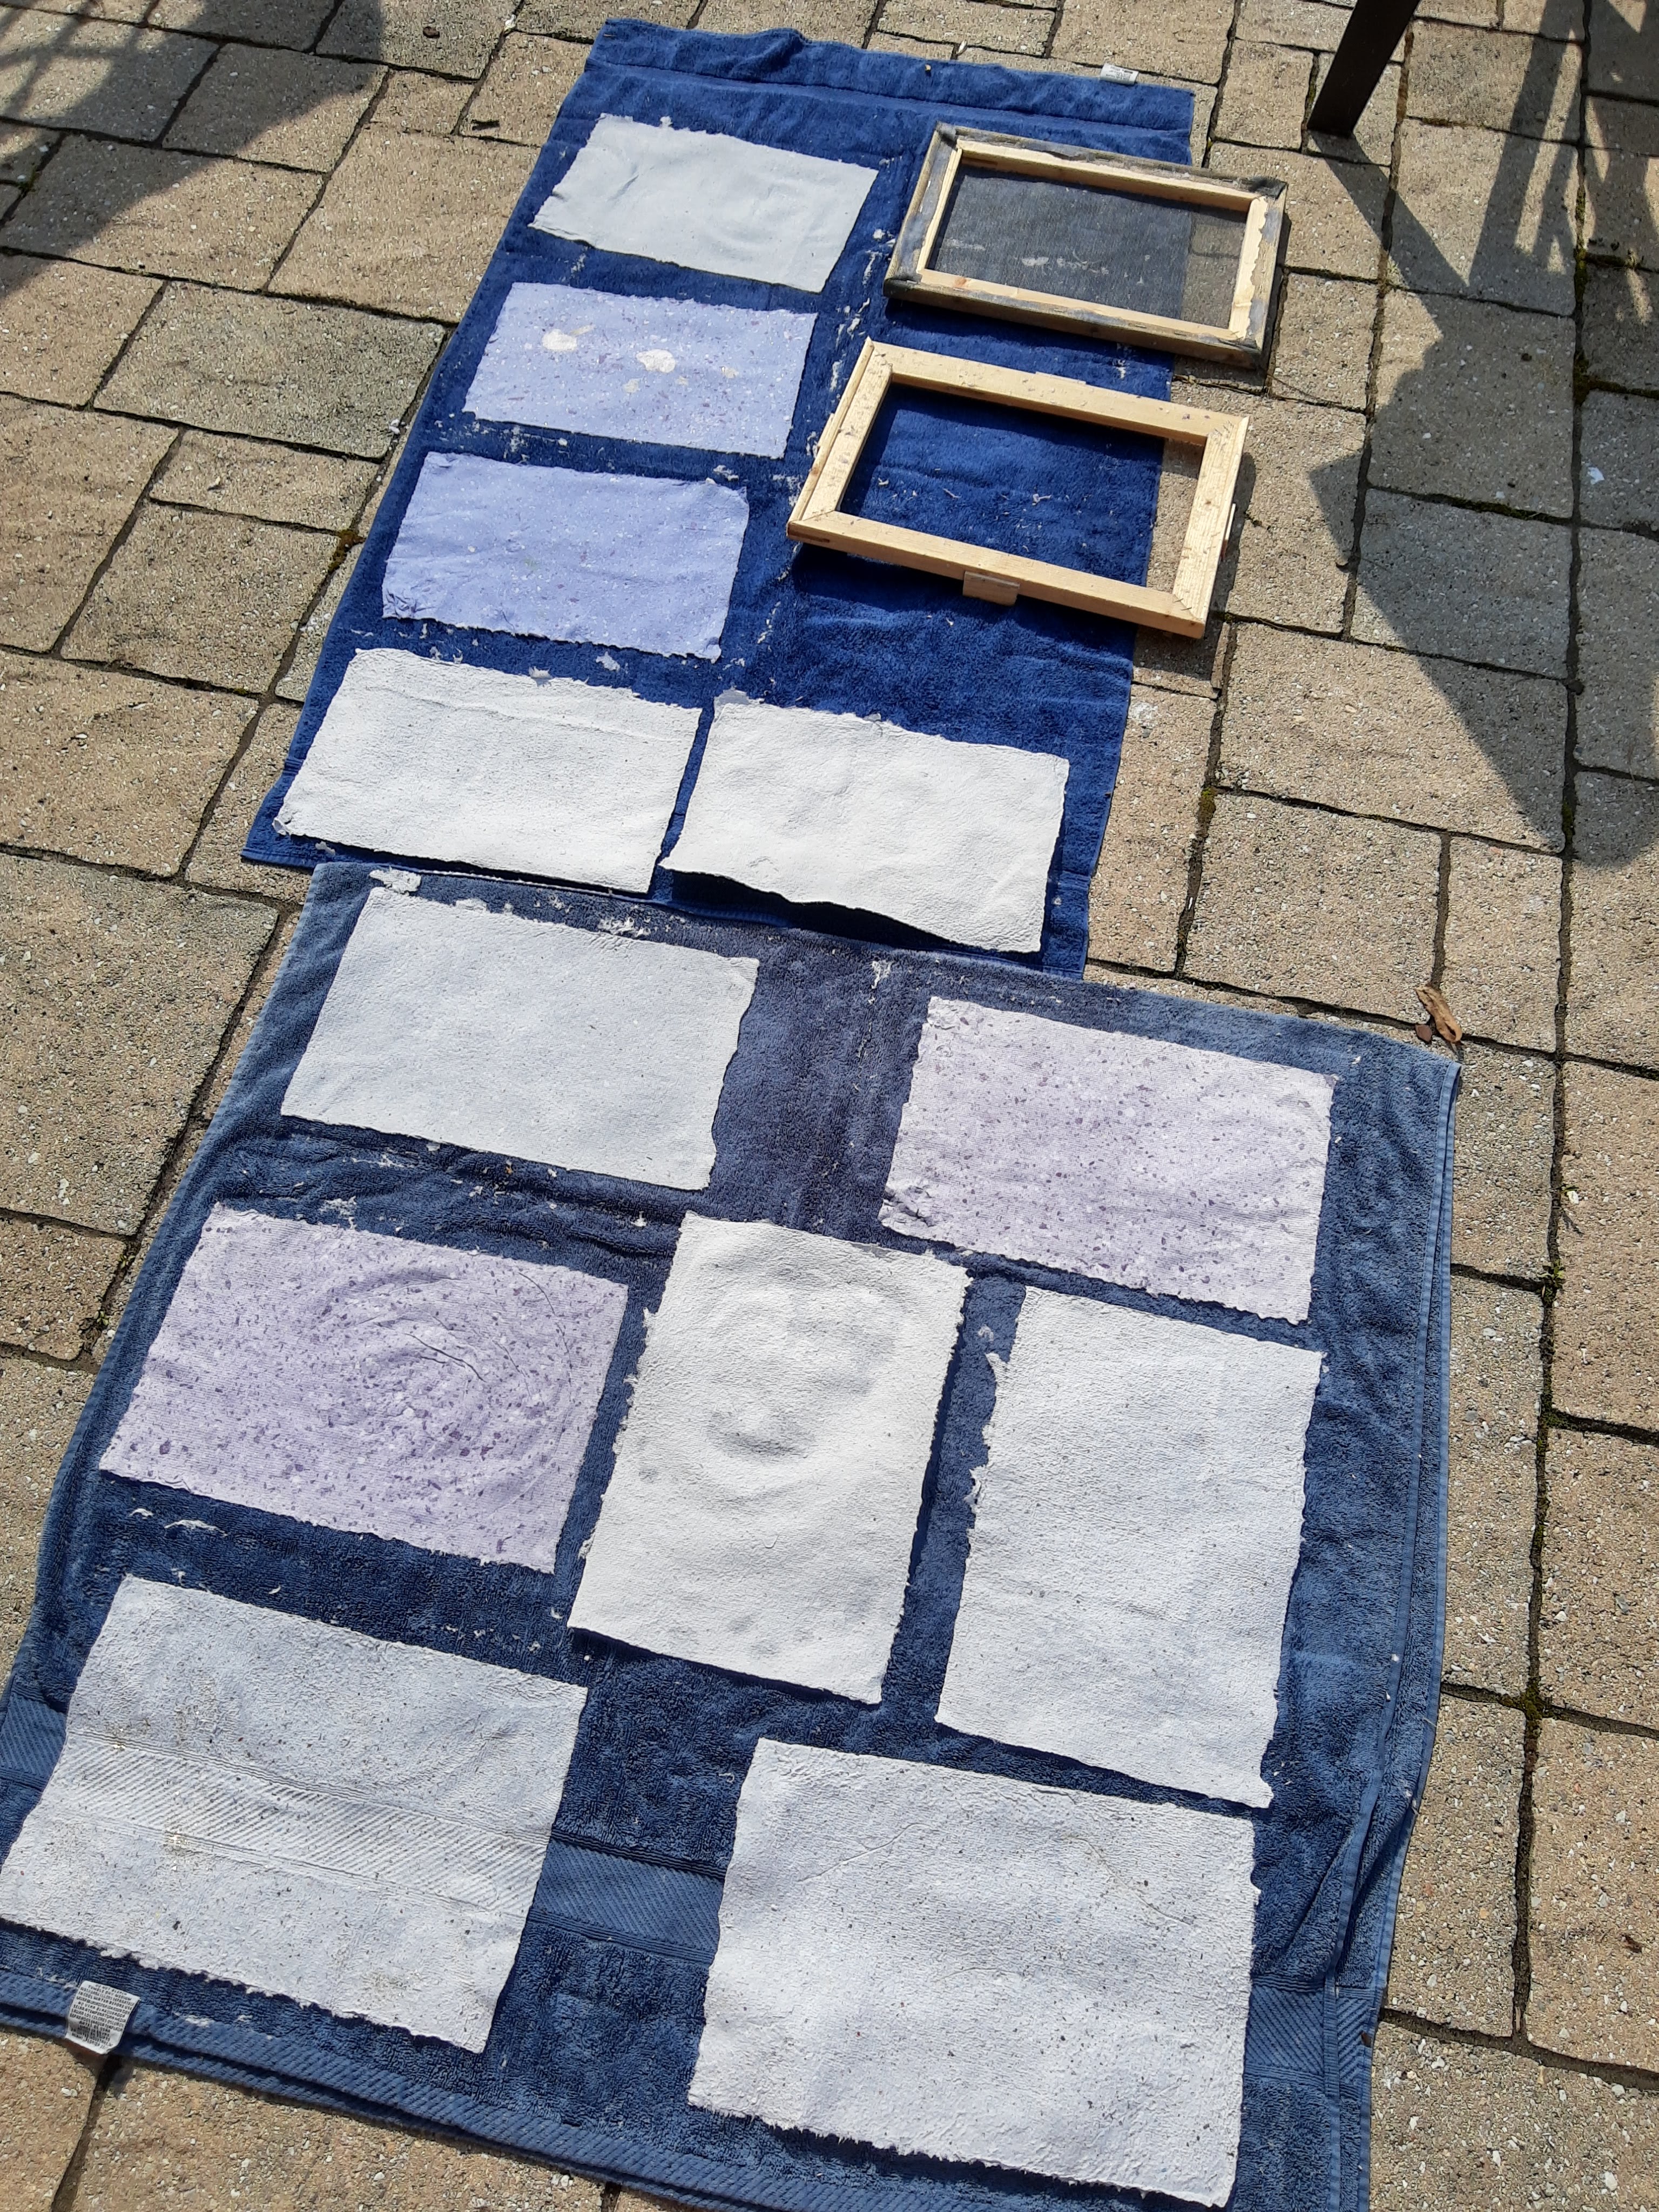
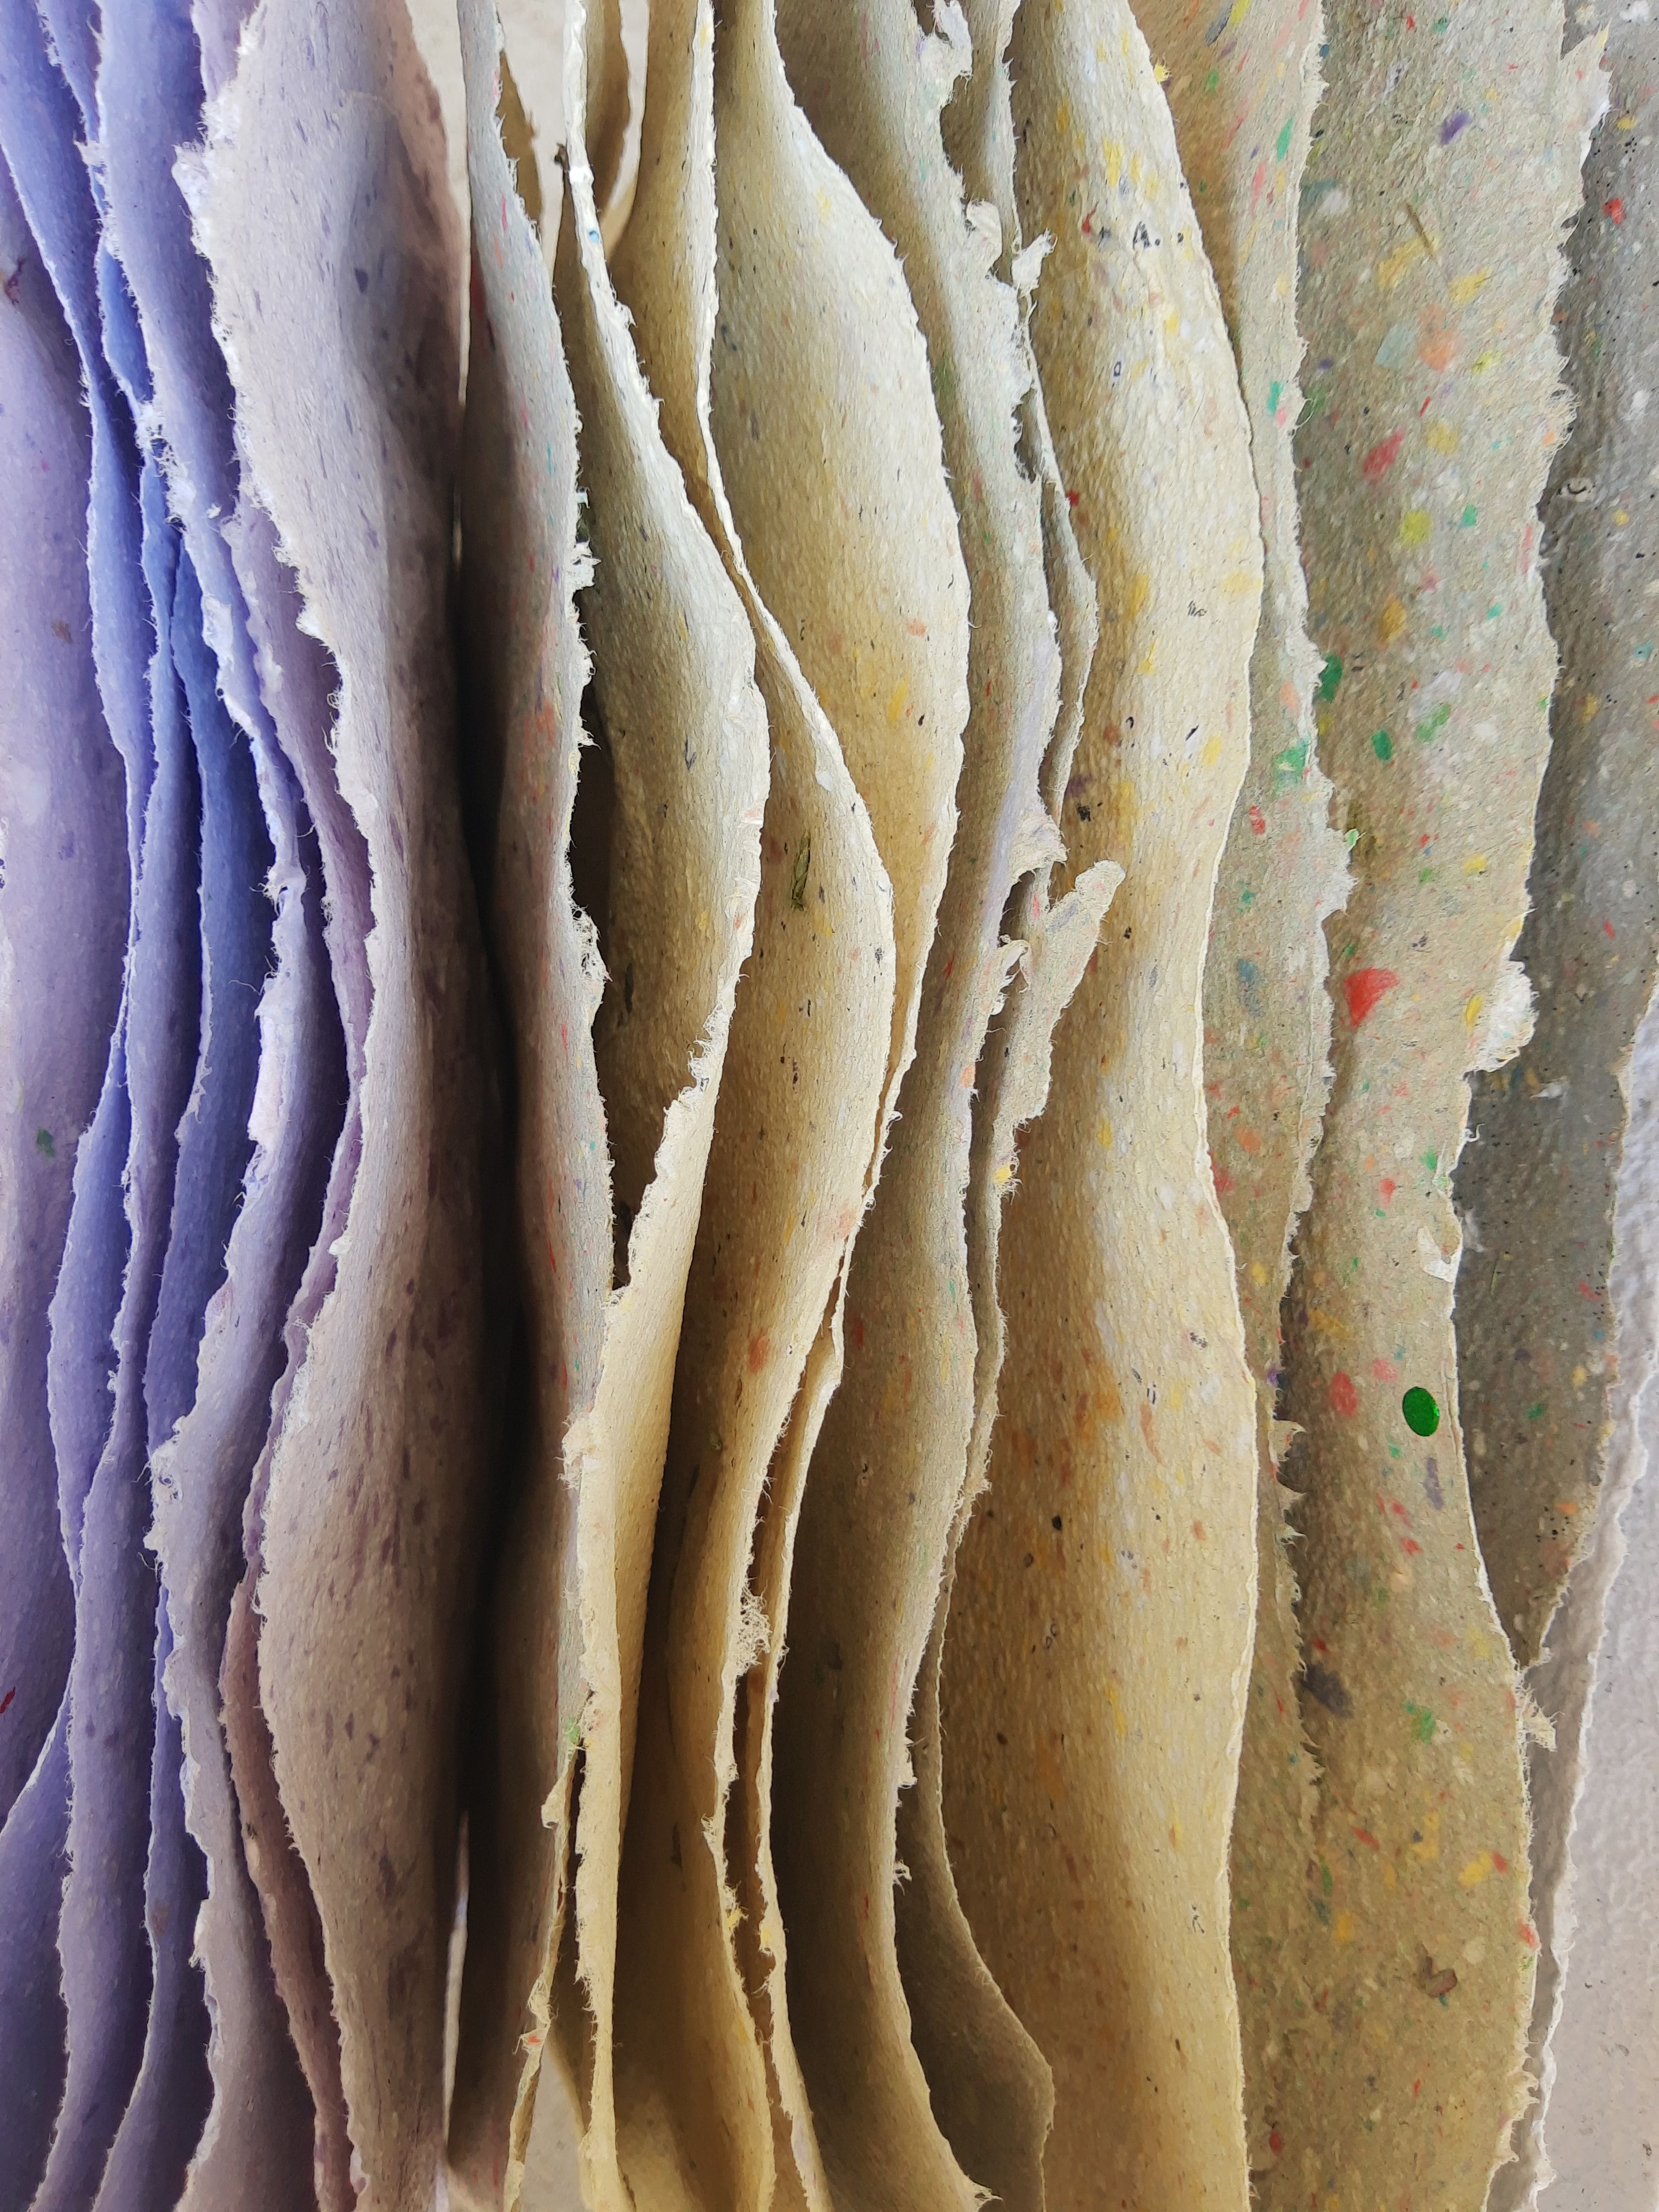
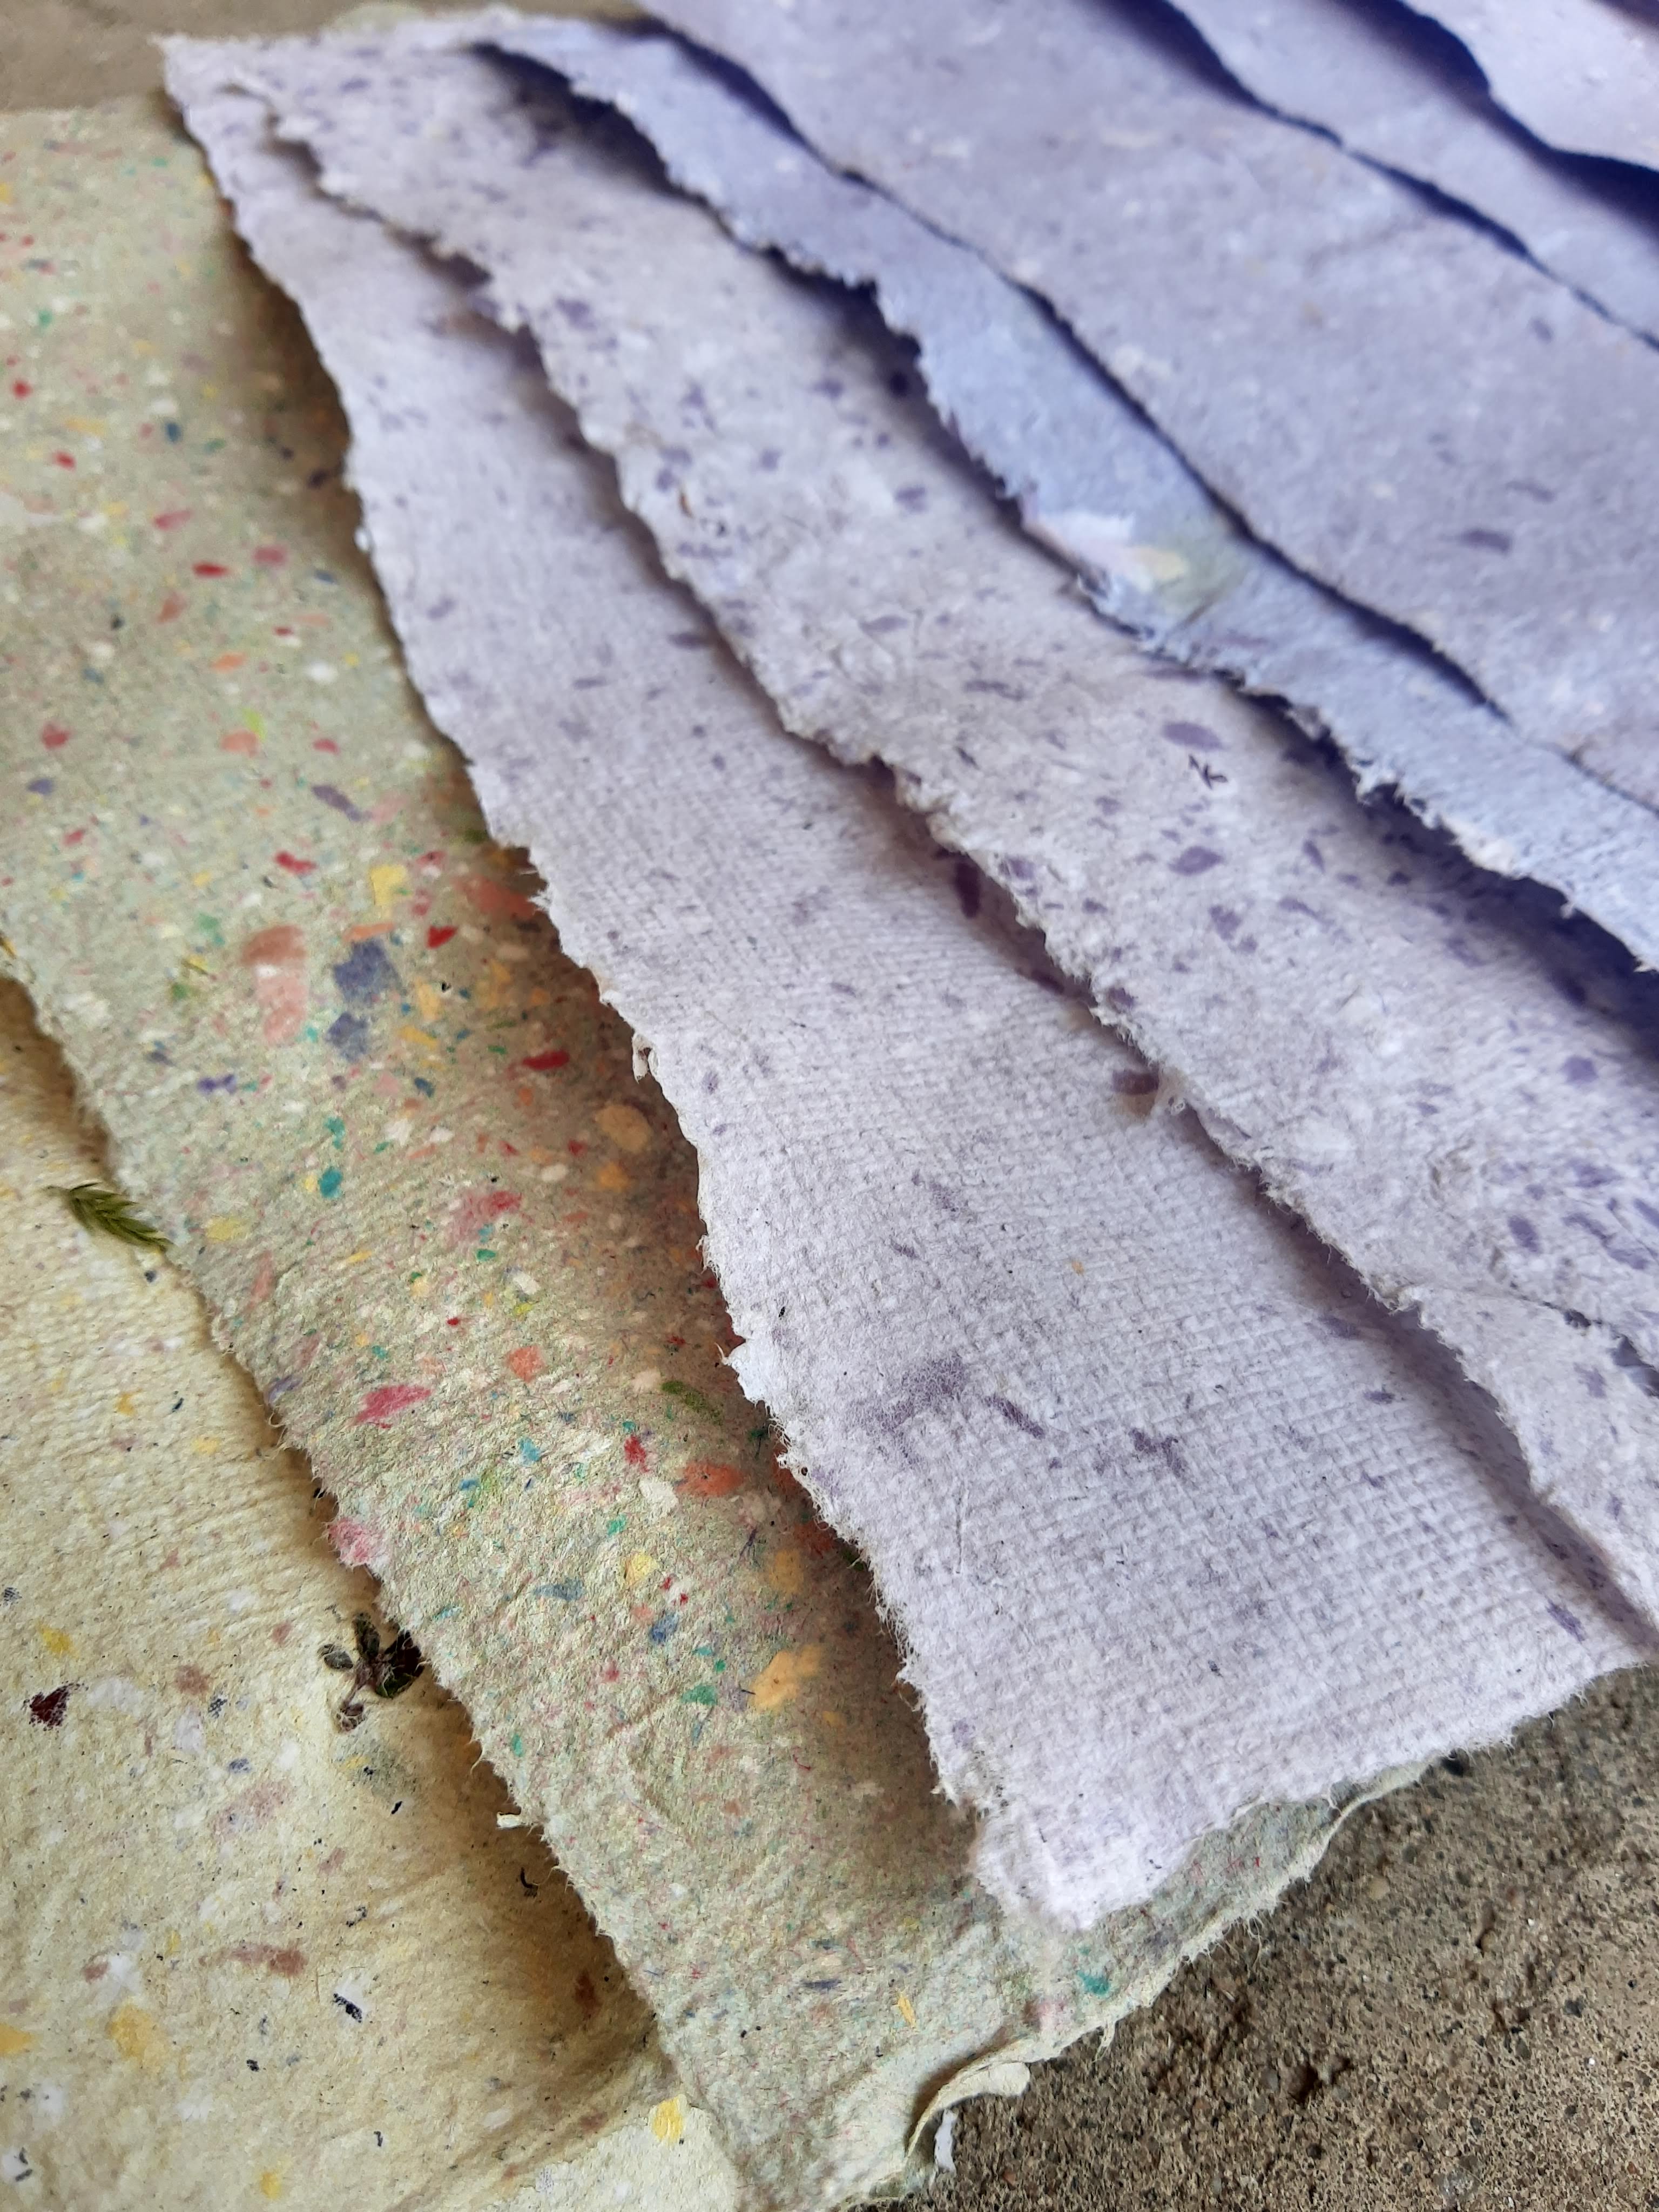
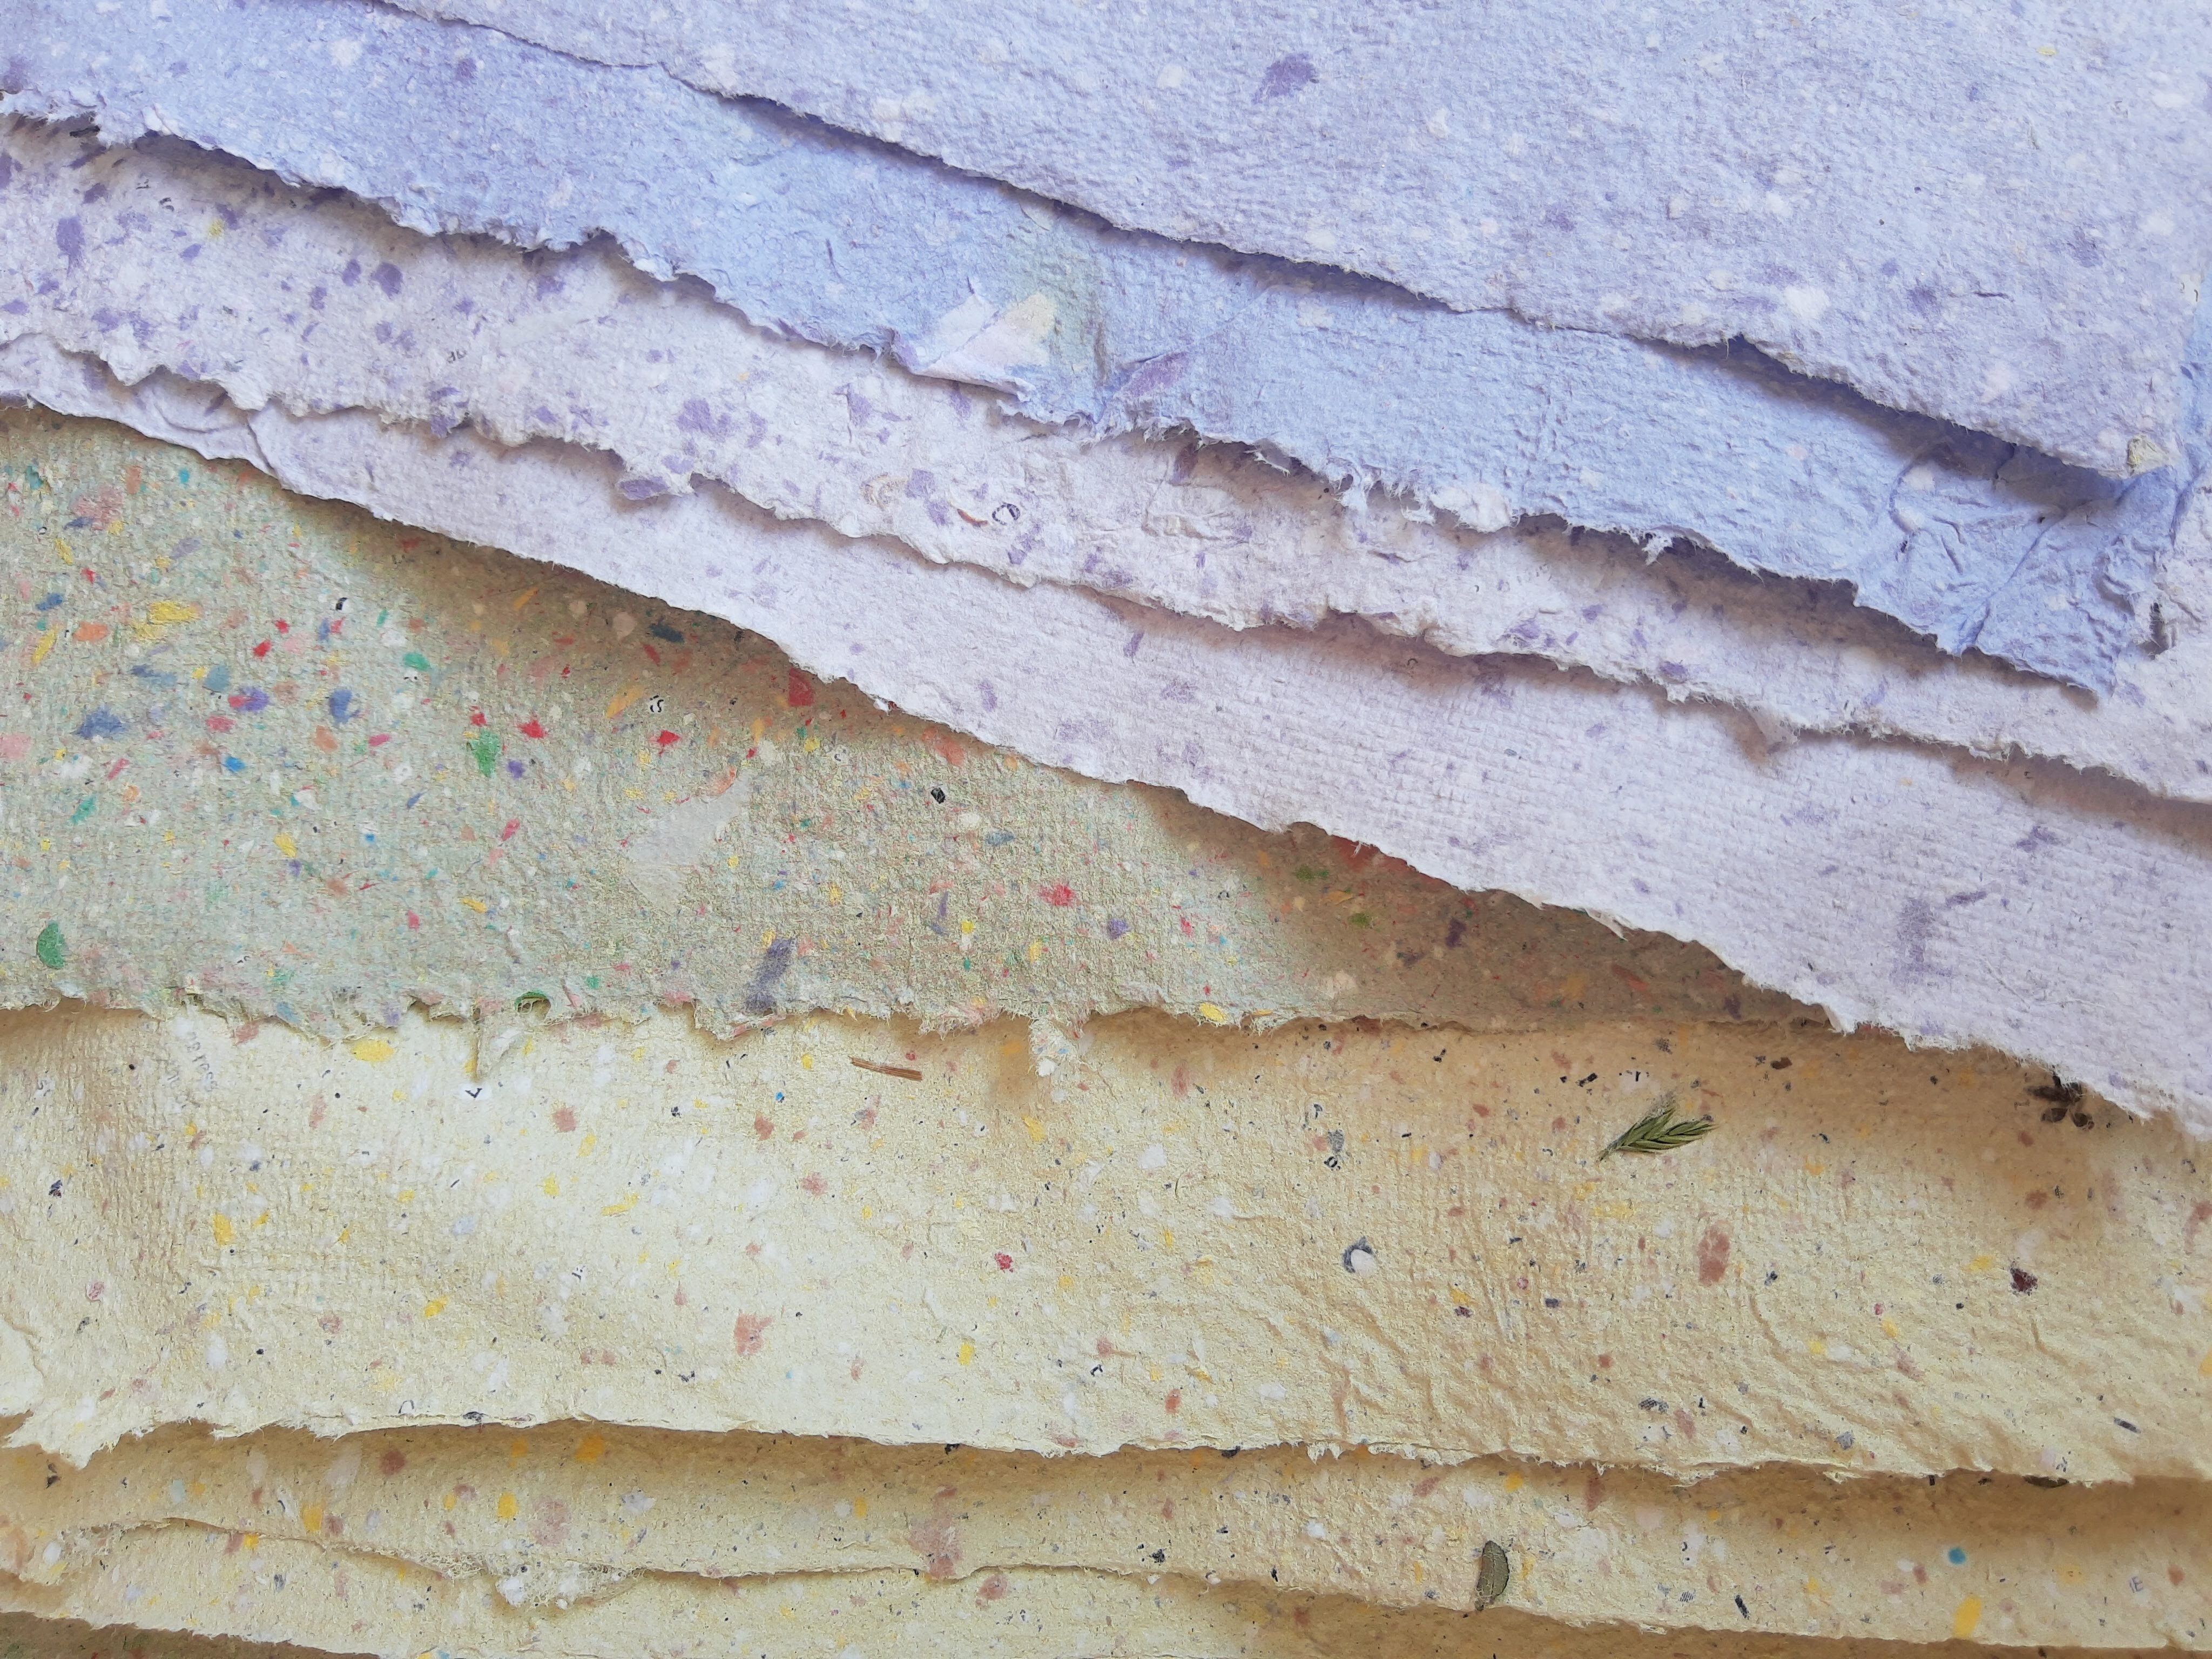
This was my first time making paper! (Actually, technically, I did make a sheet of paper at a paper mill a few years ago, but everything was already set up – this is my first time making it all by myself). I spent 5 hours yesterday making paper and I ended up with about 25 sheets. This morning I also made a few more sheets using the last little bits of paper pulp. I made my paper outside because a lot of water and messiness is involved with paper-making. It was very hot yesterday, but it helped to have the sun for drying my paper. If you make paper outside during the summer, it’s best to start in the early morning so the paper can have the whole afternoon in the hot sun to dry.
Before making paper, I watched a ton of YouTube videos and read different “how to make paper” articles. The following steps are what I learned from both my research and experimenting with the process.
Materials I used:
scrap papers (envelopes, construction paper, junk mail, newspaper, paper bags) (yes, you need paper to make paper, but you can transform junk paper into something beautiful)
deckle and mould
big tub
water
blender
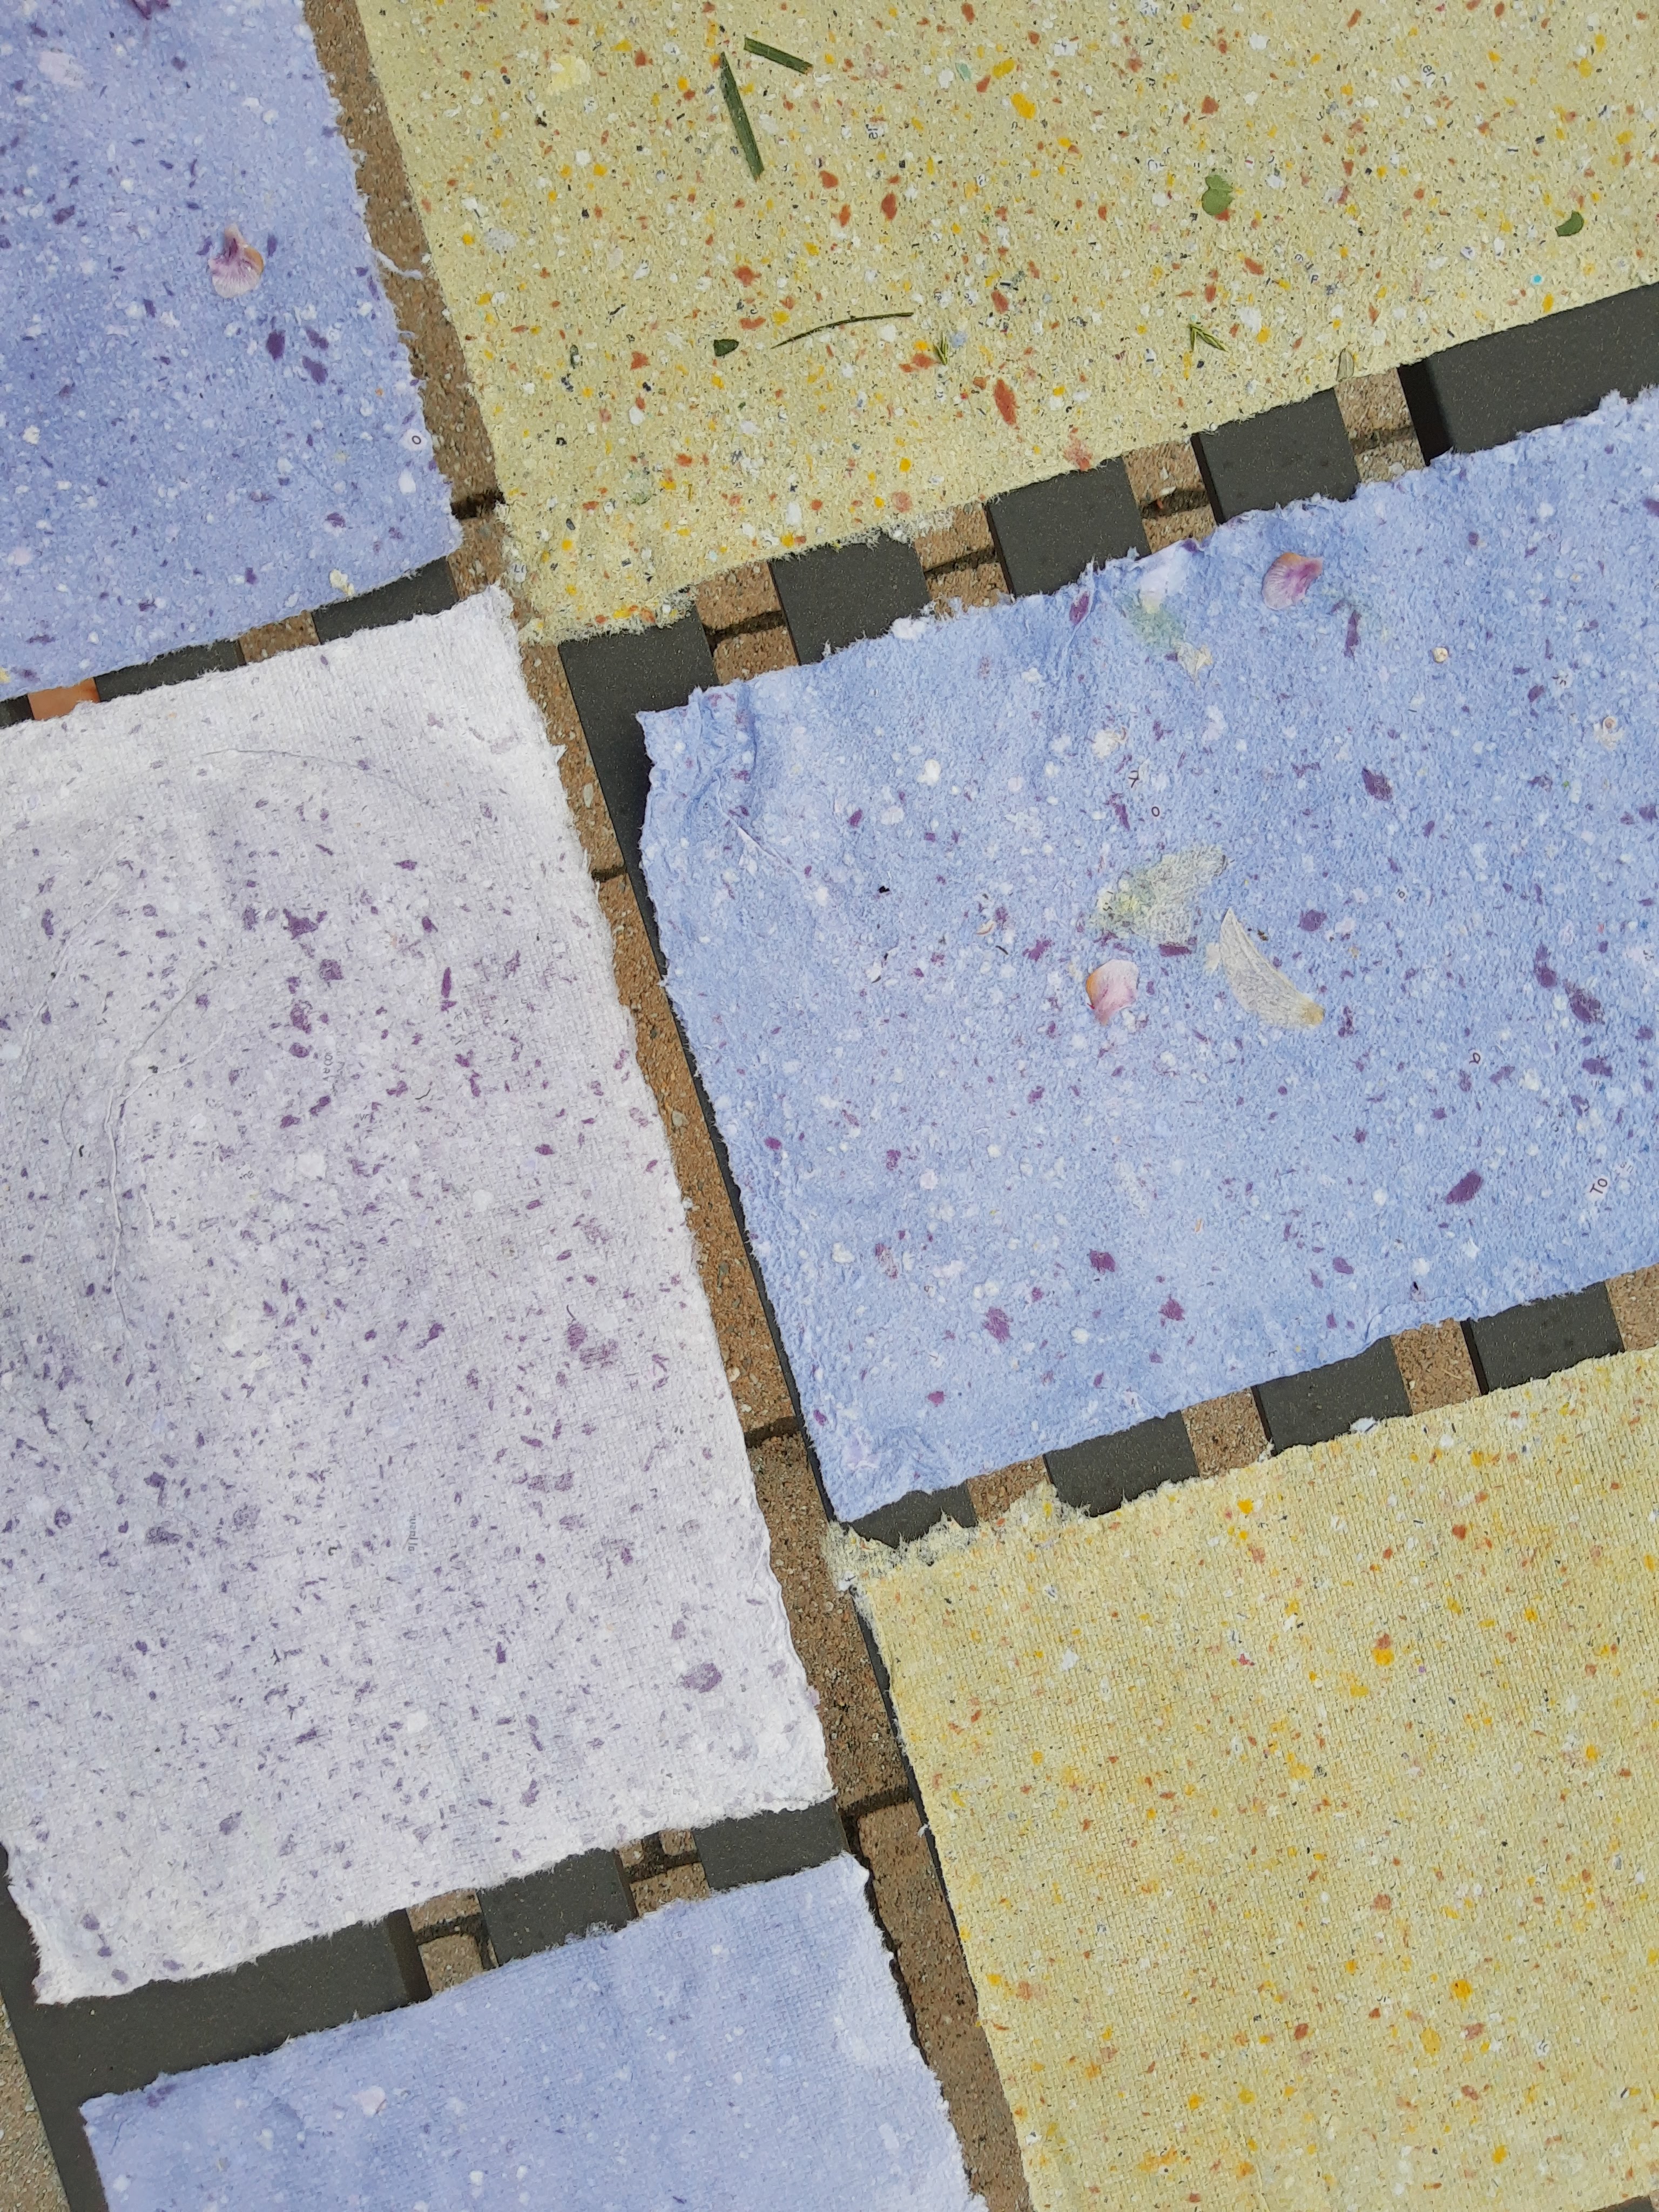
extra decorations (grass, plants, flowers, herbs, glitter, sequins)
acrylic paint (to add color)
towels/mats
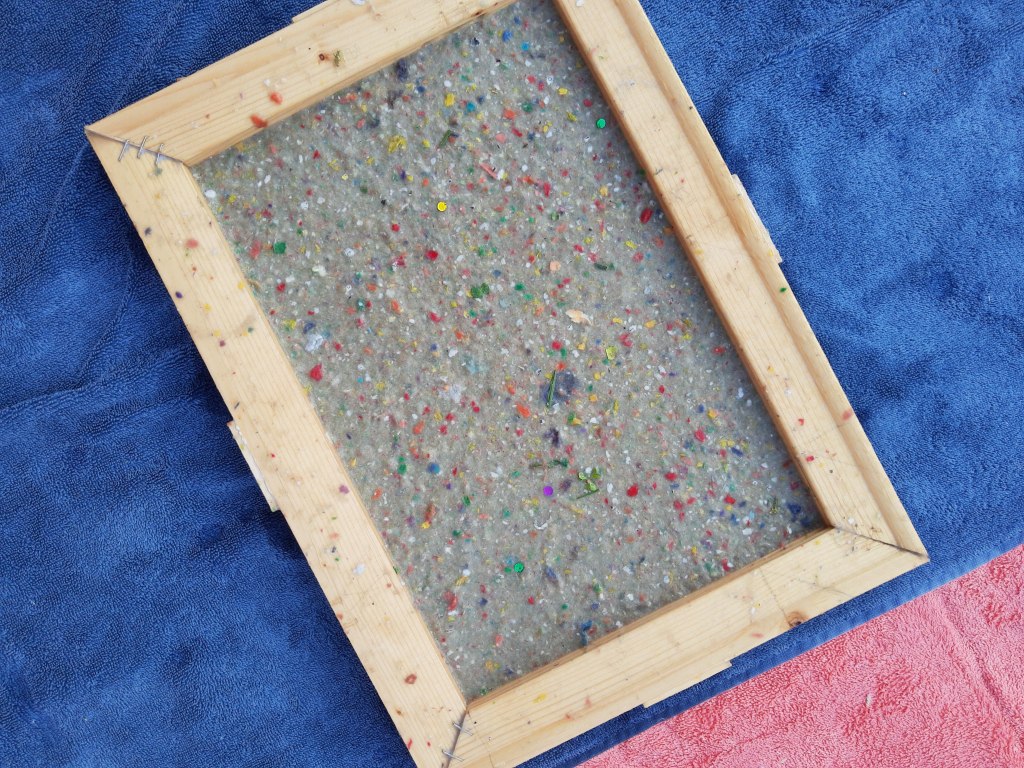
Deckle and mould: My mom graciously made me a deckle and mould. Thank you mom 🙂 – it worked very well. The mould is the screened frame and the deckle is the outer frame that lays on top of the mould.
The deckle and mould fit together with the deckle placed on top of the flat side of the mould.
These are the steps I followed and things I figured out:
Step 1: Rip up a bunch of paper into small squares (about 1-2″). I used construction paper scraps, envelopes, scrap paper, and junk mail.
Step 2: Soak paper in water for a few hours (or 5-10 minutes if you’re impatient like me). Thinner paper like envelopes from junk mail become softer much quicker than thicker papers.
paper soaking
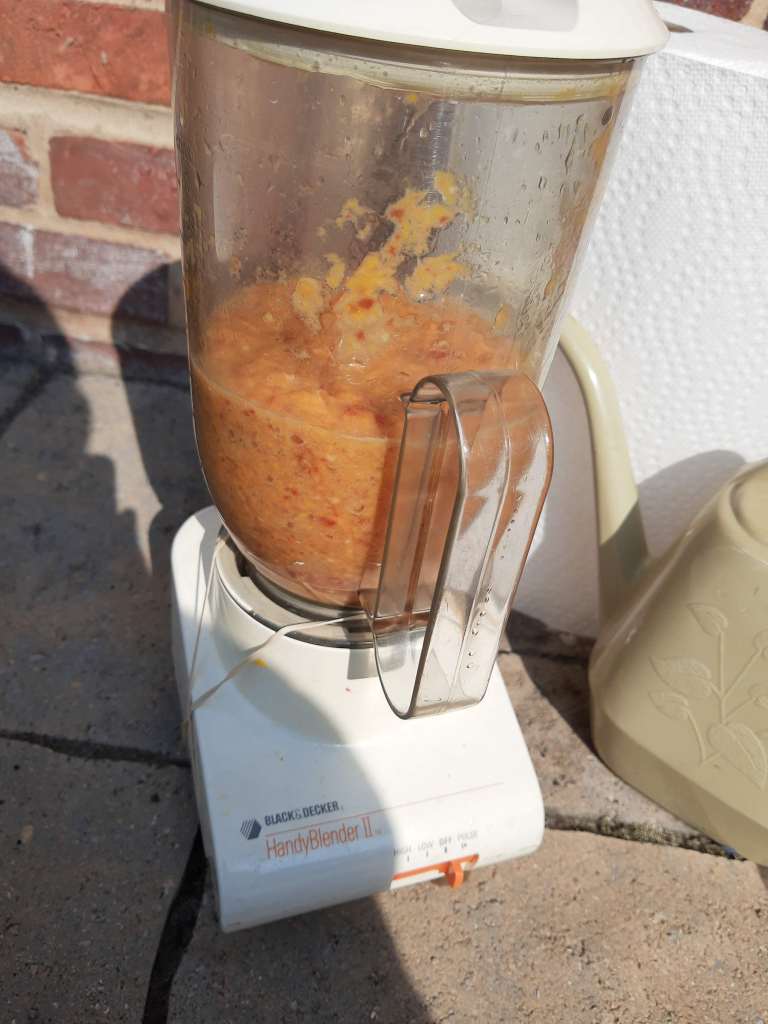
Step 3: Blend soaked paper with water until it makes a fine pulp. If you want to alter the colors, add acrylic paint to the blender and blend until color is incorporated. Construction paper usually remains in larger pieces and doesn’t soak up color like other papers.
paper blended
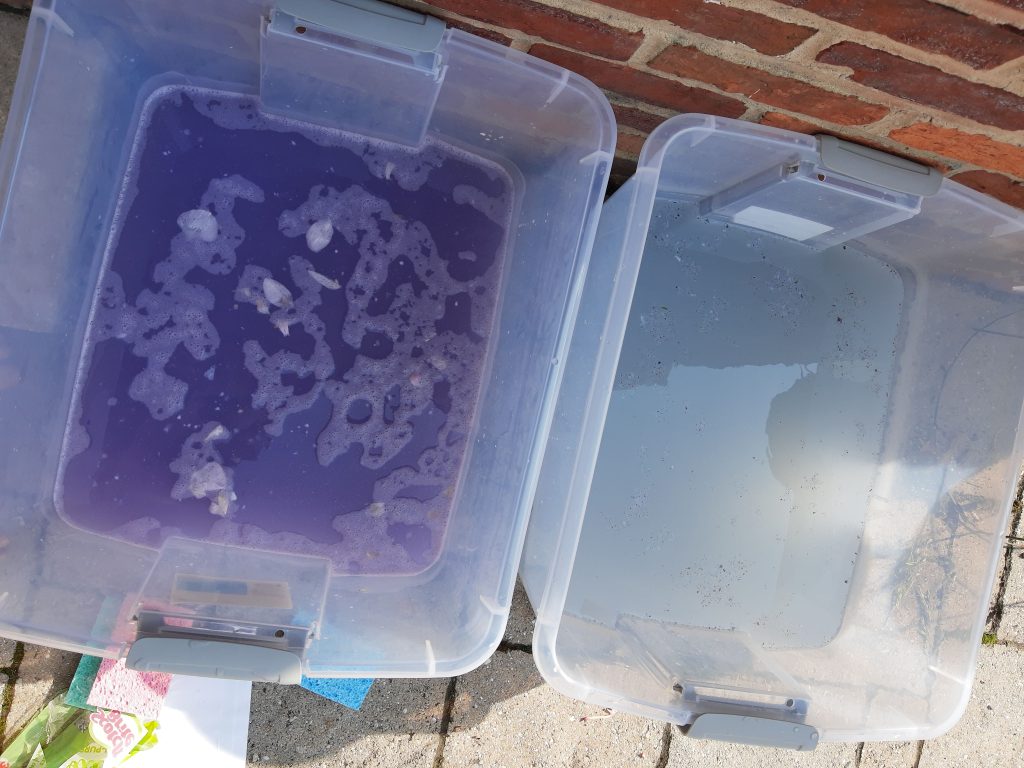
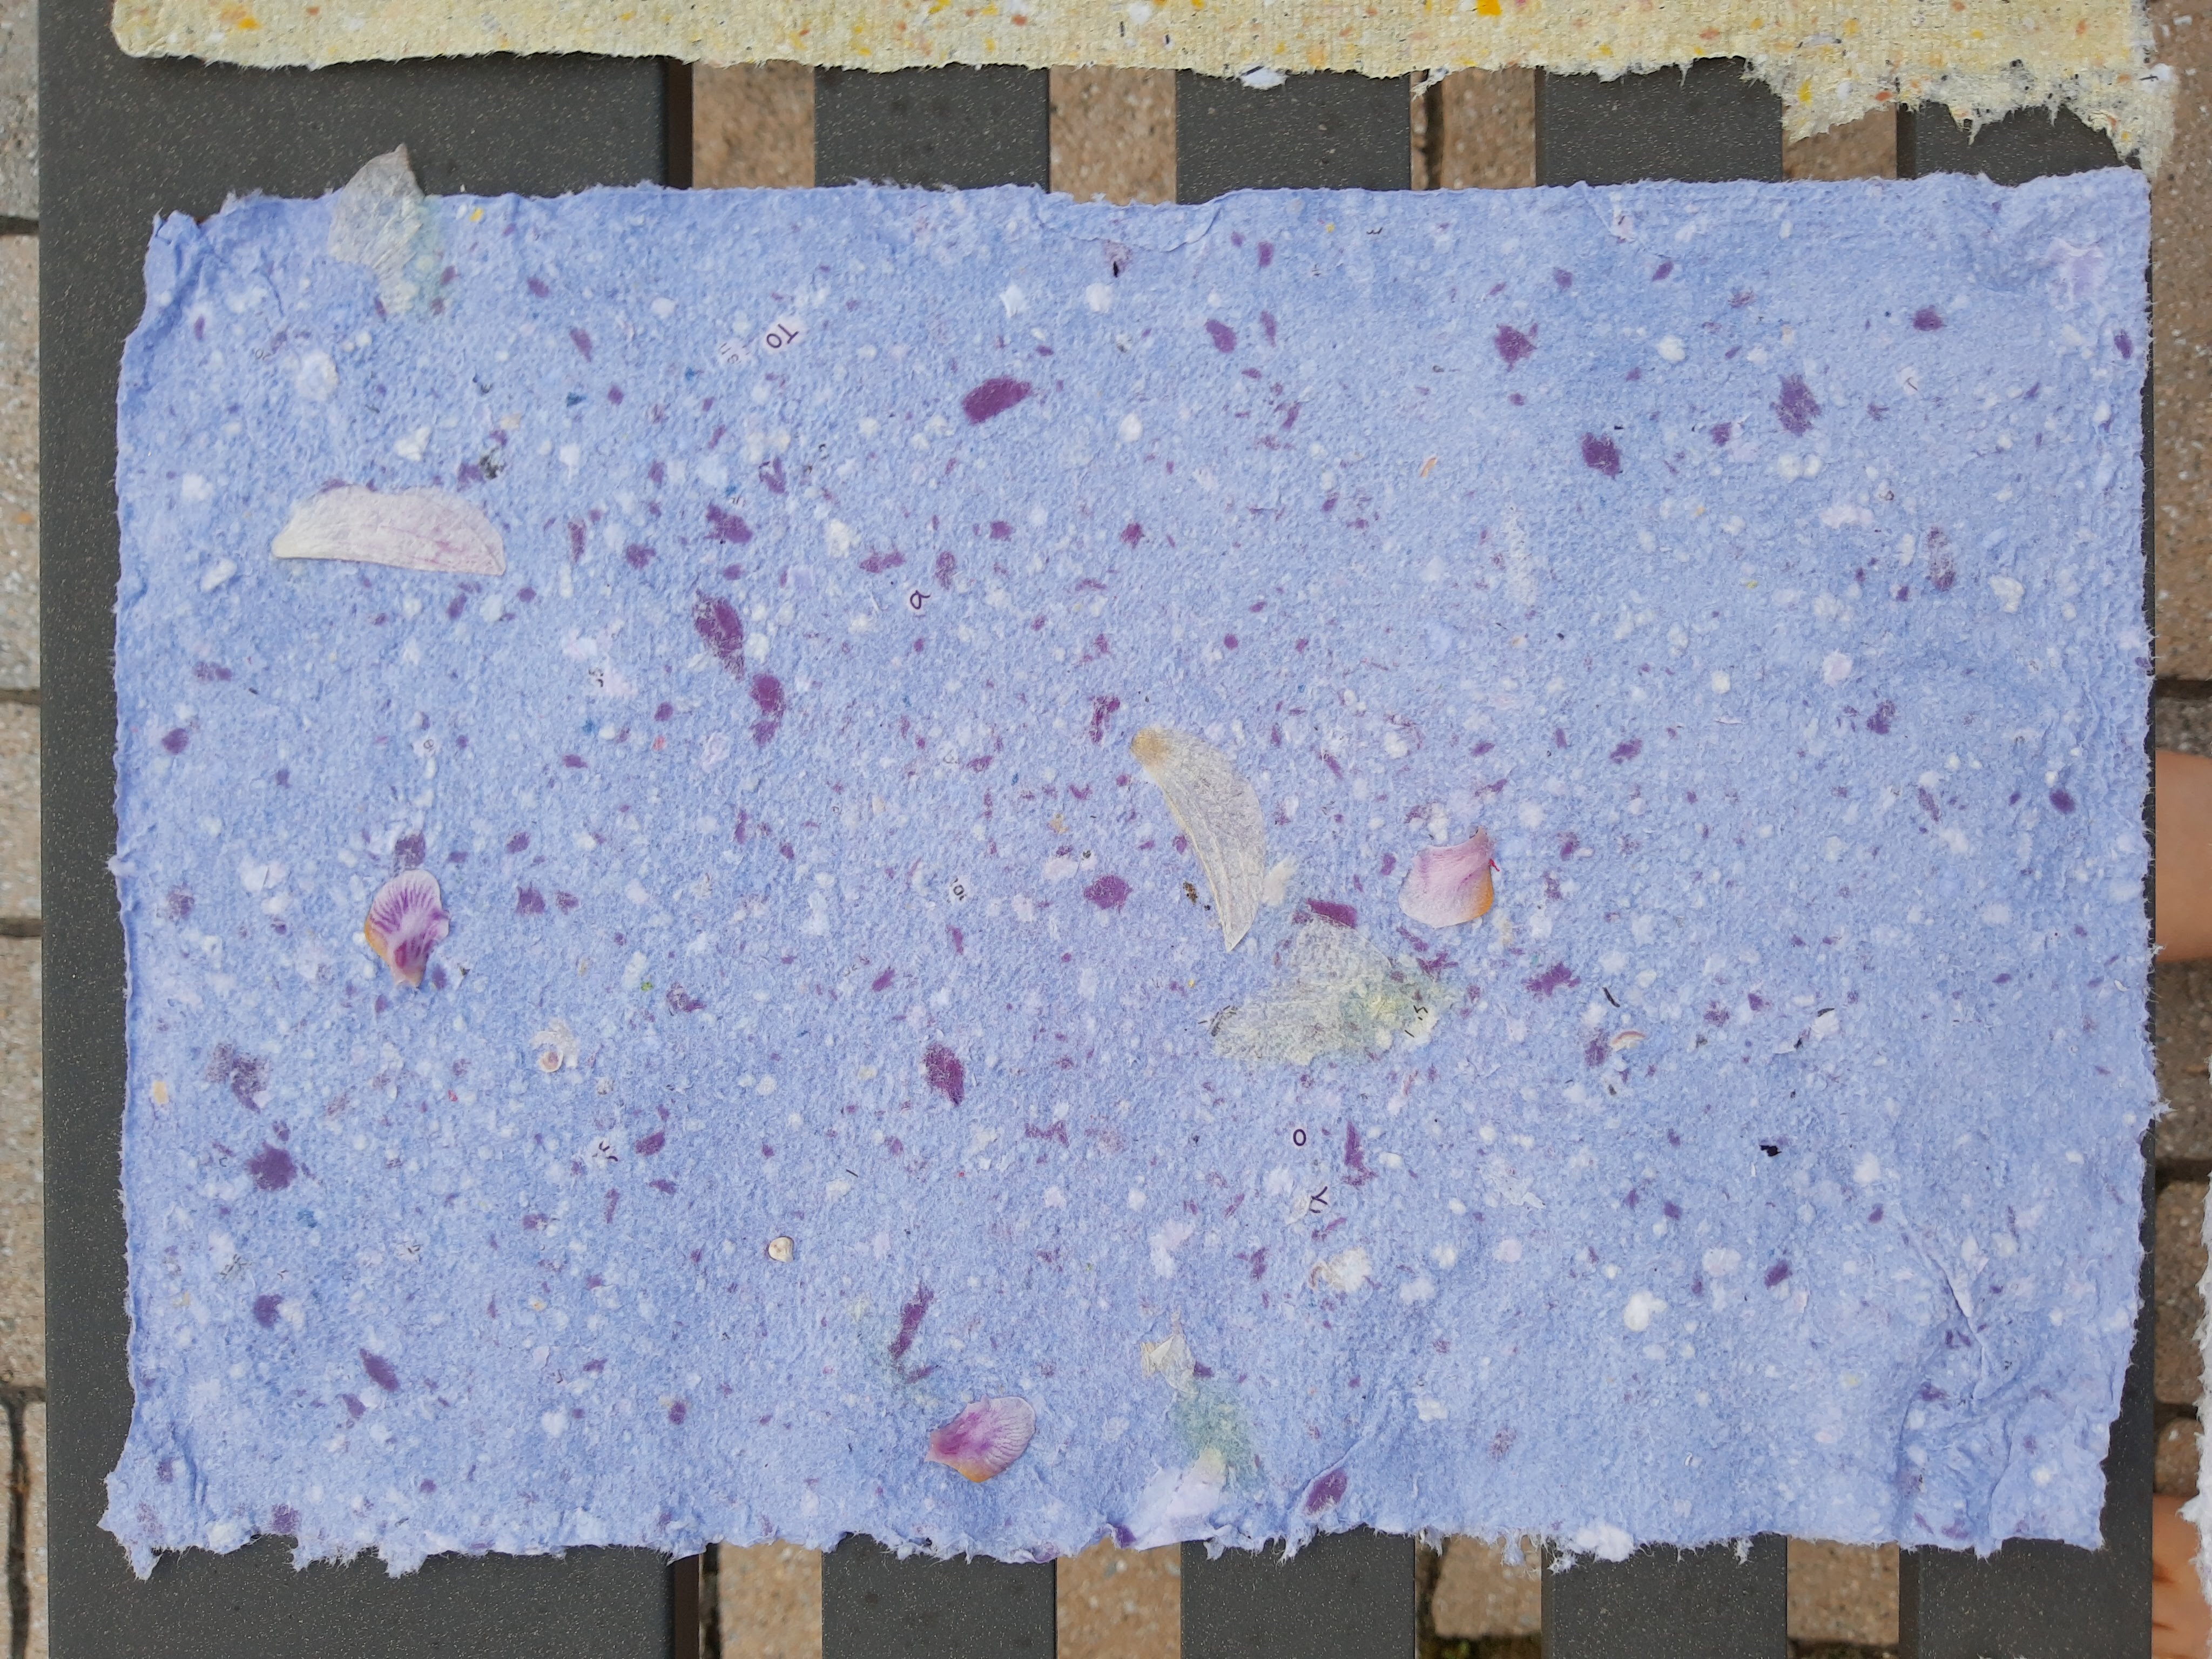
Step 4: Fill a big tub with water (I filled it about 1/3 of the way). Add the paper pulp to the tub. Add glitter, flower petals, grass, sequins, leaves, and any other decorative elements to the water. More paper pulp added to the tub = thicker paper
Step 5: Stir the water/pulp mixture in the tub each time you are going to create a new sheet. Stir, slide mould and deckle into the tub at an angle, and then level it out once it is completely submerged. Lift mould and deckle out of the tub and gently shake to even out the pulp. Let the rest of the water drip.
Once you lift the mould and deckle from the tub, it should look like this:
Step 6: Place the mould and deckle on a towel. Remove the deckle
Step 7: Flip the mould, paper side down, onto the towel.
Step 8: Dab the mesh with a towel or sponge to get rid of as much moisture as possible. If the paper doesn’t come off easily in the next step, dab the paper more with towel/sponge.
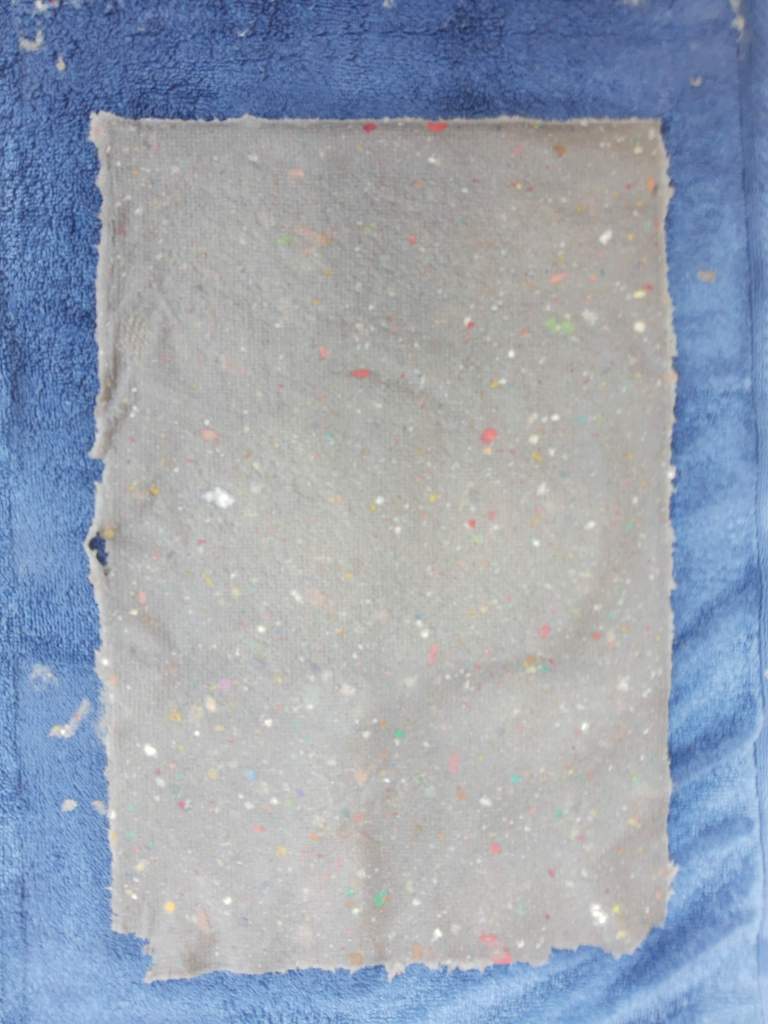
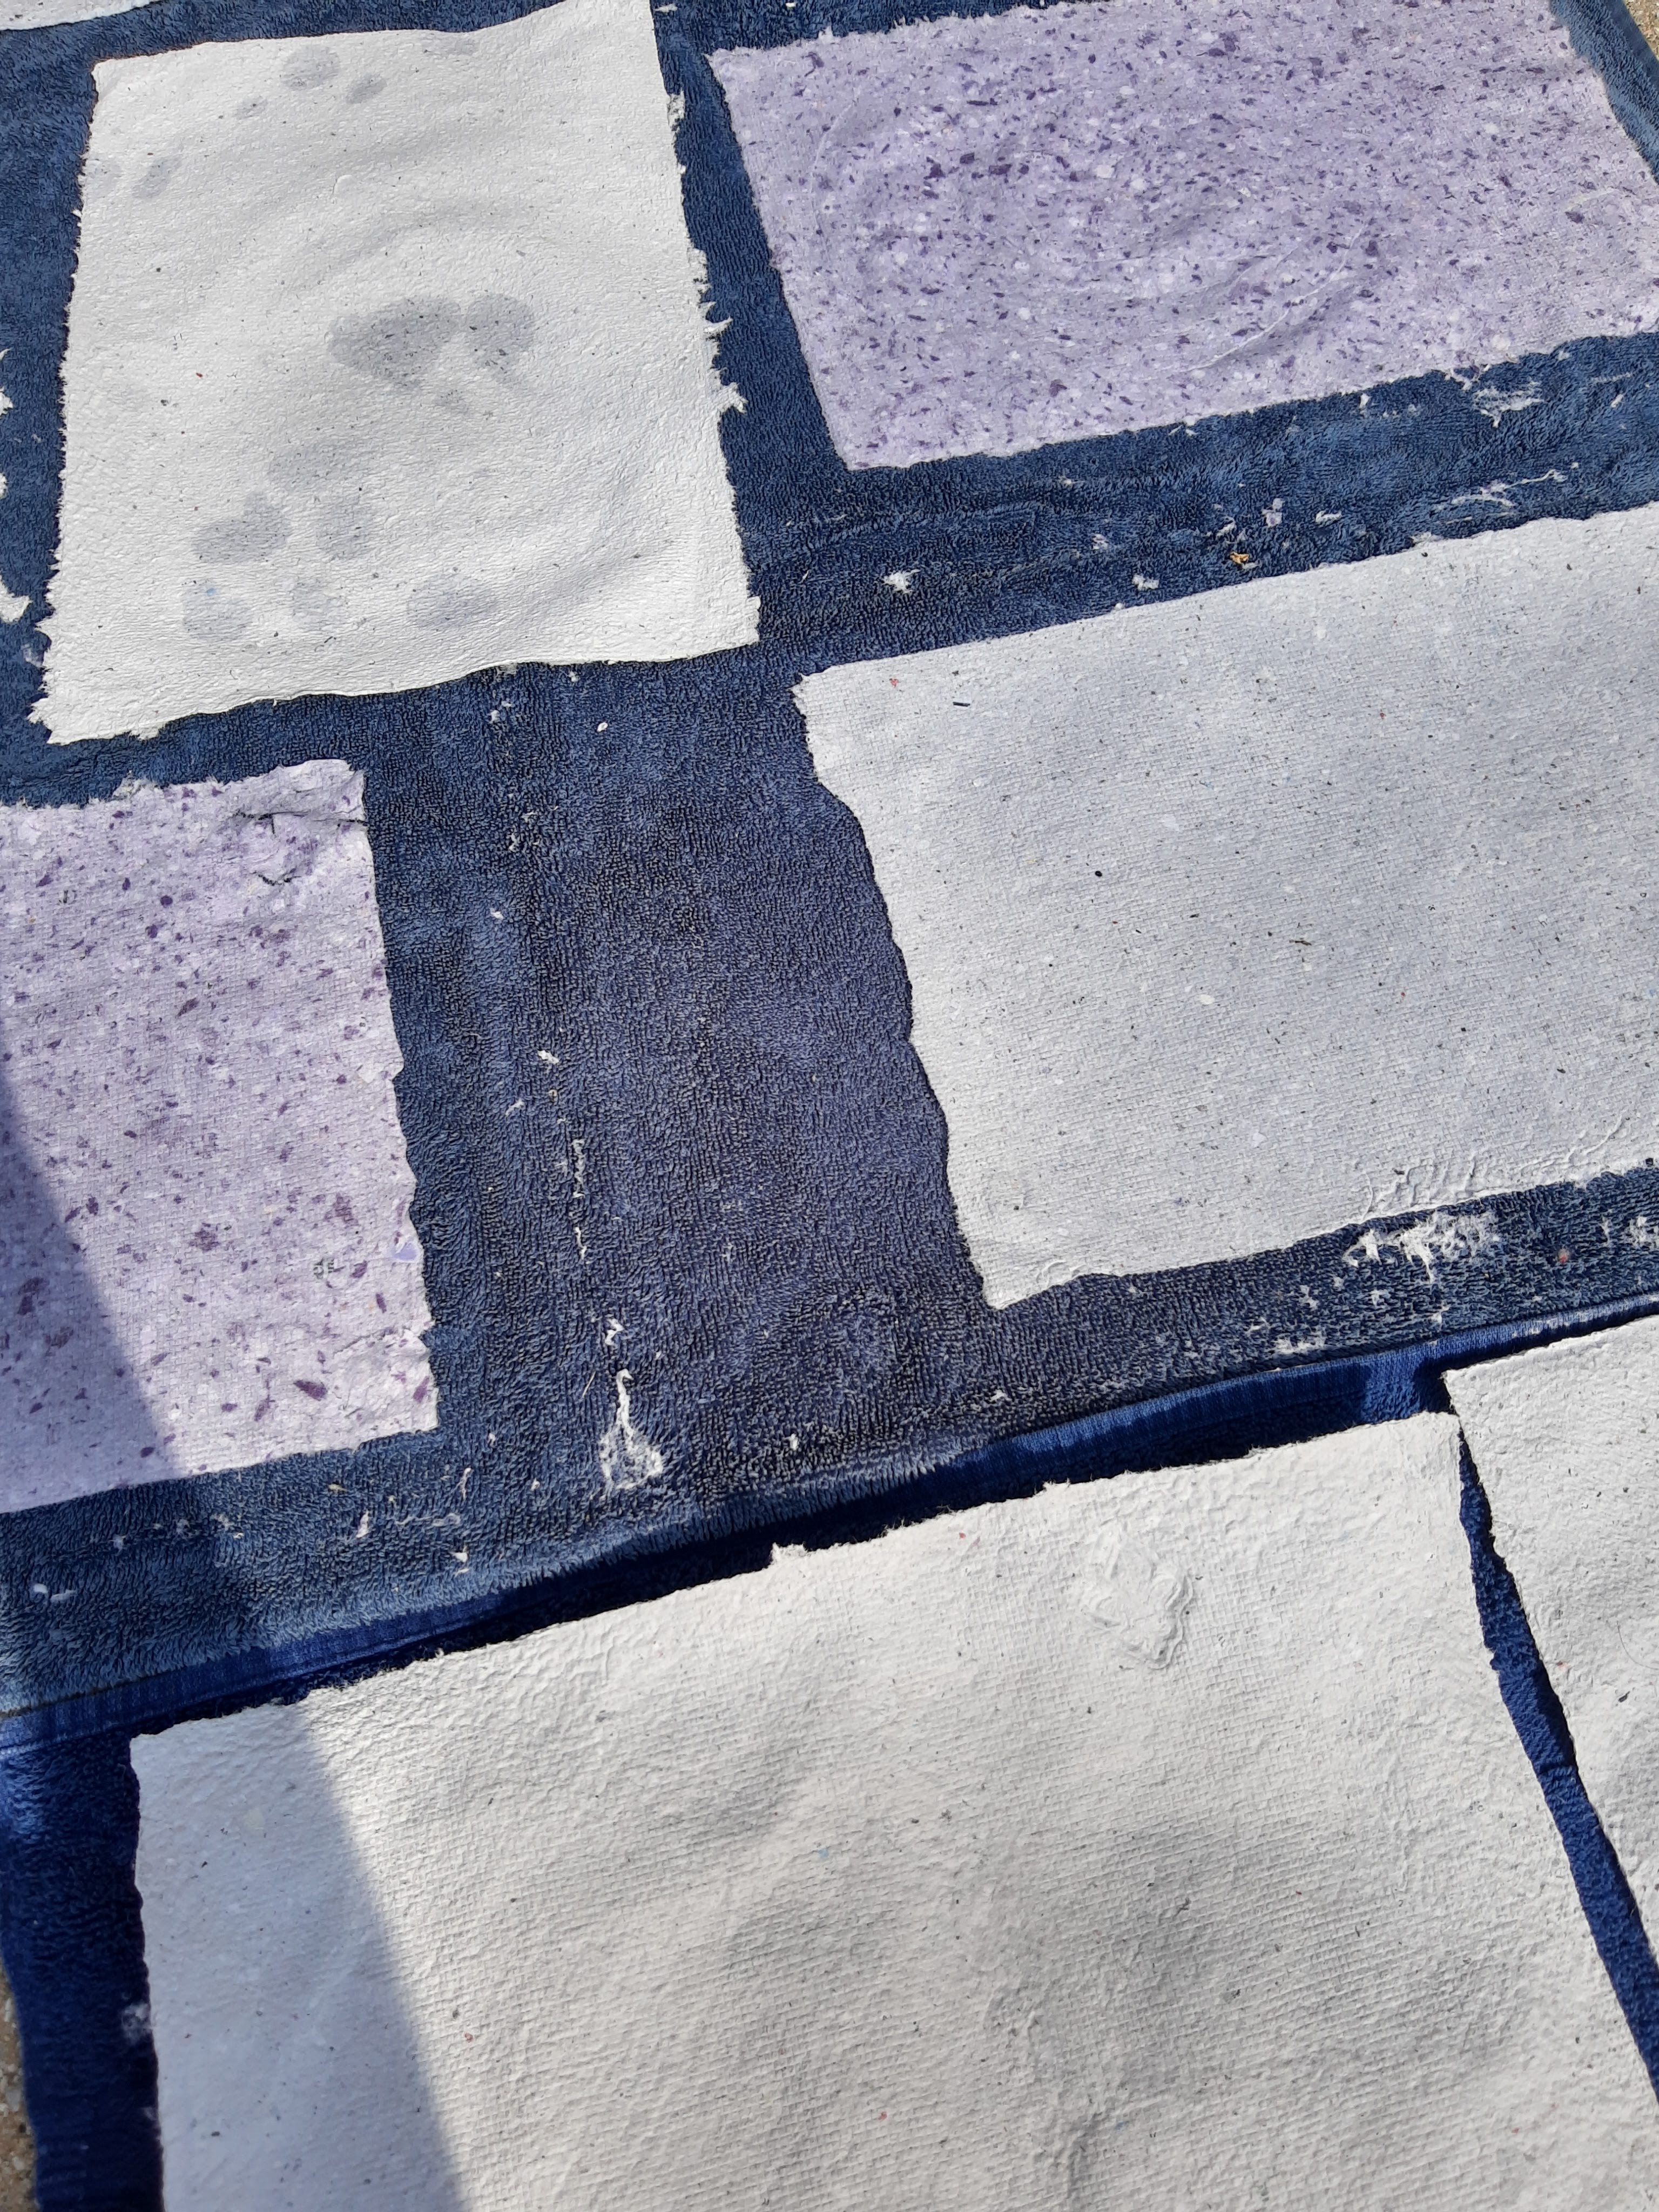
Step 9: Treat the mould like a hinge. Slowly lift one side of the mould and the paper will lift off and stick to the towel. Leave the paper on the towel to dry for a few hours (usually it takes overnight for the paper to dry completely).
Step 10: Repeat the process. Make a ton of paper 🙂
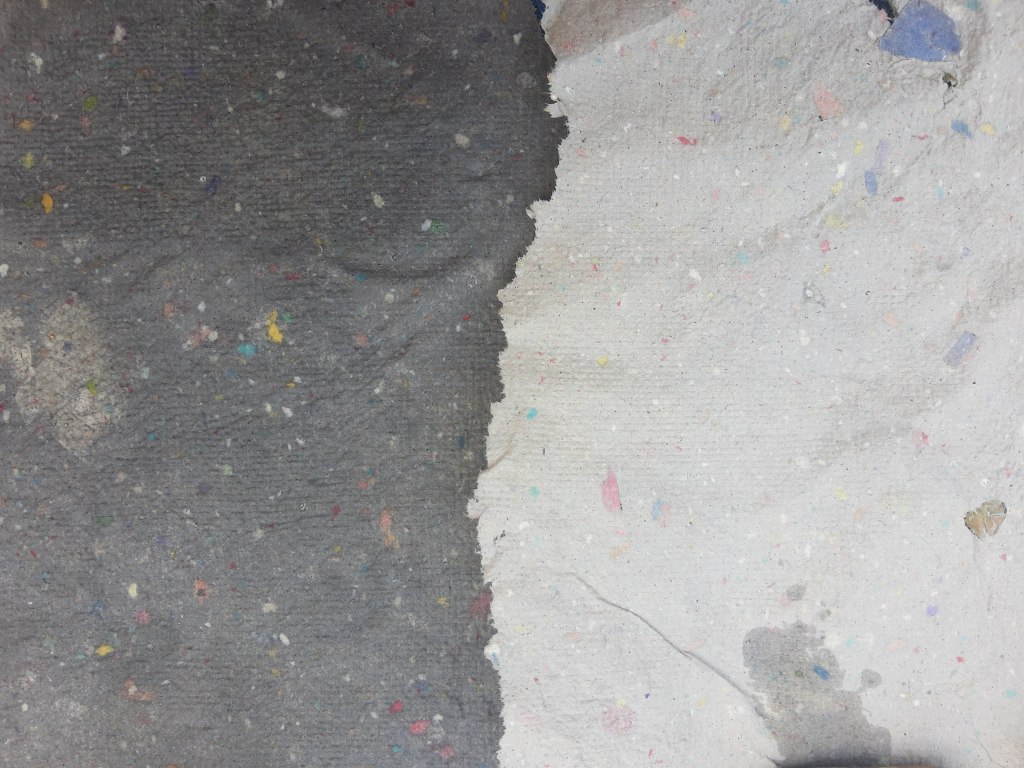
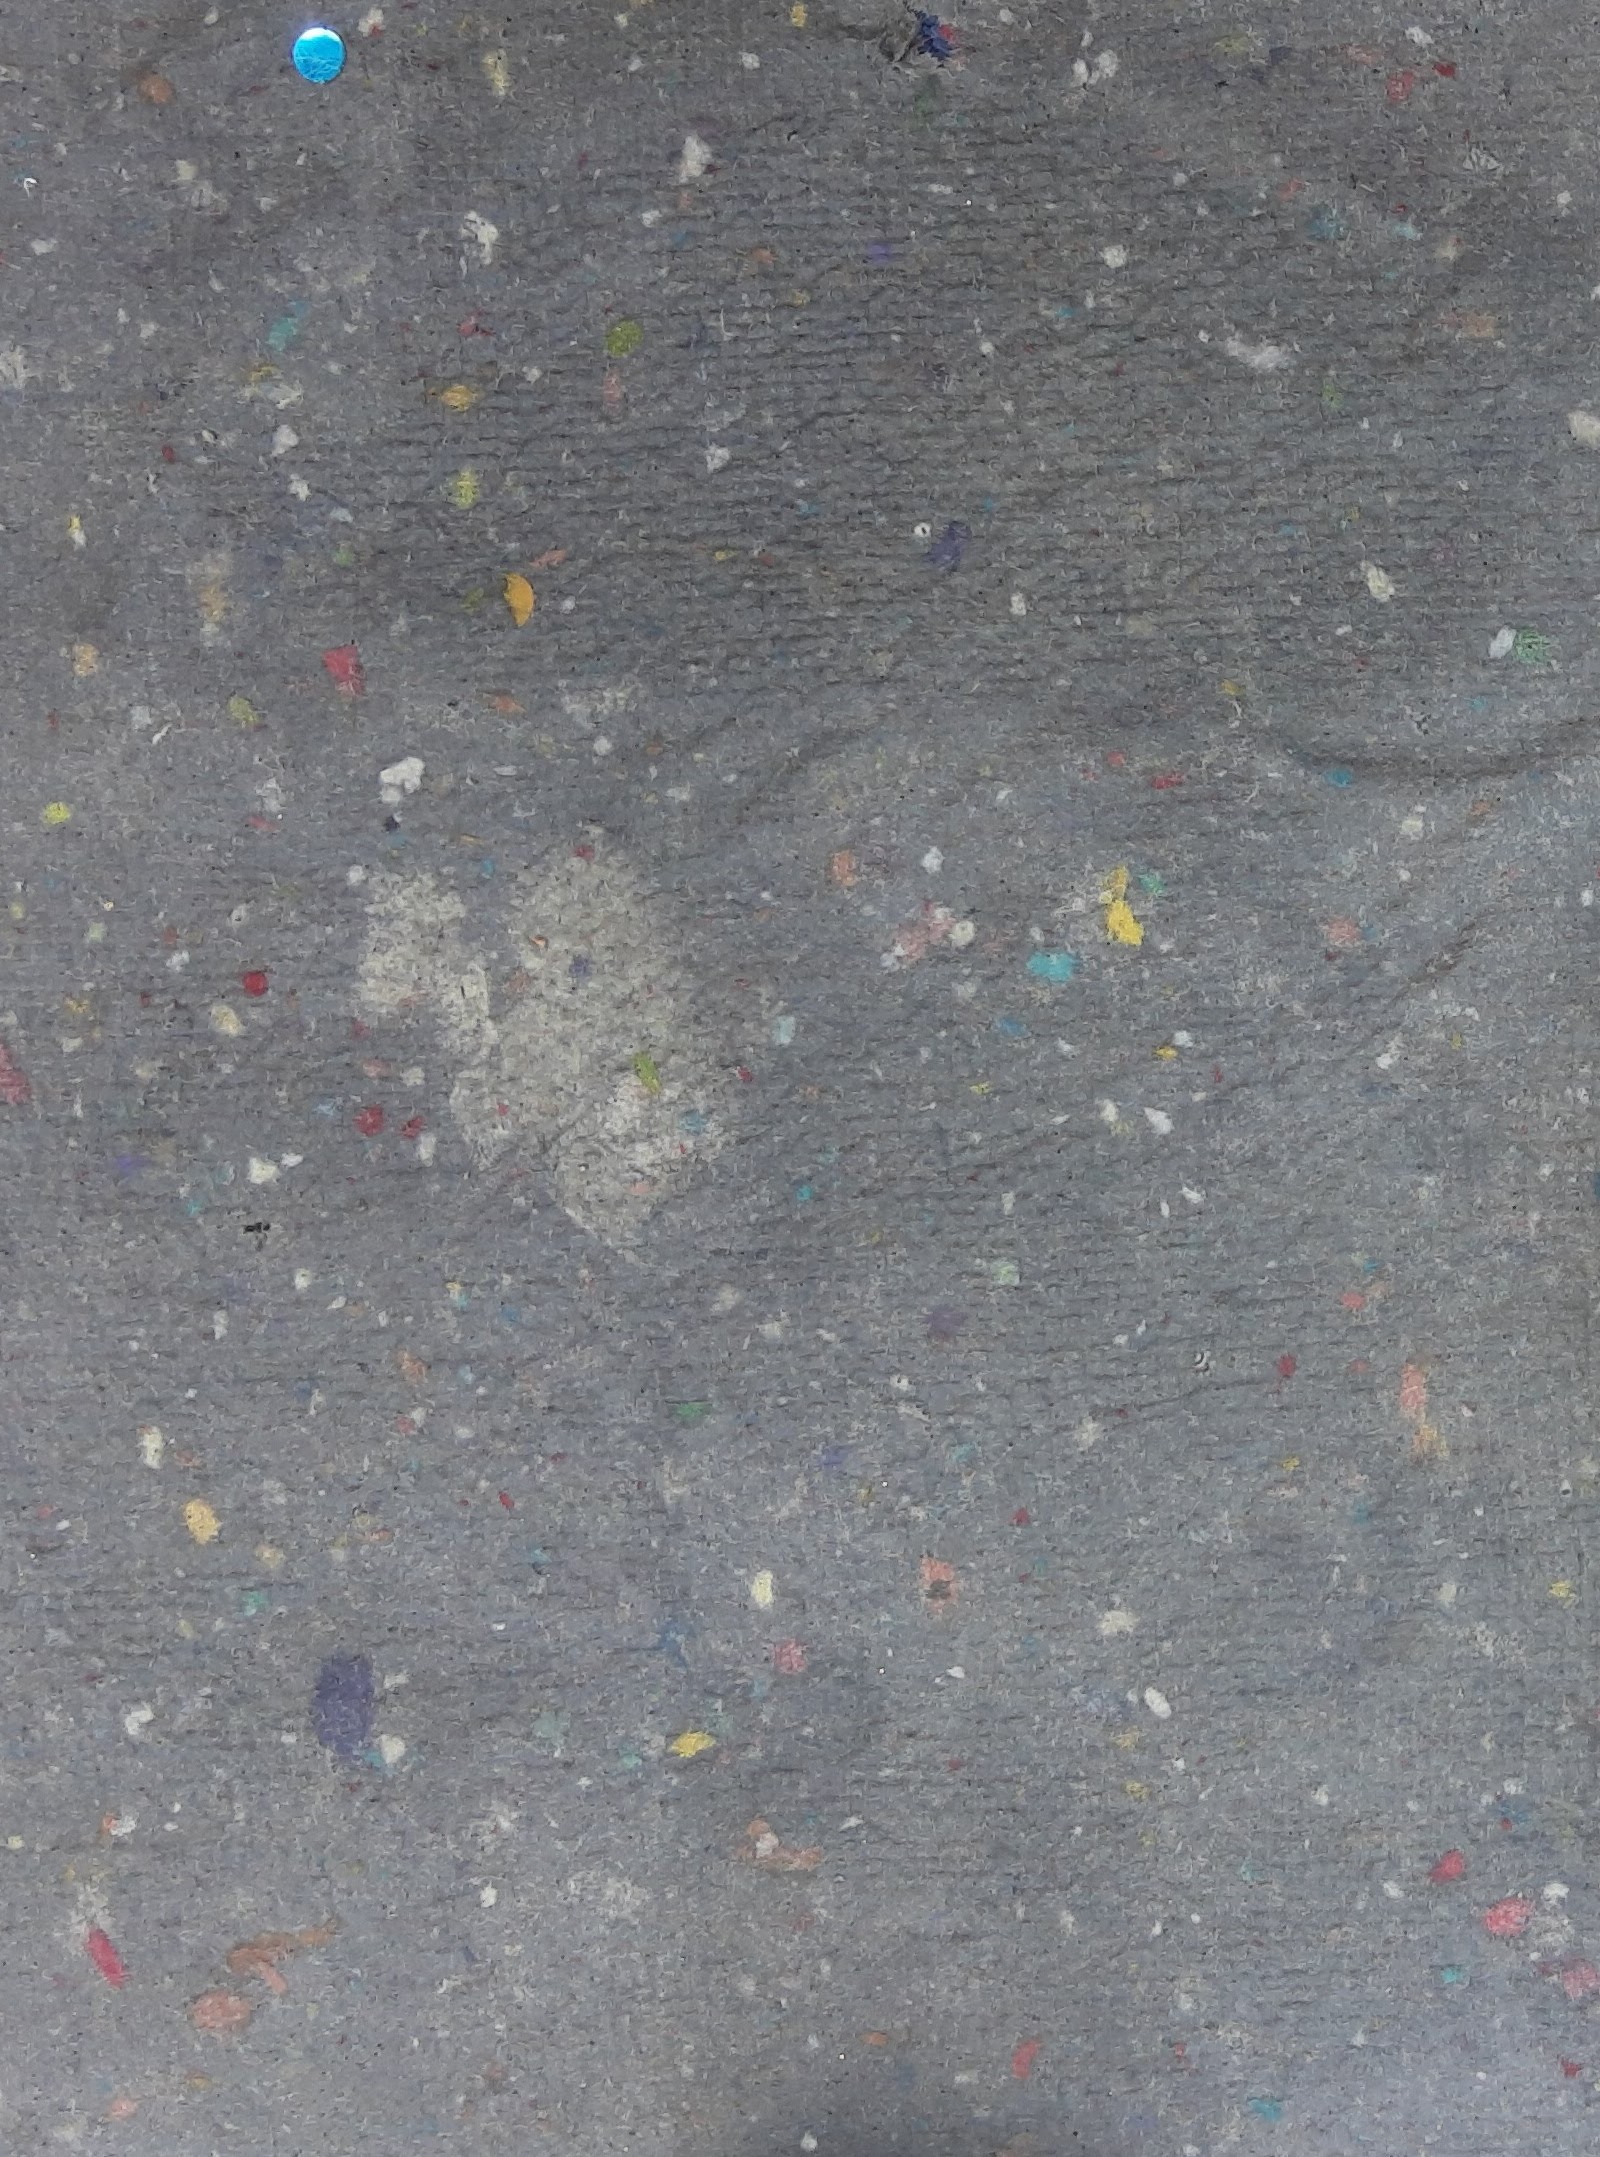
Note: Paper dries lighter than it appears when wet.
Left – wet paper; Right – dry paper (papers are the same color)
Left – wet paper; Right – dry paper (papers are the same color)