Collagraphs:
Lower elementary made collagraphs using different types of shapes. Students had fun stepping on their plates to make a clean print.


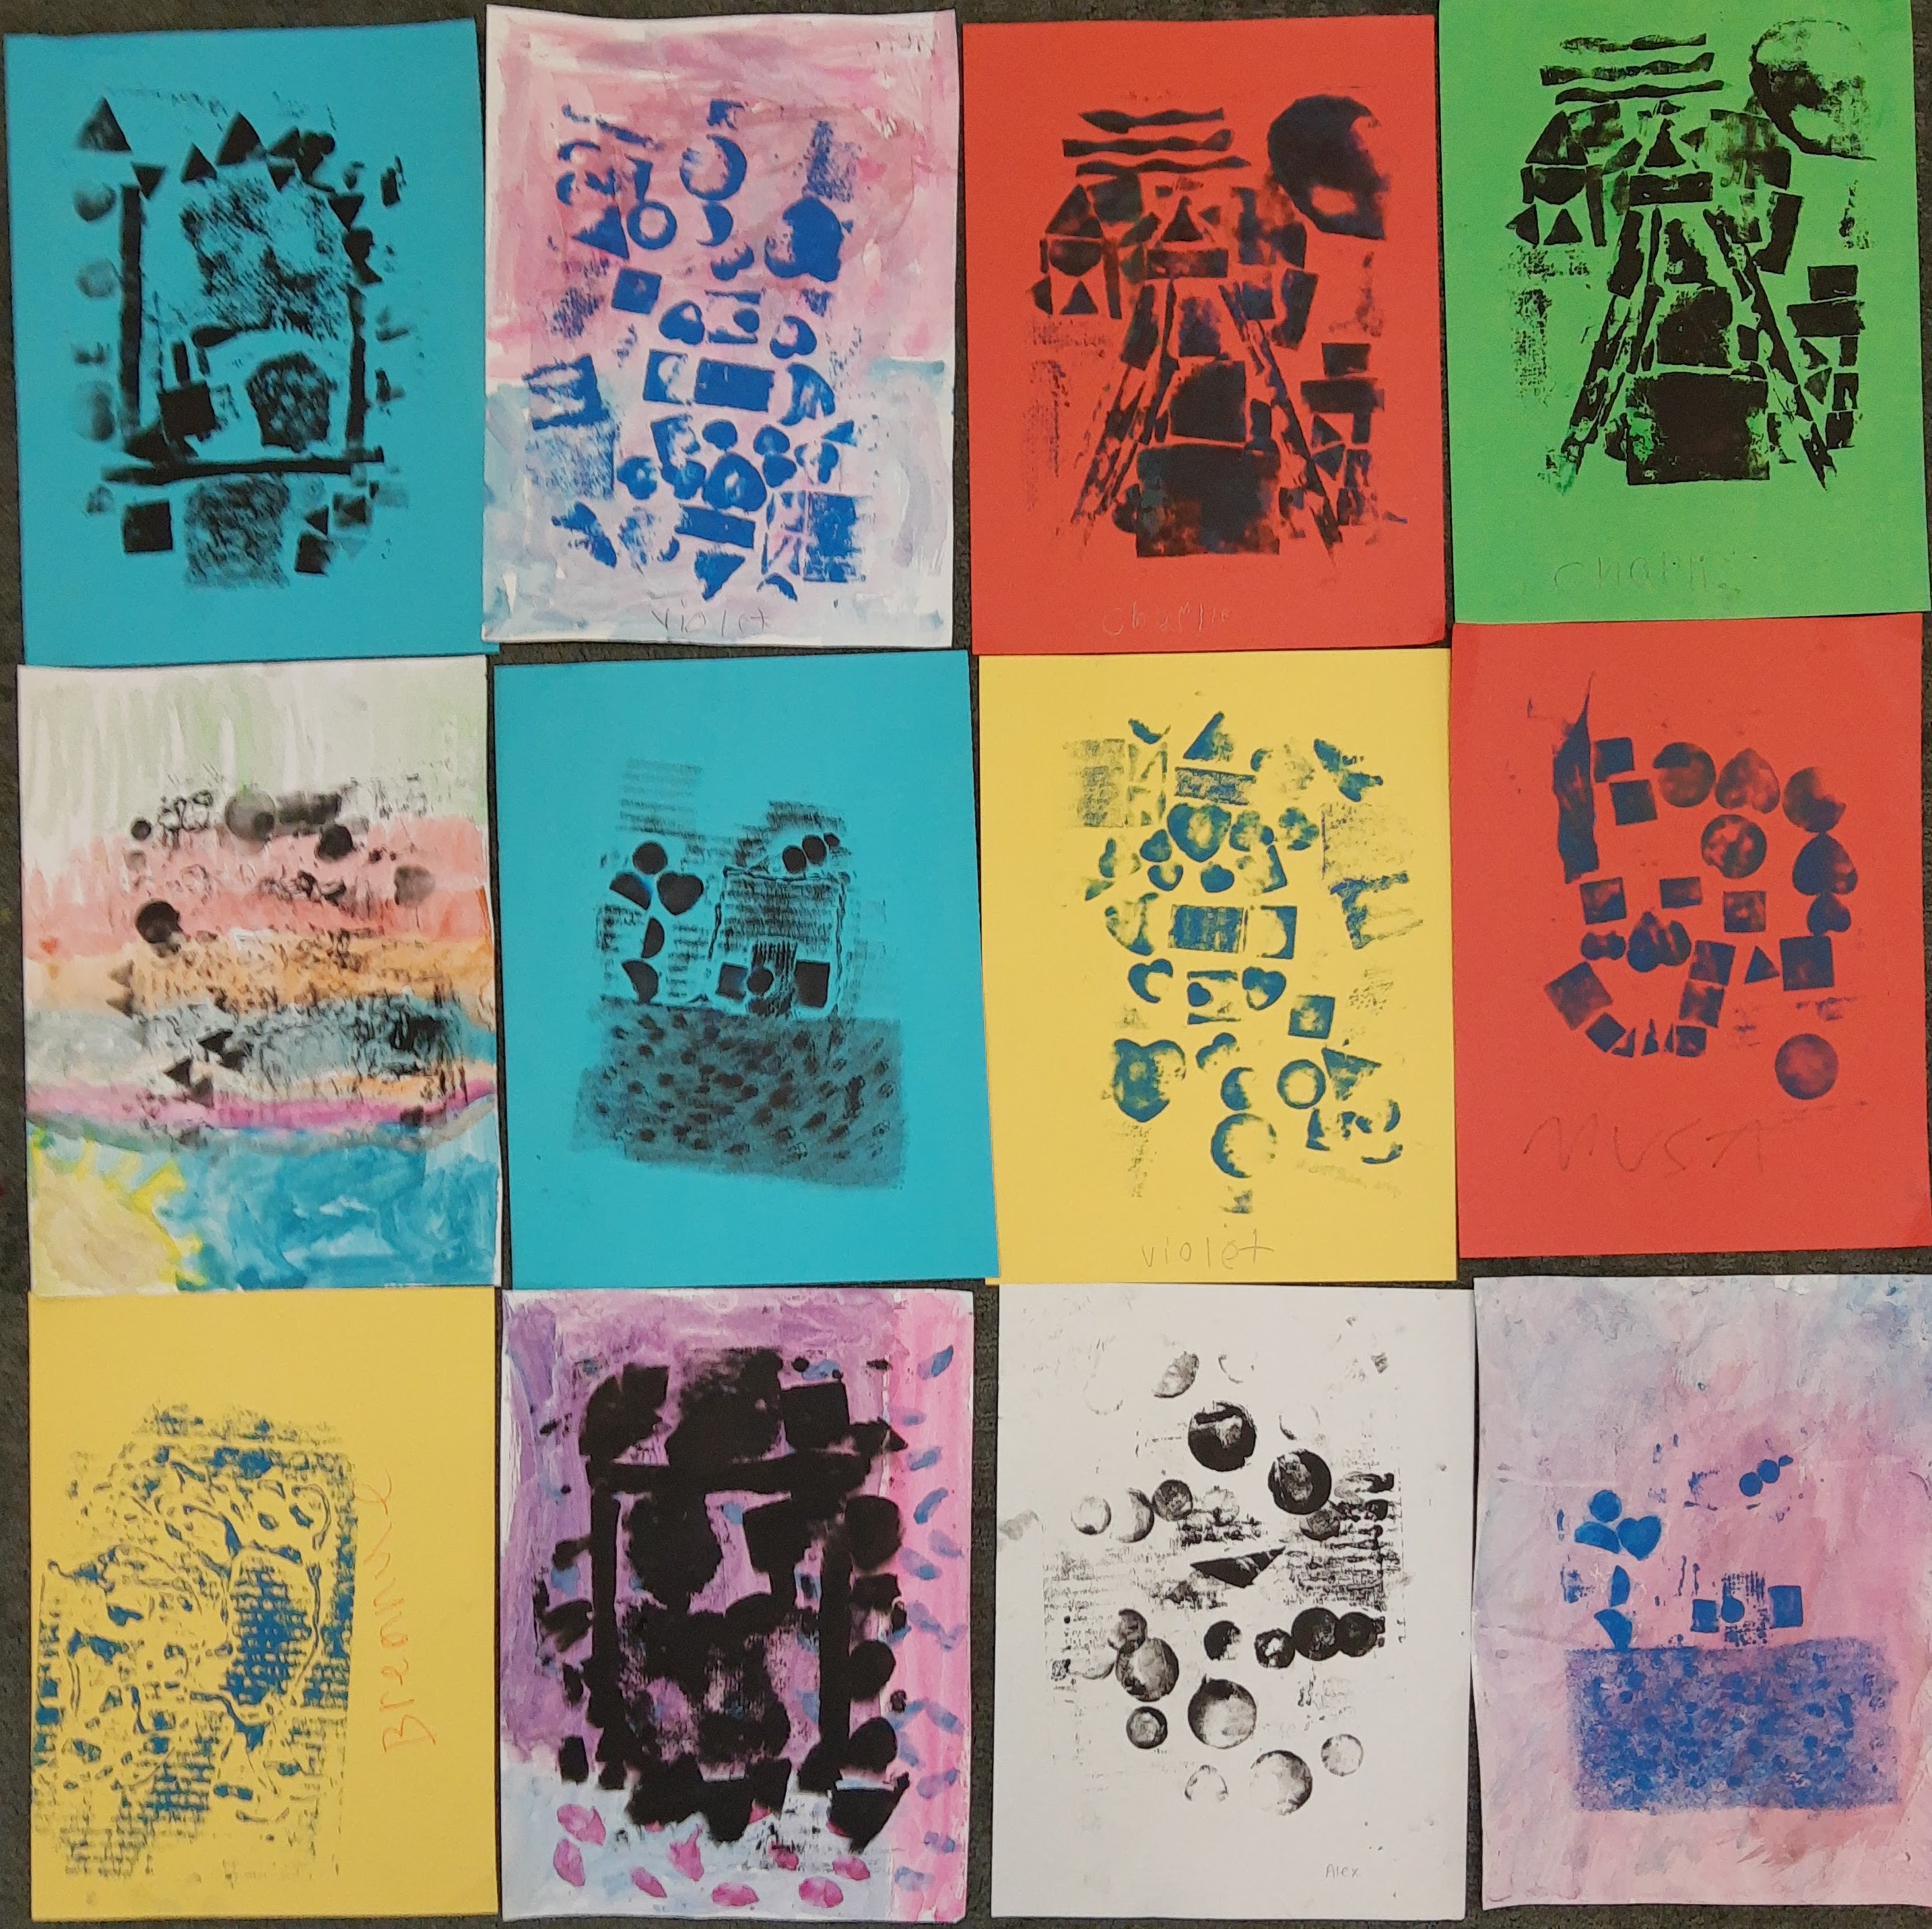
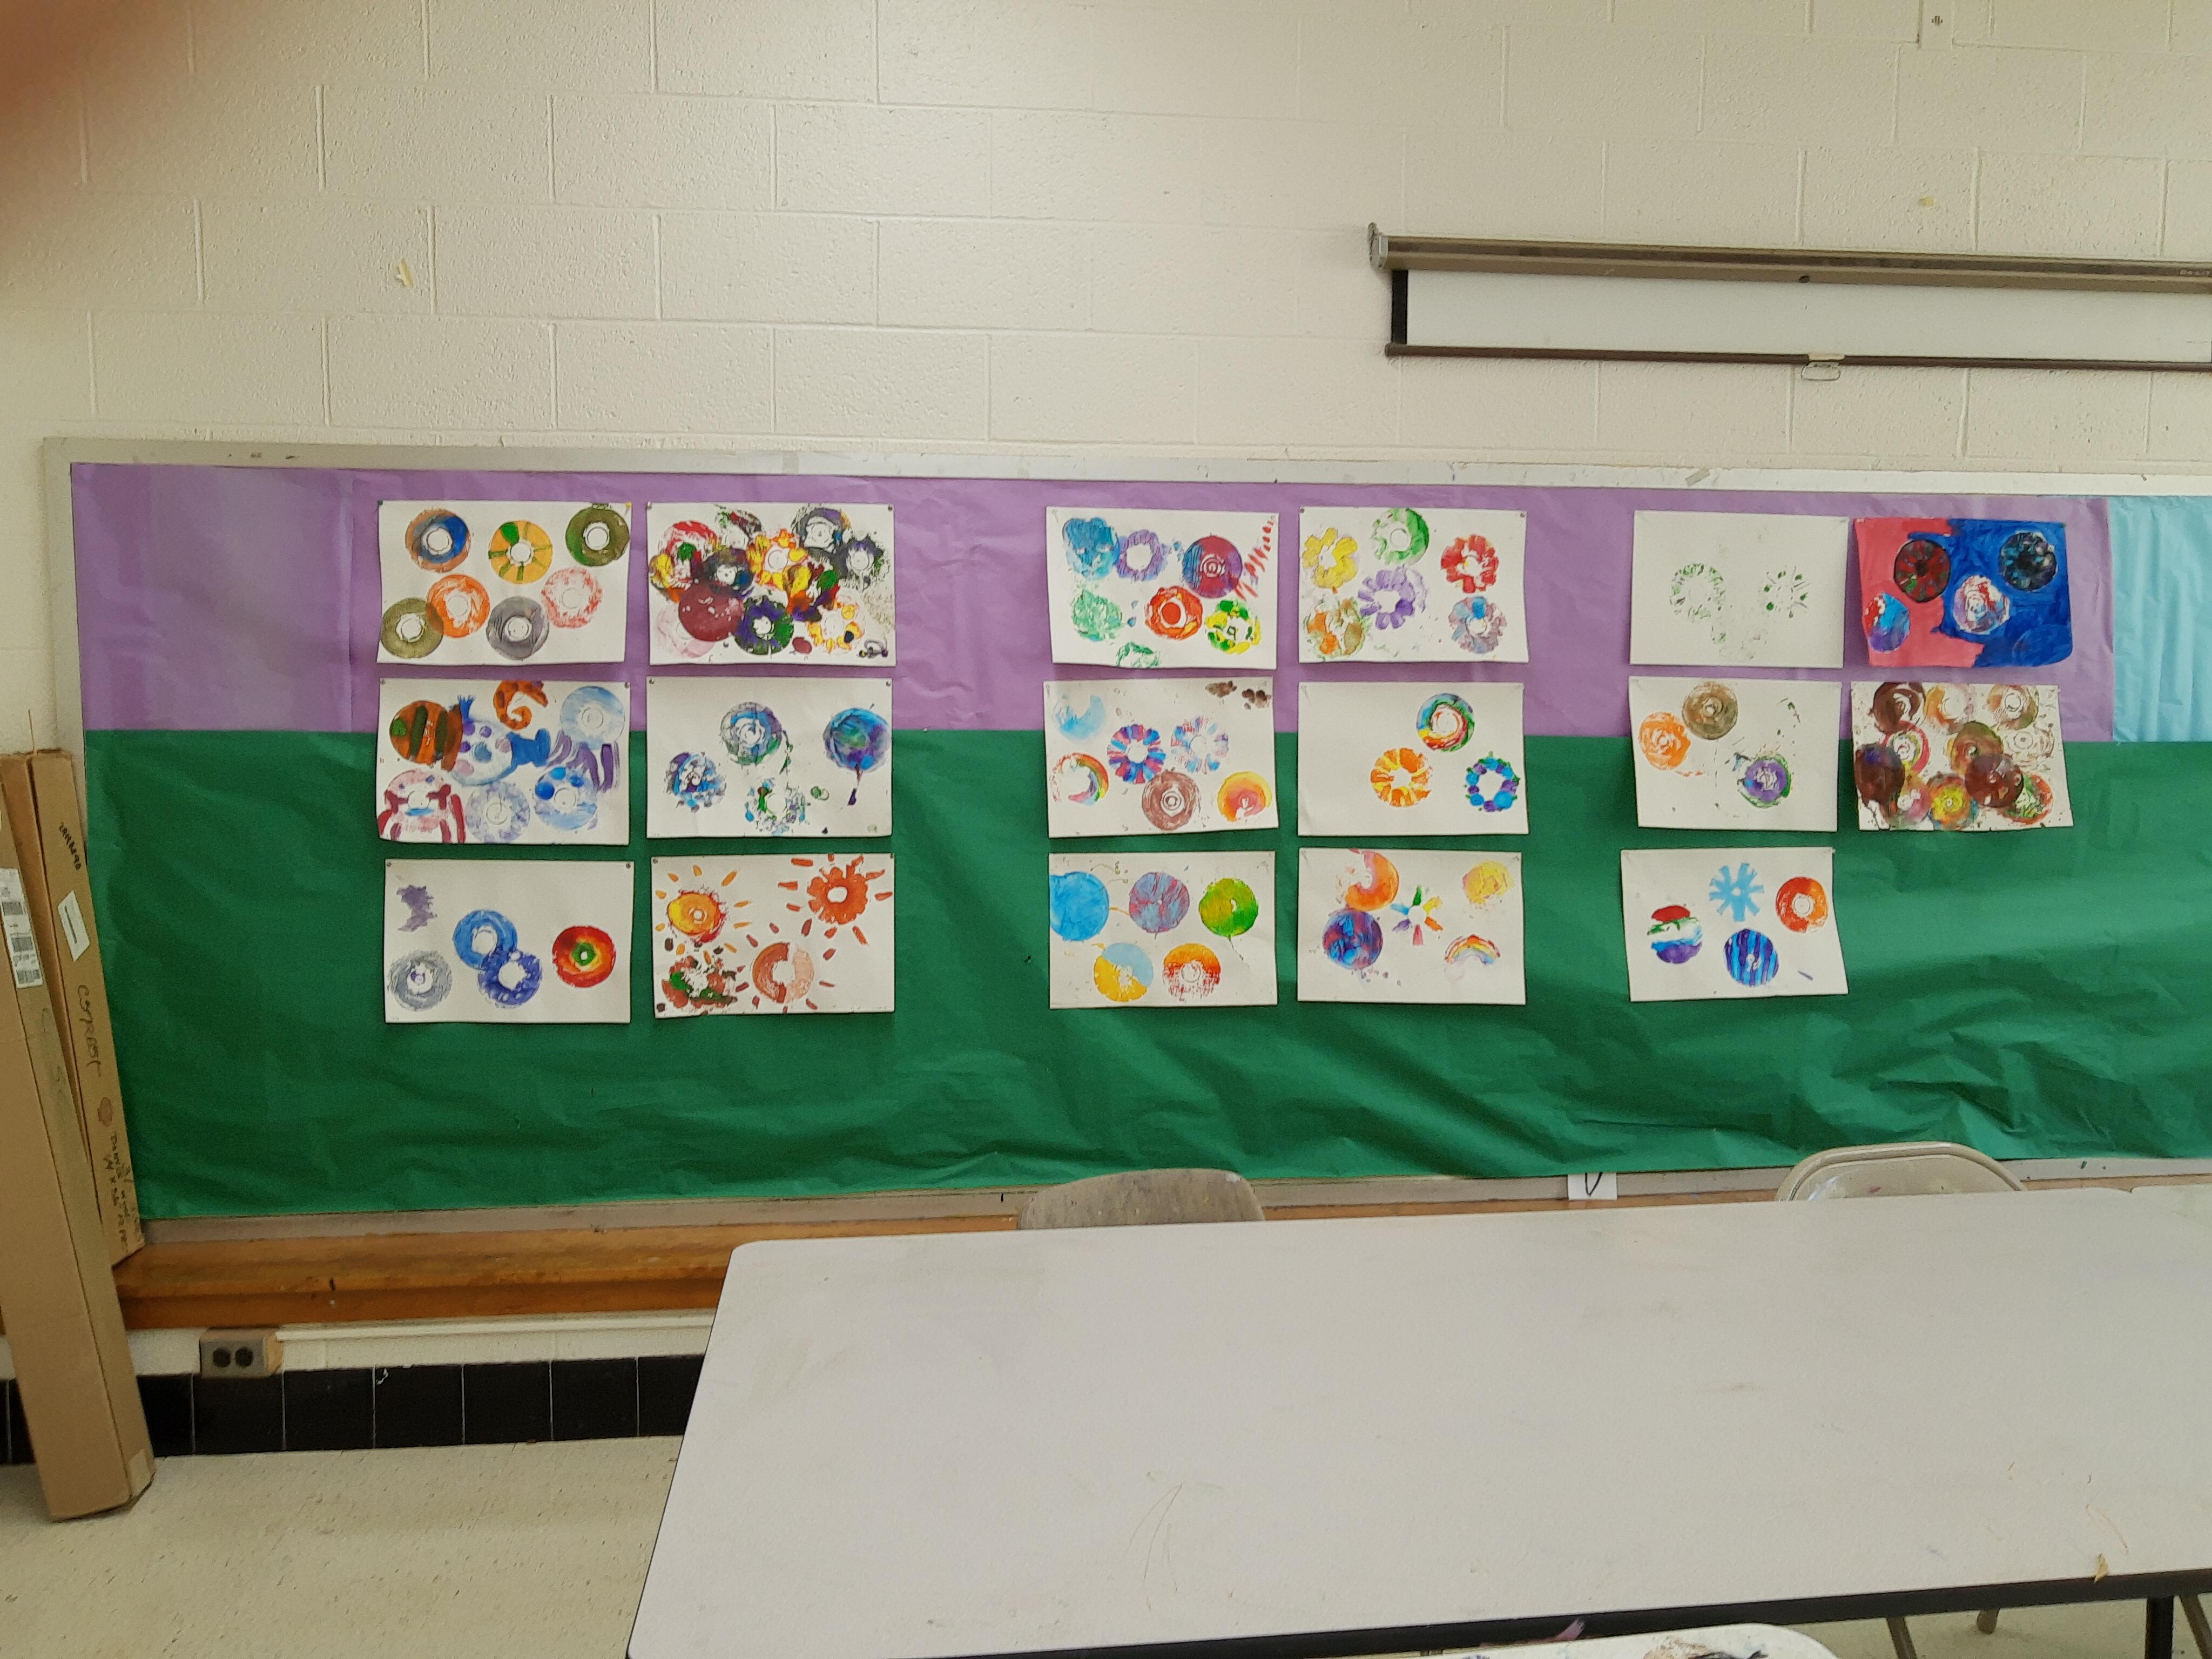
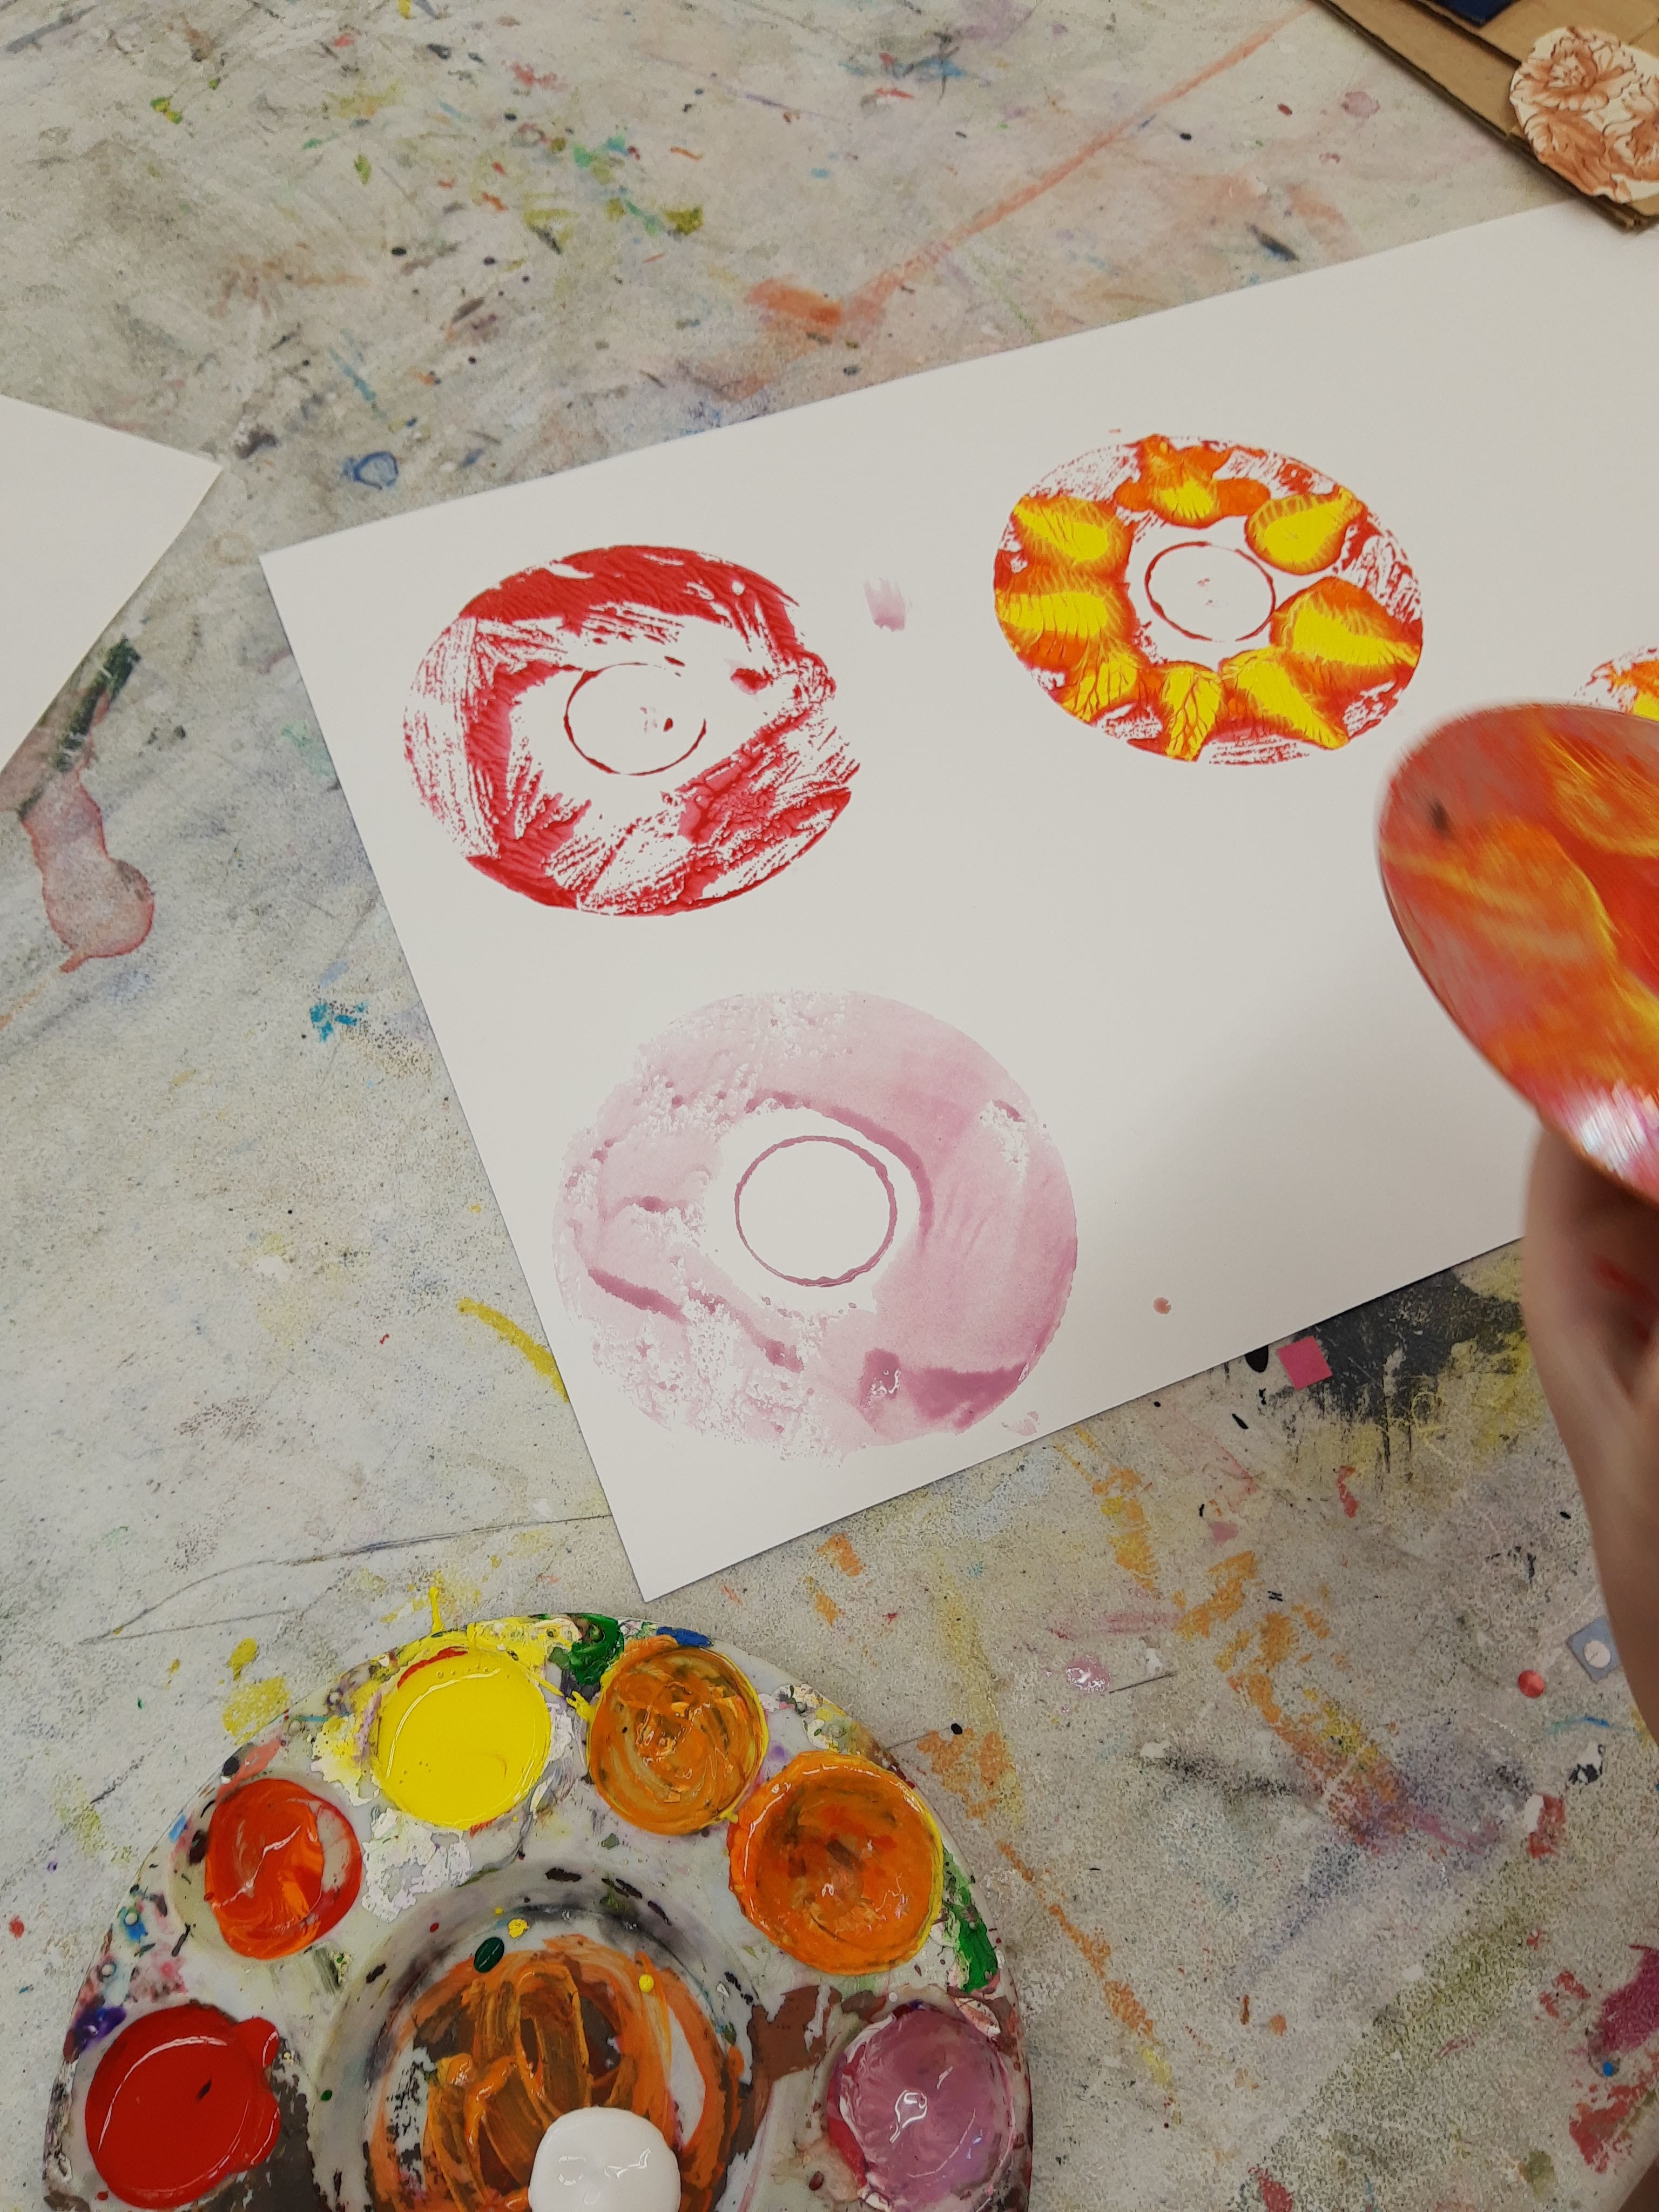
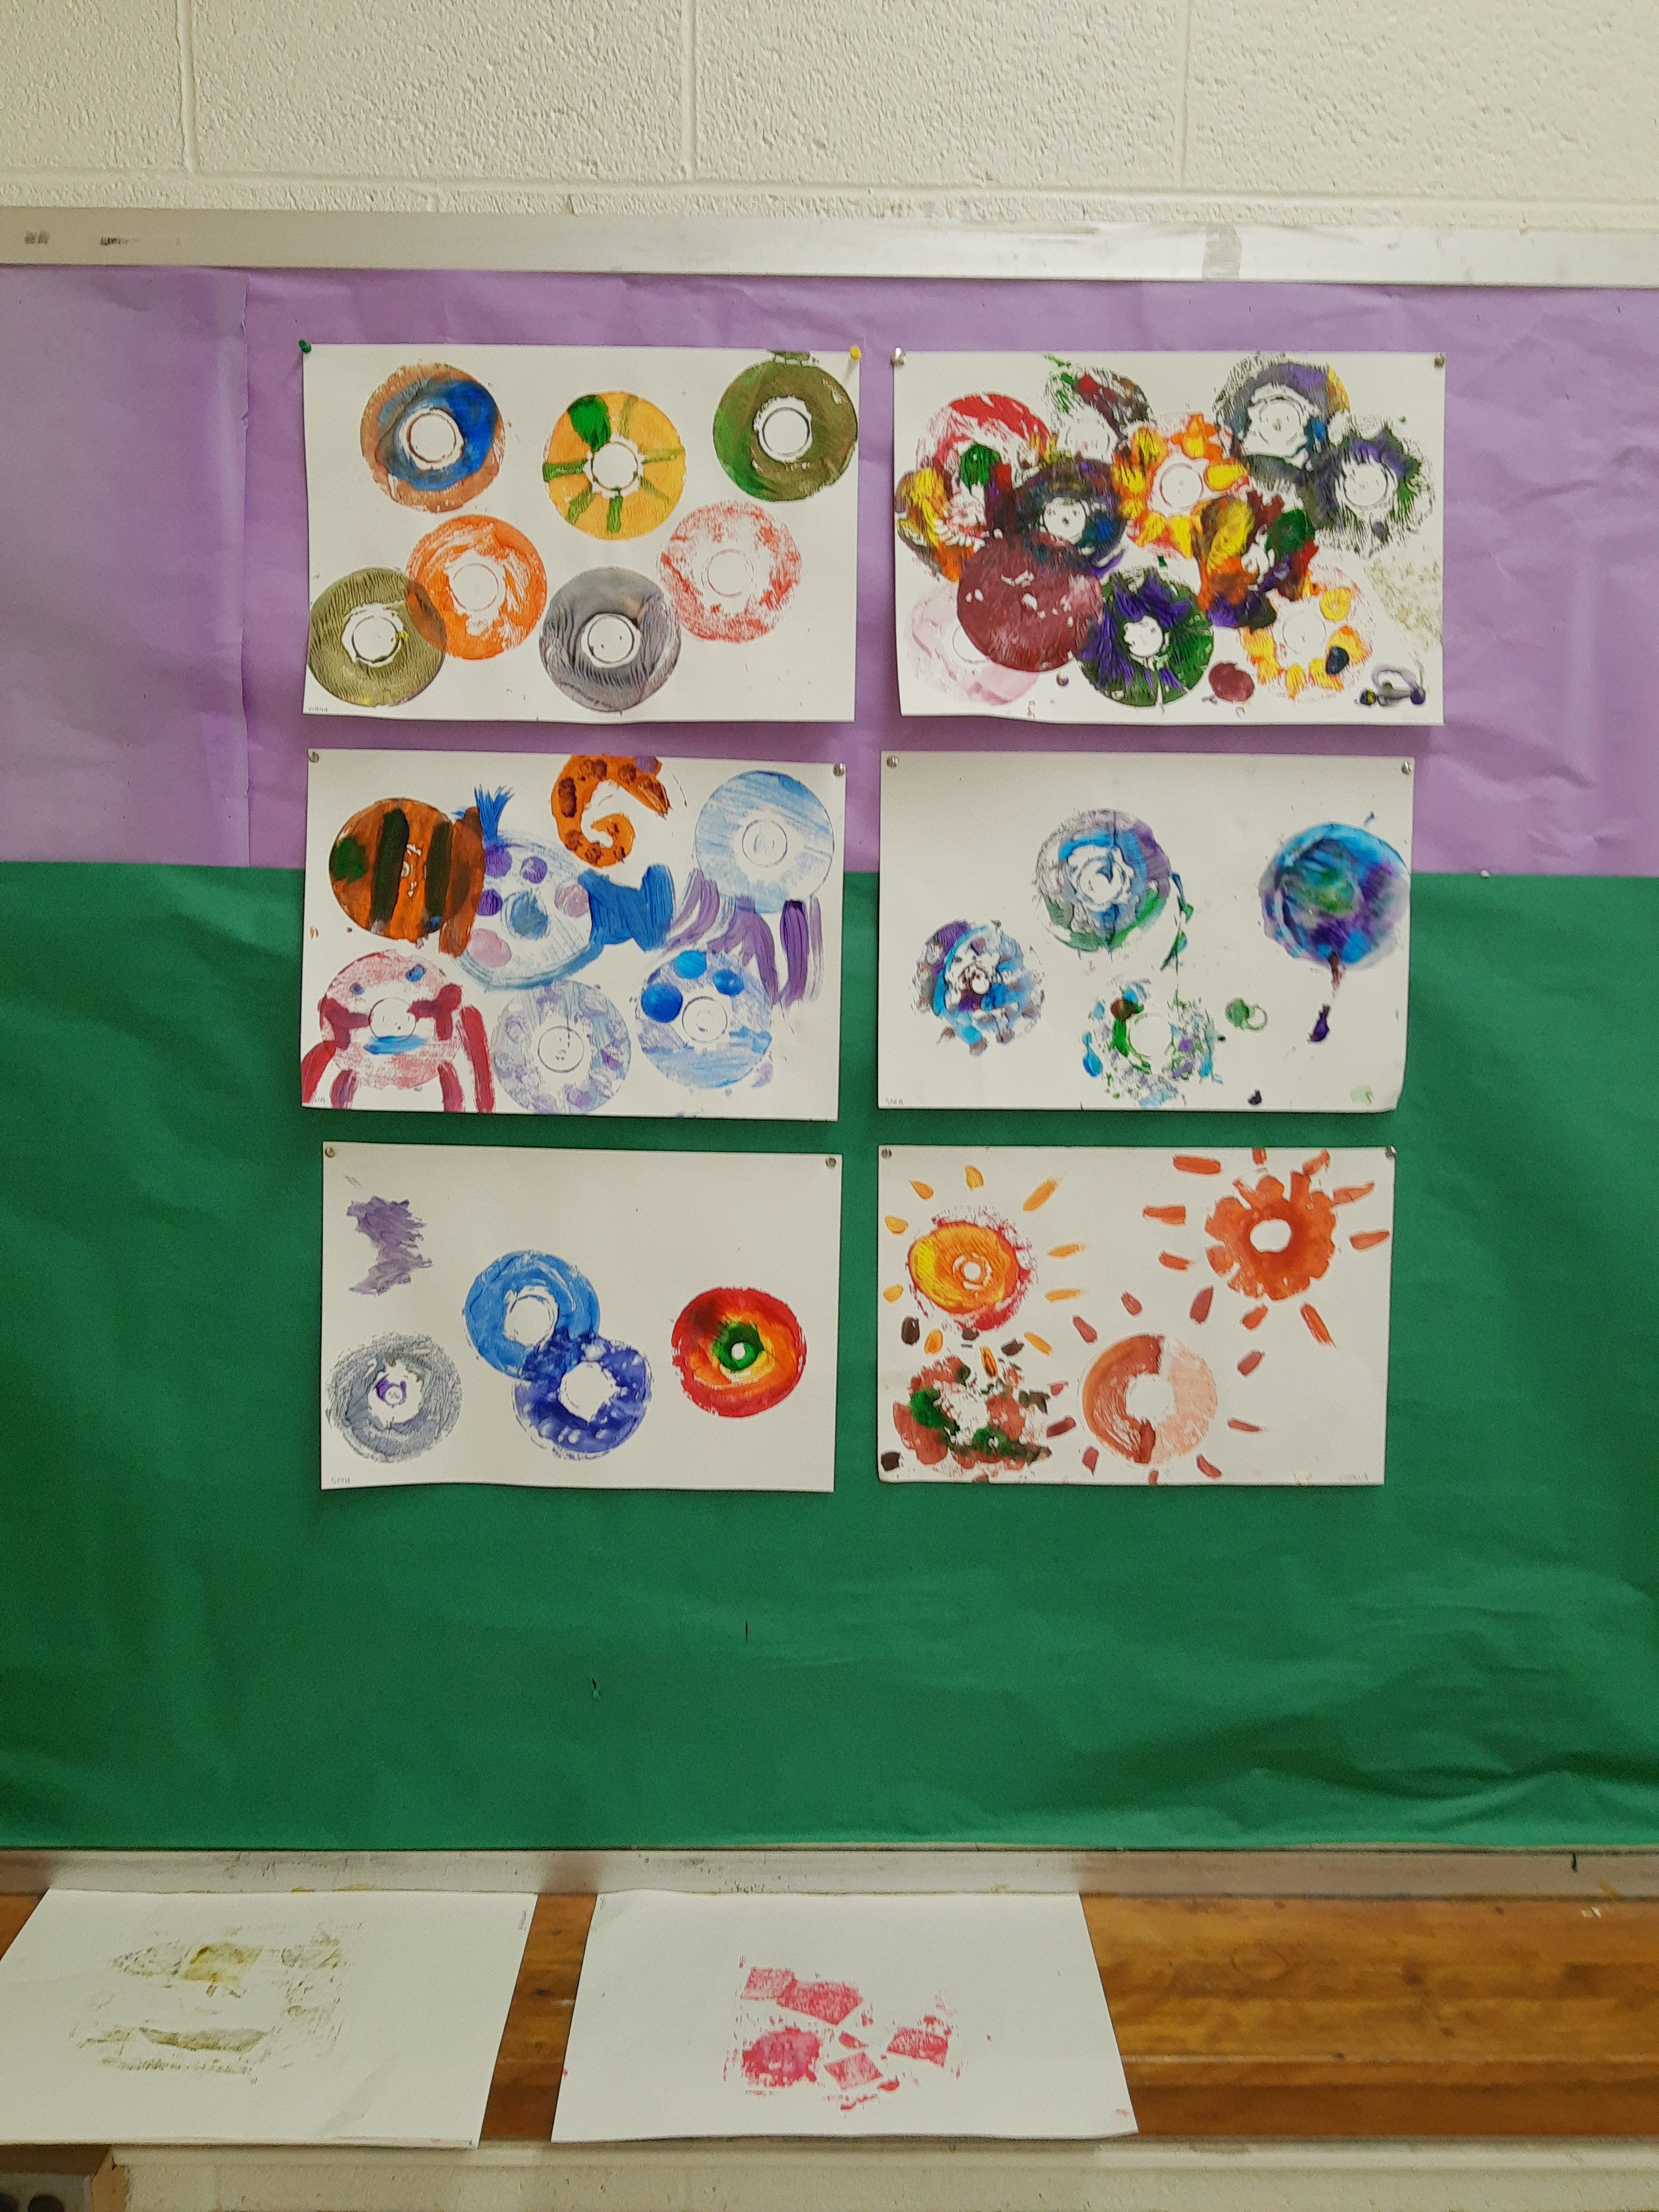
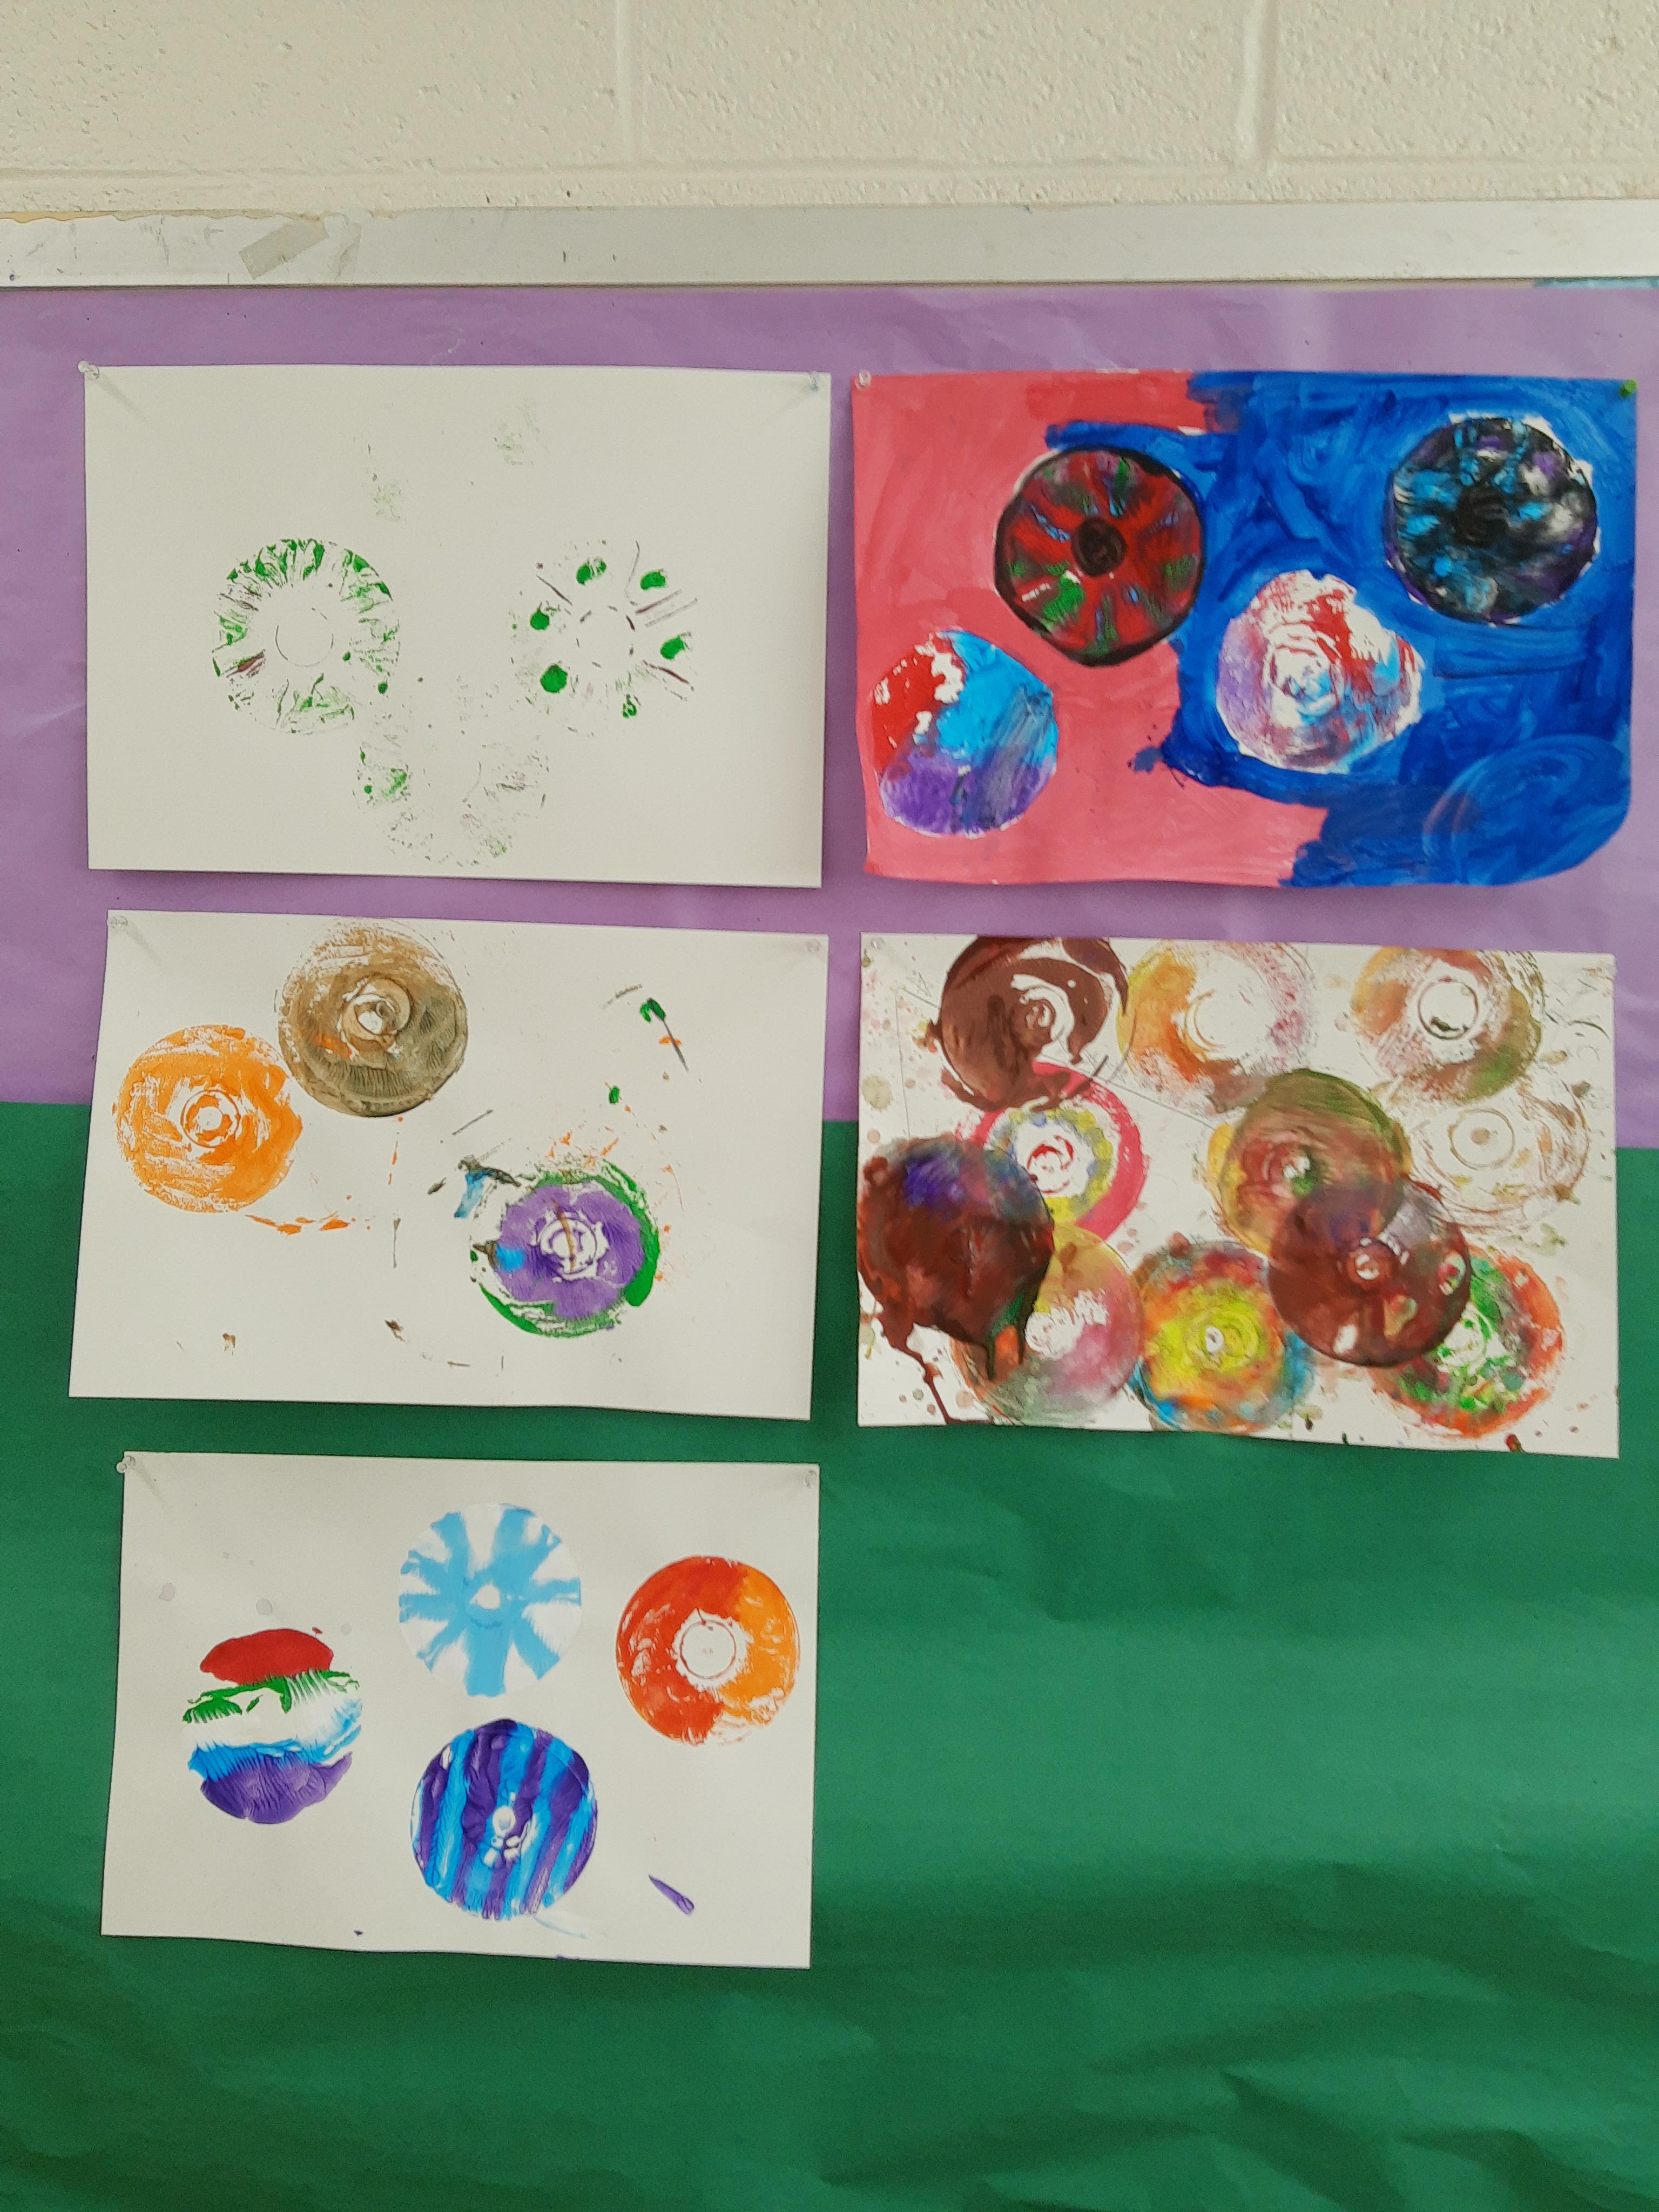
CD Monoprints:
My other students in my Saturday class made CD monoprints with tempera paint.


These three lesson ideas are related to looking at cells and microbes up close and under microscopes.
Students will observe images of cells and create a three-dimensional model of the image of their choice. Students will construct their model on a cardboard base, but the materials for the actual cell are left open to interpretation.
Vocabulary: low-relief sculpture, cells/microbes, photomicrograph

Research – First, have students look up images of cells/ microbes using these websites:
Students should pick out 4-6 images and make thumbnail sketches of each image and jot down ideas about possible materials that could be used for each part of the cell/microbe. A sample sketch is below, but allow students to sketch out their ideas in the way that works best for them.

Once students have completed their thumbnail sketches, they should pick one sketch that they want to do the most, and then they can make one more sketch of their final idea, colors, and material choices.
Materials:
Next, students can begin to assemble their cell models. First, they need to create a circular base out of cardboard for their relief sculpture. Students can paint the base if they would like to (helpful hint – spray water on the back of the cardboard after painting to reduce warping). Next, students can choose whatever materials they want to construct the cell/microbe. Let students experiment with the materials and figure out what works best to create their cell model. Have a table with all the materials laid out so that students can visualize the possibilities for all the materials. Allow ample time for students to construct their models and add paint/ finishing touches.
In this variation, students create an in the round sculpture of a cell. This project is similar to the previous project, yet it is not a relief sculpture. Depending on the materials you have on hand, pick one of the projects to best fit what you have. First, have students create a base/cell body using either clay, newspaper/ paper mache, plaster, wires to create an armature, or aluminum foil. Next, students can paint the base, adding designs and surface texture with different materials (glitter, sequins, beads, etc.). To create raised areas of lines, hot glue, elmer’s glue, or fabric paint can be applied to the surface as well. Once the paint is dry, students can attach pipecleaners, toothpicks, pompoms, and other materials to form the areas that come off of the body of the cell.


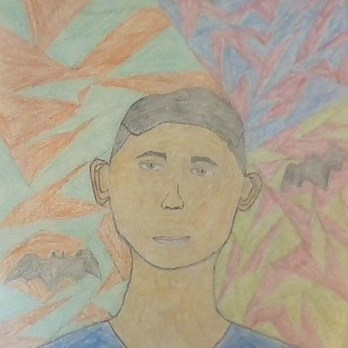
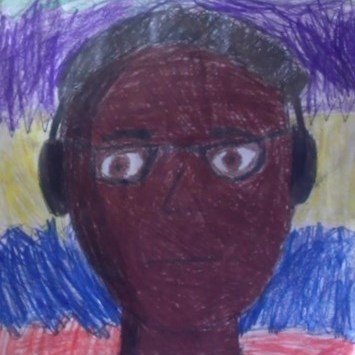
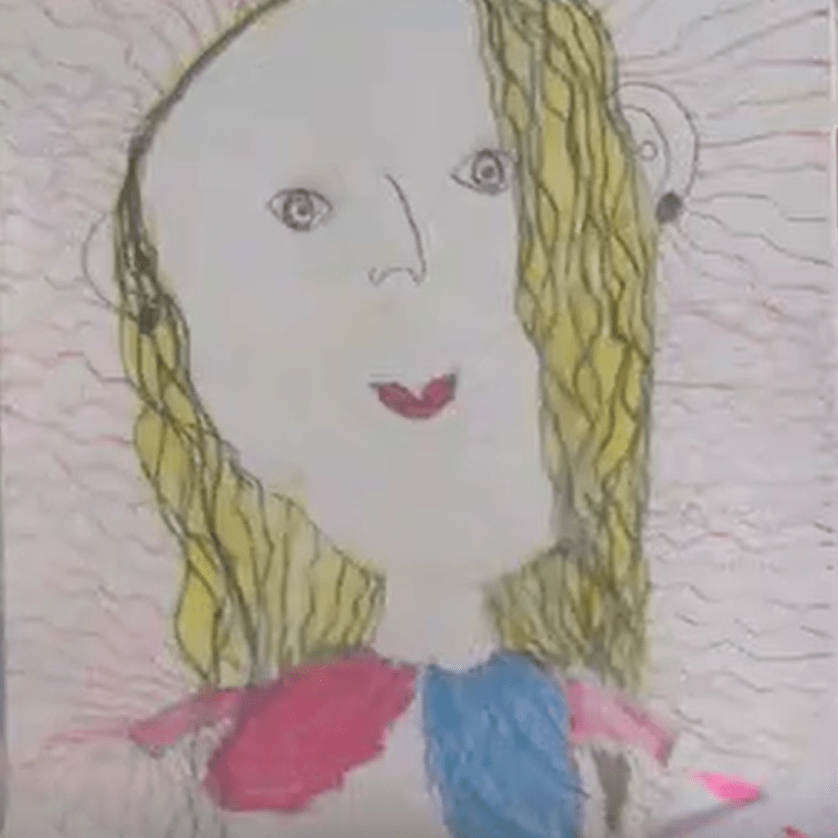
I started teaching at my current school in February 2021. Because I was a new teacher starting mid-year and I wanted to get to know my students, our first project was a self-portrait lesson. We looked at Kehinde Wiley’s art and compared old, neoclassical art with Wiley’s updated versions of these artworks. We also discussed patterns, colors, and representation in art and throughout art history.
Students then created their own versions of a self-portrait with their own patterns and designs in the background.
Here are some of the self-portraits made by my students:


For the future, I would also include an alternative assignment where students can create an indirect self-portrait. Students can choose an object that means something to them (for example, a toy, a book, clothing, etc.) and draw that object.
For example, I did an indirect self-portrait in college of a scarf because I am known for always wearing scarves:
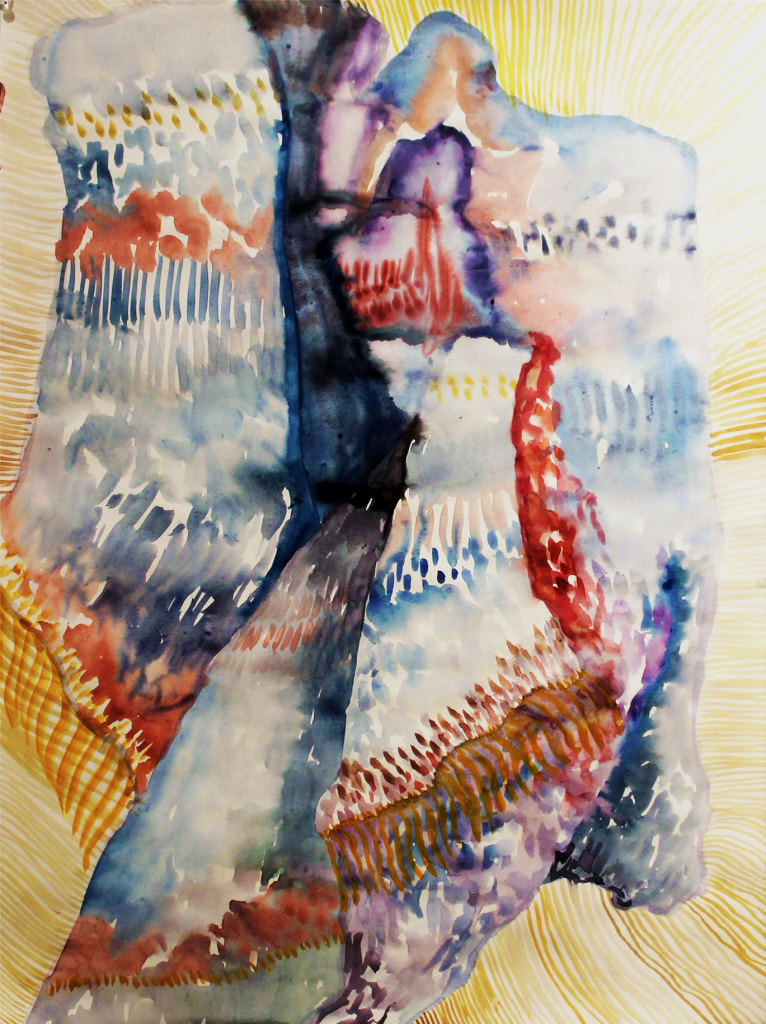
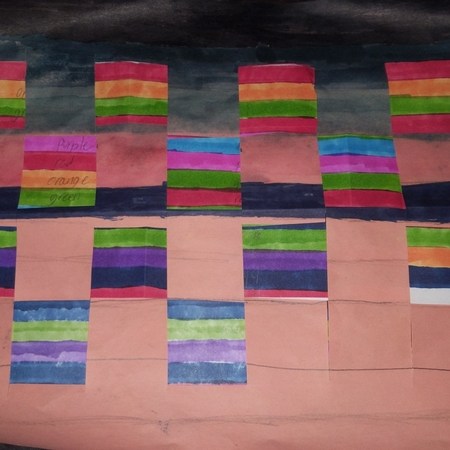
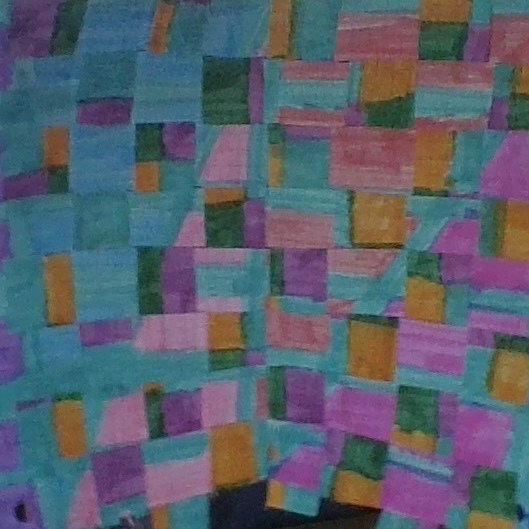
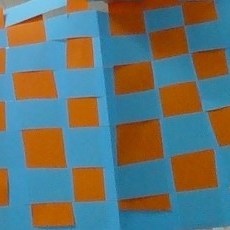
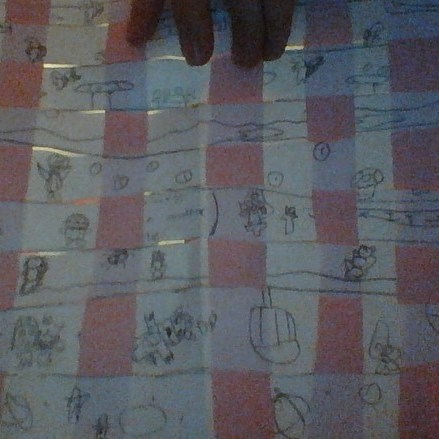
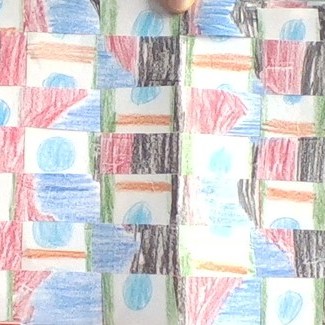
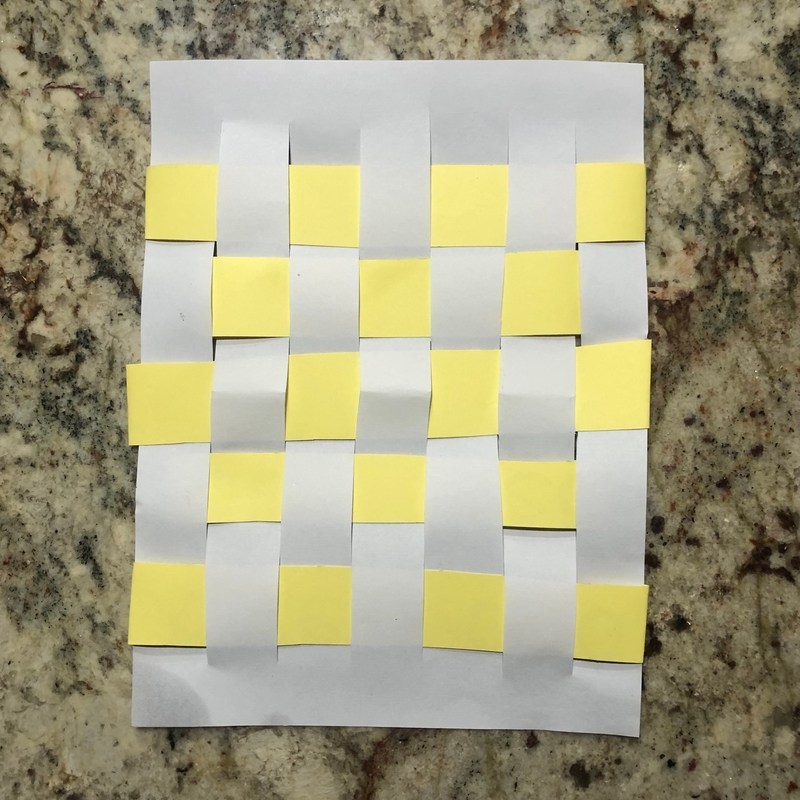
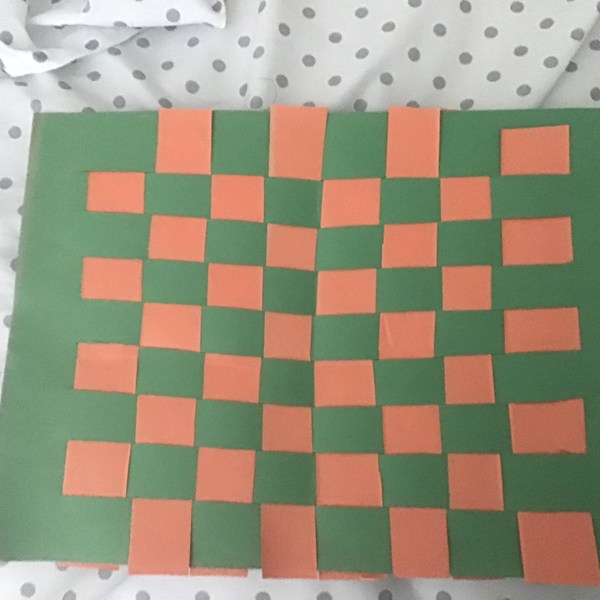
A few weeks ago, I taught a lesson on paper weaving to lower and upper elementary. We looked at textiles from the Shipibo Conibo tribe and discussed how different textiles are created. Then, we looked at the weaving process and learned that to weave, we need to follow an over, under, over, under pattern. Students decorated their papers to create their own patterned textiles to prepare for weaving, then they cut out slits in one paper for the loom, and strips from the other paper for weaving strips.
I think it was a bit difficult for students to understand the weaving process virtually. I had videos, step by step photo directions, and live demos of the weaving process, but after teaching this lesson, I think weaving might be easier to see and understand in person. I would love to do another weaving lesson once I teach in person, hopefully with yarn! Regardless of the challenges that we face when doing virtual school, I think the weavings turned out amazing!
Some students lost their decorated papers, so they just used construction paper or notebook paper.
Here are some of my students’ finished weavings: