Eric Carle Inspired Earrings

I made Eric Carle Hungry Caterpillar inspired earrings! This was a tedious process, but I am super happy with how they turned out 🙂

How I made my earrings:

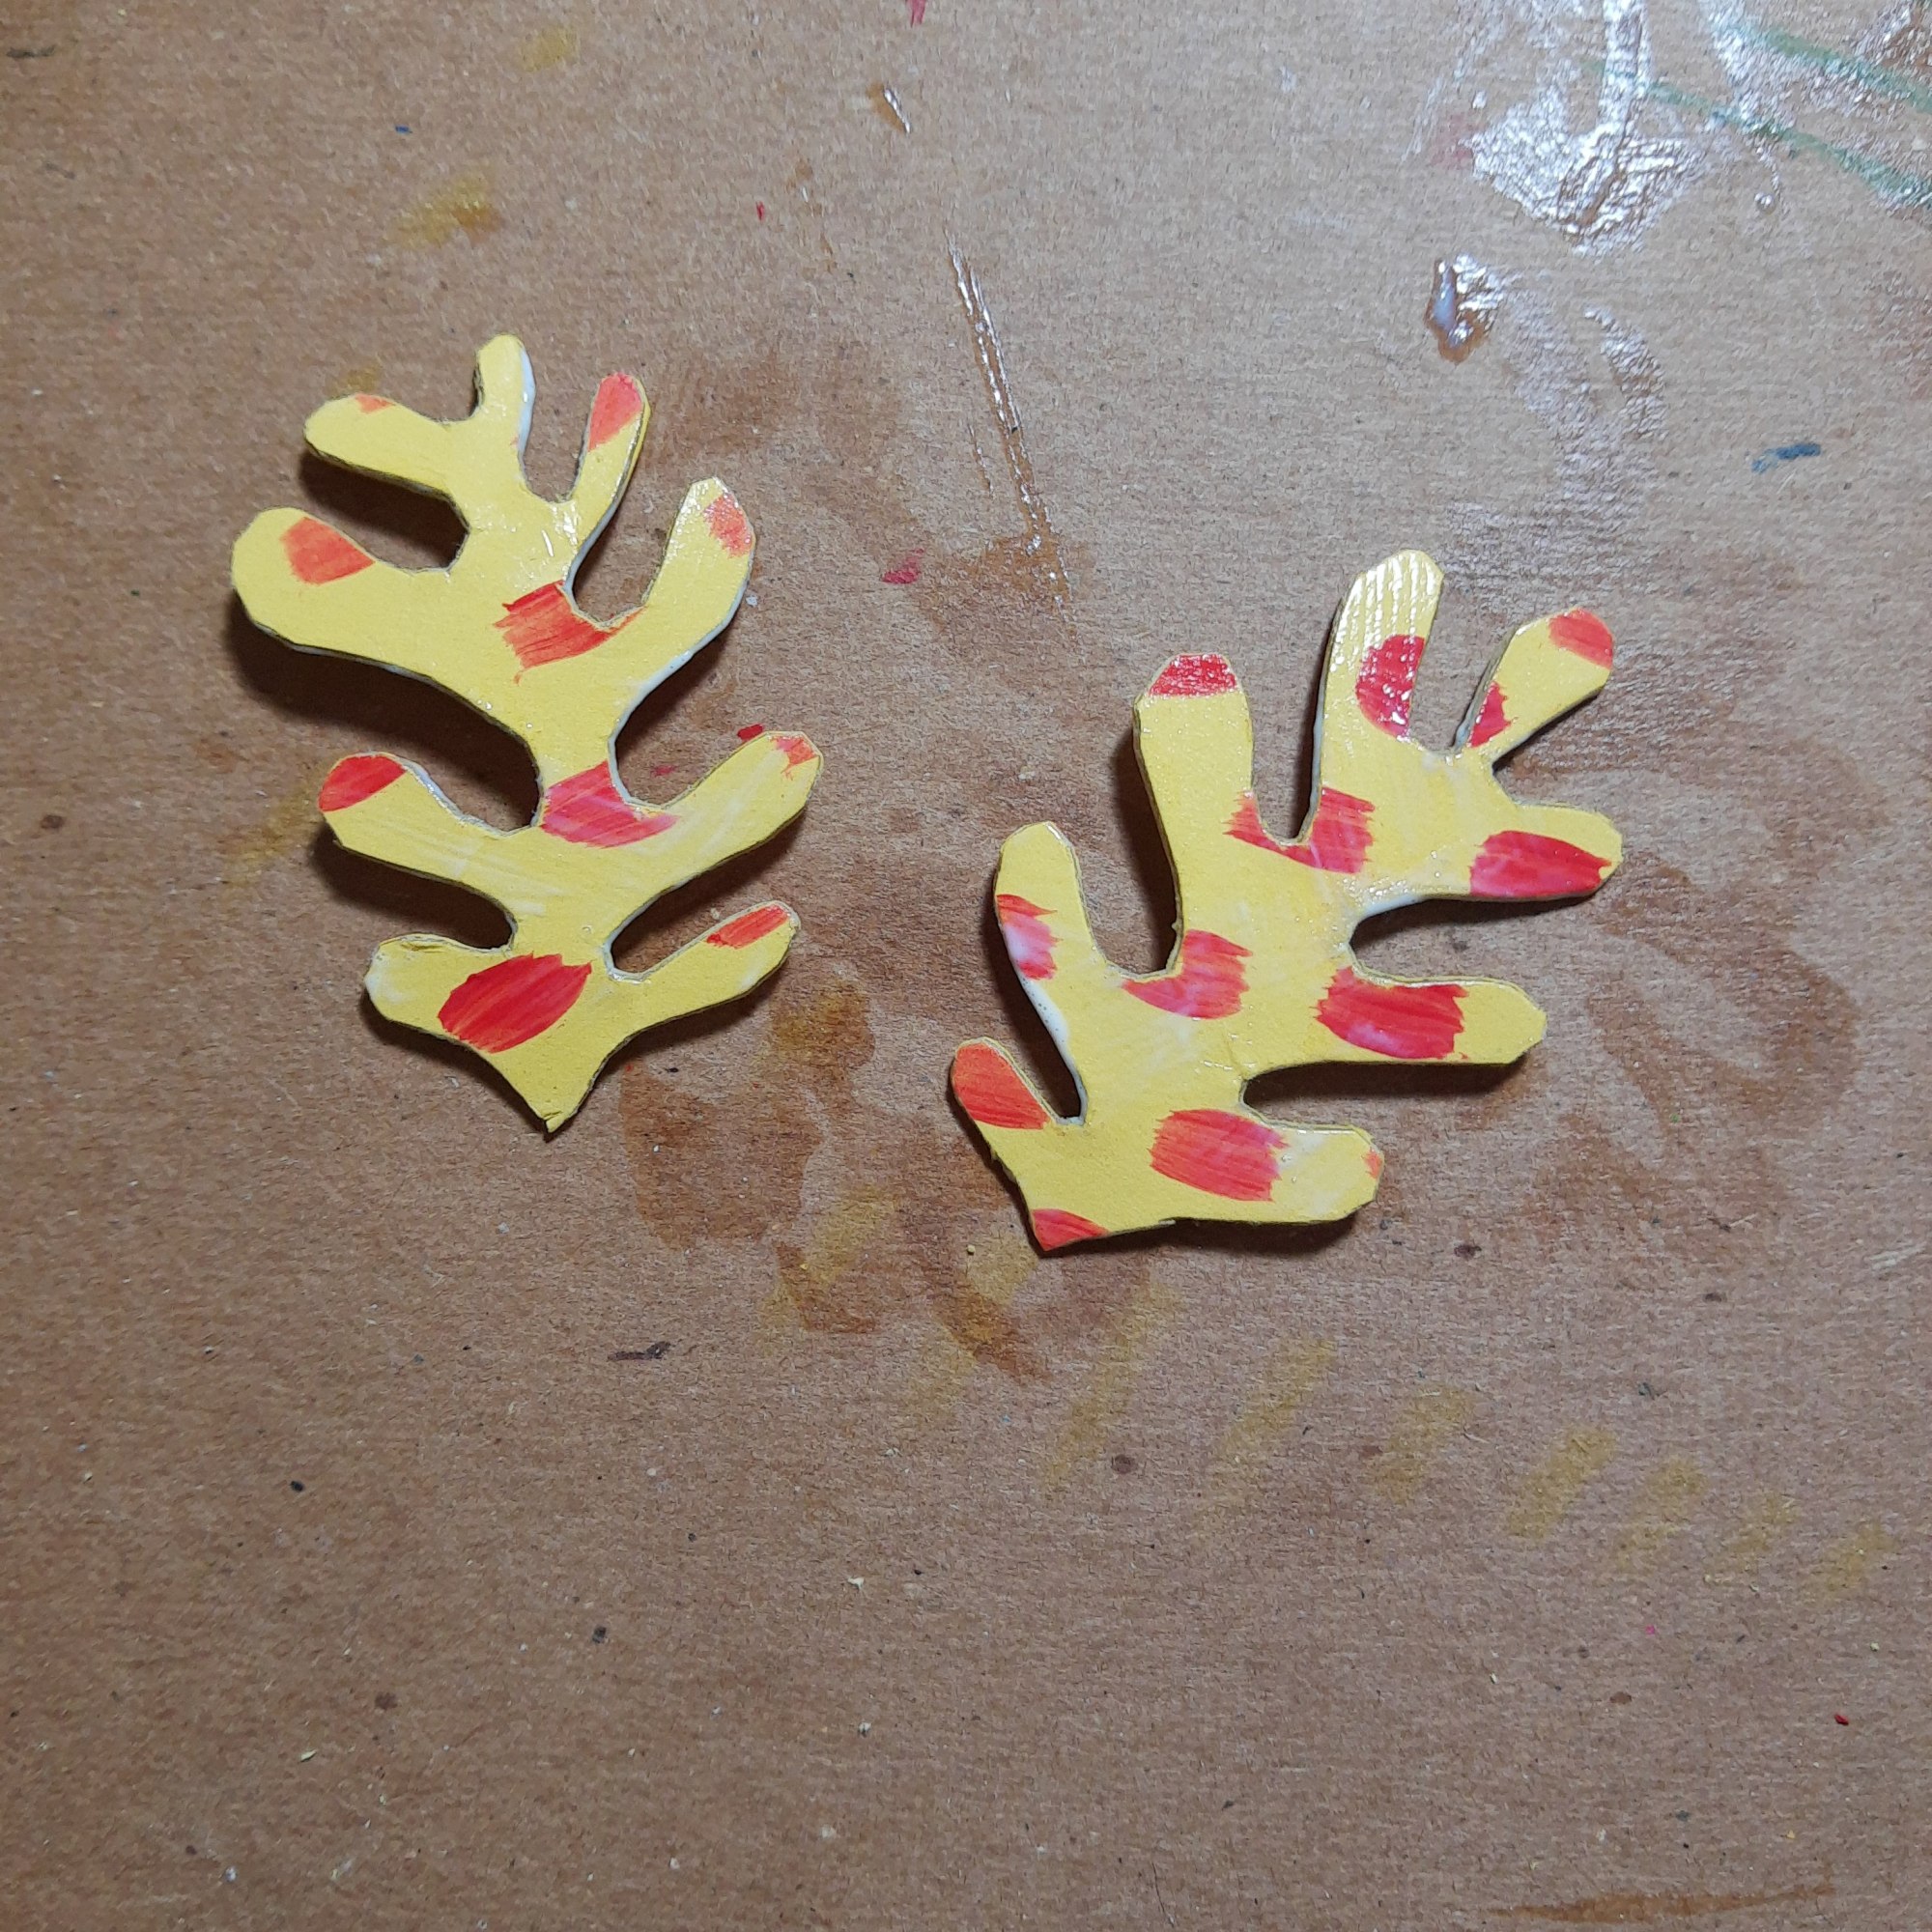
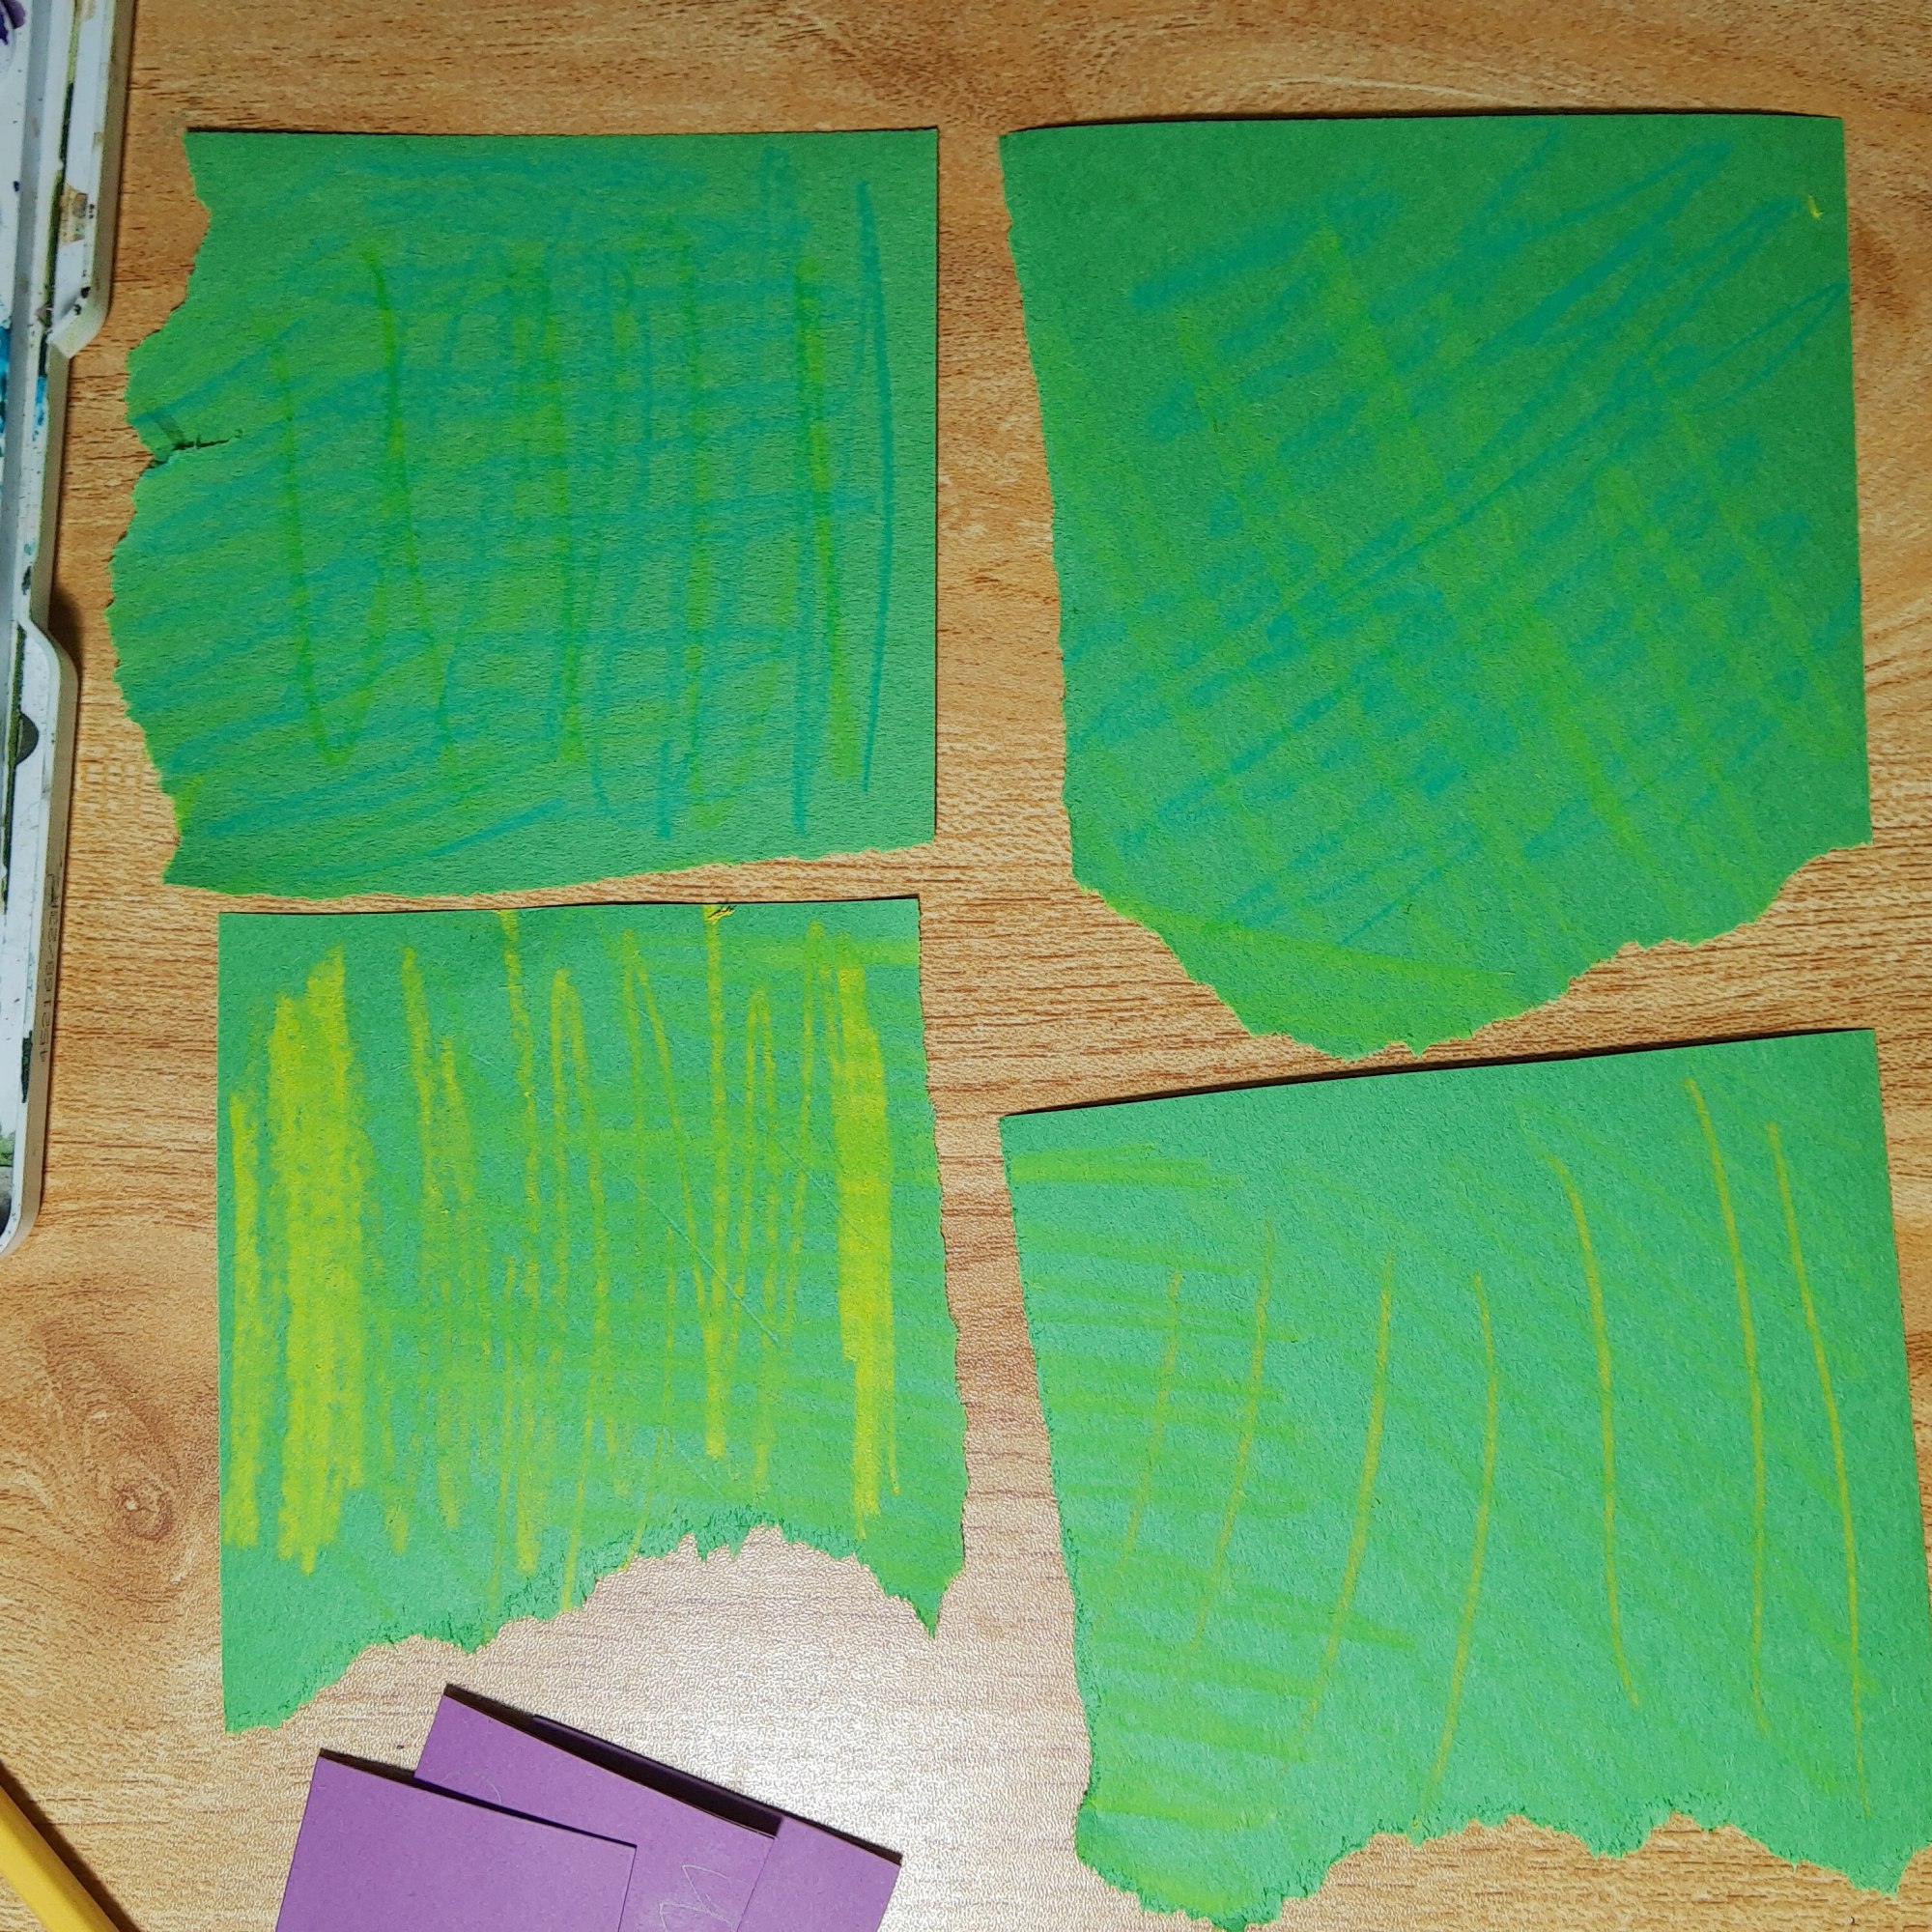
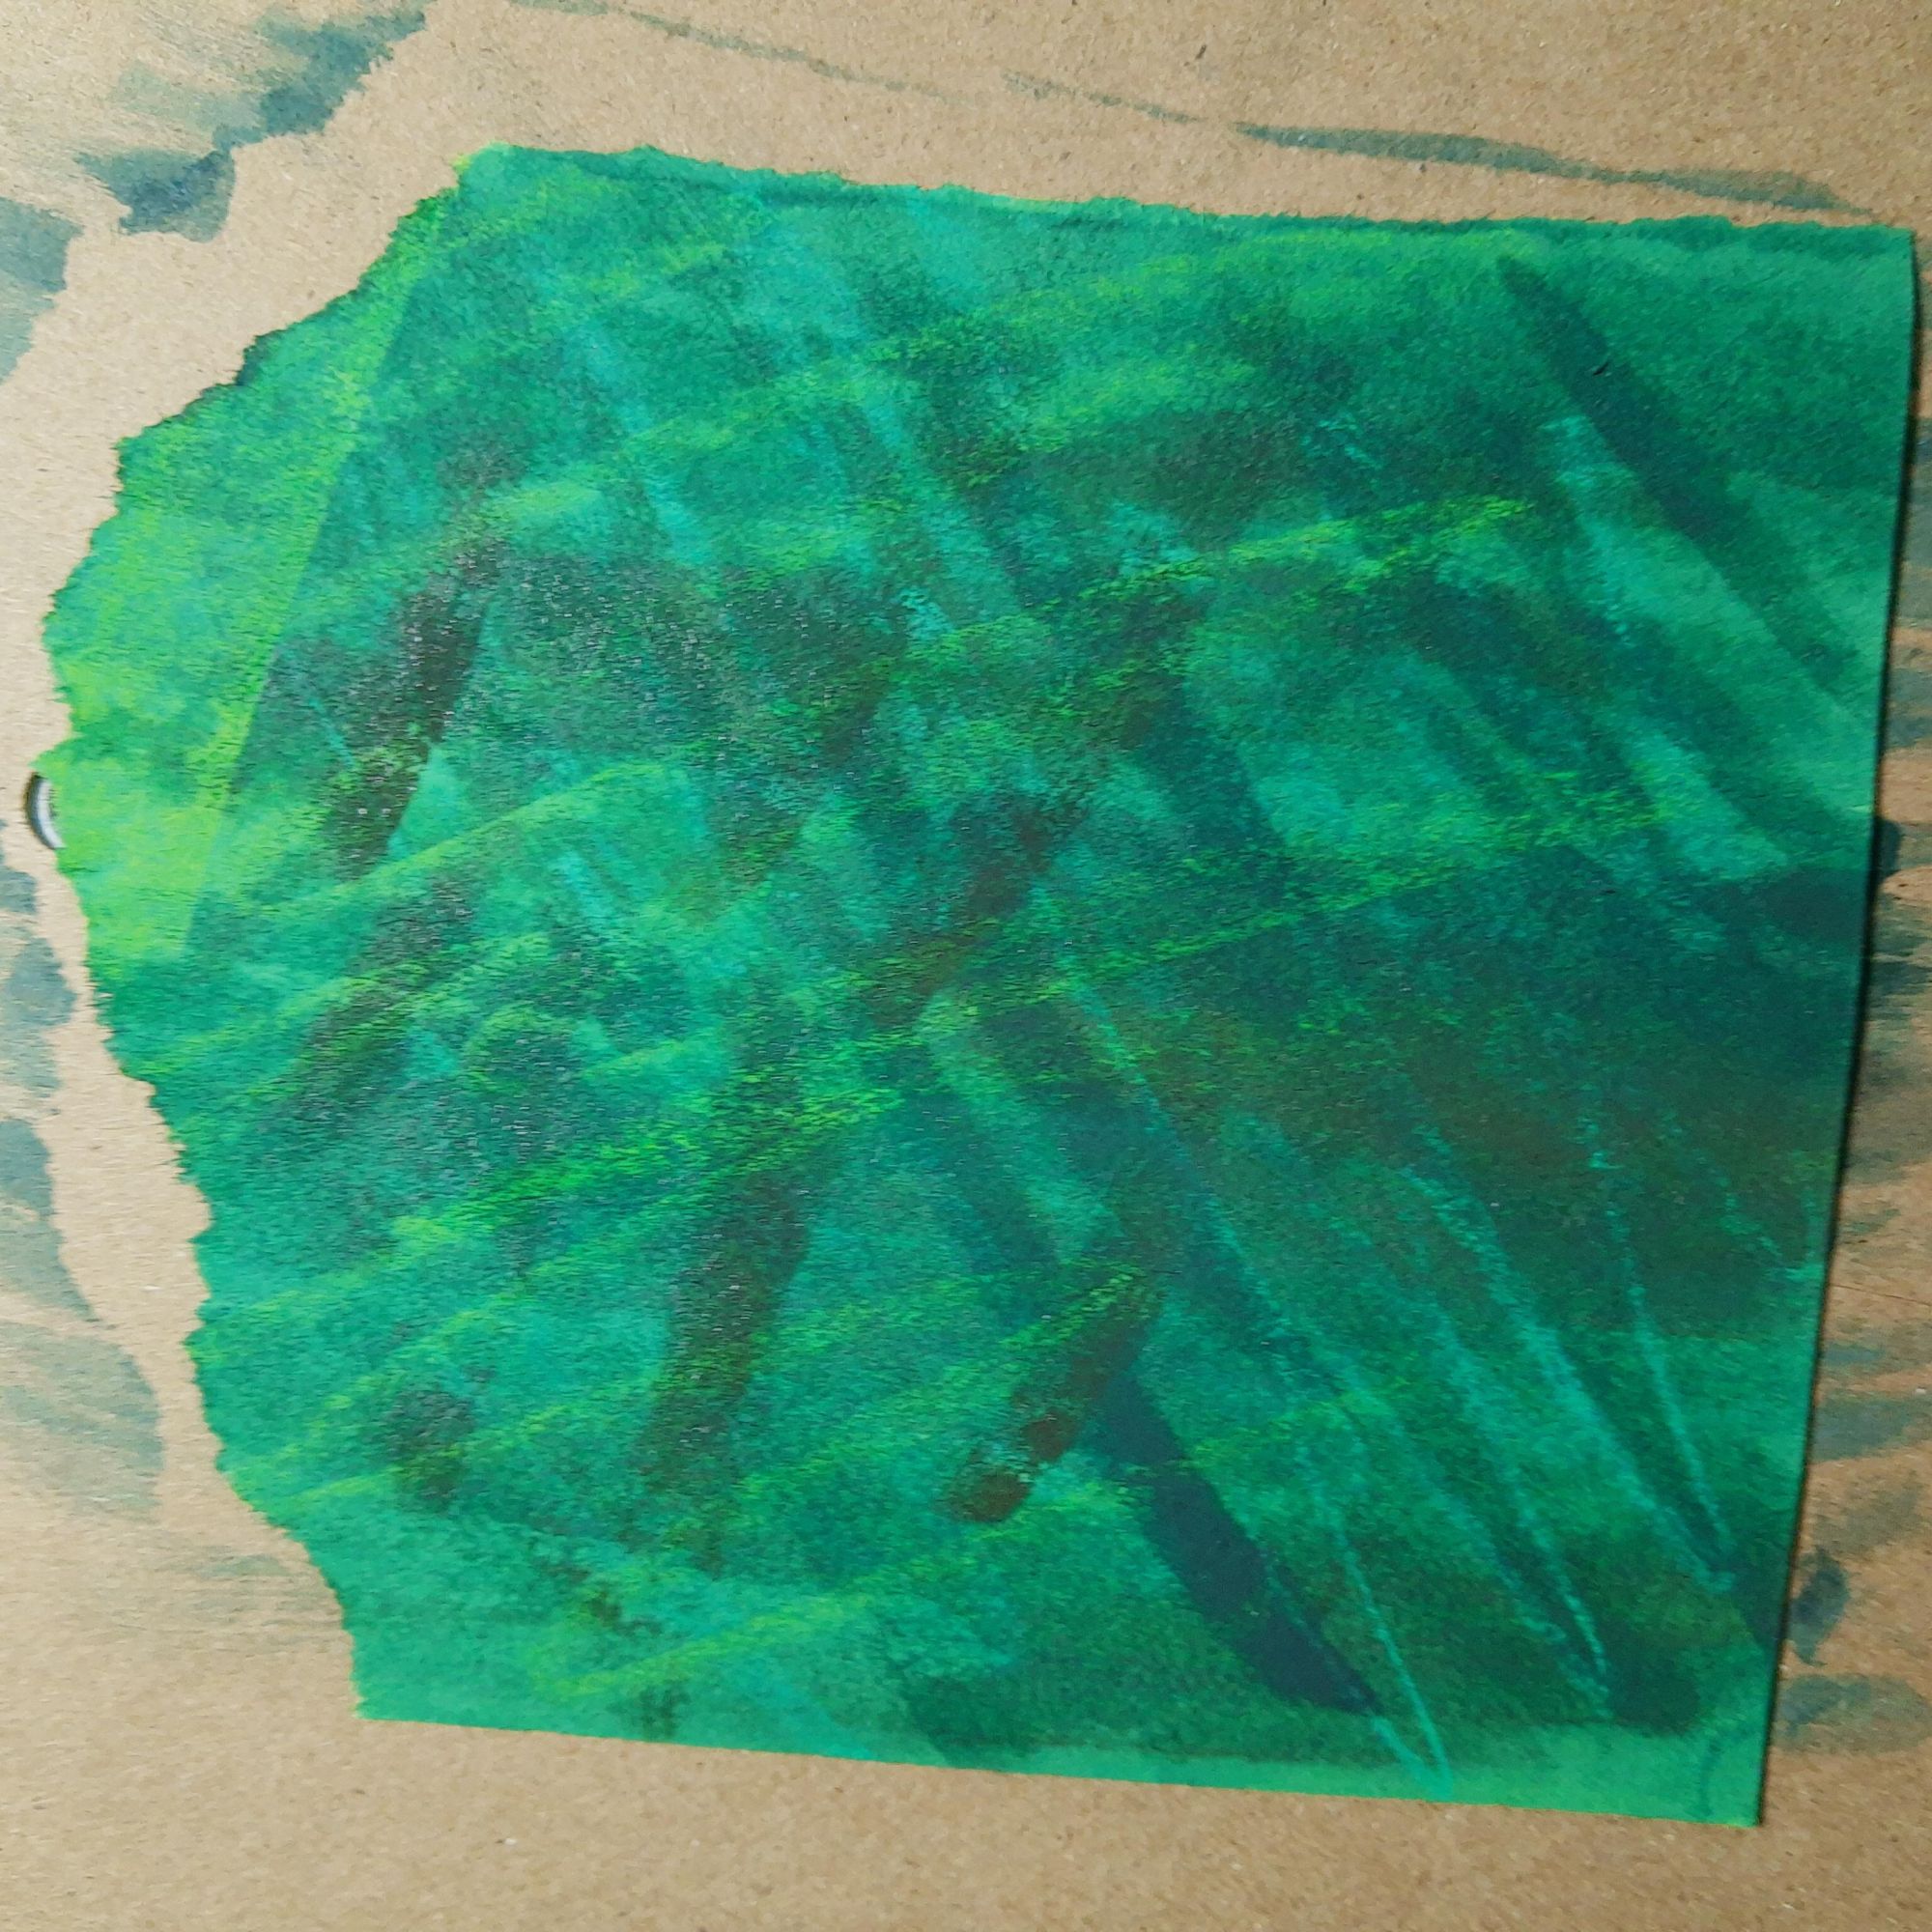
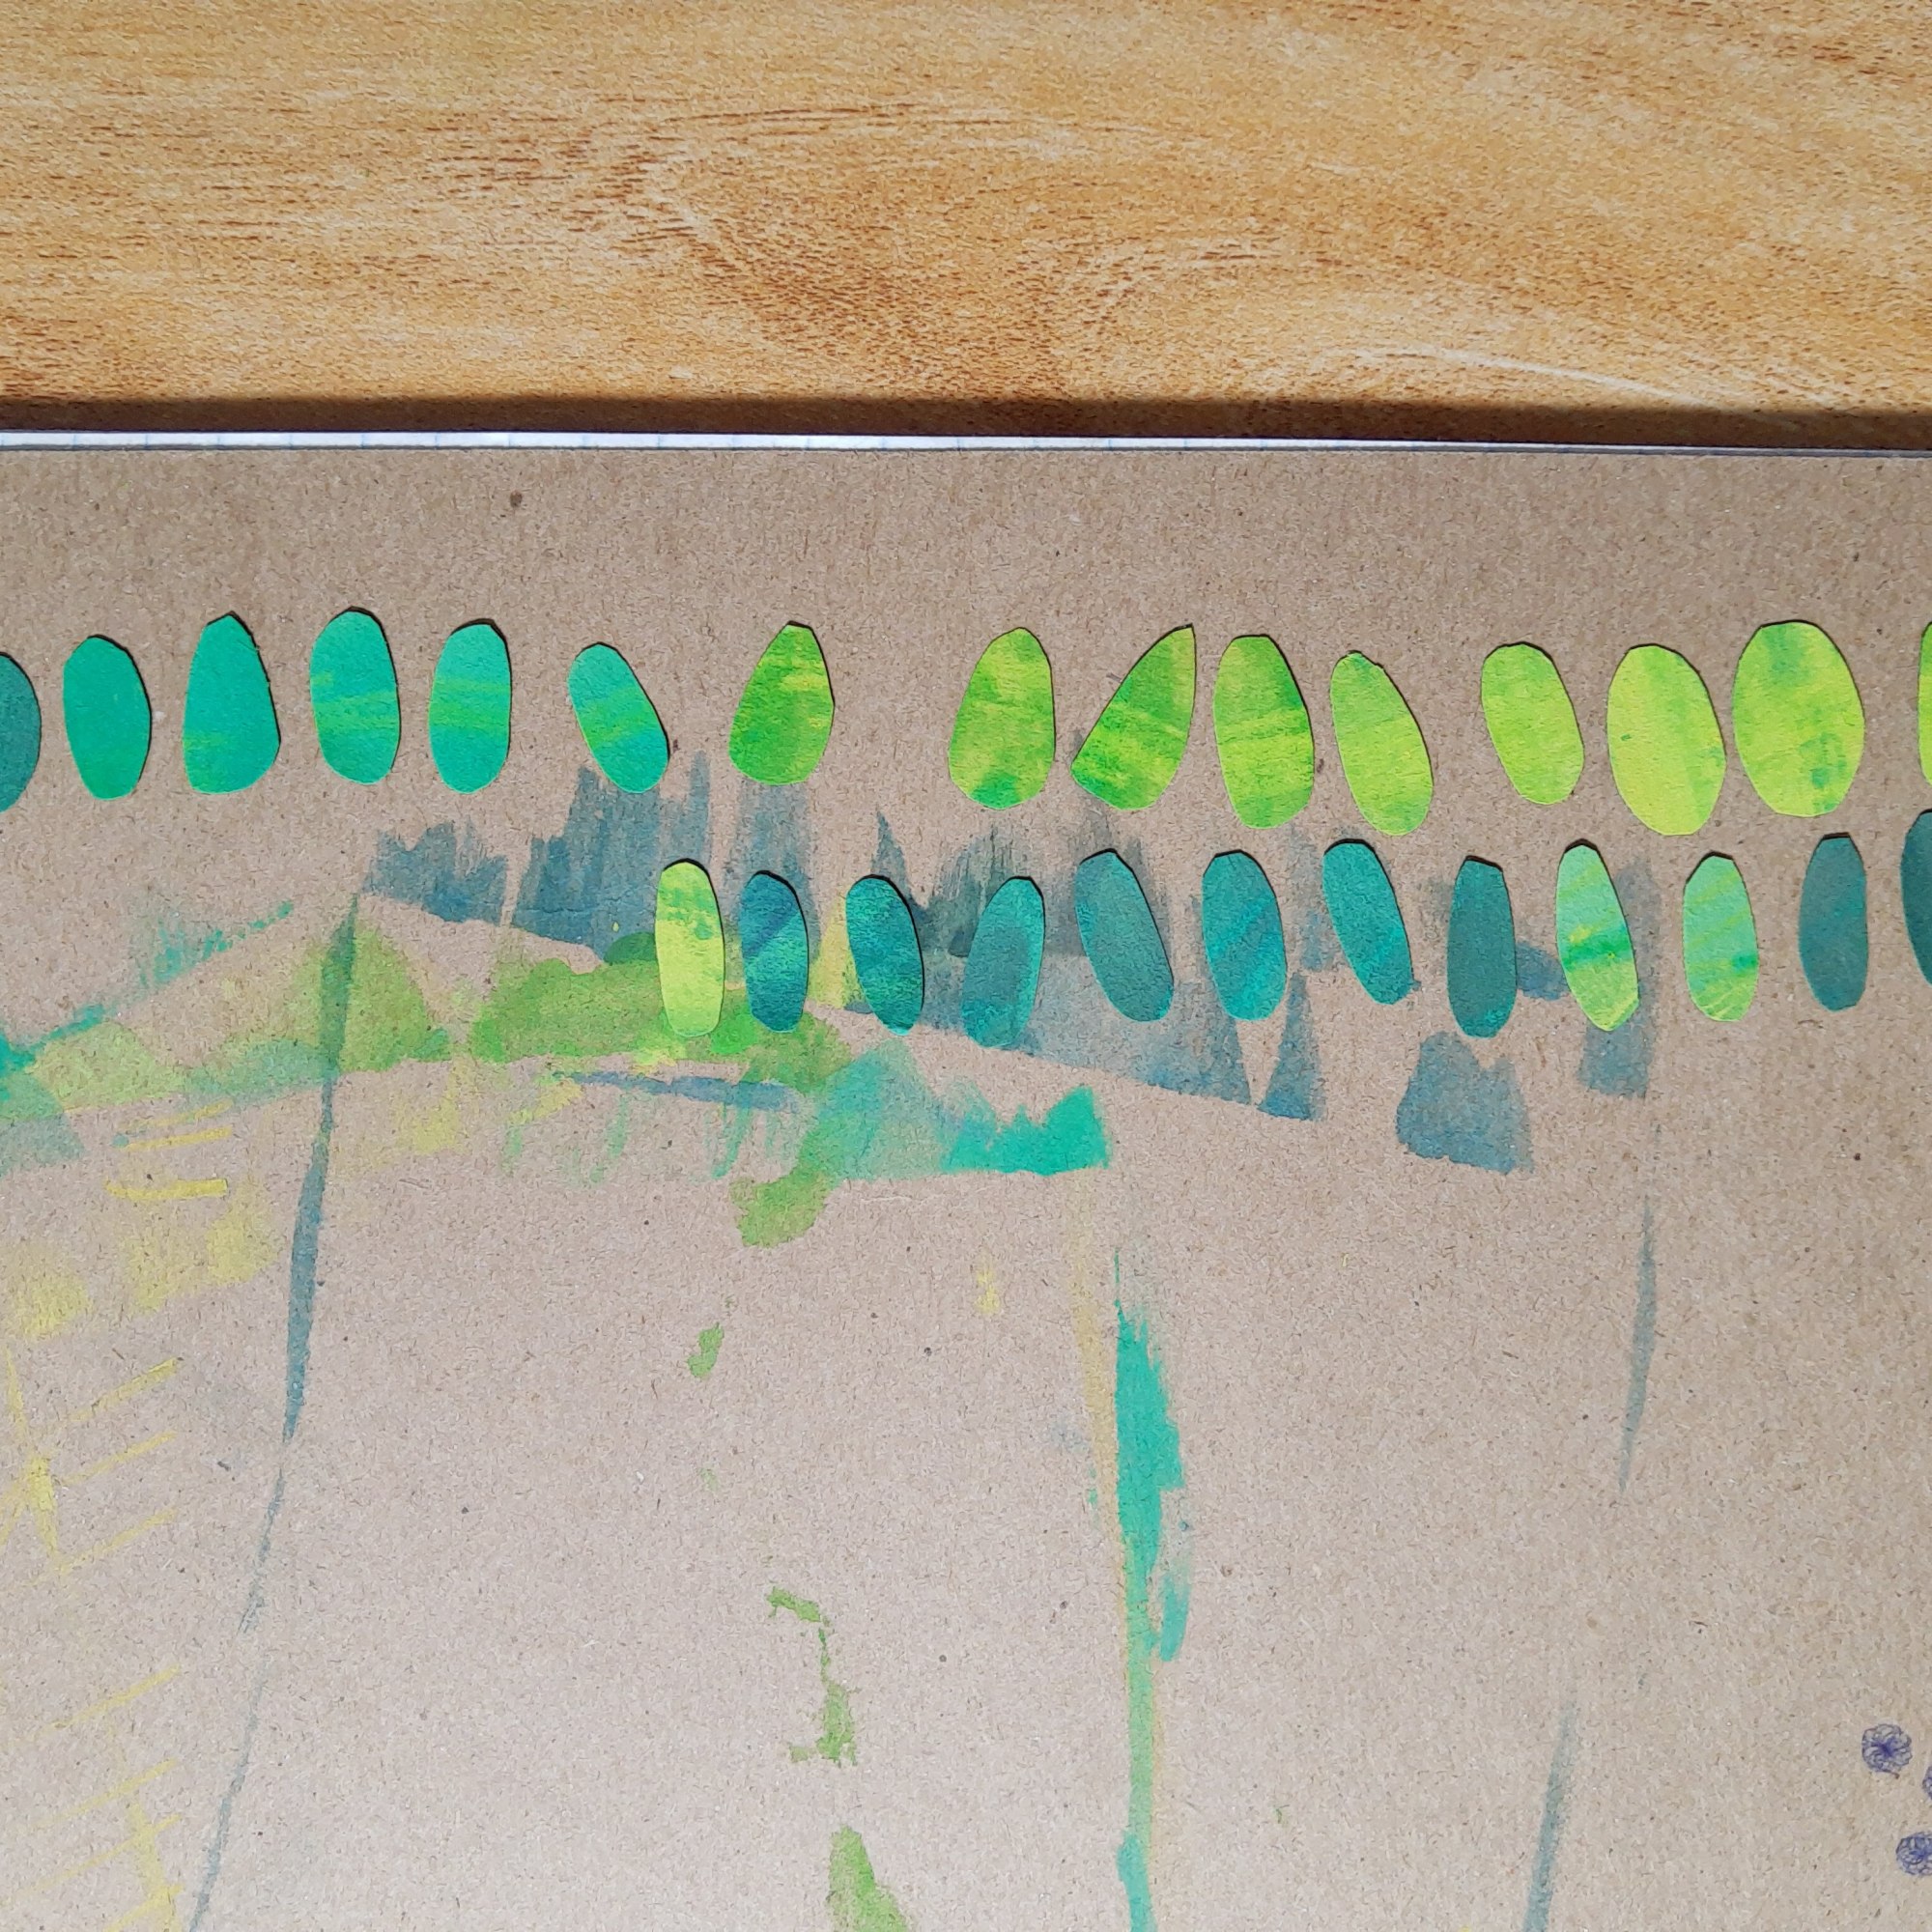
  1. First, I grabbed a ton of construction paper scraps and added random marks with crayons. Then I painted on top of the paper with watercolors/ink to add more color variations.
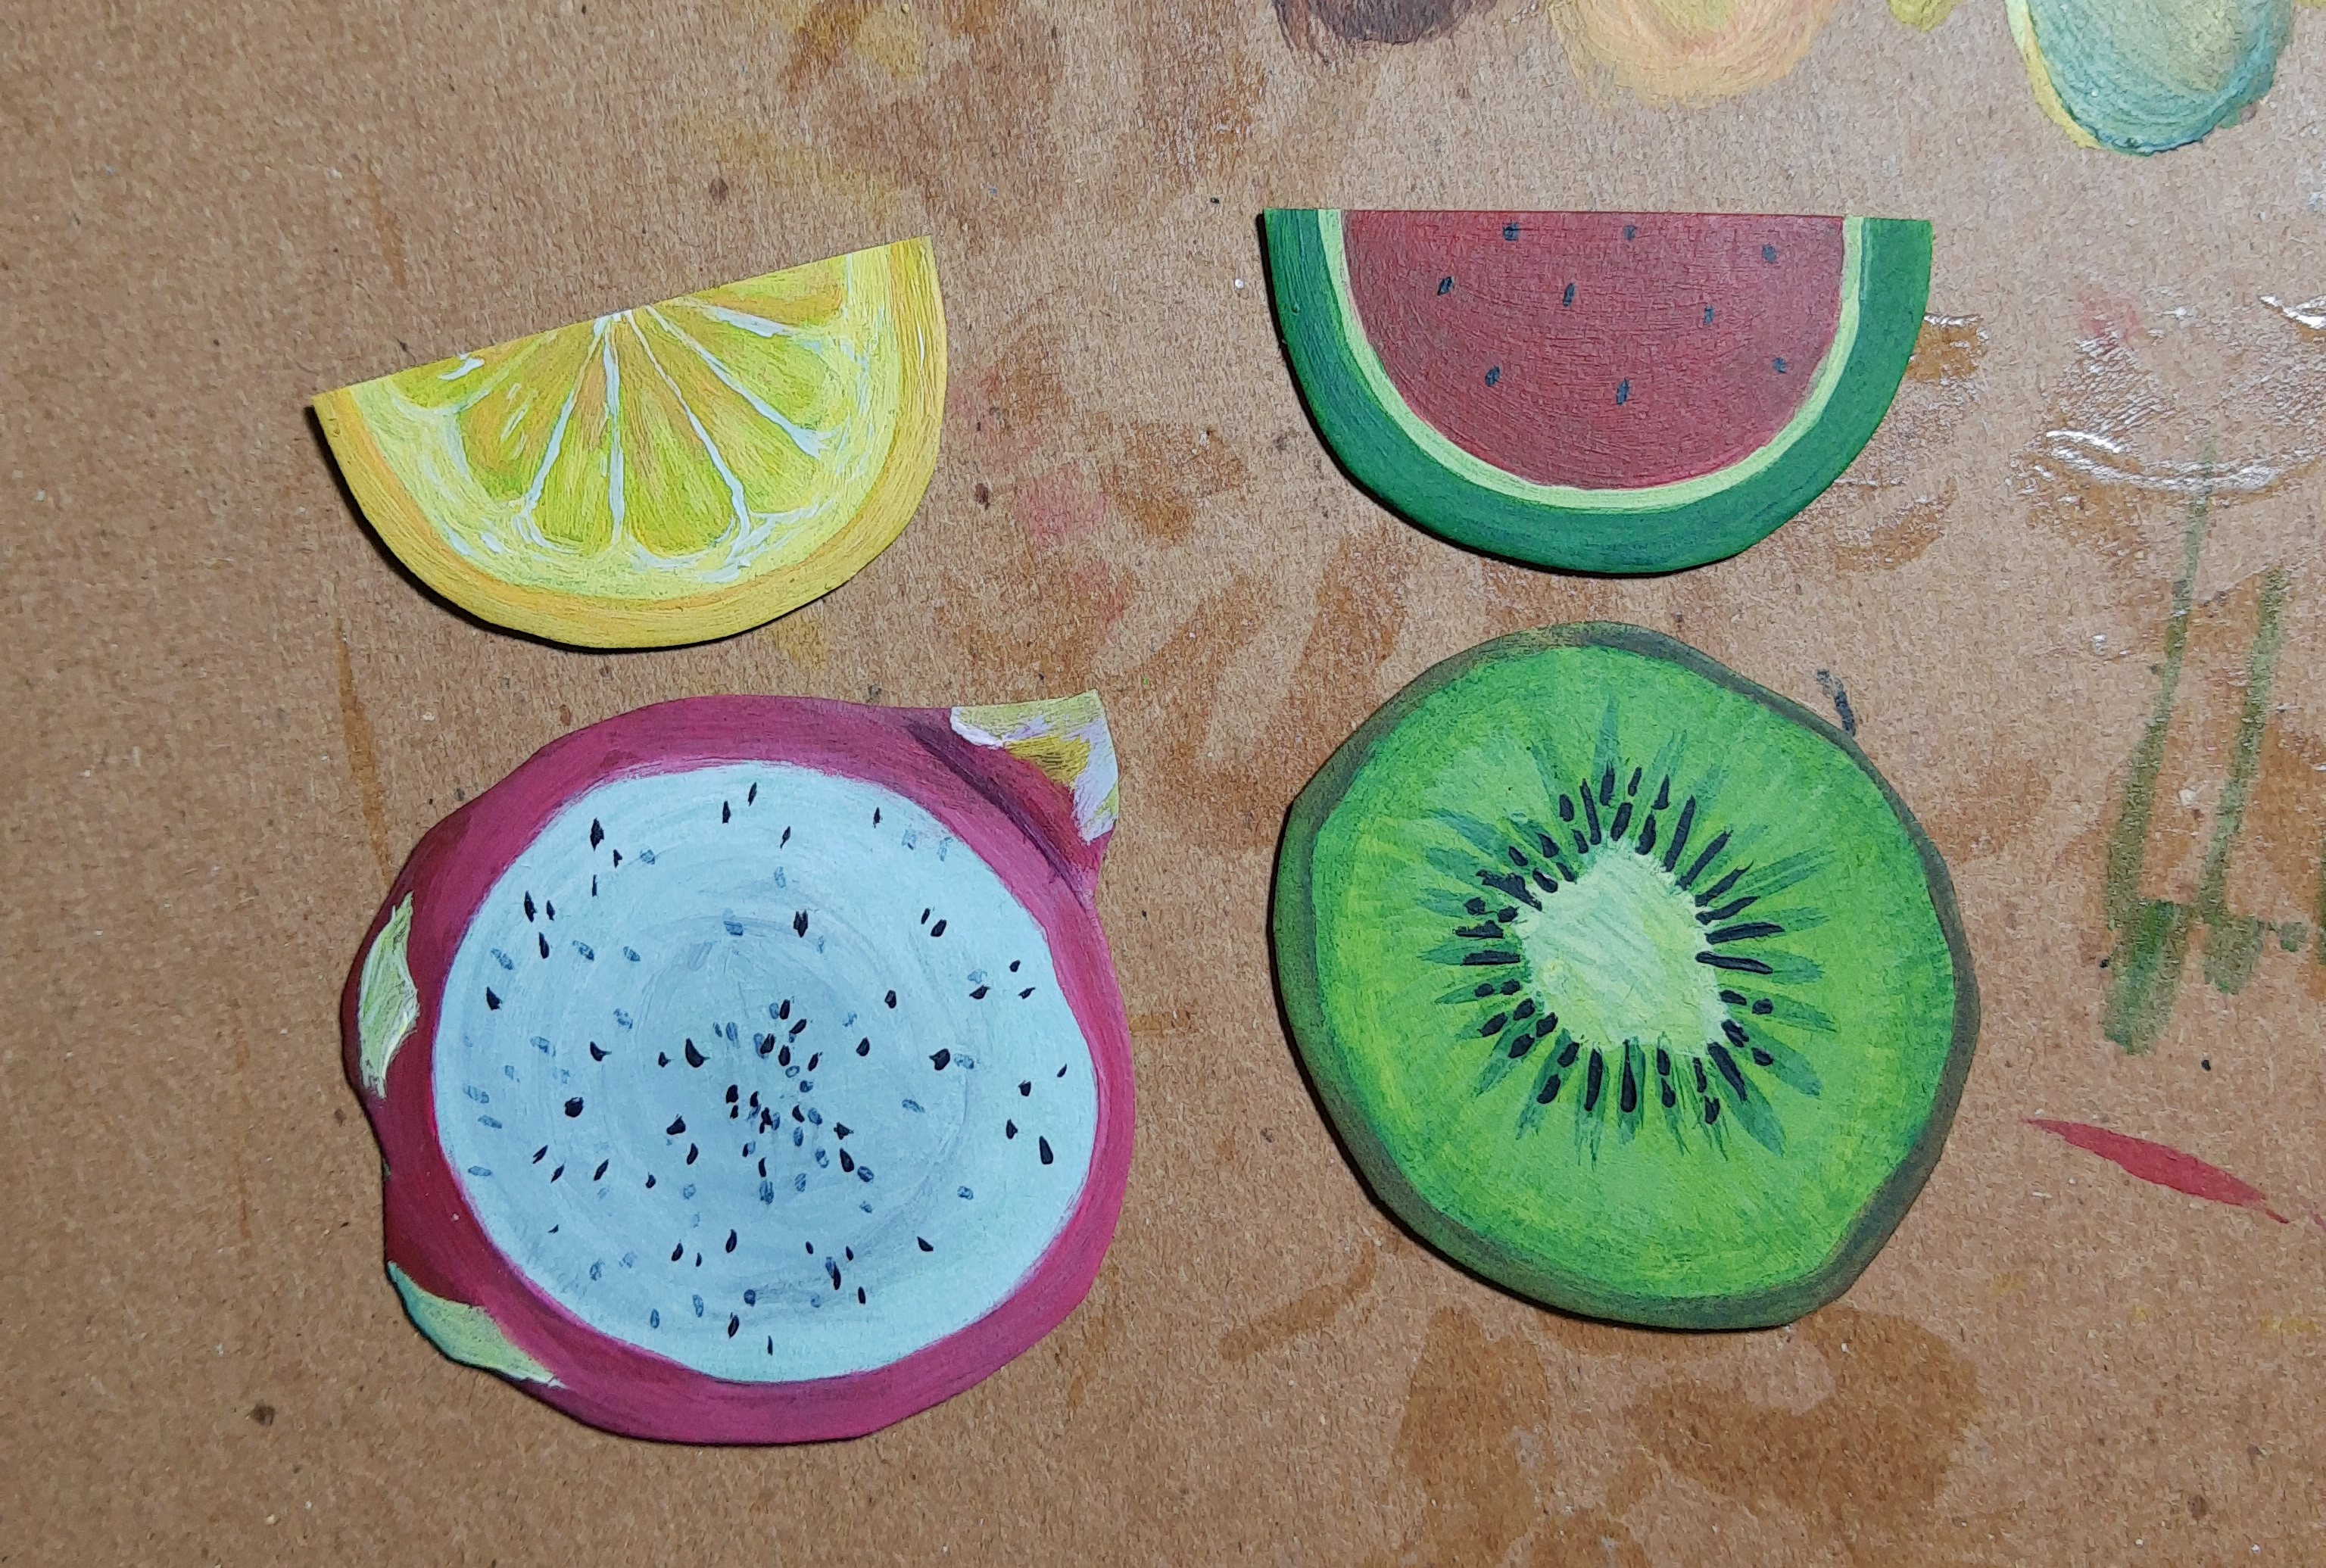
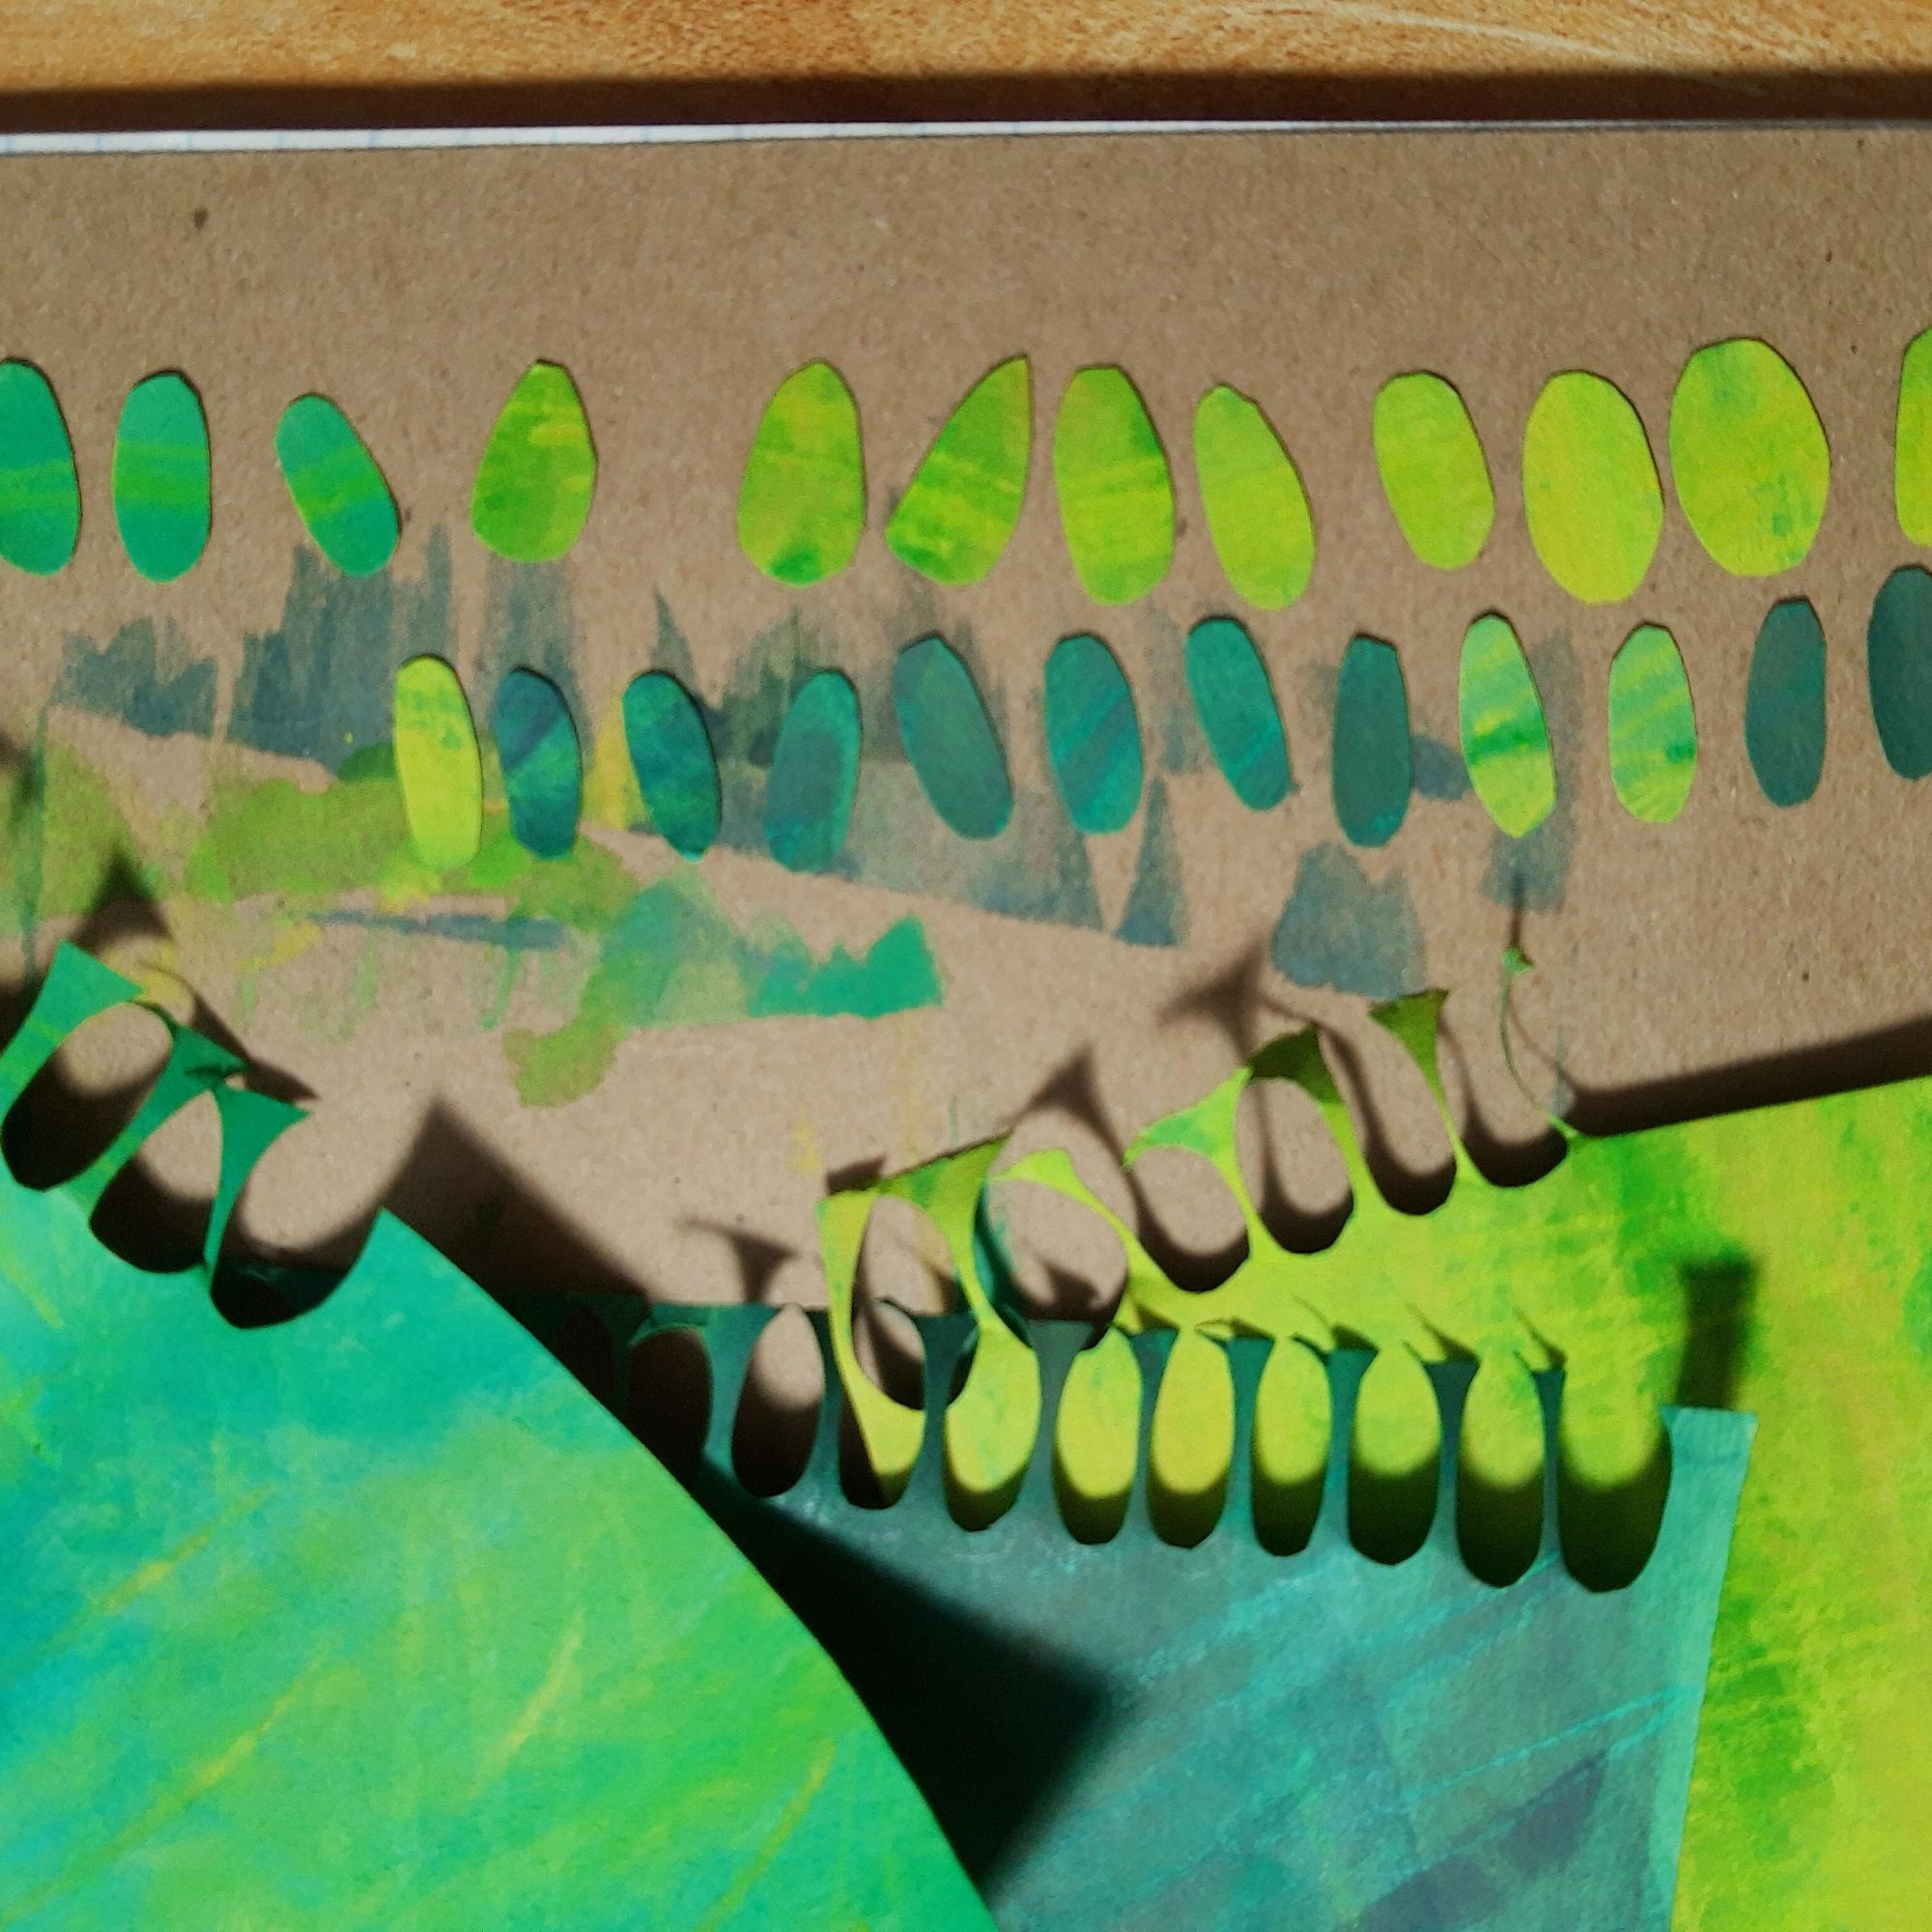
  2. Once I had all my papers prepped (I used green, red, yellow, purple, and brown), I began cutting out the different shapes to create a collaged caterpillar. Basically, lots of tiny ovals.
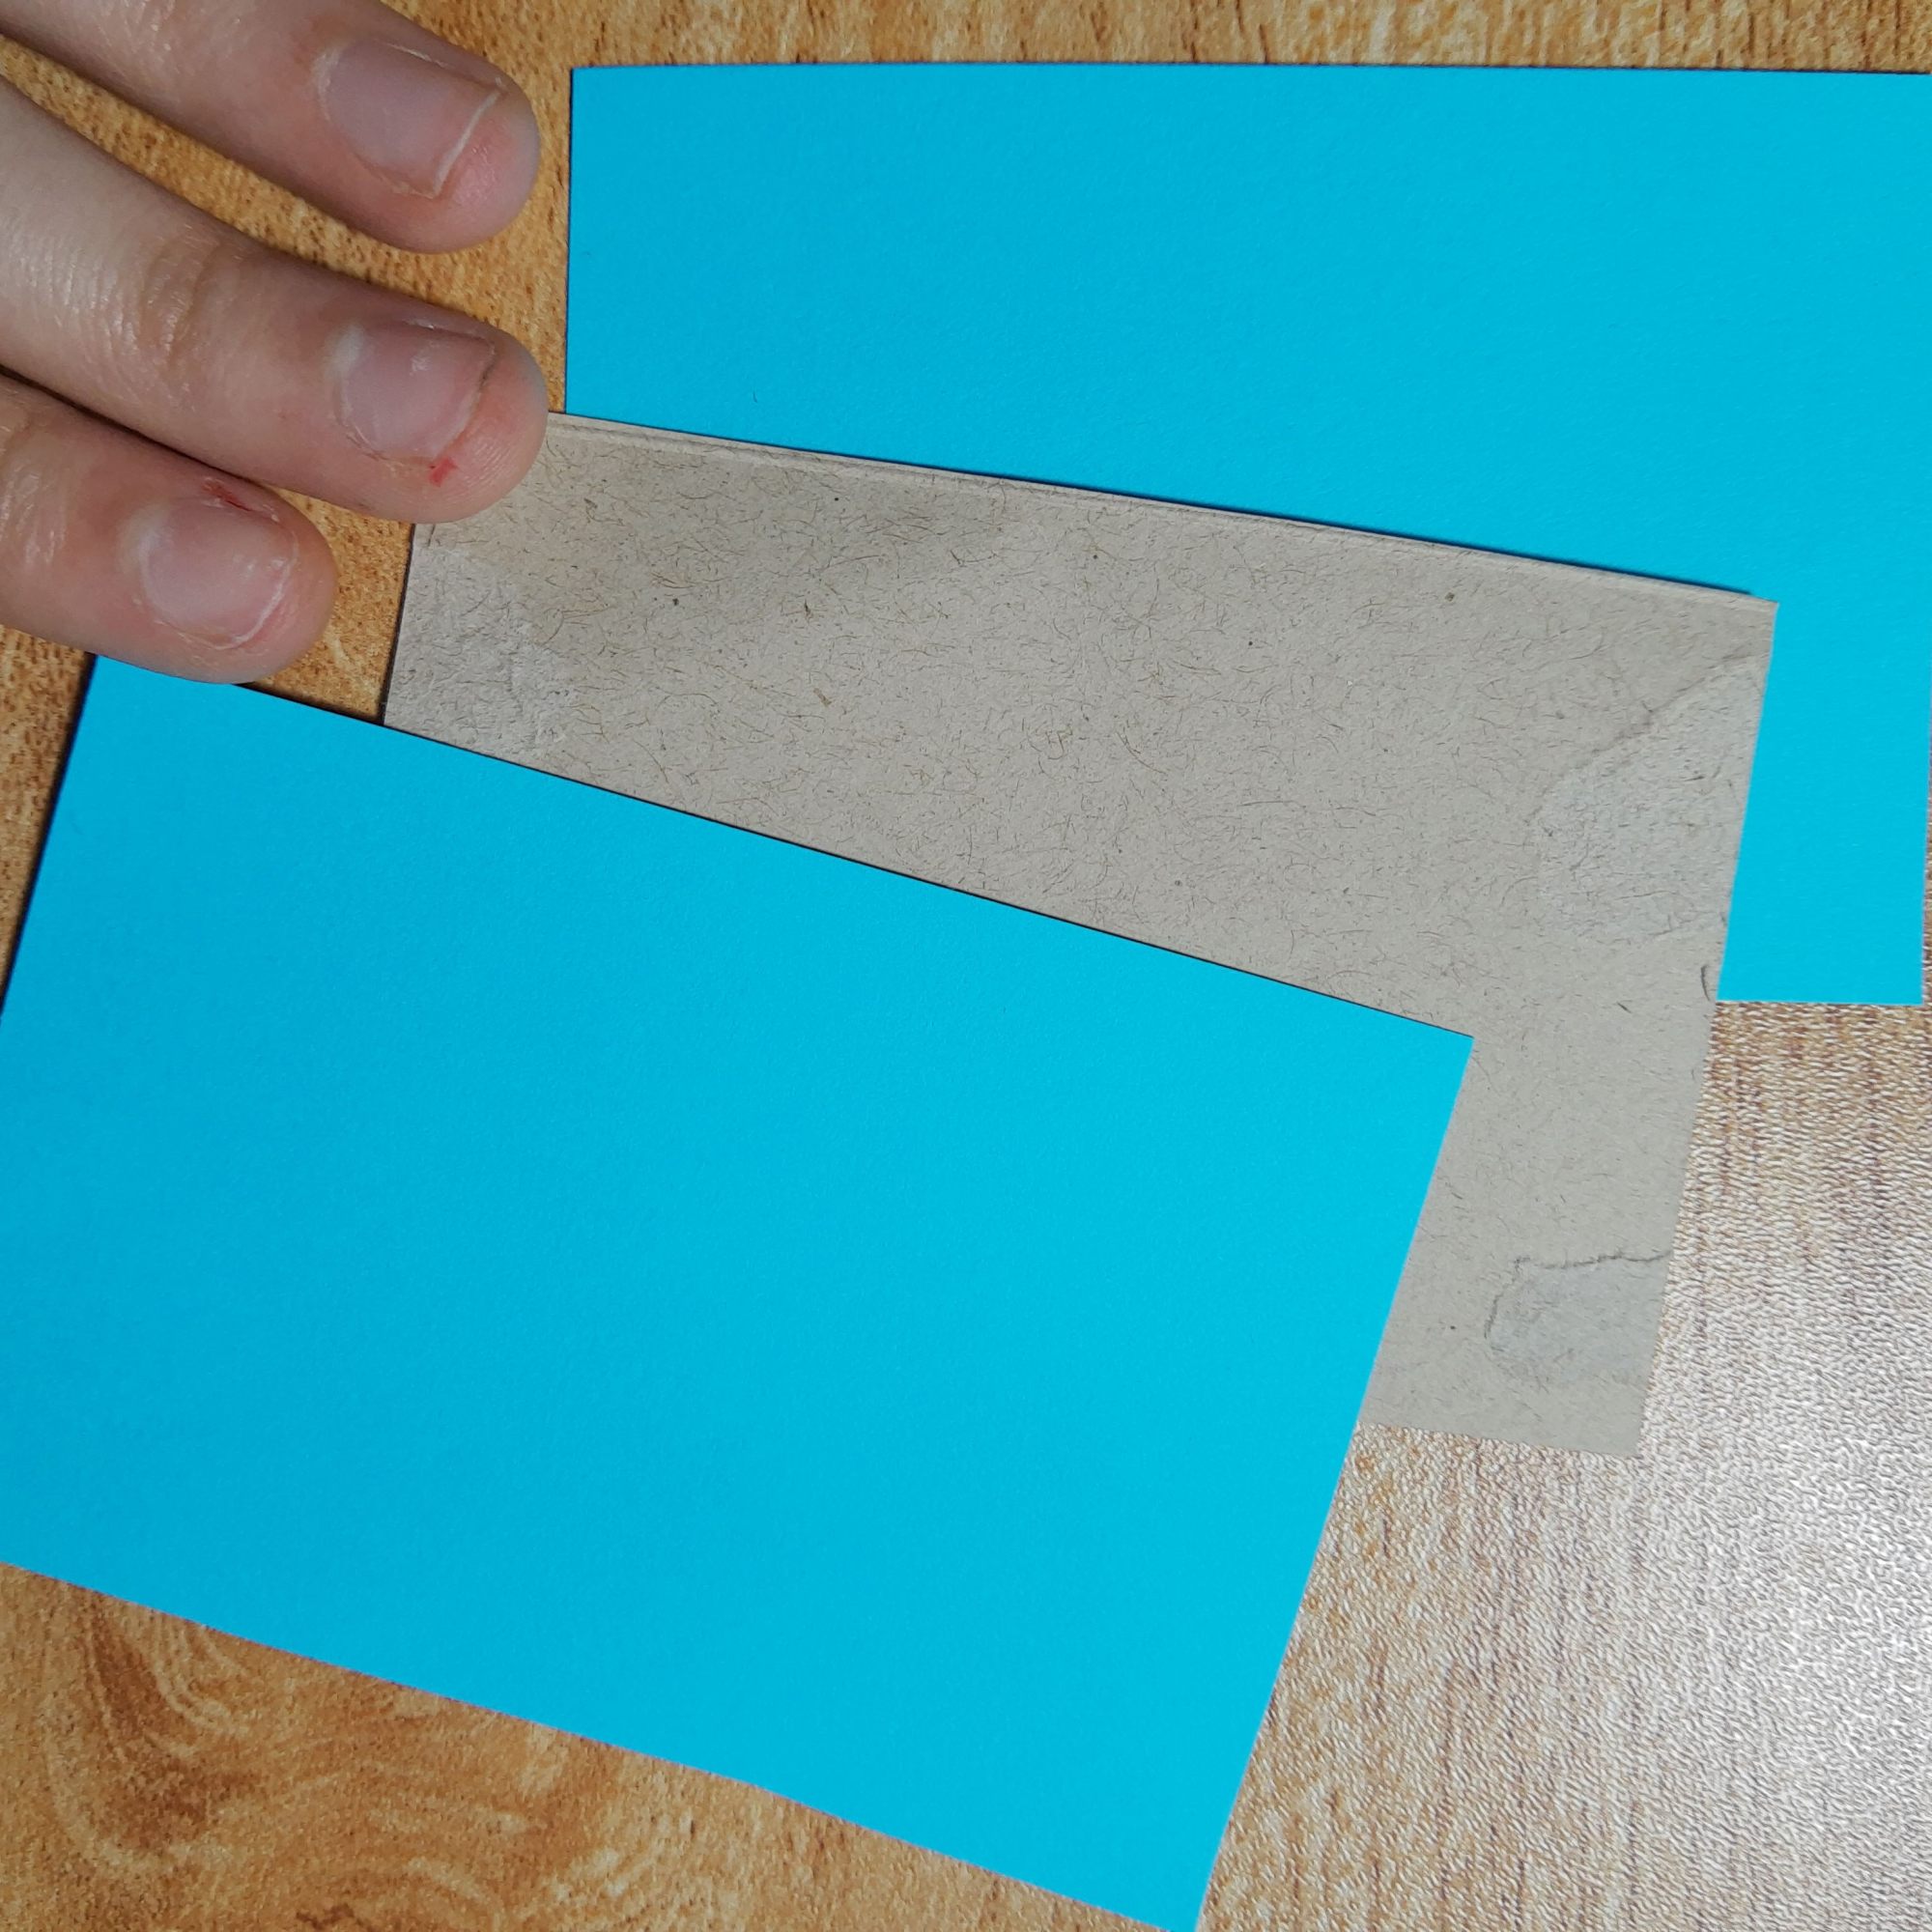
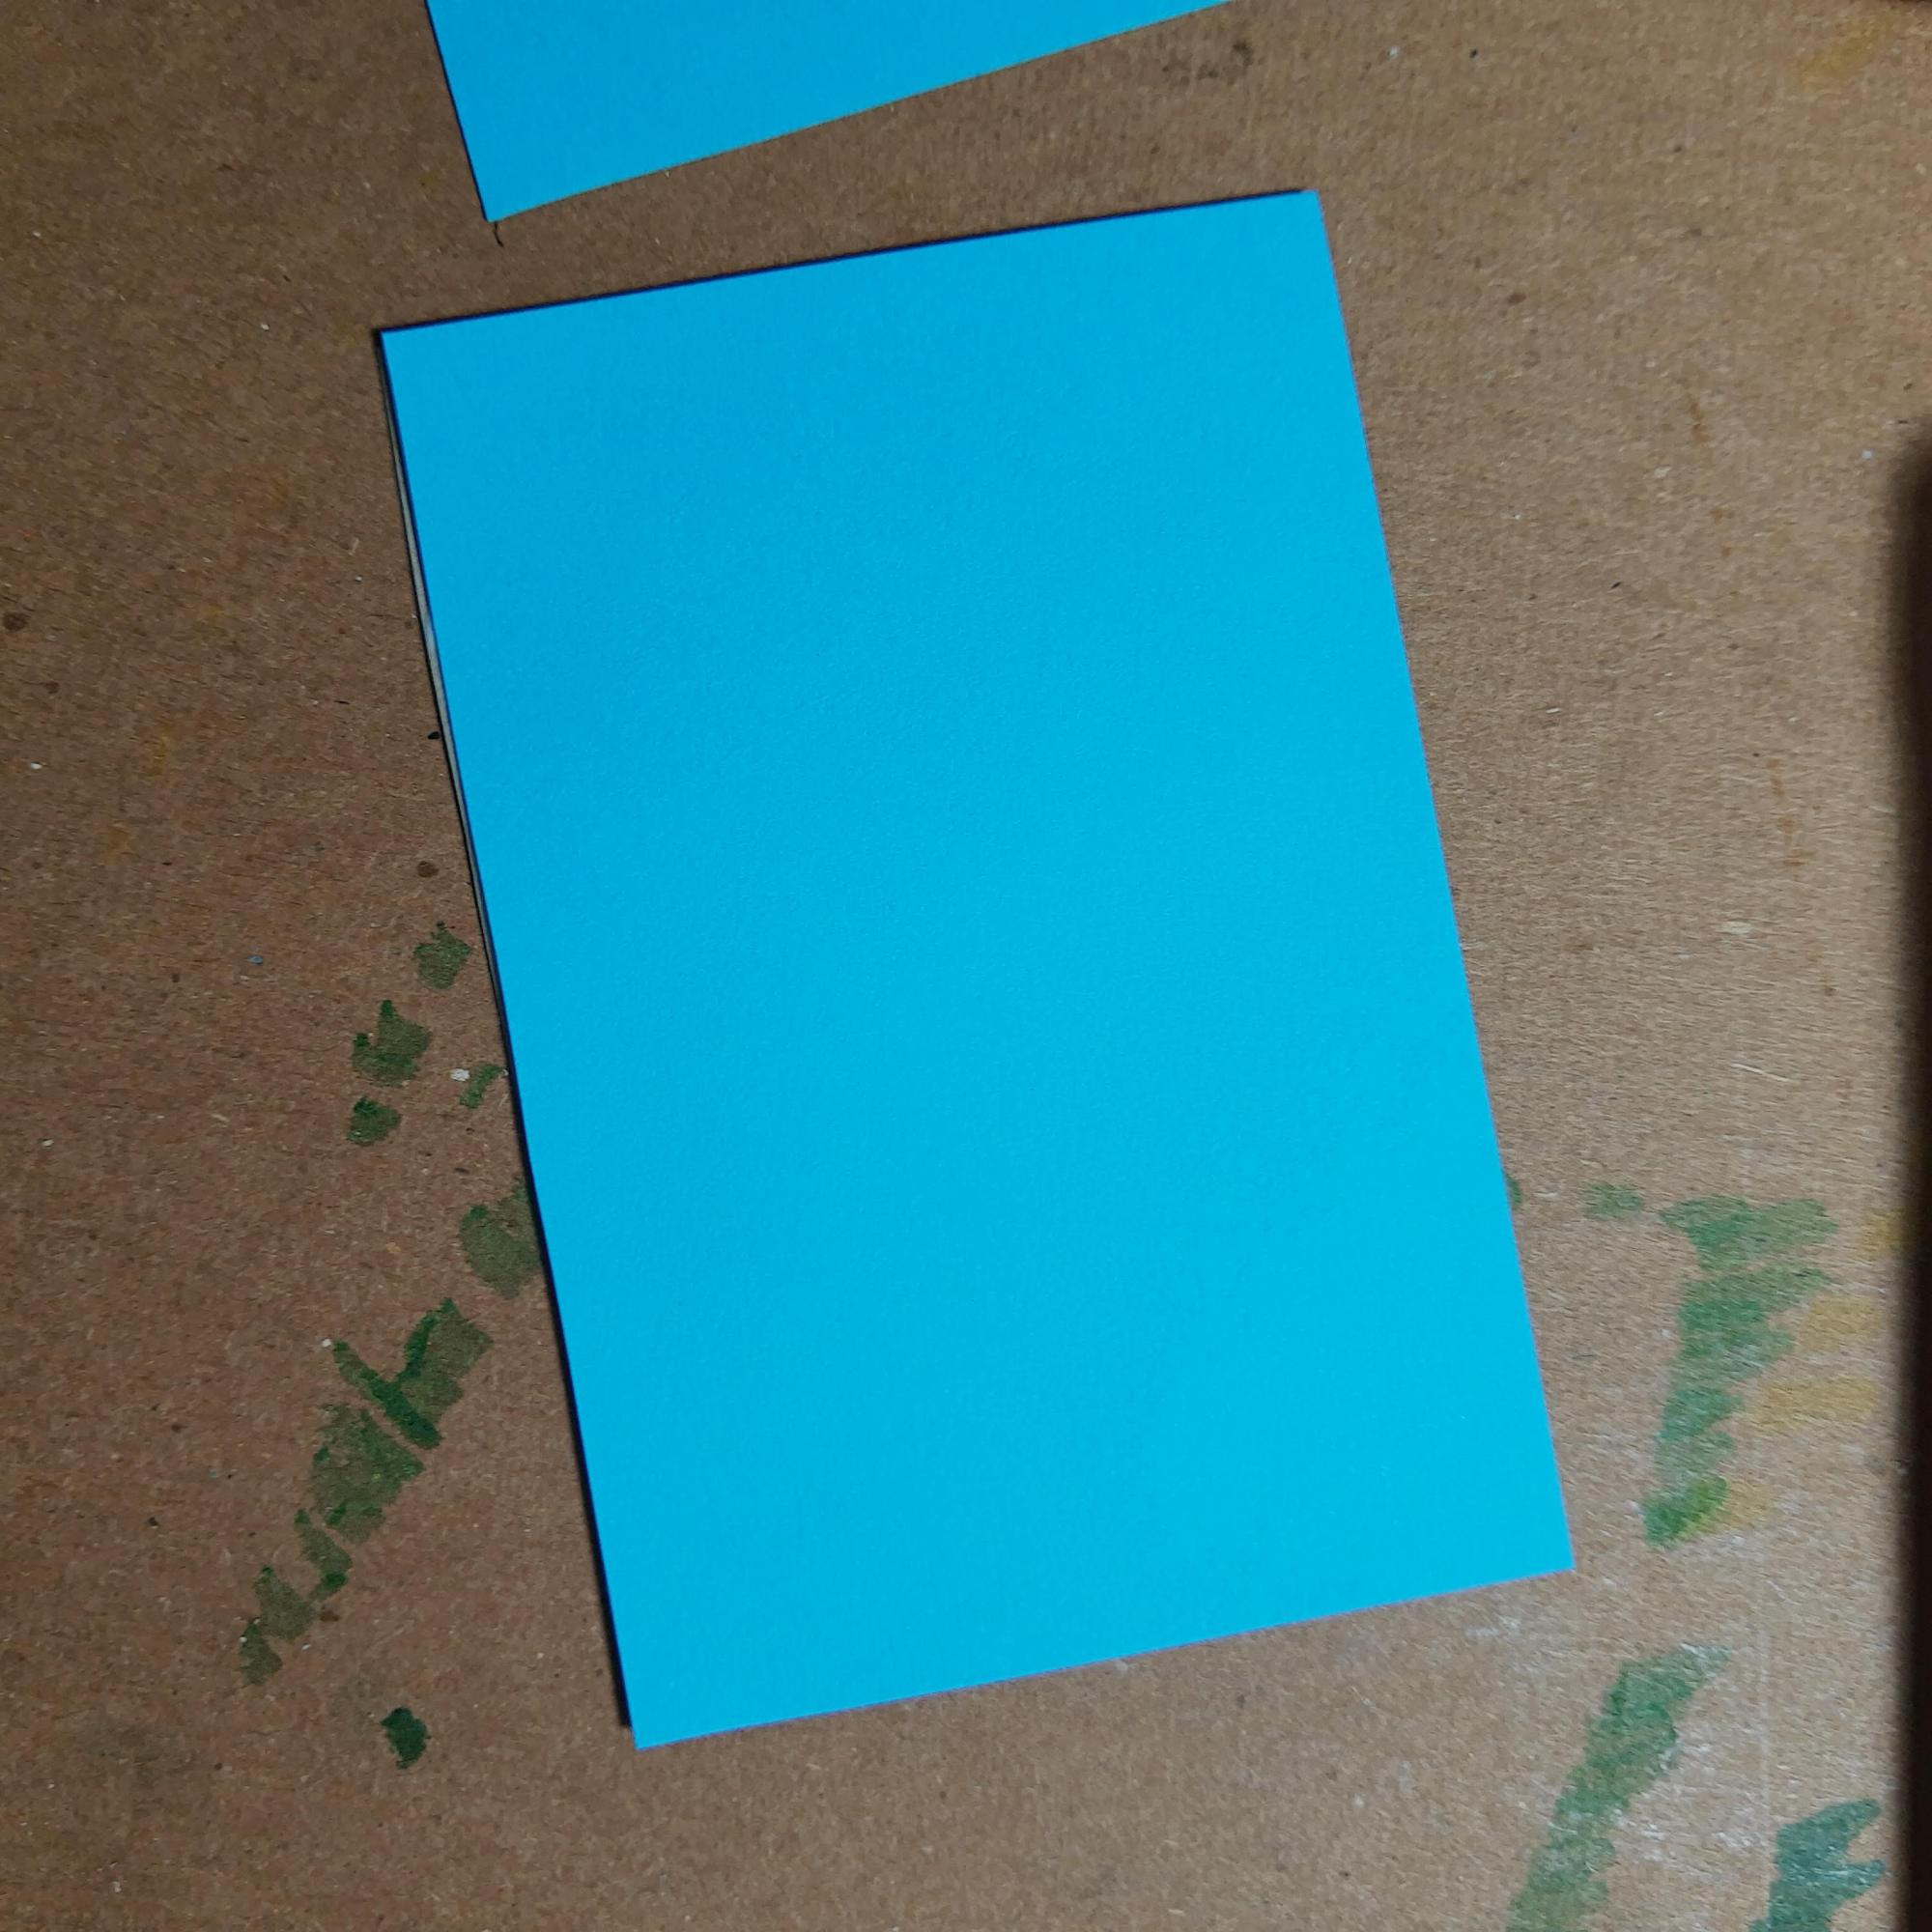
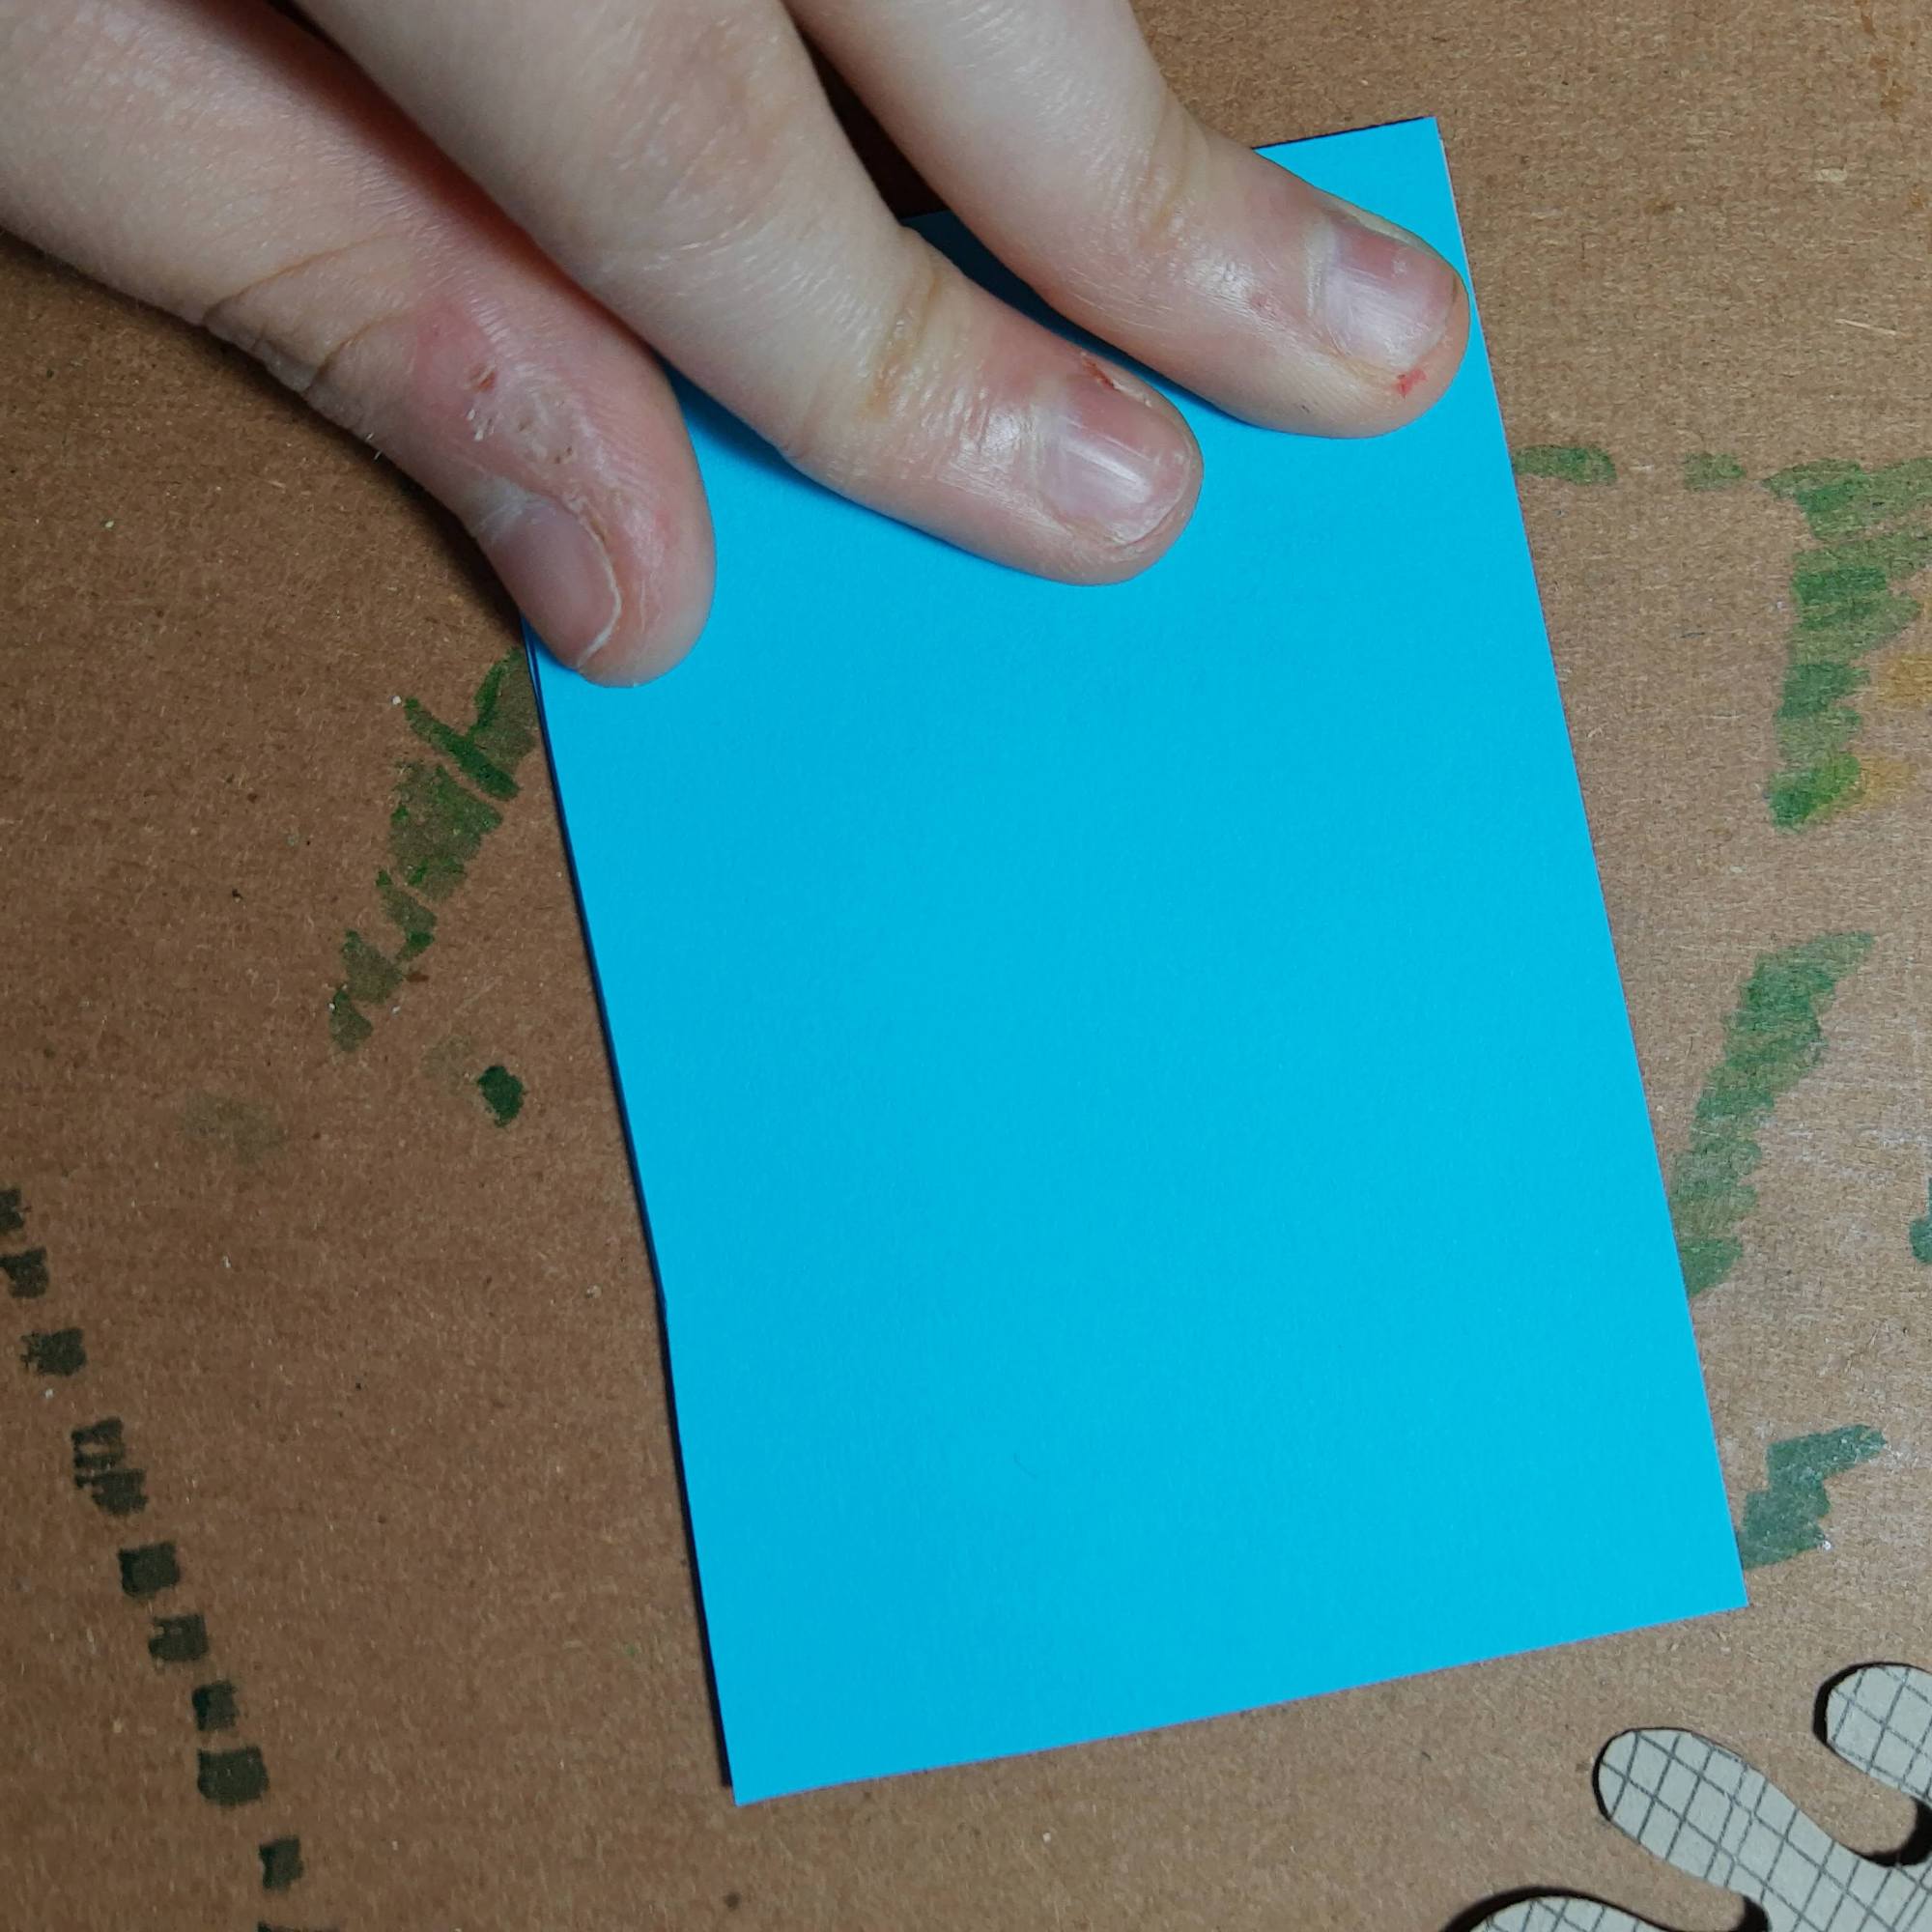
  3. Then, I mod podged all the collage pieces onto my base paper. To make the base paper, I mod podged three pieces of cardstock together to make a sturdy base. Once I attached all my collaged pieces of the caterpillar to the base, I went over the whole thing with a couple layers of mod podge to hold everything in place and protect the paper.
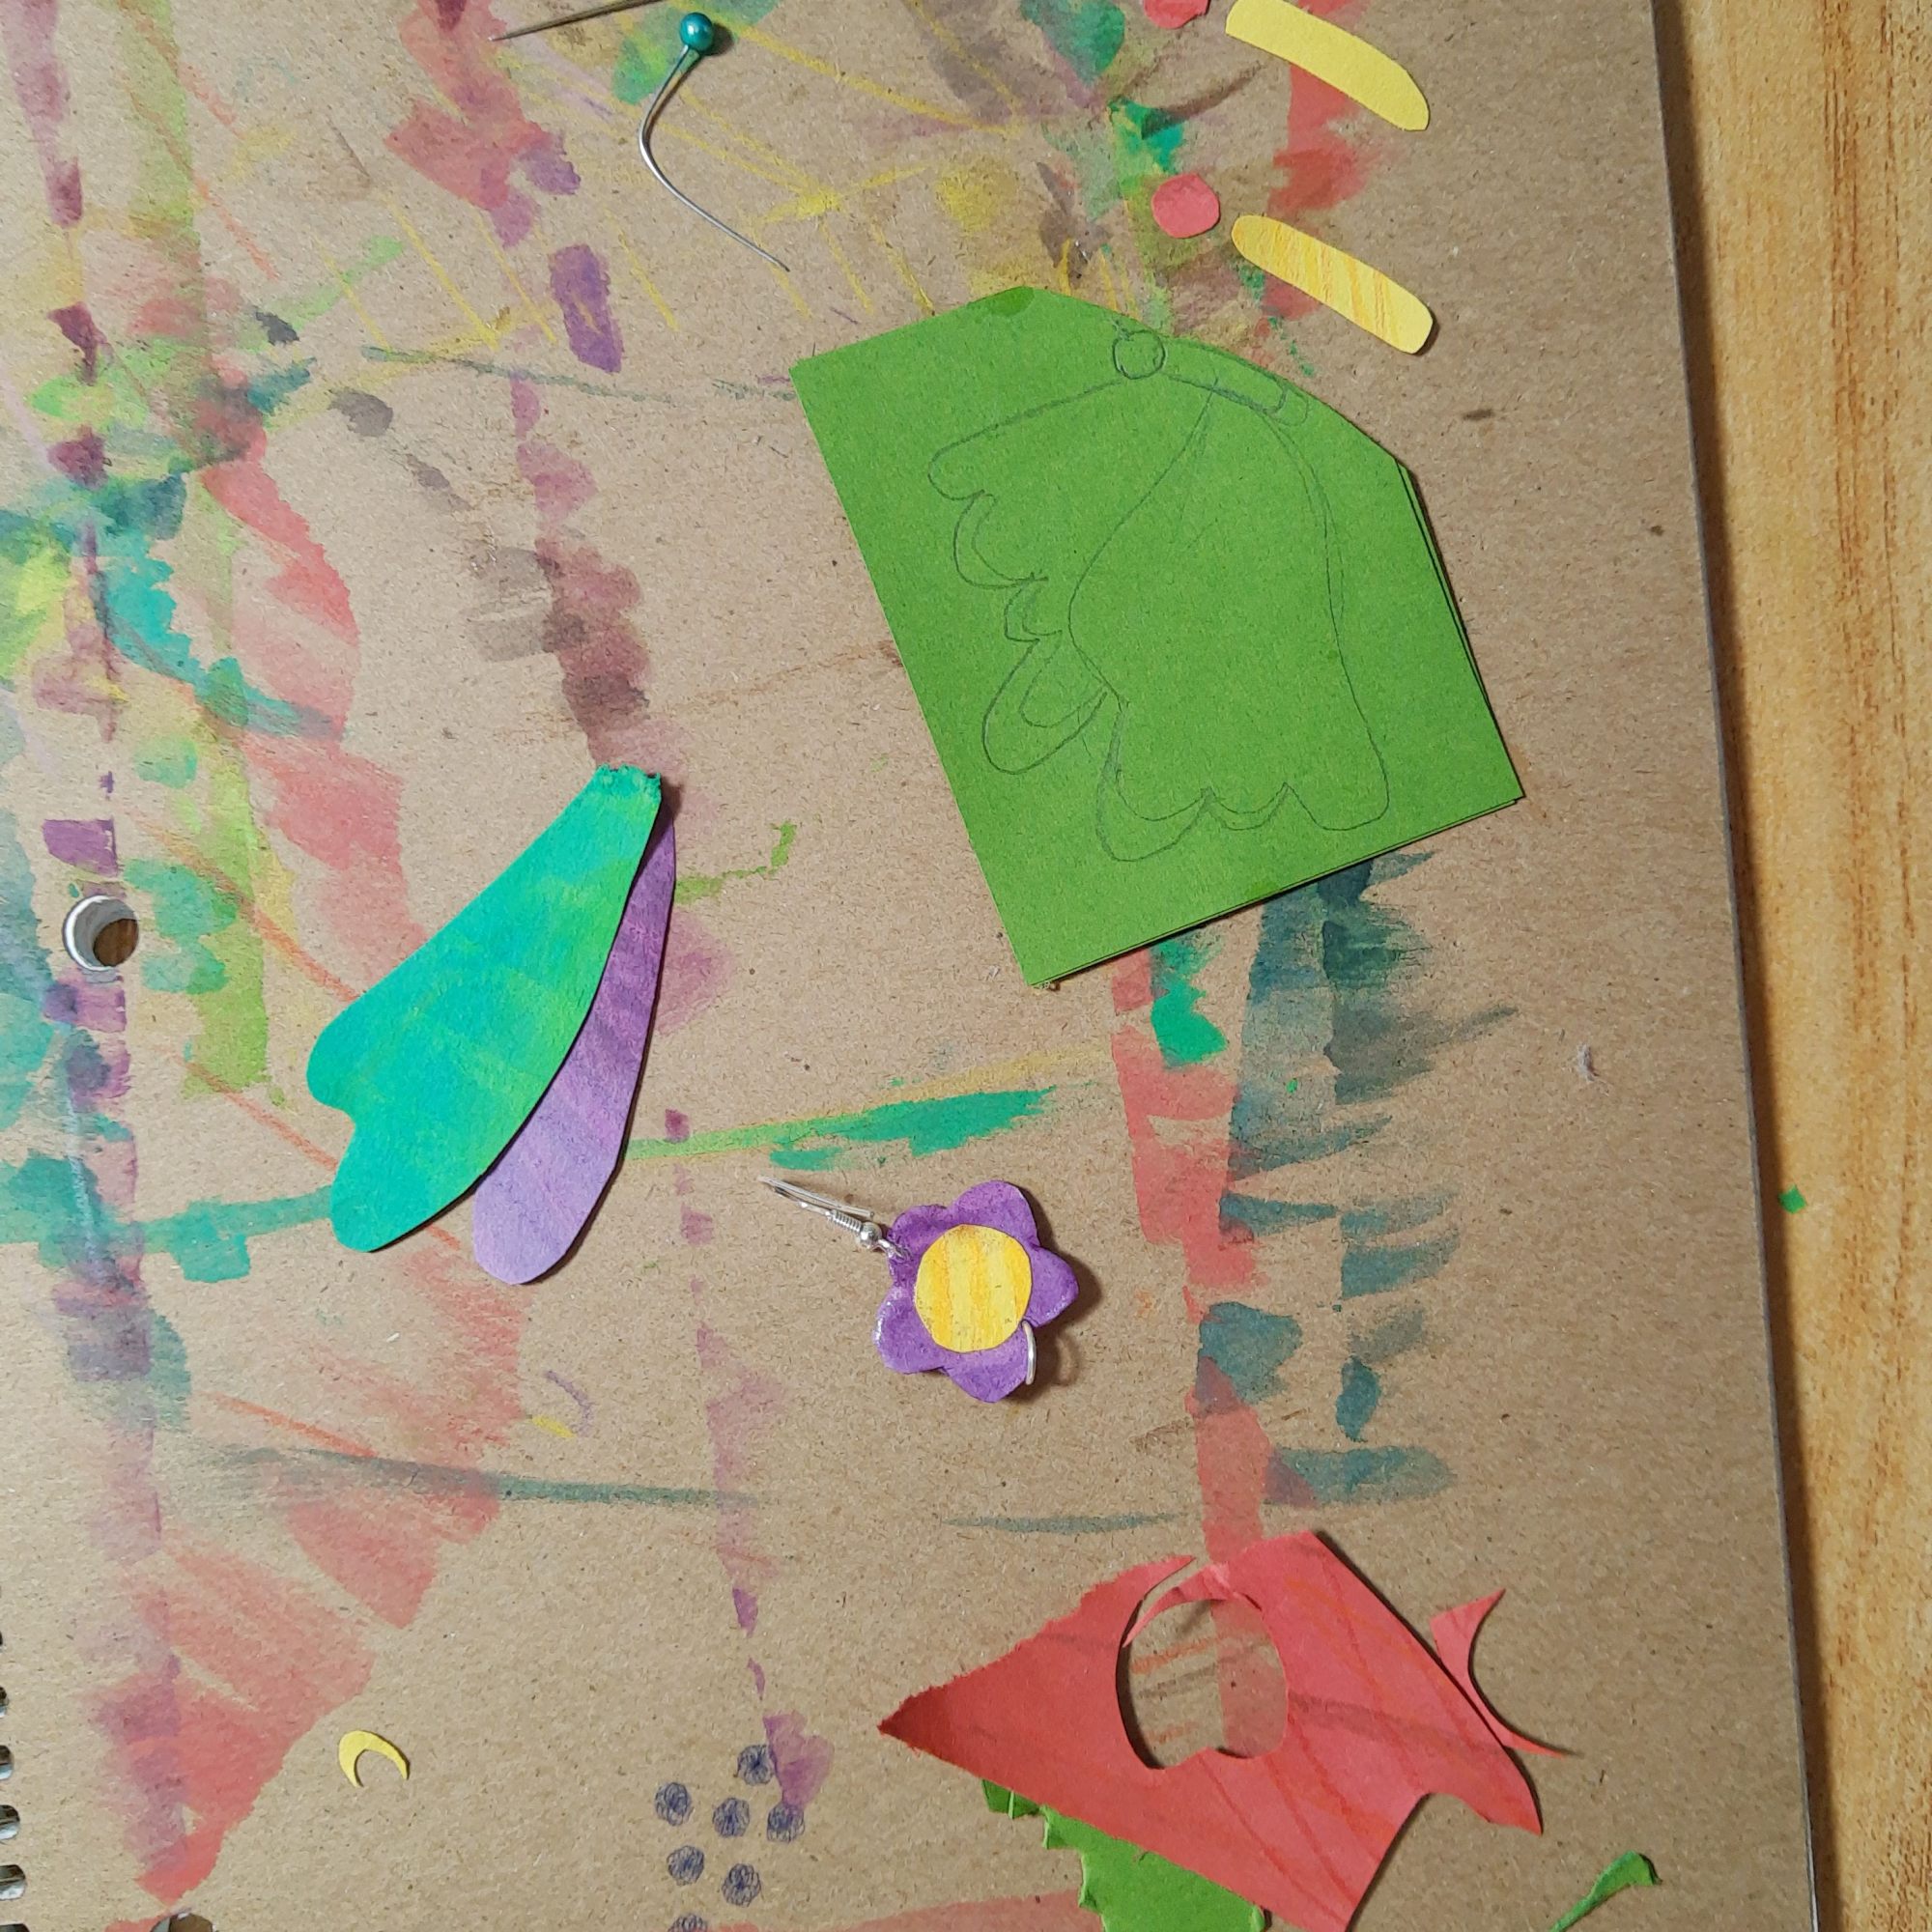
  4. For the butterfly earring, I followed the same steps, yet I went in with different shapes and colors. In the second to last picture below, you can see how I sketched out my butterfly shape and used that as a base for the collage.
  5. Next, I added in the details. I added a small piece of wire for the butterfly antennae, and then I made a flower and an apple with a hole in it for the top part of the earrings.
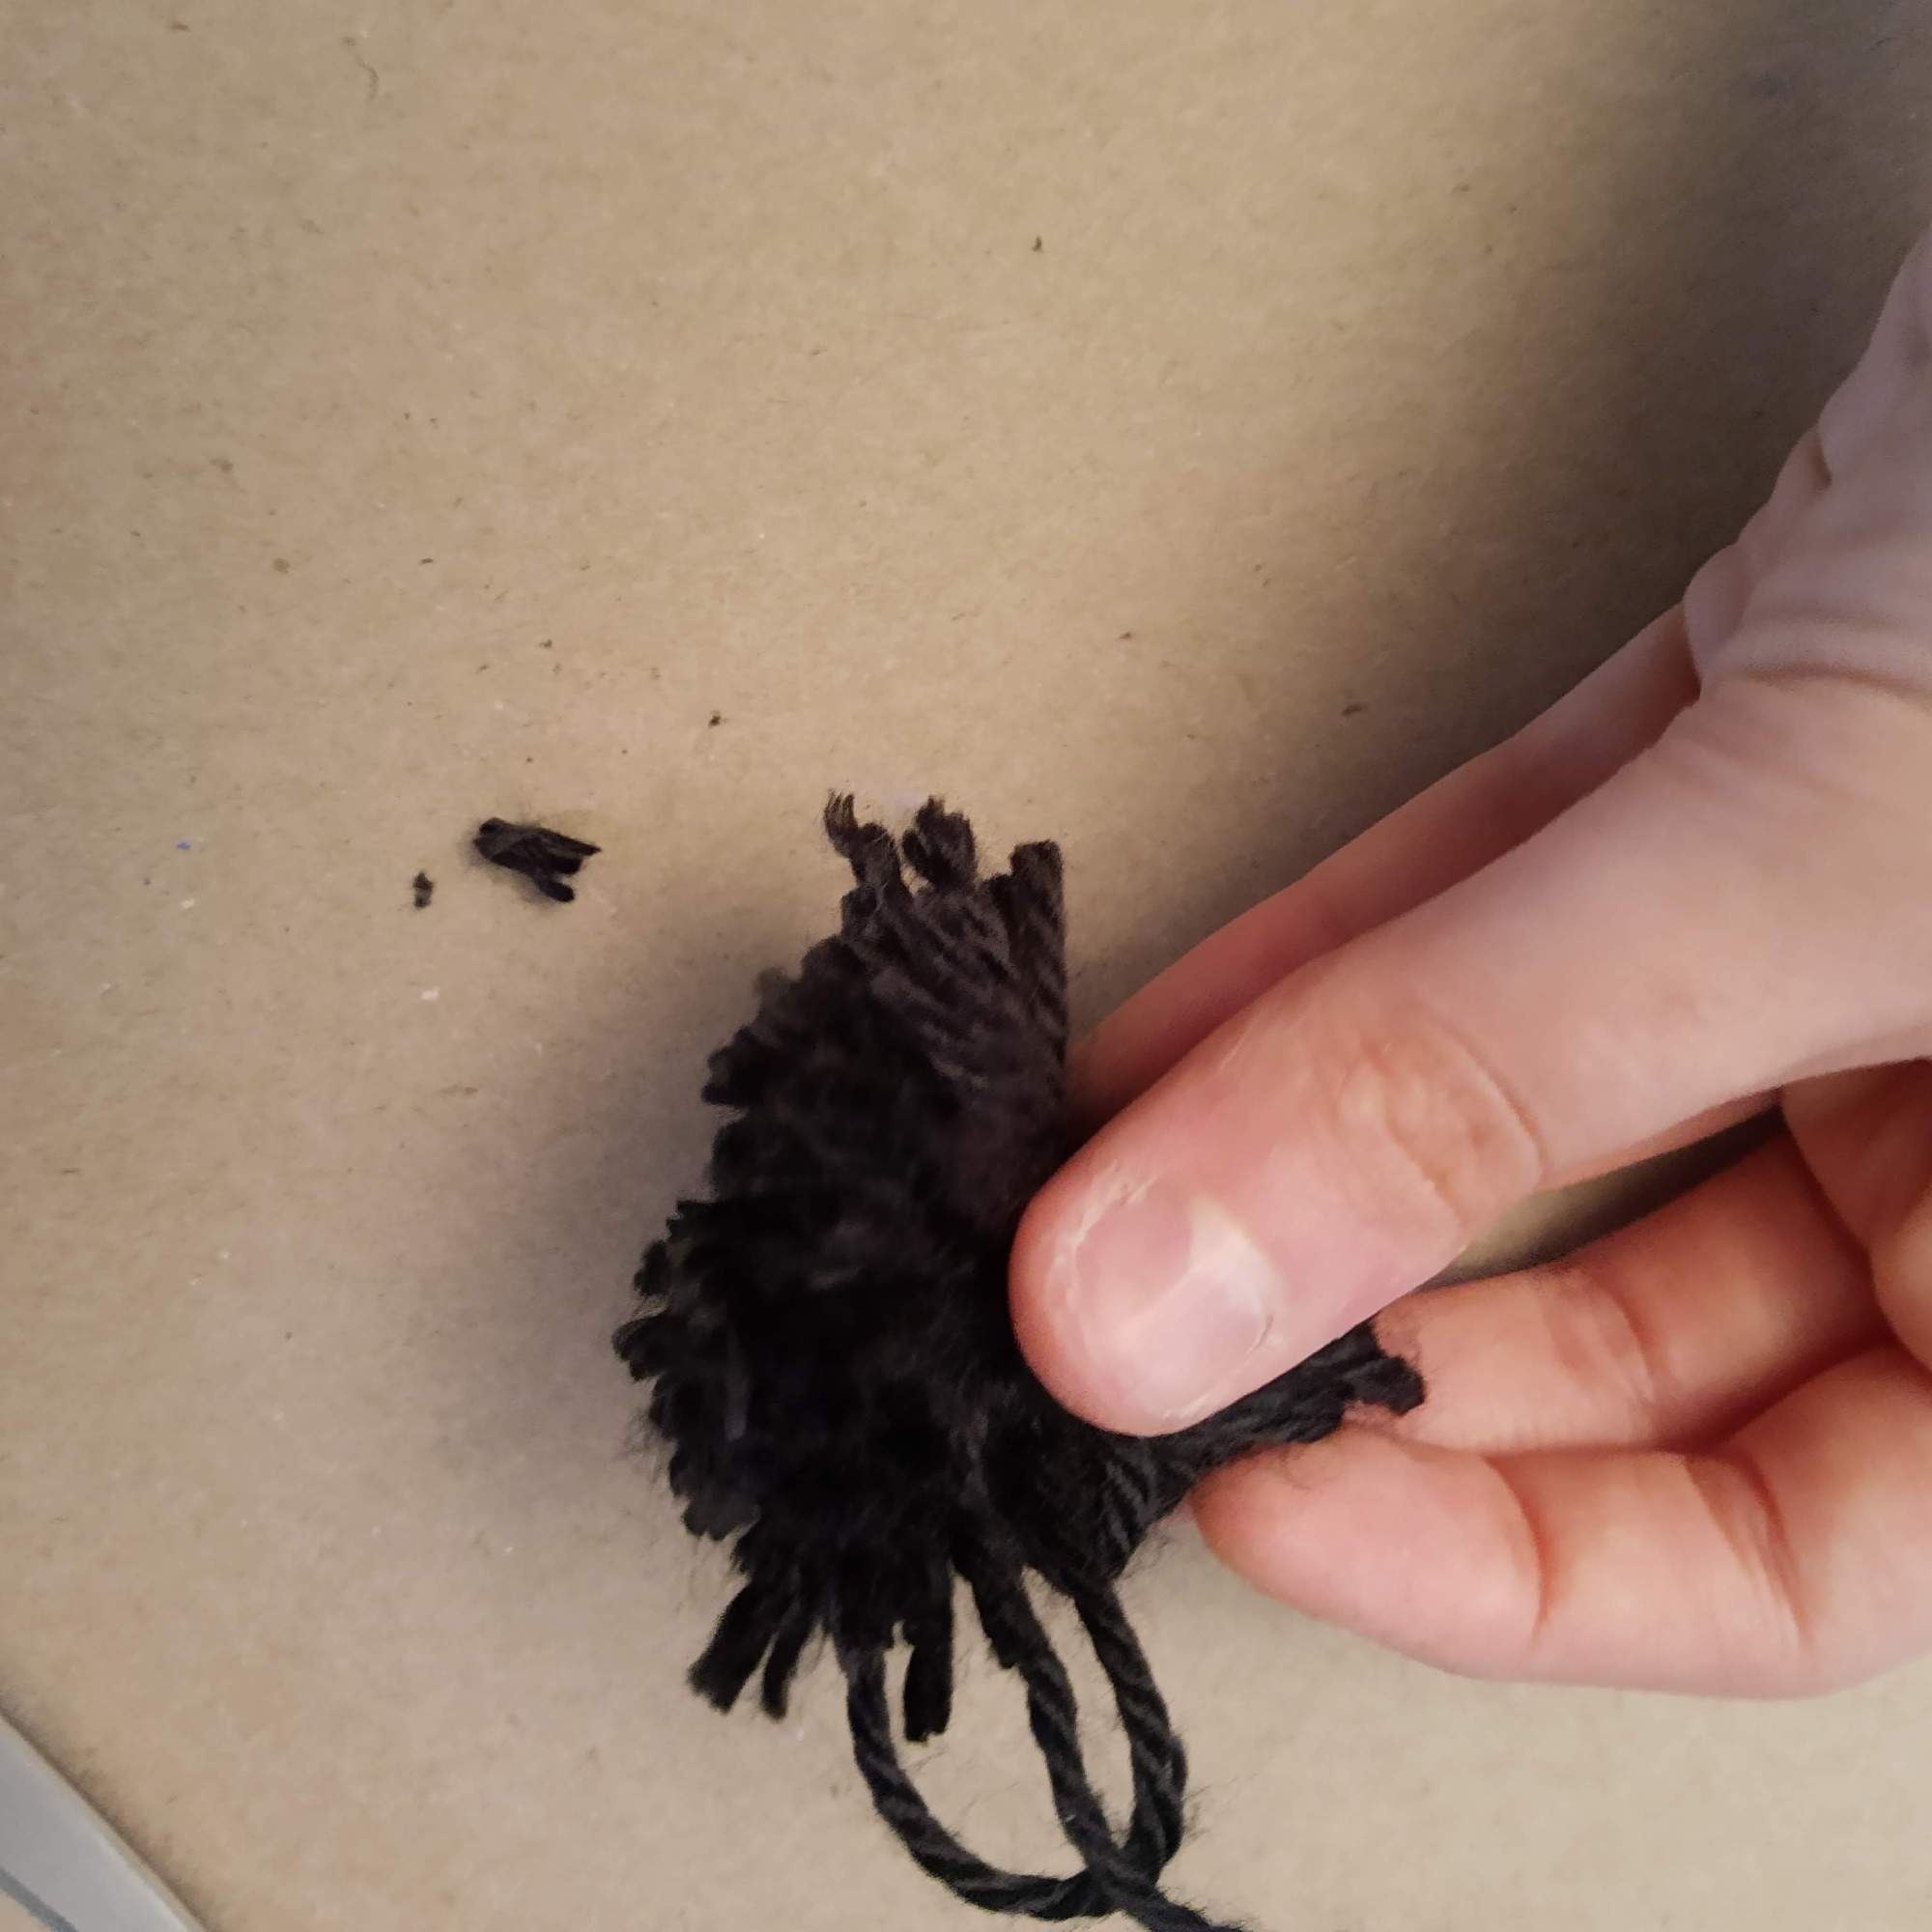
  6. The final part was poking holes into each paper piece to attach jump rings and earrings to all the pieces.

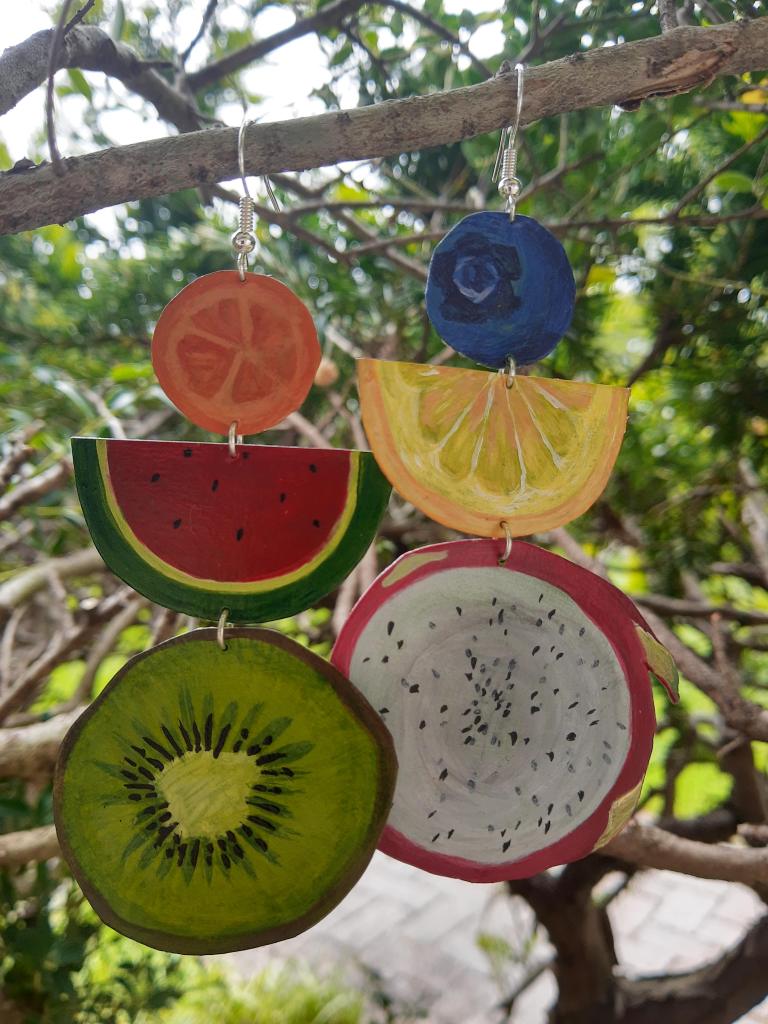
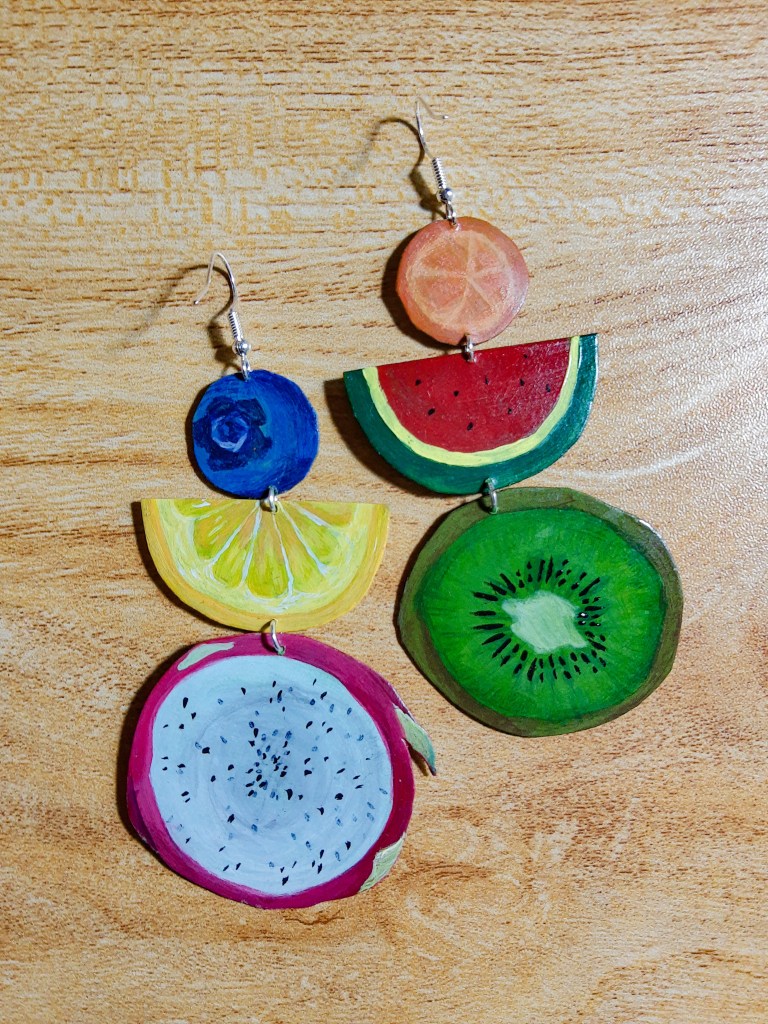
And ta da!!! Here are my final Eric Carle inspired earrings:

I LOVE how they turned out 🙂

DIY Woven Tapestry Earrings

I made this pair of woven tapestry earrings using embroidery thread, yarn, pieces from a wooden skewer stick, thread, and fishhook earrings.

How I Made My Earrings:

  1. First, I cut off 2 4 cm pieces from a wooden skewer stick. I tied thread onto each side of the stick. I slid a crimping bead onto the loop, and then attached the earring hooks to the thread loop. I crimped each bead in place below the hook.
  2. Then, I taped down both my earring hooks to a board and cut out 12 pieces of embroidery thread measuring about 11cm in length.
  3. I tied each thread onto the stick, knotting it once in the center, until all the threads were attached.
  4. I smoothed out the threads so they laid flat and even on the board, and then…
  5. …I taped the ends of the threads onto the board
  6. Then I began weaving. I threaded a piece of embroidery thread onto an embroidery needle and went under, over, under, over, etc. until I made it to the end of the row.
  7. I wove a few more rows using the purple embroidery thread.
  8. Then I switched threads and added a chunkier yarn to give the weaving more texture and dimension
  9. When I finished weaving, I tied off the end of the yarn and trimmed the ends of the weaving so all the threads were an even length.

My Earrings:

Paper Earrings

Paper earrings! My new favorite things to make.

The first set of earrings I made were Matisse collage inspired earrings. I saw a lot of Matisse-inspired earrings on Pinterest and I loved the idea so I made some of my own.

To make paper earrings, you need 3 thick, cardstock type pieces of paper, or two pieces of paper with a piece of thin cardboard in between. Using only paper works a lot better though when you cut out the earring shapes.

How I make paper earrings:

  1. Cut out 3 pieces of the same size of cardstock paper
  2. Mod podge each layer together
  3. Put the paper layers under a heavy book until dry
  4. Figure out what shape or painted design you want to create for your earrings. For the Matisse earrings, I painted dots on one of the papers. For my fruit earrings, I painted fruit on each side of the paper
  5. Cut out the shapes from the paper
  6. Apply a matte or gloss varnish to the paper so it is secure
  7. Poke a hole using a pin/needle in the top of the paper shape
  8. Poke through the hole with a jump ring or earring hook and fasten

Next, I made a pair of fruity paper earrings. I followed the same steps above, but I added a lot more detail with paint. I LOVE how these turned out. I love how I can create fun and unique earrings using only paper and paint.

Unrelated – this week I’m teaching lessons on polka dots and Aboriginal art to my elementary students, and today I wore a full polka dot outfit to match my lessons and I’m very pleased. I am slowly achieving my goal of becoming Ms. Frizzle 🙂

Some of the process (I didn’t really take any other process pics, I mostly just painted fruit)

I was inspired by these earrings I saw on Pinterest: Earrings

DIY Rainbow Tassel Earrings

I found a pair of earrings I really liked from Amazon, so I decided to try to make them on my own, since I already had a ton of embroidery thread laying around. They are actually very simple to create.

My earrings:

The original earrings from Amazon:

How I Made My Earrings:

Materials:

  • embroidery thread (one neutral color & 3 colors for each arc of the rainbow)
  • jump rings
  • earring hooks
  • scissors
  • embroidery needle

Process:

Start with the INNER ARC:

Using your neutral colored tassel embroidery thread, wrap it around your hand or a piece of cardboard. The inner arc strings should measure 10.5cm in length. Wrap around your hand/cardboard 20 times (so you have a total of 40 strings).

Tie a knot in the center of your thread bundle.

Measure 1.9cm away from the center and begin wrapping the thread. As you wrap, shape the thread so it becomes an arc shape. Wrap the thread until you have wrapped about 3.8cm of the thread. Tie off the thread at the end. Leave a long string at the end.

MIDDLE ARC:

Prepare your neutral/tassel thread by wrapping it around your hand/cardboard. This thread will measure about 14cm. Wrap the thread 20 times (so you have a total of 40 strings).

Starting with the extra string from the previous row, tie a knot at the beginning of the second row.

Sew and wrap the next color around each previous row until you get to the end. Knot it off and tie to secure. Leave an extra piece of longer thread at the end to secure it to the next row.

TOP ARC:

Prepare your neutral/tassel thread by wrapping it around your hand/cardboard. This thread will measure about 16cm. Wrap the thread 8 times (so you have a total of 16 strings).

Repeat the same process as the middle arc. When you get to the middle, loop on a jump ring and secure it by wrapping around a few times. Attach the earring hook to the jump ring.

TRIMMING THE TASSELS:

Cut the loops off of the tassels. Brush the tassels so they are even and neat. Trim the tassels so they are the same length.

TA DA!! The finished earrings. I am so happy with how they turned out!

Artsy Earrings

I decided I want to be like Ms. Frizzle. I had free time this weekend and started making earrings, and then I was inspired by Ms. Frizzle (from The Magic School Bus) to make earrings that match my lessons.

The earrings I made: Top row (from left to right): PCBs, Pom Poms, Cherries. Bottom row (from left to right): Still Life Vases, Strawberries, Wrapped Stones and Pom Poms

The pom pom earrings don’t really match with any of the lessons I’m planning, but I am teaching still life art to lower elementary this week so I can at least match with some of my lessons 🙂

Materials I used to make my earrings:

  • PCBs (Printed Circuit Boards) – I found tiny printed circuit boards from inside an old speaker and from old phones (and my brothers helped me take apart the old technology and unsolder them). I added jump rings through each loop and a button and other electronic part above the PCBs, and then I added the earring pieces.
  • Pom Poms – I made two pom poms with different colors of embroidery thread. I used the excess thread and sewed on two smaller pom poms that were storebought.
  • Cherries – Green wires, embroidery thread, & felt
  • Still Life Vases – Green wires, felt, small chains
  • Strawberries – Felt, embroidery thread
  • Wrapped Stones and Pom Poms – stones, pink wire, embroidery thread

How I make pom poms:

  1. Cut out a small strip of cardboard.
  2. Wrap embroidery thread or yarn around the cardboard.
  3. Wrap until you have a thick amount of yarn to make a fluffy pom pom.
  4. Cut a smaller string out and put it aside.
  5. Slide the loop off of the cardboard.
  6. Place the loop of yarn on top of the string
  7. Tie a knot around the center of the loop.
  8. Tie another 2 or 3 knots around the center to make it secure.
  9. On one side of the knot, cut through the loops.
  10. Cut out the loops on the other side of the knot
  11. Trim excess yarn so the pom pom is even and fluff it up.