New School Year, New Classroom!

I was moved to a different classroom this year and at first I was disappointed because my classroom last year was awesome, but this classroom is also amazing! I spent a week unpacking materials, organizing, and setting up different art studios within my room.

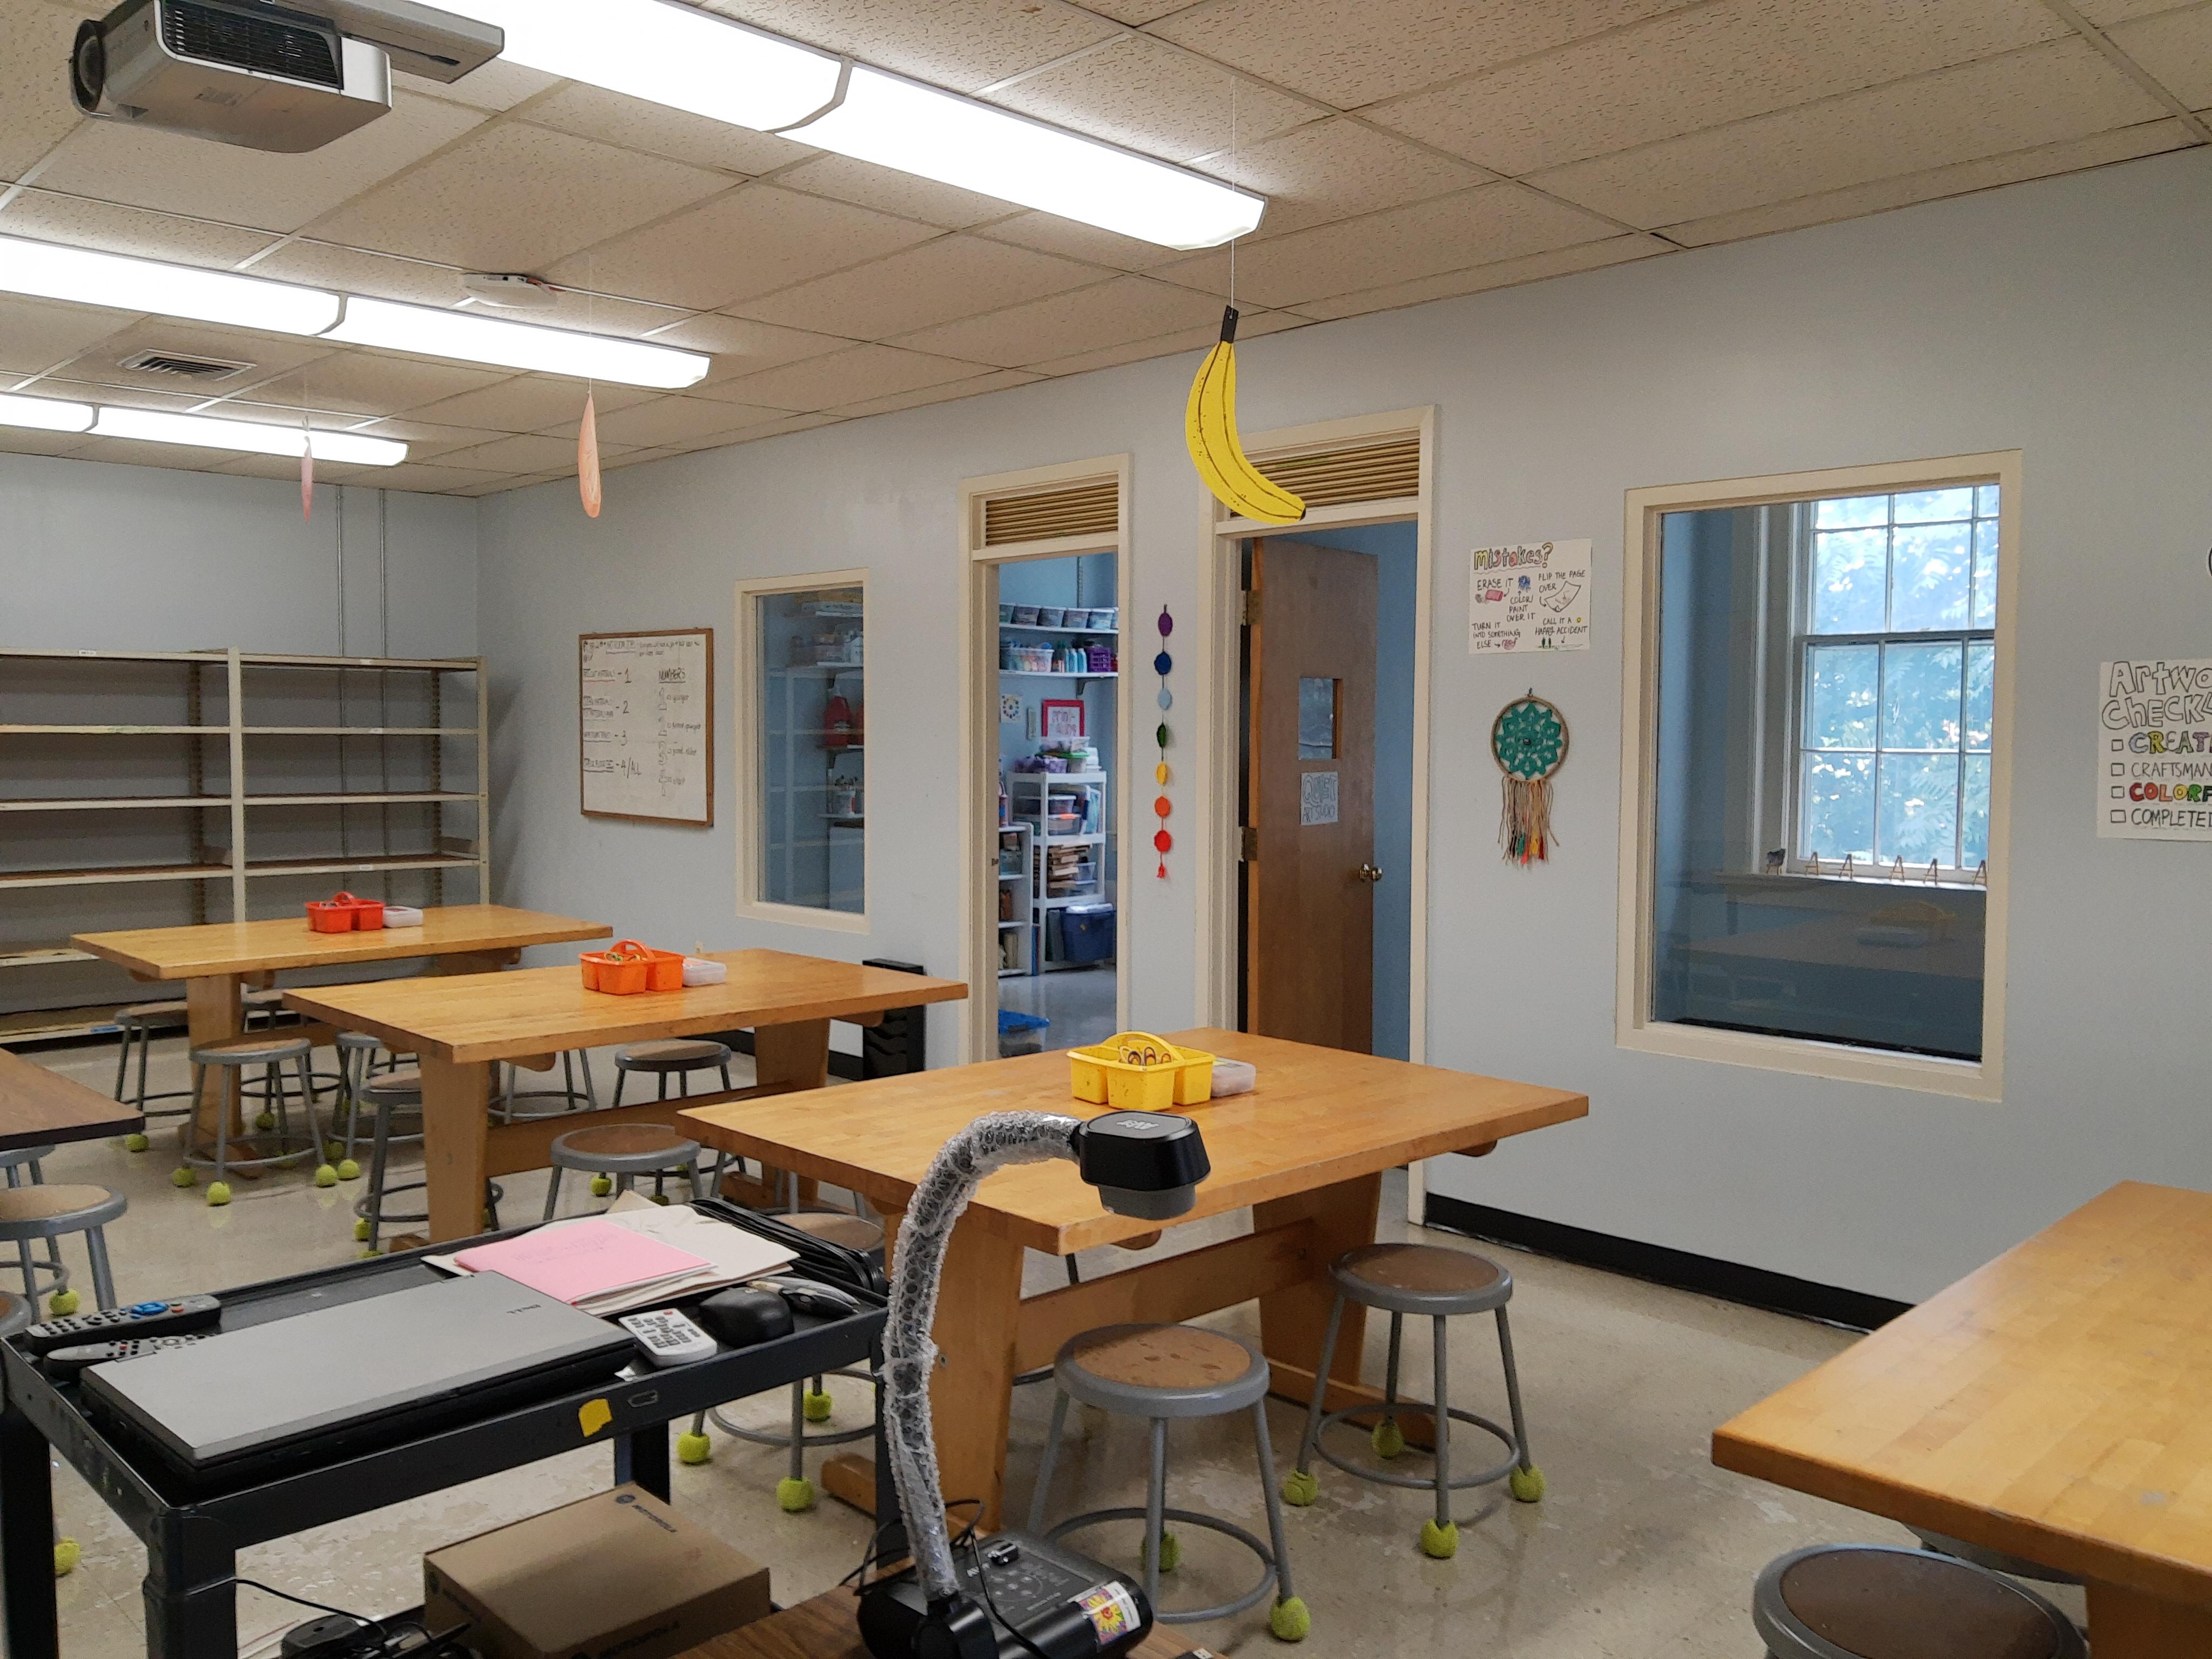
My classroom is comprised of one main room and 4 smaller rooms which I’ve separated into studios (painting/printmaking studio, drawing/early finishers studio, paper/inspiration studio, and 3D/textile studio).

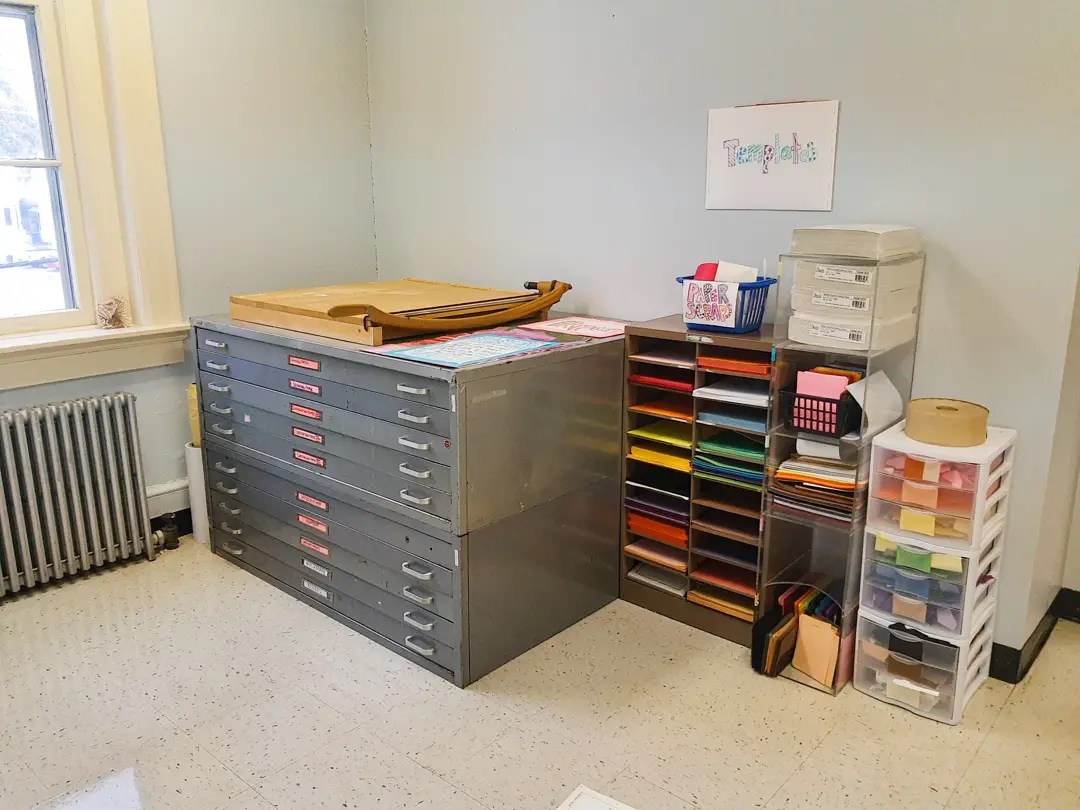
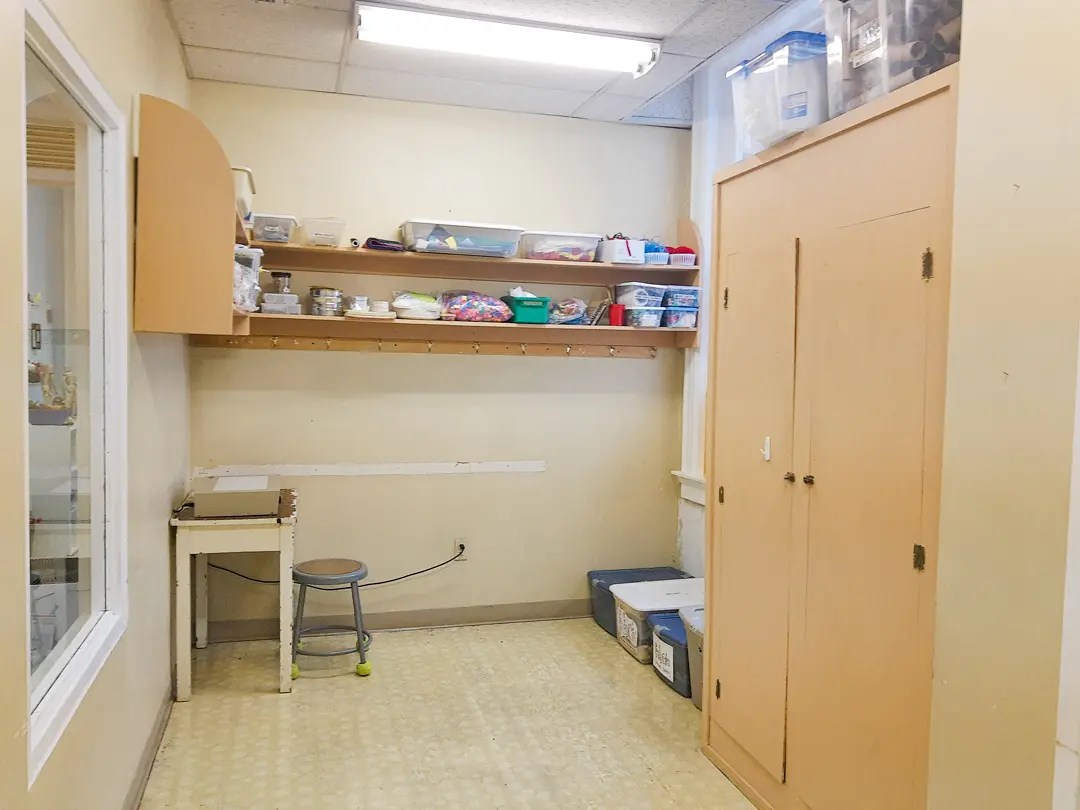
Before organizing/decorating:

After organizing/decorating:

Studio Rotations:

This past week was my second week with my classes, so to introduce my students to each of the studios, we did materials explorations by rotating groups through each studio. There were 4 tables of students, and each group of students spent about 5-6 minutes in each studio, exploring the materials that were laid out.

PAINTING STUDIO

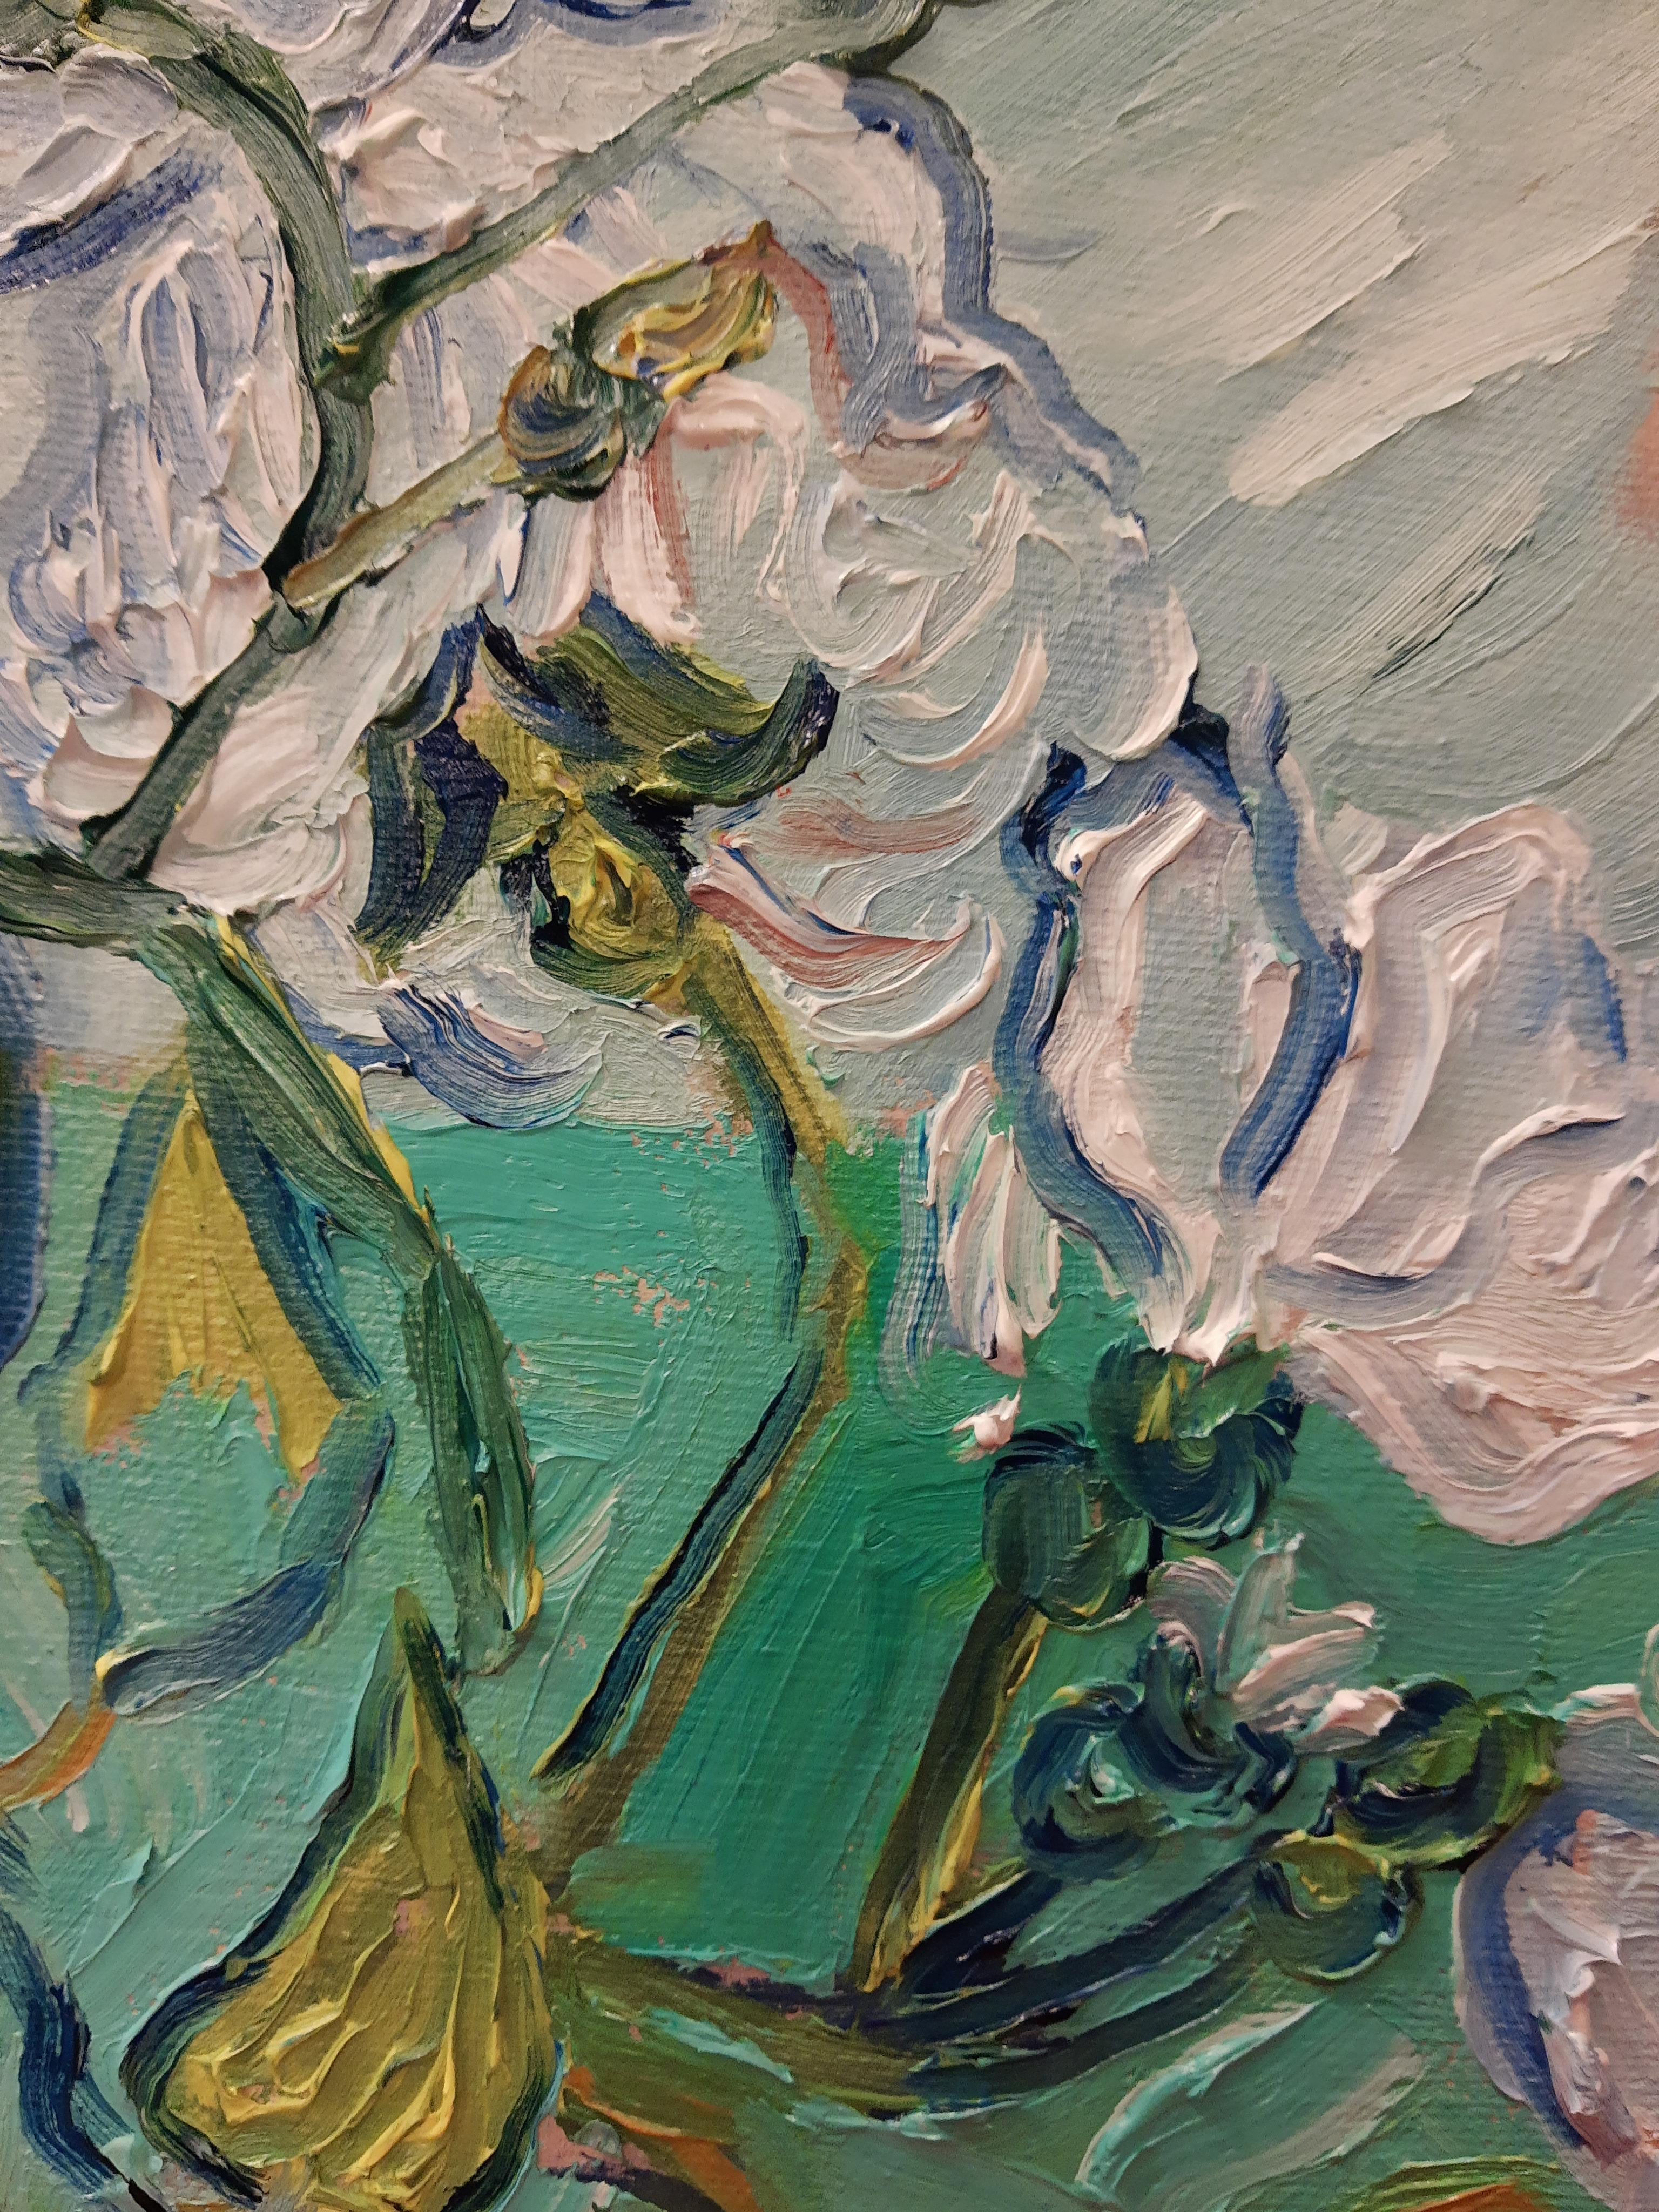
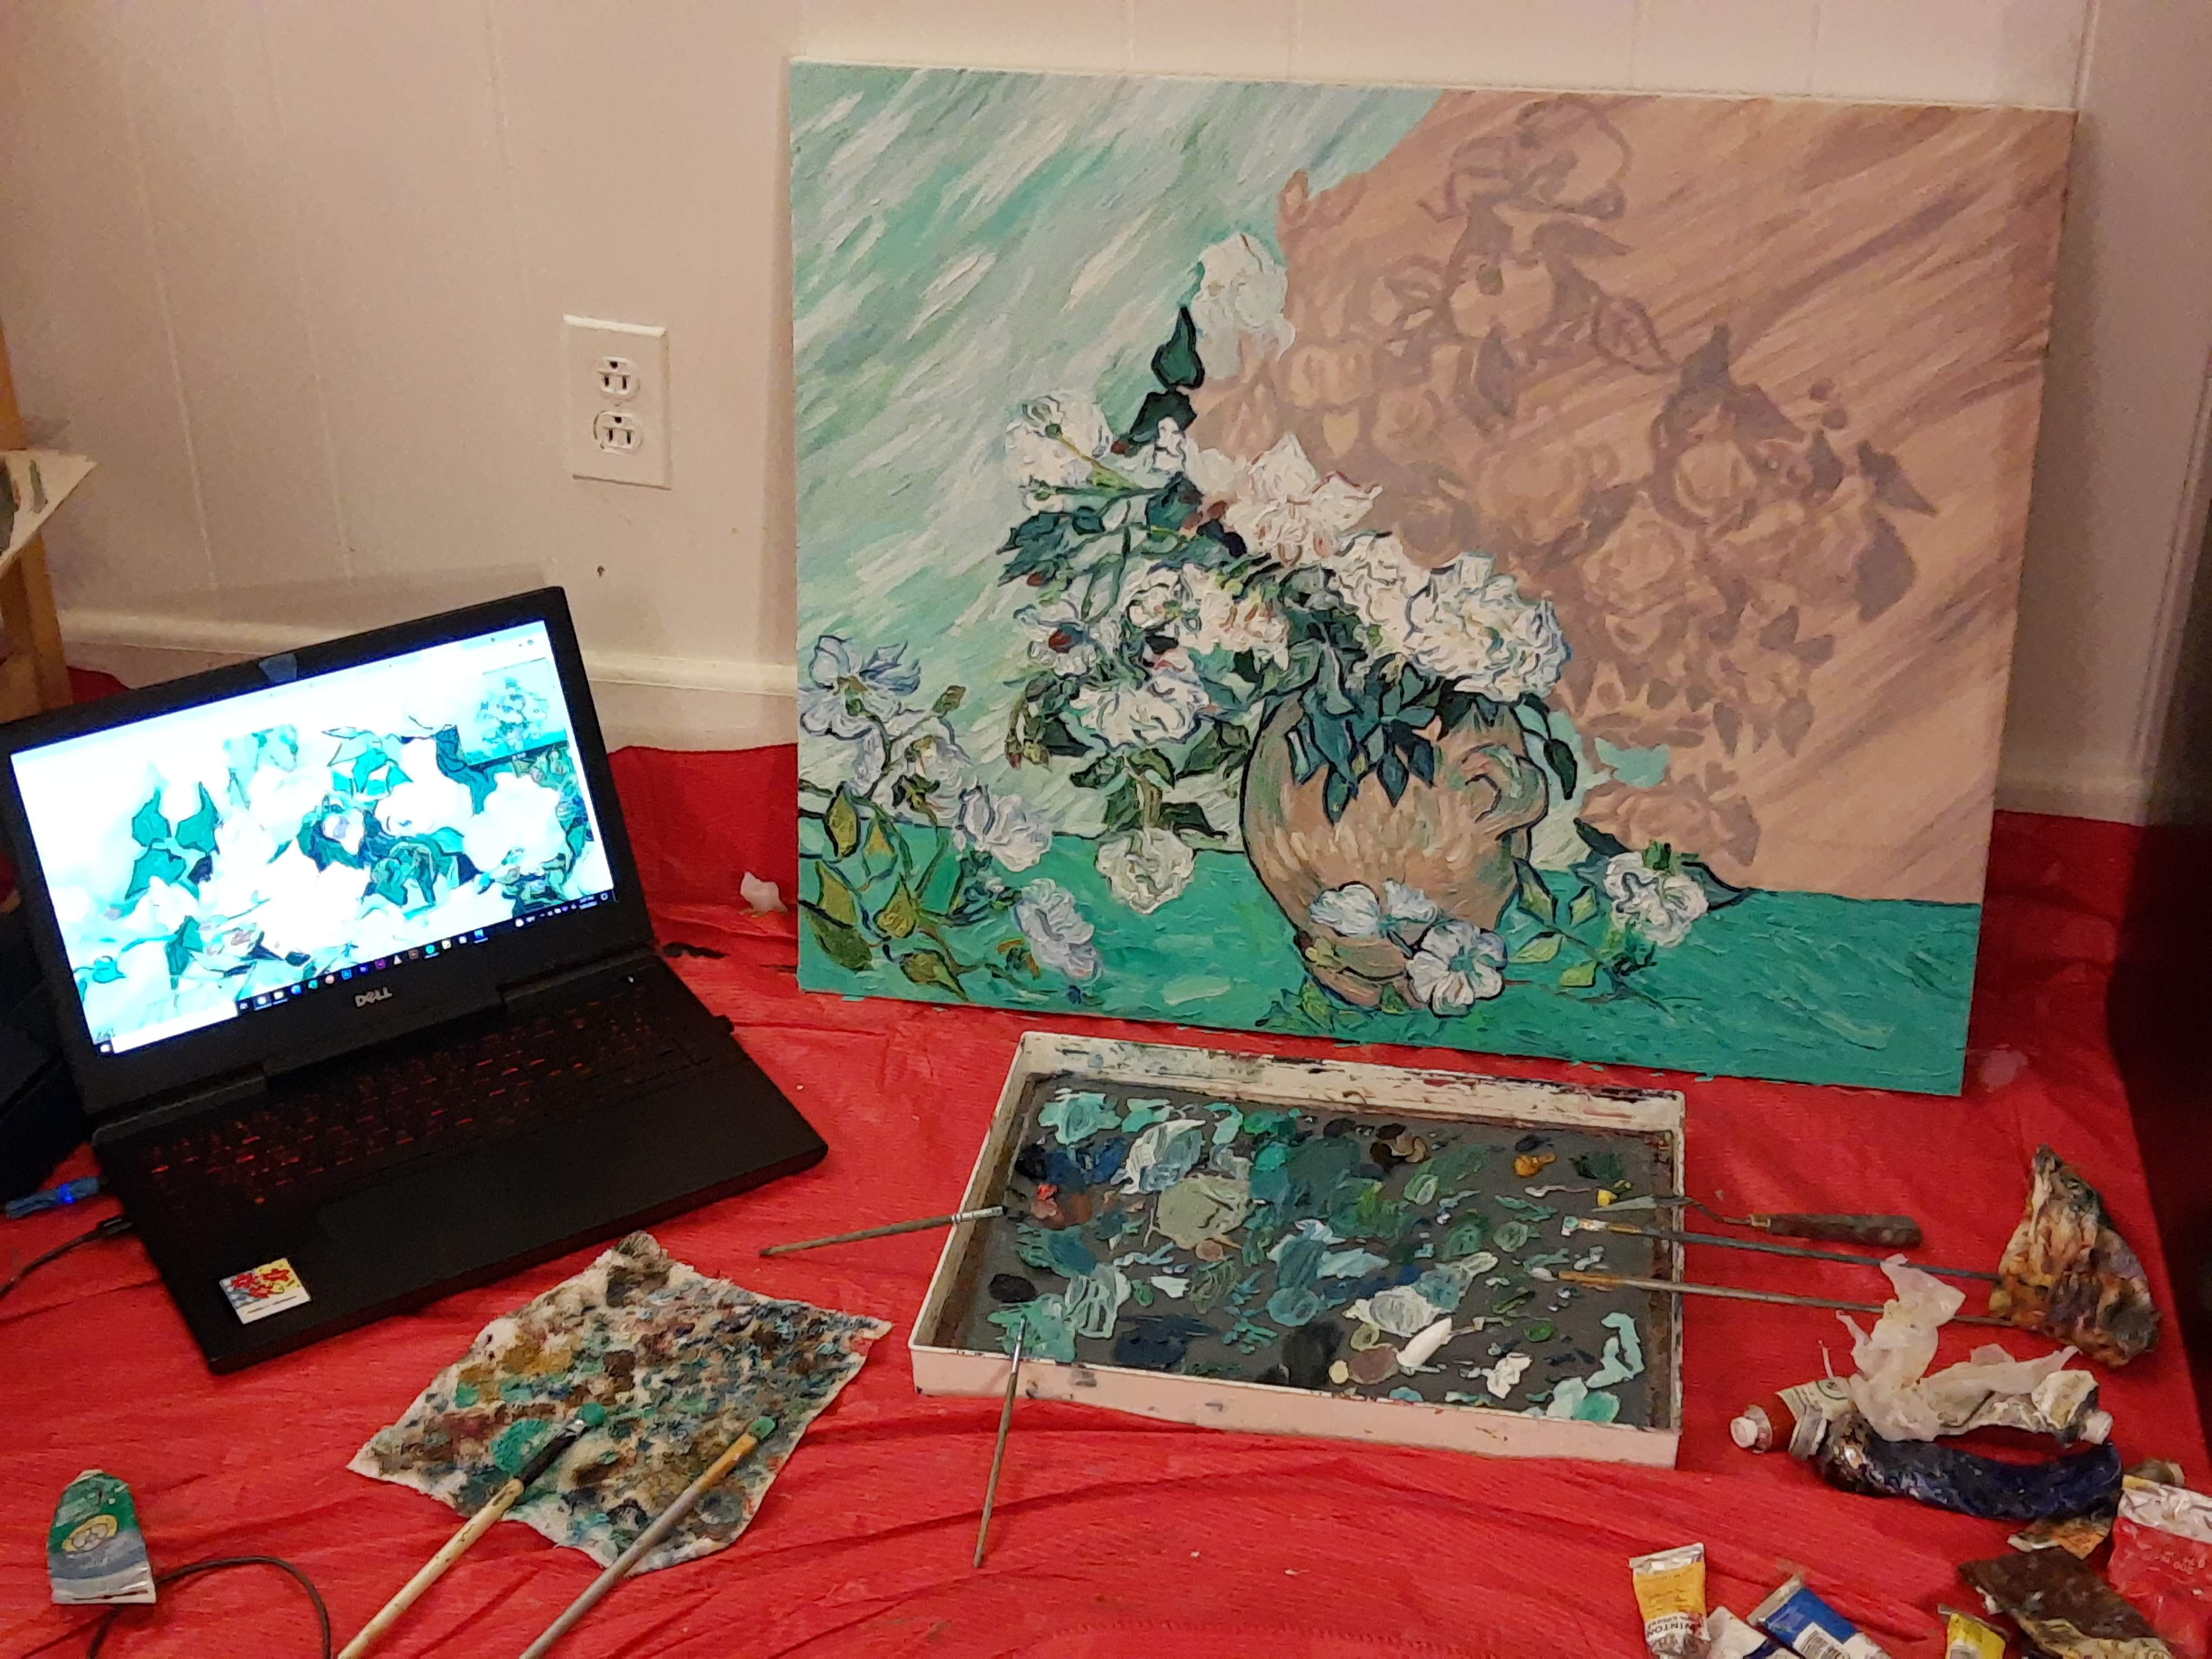
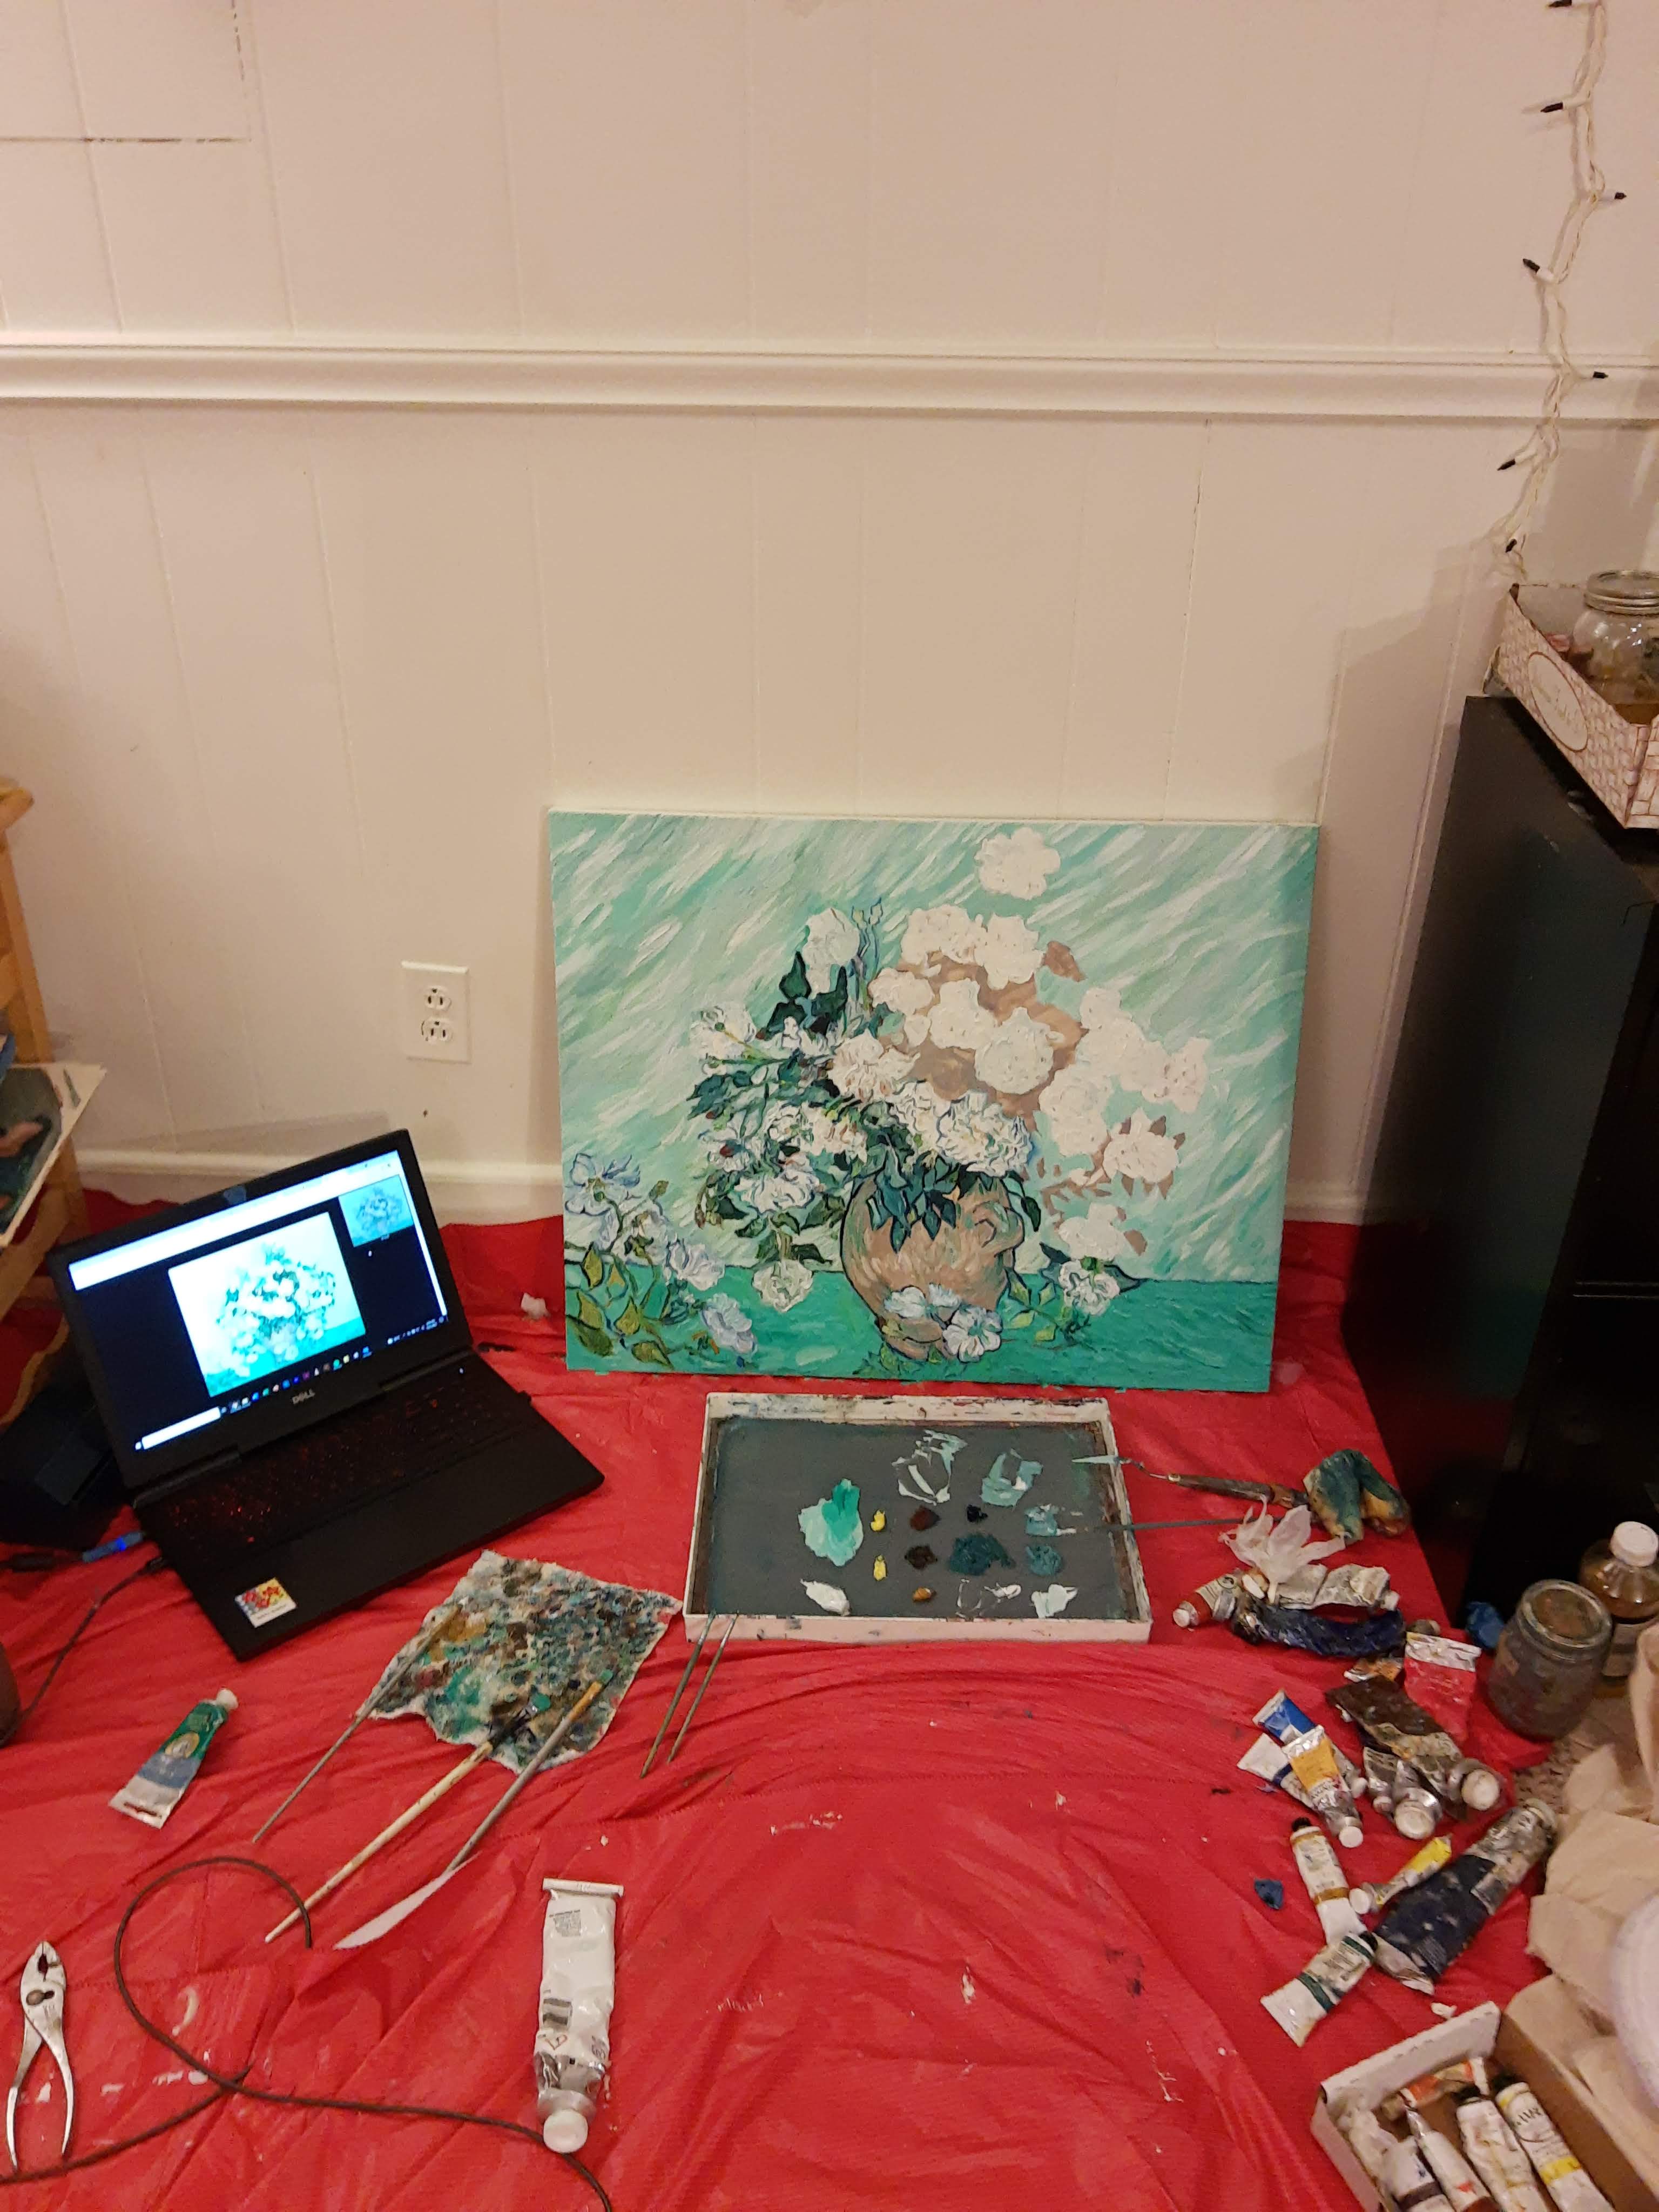
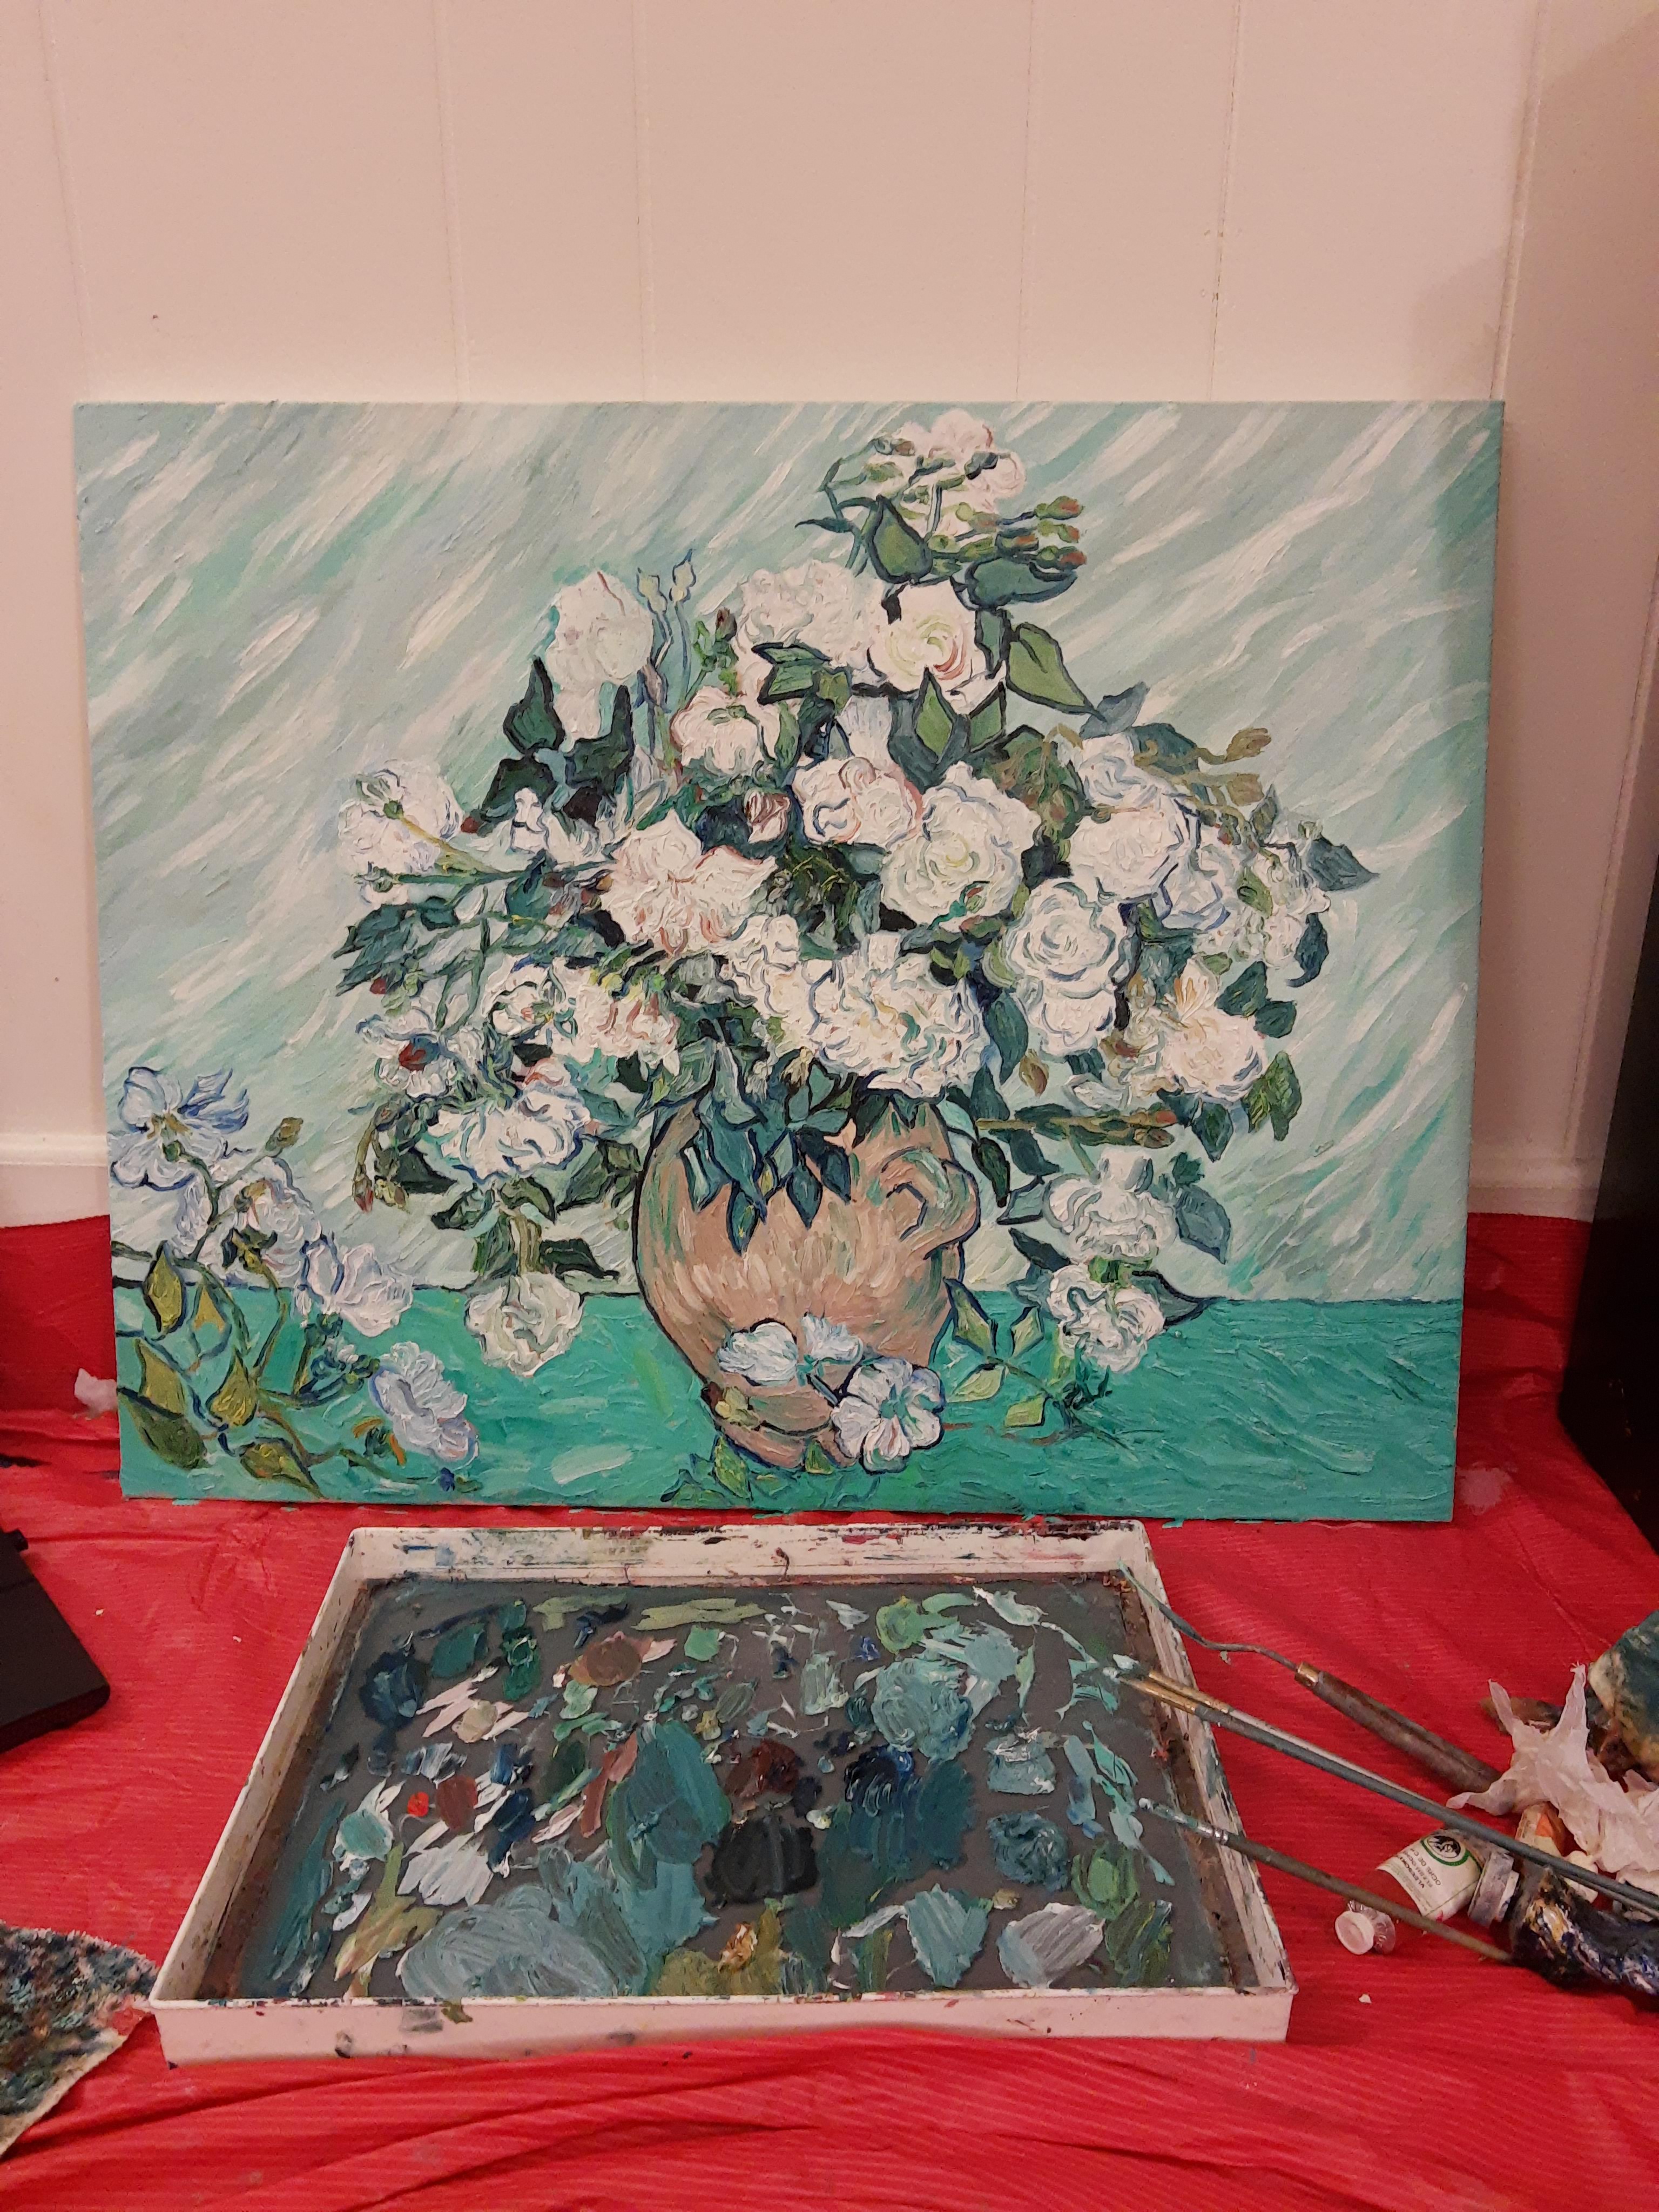
In the painting studio, students painted on a large piece of paper and also experimented with painting marks on smaller papers.

DRAWING STUDIO

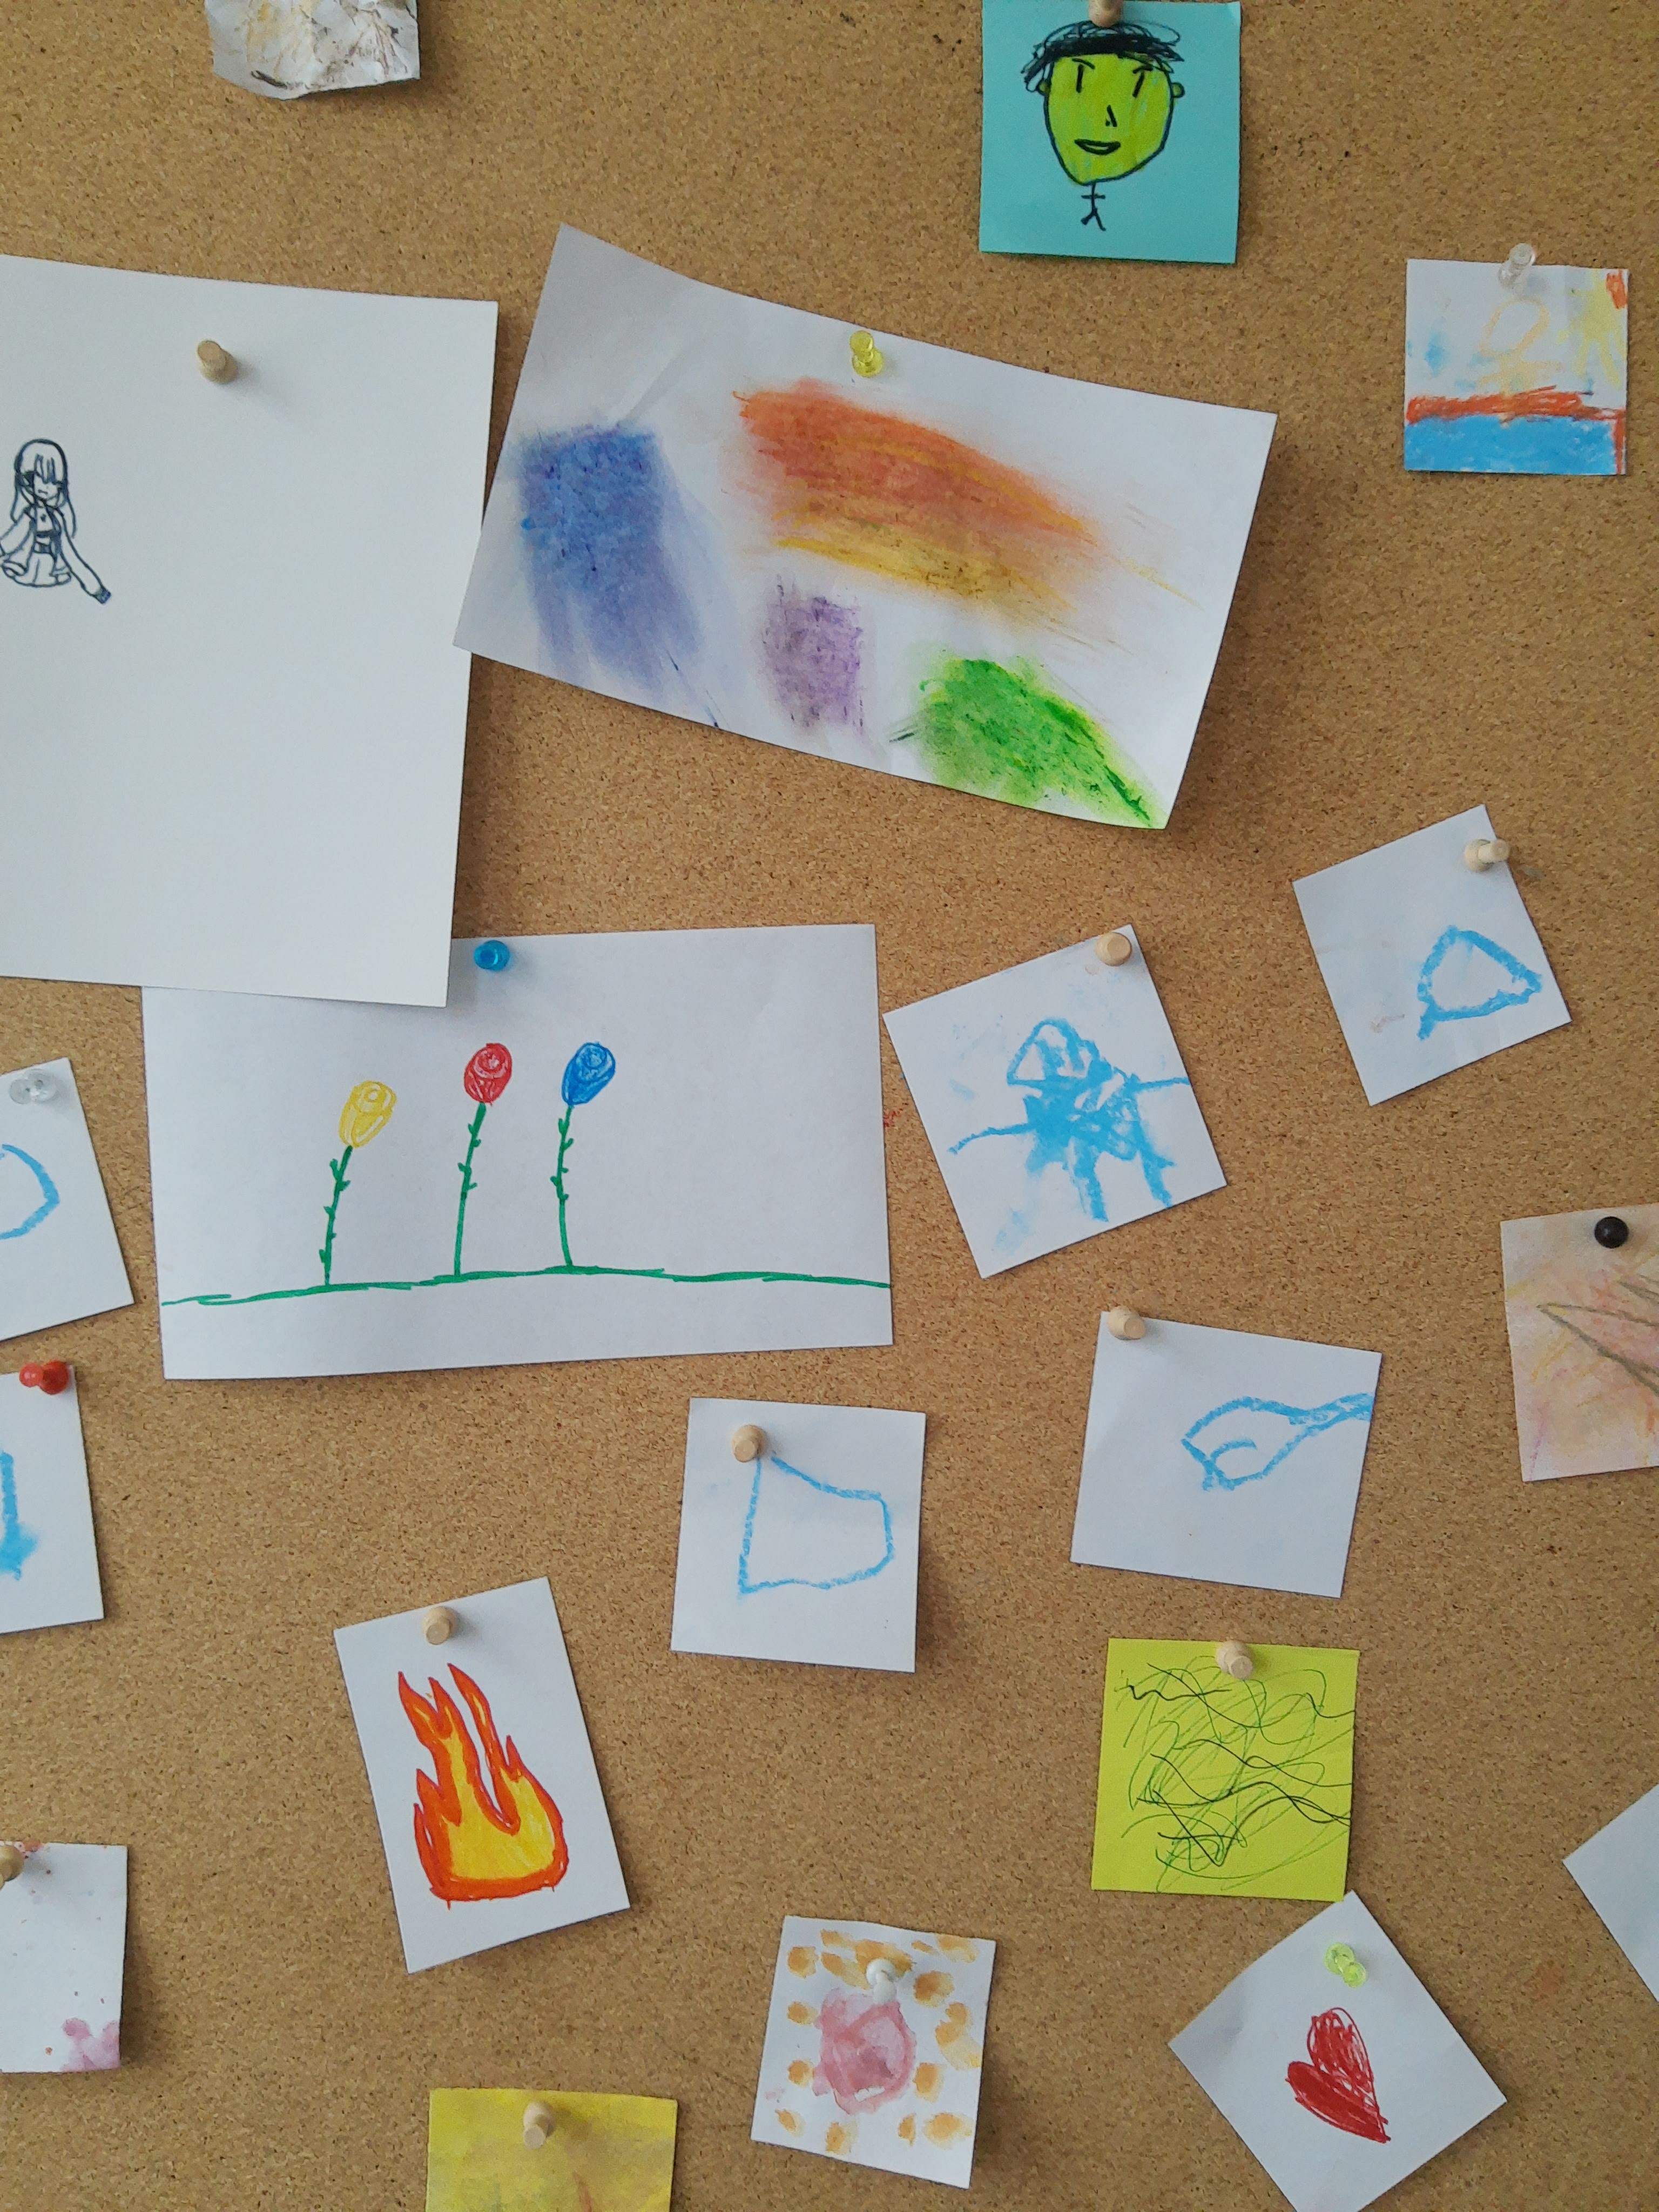
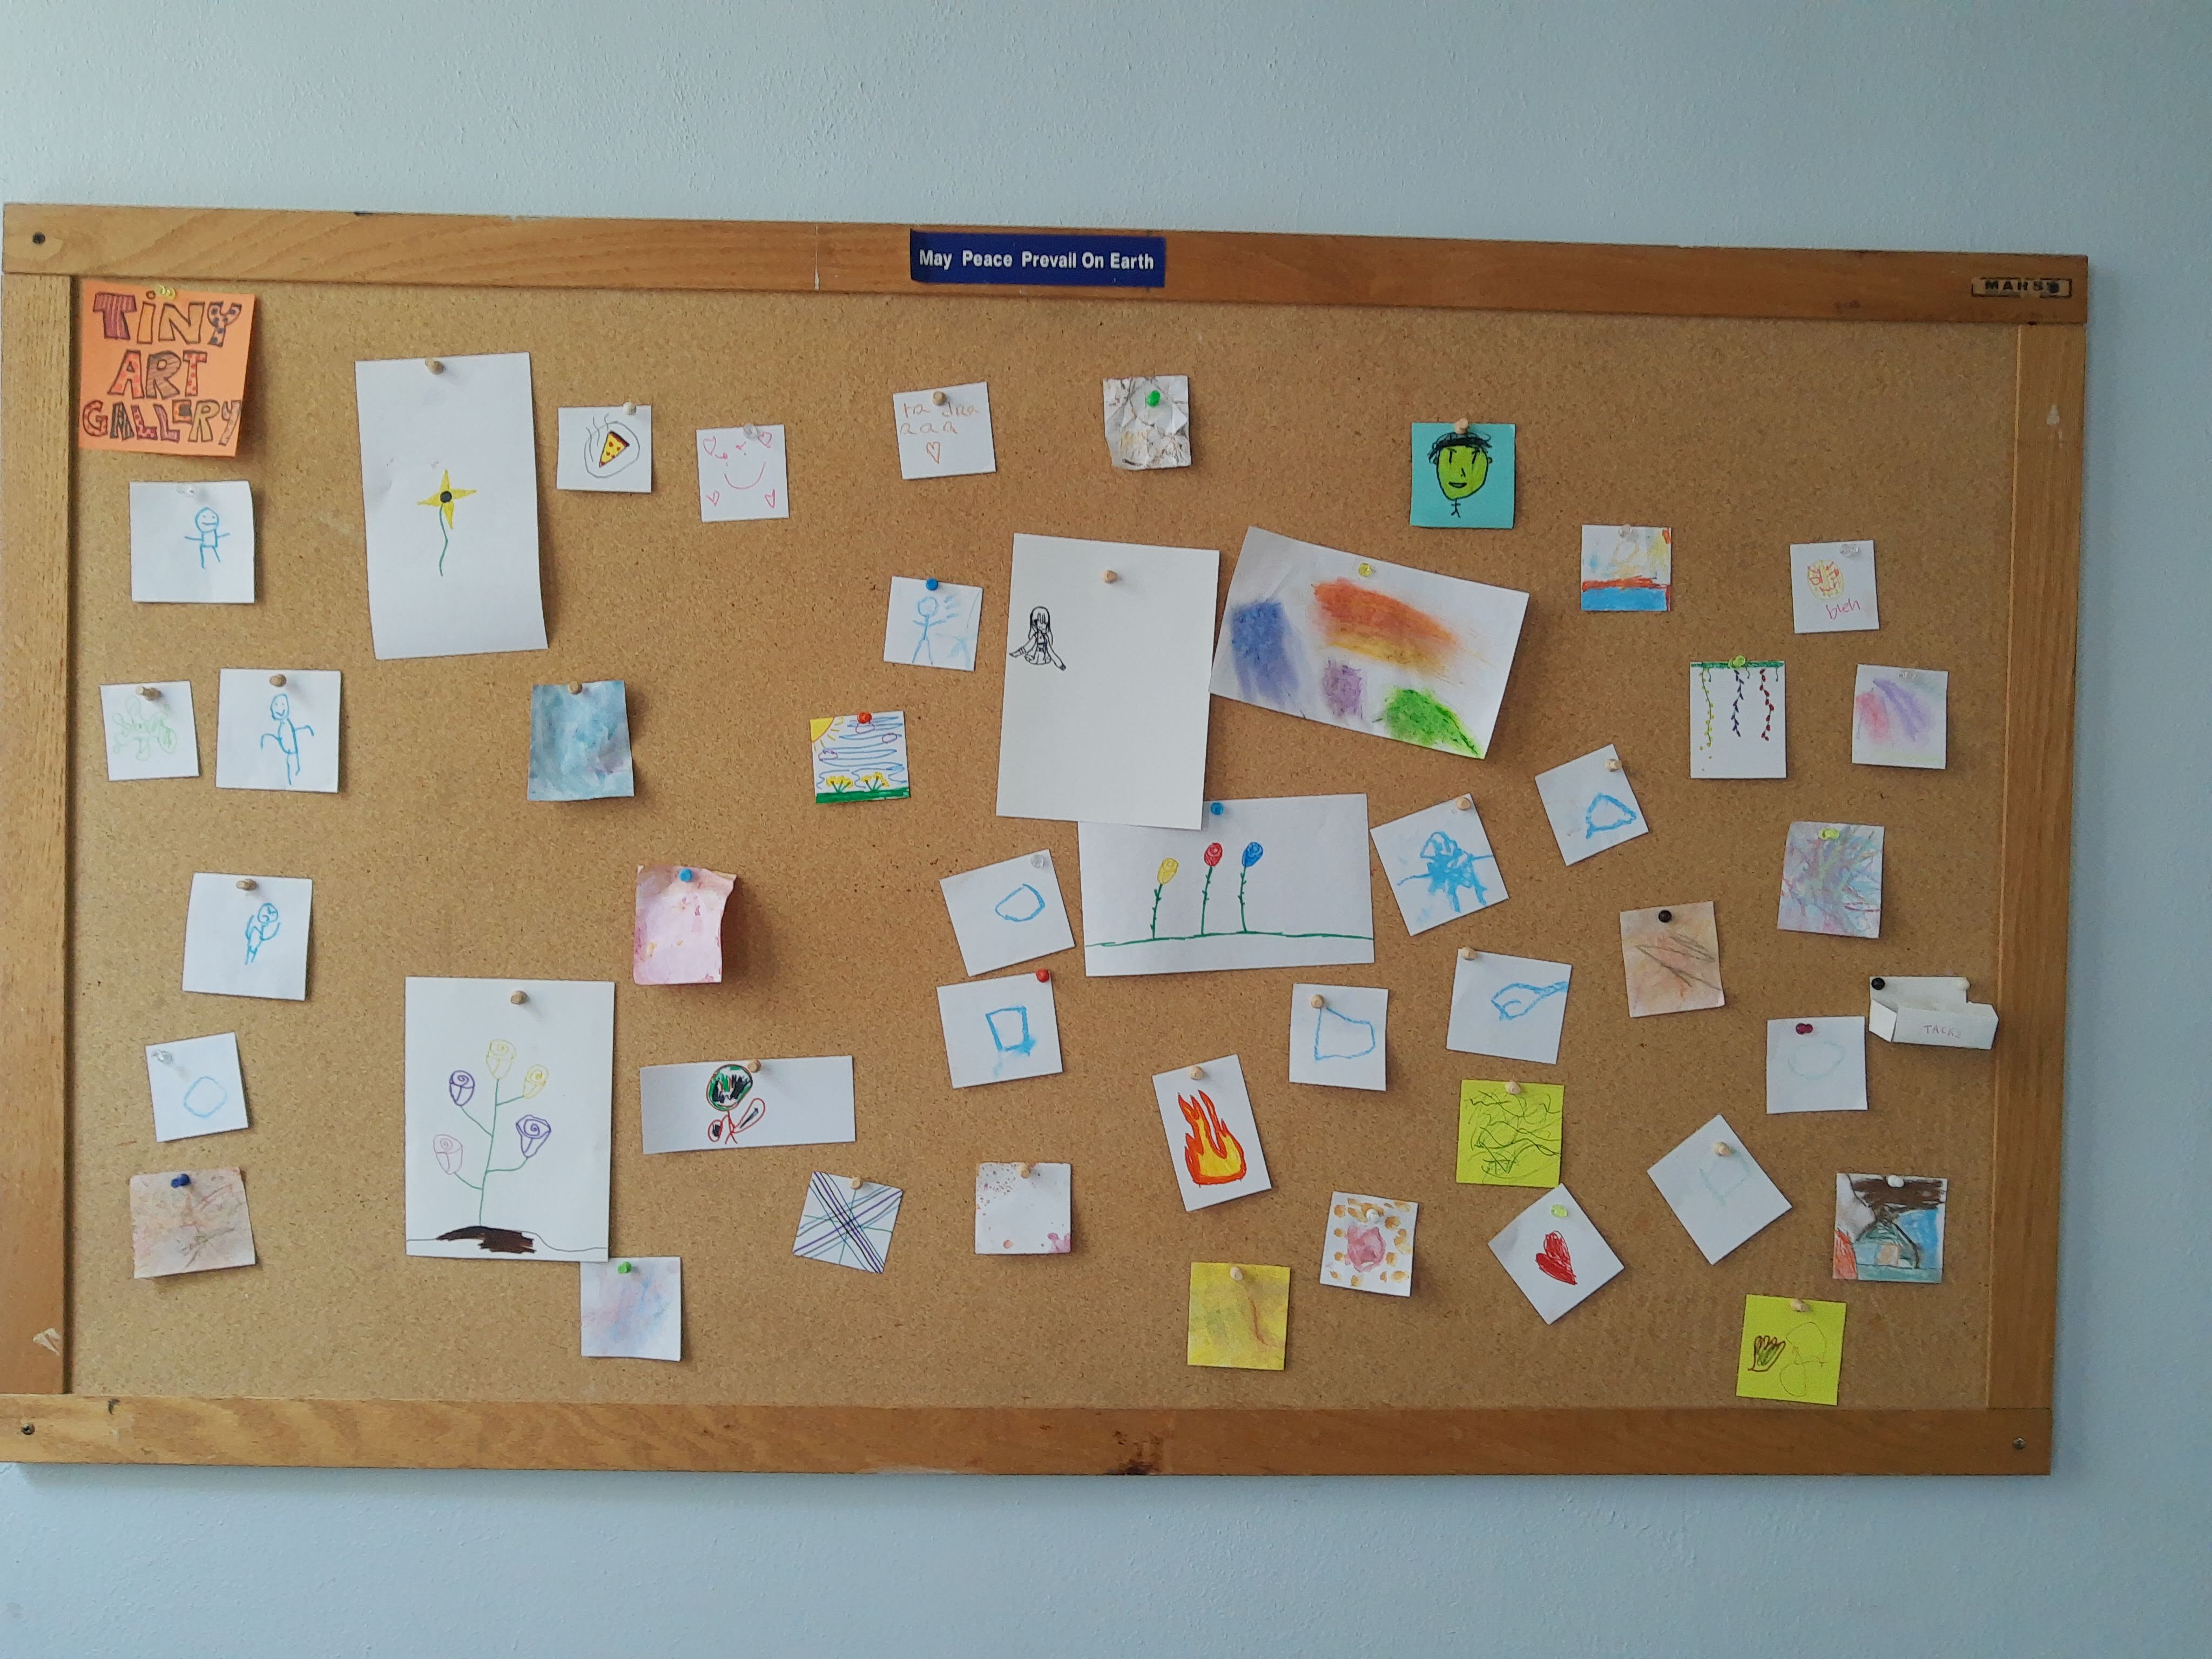
In the drawing studio, students used chalk pastels and oil pastels and experimented with smudging and drawing different things. When they finished their tiny artwork, they pinned it up on the board.

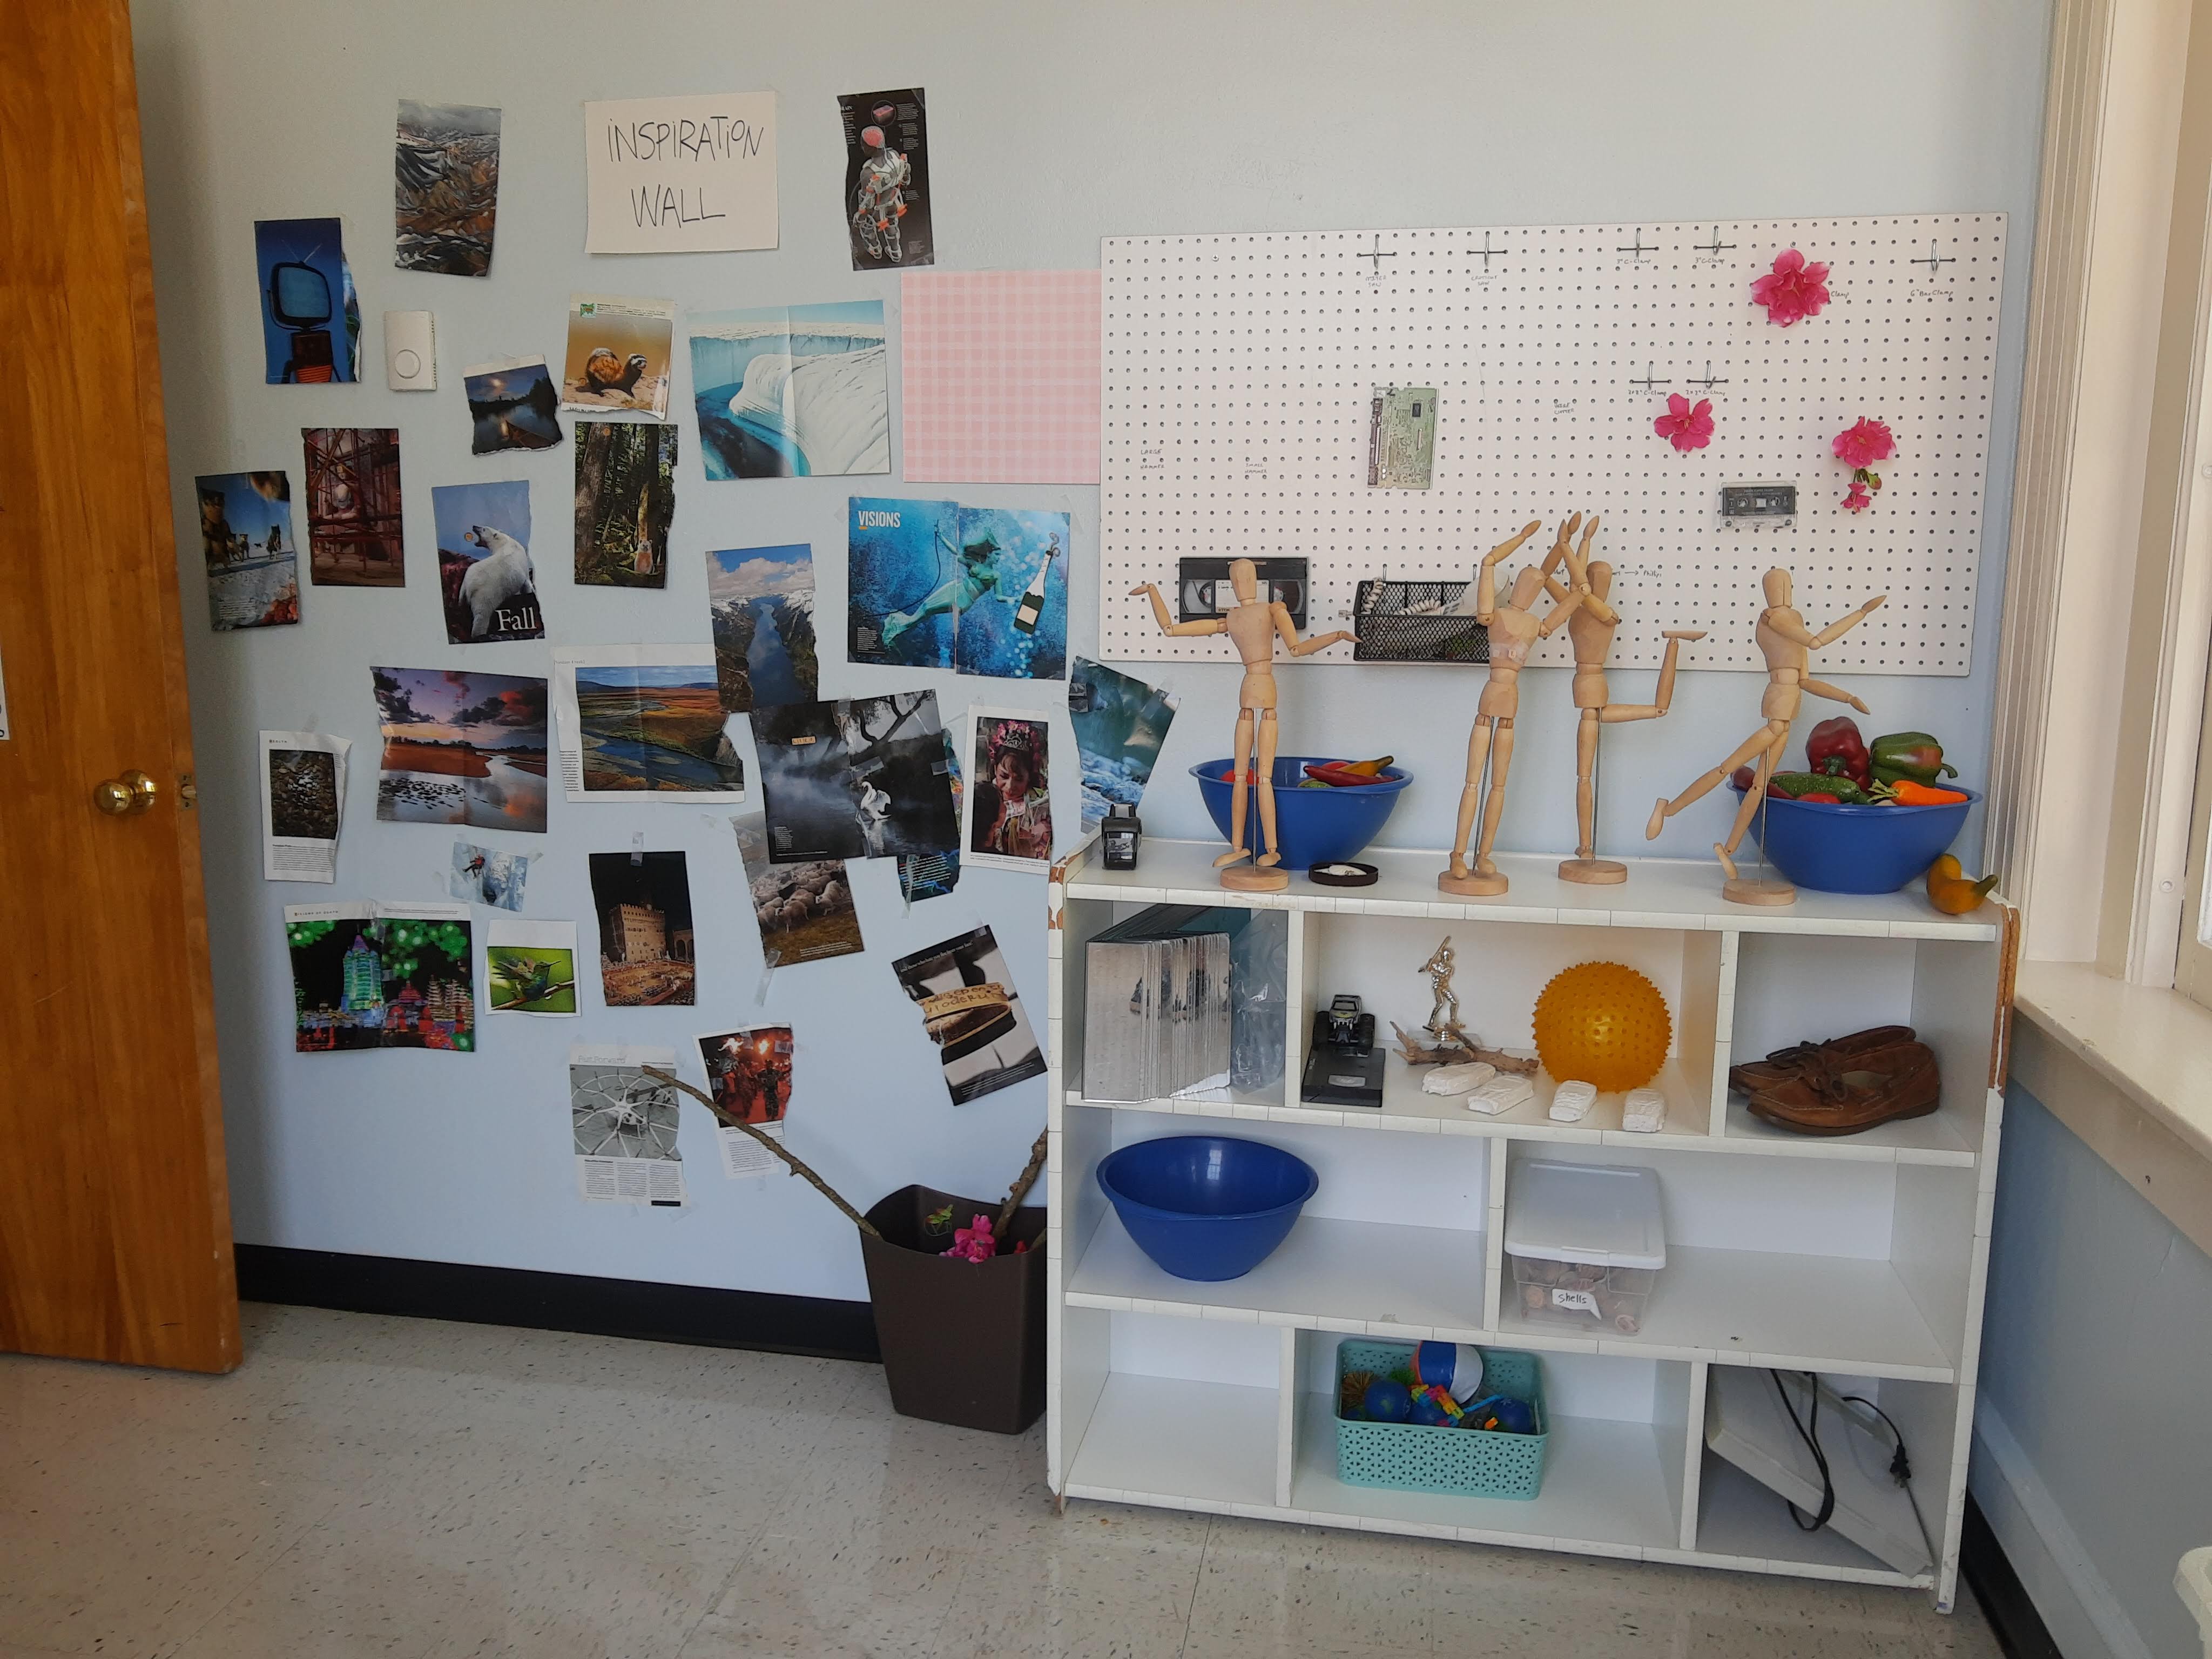
PAPER & INSPIRATION STUDIO

In the paper and inspiration studio, students flipped through magazines to find inspiring images and then taped them on the wall. They also could experiment with making a mini collage.
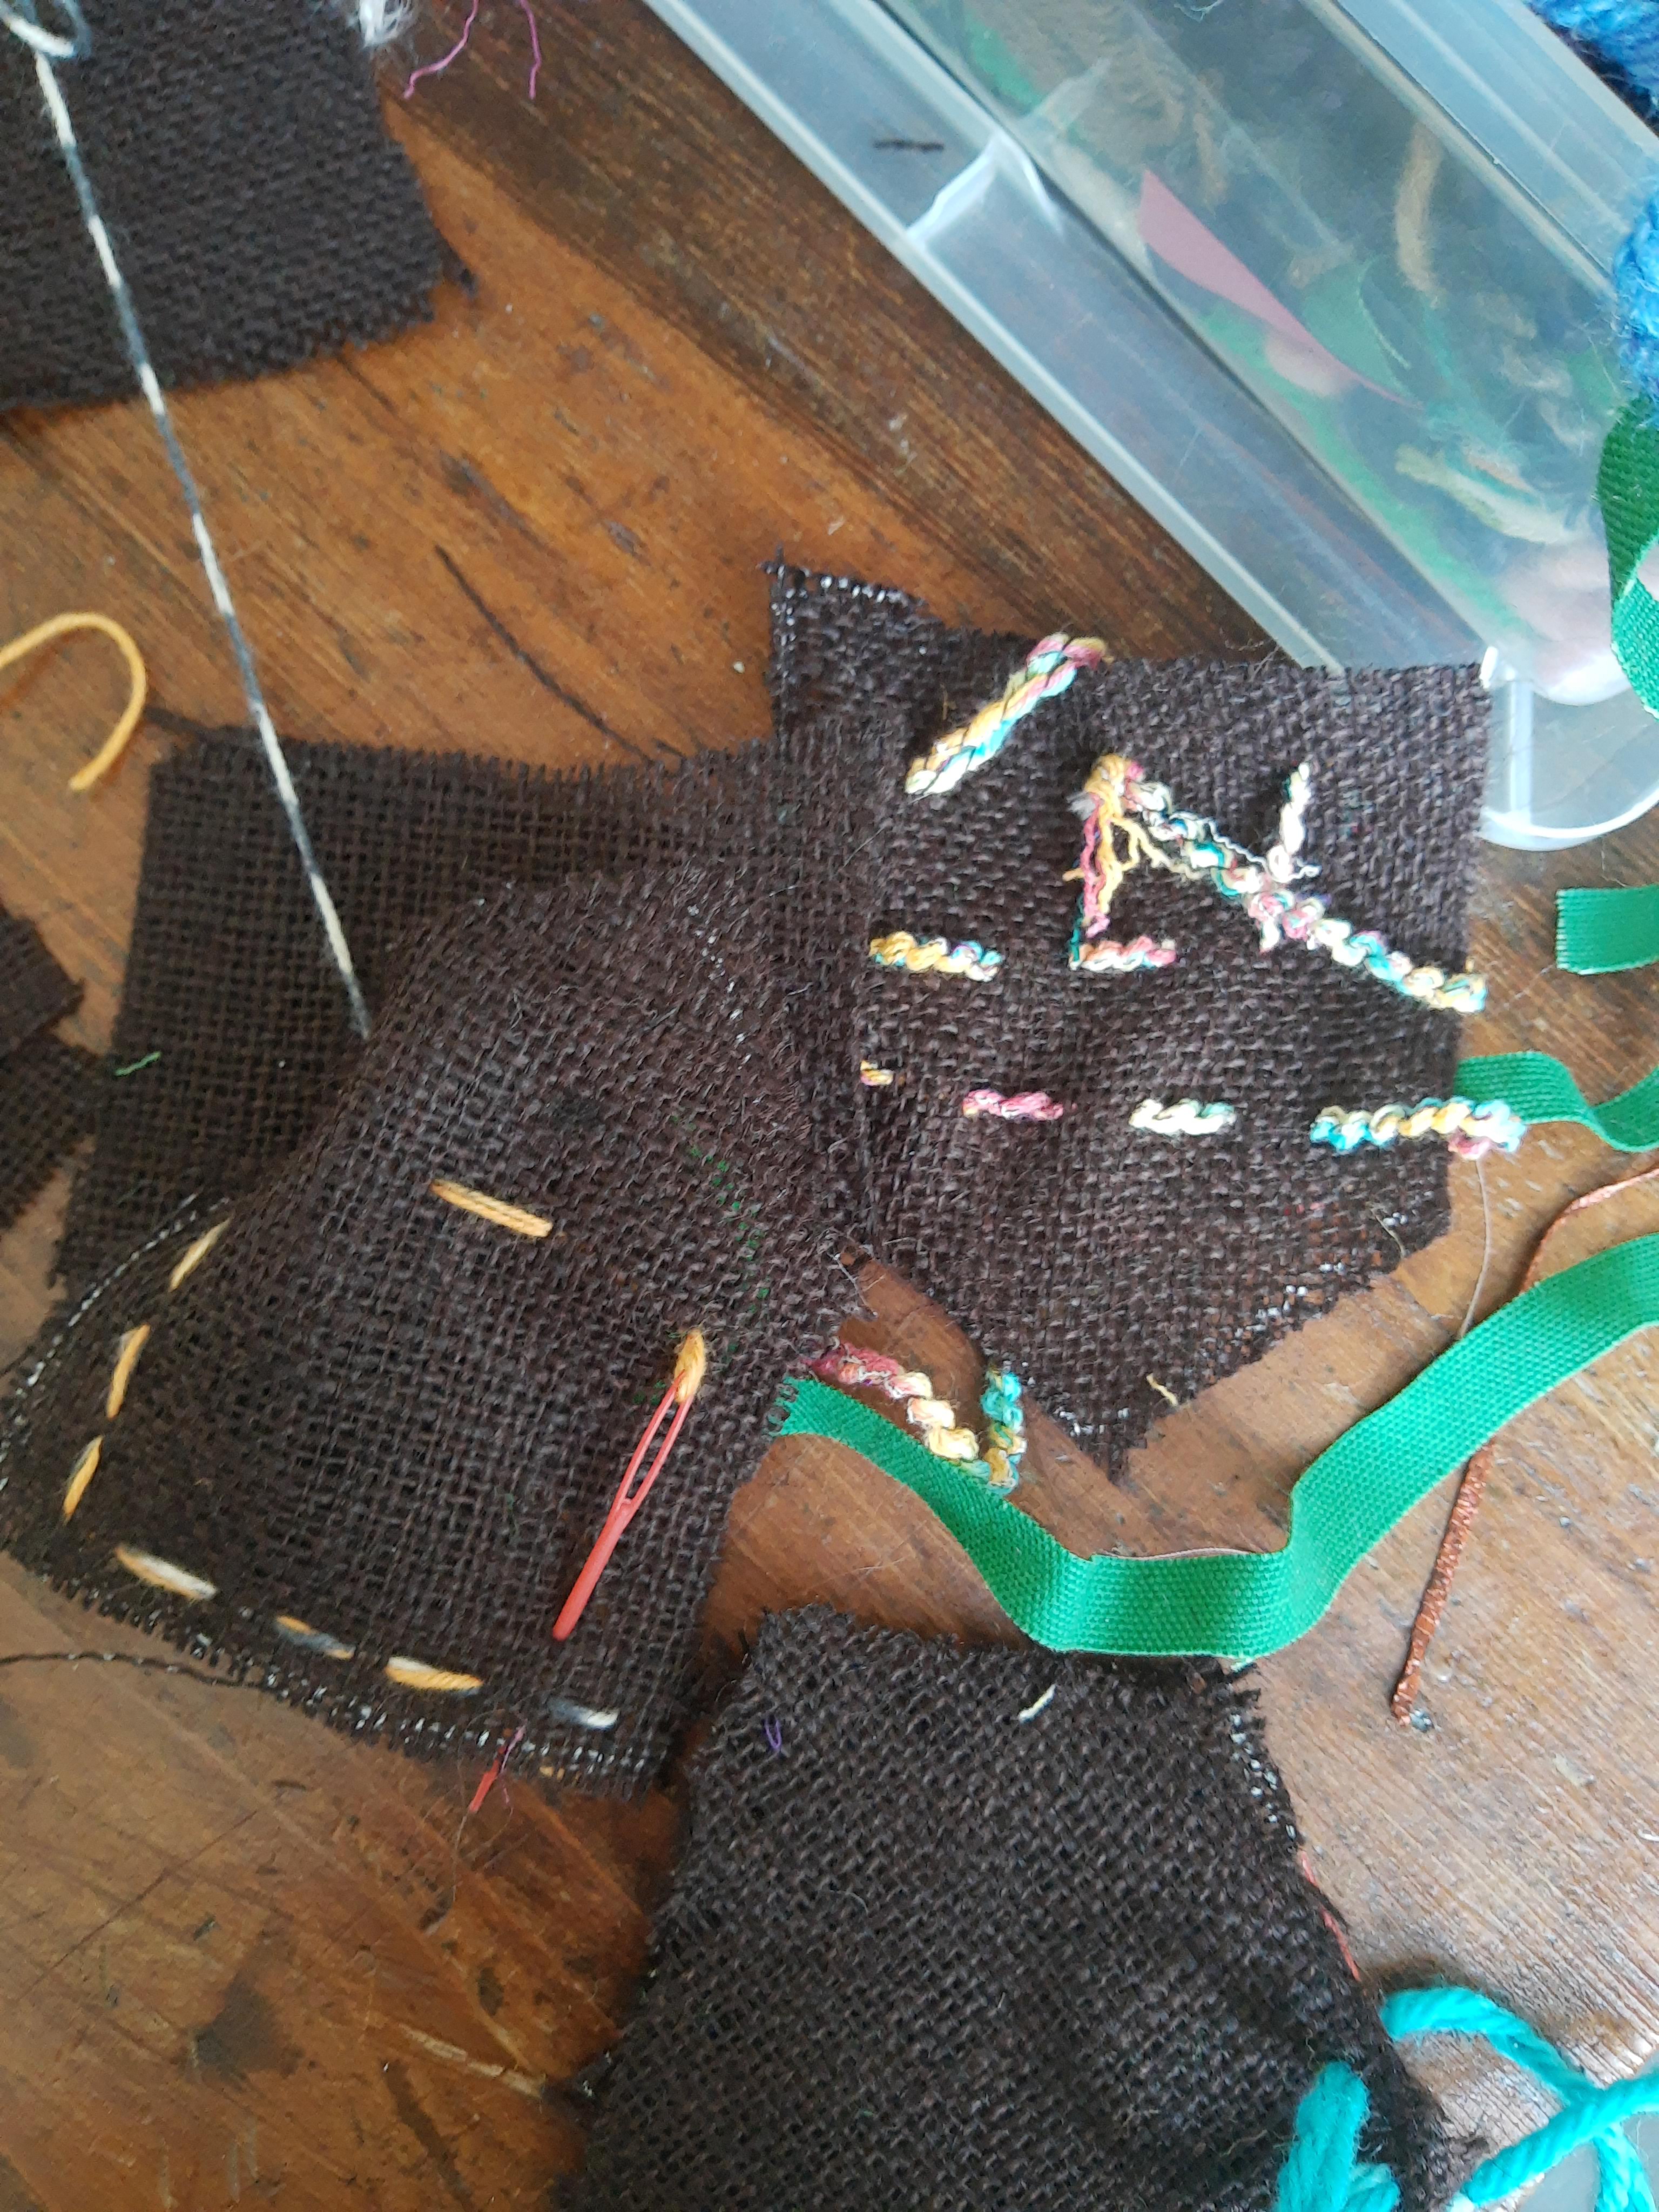
3D & TEXTILE STUDIO

In the 3D/textile studio, students experimented with sewing lines into fabric and sculpting with modeling clay.

At the end of class, I asked students to share their favorite studio and why they liked it the best. This was a great way to introduce students to different art media and see which studios they enjoyed the most.

Recreating Van Gogh’s White Roses

I painted Van Gogh’s White Roses. Why? Because I had started this painting 3 years ago and I needed to finish it. I had painted the underpainting years ago, but I kept putting off painting the colors because I knew it would need to be painted in one sitting while the paint was still dry. And the canvas is big. But, at the end of July, I decided to paint. I cranked out the top layer of this painting in 2 days. I spent 7 hours on a Friday and 10 hours the next day, making myself paint until I finished. And I did! (Although honestly, there’s a few details on leaves that I’ve neglected and a few mistakes, but it’s all good).

While my recreation isn’t perfect and certainly doesn’t compare with the real Van Gogh painting, I learned a lot about Van Gogh and I appreciate his work a lot more now.

Things I learned about painting like Van Gogh:

  1. Use paint straight from the tube! Thick paint is best
  2. Let colors mix together
  3. Keep painting before the paint has dried (alla prima!)

To paint this, I looked at every brushstroke in the White Roses painting by using the zoom feature on the National Gallery of Art’s website. The NGA website has very clear and focused images of this painting, which made it a lot easier to emulate Van Gogh’s marks. I also went to the NGA a few times to study Van Gogh’s brushstrokes and practice painting like Van Gogh.

Below are my process pictures:

The finished painting:

Making A Mosaic

I needed to smash stuff to cope with stress and anxiety. So I bought a few cheap plates from a thrift store and smashed away! This was my first time making a mosaic, and because it was for stress-relief, I didn’t care about making a nice design or planning out where I wanted to put the pieces.

Steps I followed (according to the pictures above):

  1. Gather plates you want to smash.
  2. Put a plate in a bag and smash away! You can use a hammer or mallet. I also even put one plate in a big plastic trash bag and slammed it onto the ground, which was very fun and stress-relieving.
  3. Smash until all the pieces are small.
  4. Use containers to sort different colored pieces together.
  5. Begin attaching the pieces to a wood panel or other surface. To attach the pieces, I used ceramic/tile fixture caulk.
  6. Continue attaching pieces. I also added little plastic pearl beads.
  7. Once all the pieces are attached to the board/surface, let the caulk dry. It took about an hour.
  8. Once the caulk is dry and all the pieces are set, begin mixing the grout. I followed the directions on the grout container – I added water and stirred. Once the grout was ready, I scraped it on top of the tiles until all the cracks were filled.
  9. After waiting about 30 minutes, I took a damp sponge and wiped off all the excess grout from the tiles. I let the mosaic dry and then it was finished!

Above – the caulk and grout I used

I used sanded grout to make it more sturdy since the cracks between my tiles were larger.

My finished mosaic: