
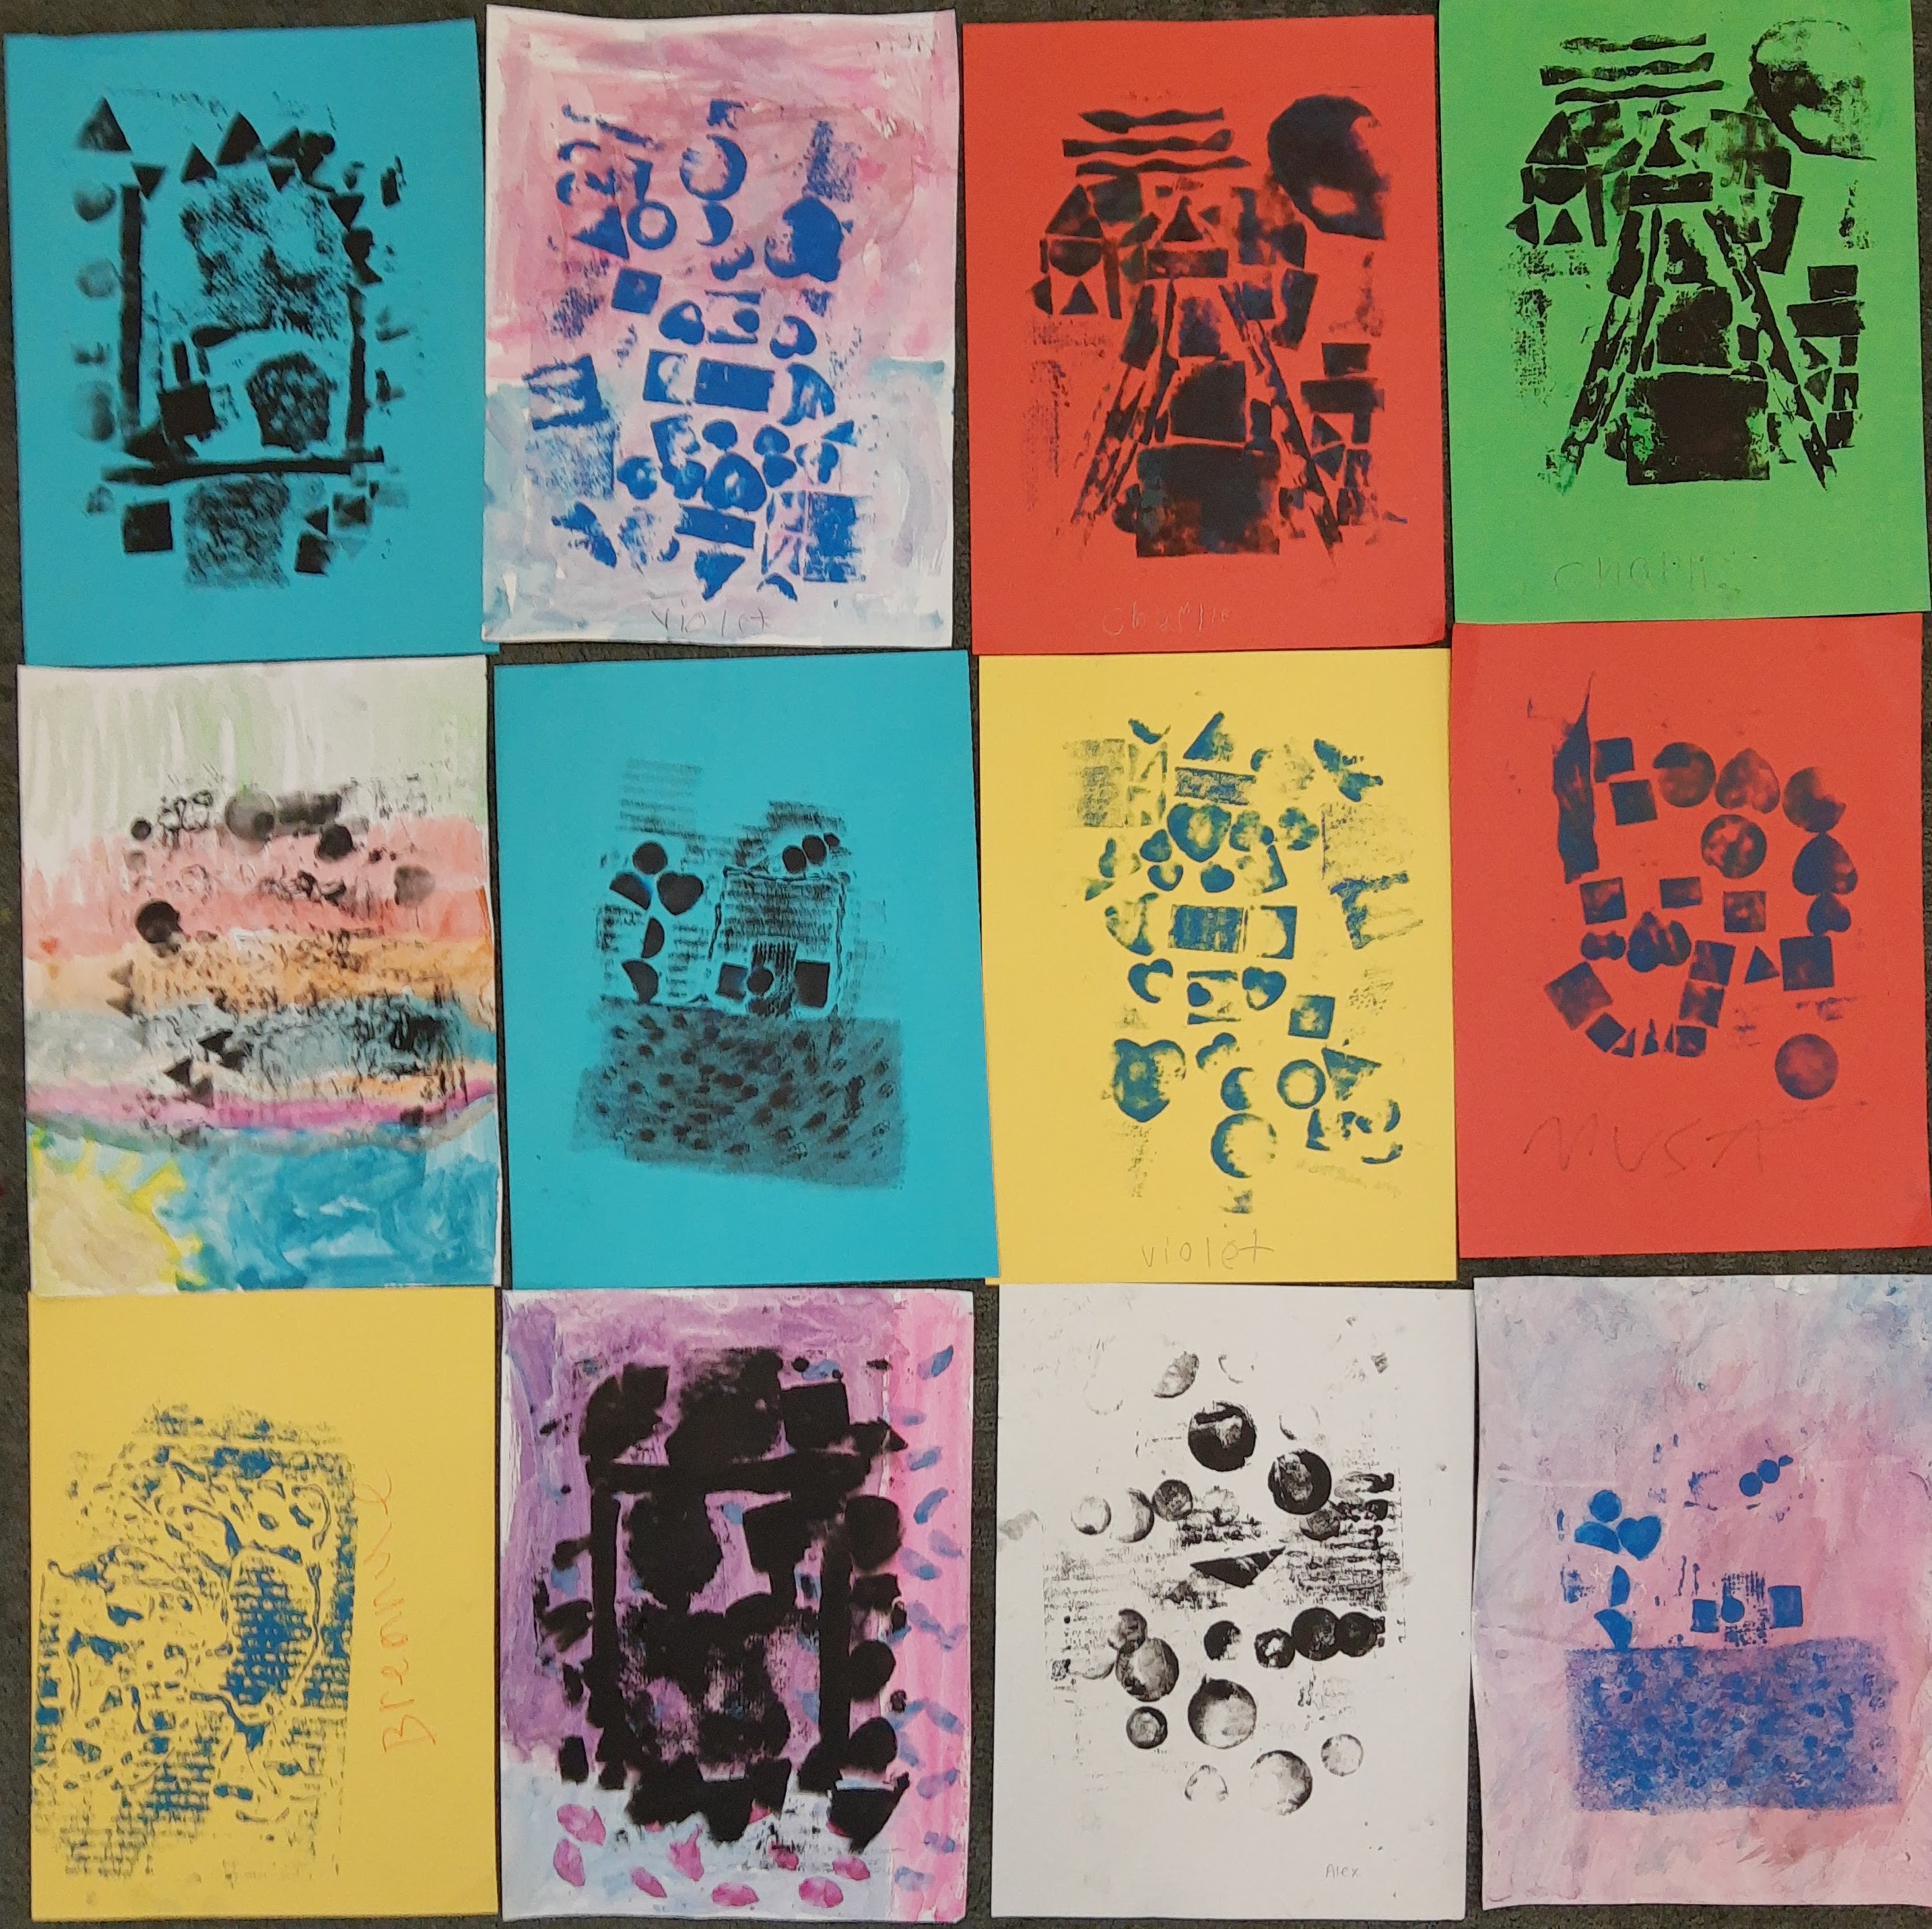
Collagraphs:
Lower elementary made collagraphs using different types of shapes. Students had fun stepping on their plates to make a clean print.


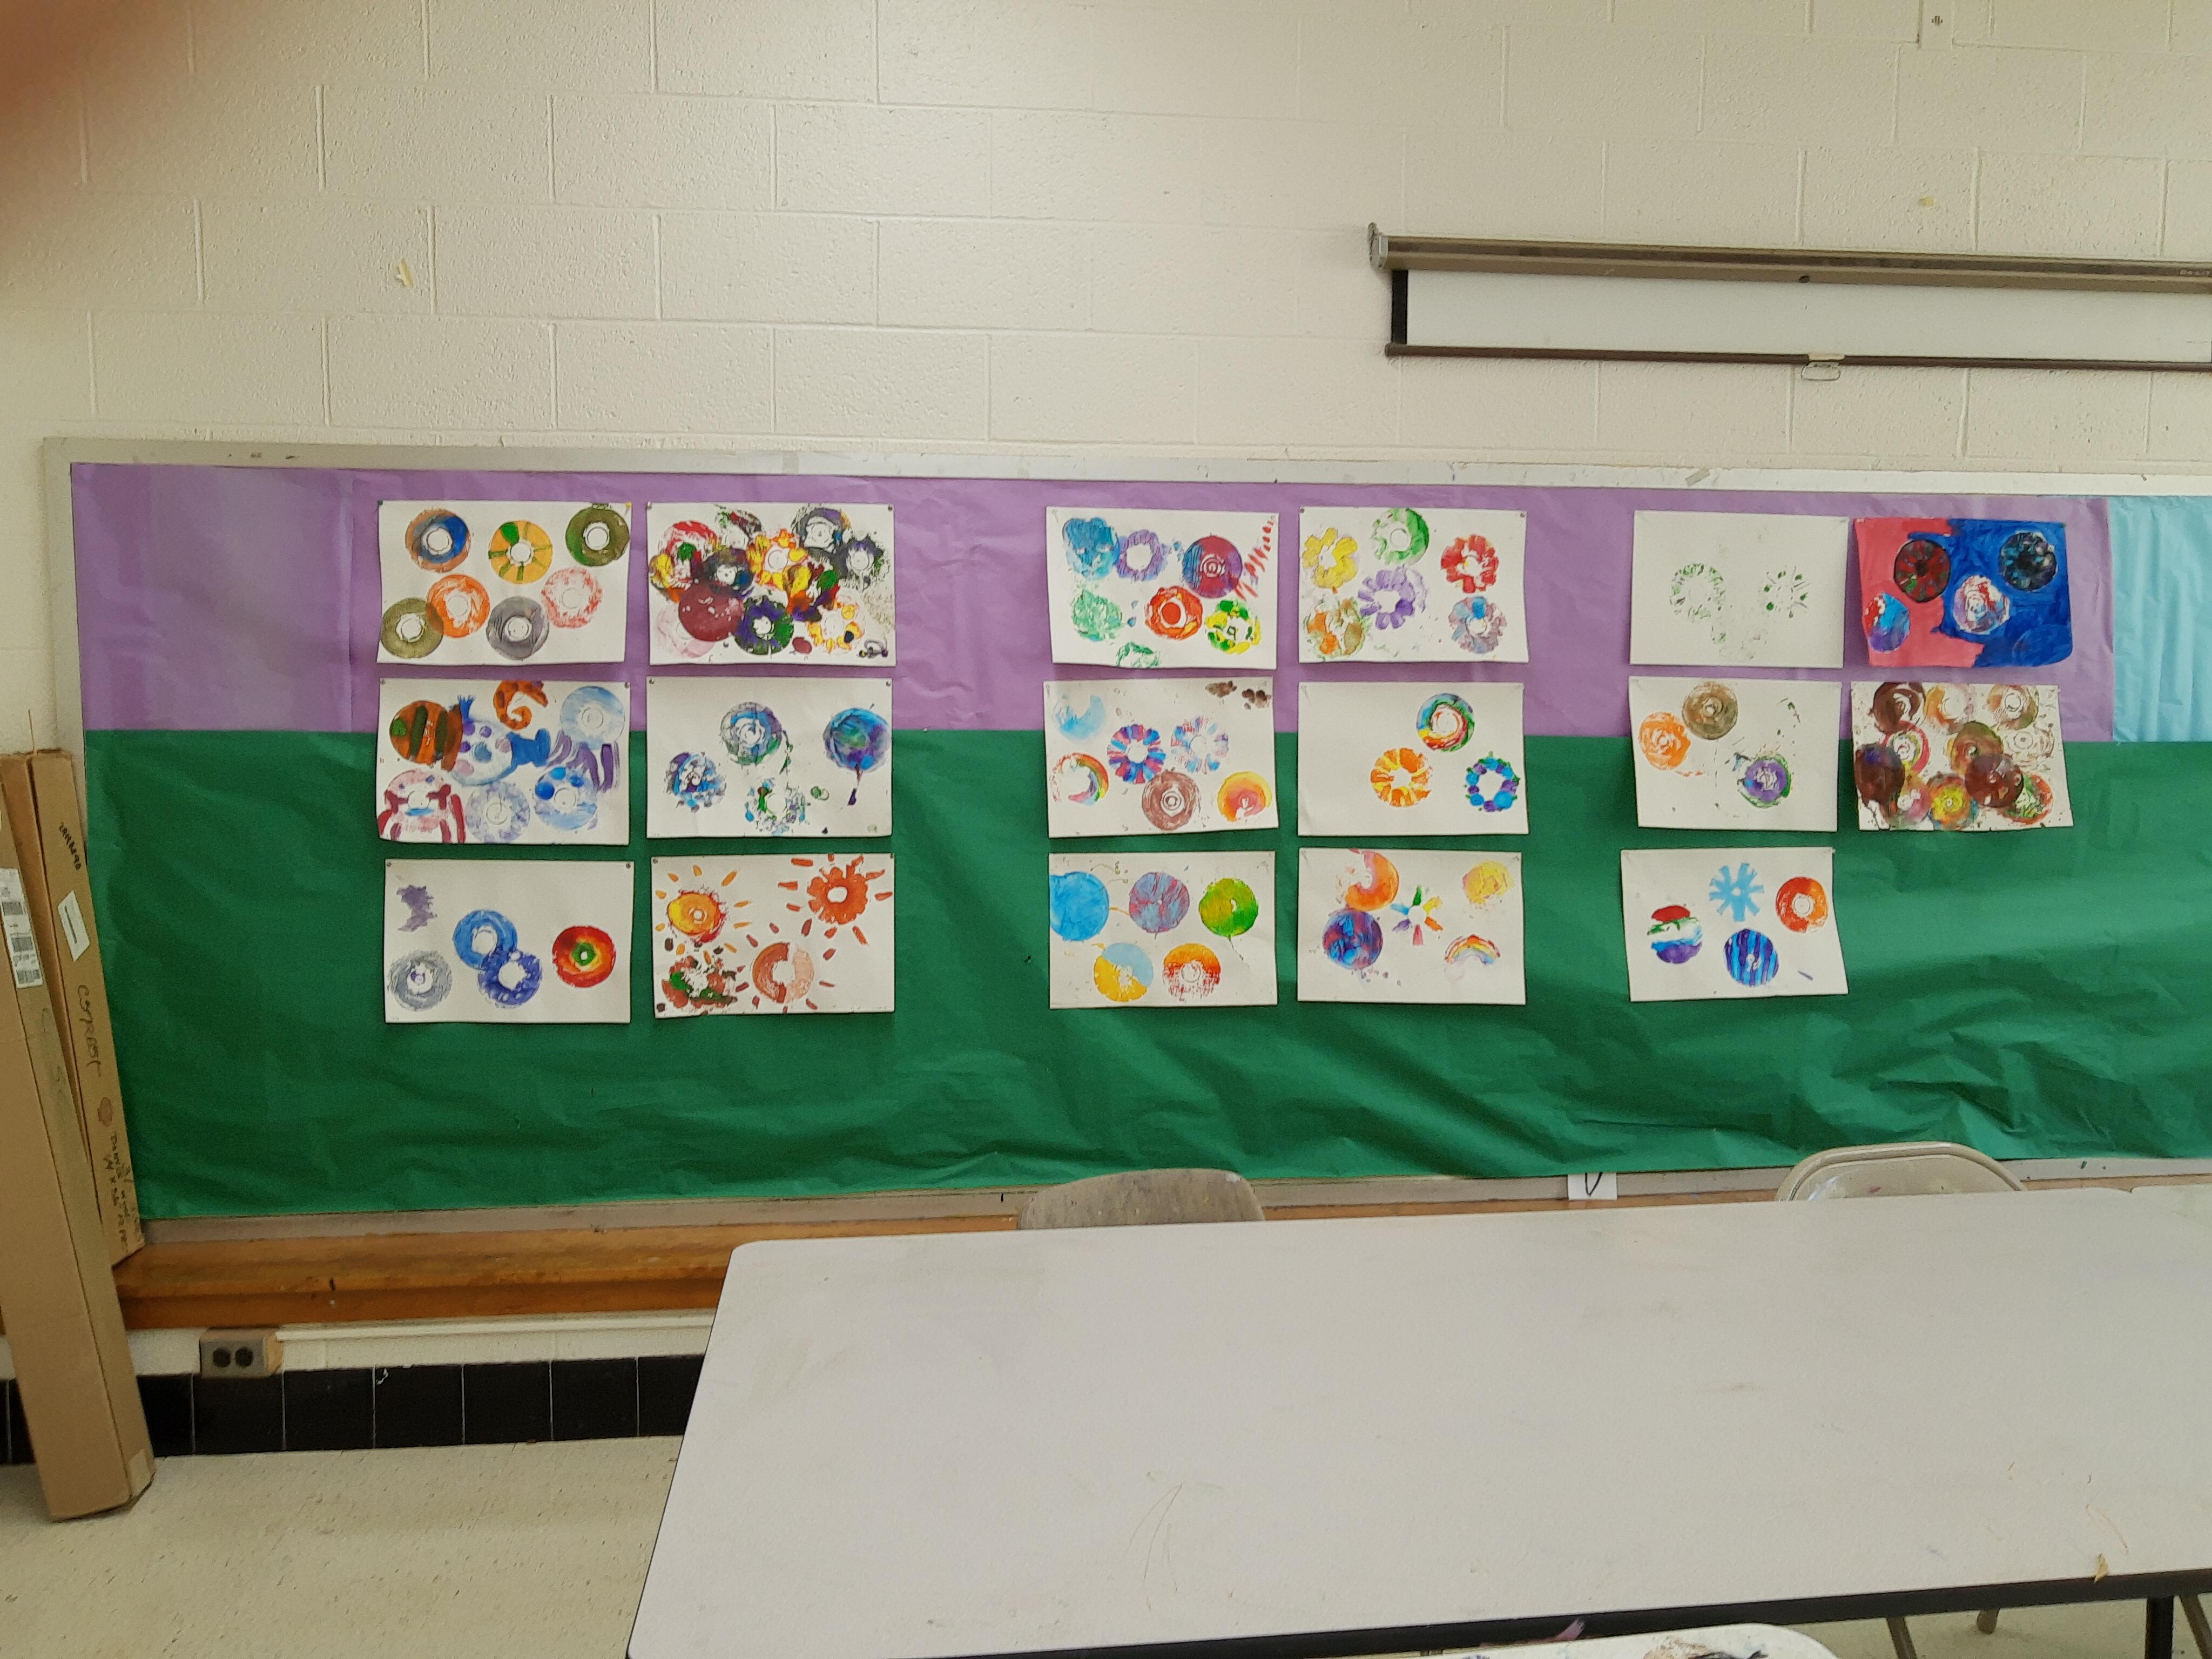
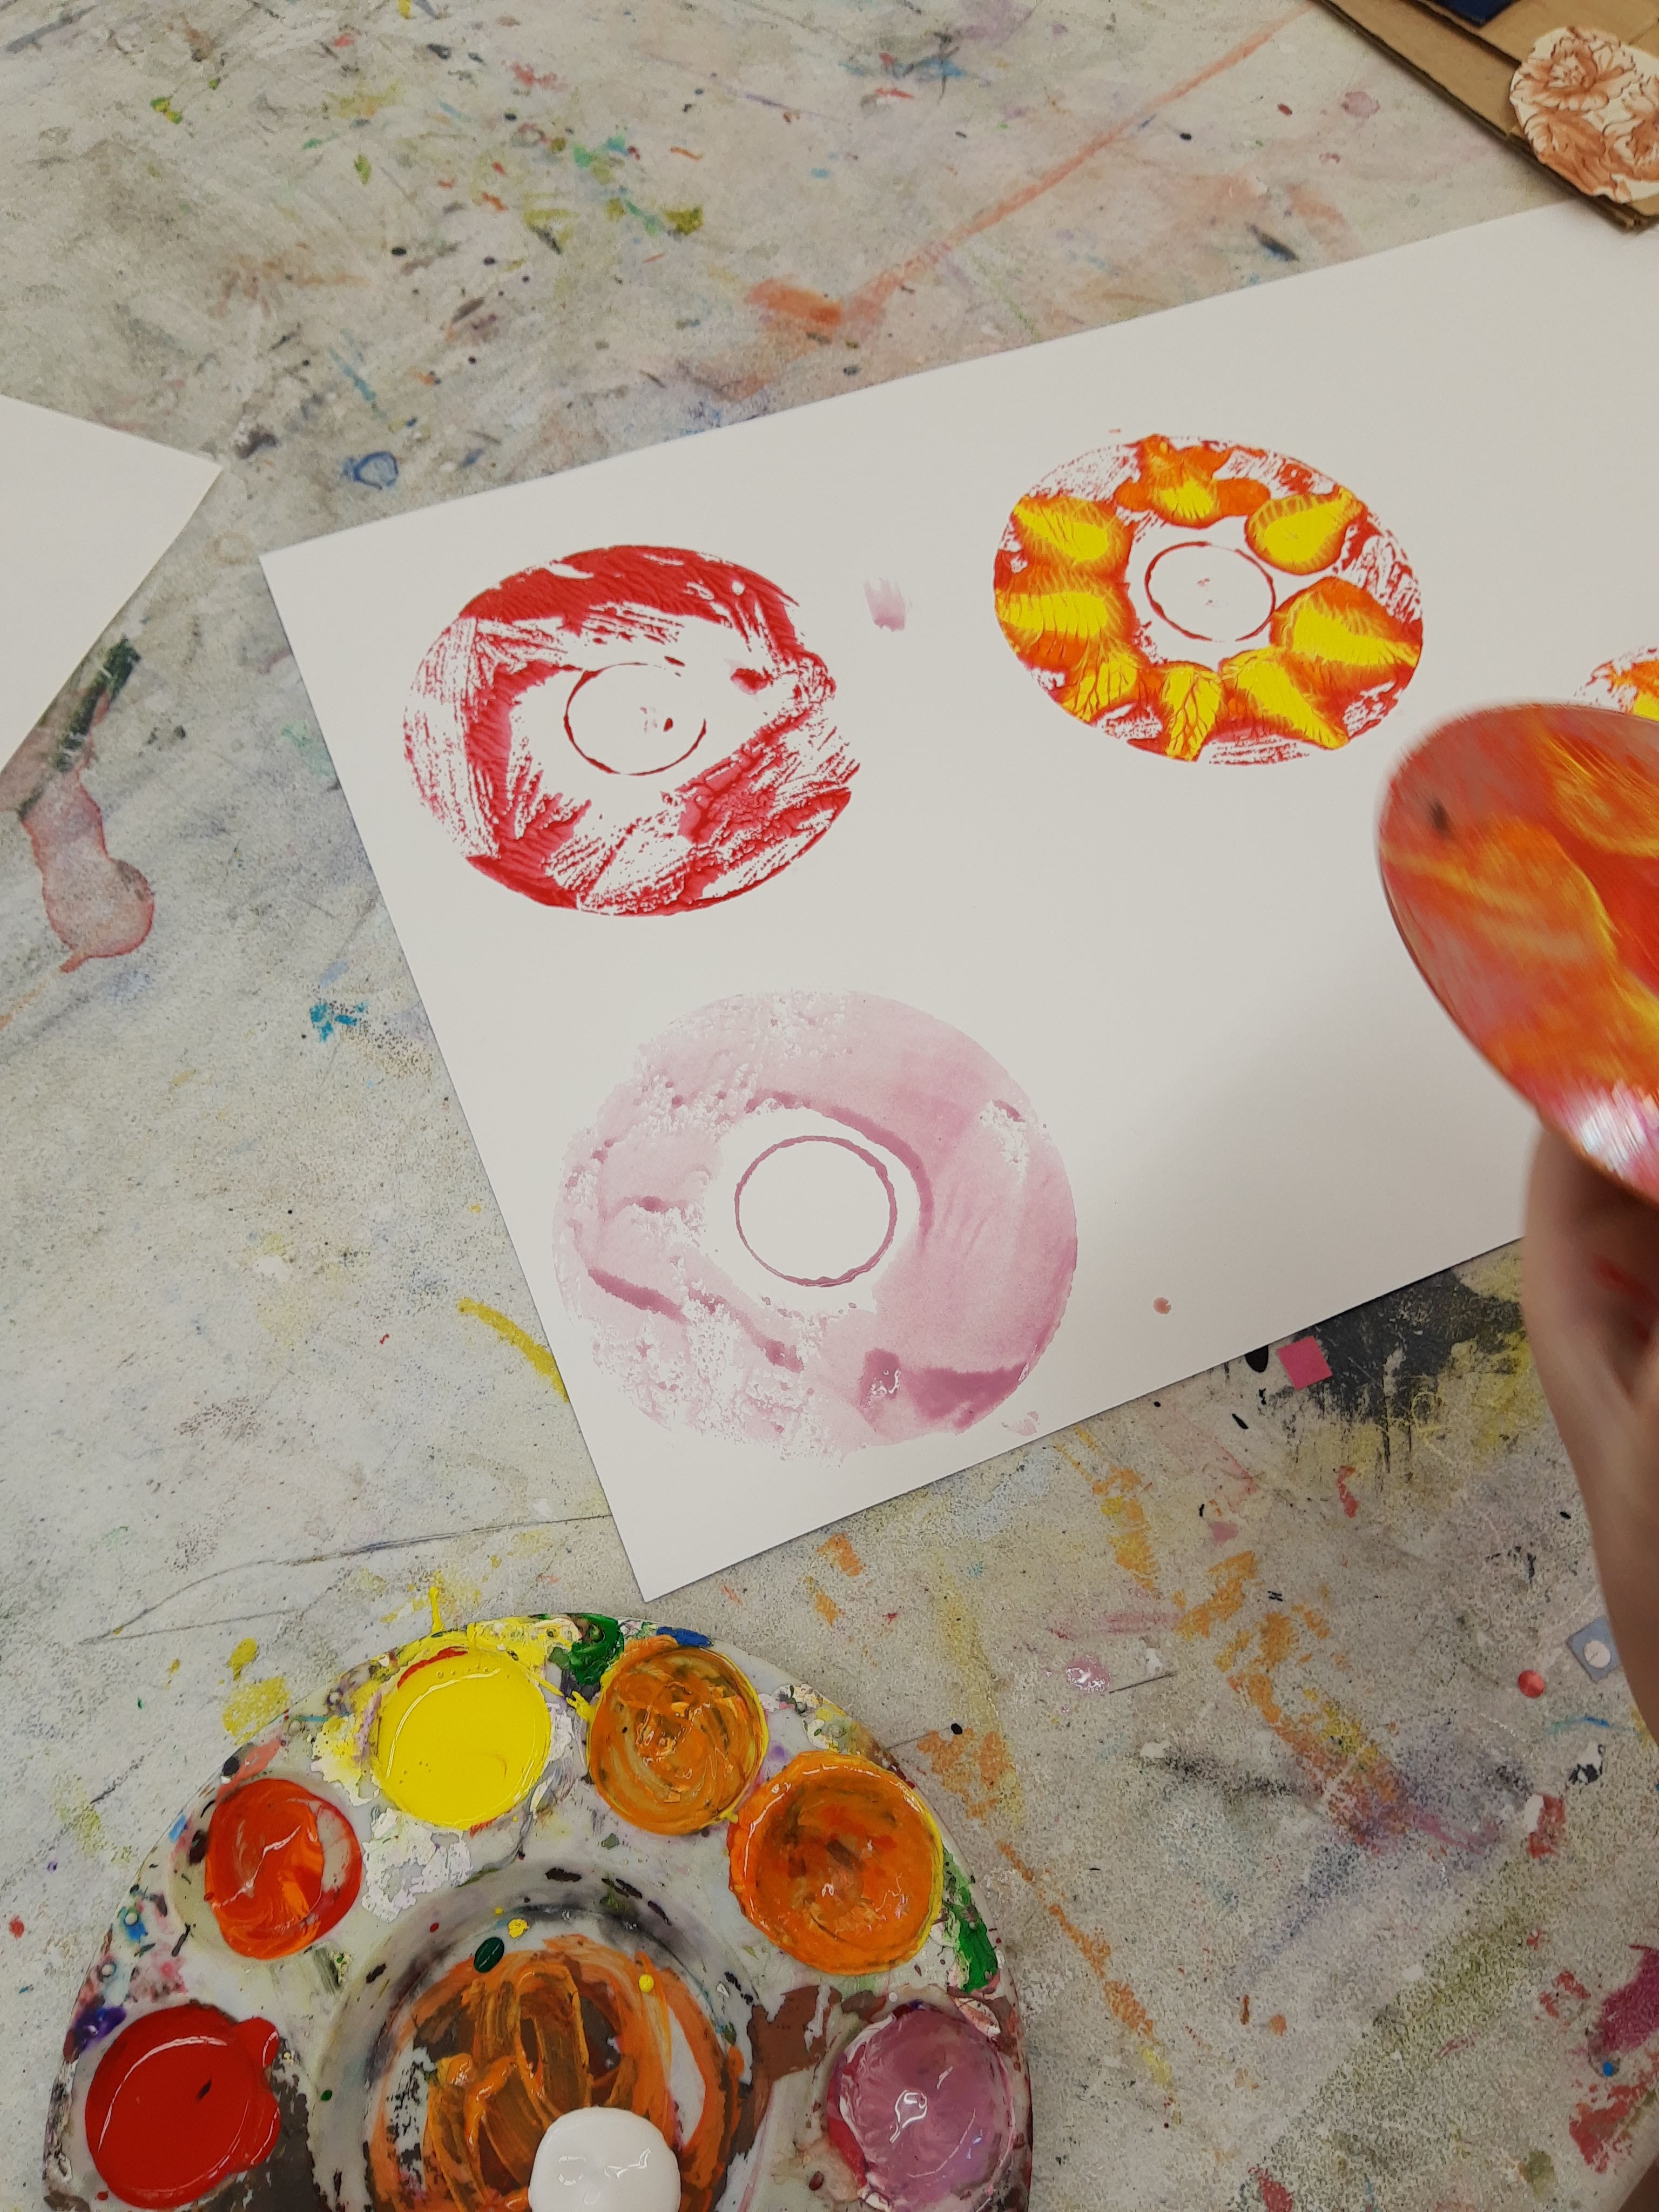
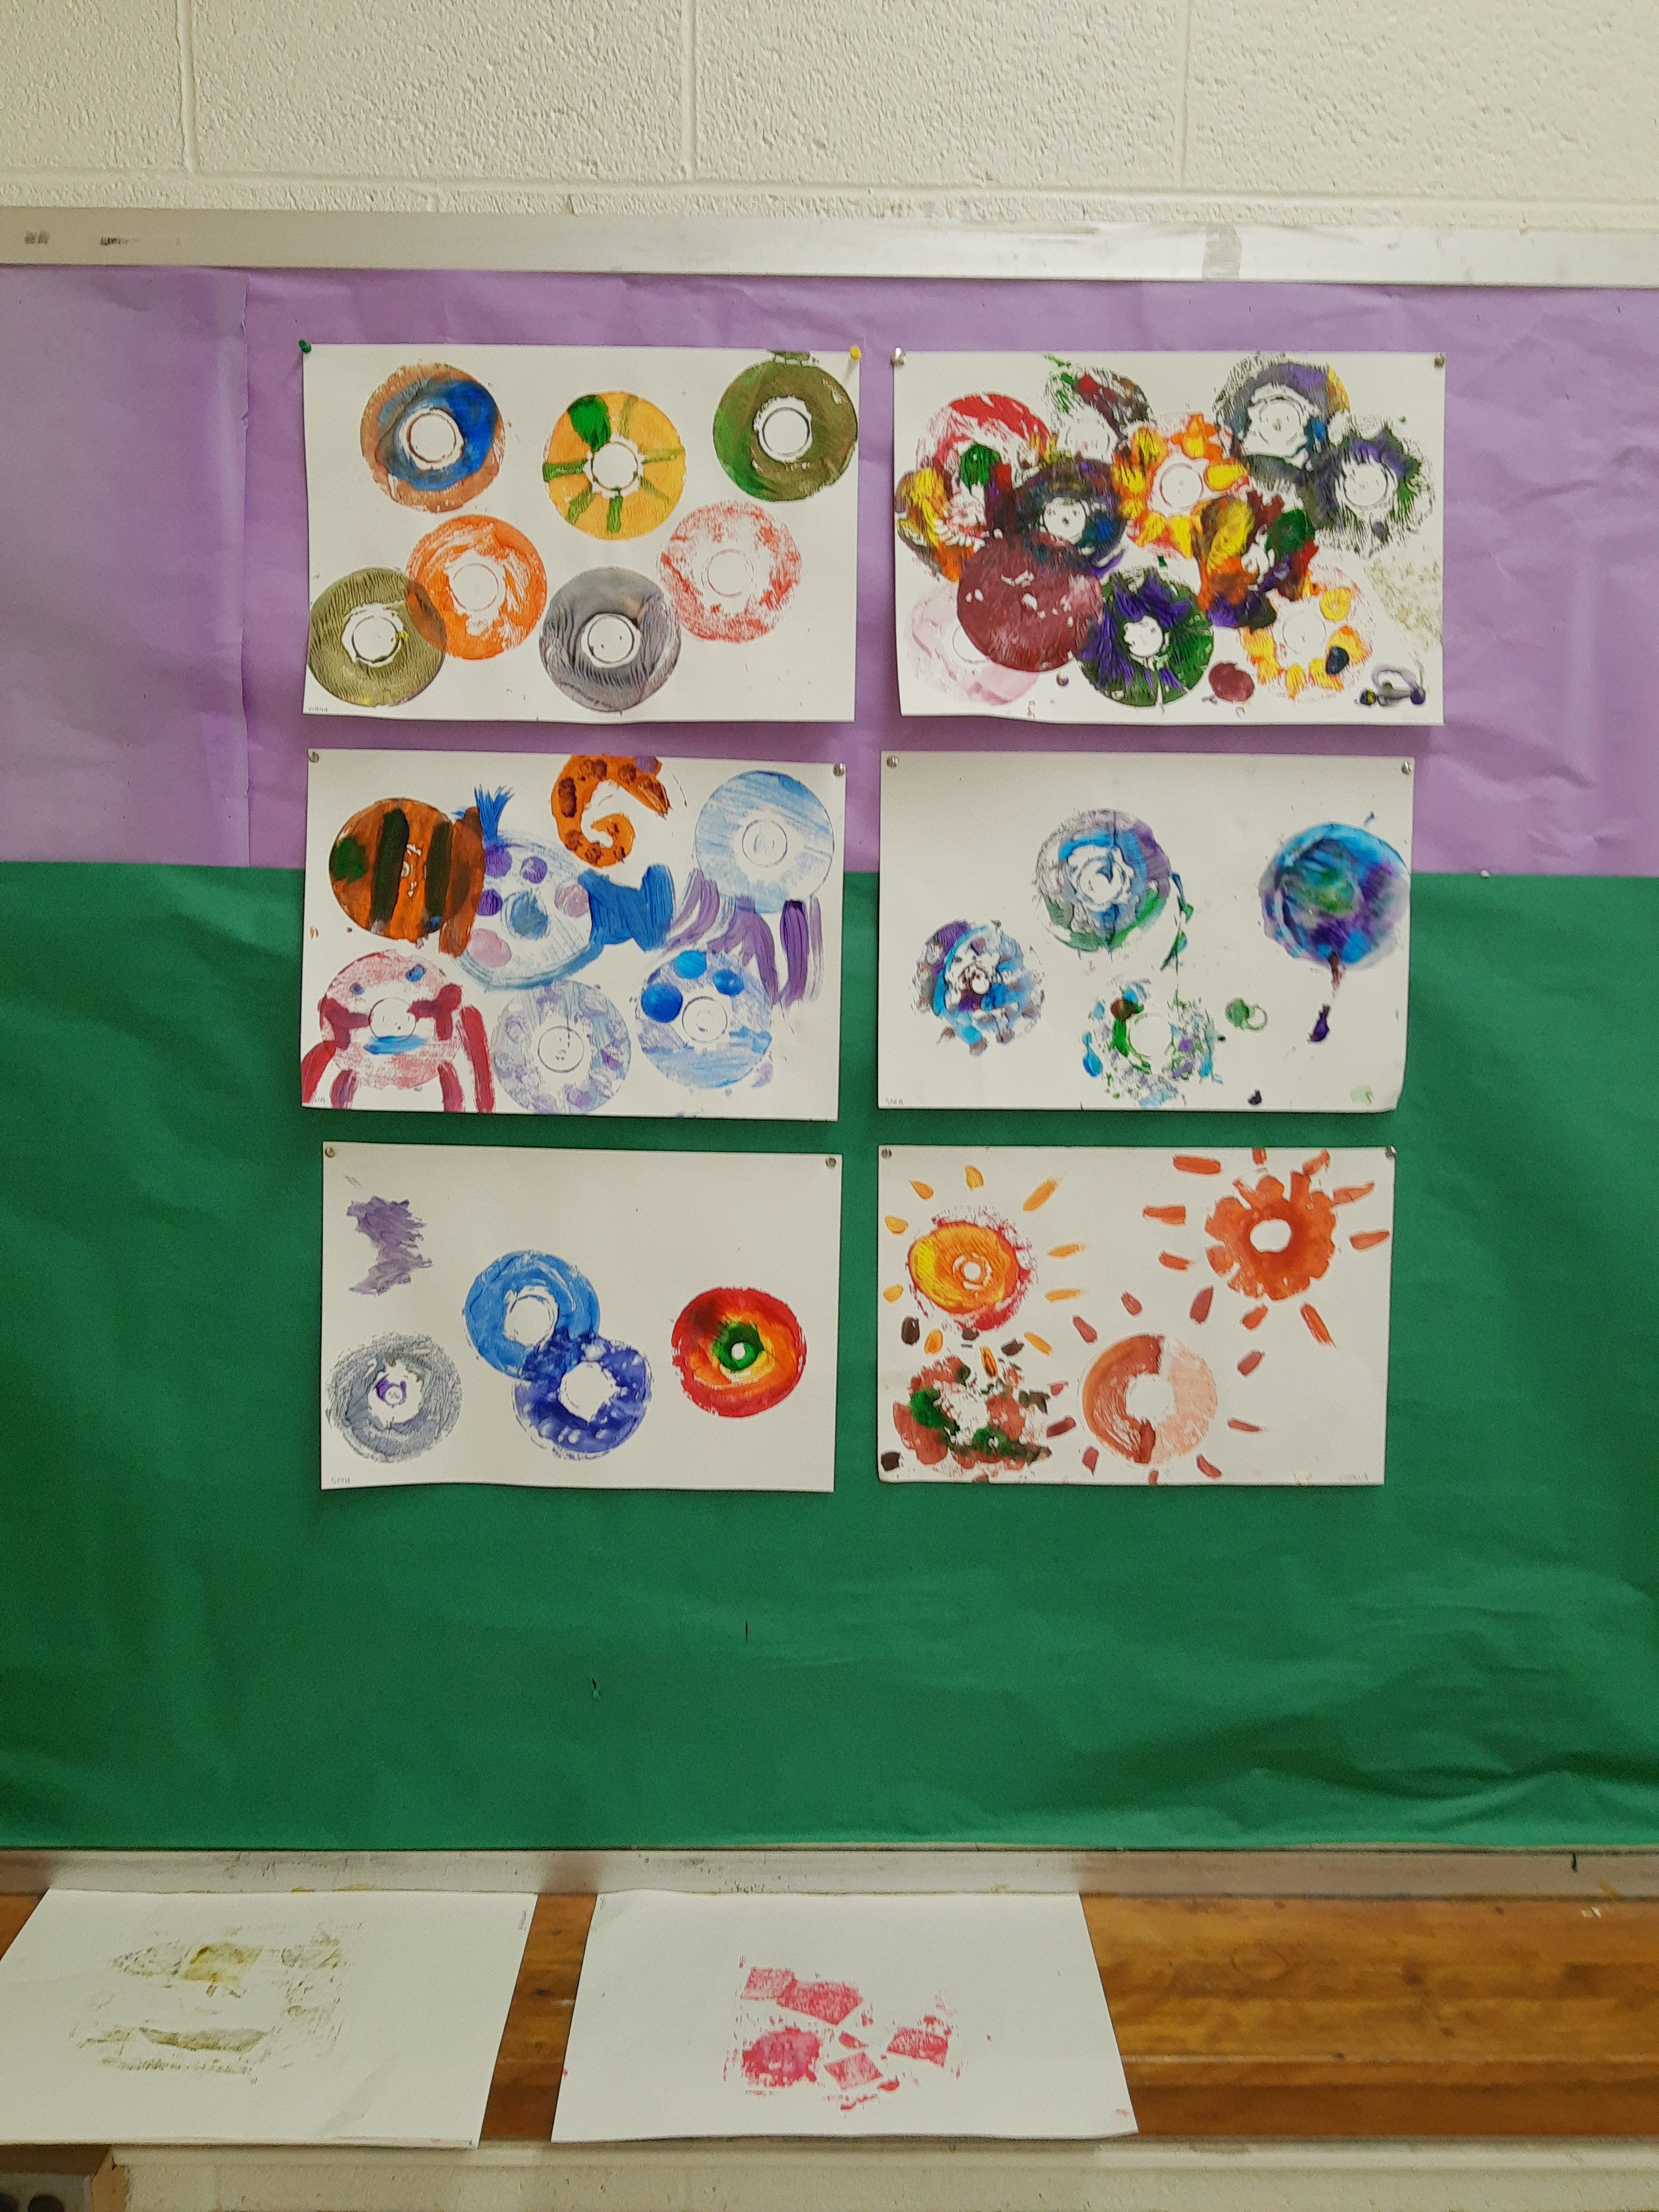
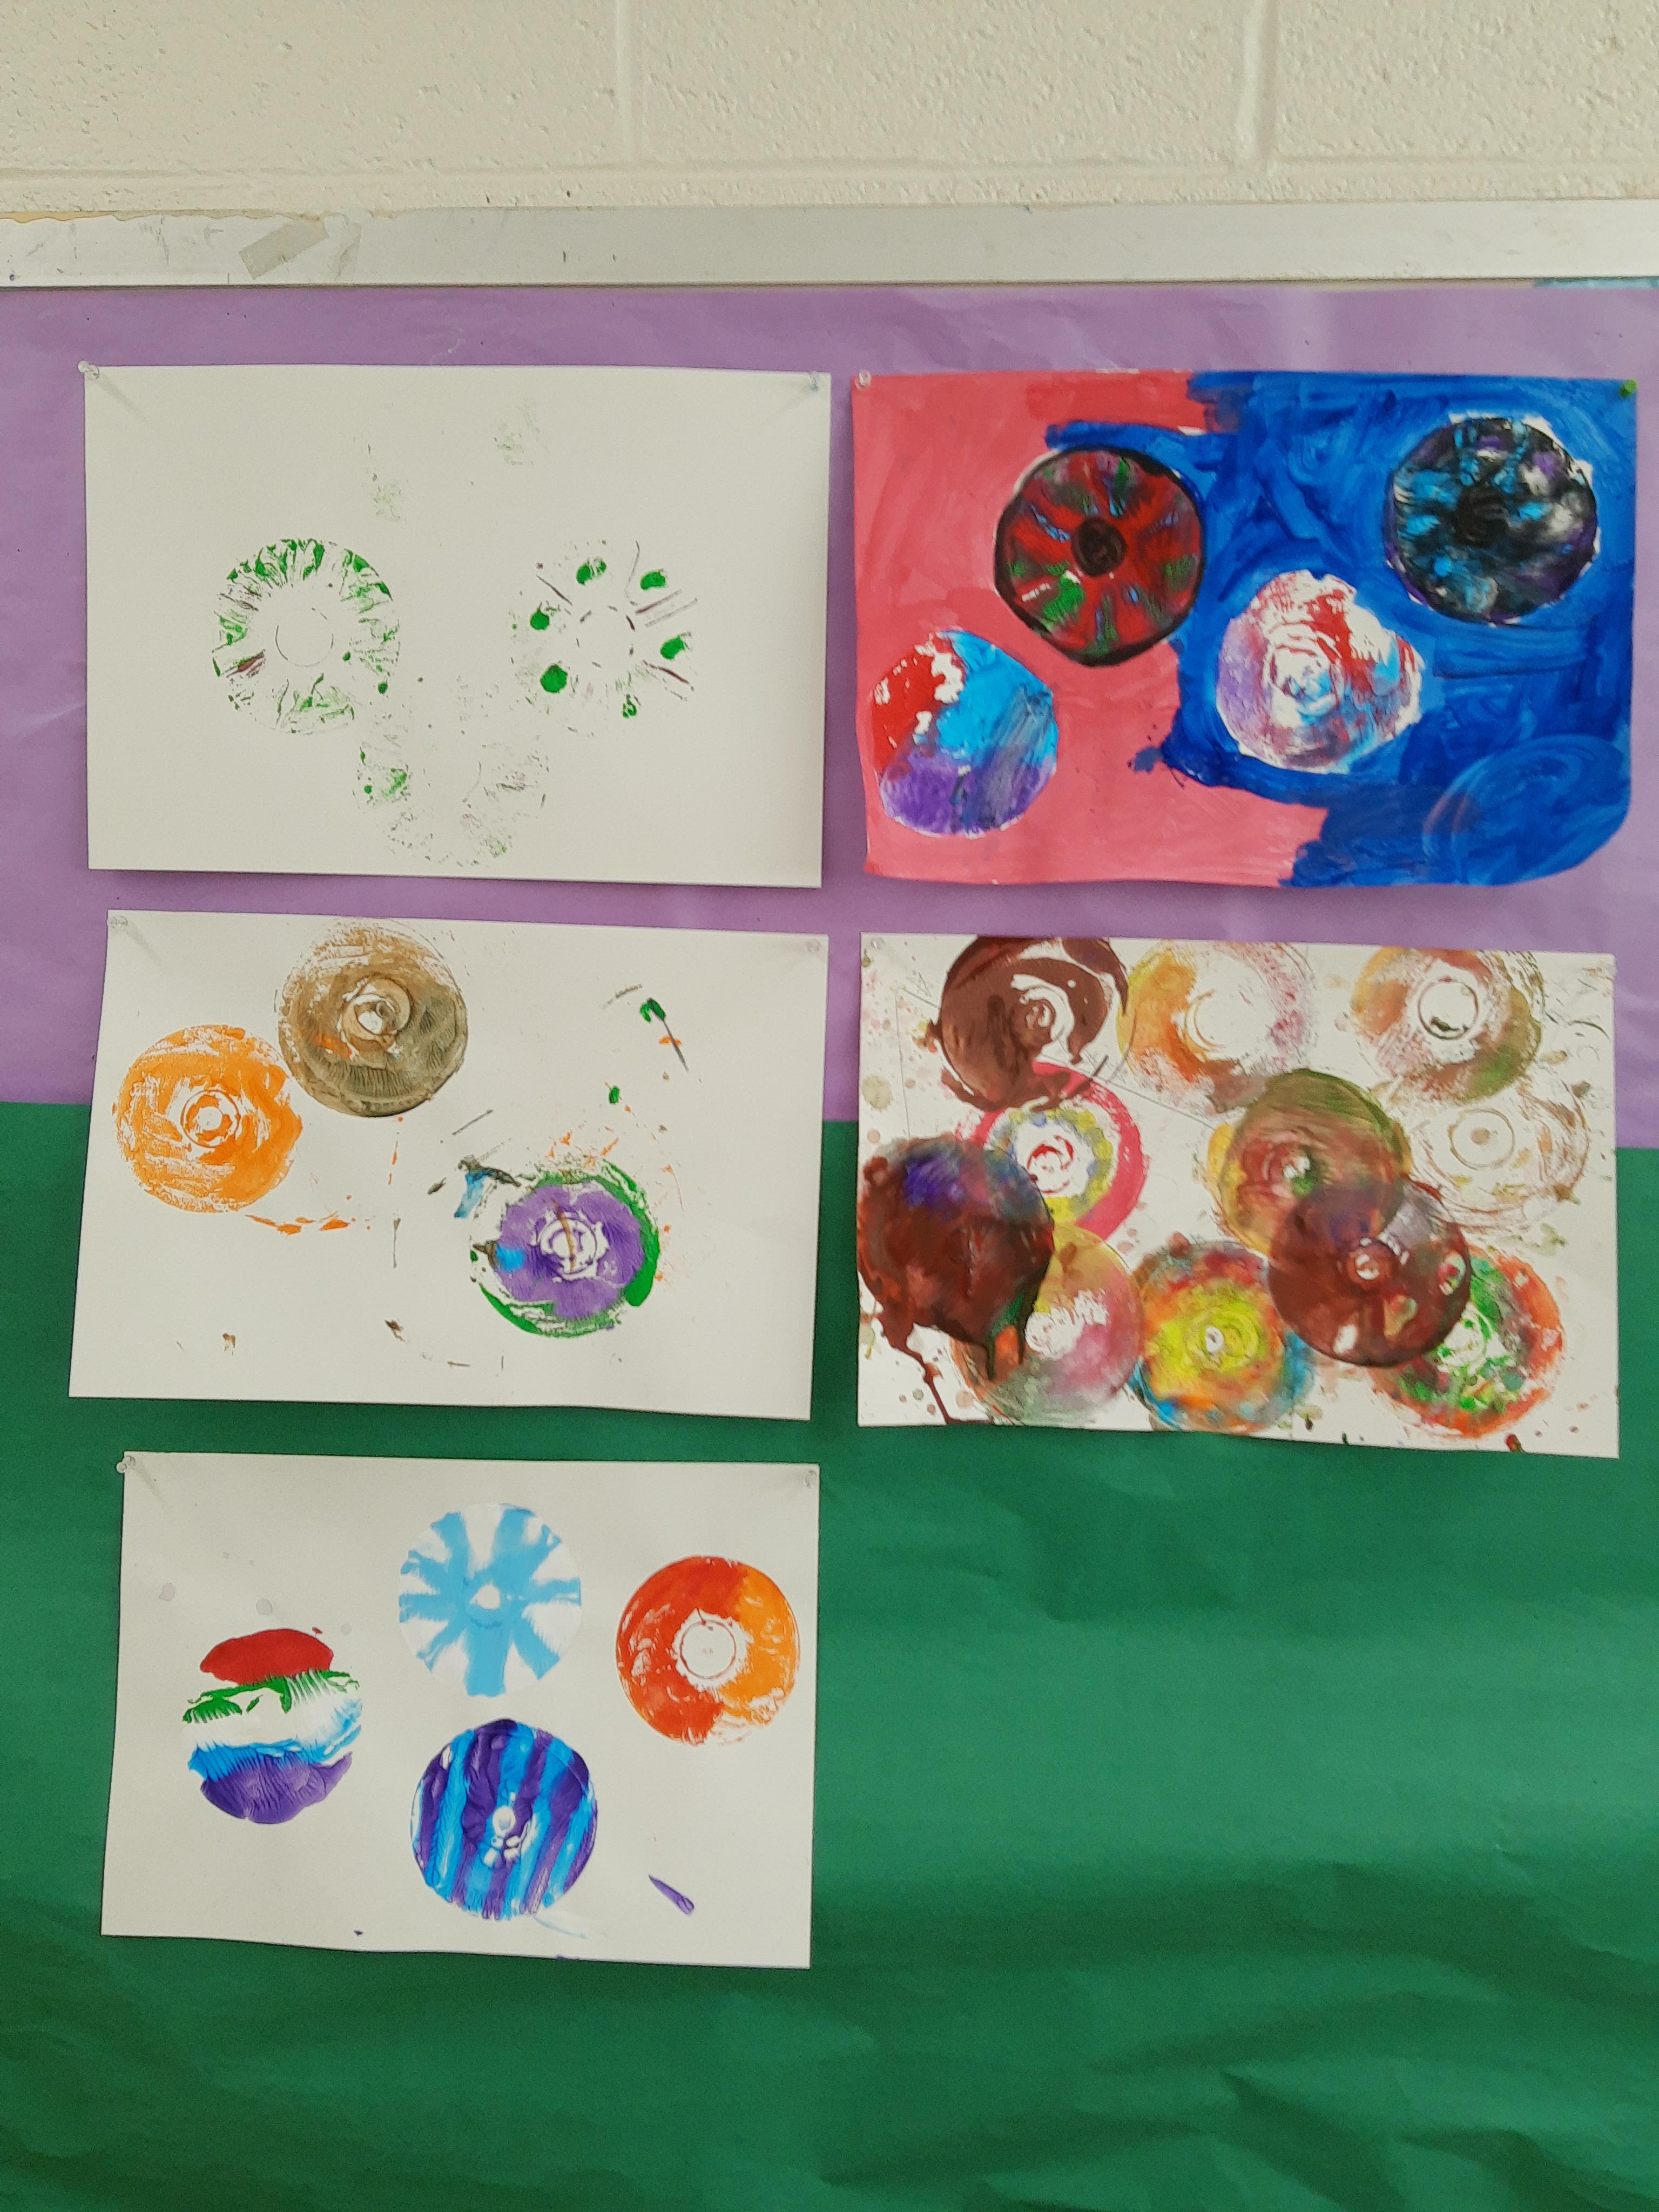
CD Monoprints:
My other students in my Saturday class made CD monoprints with tempera paint.


I finished my crocheted cardigan! At the beginning, I planned to make a pullover sweater, but then as I was working on it, I decided it would look better as a cardigan.
It took a long time to make and I still have a lot of loose strings to weave in. I might just wear it without finishing up all those loose strings.


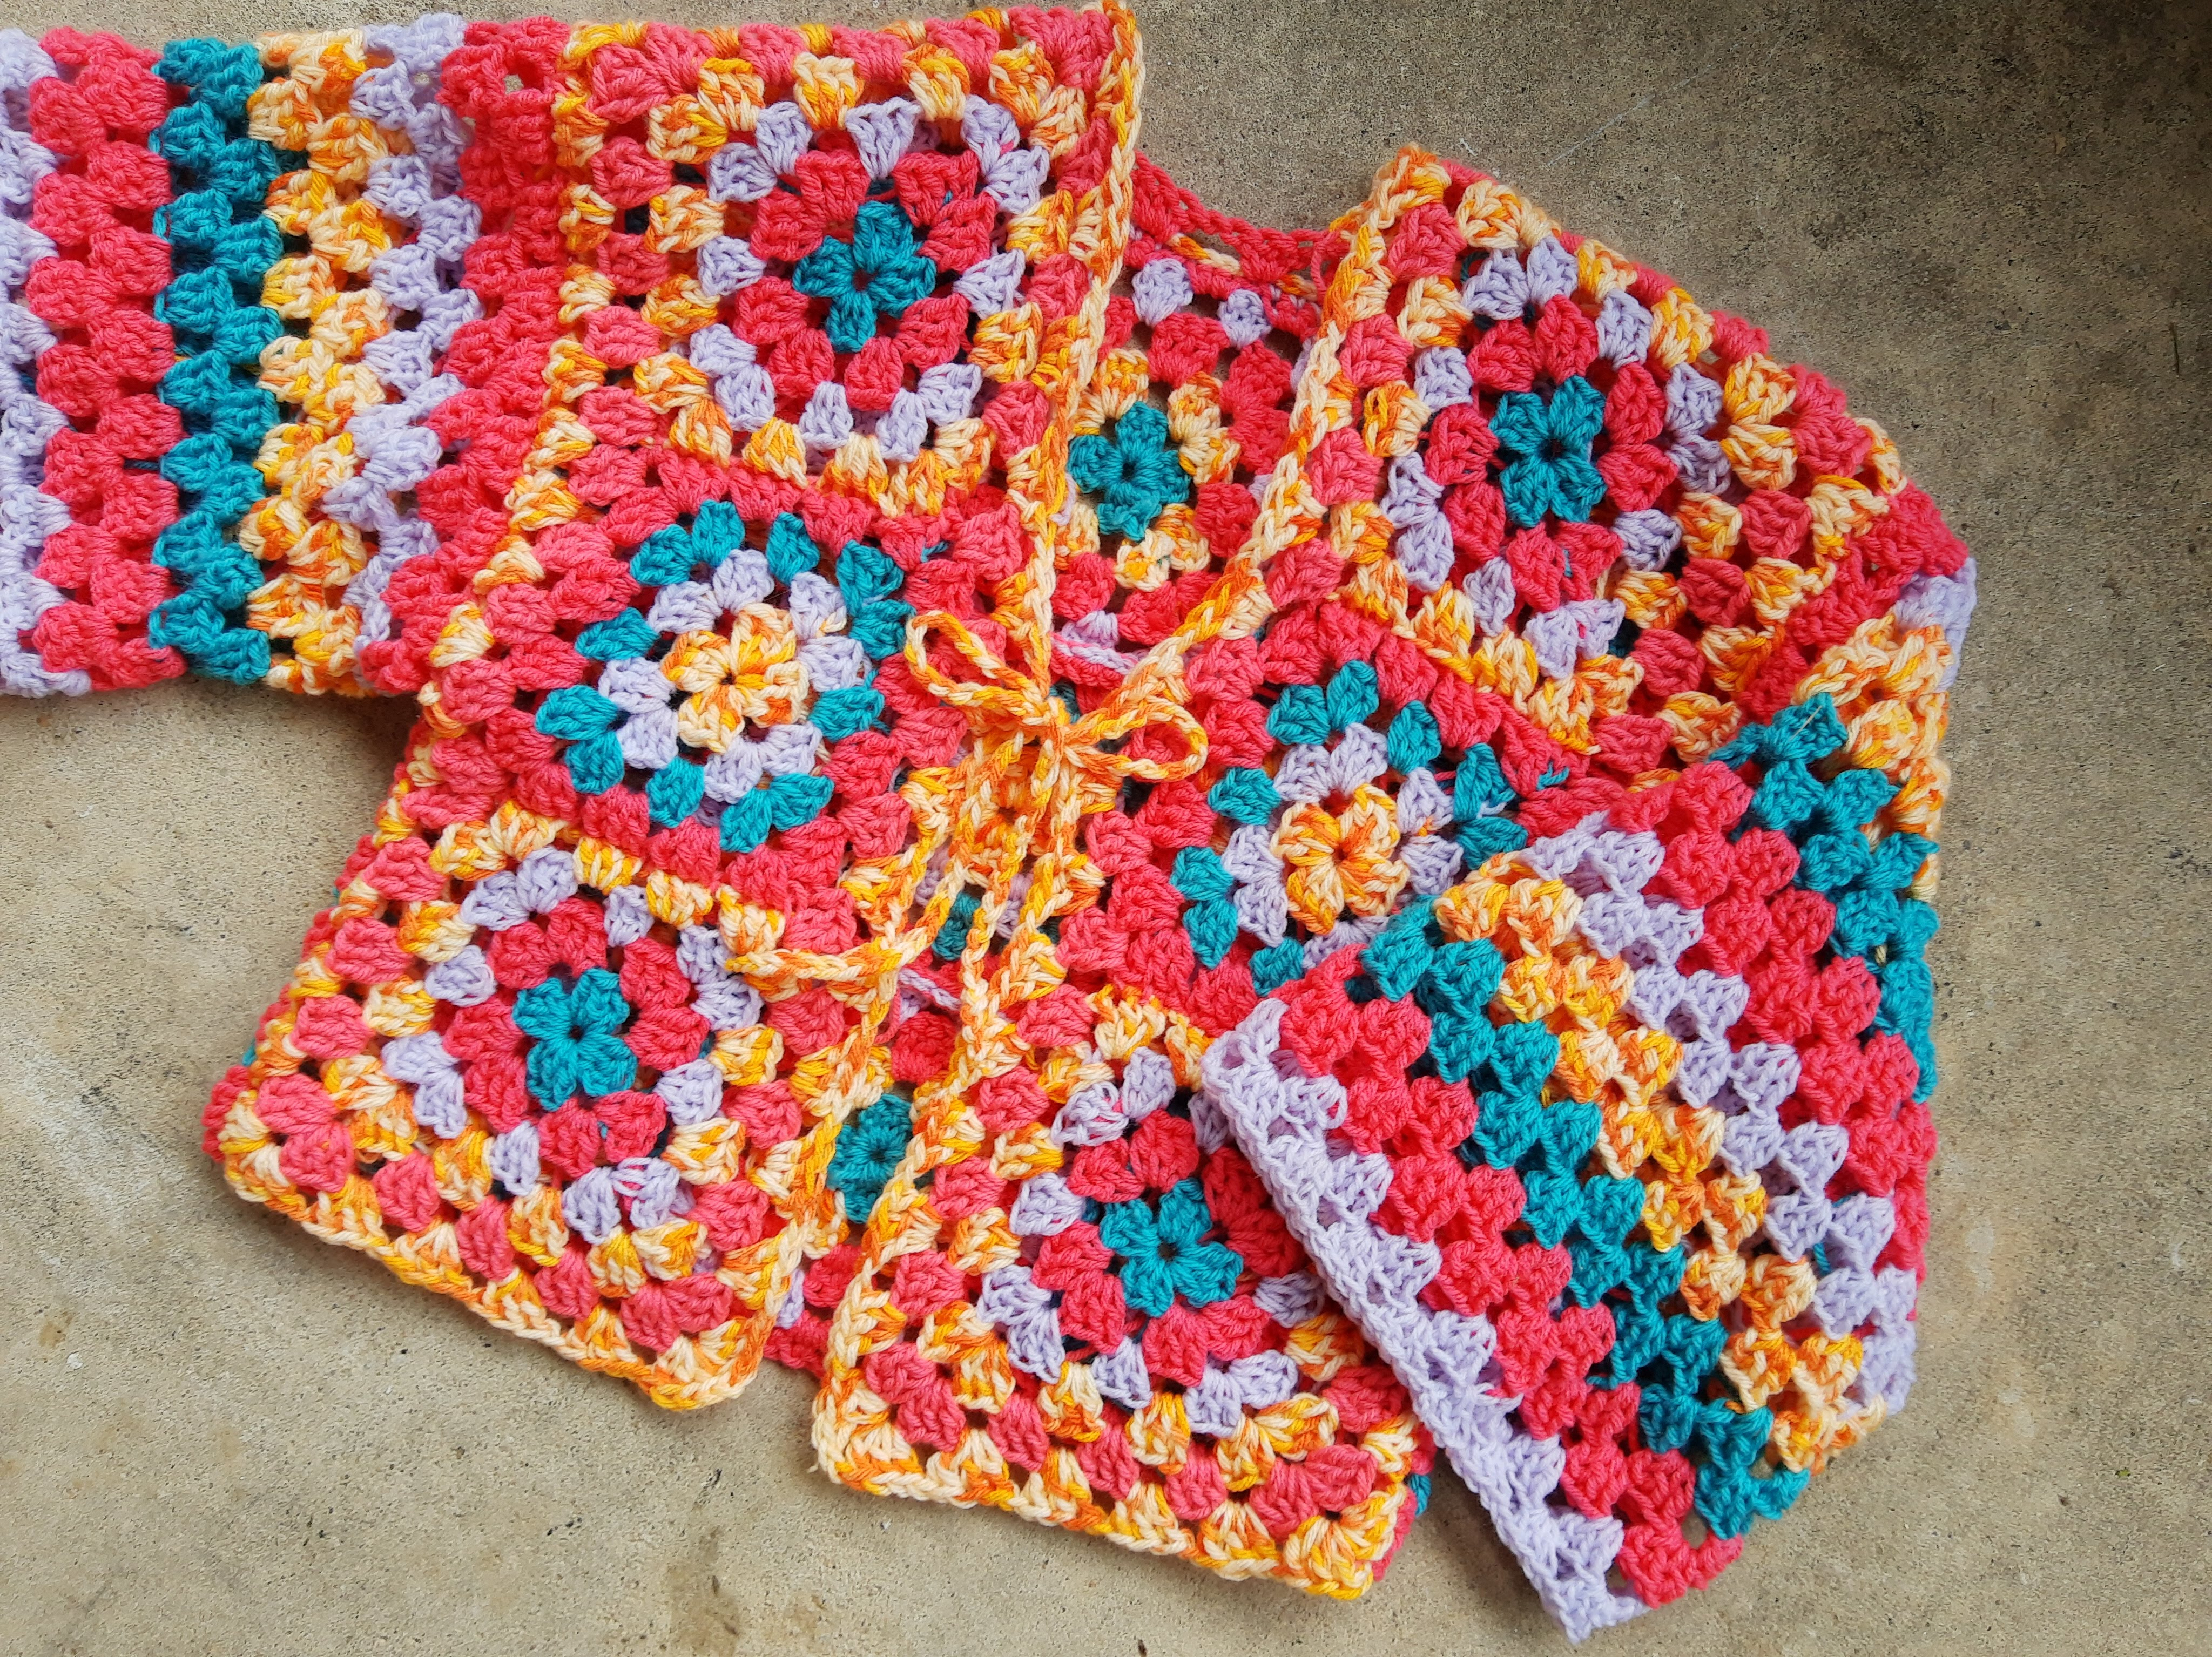
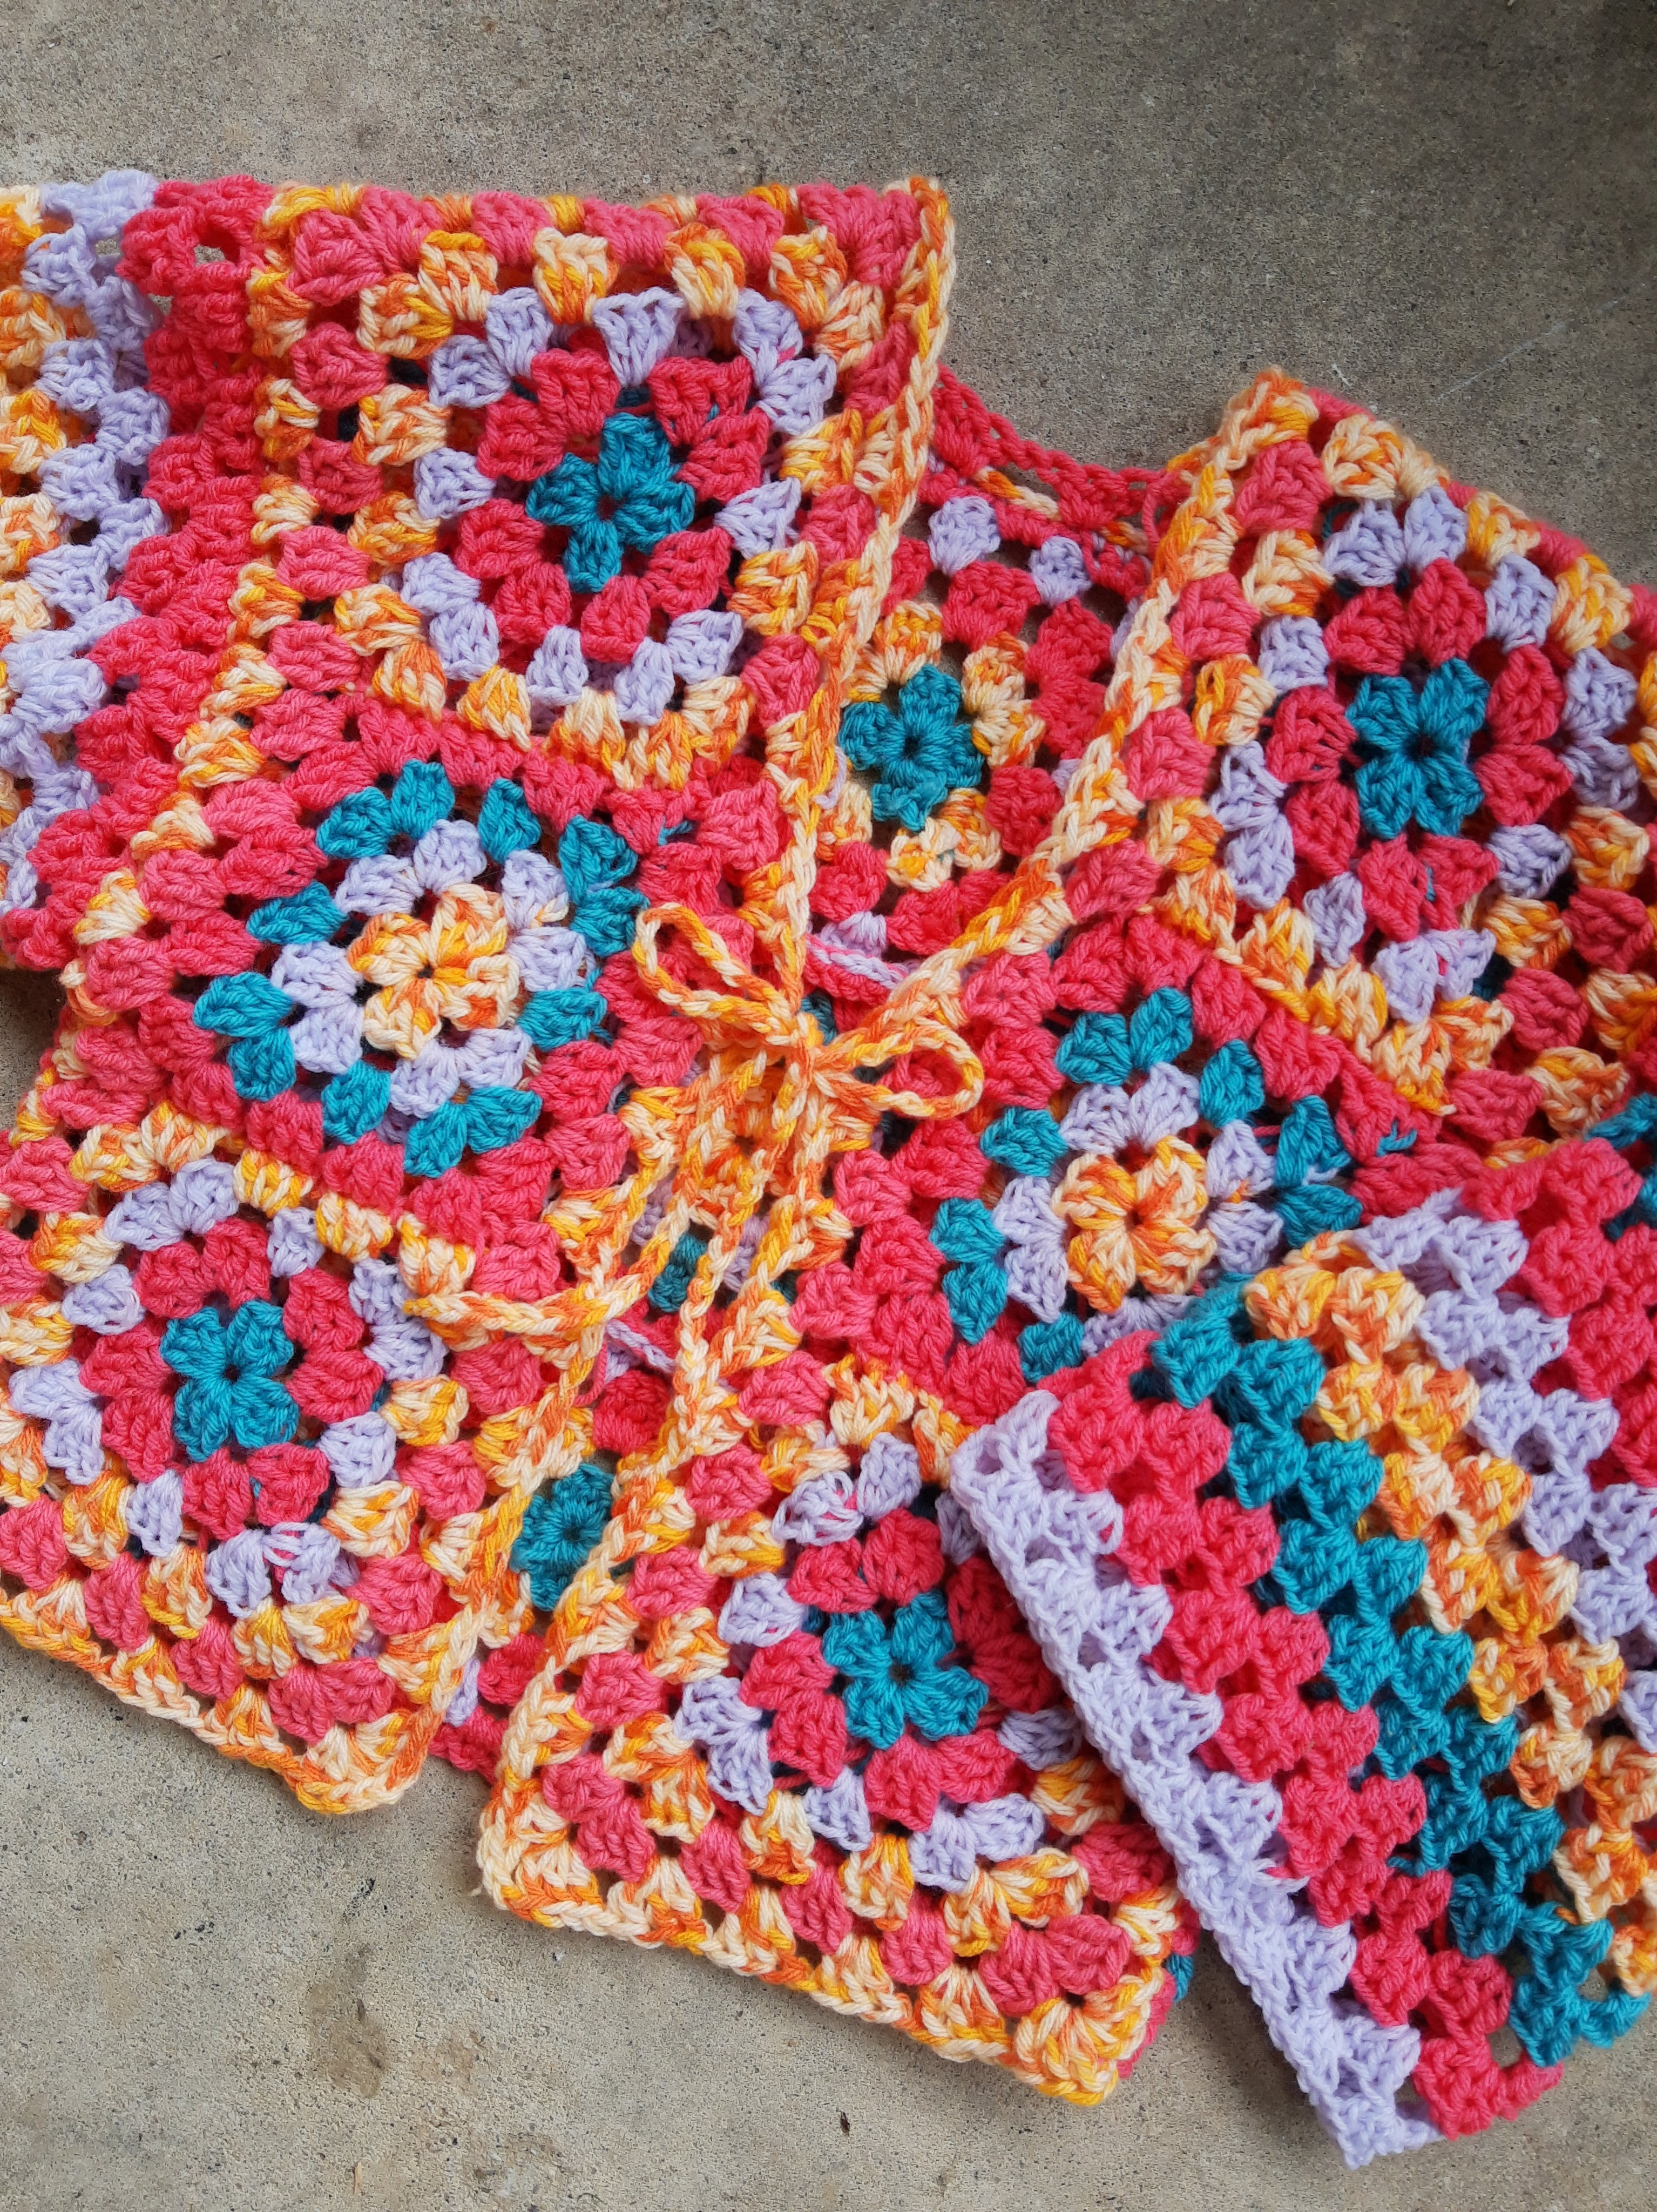

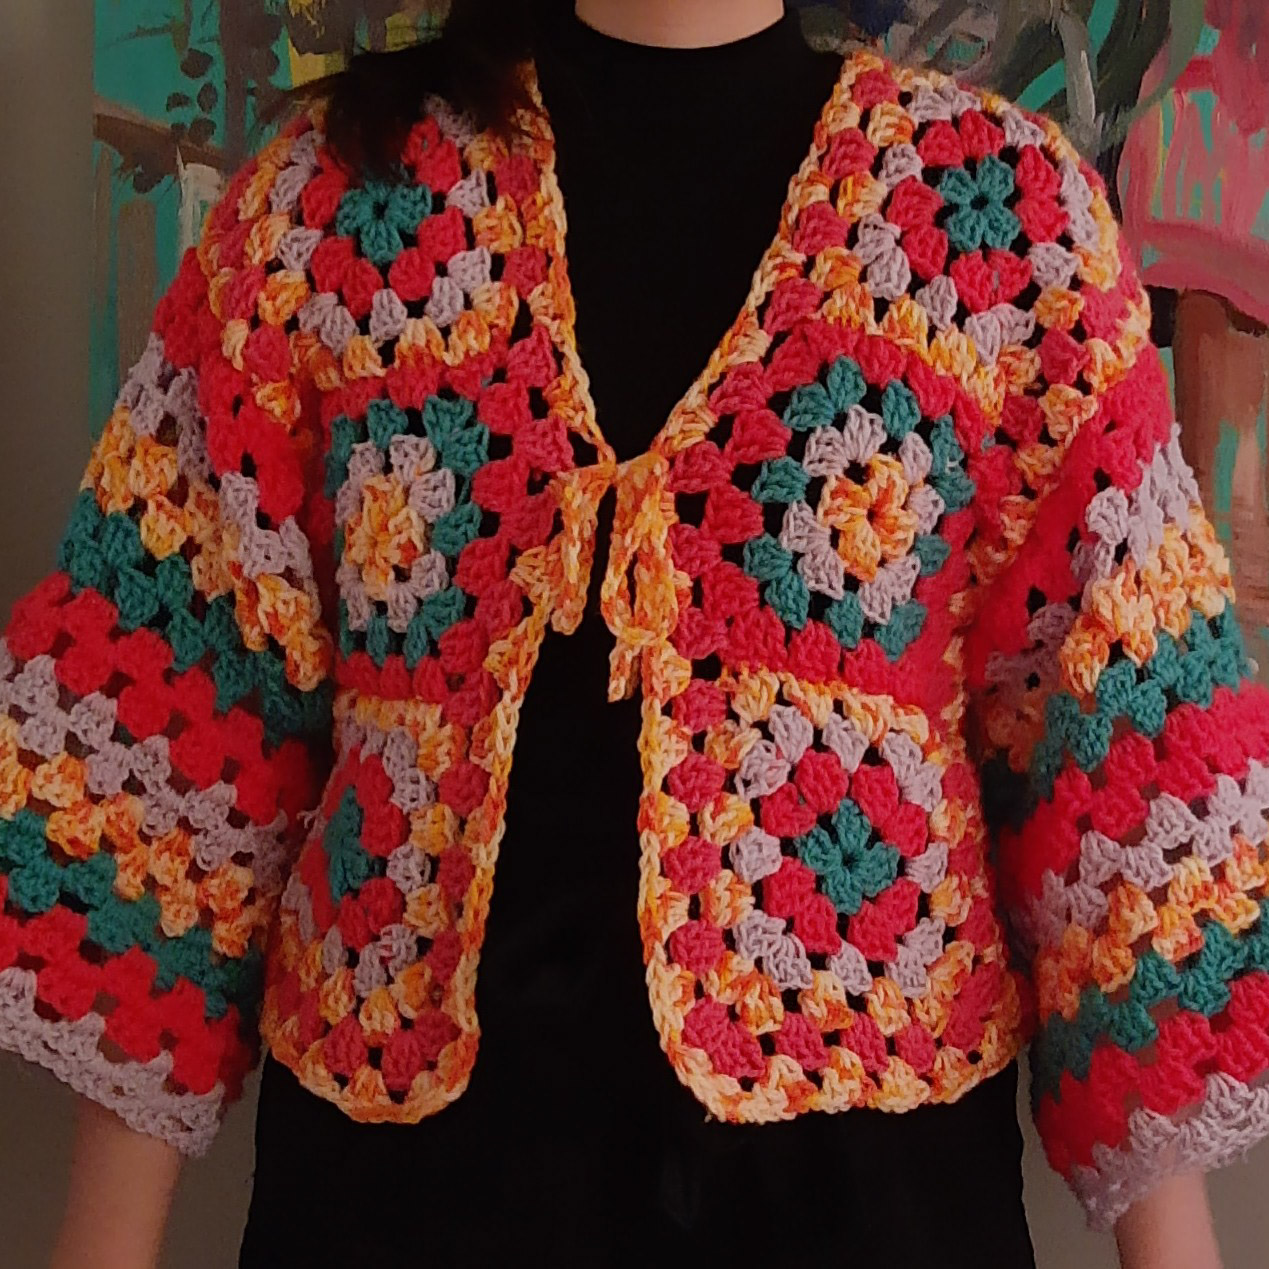
I am so happy with how it turned out and I can’t wait to wear it!
Edit: (the next day) – I wore my cardigan today!

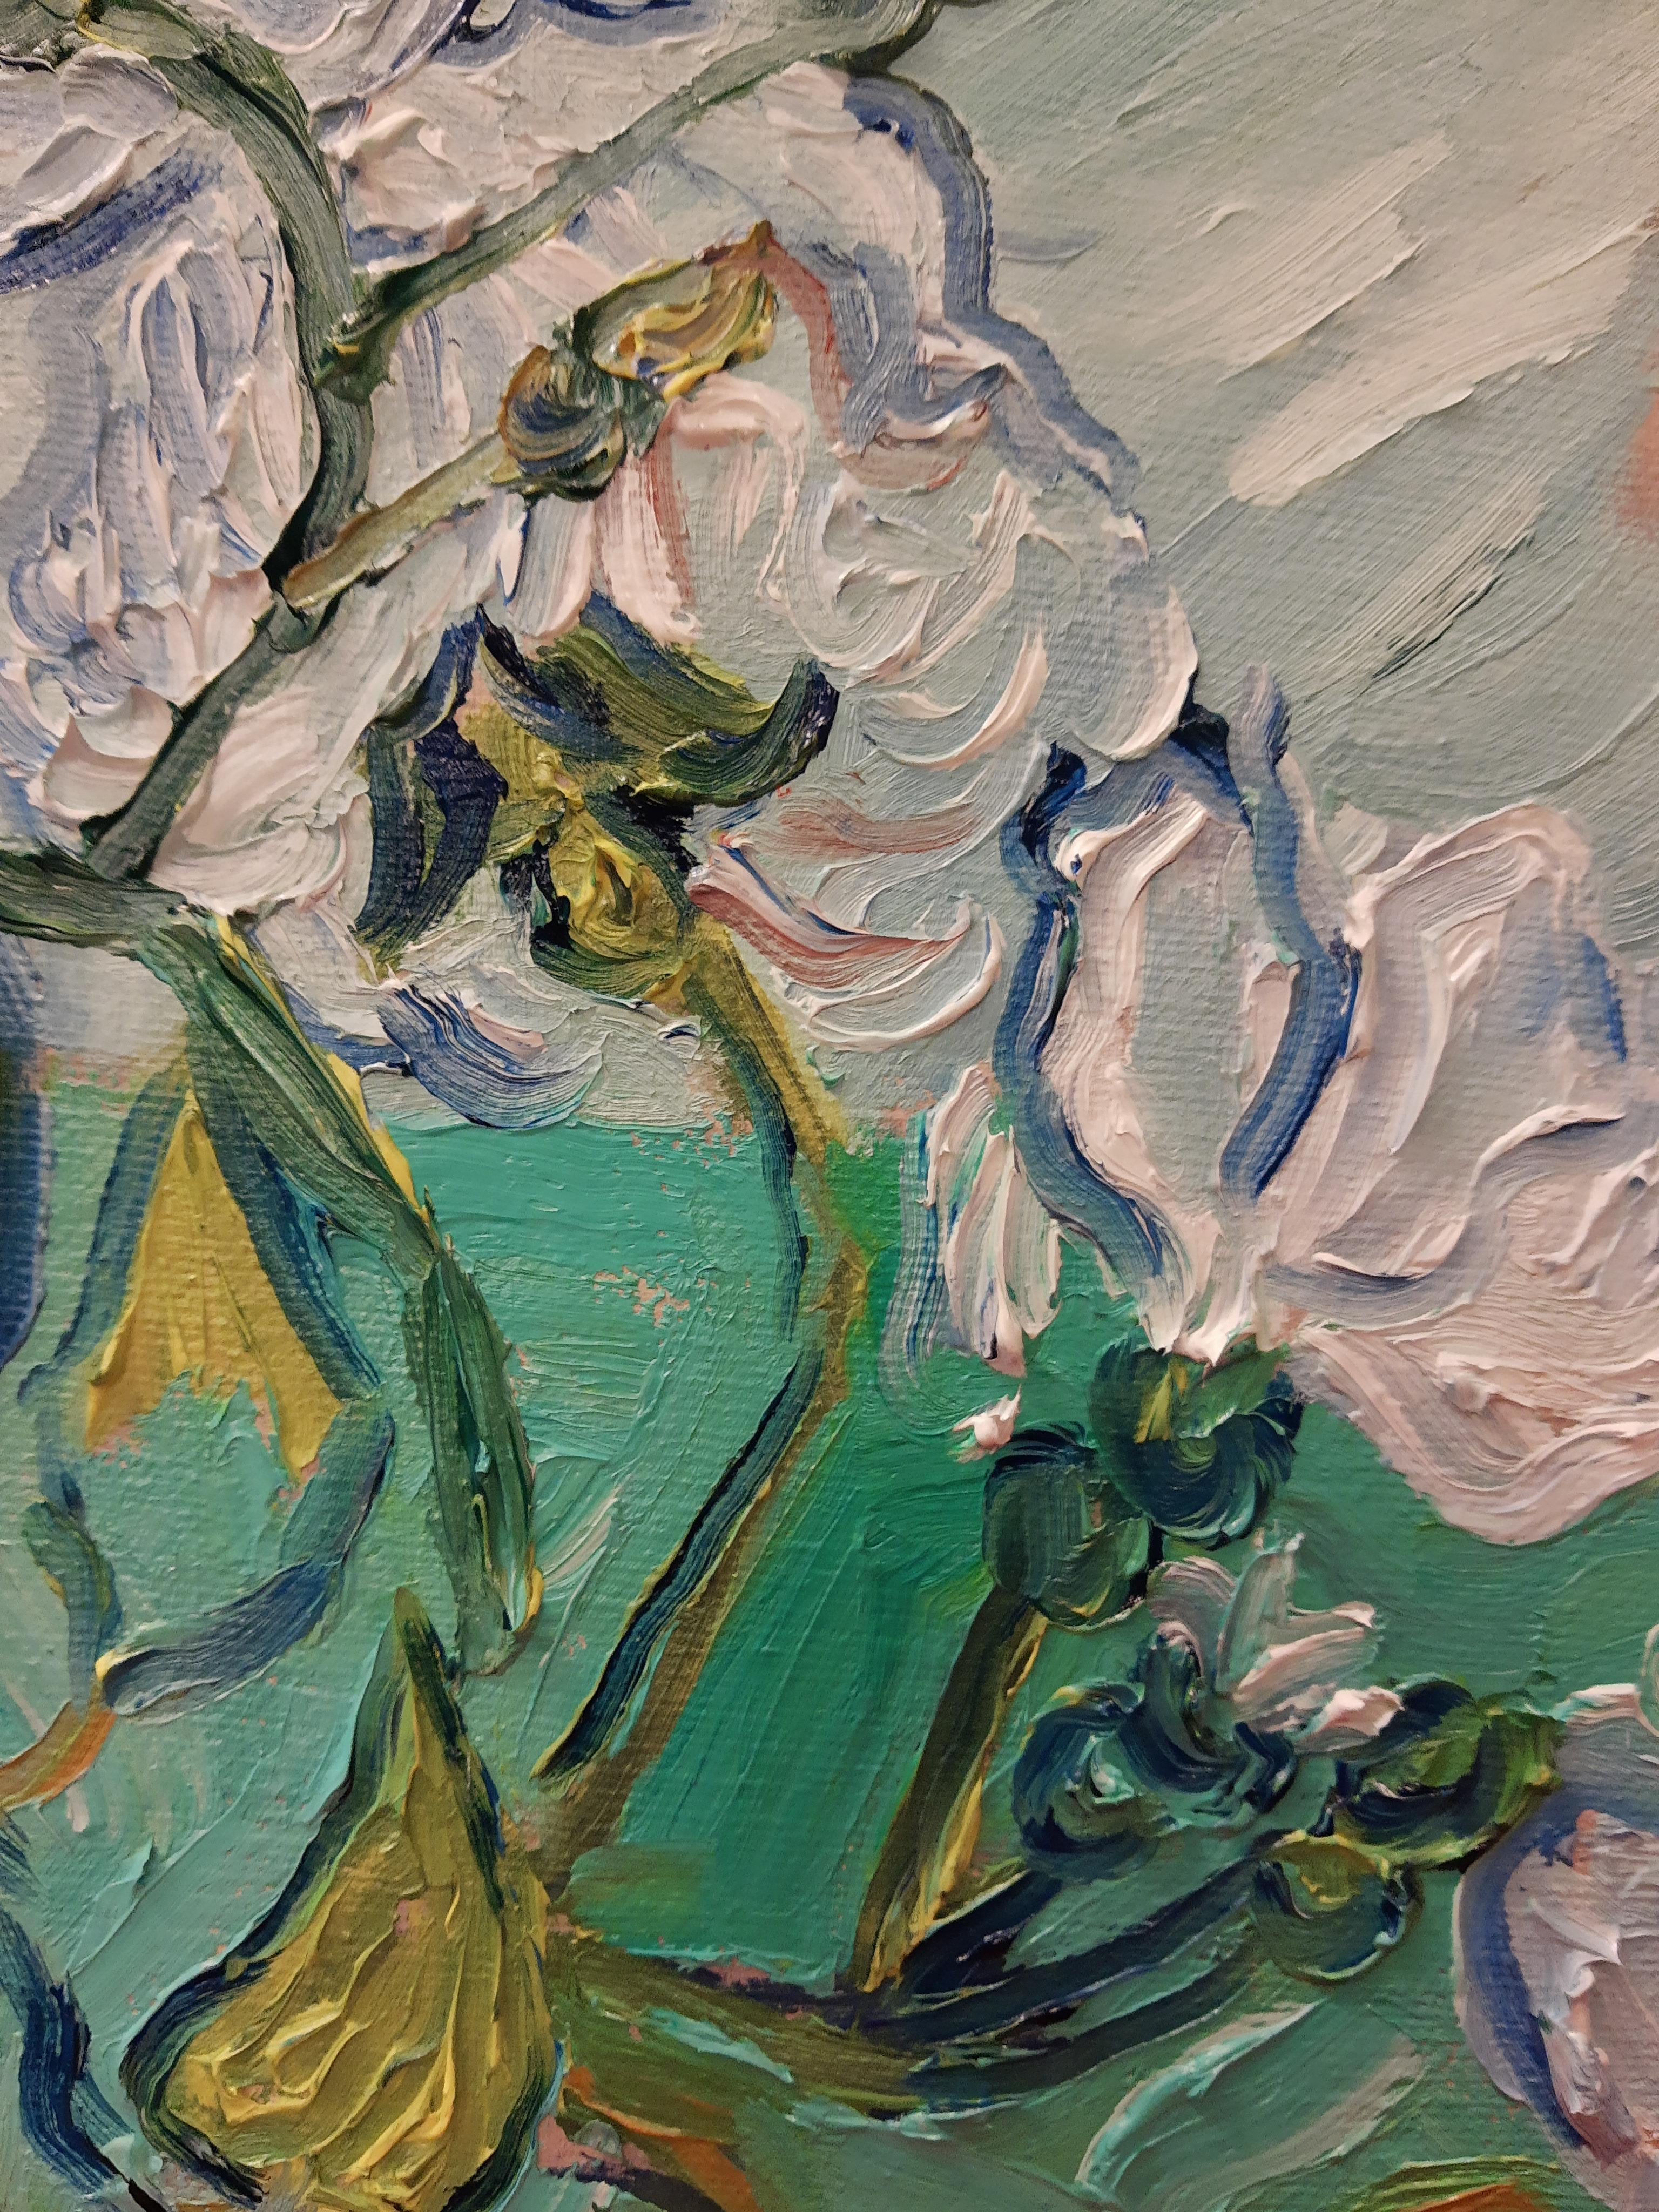
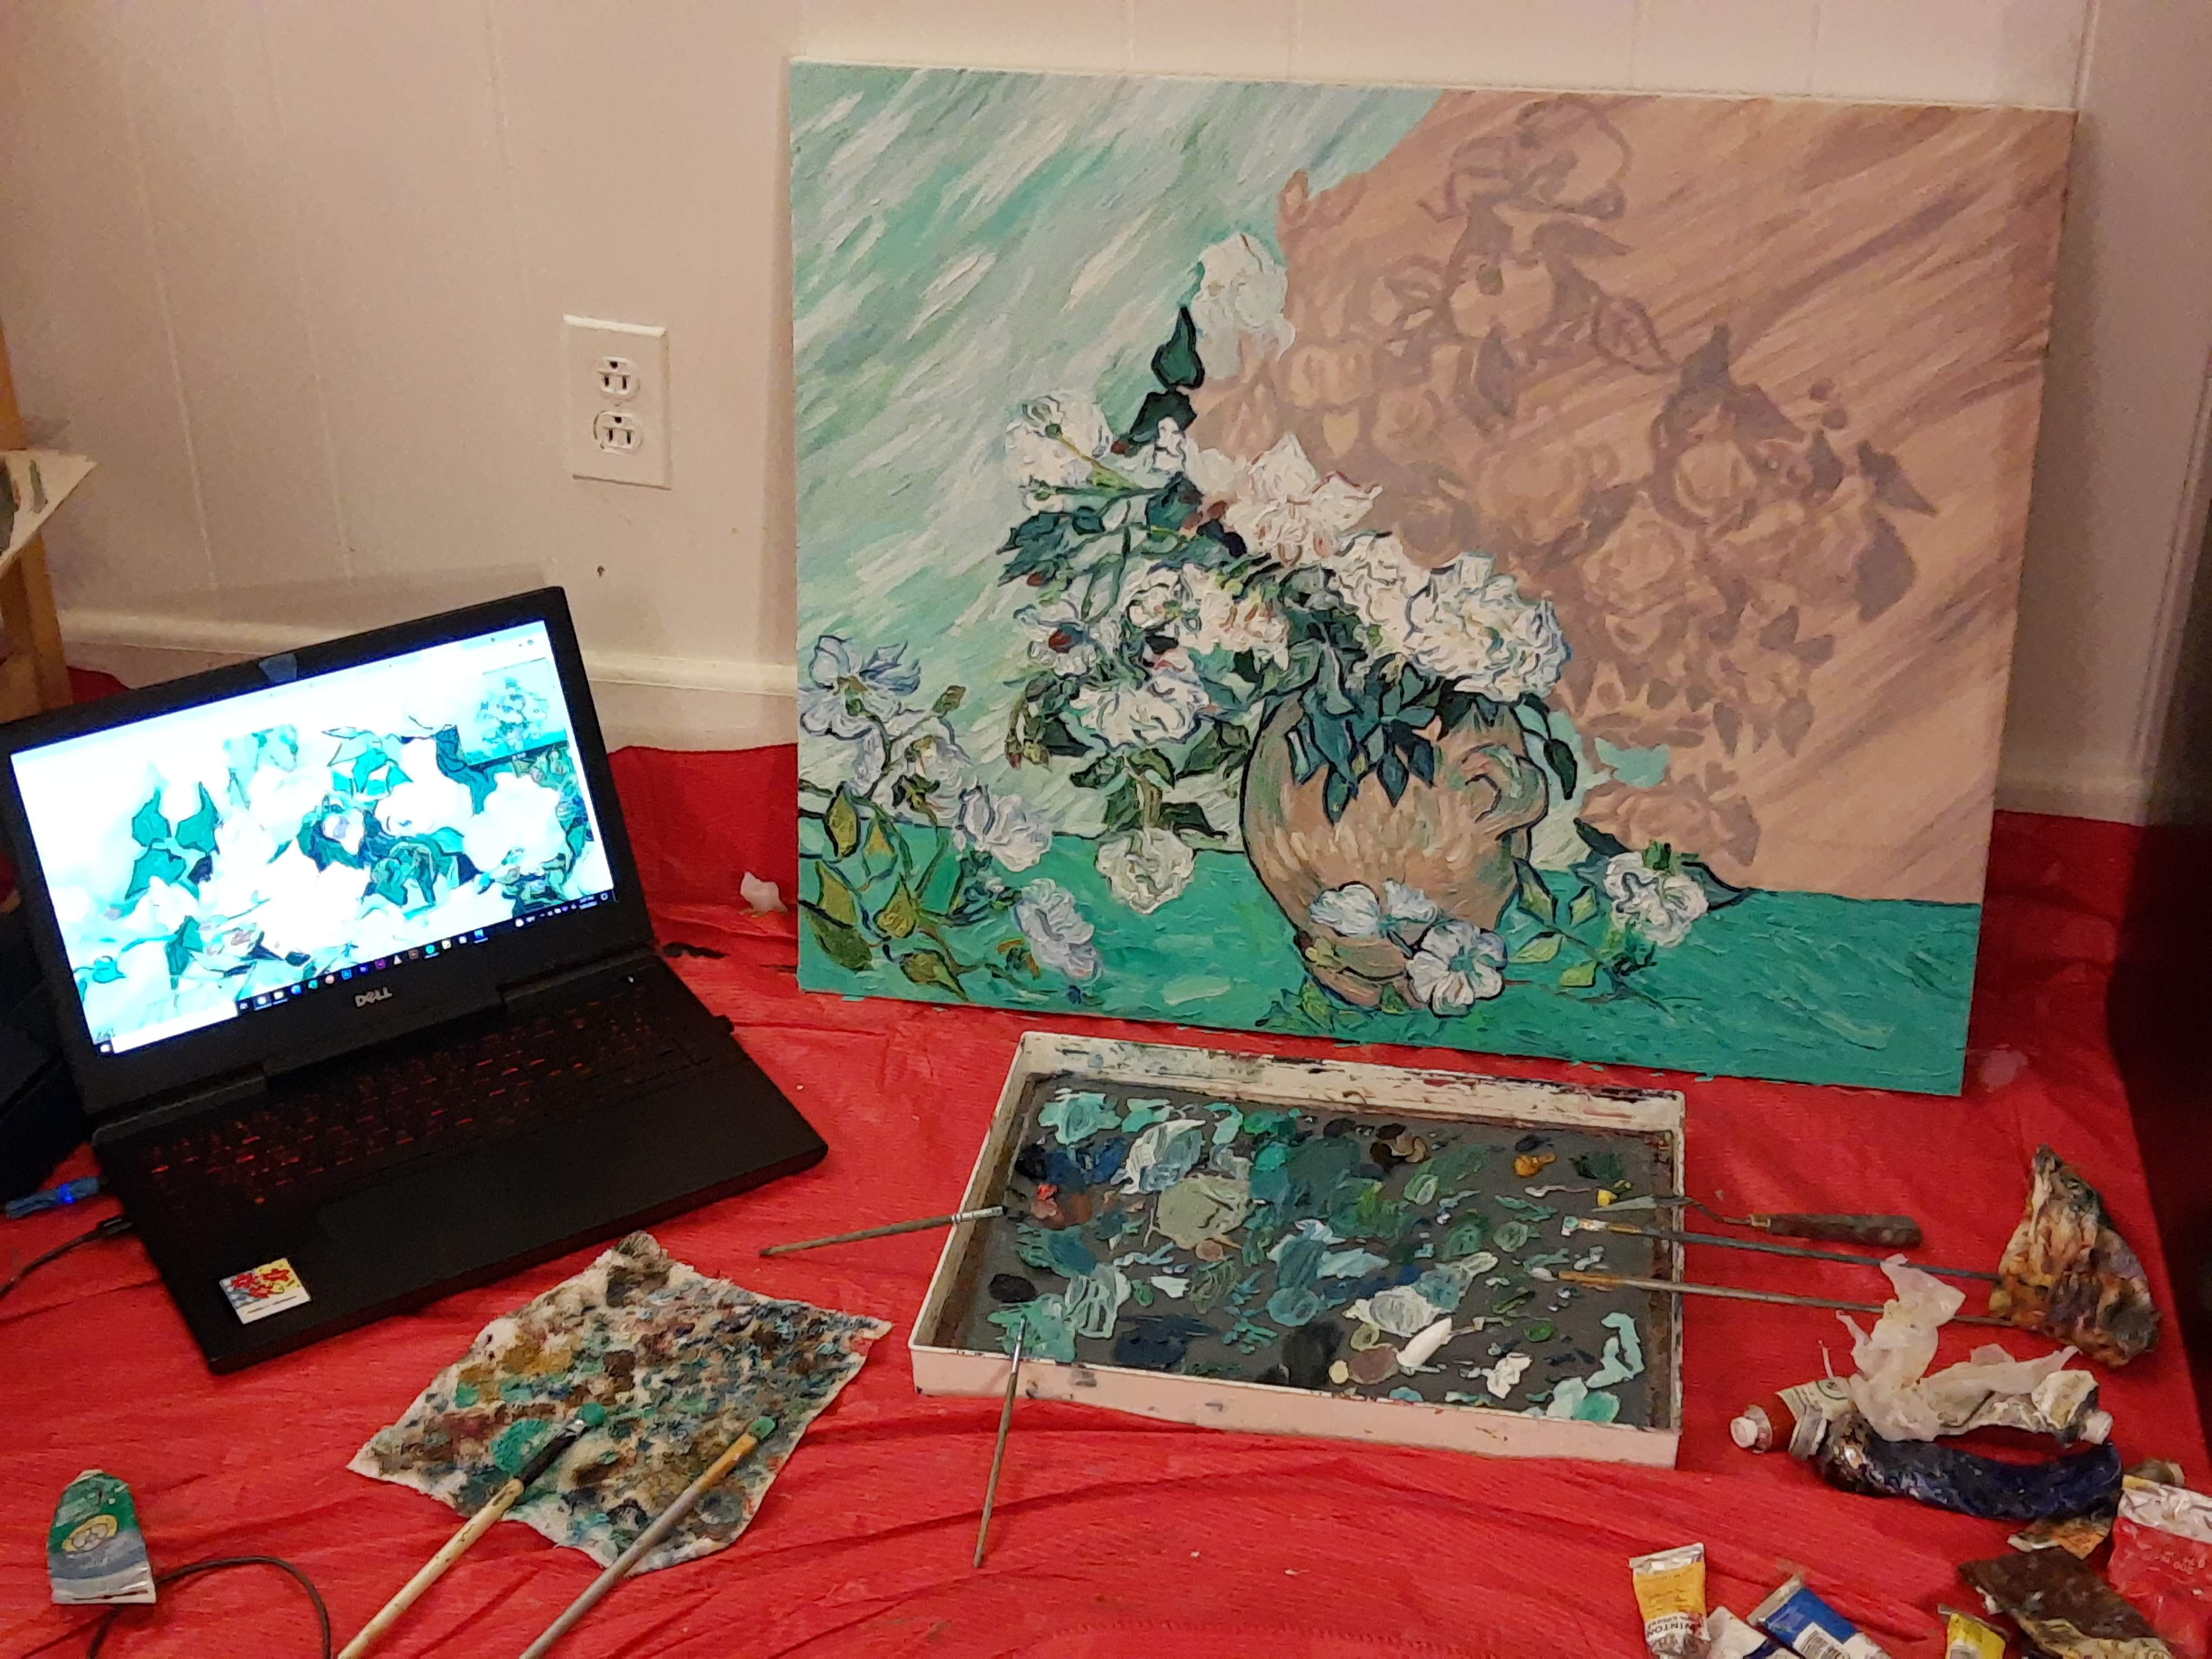
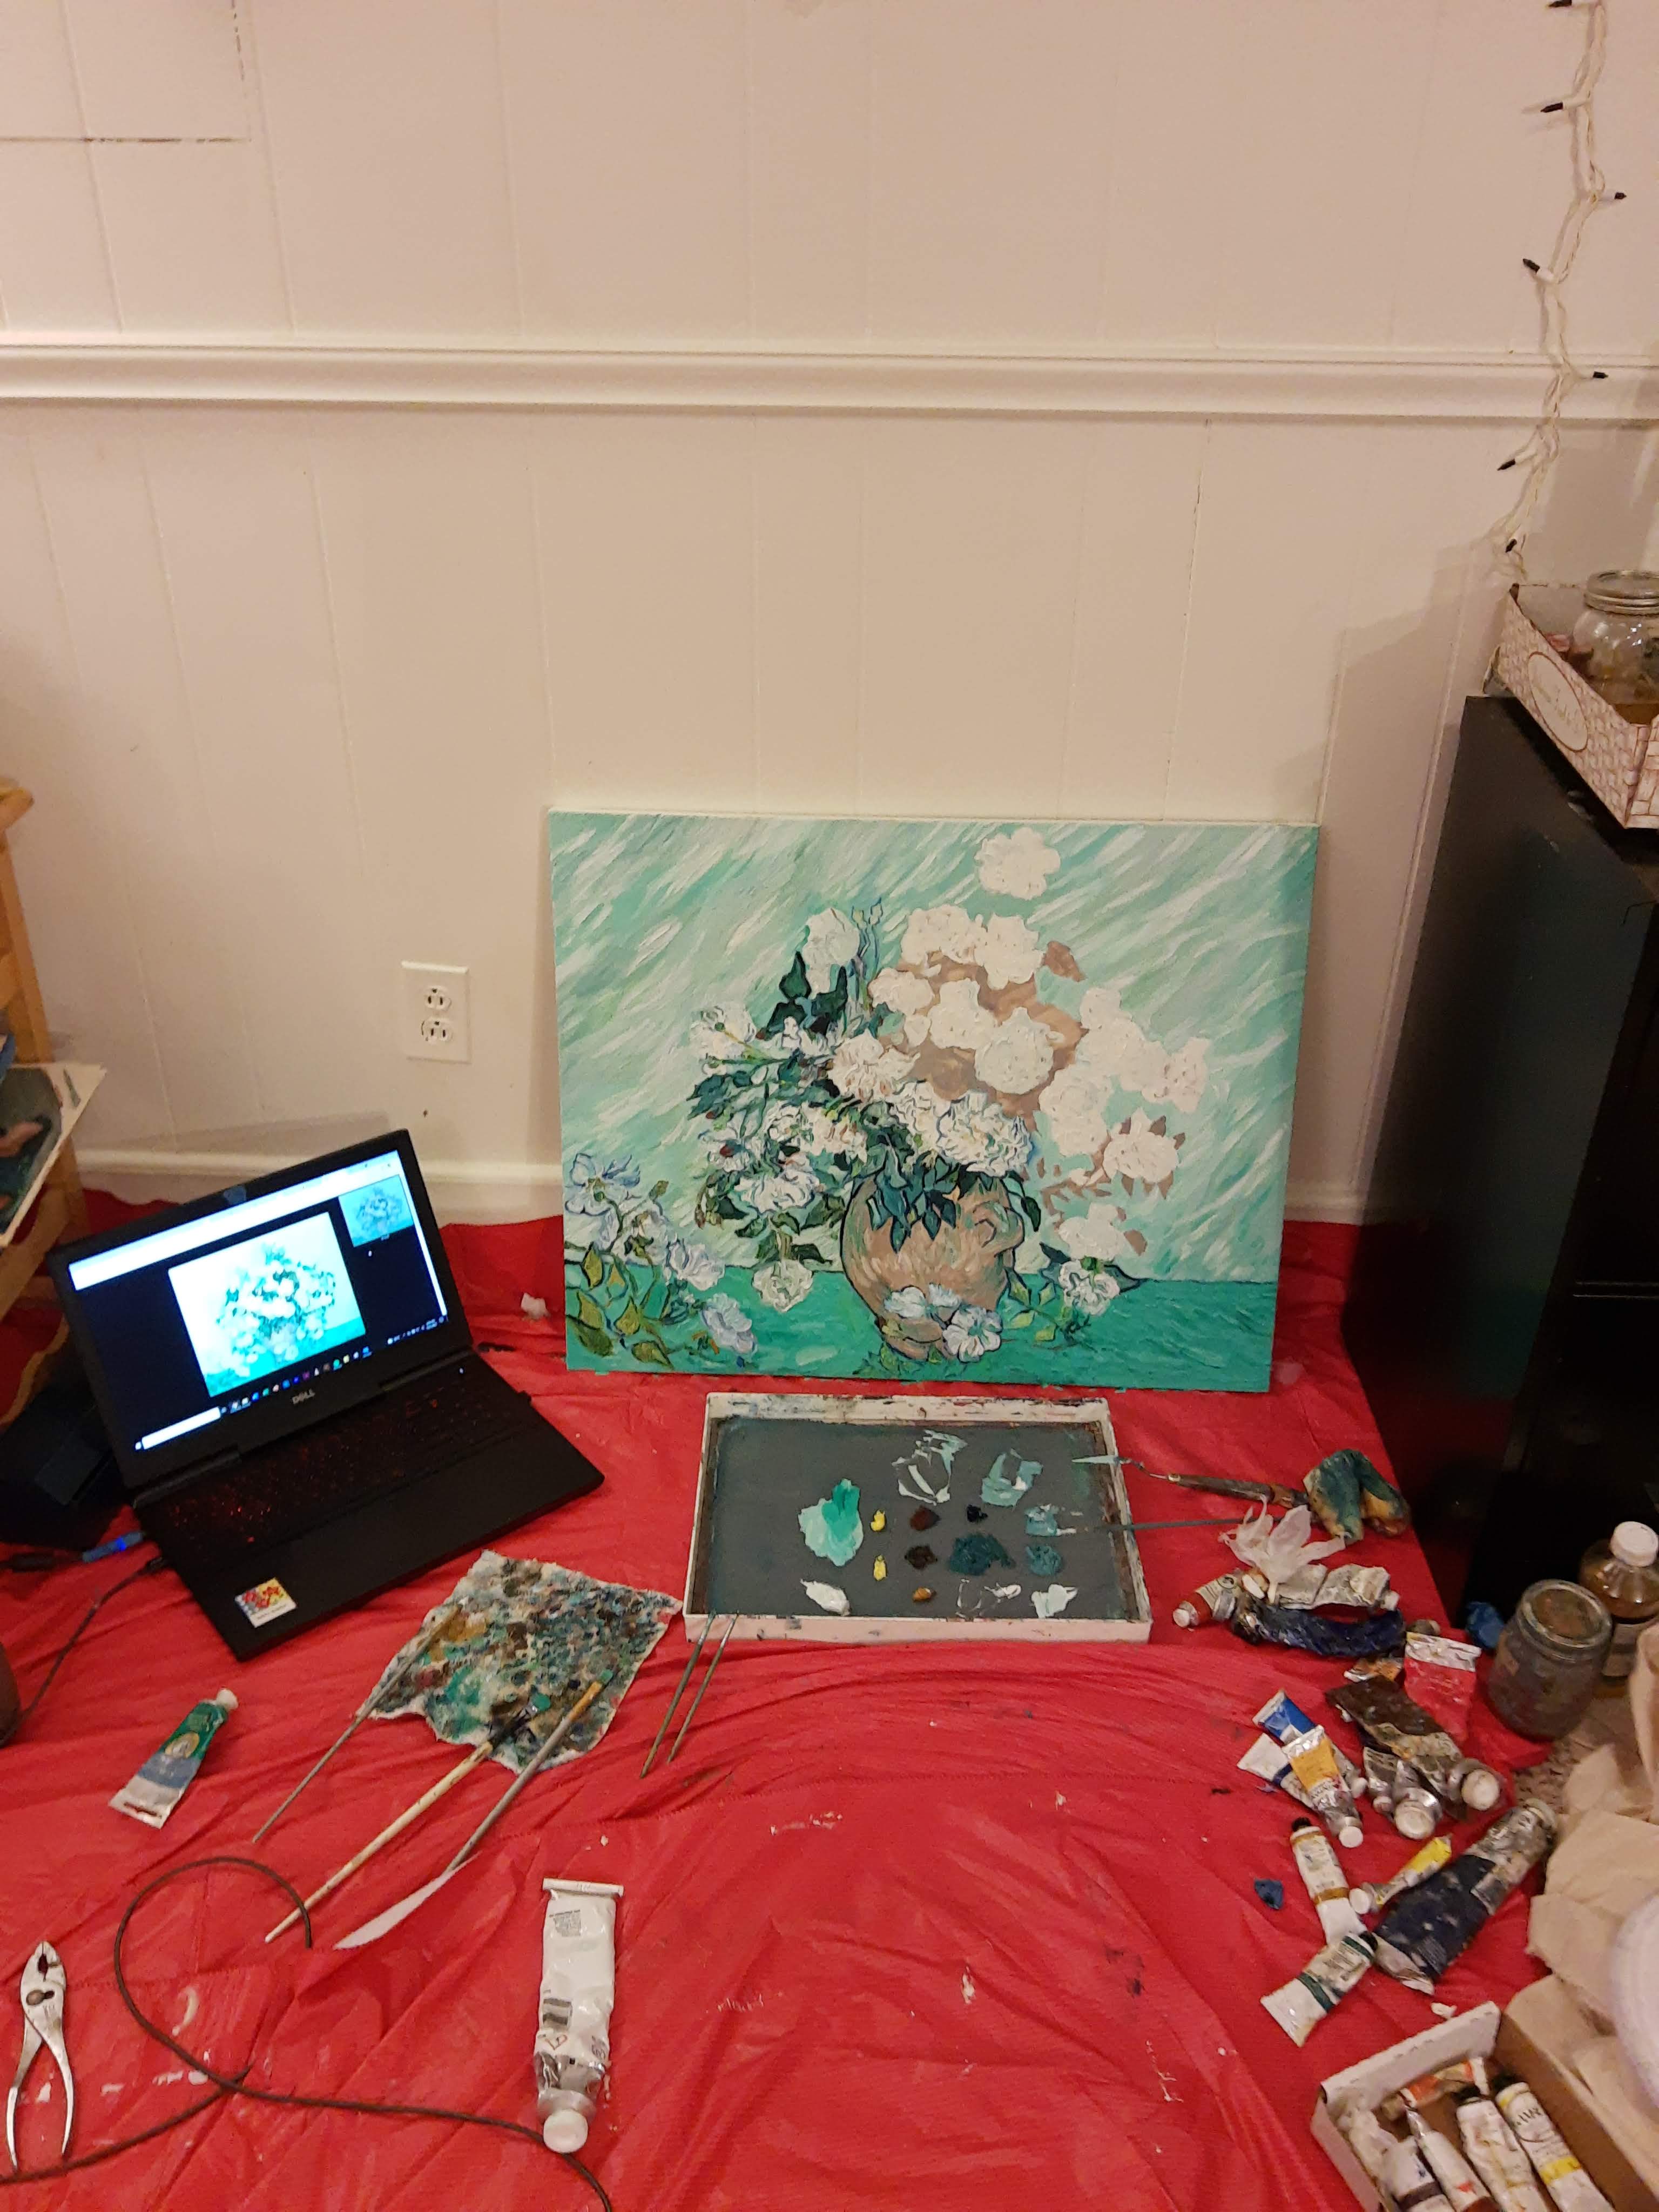
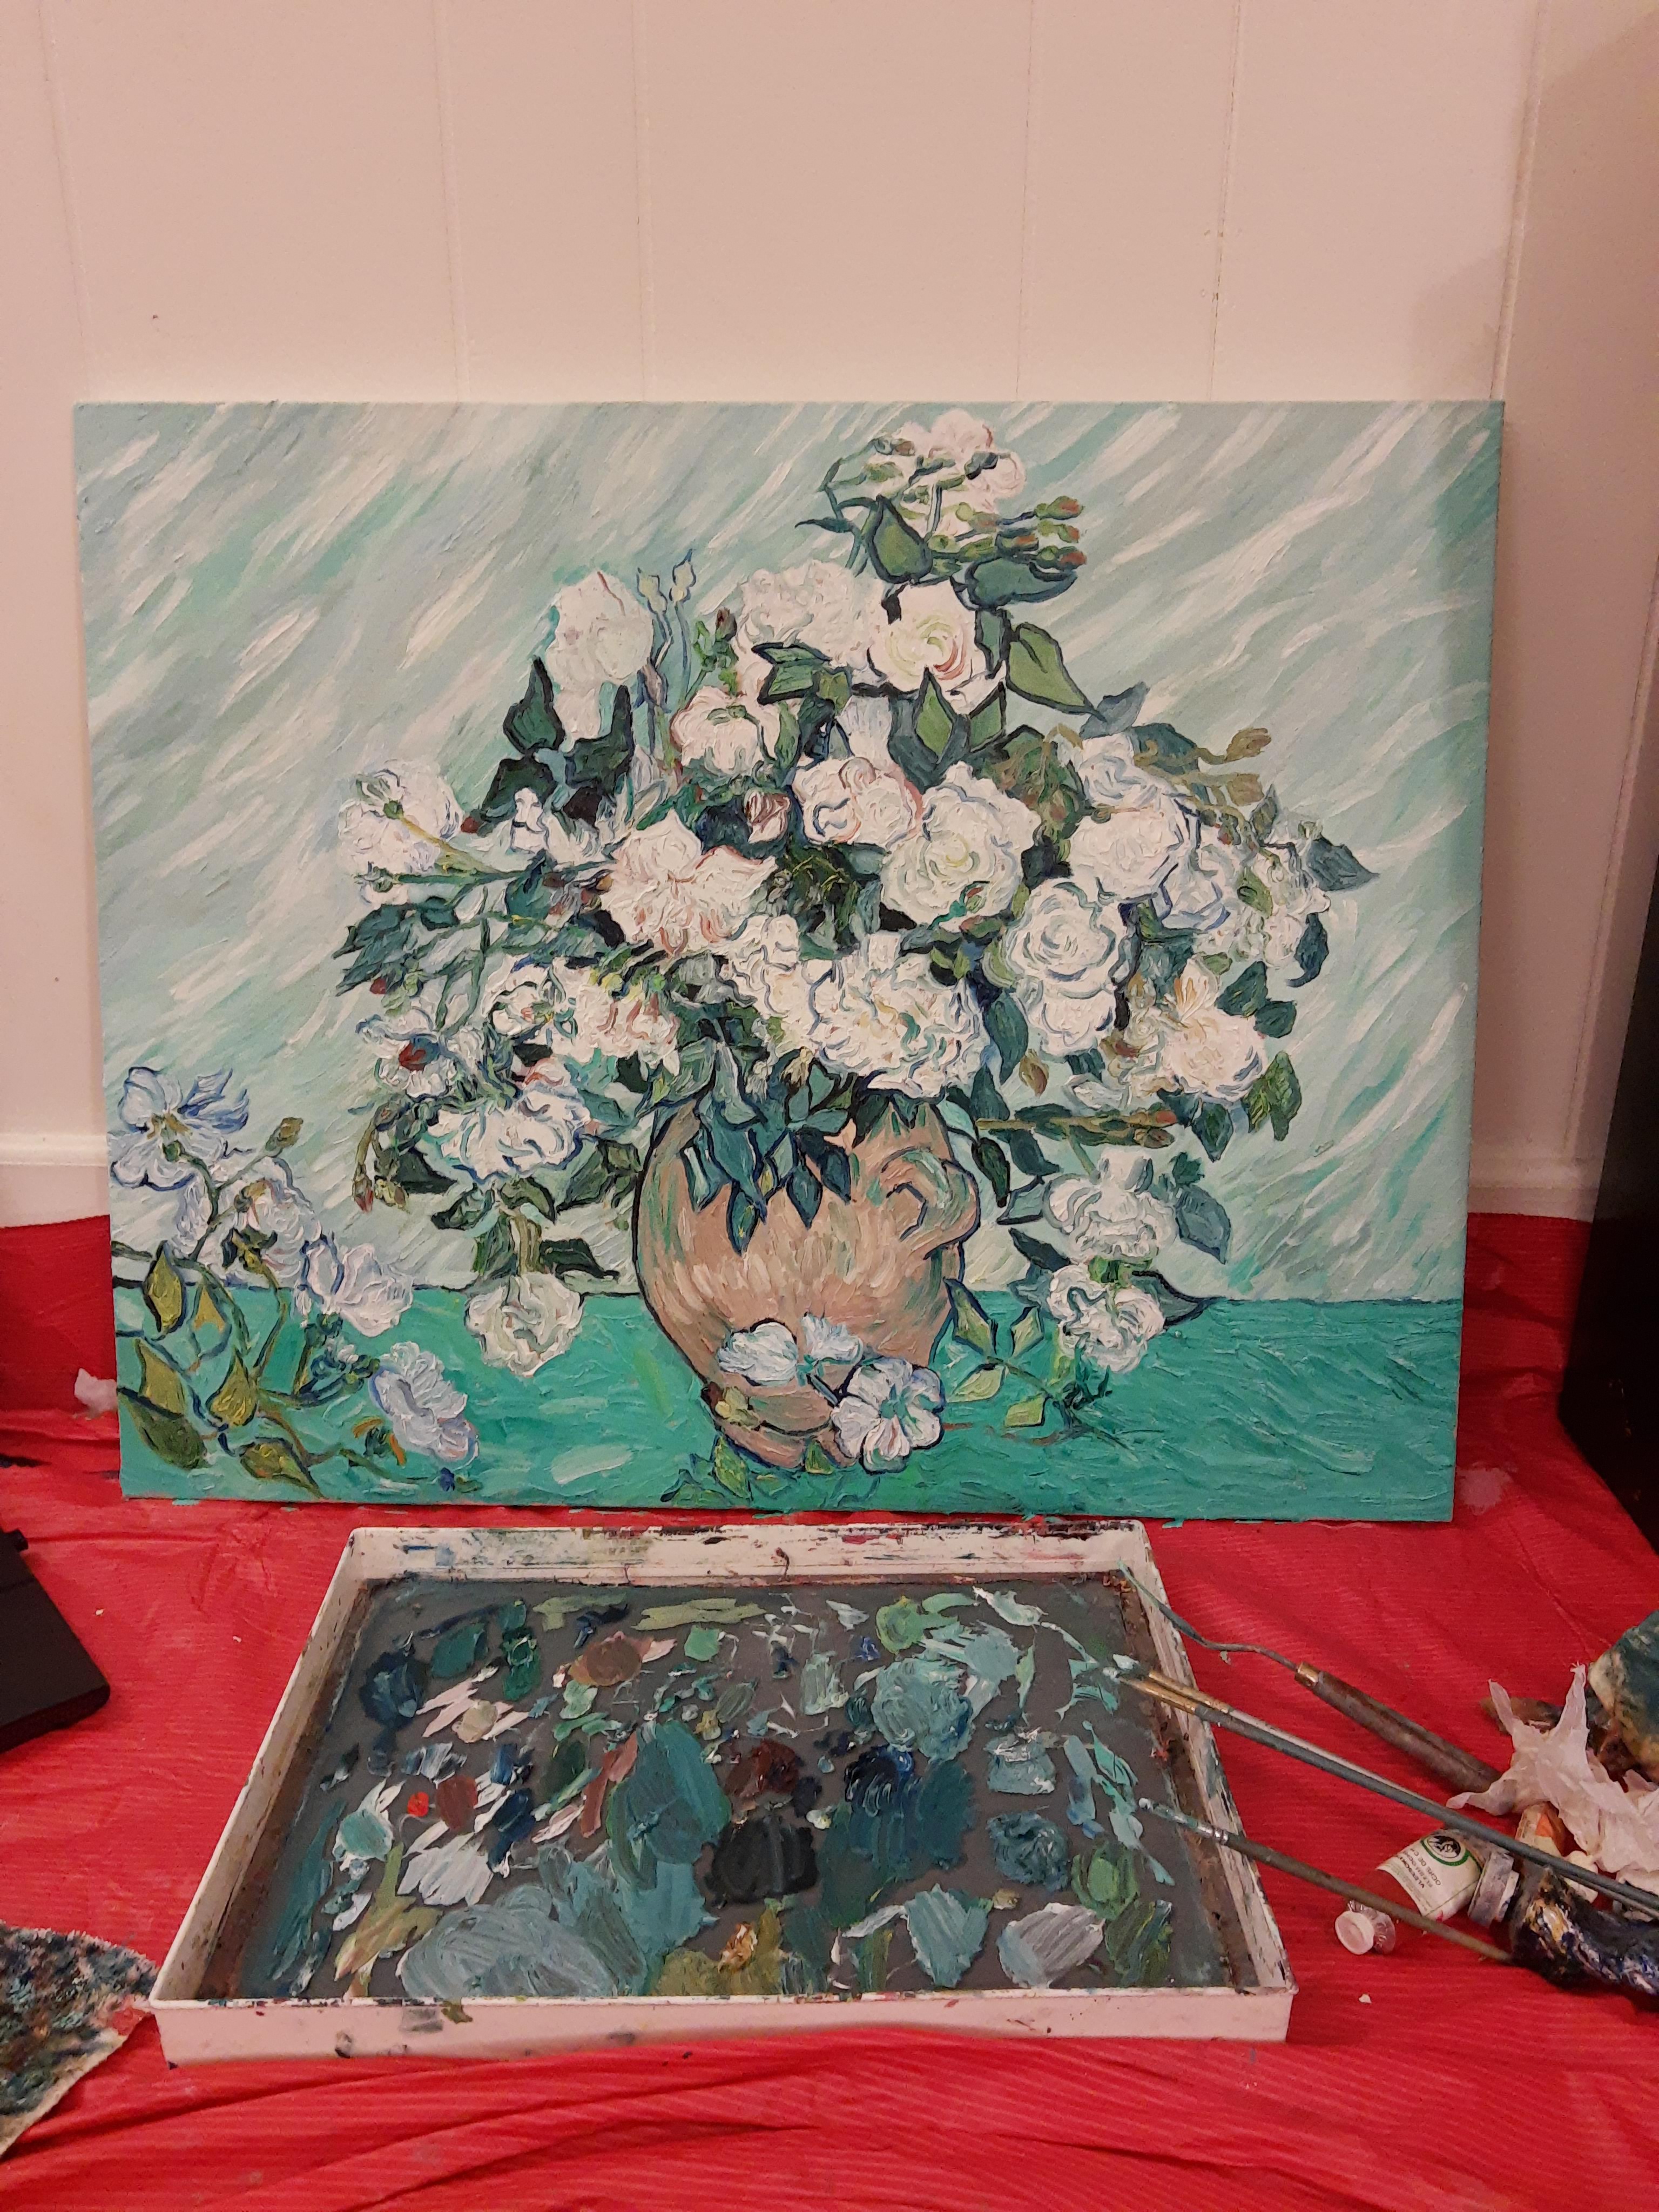
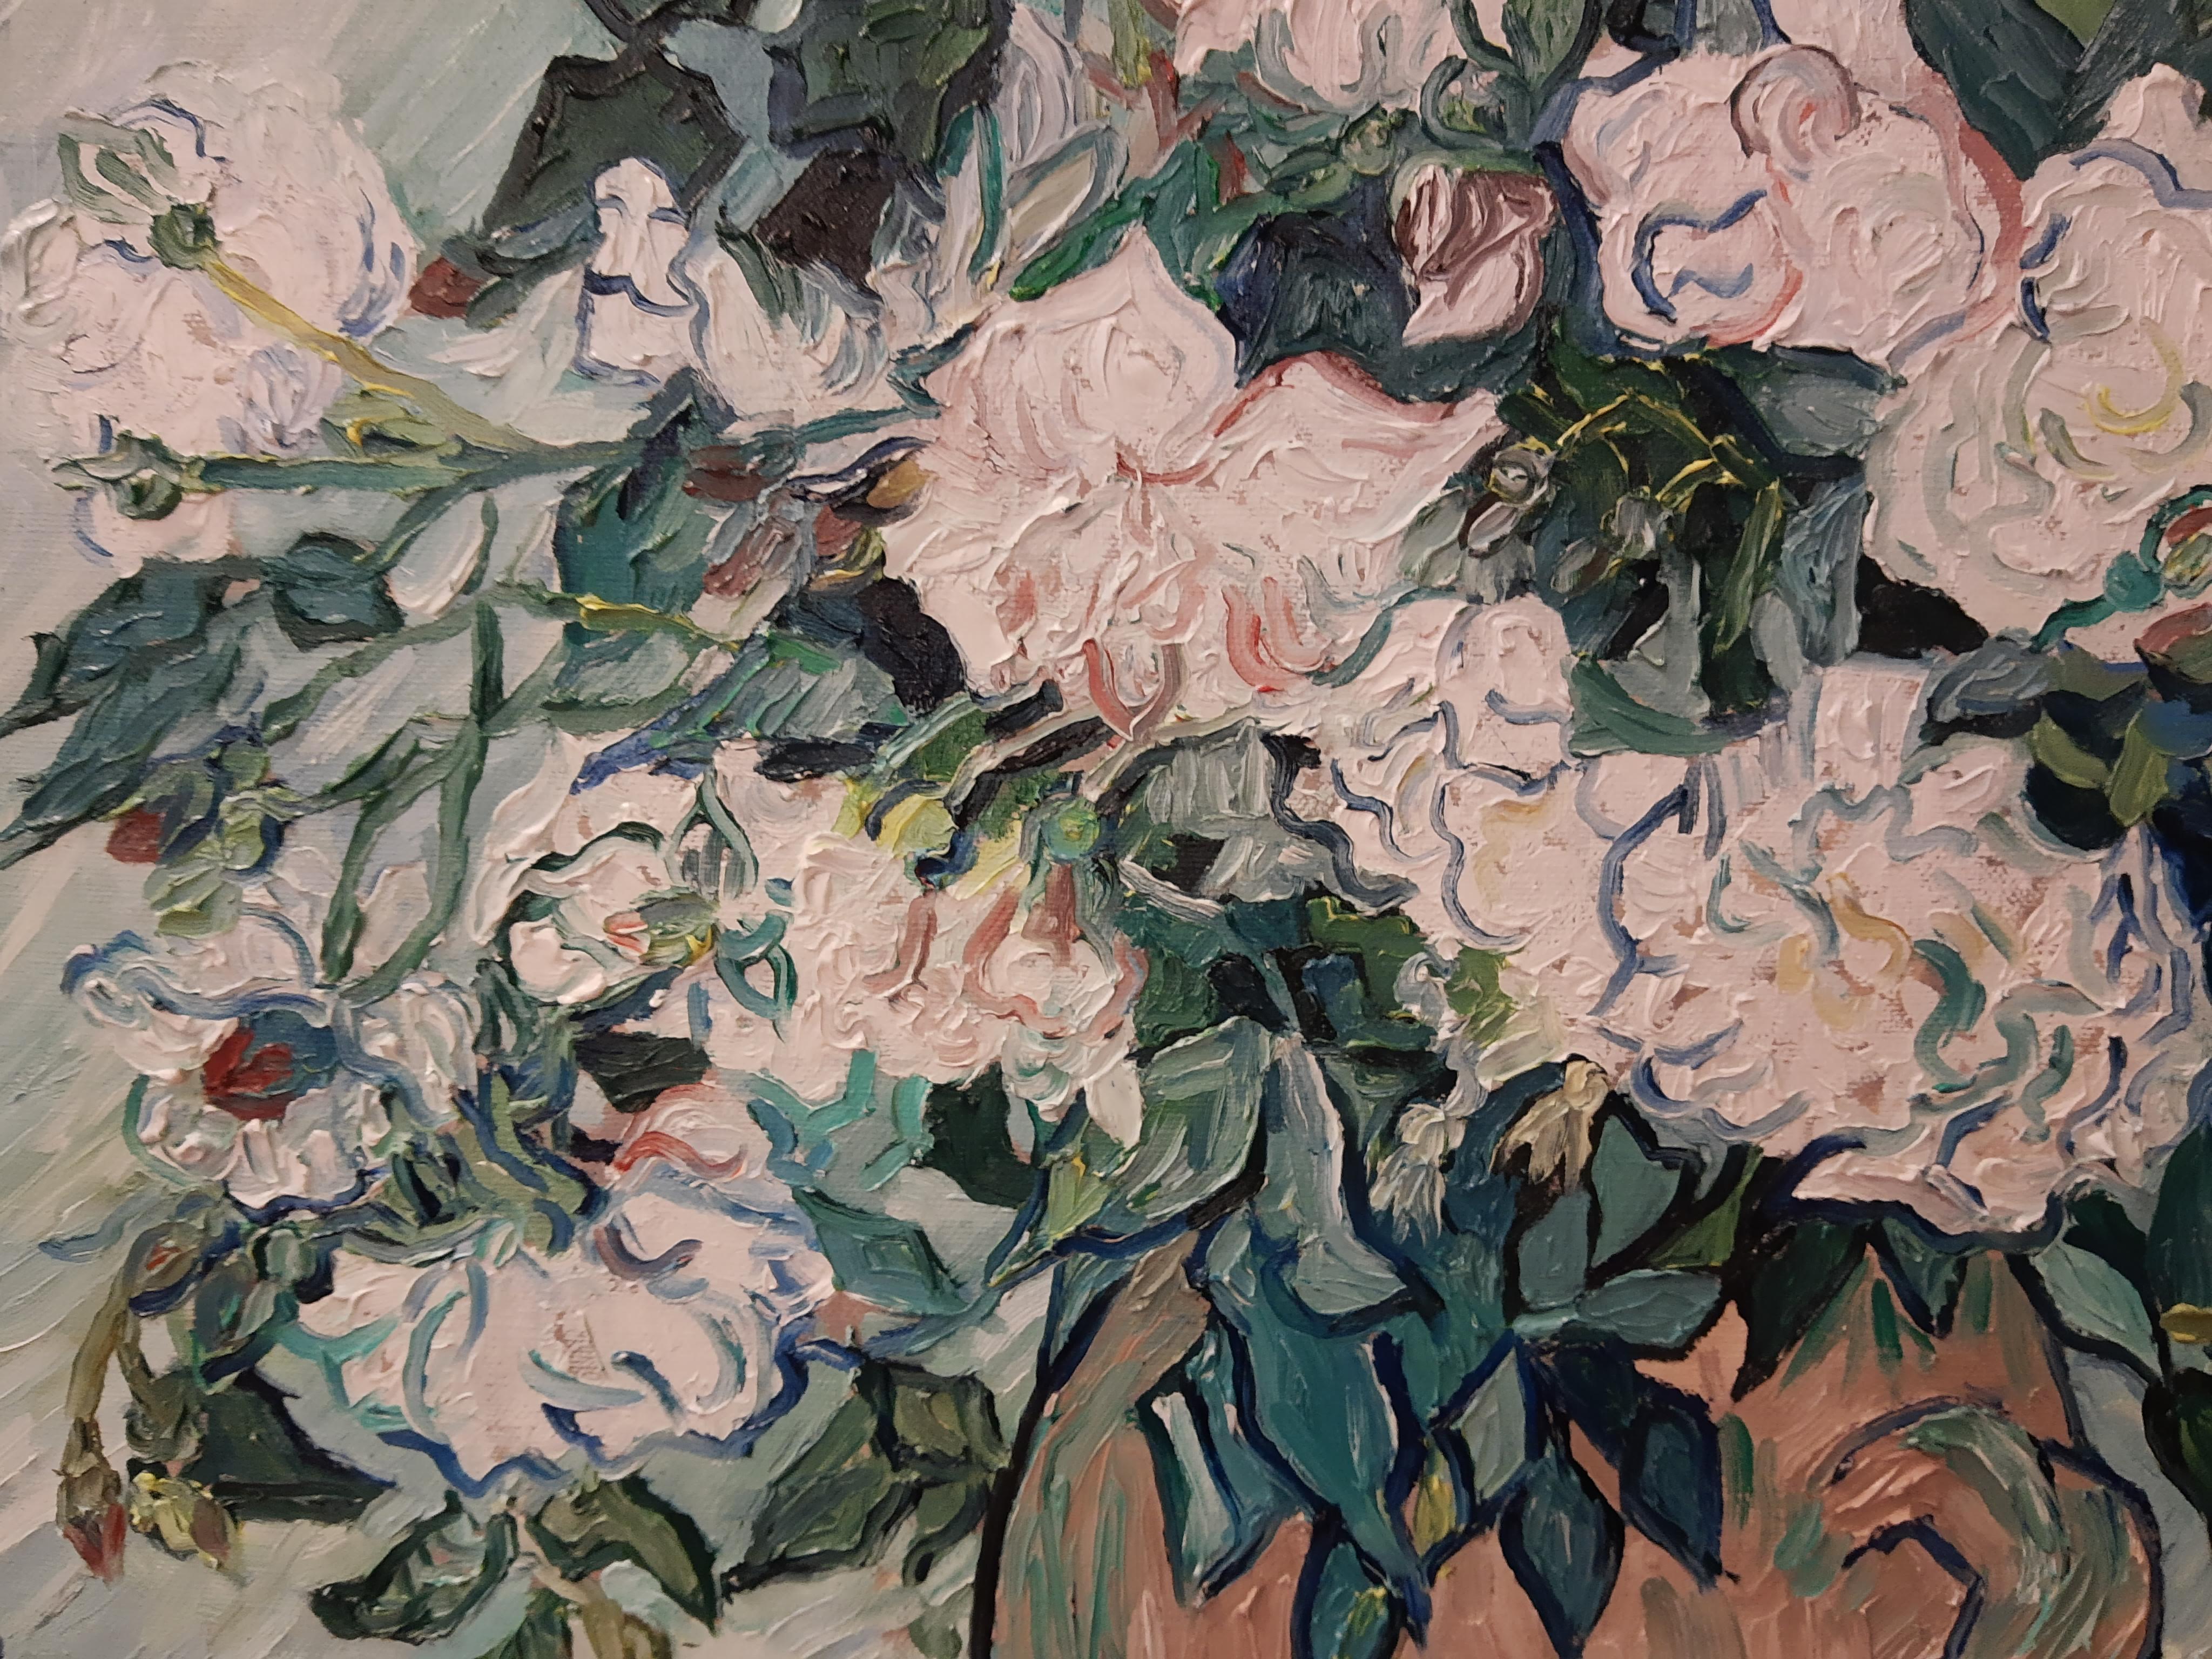
I painted Van Gogh’s White Roses. Why? Because I had started this painting 3 years ago and I needed to finish it. I had painted the underpainting years ago, but I kept putting off painting the colors because I knew it would need to be painted in one sitting while the paint was still dry. And the canvas is big. But, at the end of July, I decided to paint. I cranked out the top layer of this painting in 2 days. I spent 7 hours on a Friday and 10 hours the next day, making myself paint until I finished. And I did! (Although honestly, there’s a few details on leaves that I’ve neglected and a few mistakes, but it’s all good).
While my recreation isn’t perfect and certainly doesn’t compare with the real Van Gogh painting, I learned a lot about Van Gogh and I appreciate his work a lot more now.
Things I learned about painting like Van Gogh:
To paint this, I looked at every brushstroke in the White Roses painting by using the zoom feature on the National Gallery of Art’s website. The NGA website has very clear and focused images of this painting, which made it a lot easier to emulate Van Gogh’s marks. I also went to the NGA a few times to study Van Gogh’s brushstrokes and practice painting like Van Gogh.


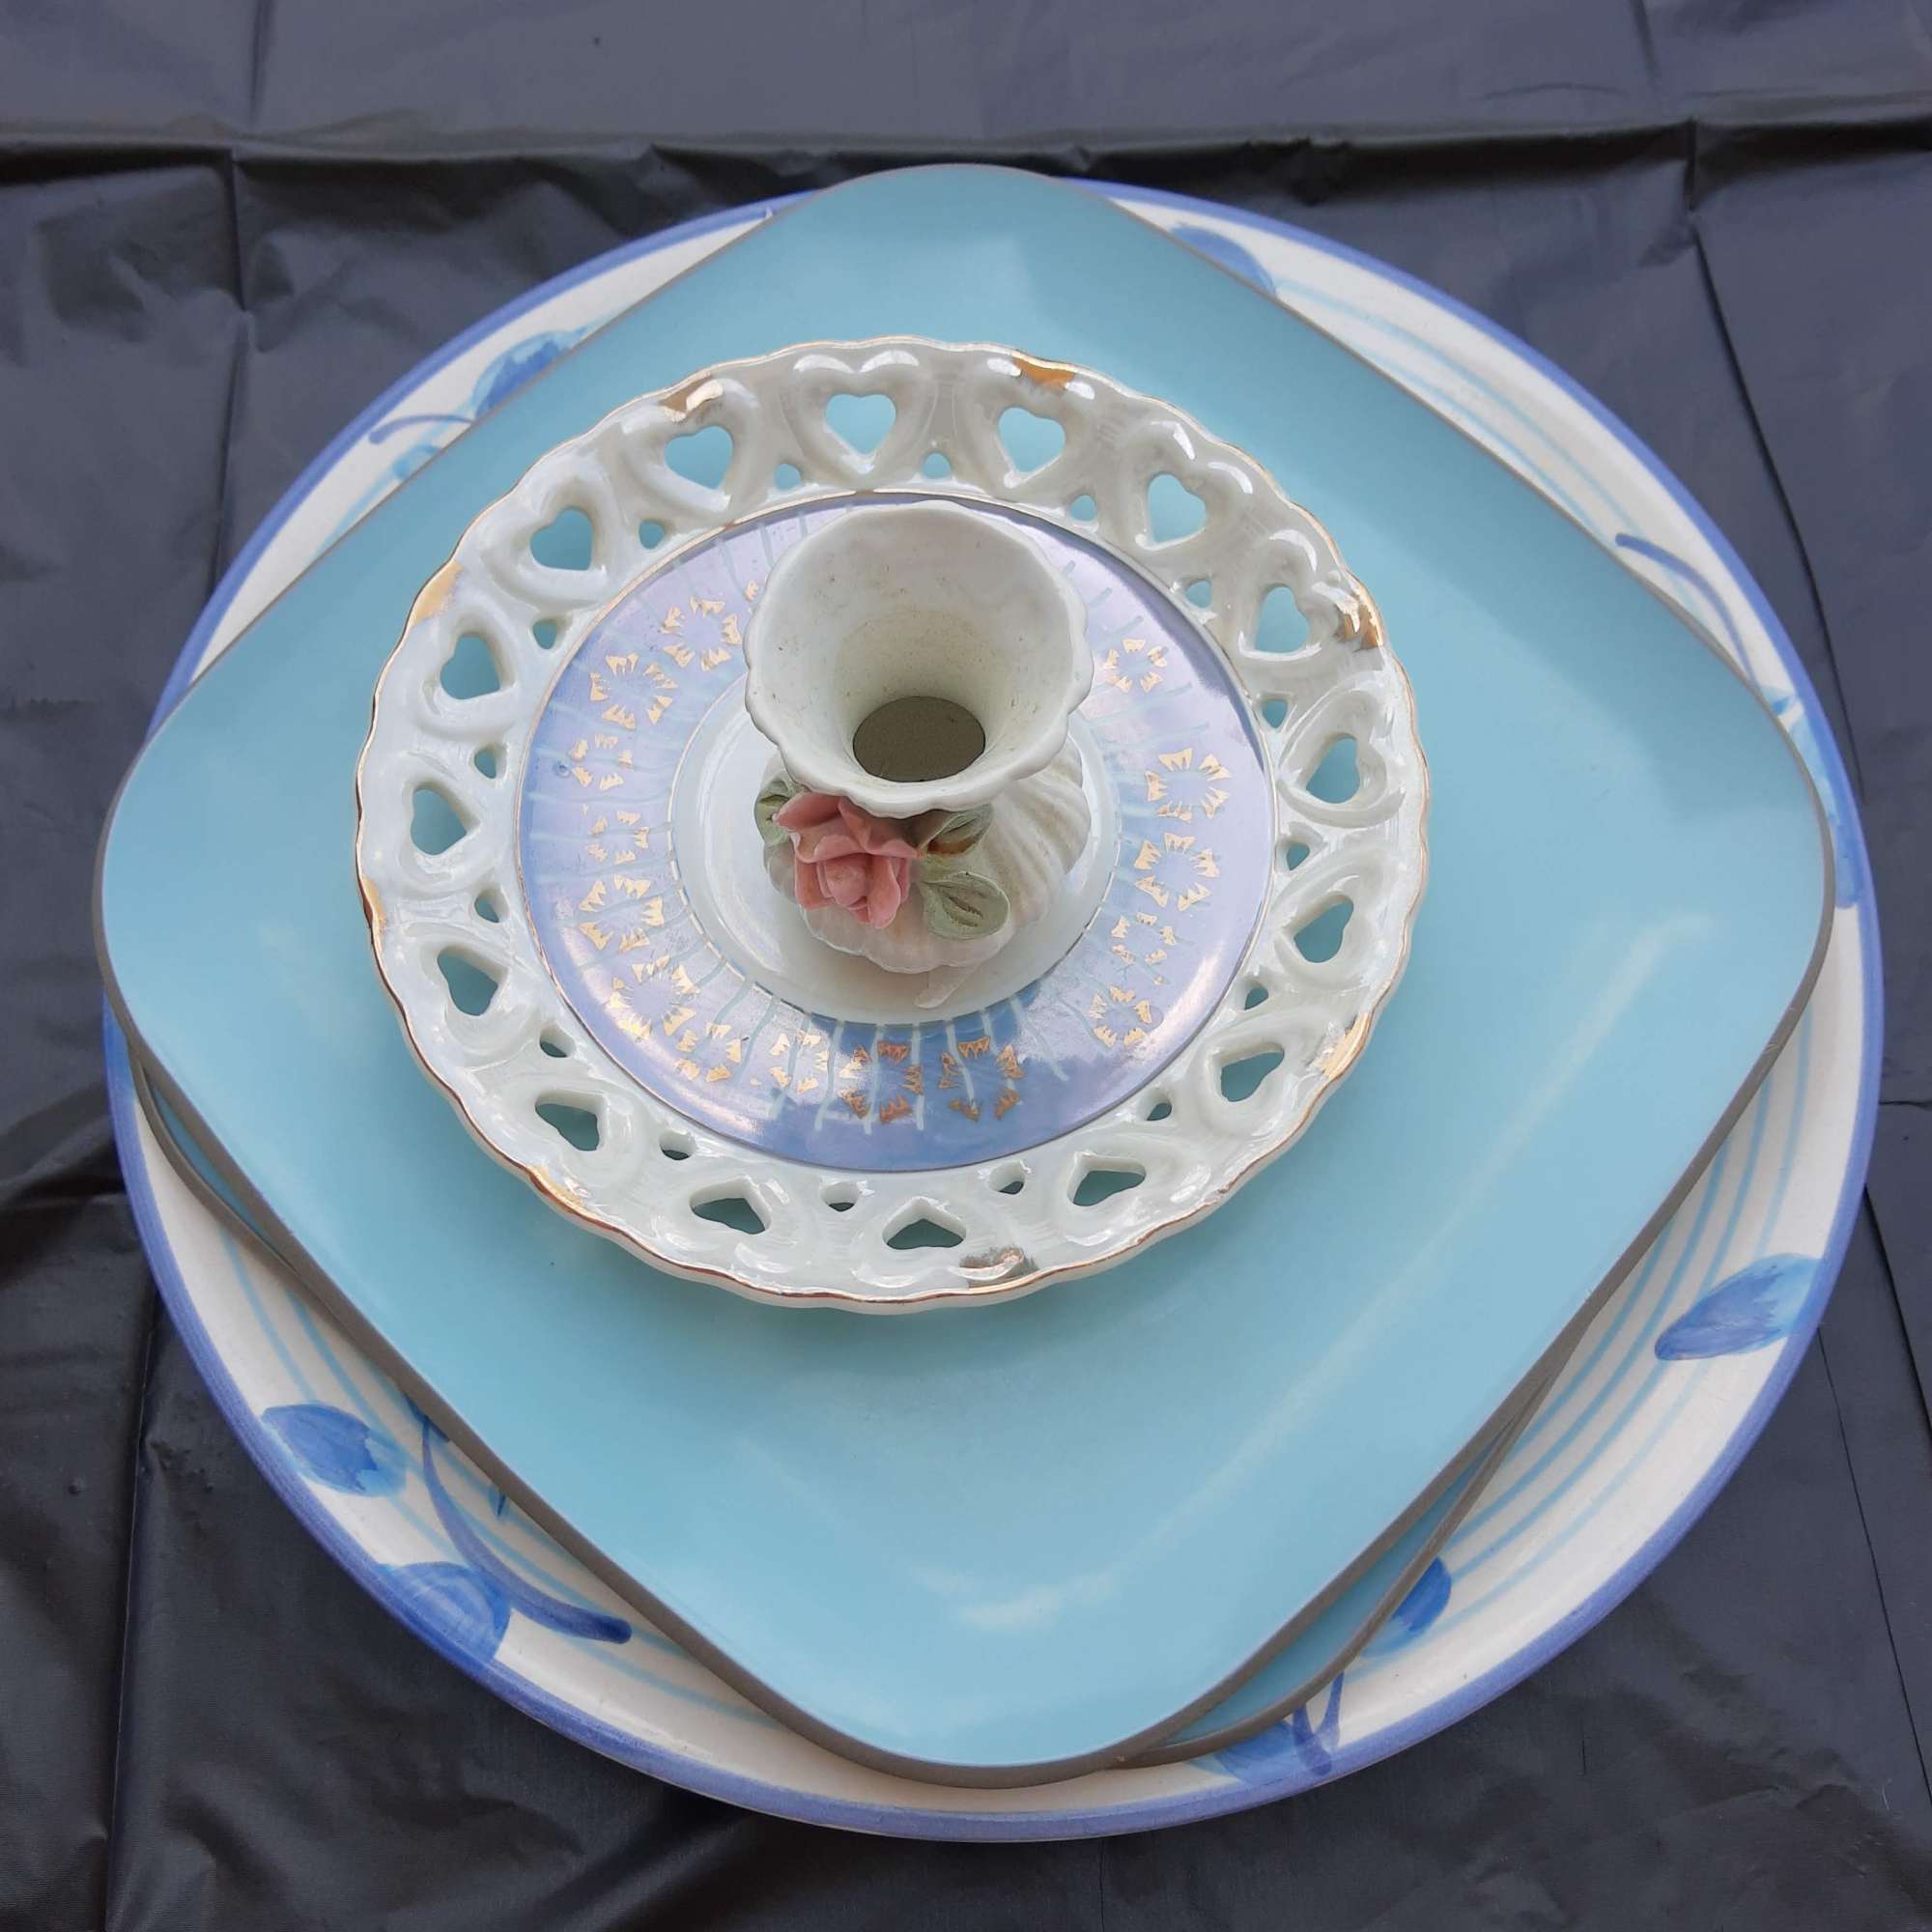
I needed to smash stuff to cope with stress and anxiety. So I bought a few cheap plates from a thrift store and smashed away! This was my first time making a mosaic, and because it was for stress-relief, I didn’t care about making a nice design or planning out where I wanted to put the pieces.

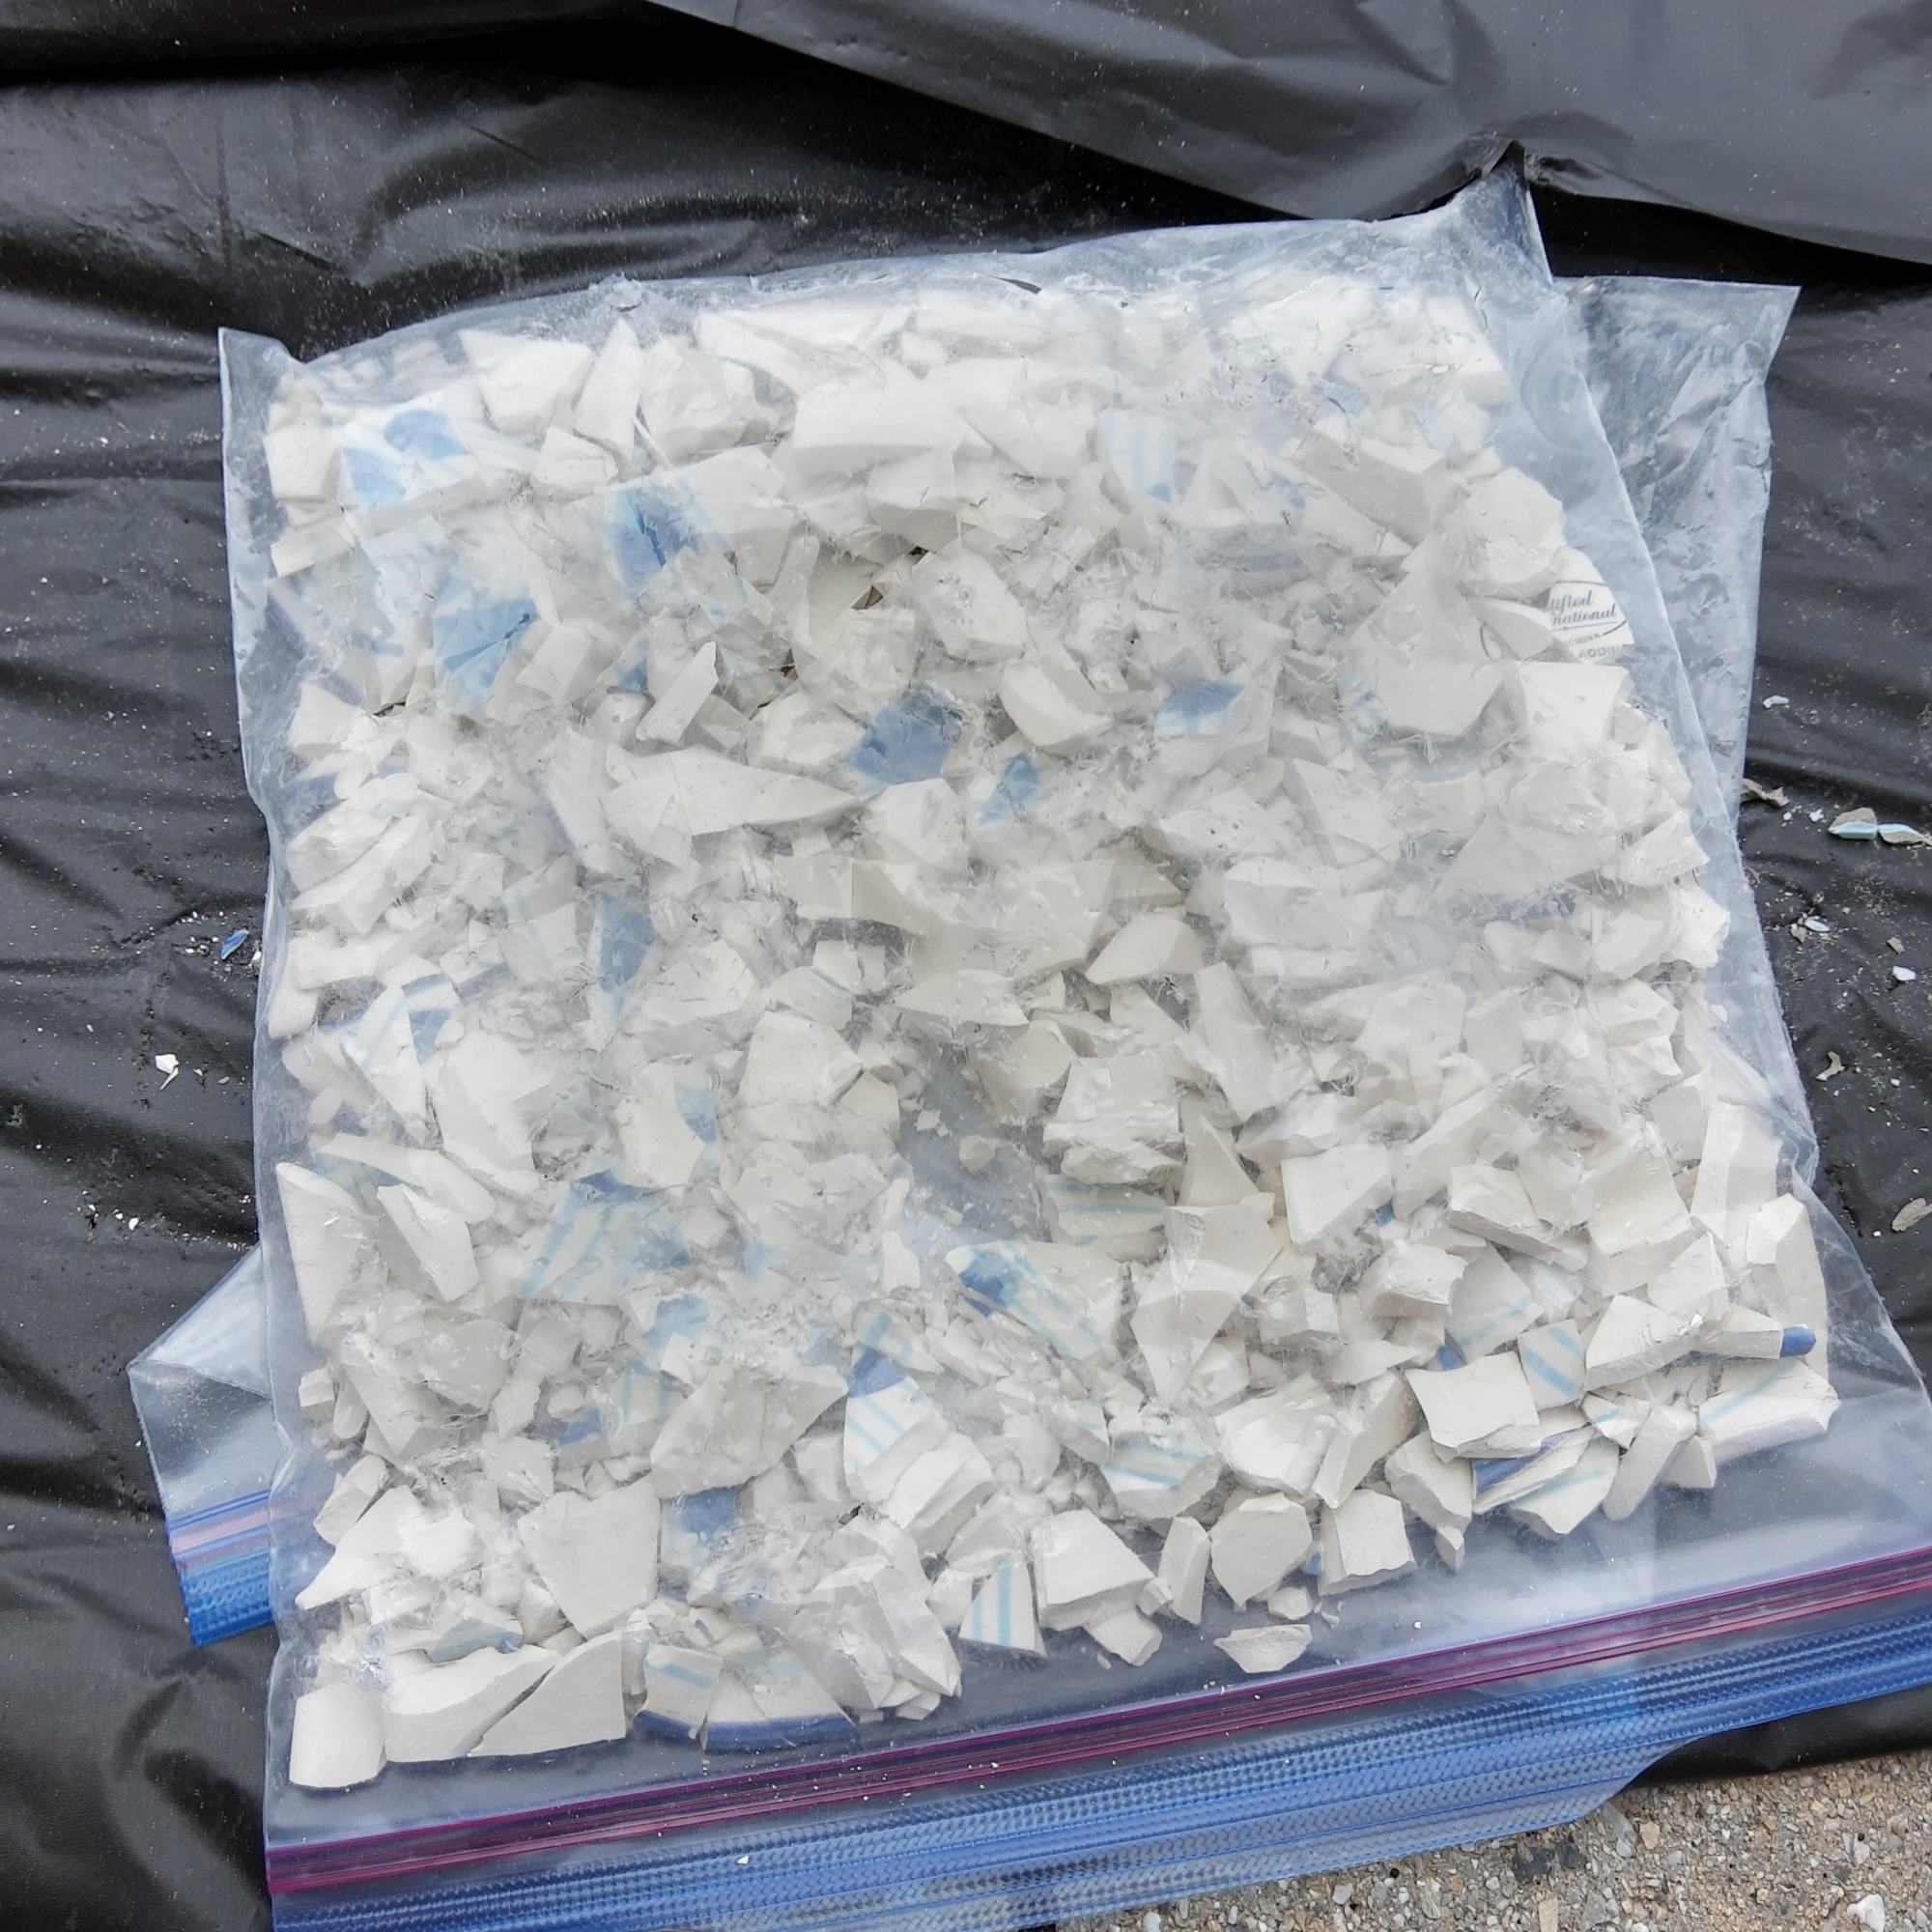
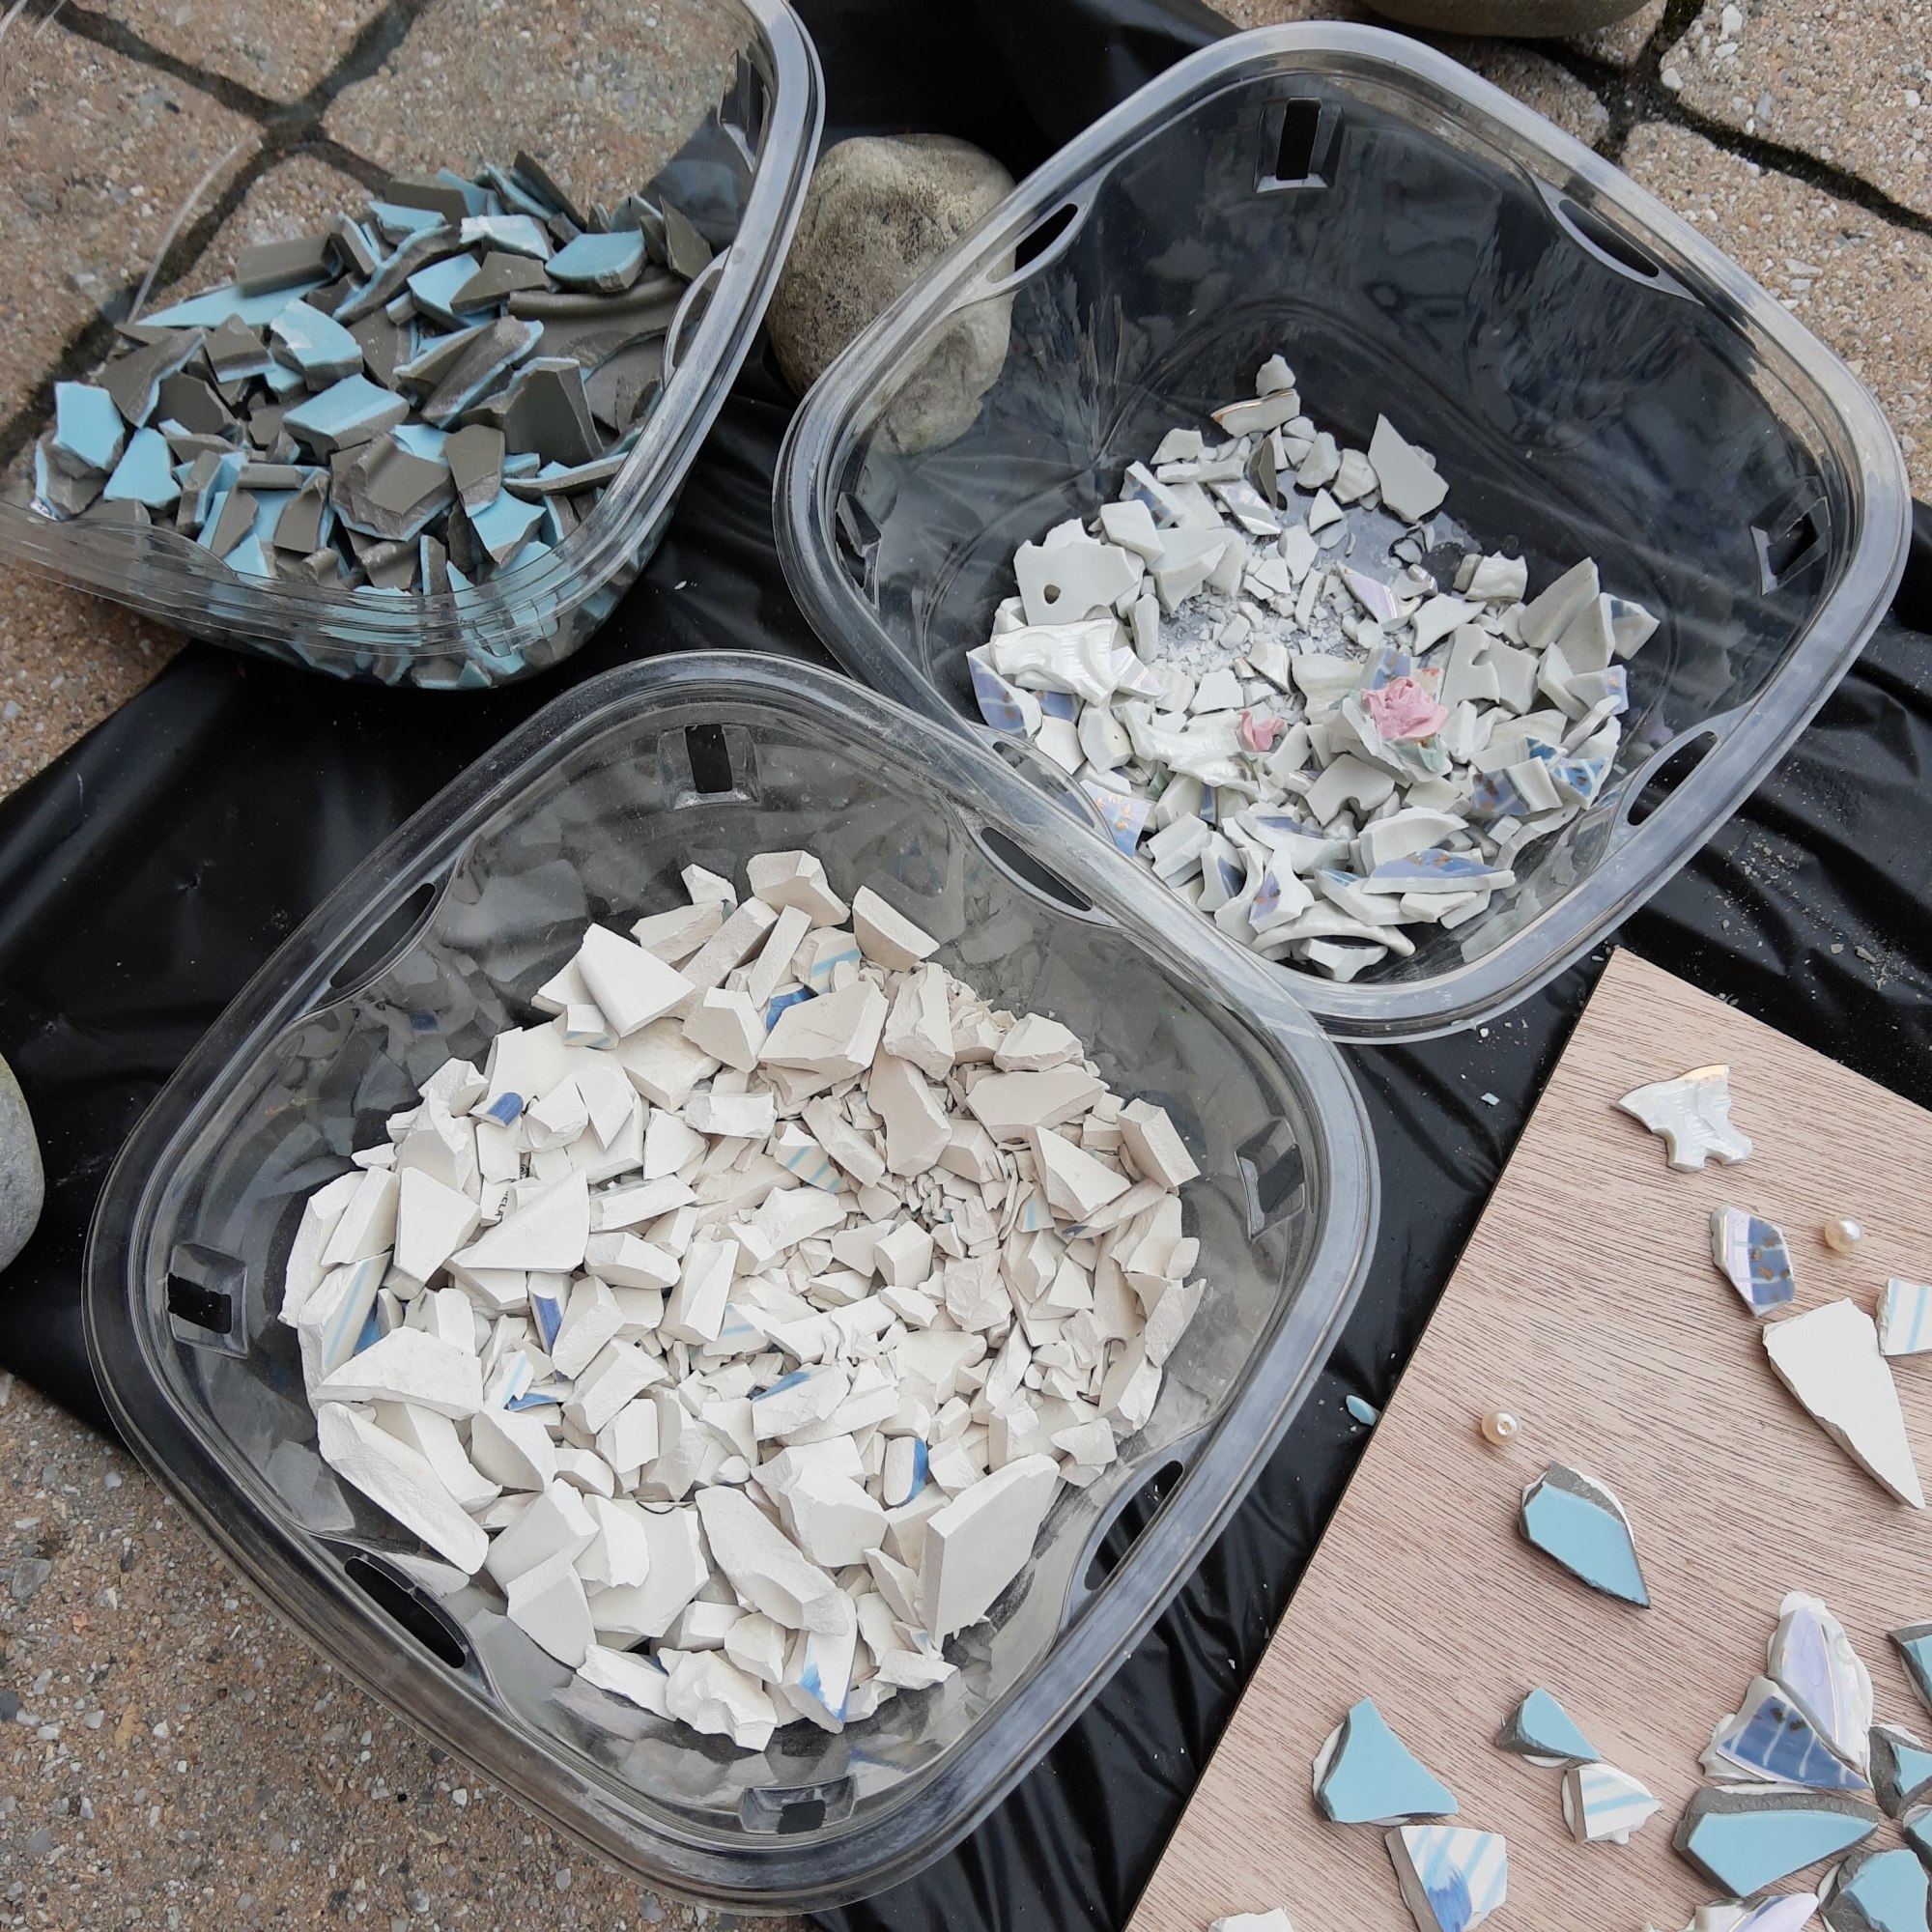

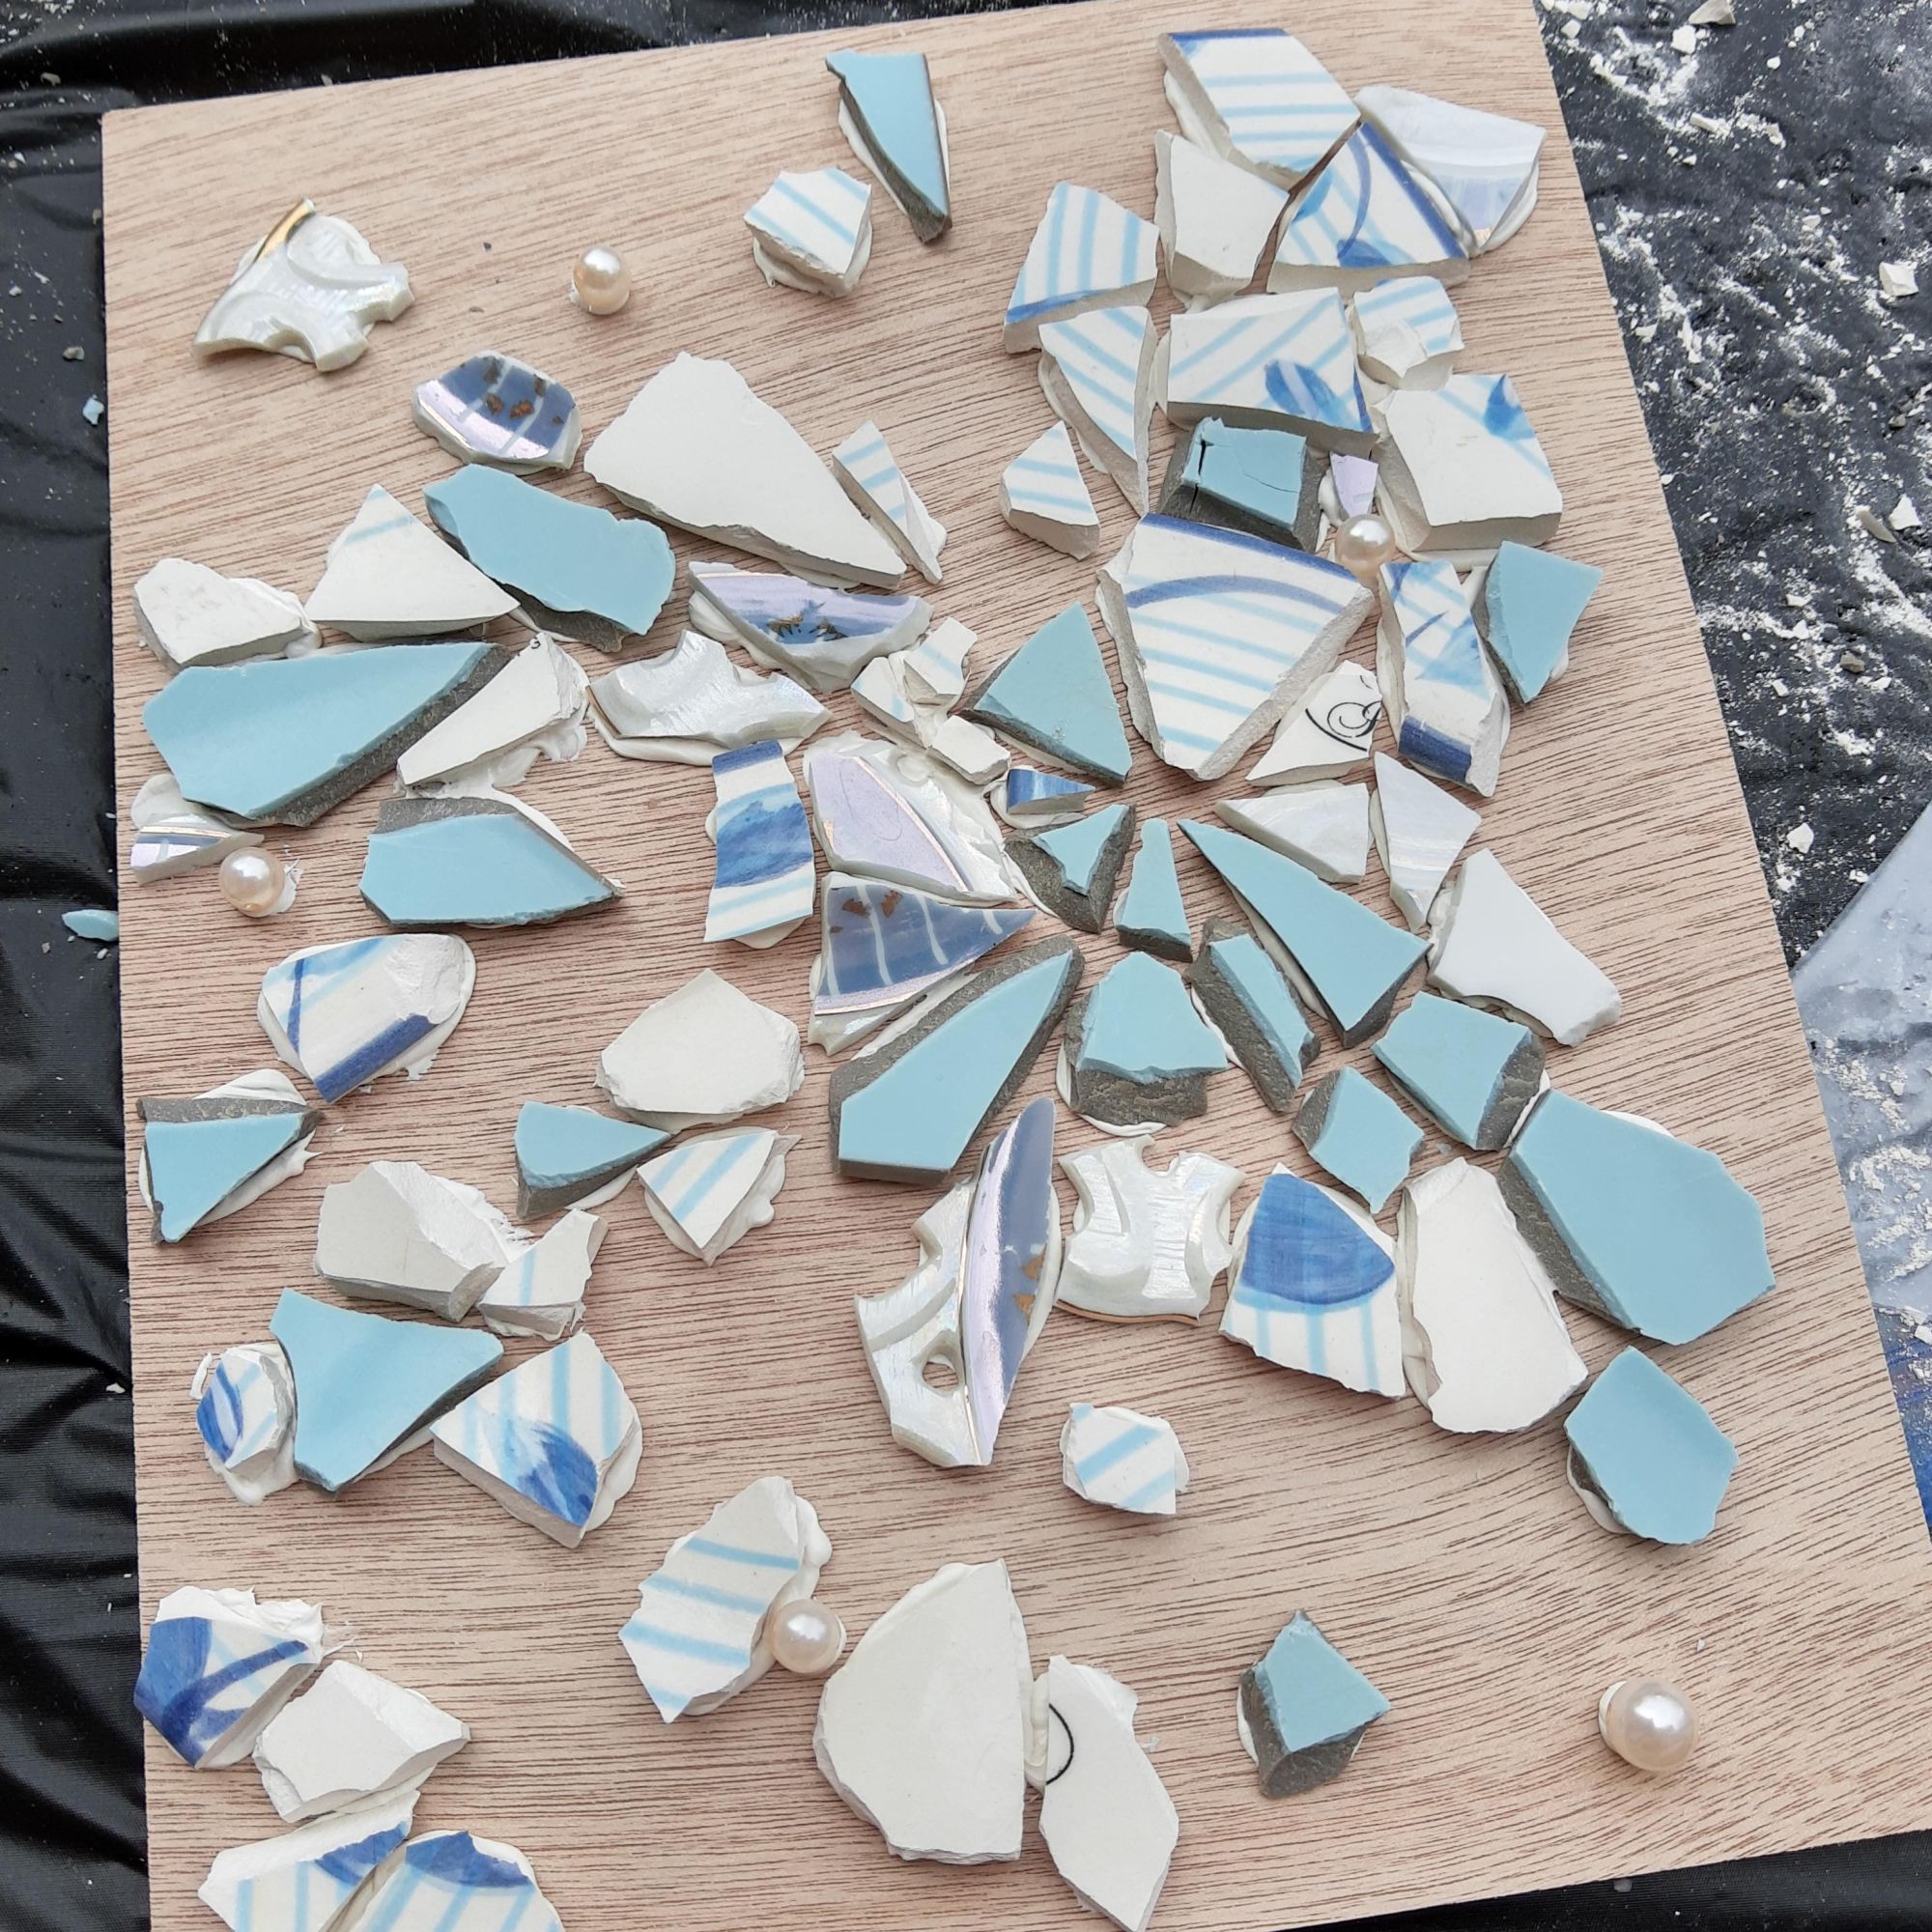
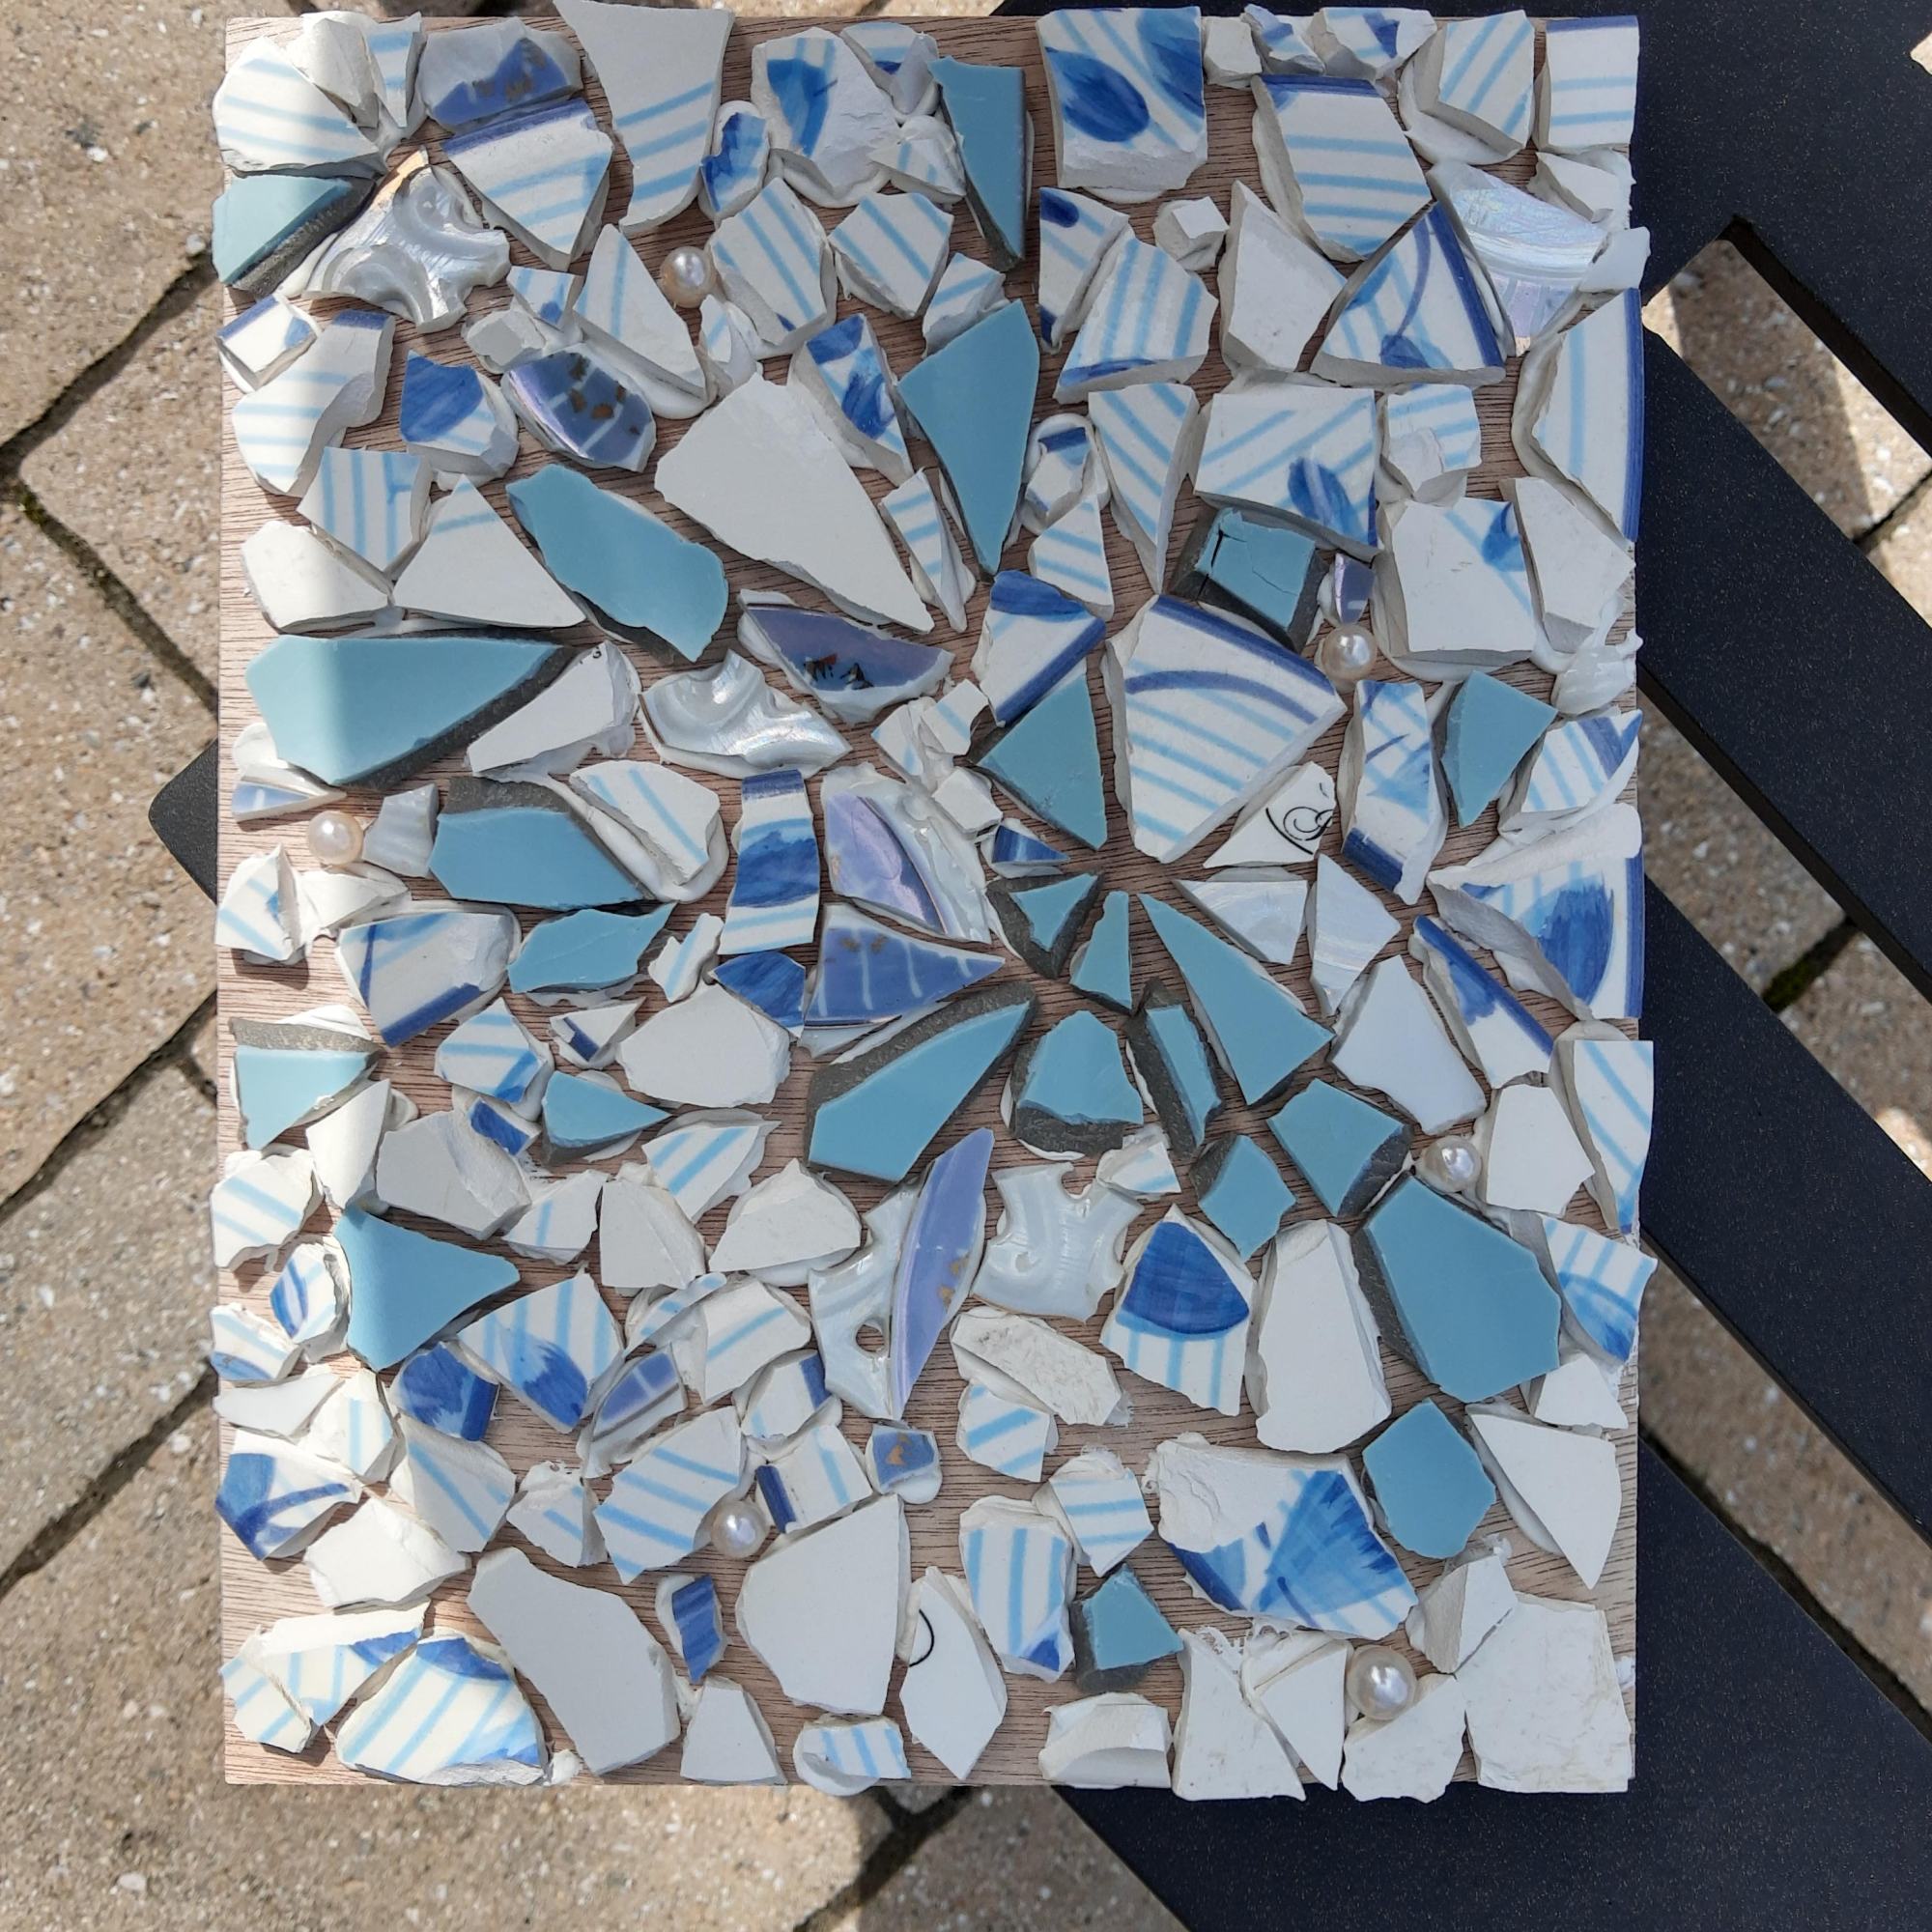


Steps I followed (according to the pictures above):


Above – the caulk and grout I used
I used sanded grout to make it more sturdy since the cracks between my tiles were larger.


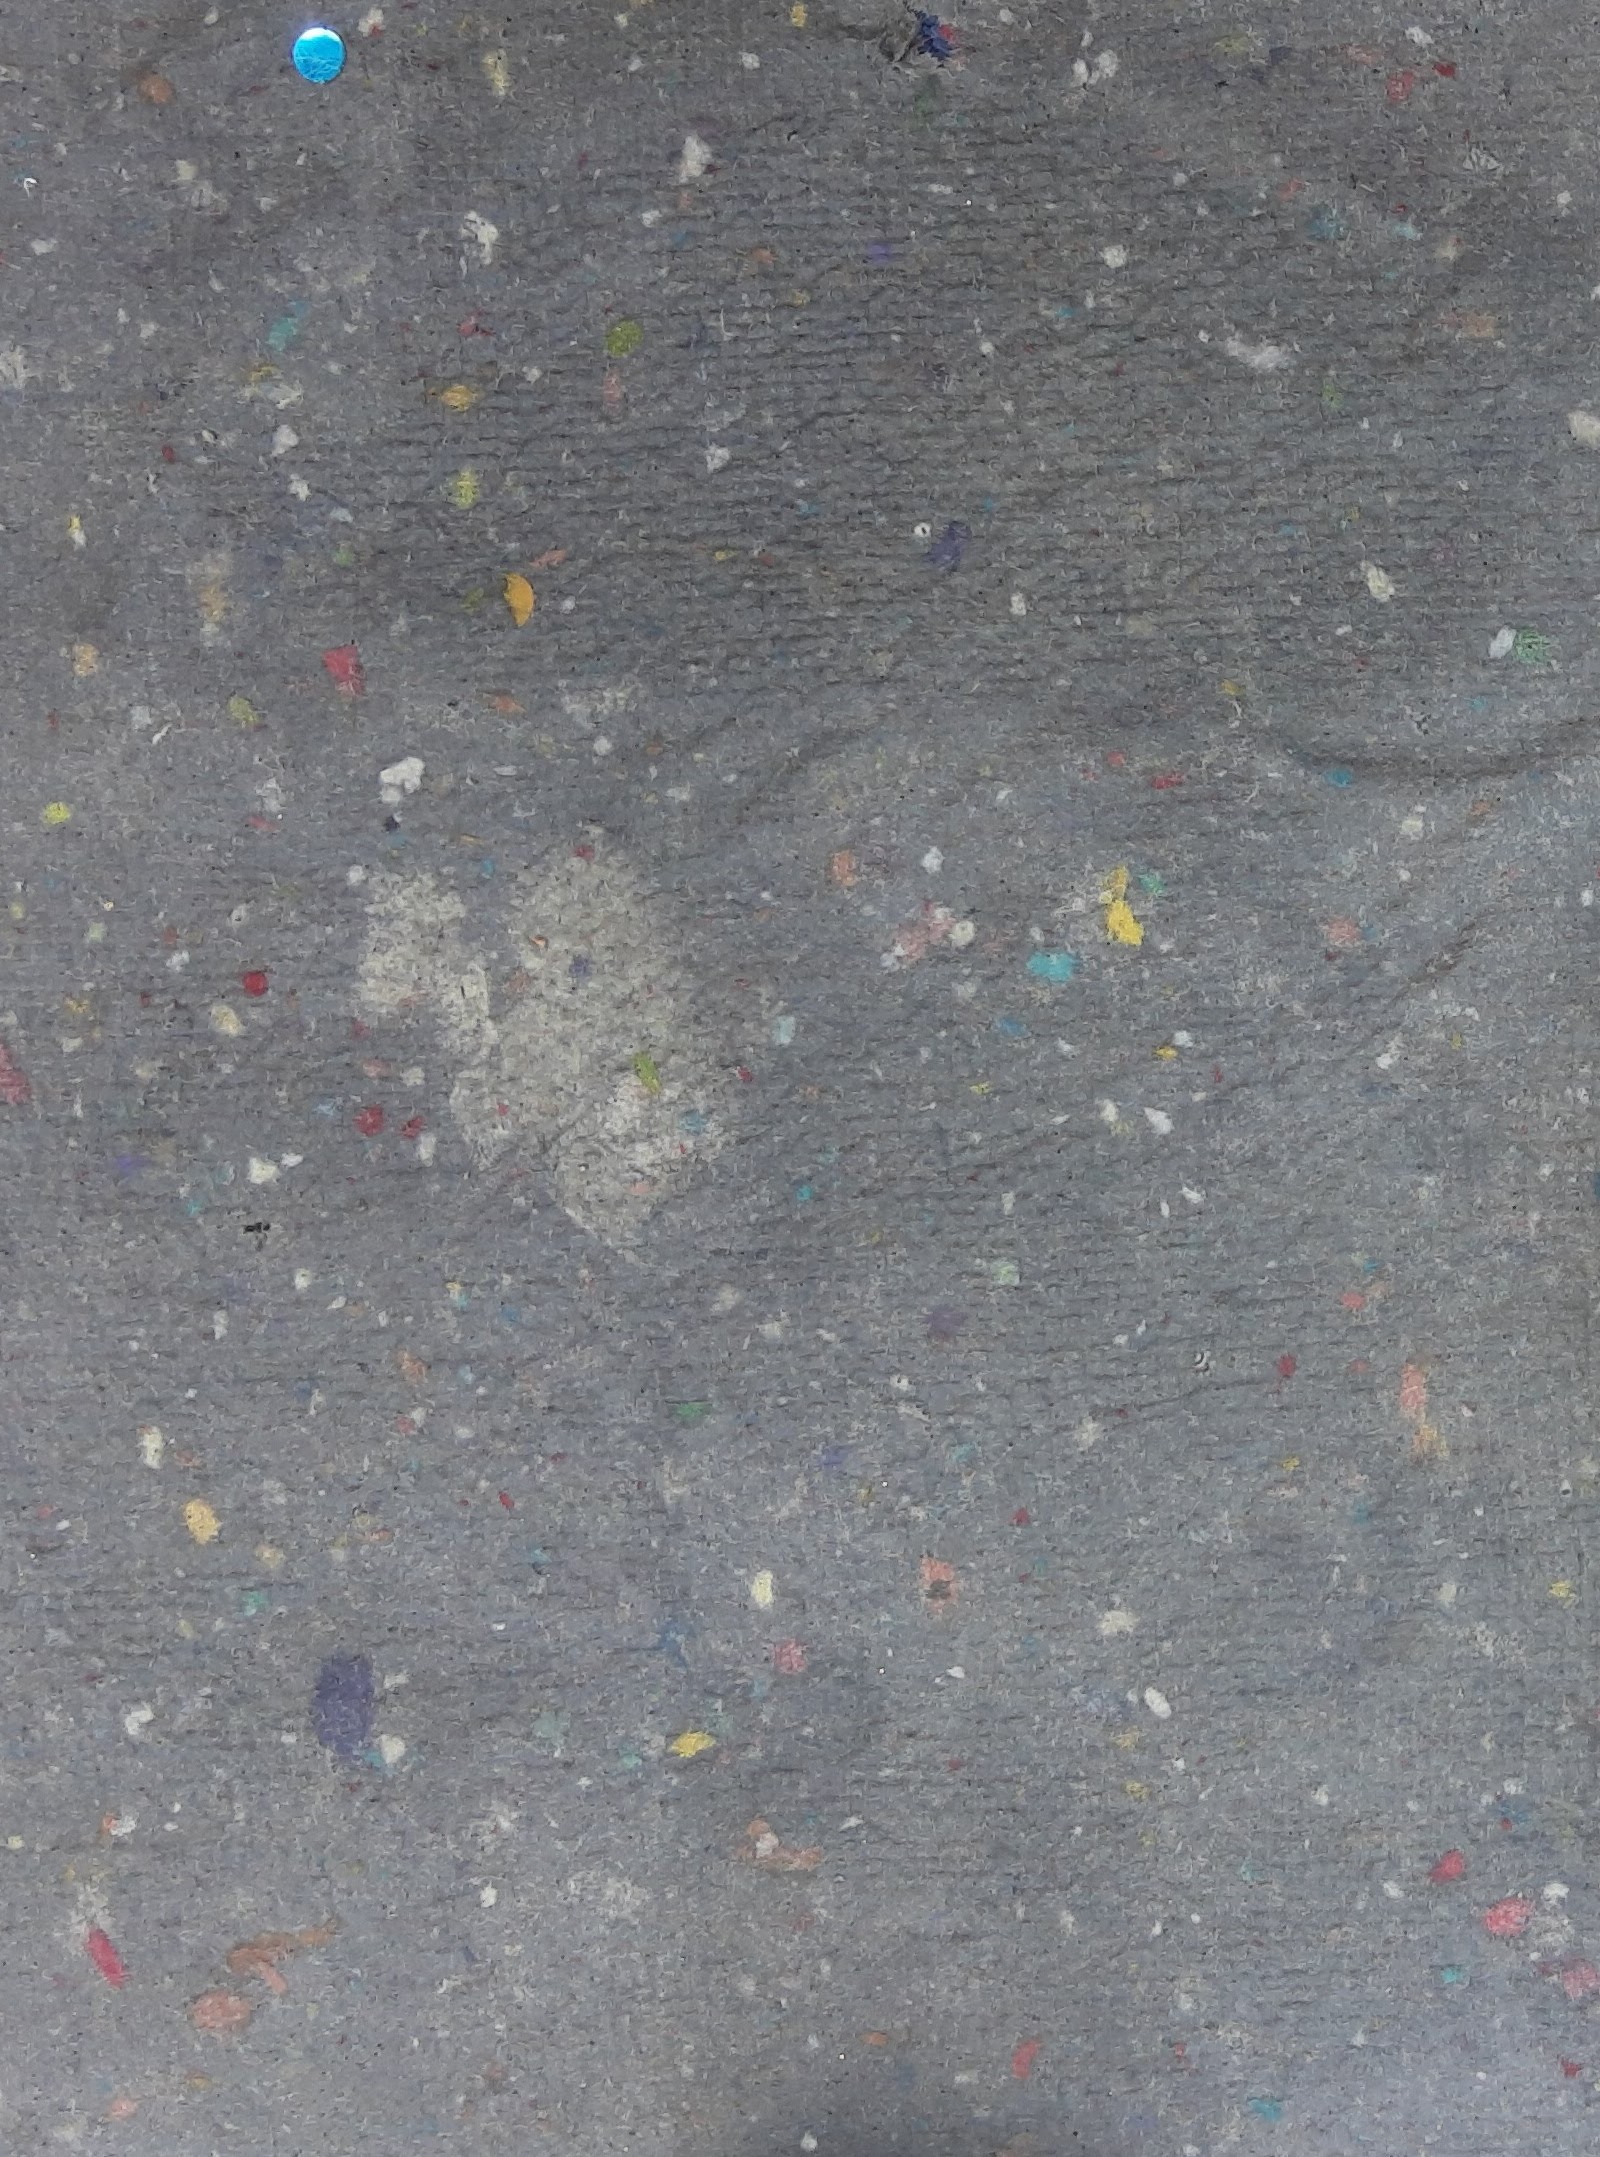
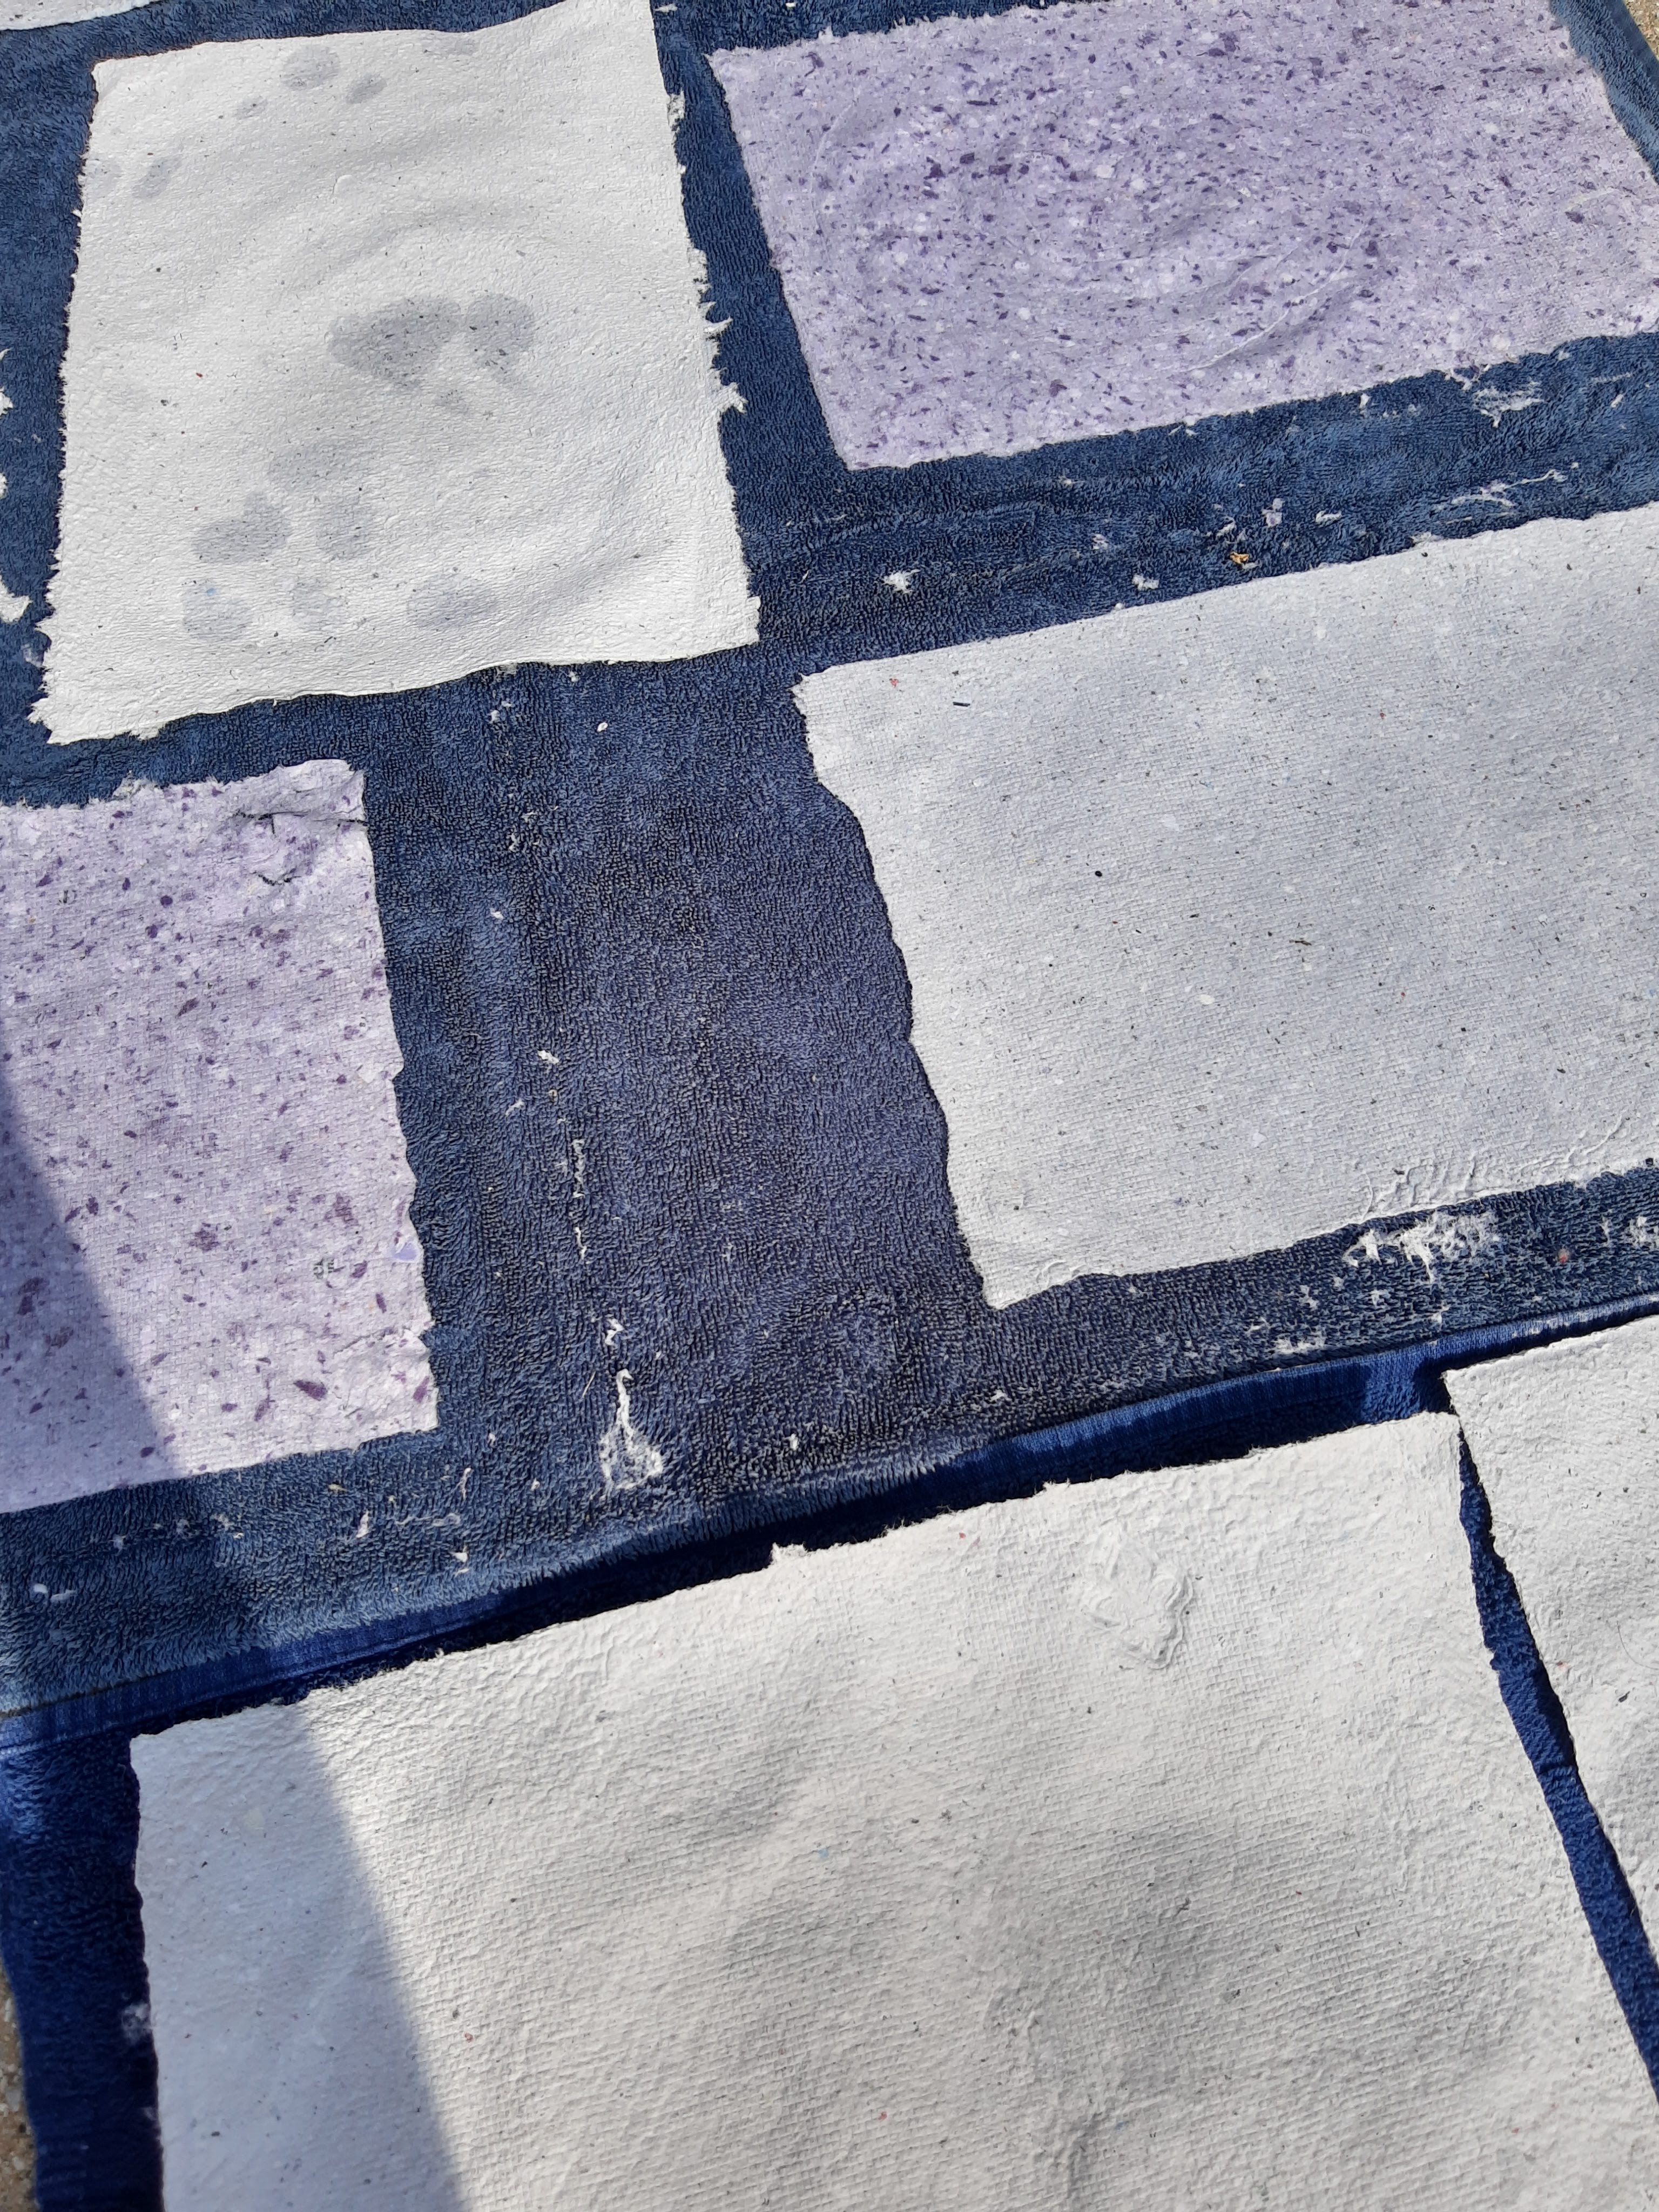
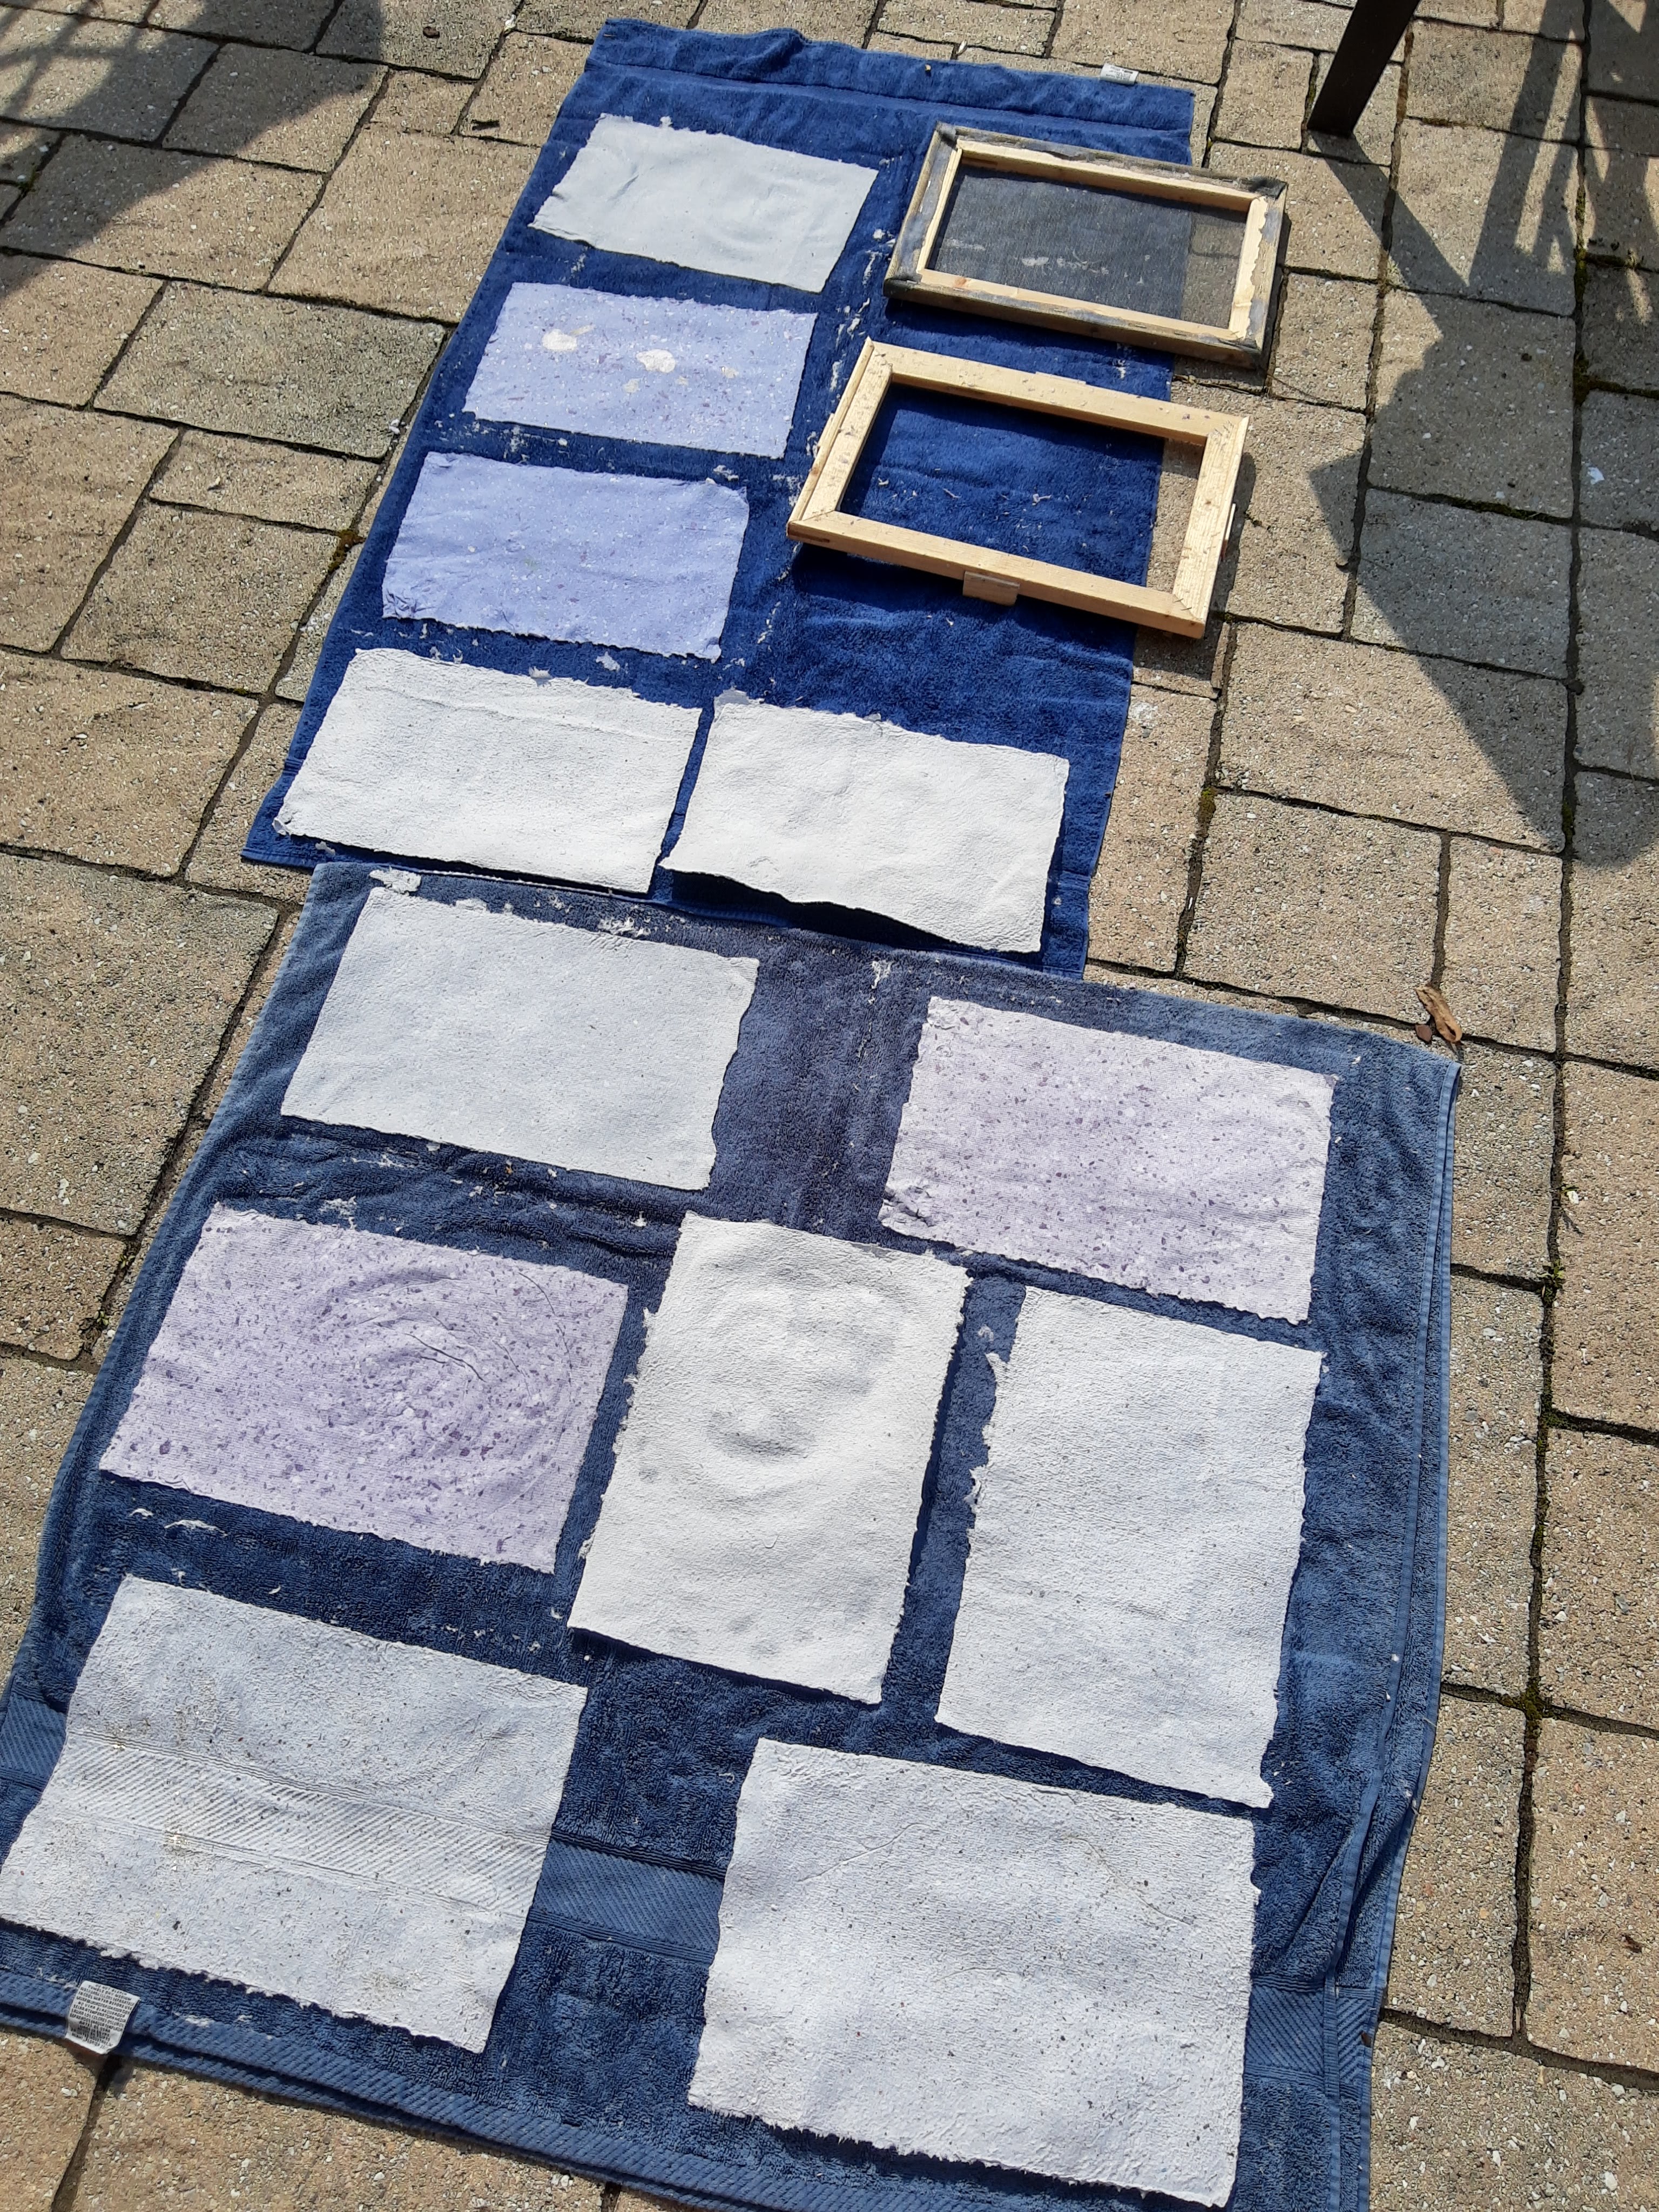
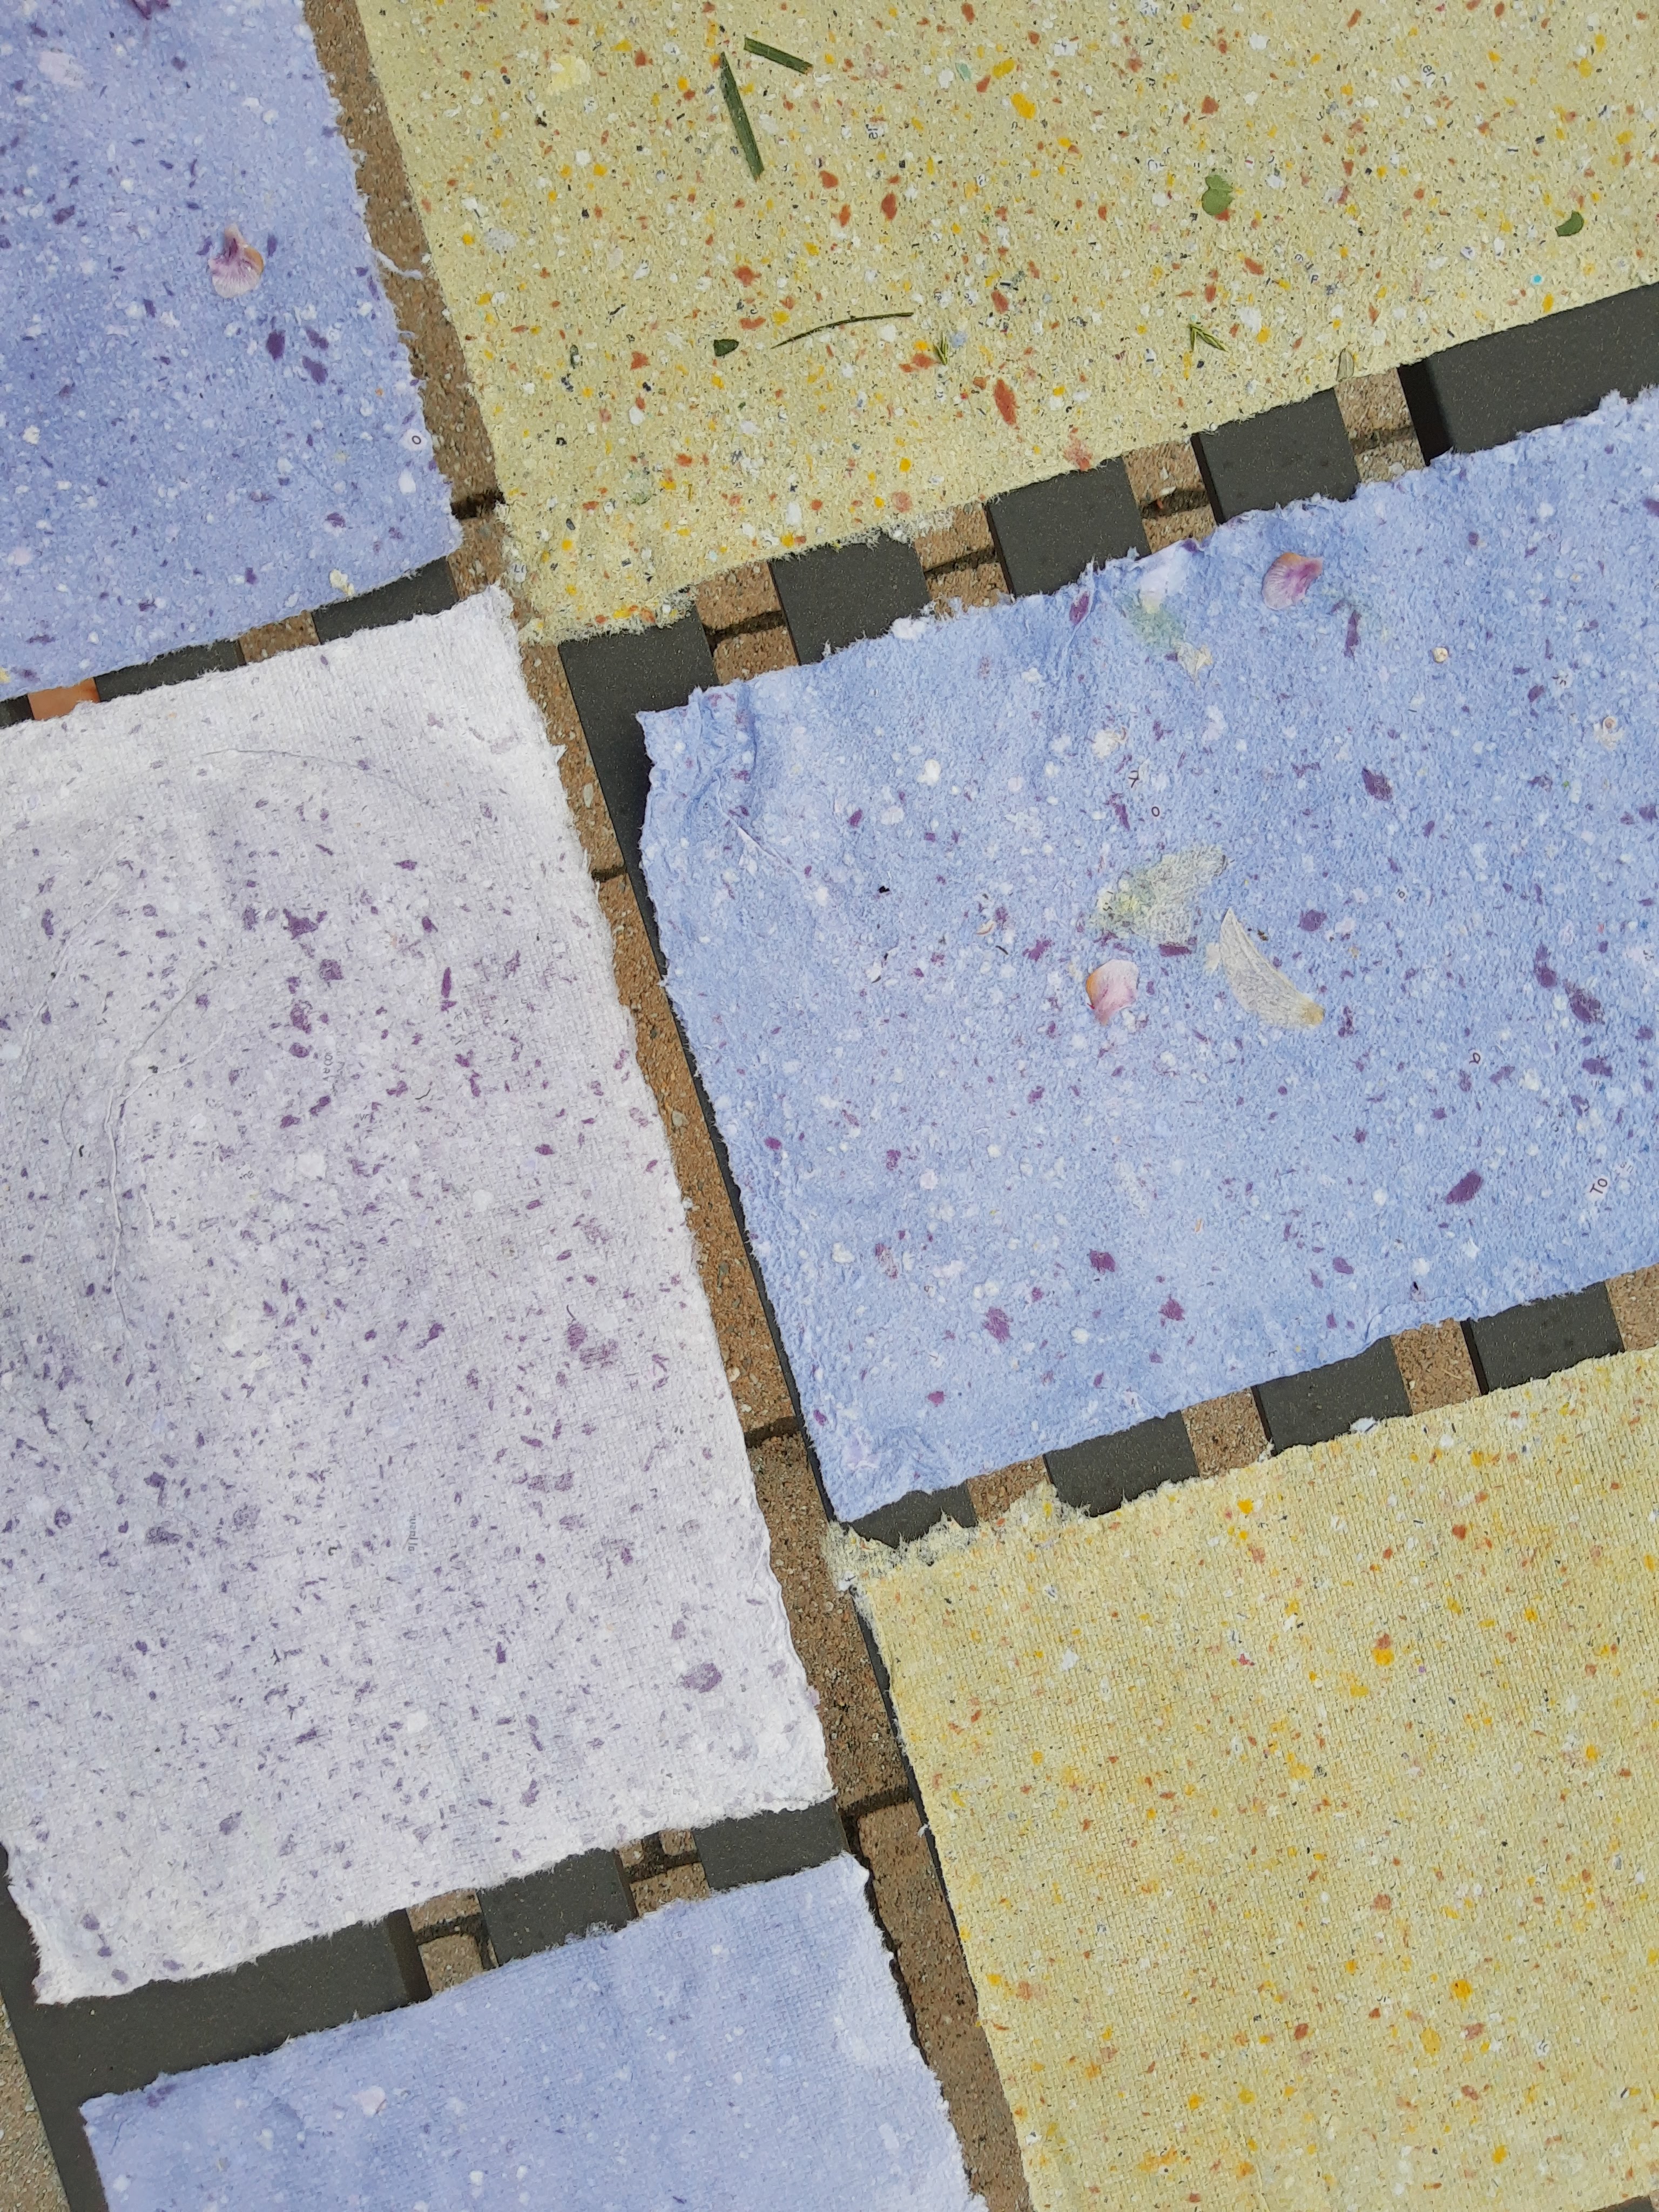
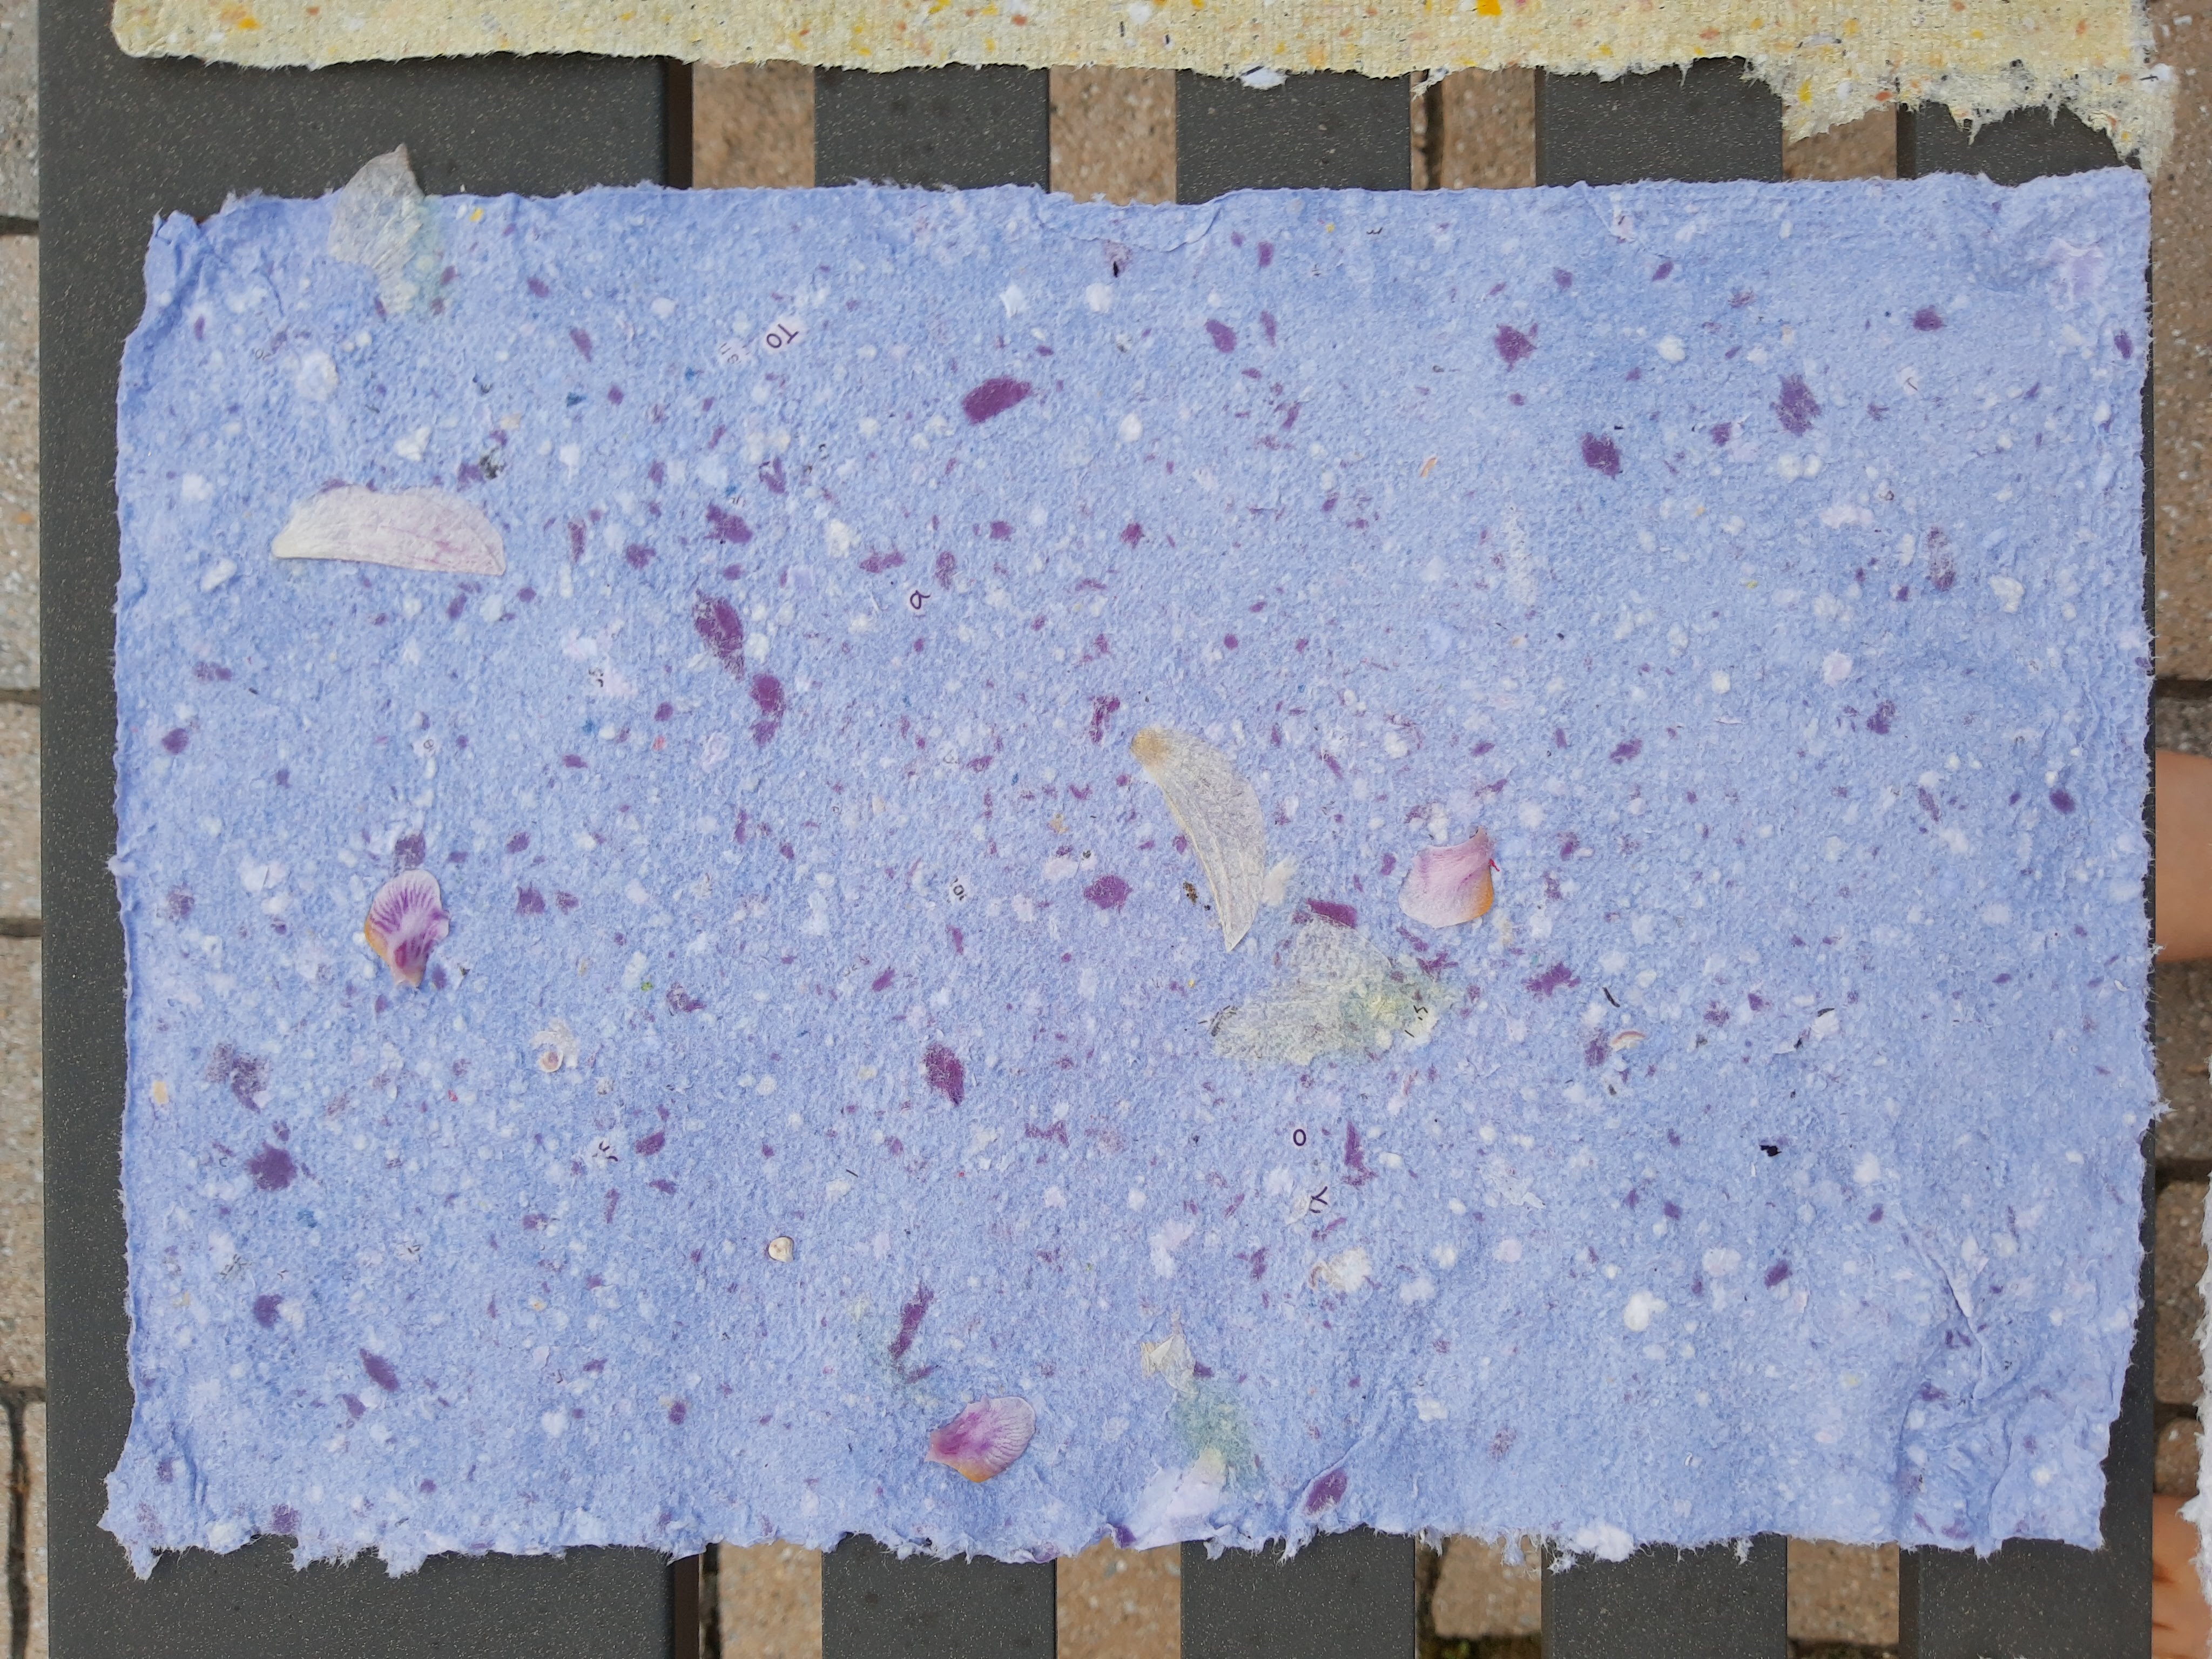
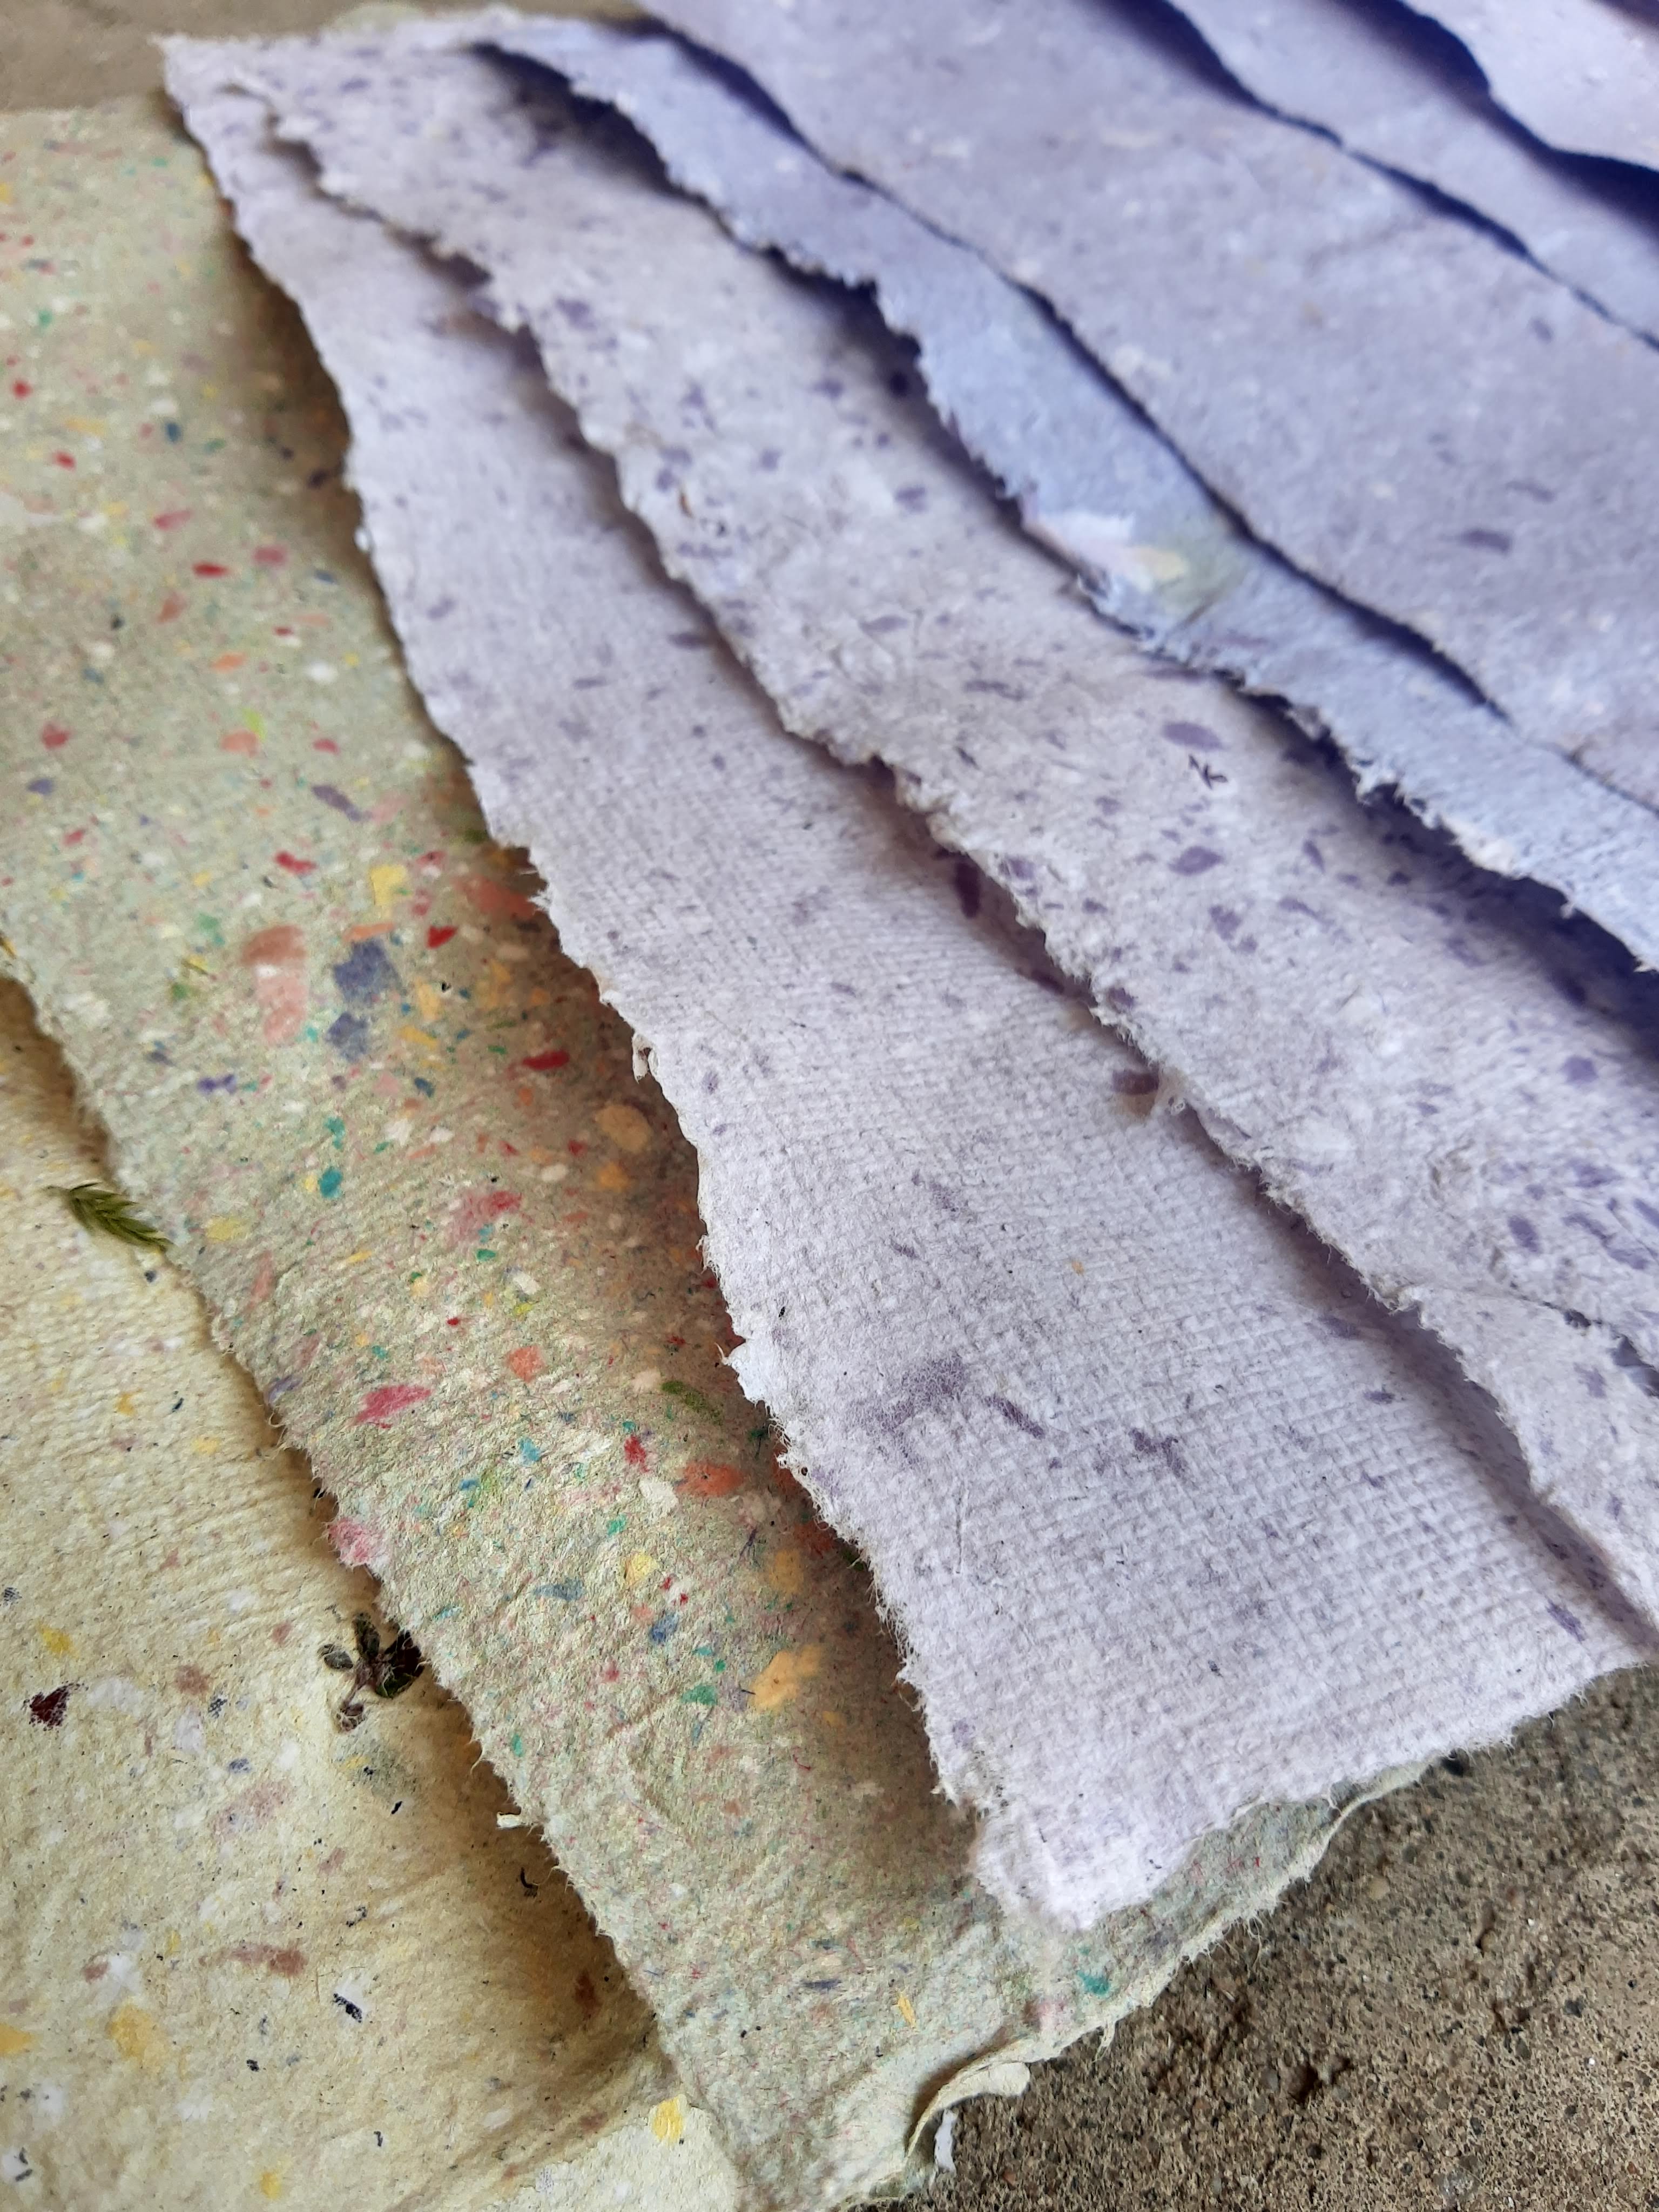
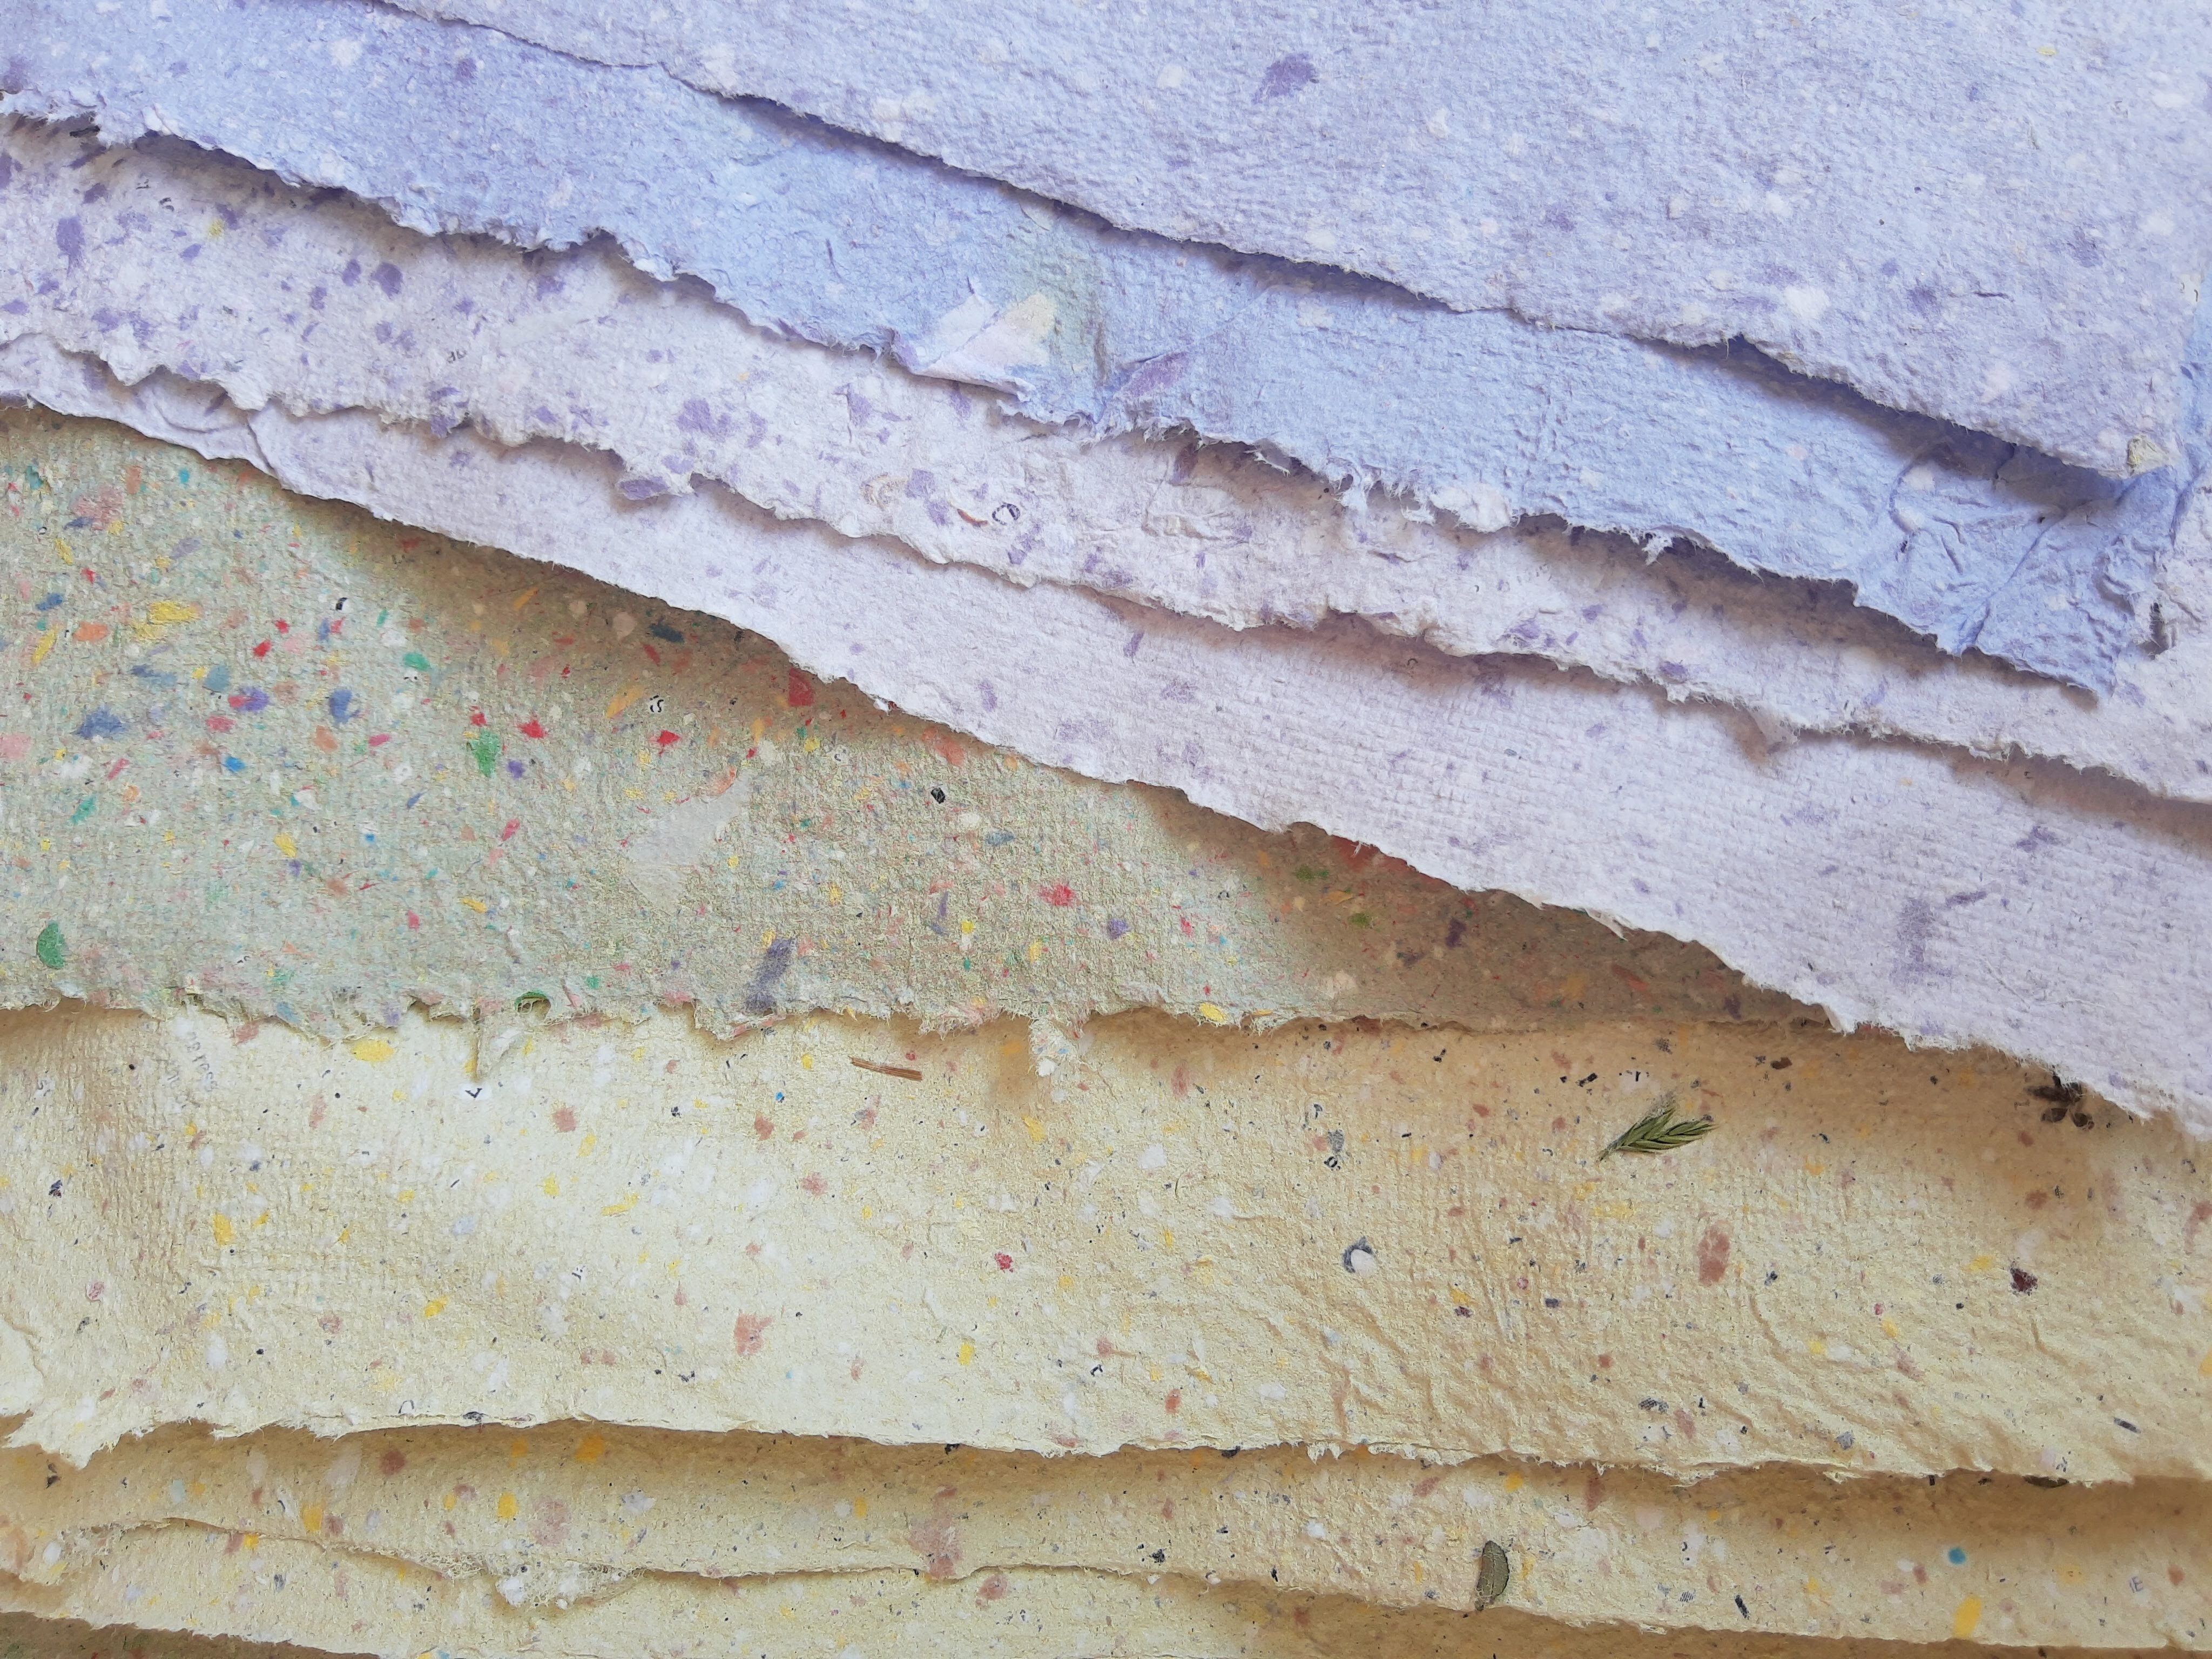
This was my first time making paper! (Actually, technically, I did make a sheet of paper at a paper mill a few years ago, but everything was already set up – this is my first time making it all by myself). I spent 5 hours yesterday making paper and I ended up with about 25 sheets. This morning I also made a few more sheets using the last little bits of paper pulp. I made my paper outside because a lot of water and messiness is involved with paper-making. It was very hot yesterday, but it helped to have the sun for drying my paper. If you make paper outside during the summer, it’s best to start in the early morning so the paper can have the whole afternoon in the hot sun to dry.
Before making paper, I watched a ton of YouTube videos and read different “how to make paper” articles. The following steps are what I learned from both my research and experimenting with the process.
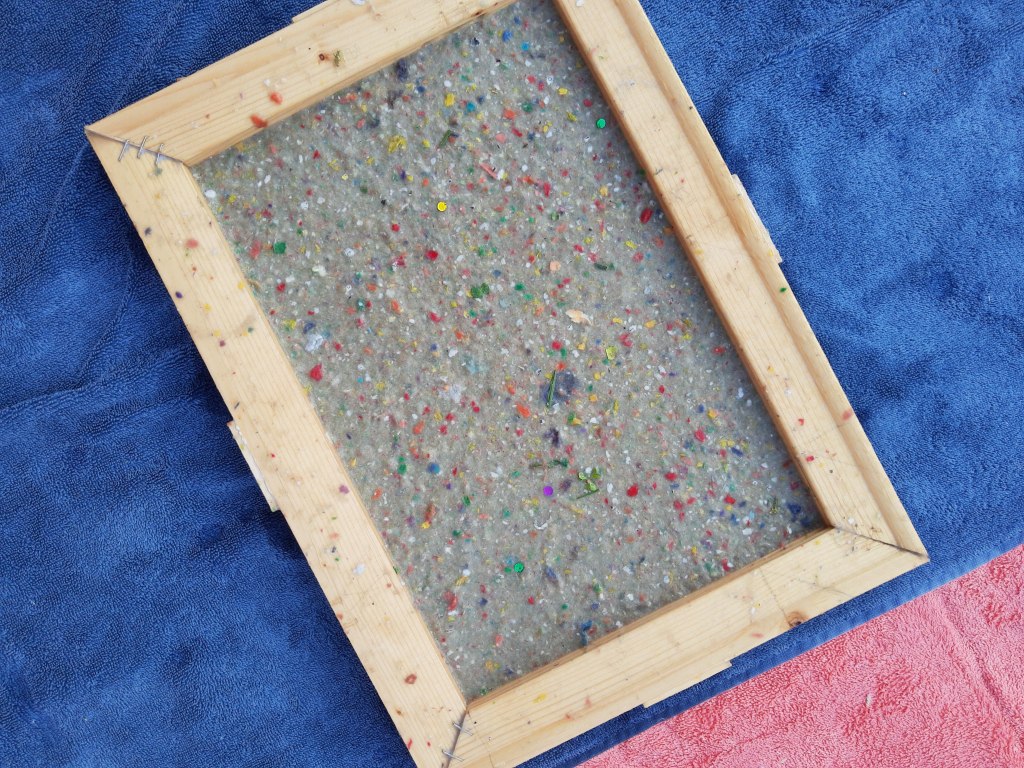
Deckle and mould: My mom graciously made me a deckle and mould. Thank you mom 🙂 – it worked very well. The mould is the screened frame and the deckle is the outer frame that lays on top of the mould.

The deckle and mould fit together with the deckle placed on top of the flat side of the mould.


Step 1: Rip up a bunch of paper into small squares (about 1-2″). I used construction paper scraps, envelopes, scrap paper, and junk mail.
Step 2: Soak paper in water for a few hours (or 5-10 minutes if you’re impatient like me). Thinner paper like envelopes from junk mail become softer much quicker than thicker papers.

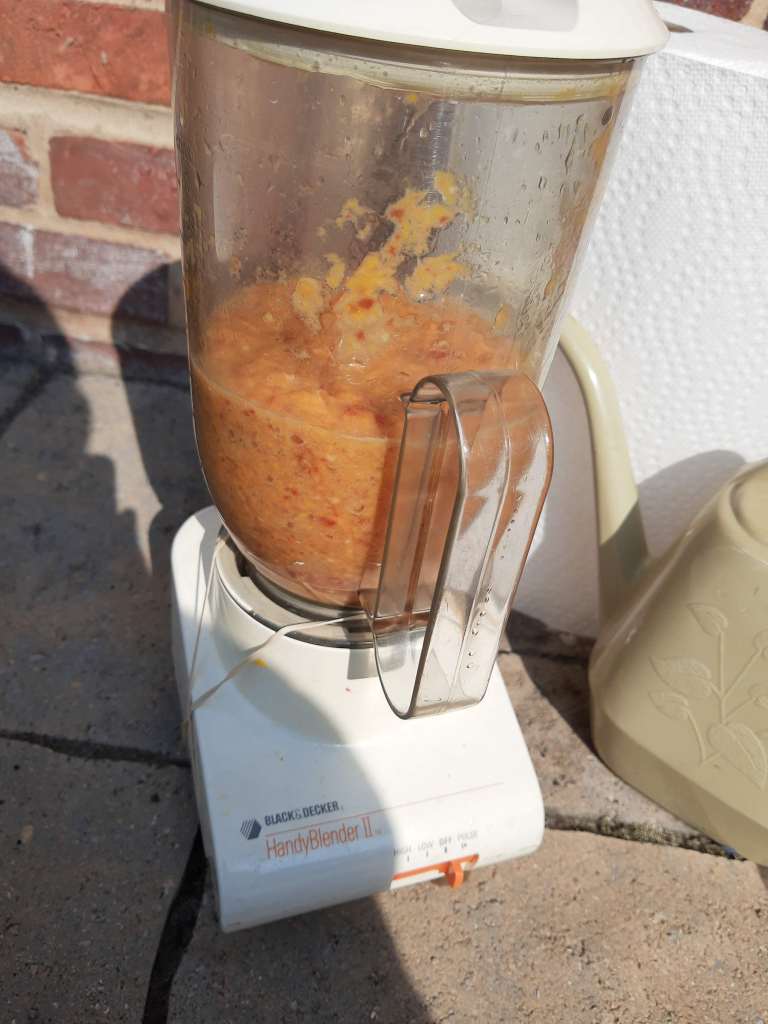
Step 3: Blend soaked paper with water until it makes a fine pulp. If you want to alter the colors, add acrylic paint to the blender and blend until color is incorporated. Construction paper usually remains in larger pieces and doesn’t soak up color like other papers.
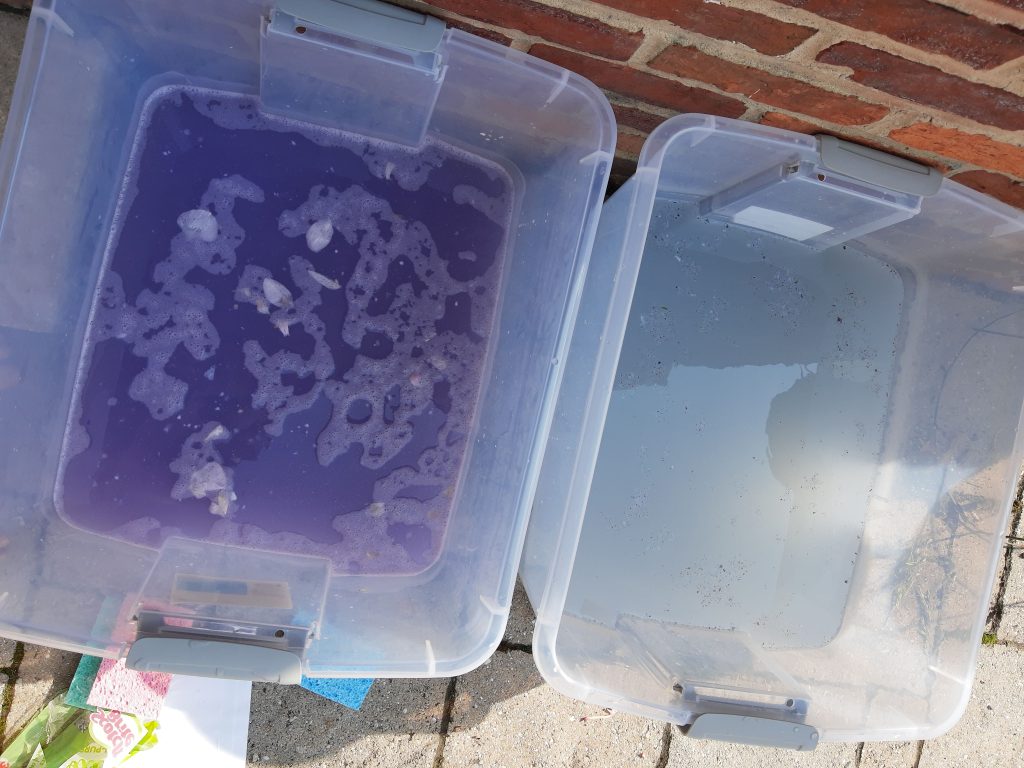
Step 4: Fill a big tub with water (I filled it about 1/3 of the way). Add the paper pulp to the tub. Add glitter, flower petals, grass, sequins, leaves, and any other decorative elements to the water. More paper pulp added to the tub = thicker paper
Step 5: Stir the water/pulp mixture in the tub each time you are going to create a new sheet. Stir, slide mould and deckle into the tub at an angle, and then level it out once it is completely submerged. Lift mould and deckle out of the tub and gently shake to even out the pulp. Let the rest of the water drip.
Once you lift the mould and deckle from the tub, it should look like this:
Step 6: Place the mould and deckle on a towel. Remove the deckle

Step 7: Flip the mould, paper side down, onto the towel.

Step 8: Dab the mesh with a towel or sponge to get rid of as much moisture as possible. If the paper doesn’t come off easily in the next step, dab the paper more with towel/sponge.
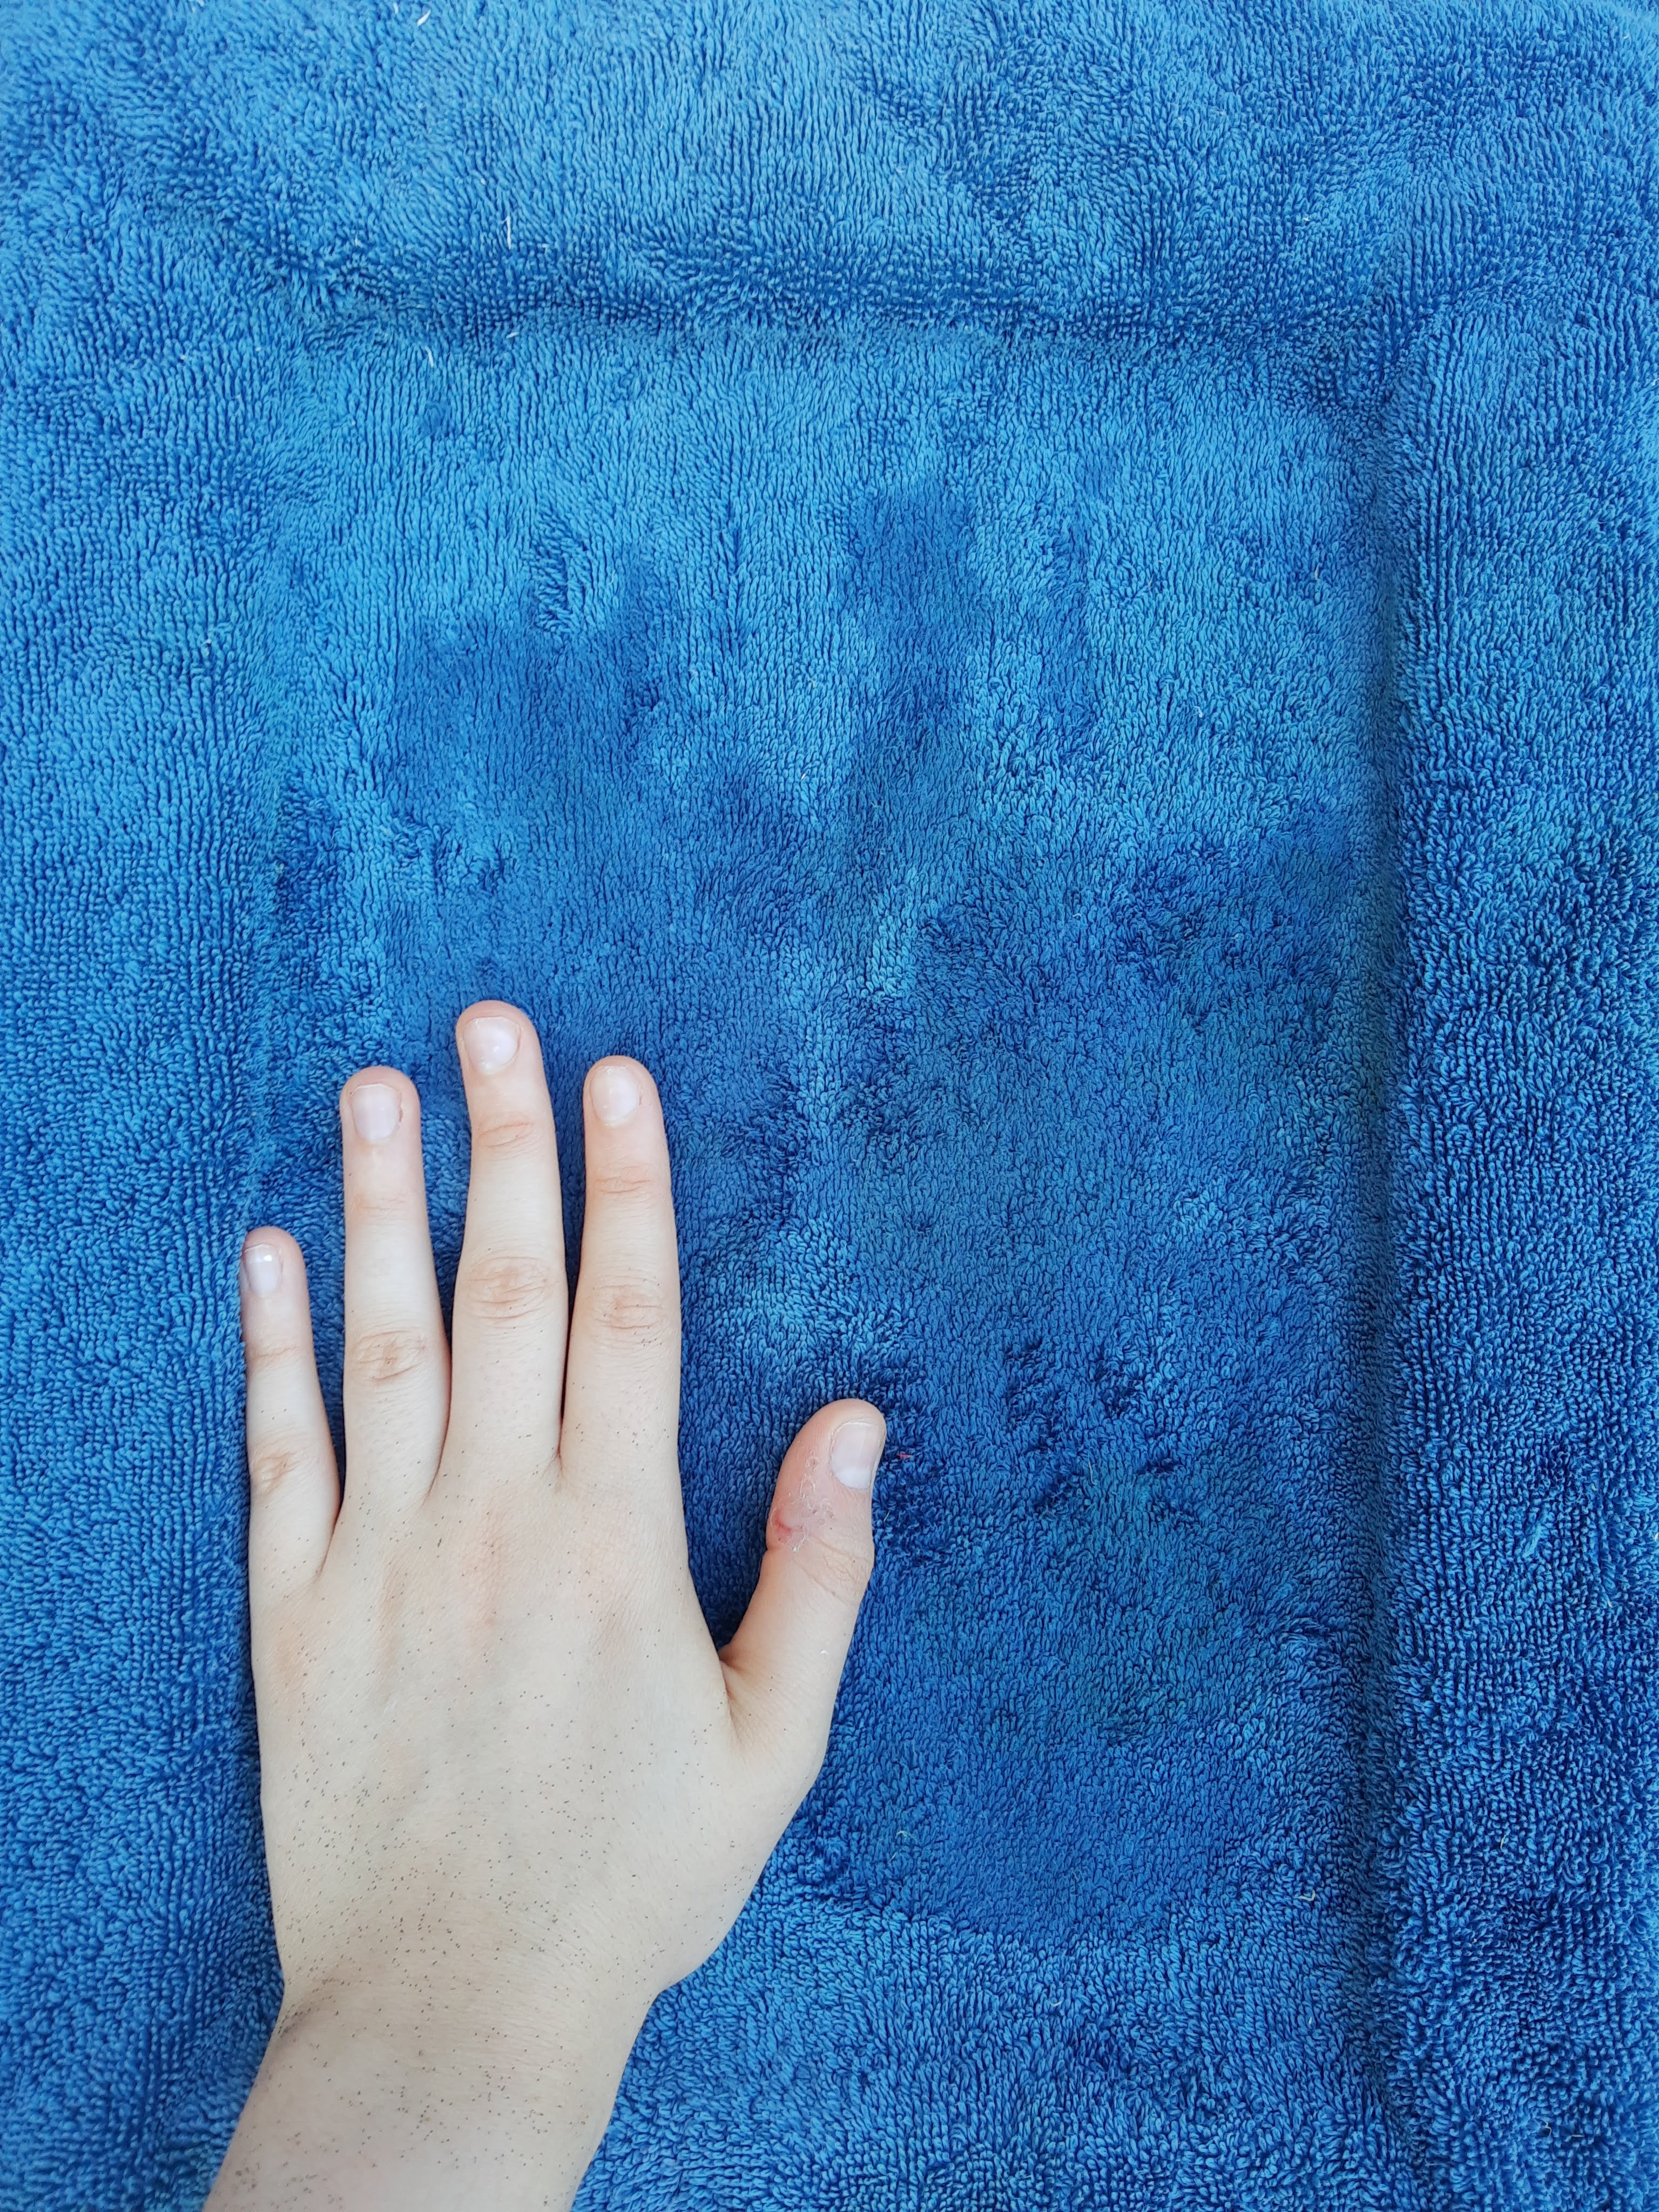

Step 9: Treat the mould like a hinge. Slowly lift one side of the mould and the paper will lift off and stick to the towel. Leave the paper on the towel to dry for a few hours (usually it takes overnight for the paper to dry completely).
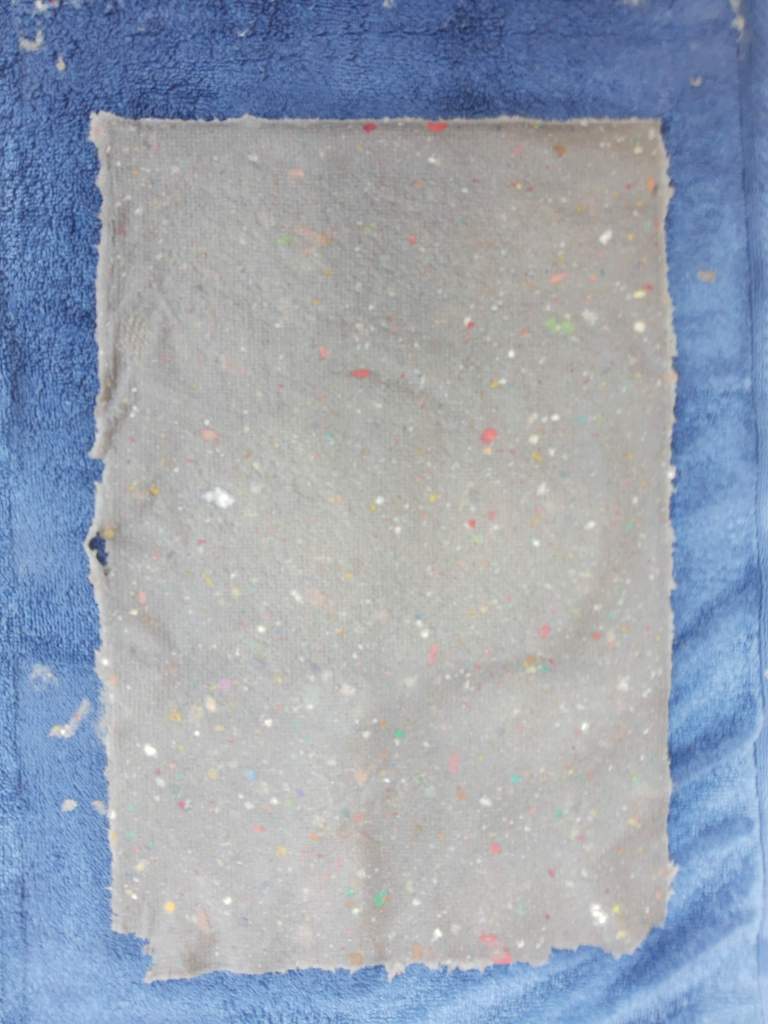
Step 10: Repeat the process. Make a ton of paper 🙂
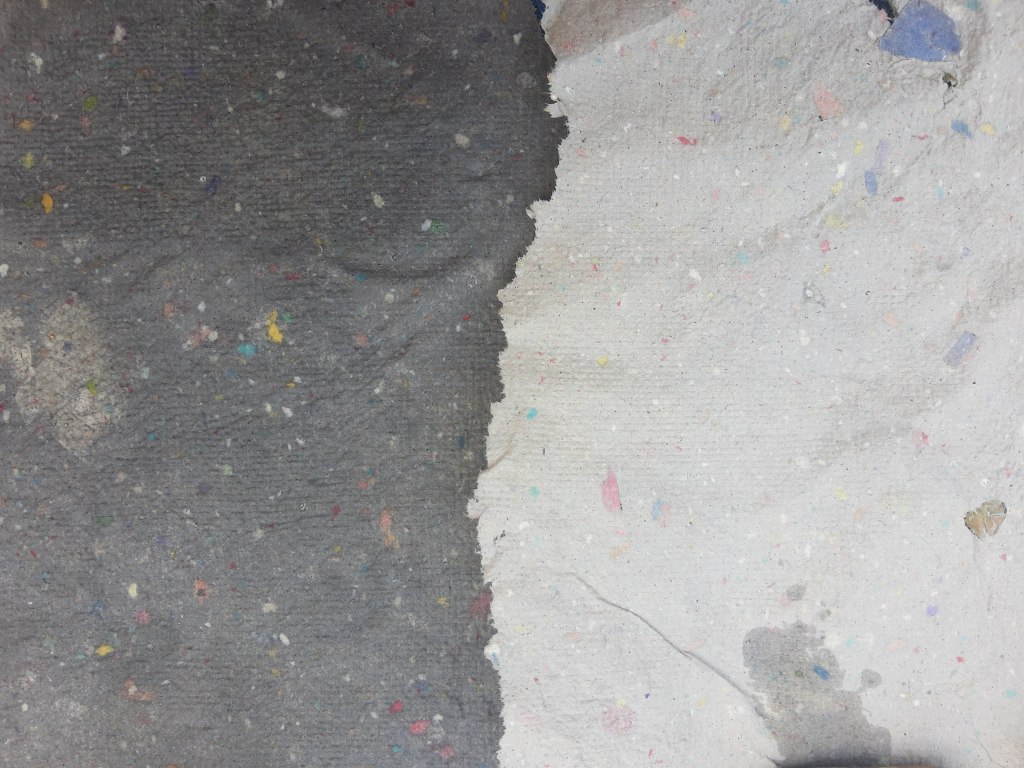


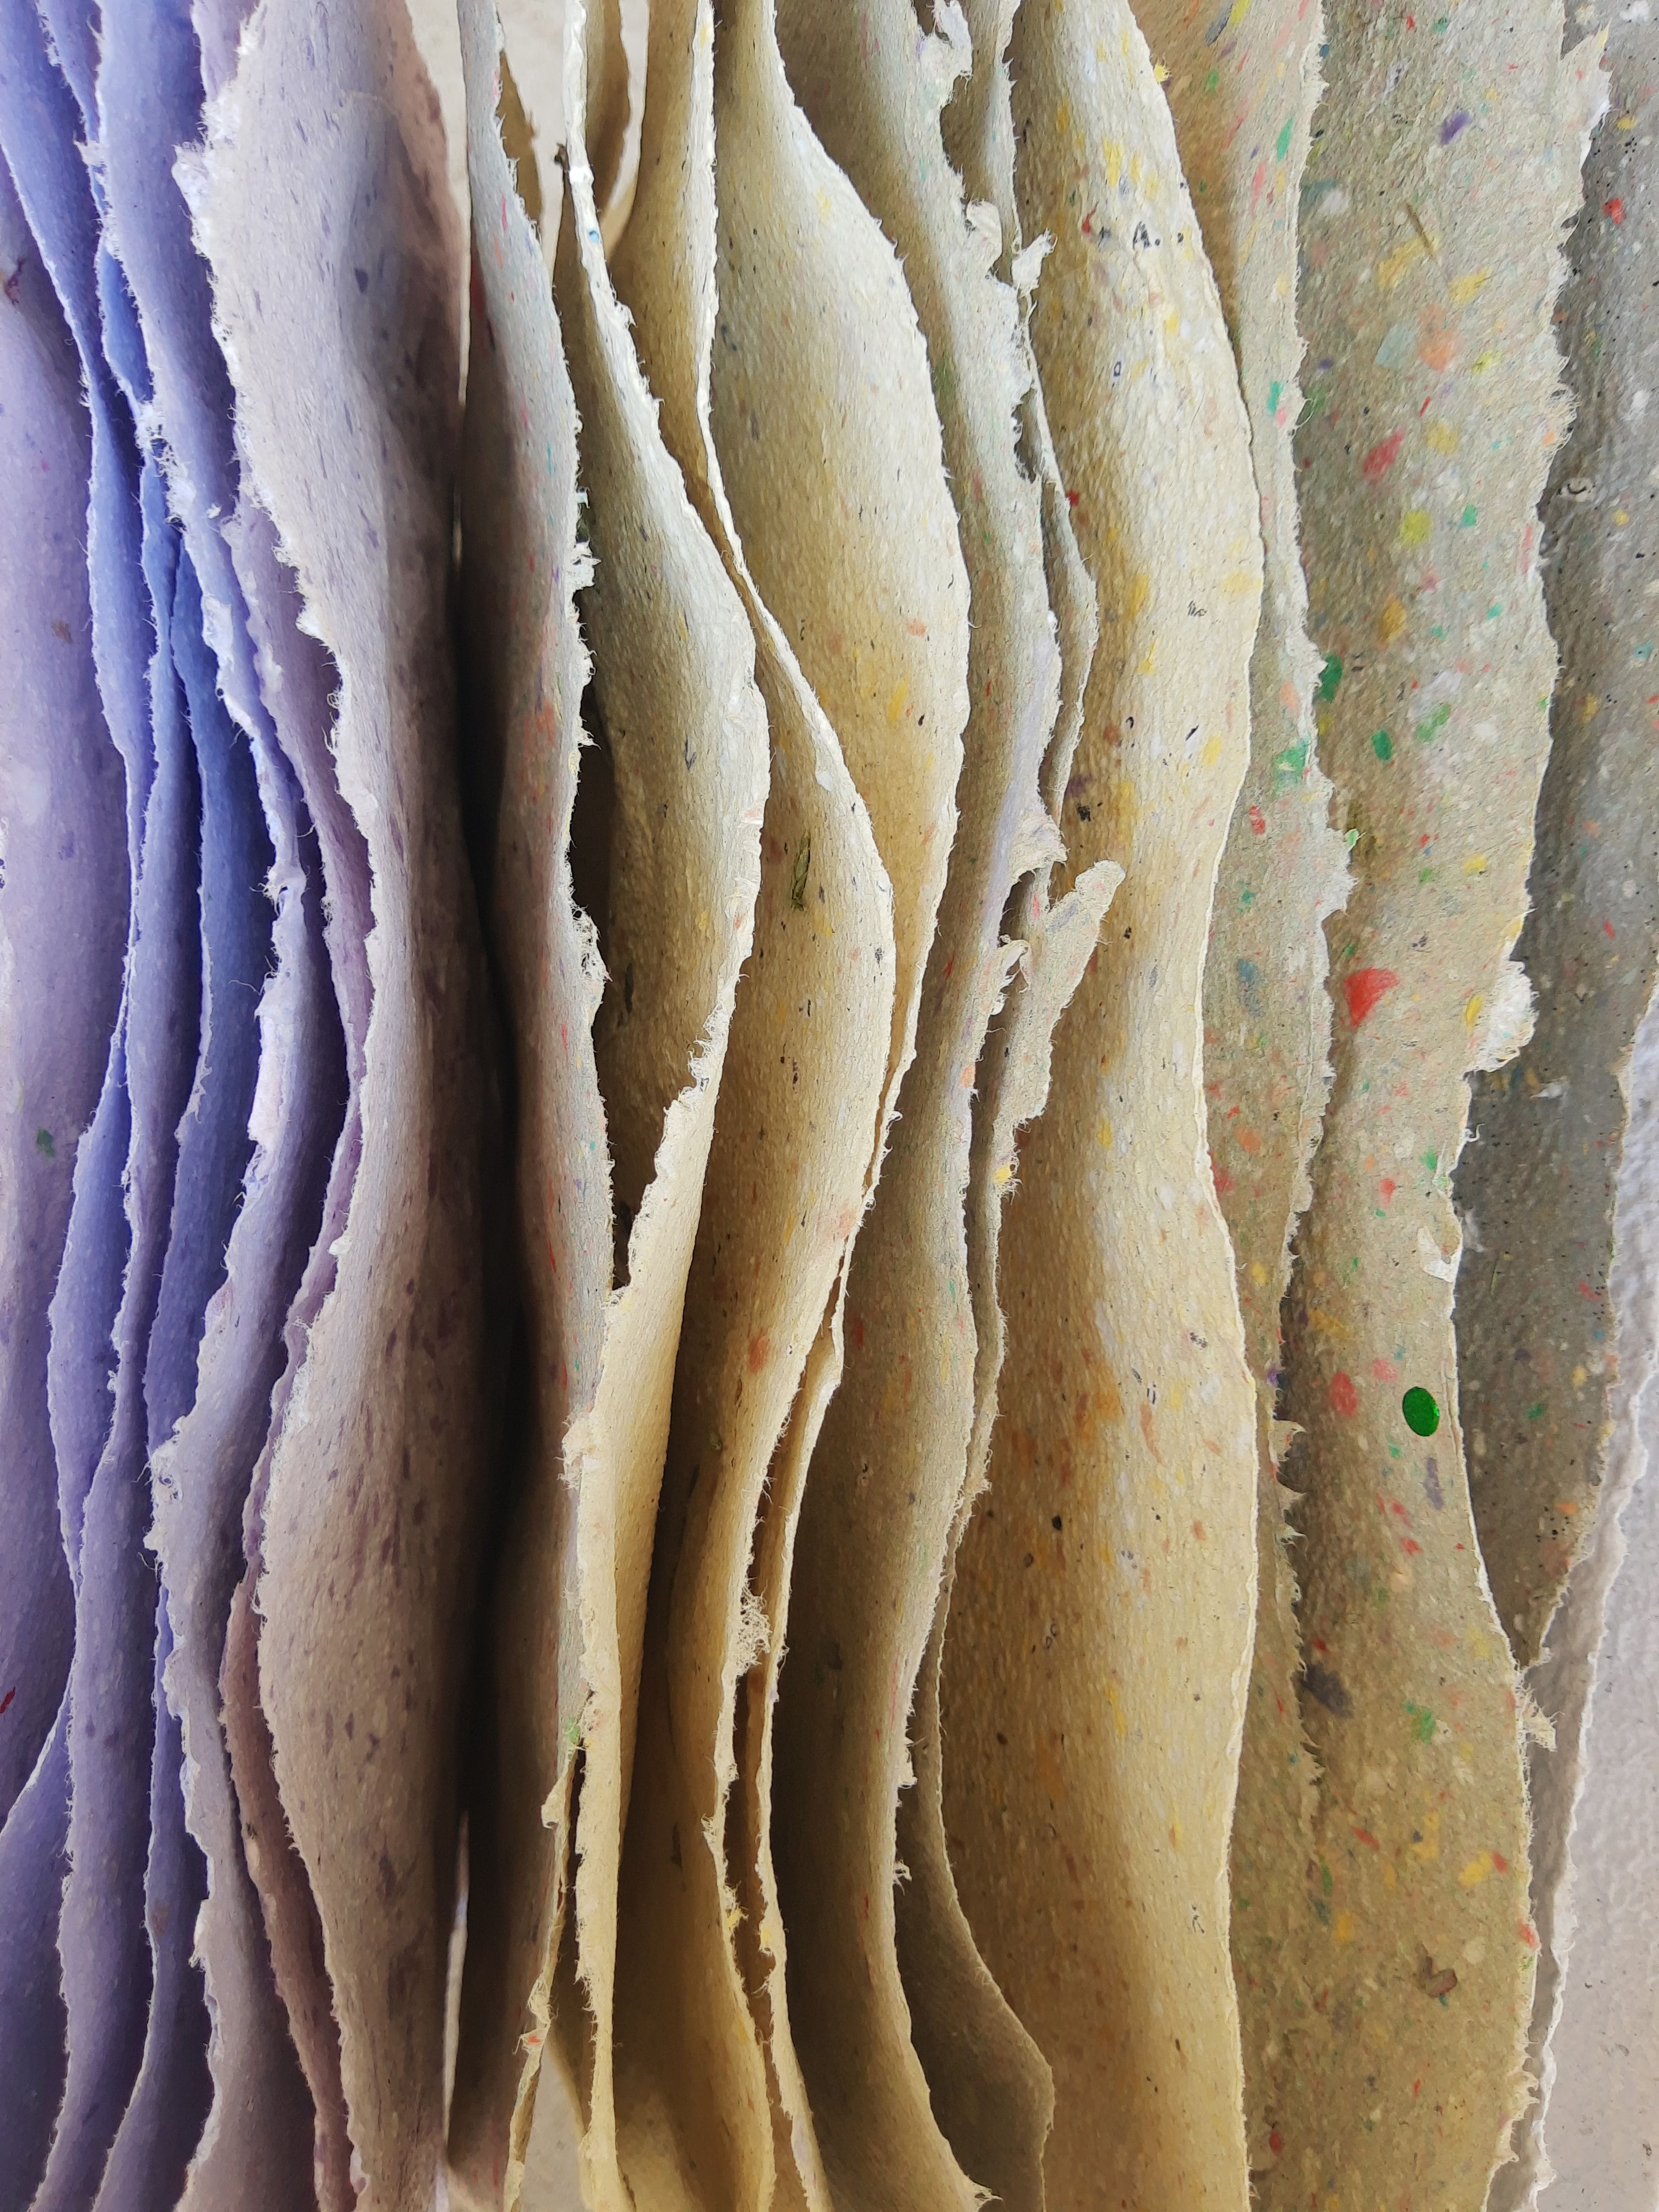


I love paper!
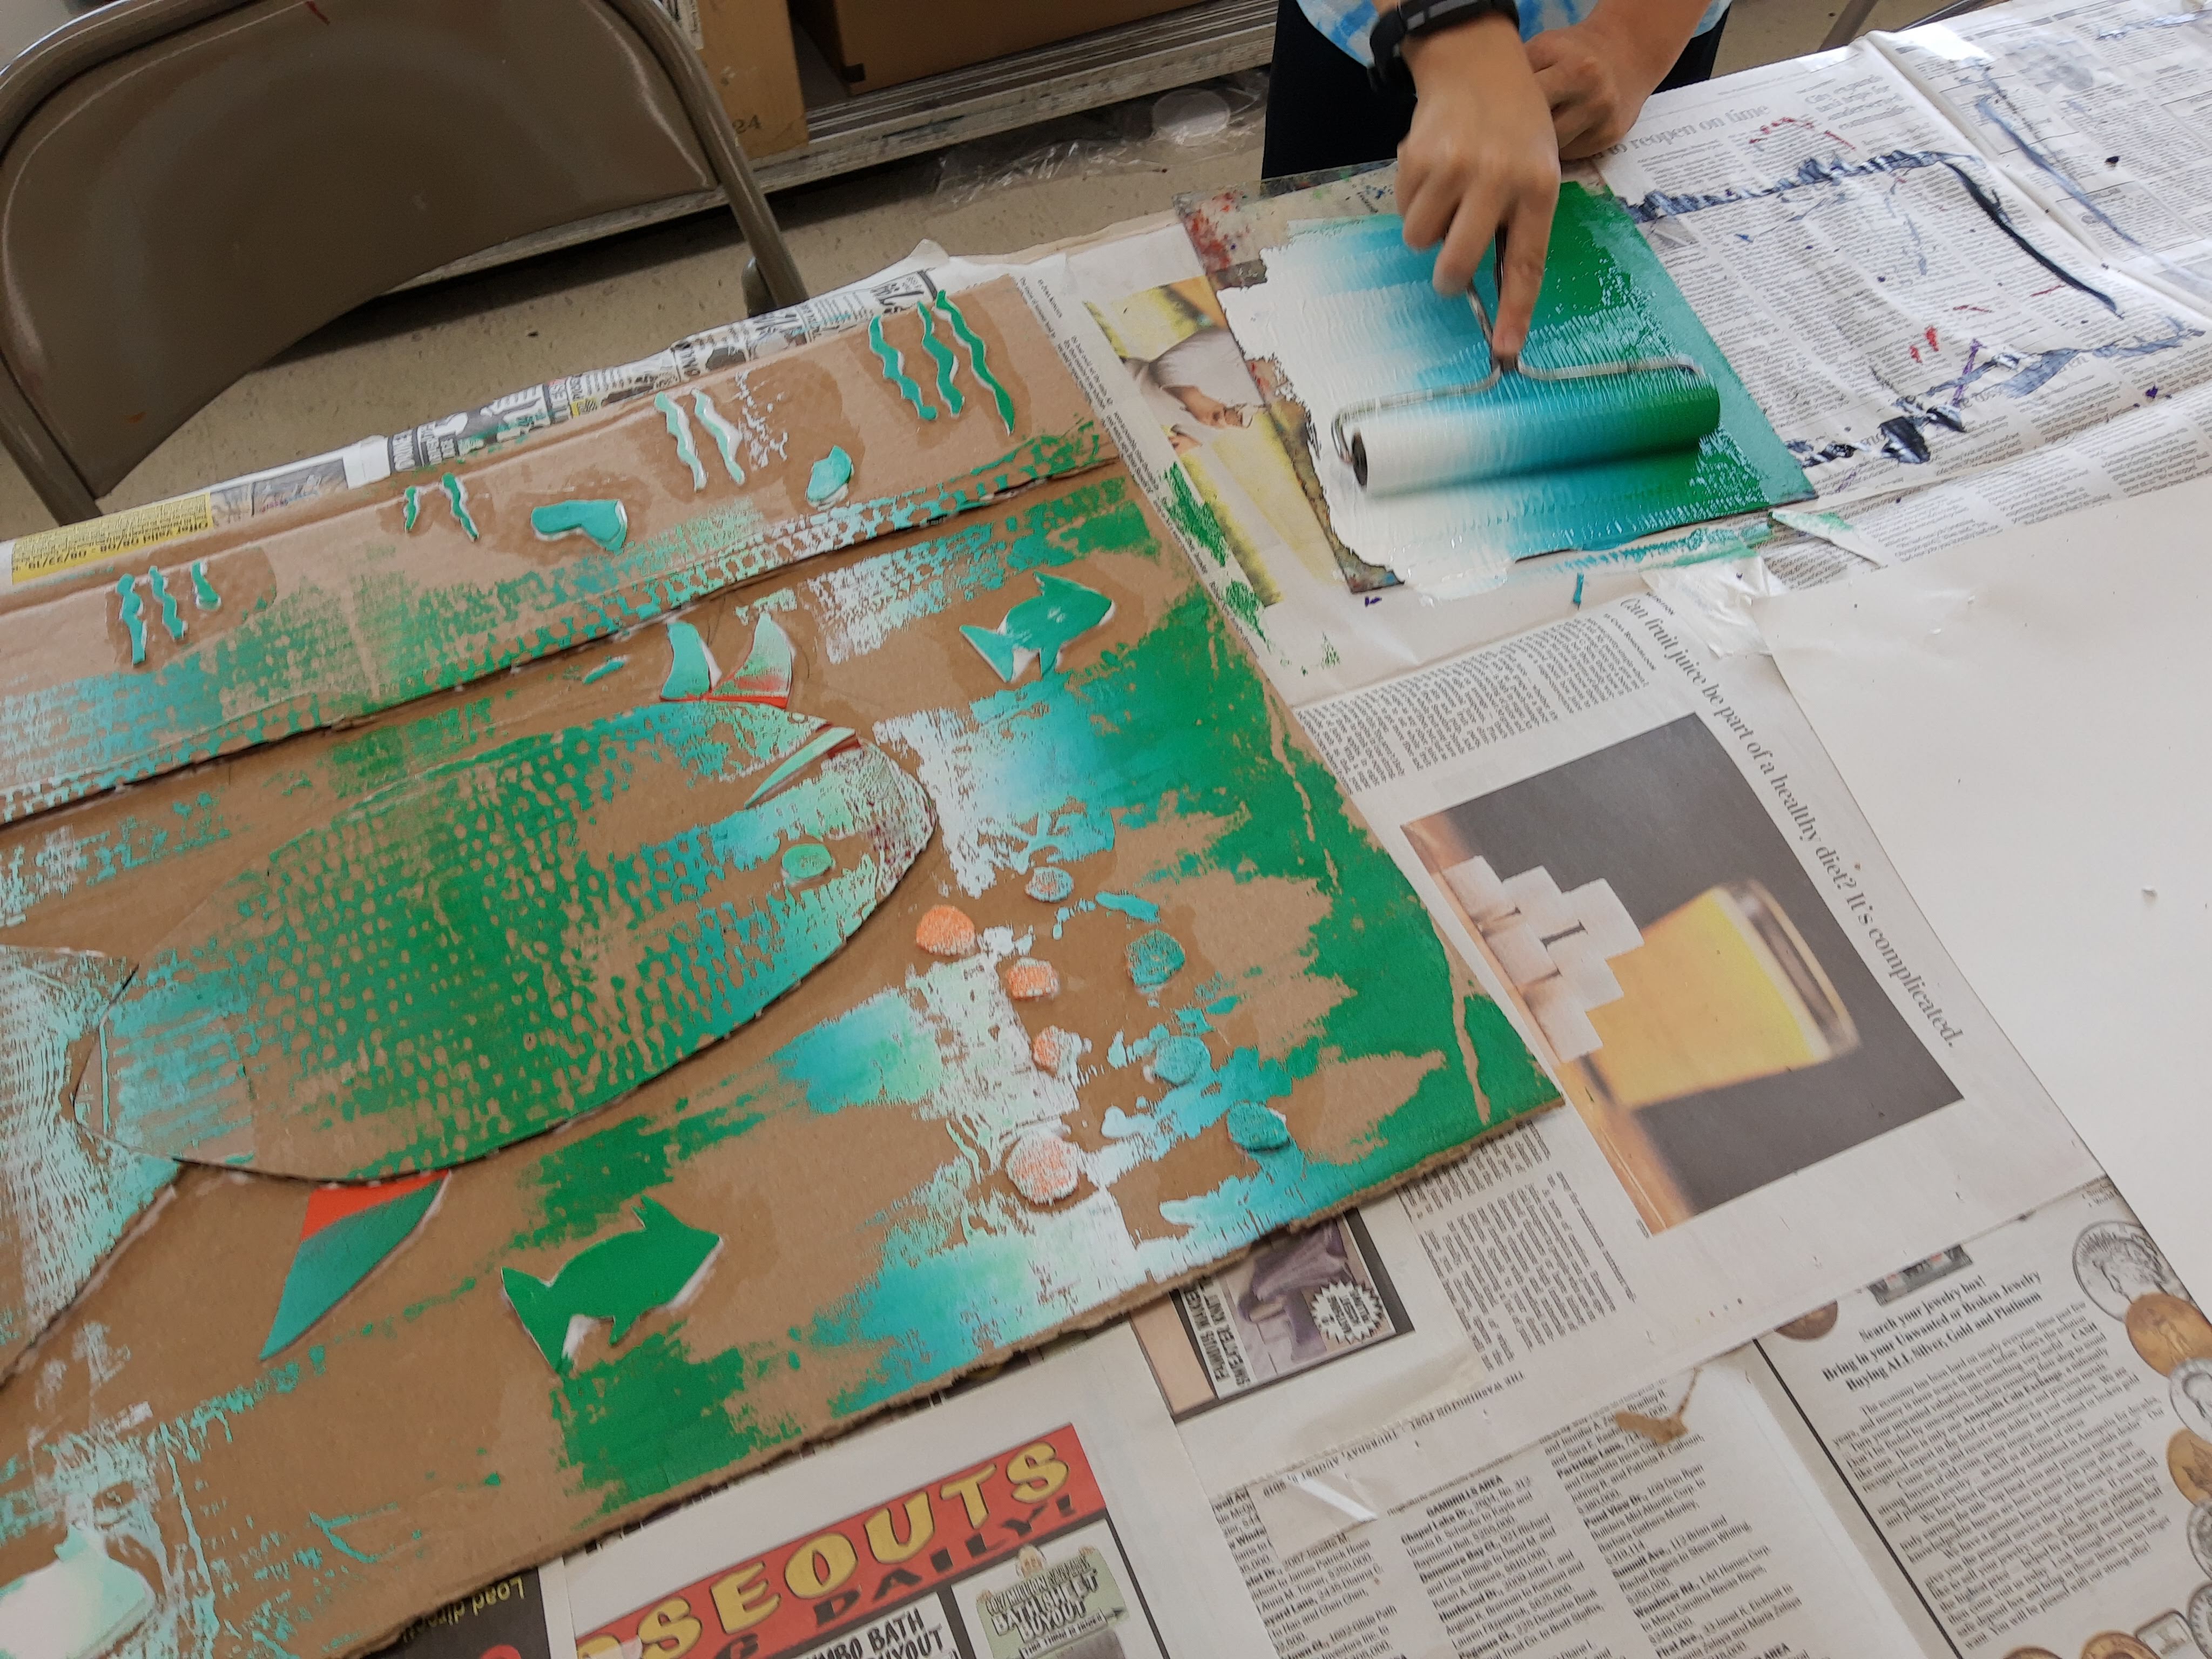
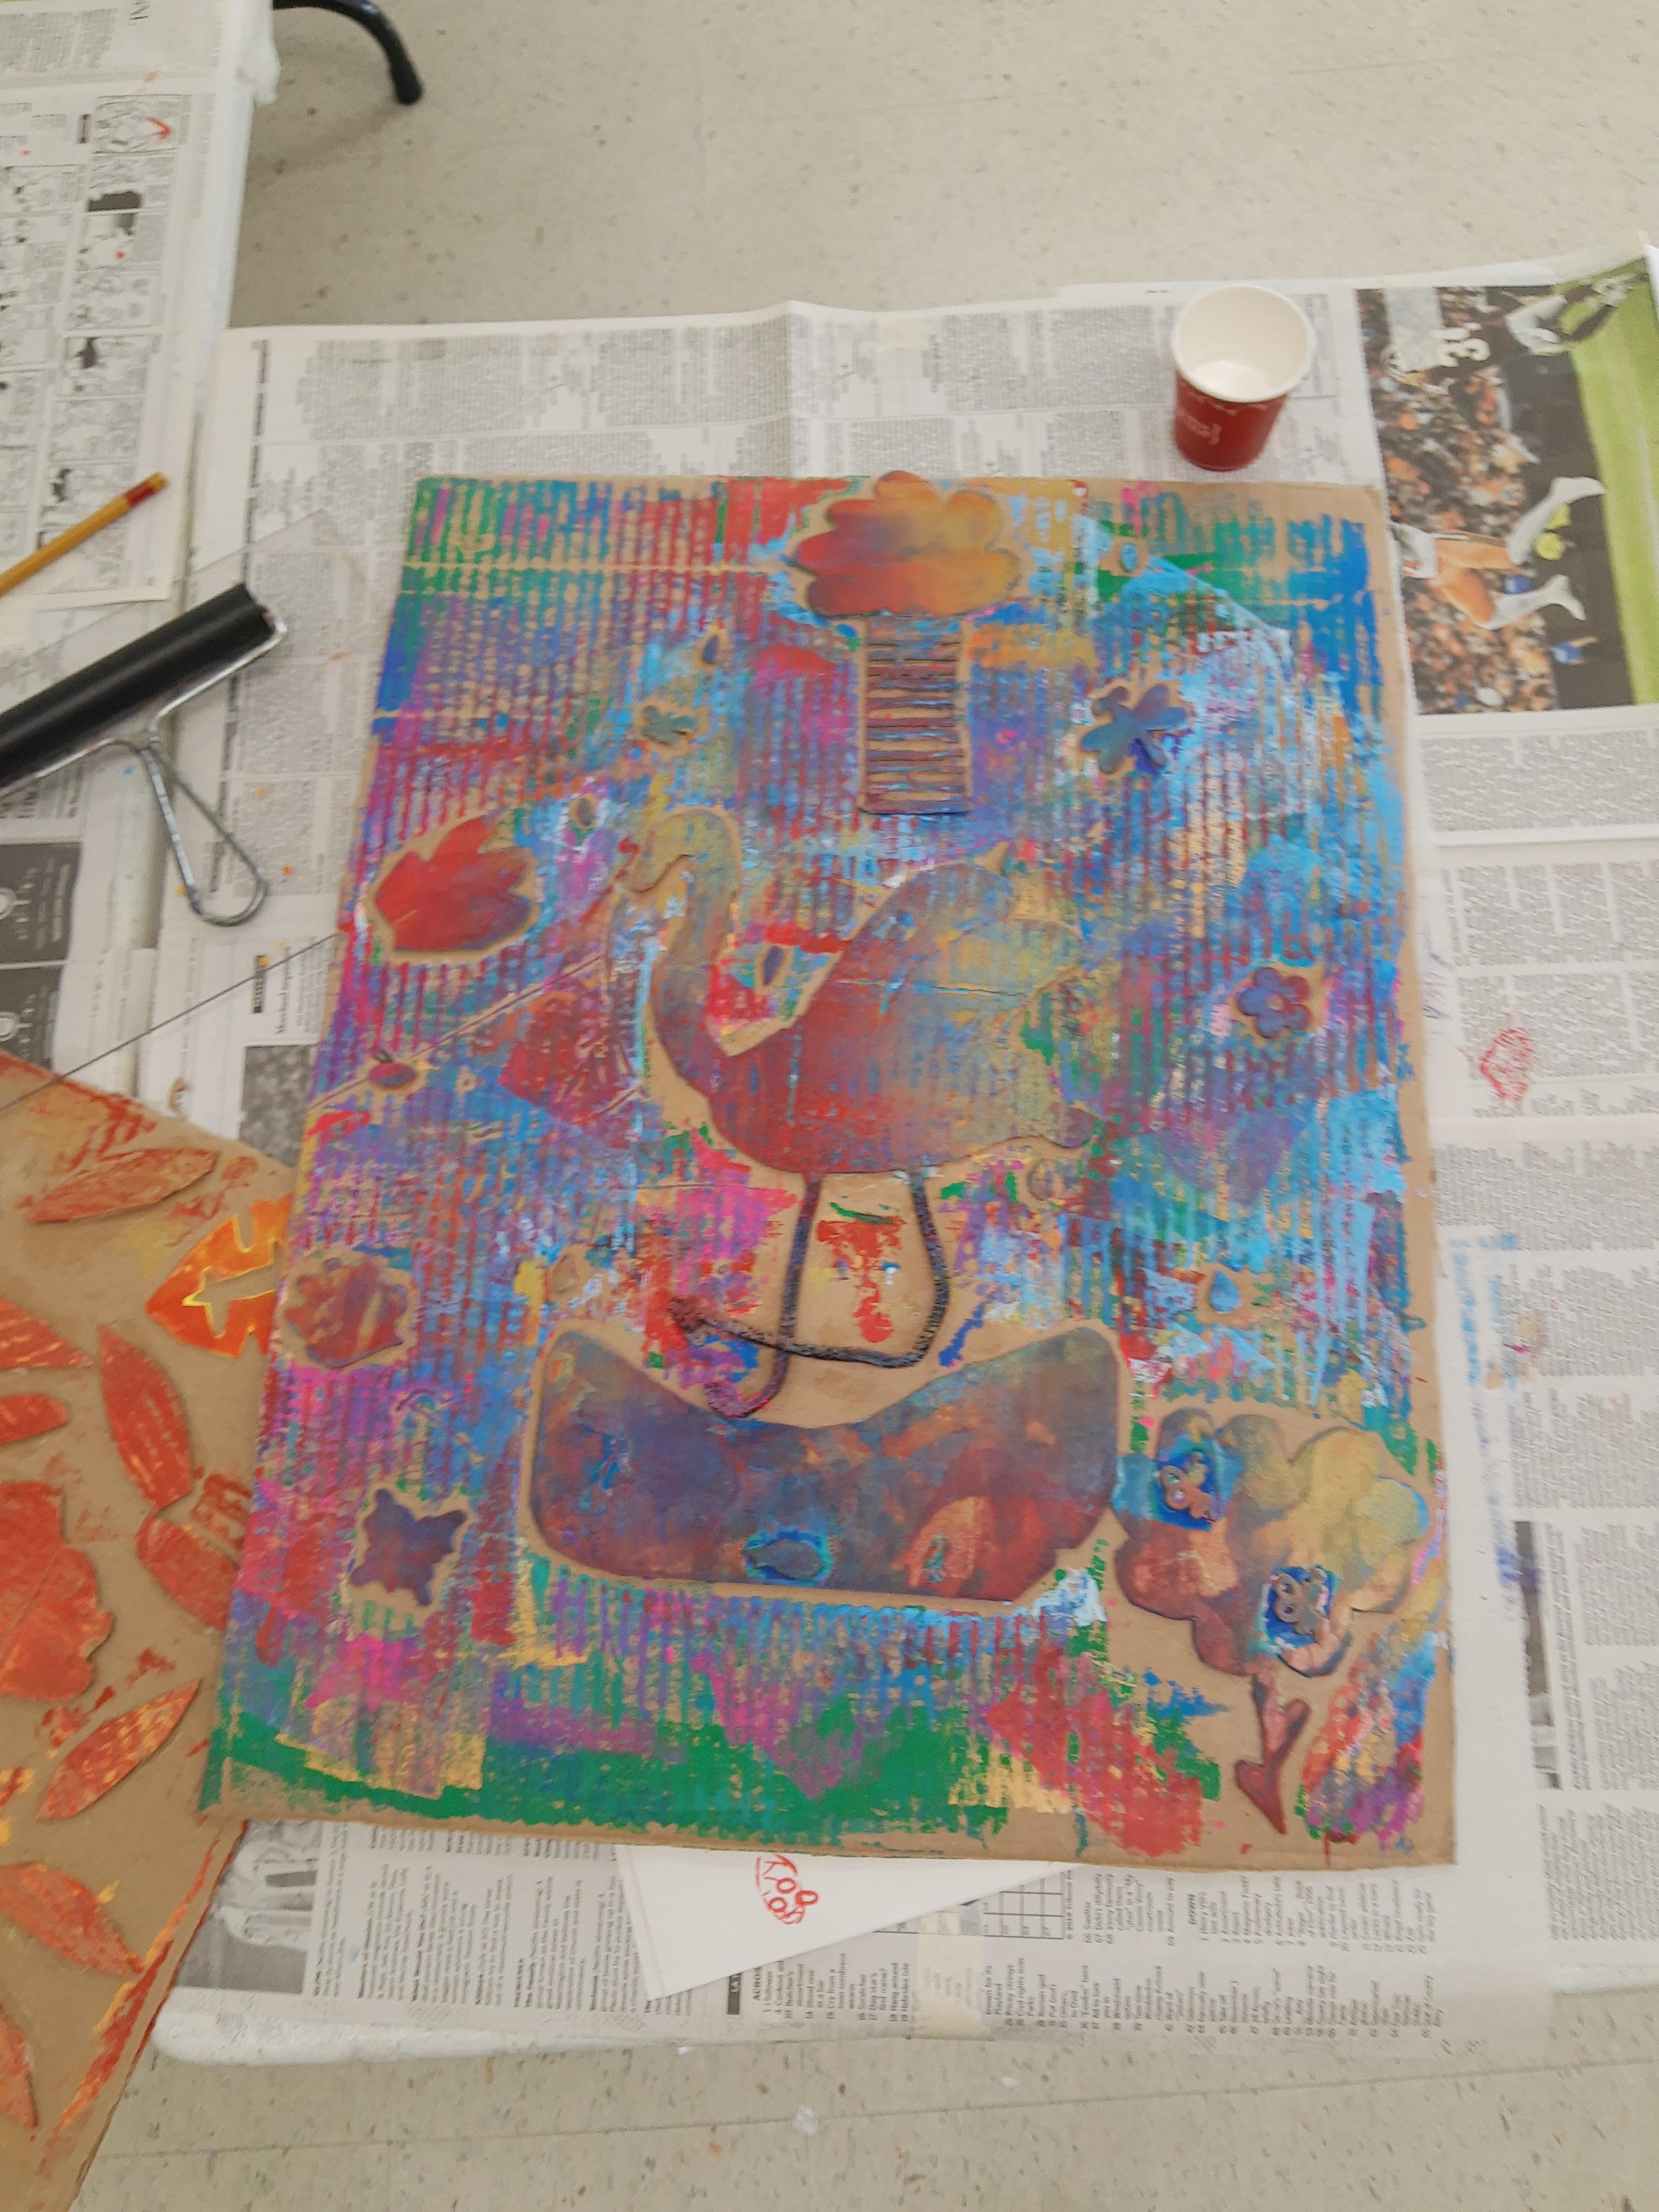
Last week, I taught a printmaking camp. I was subbing in for another teacher, and even though I had her lesson plan, I ended up changing a lot of things to account for the materials already available. For the first day, I wanted campers to make something really large using recycled materials. I remembered making collagraphs in my college printmaking class and it was really fun, so I went with it. I also love the textural aspect of collagraphs.

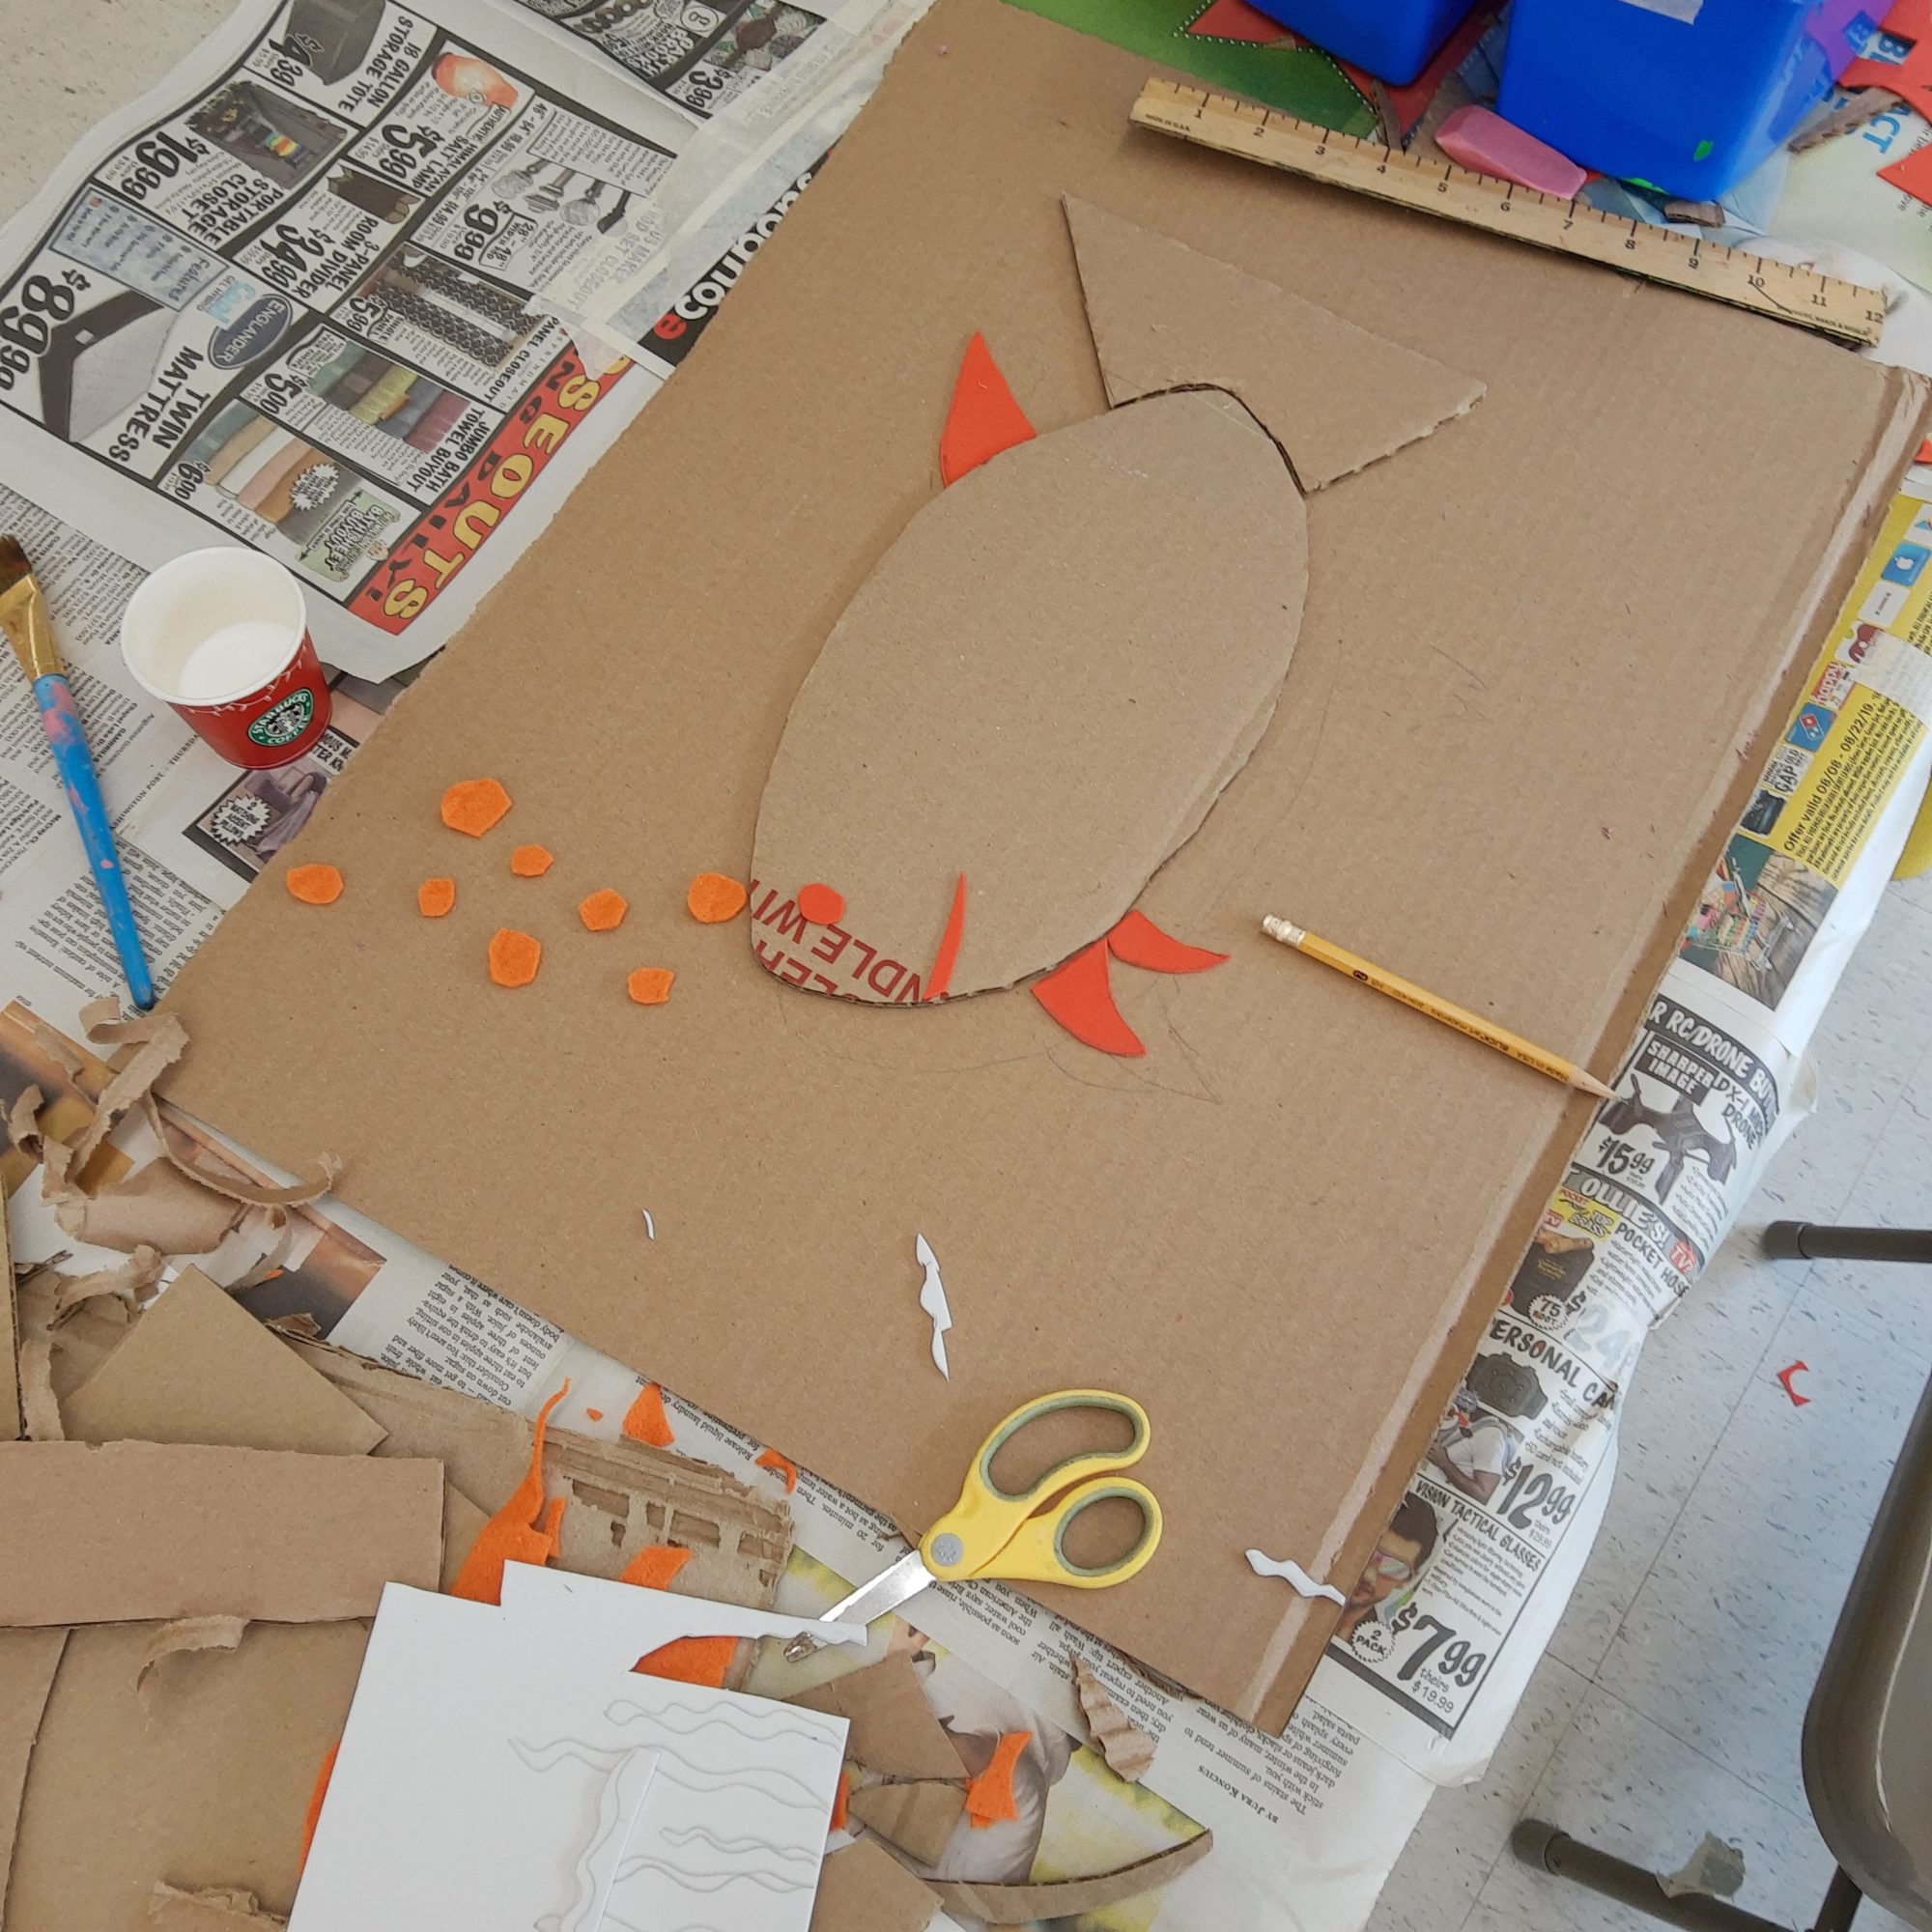
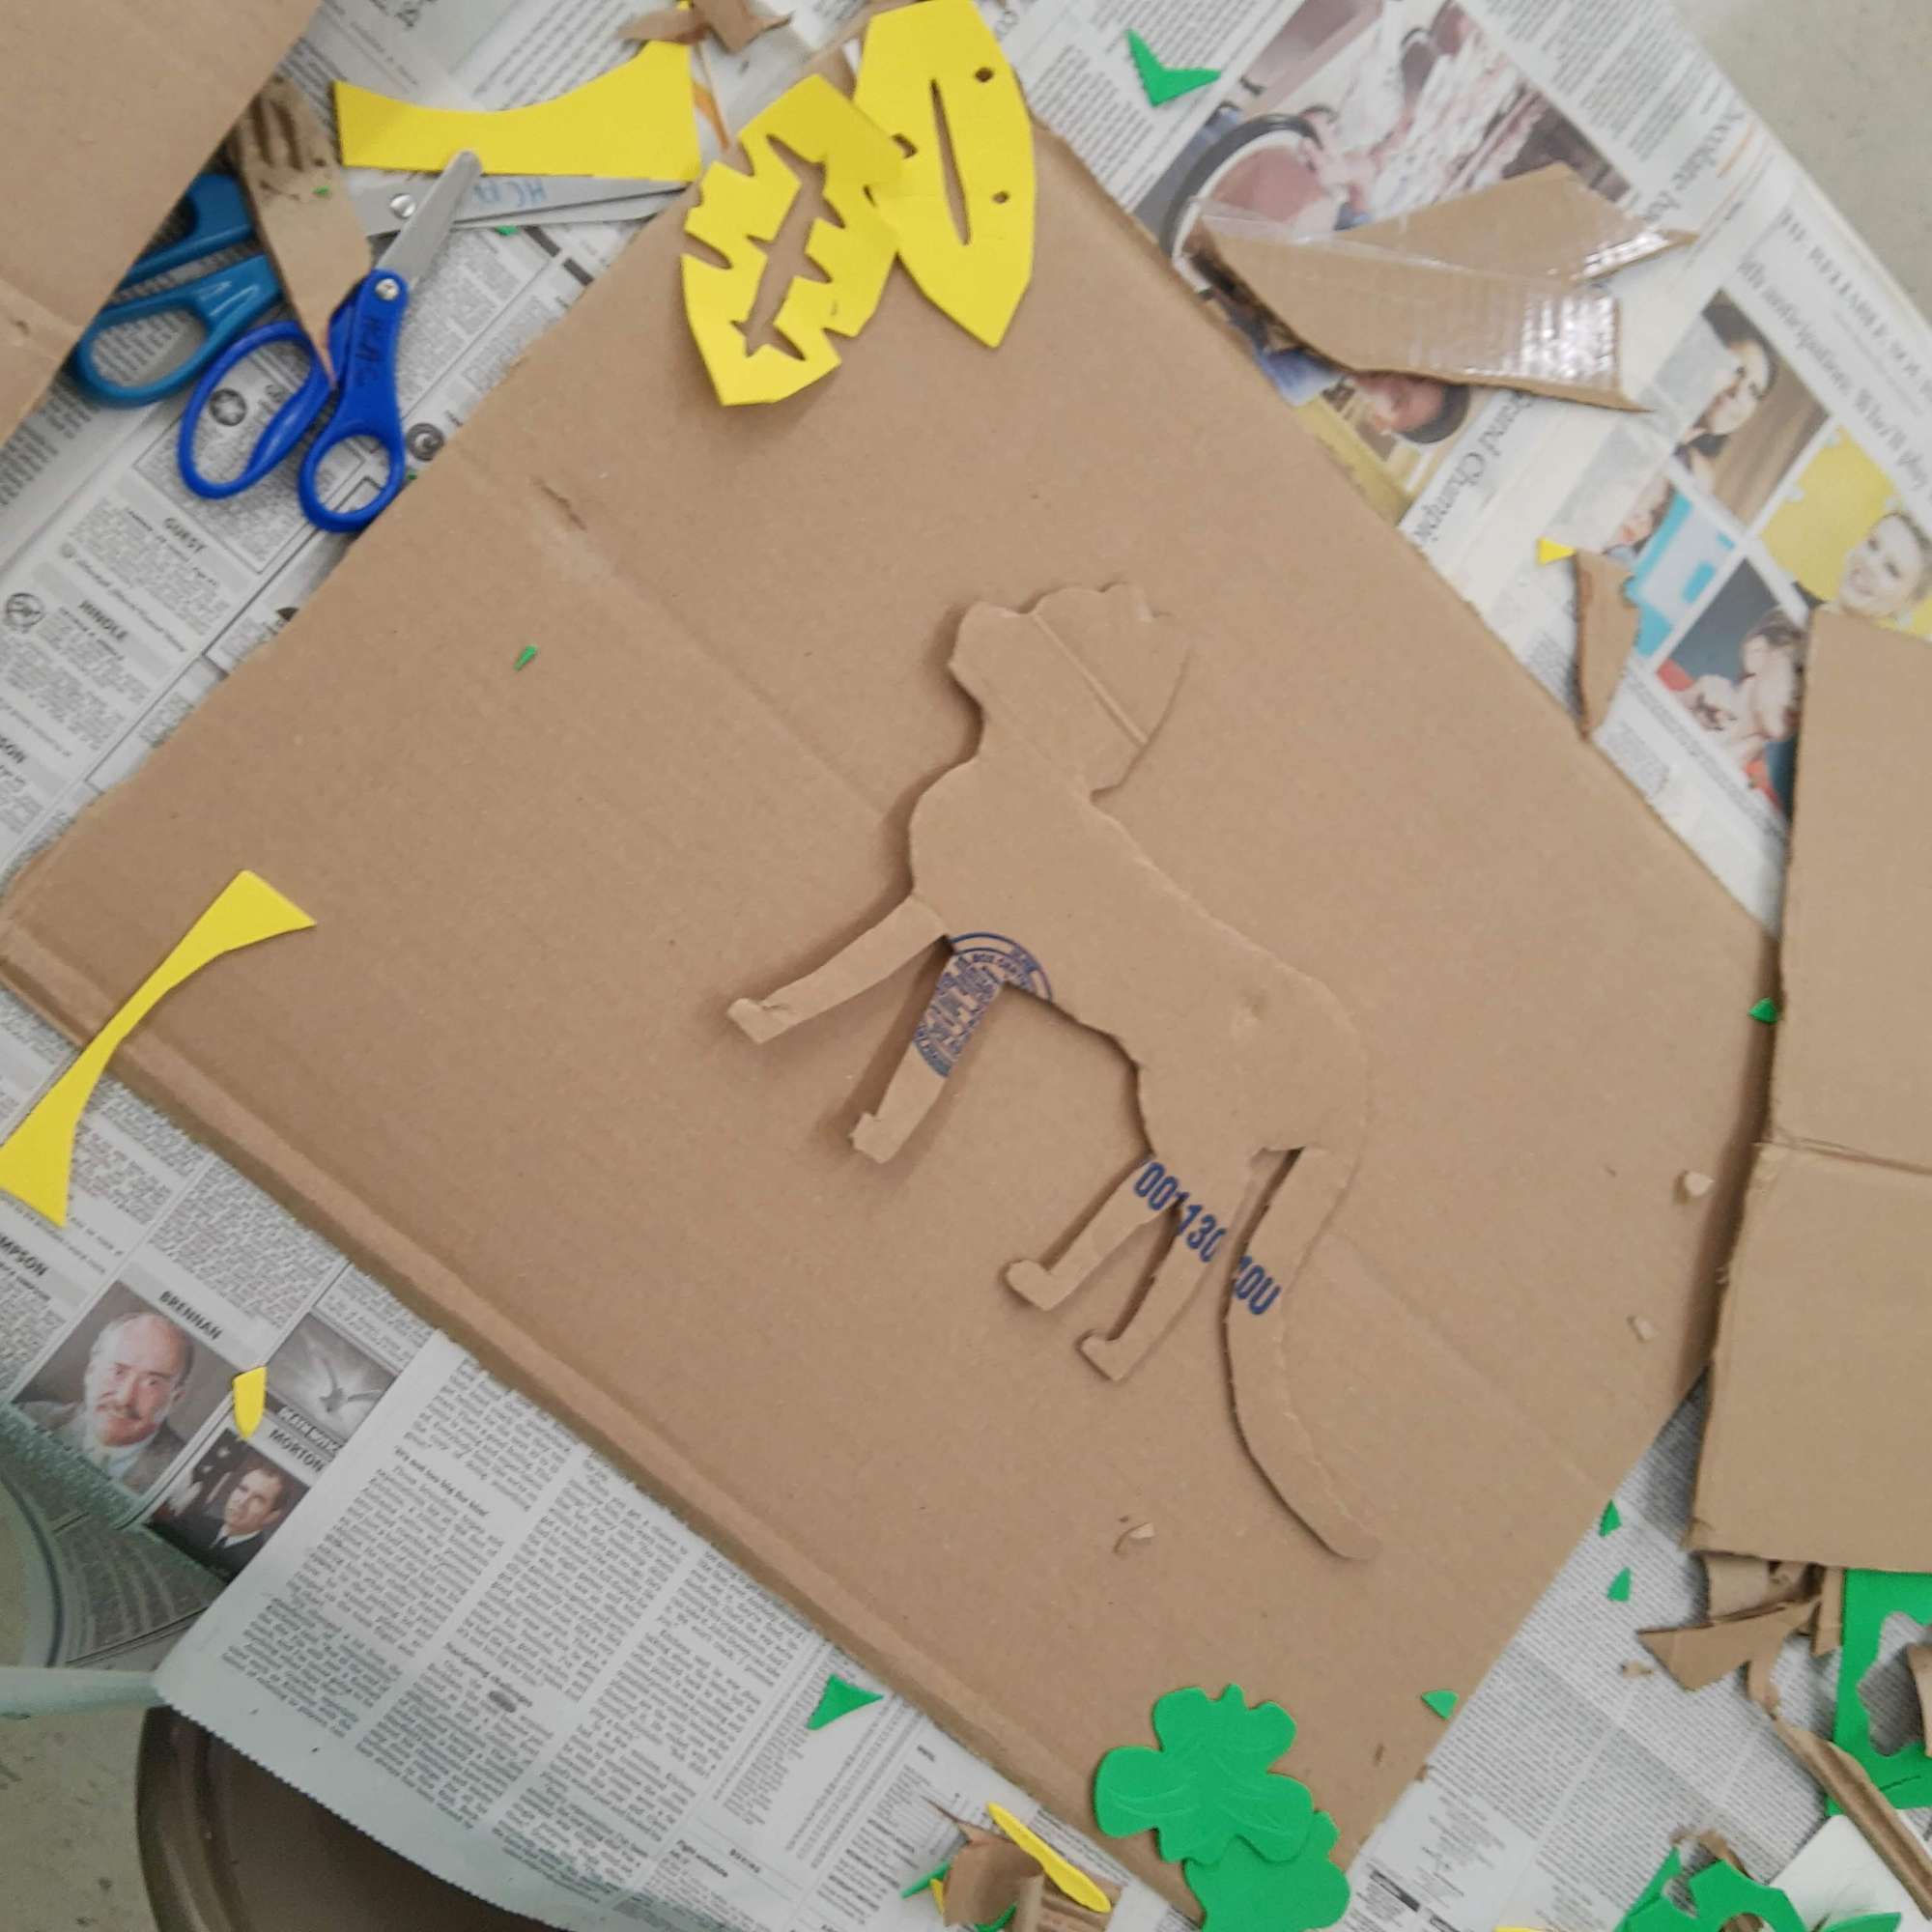
Collagraphs – On the first day of camp, campers learned about collagraphs and made BIG printing plates. I cut out cardboard that is about 22 x 16″ to fit on 24 x 18″ paper.
Before creating their plates, I gave campers the theme of animals and had them sketch out and brainstorm at least 4 different ideas. They all came up with different animals which was awesome!
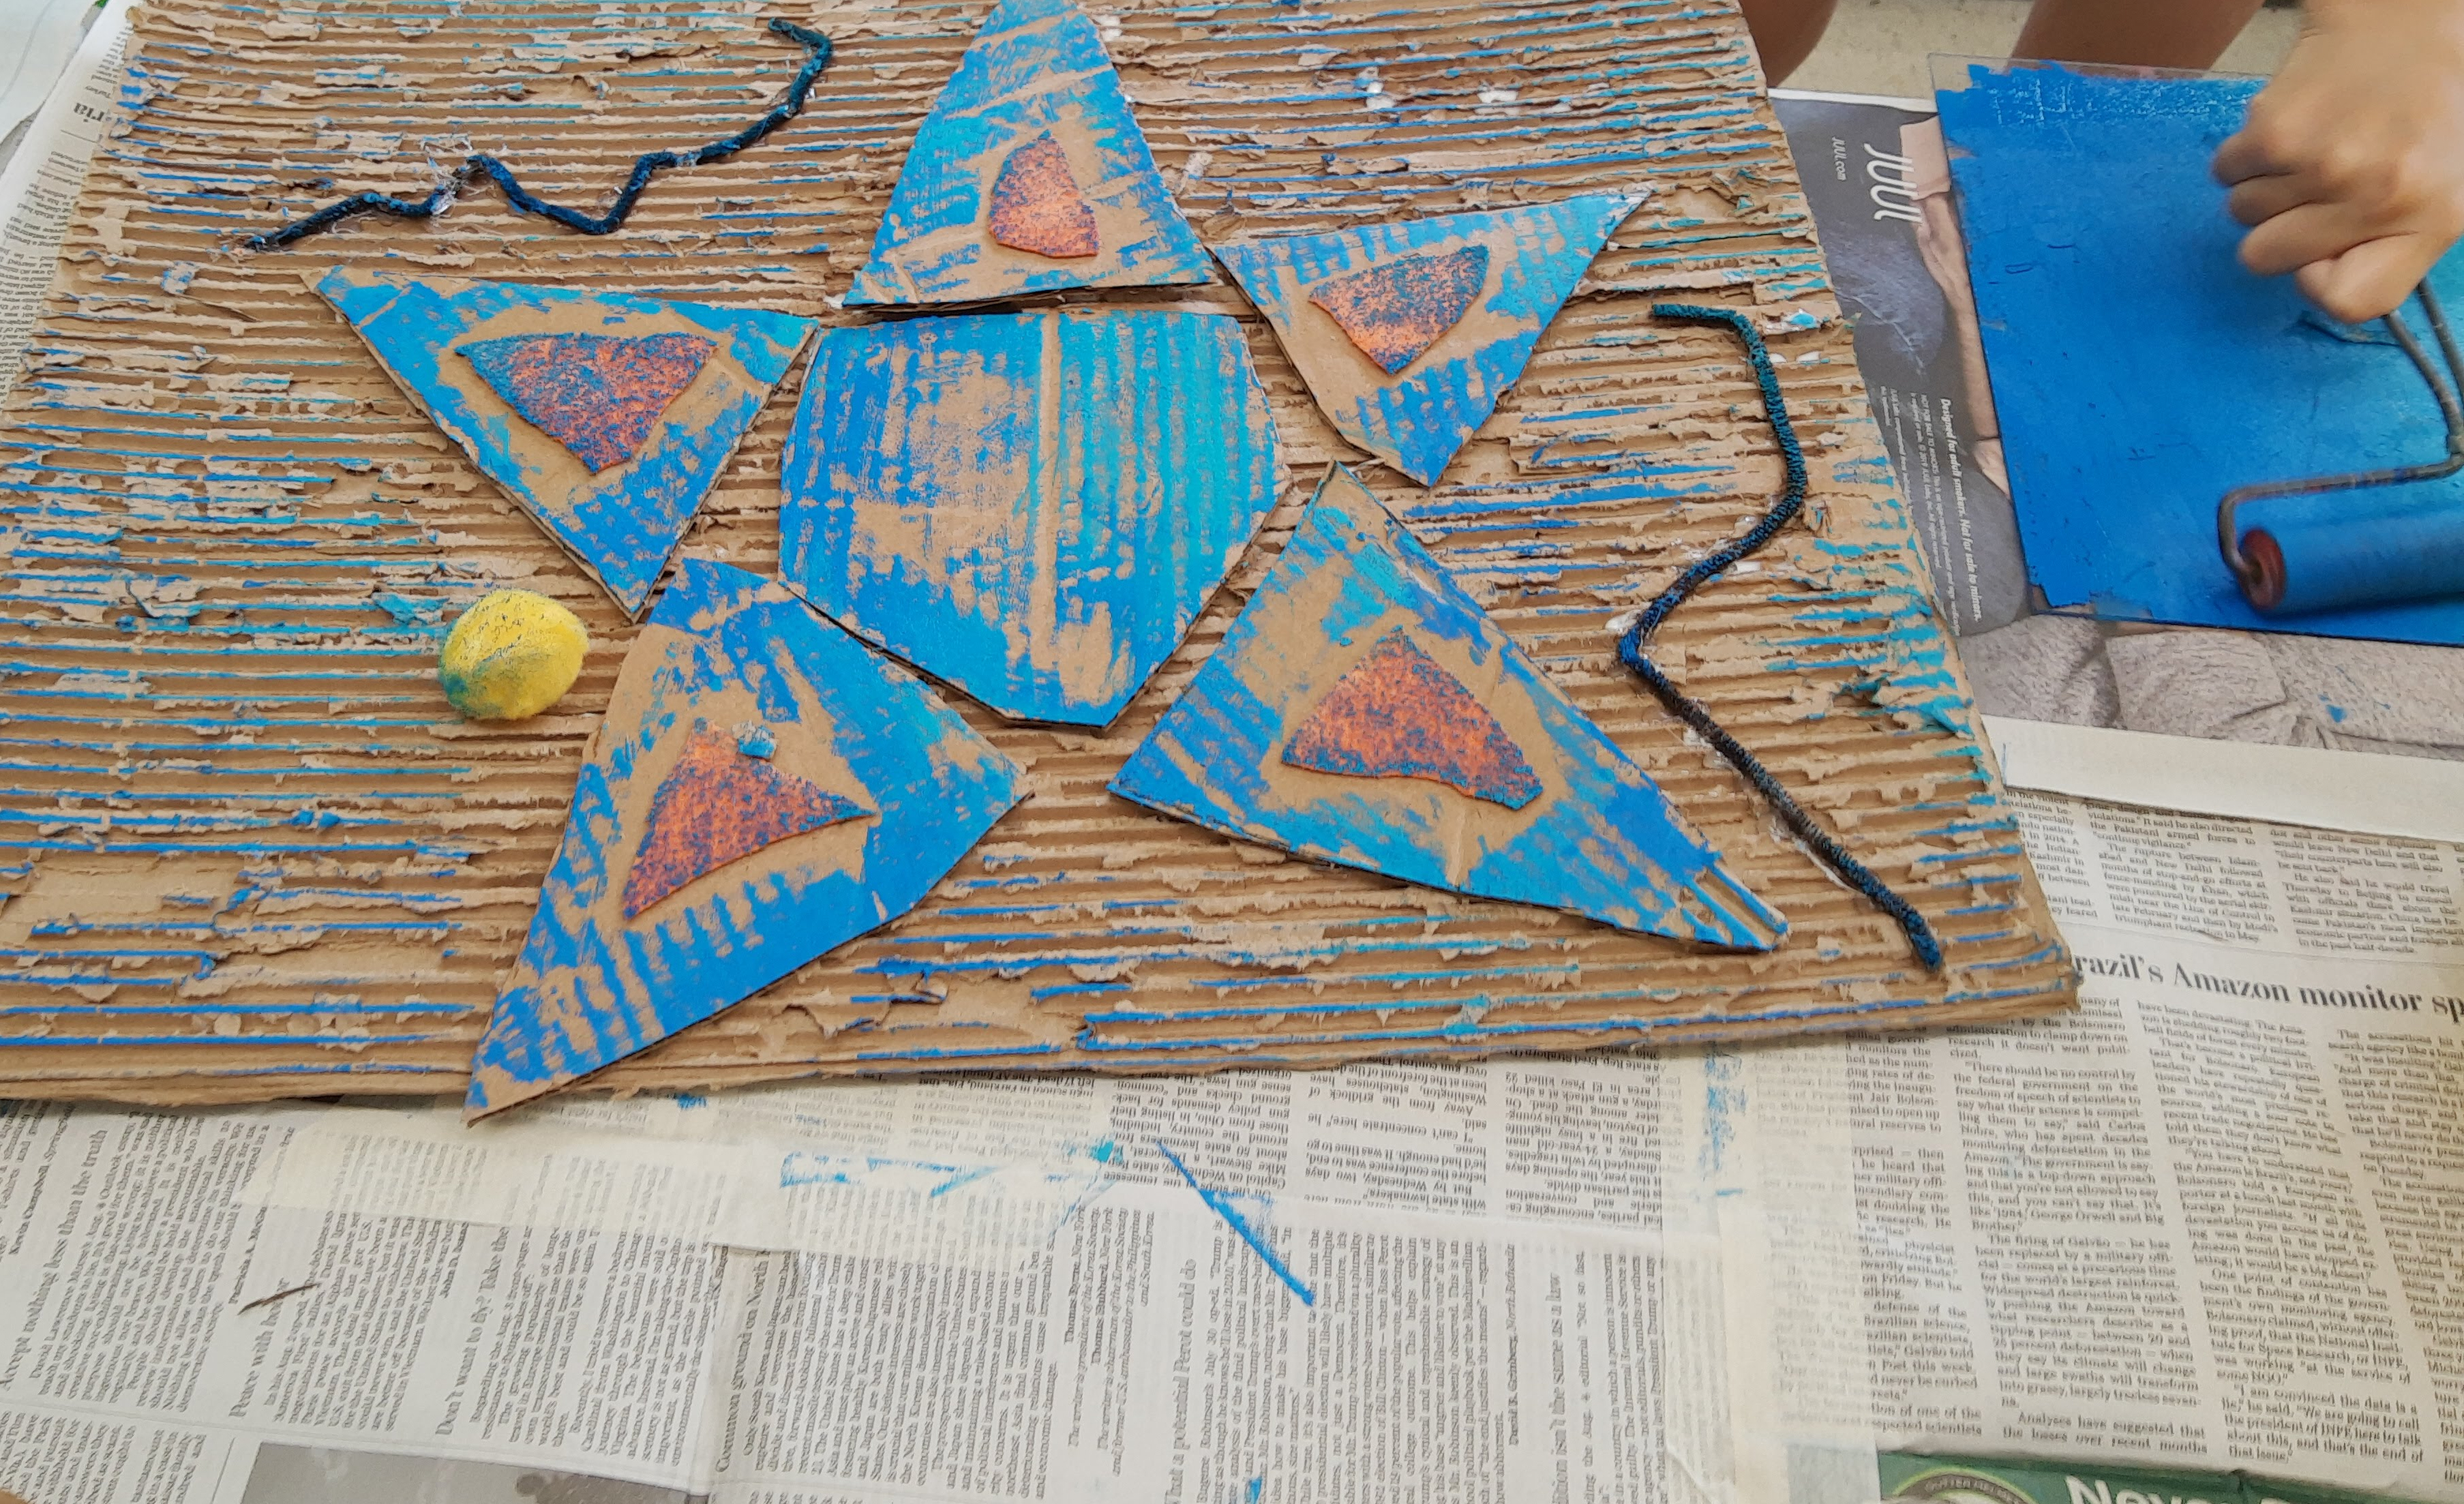
Once their ideas were set, they began assembling their collagraphs. I had different sizes of scrap cardboard laid out for campers to use as well as foam, felt, pipe-cleaners, and other crafty materials to attach to their cardboard plate. One camper even decided to remove the top layer of the cardboard to reveal the corrugation underneath to create texture. We also discussed how different materials will create different textures (fabric creates a fuzzy texture, cardboard appears rough).
Once everything had been glued down to the plate, I handed out cups of mod podge and brushes and campers applied mod podge all over the top surface of their plates so everything was sealed and ready for printing.
Some of the collagraph plates from campers:


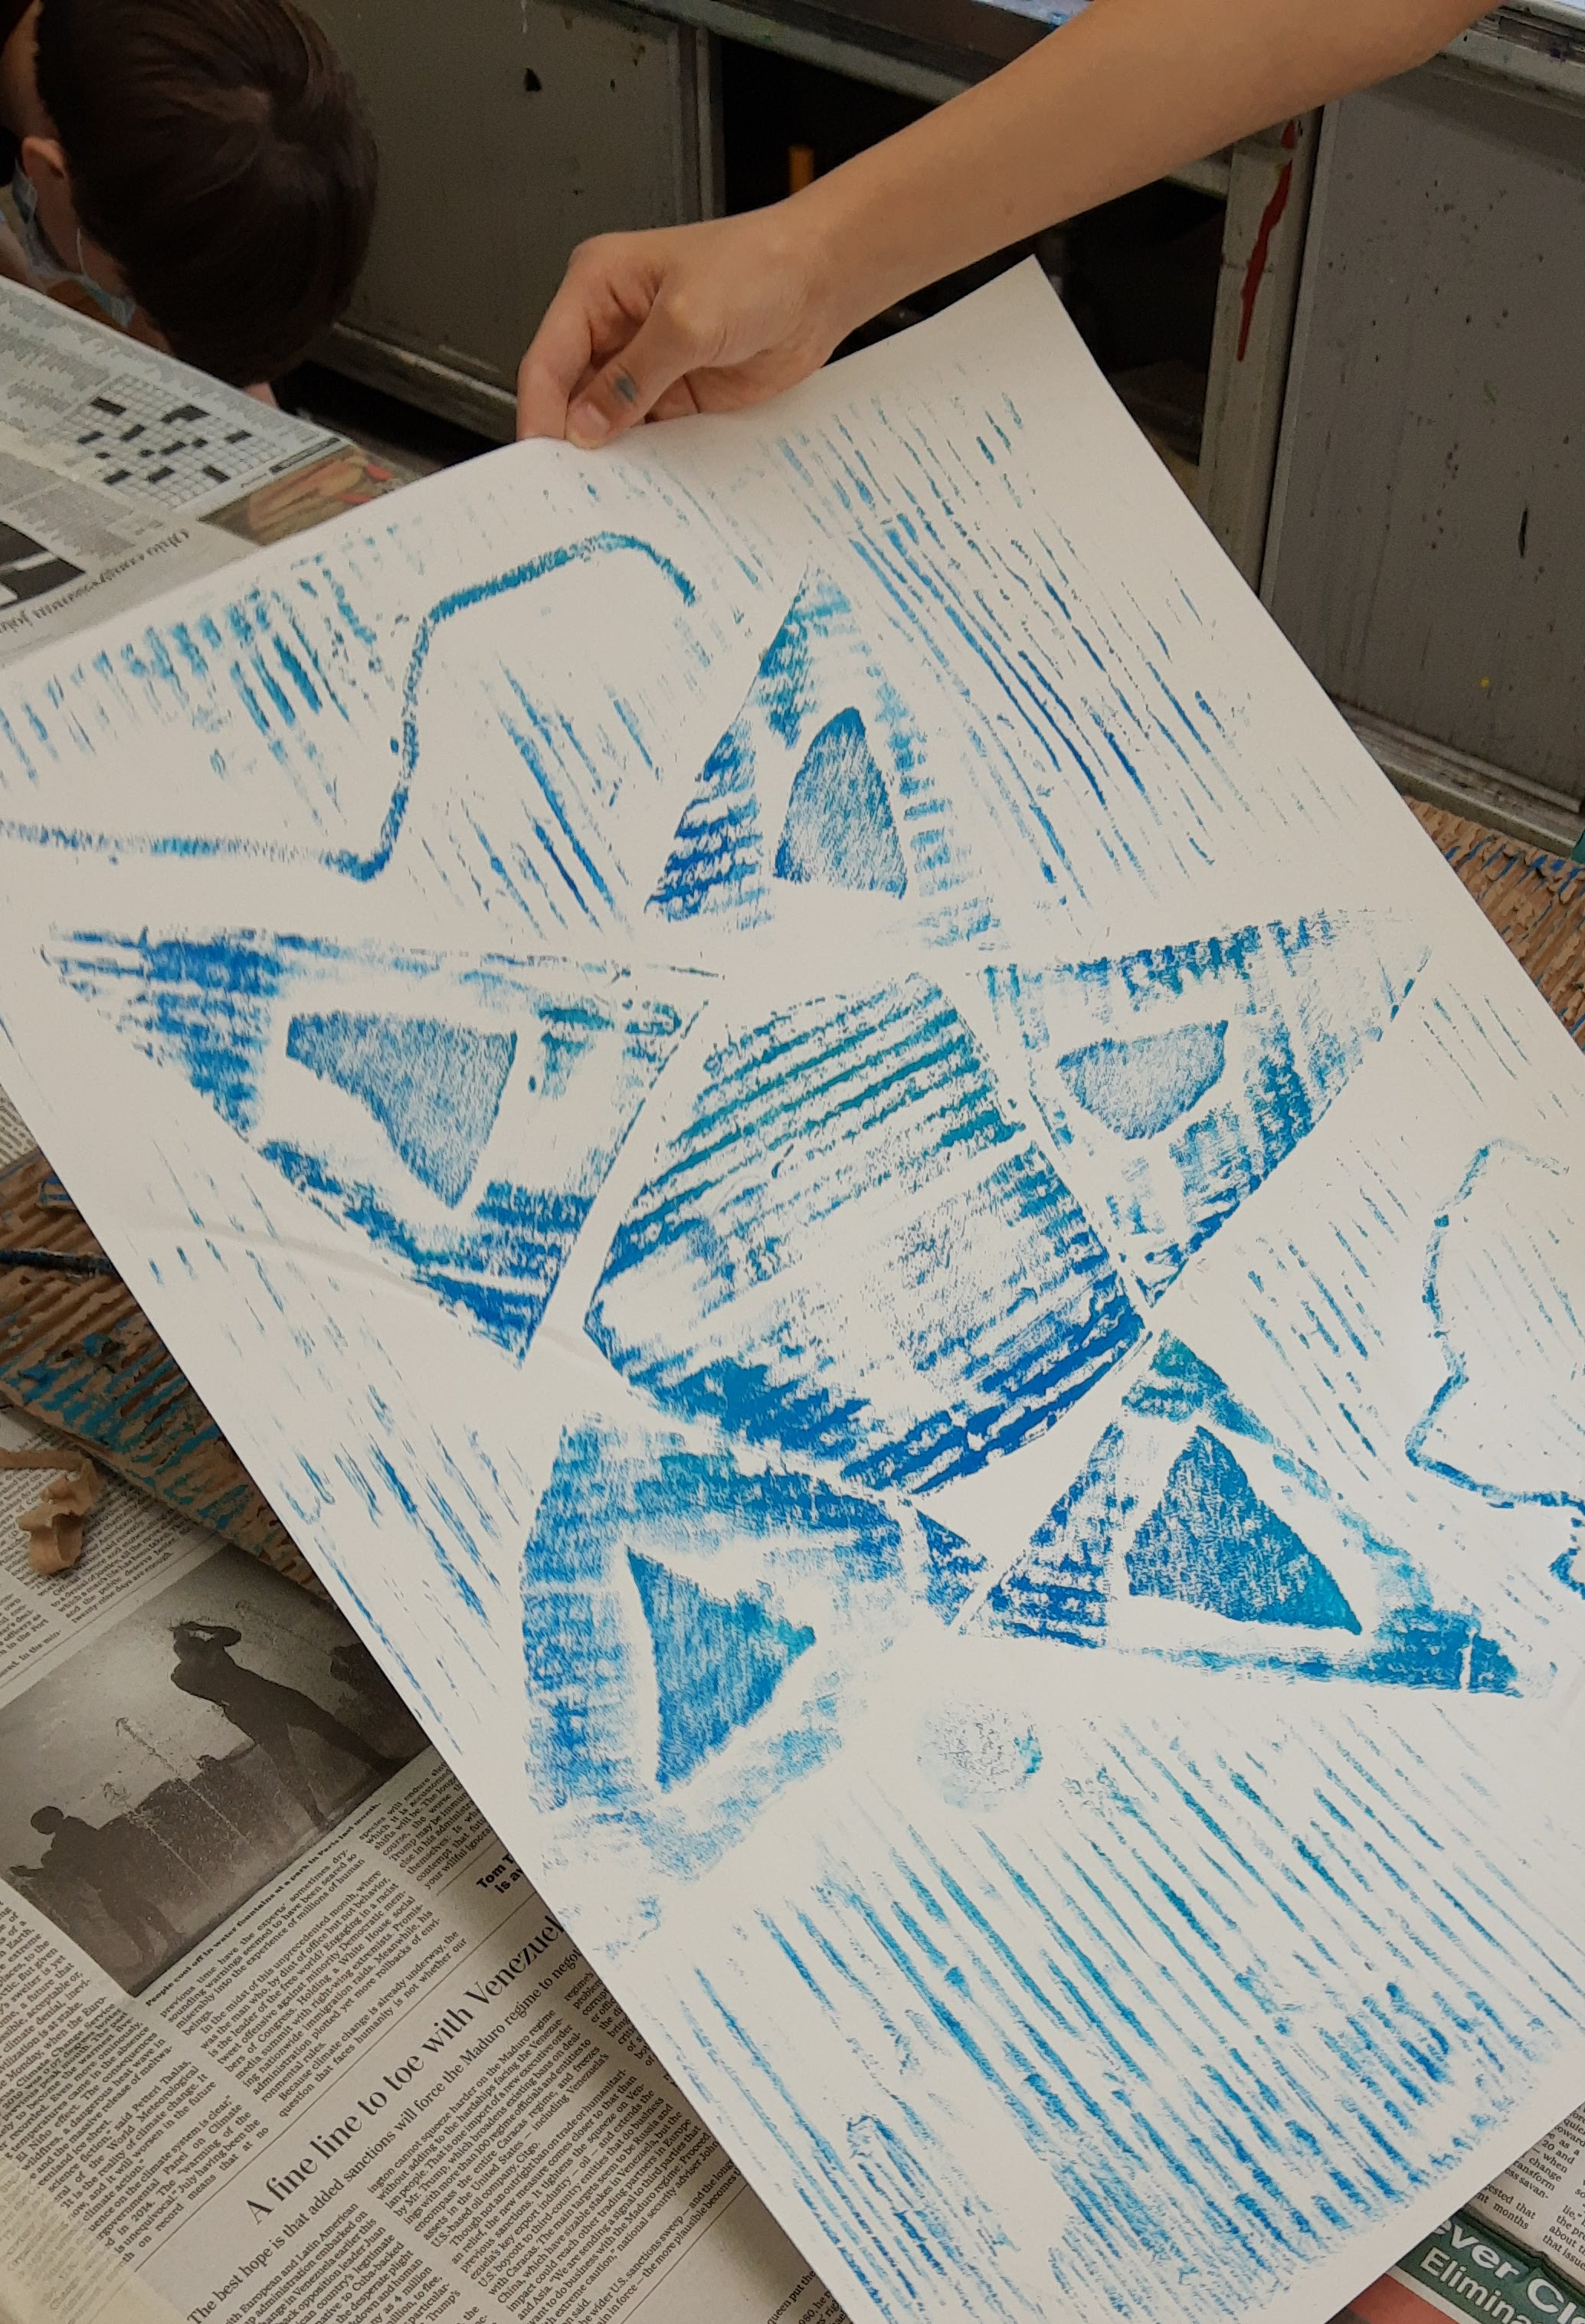
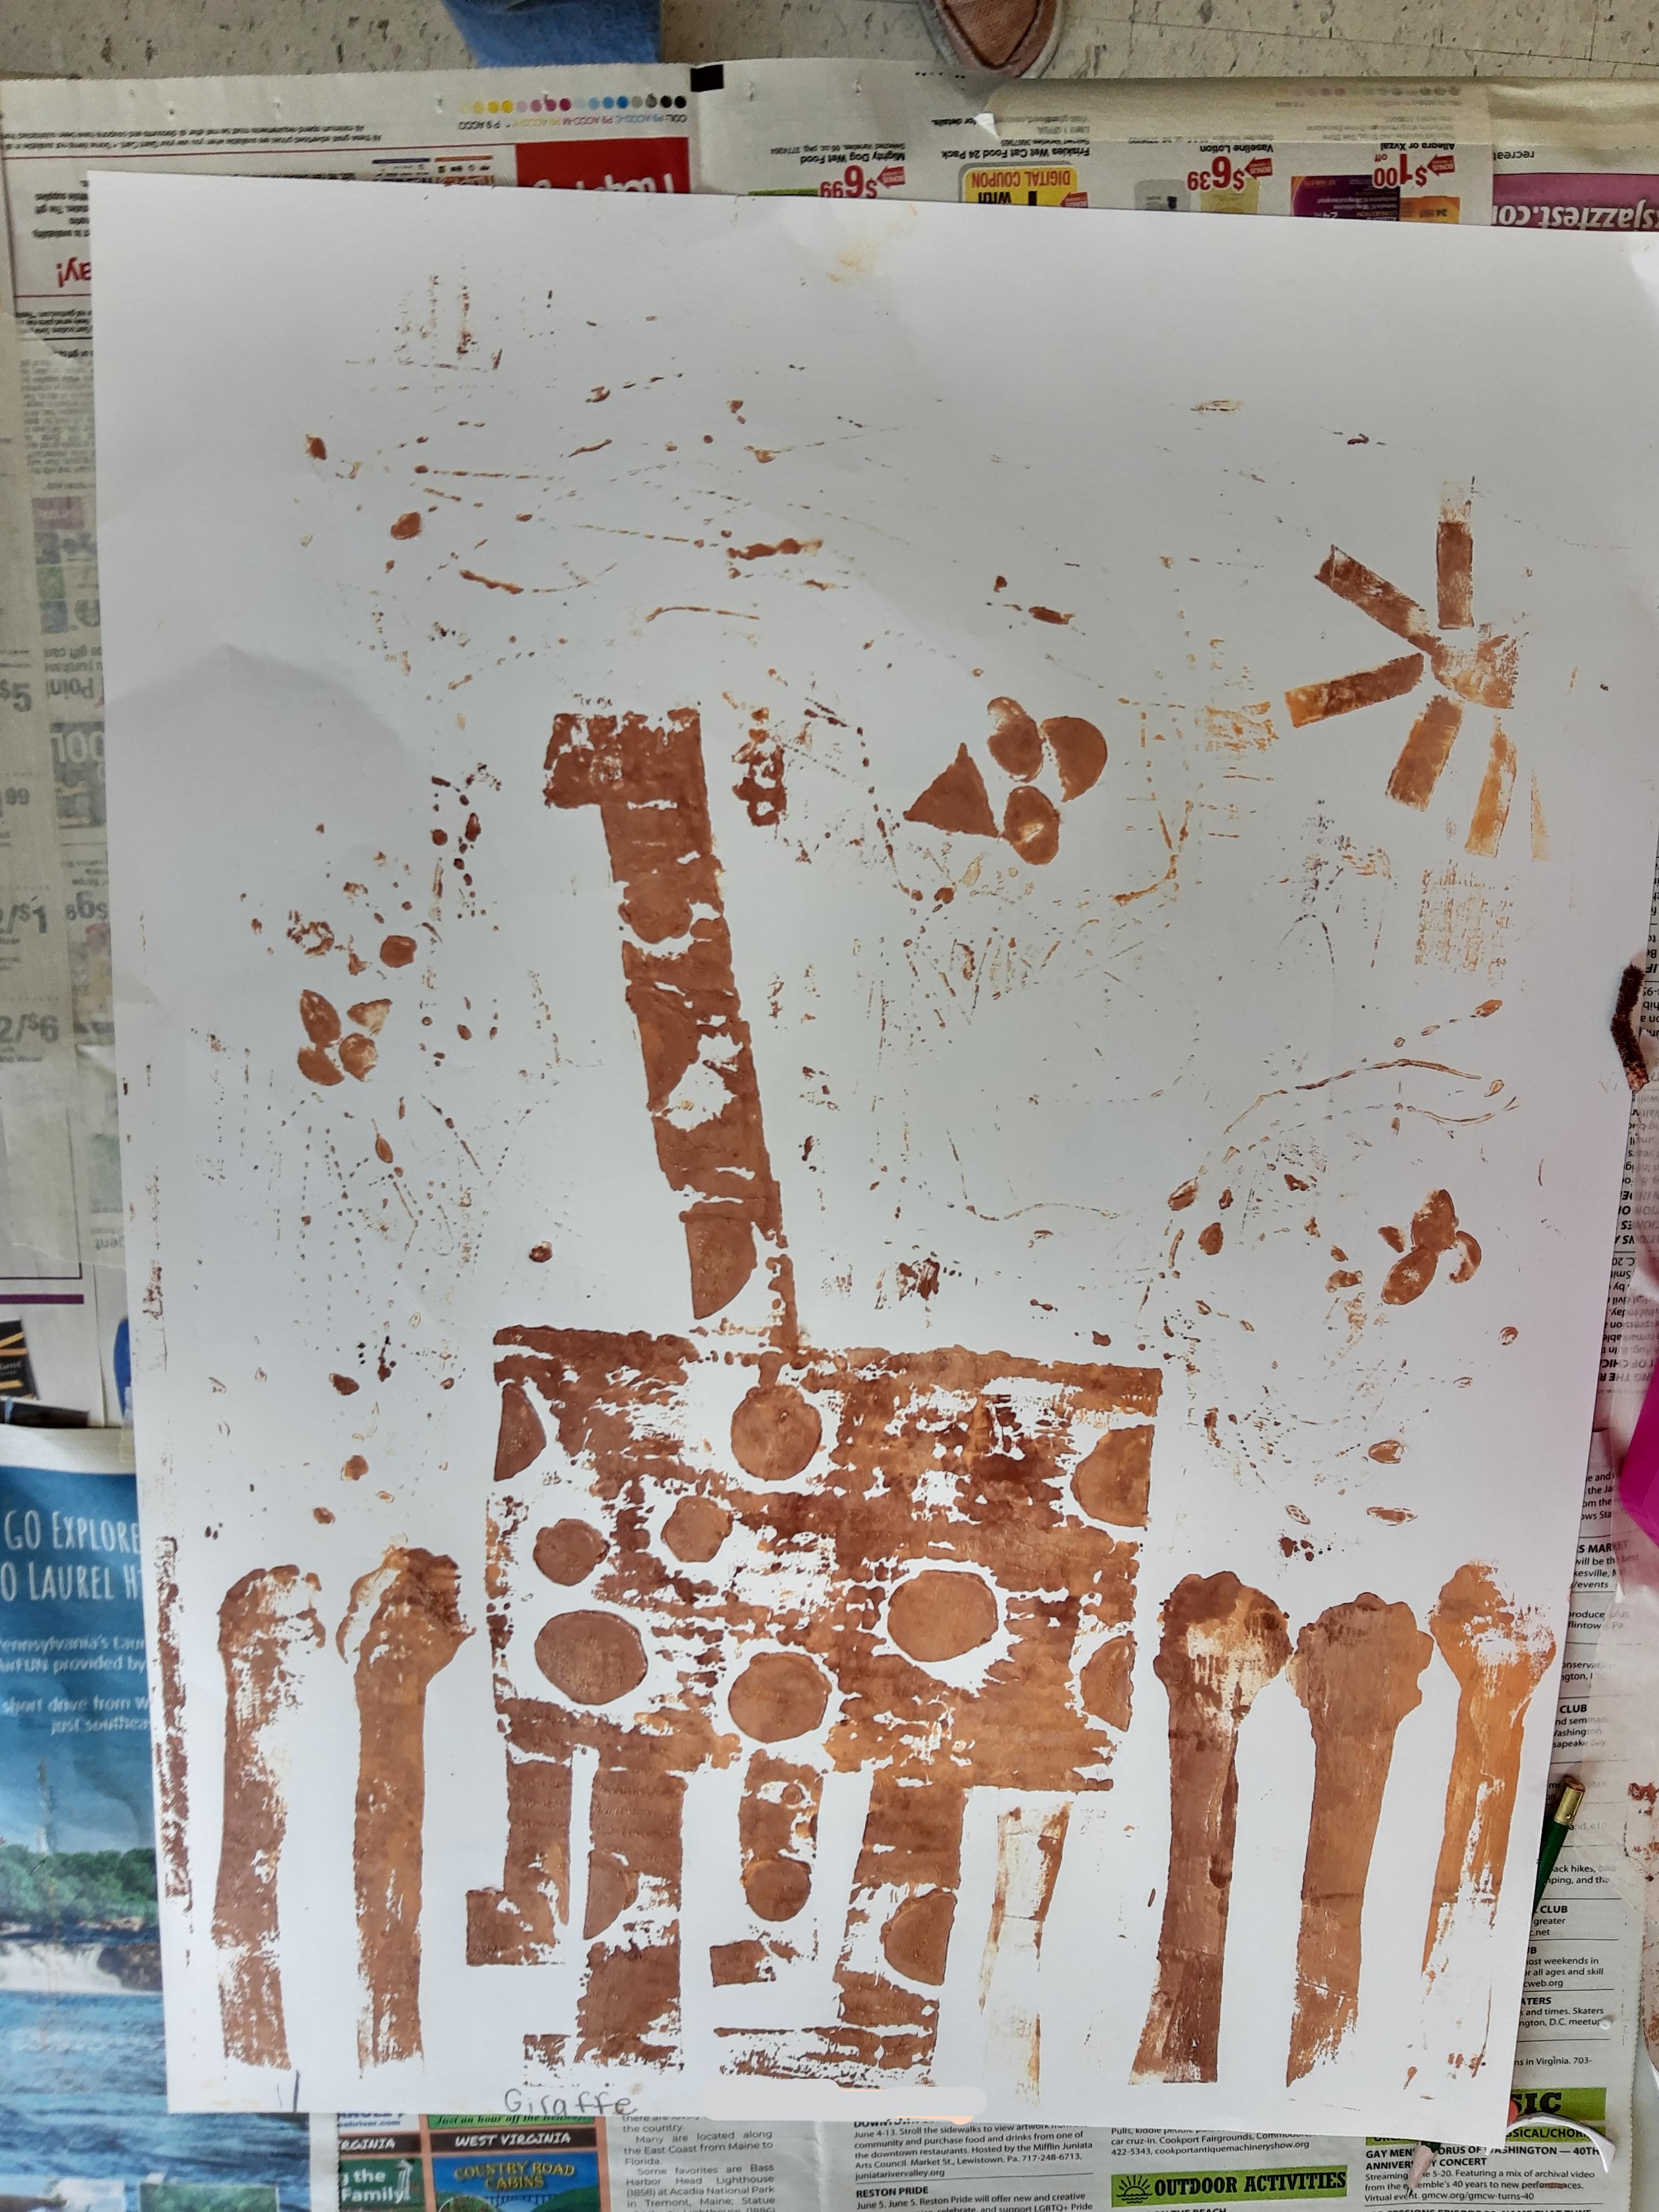
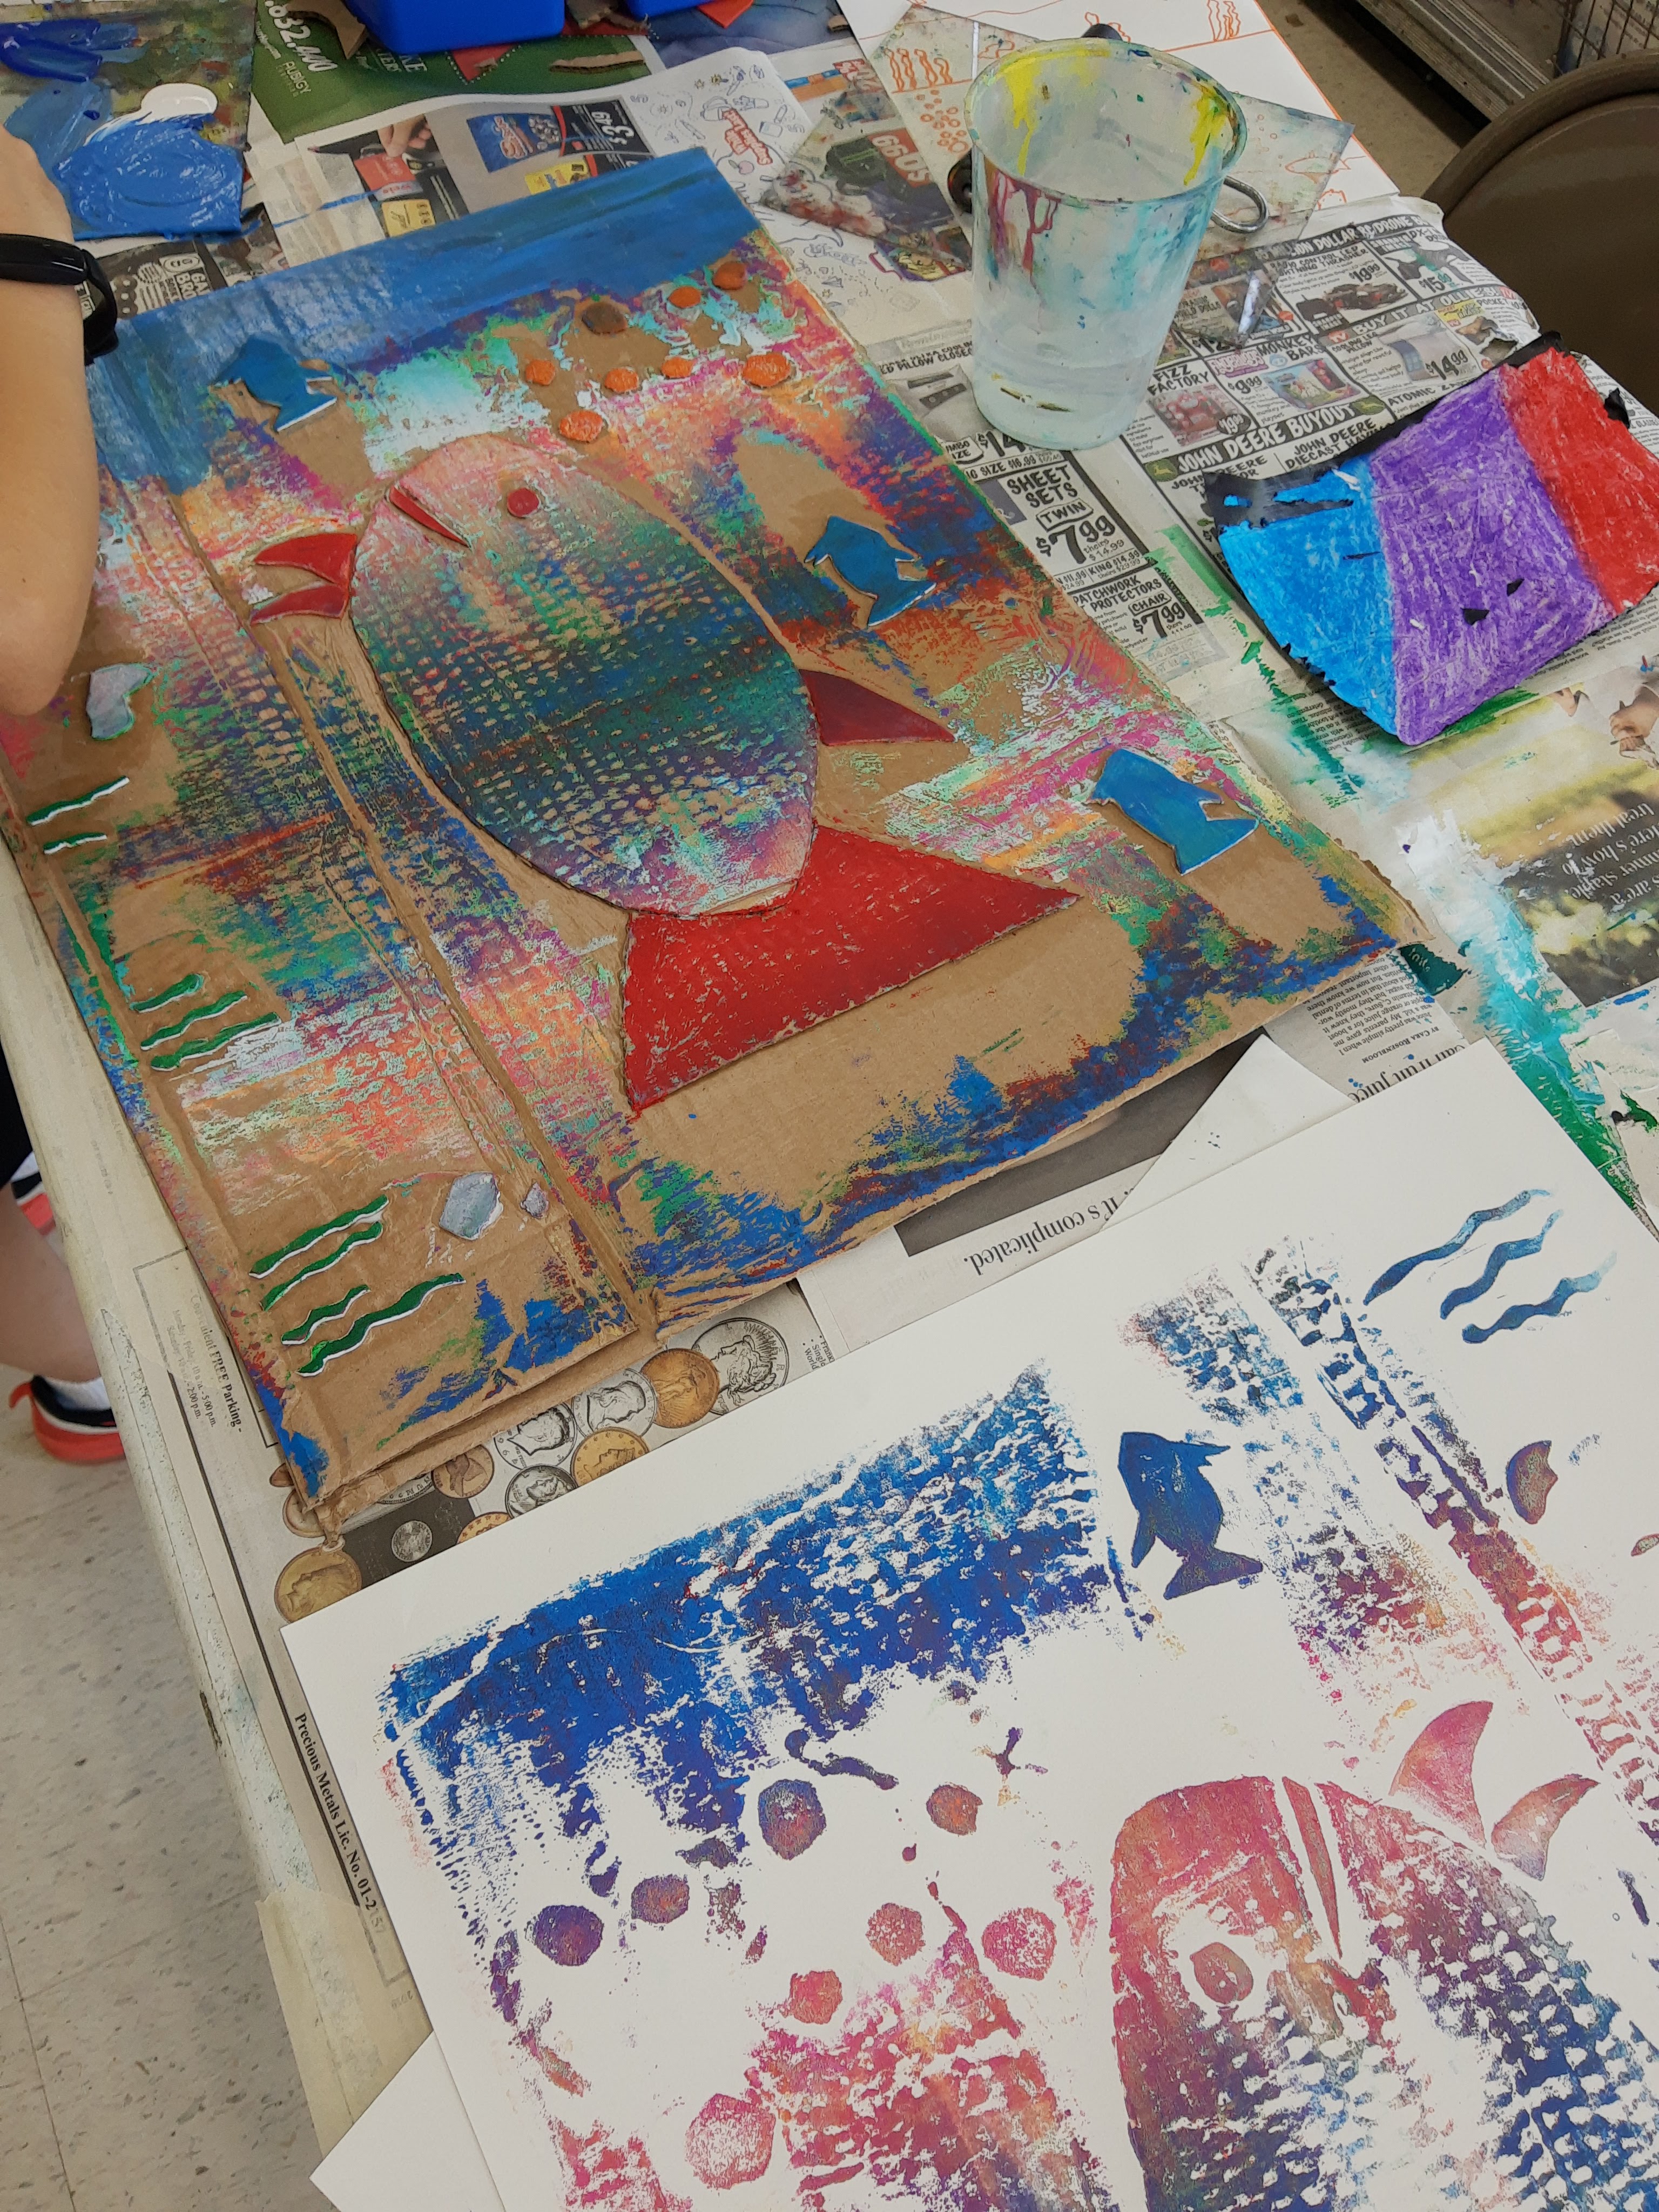
Once the plates were ready, we started printing! I showed the campers how to roll a gradient ink using two colors which they really enjoyed. A lot of them experimented with combining even more colors (some even did 10+ colors at once!). Then comes the fun part – the campers placed their plates face up on the floor with their papers on top and jumped on top to create a strong print. Once they printed, I showed them how to sign the print with the edition, title, and their name.
Some prints made by campers:
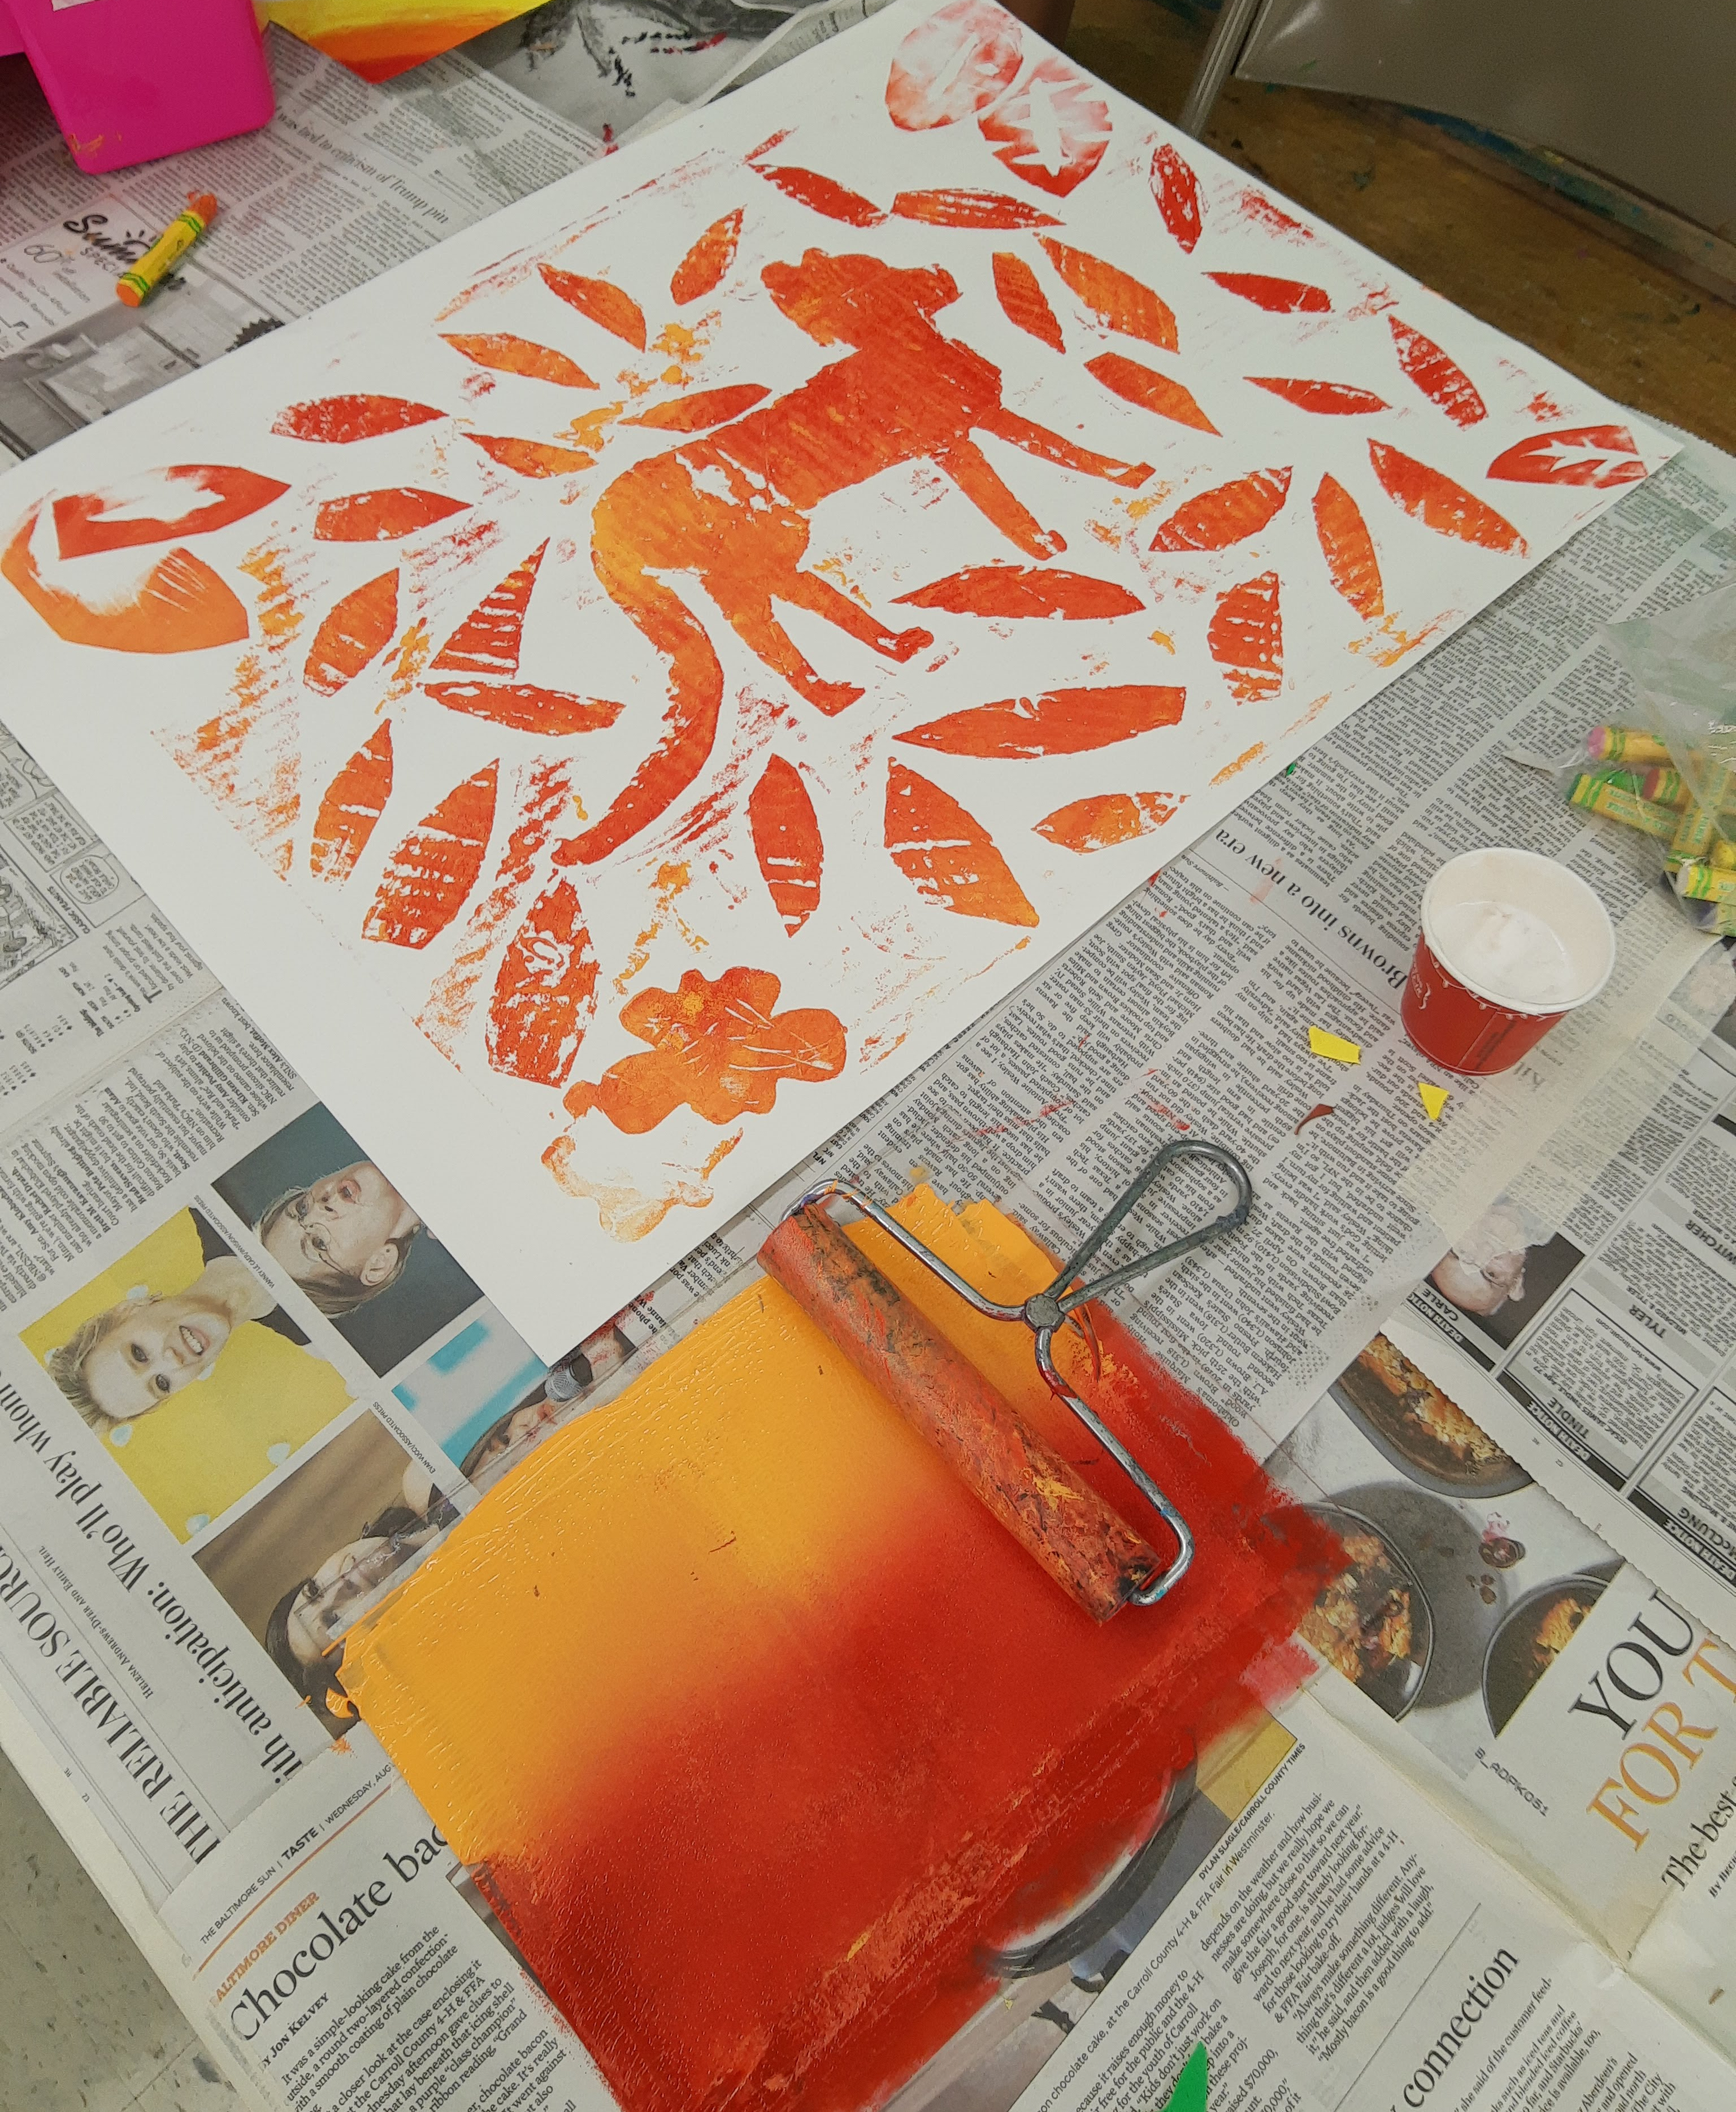


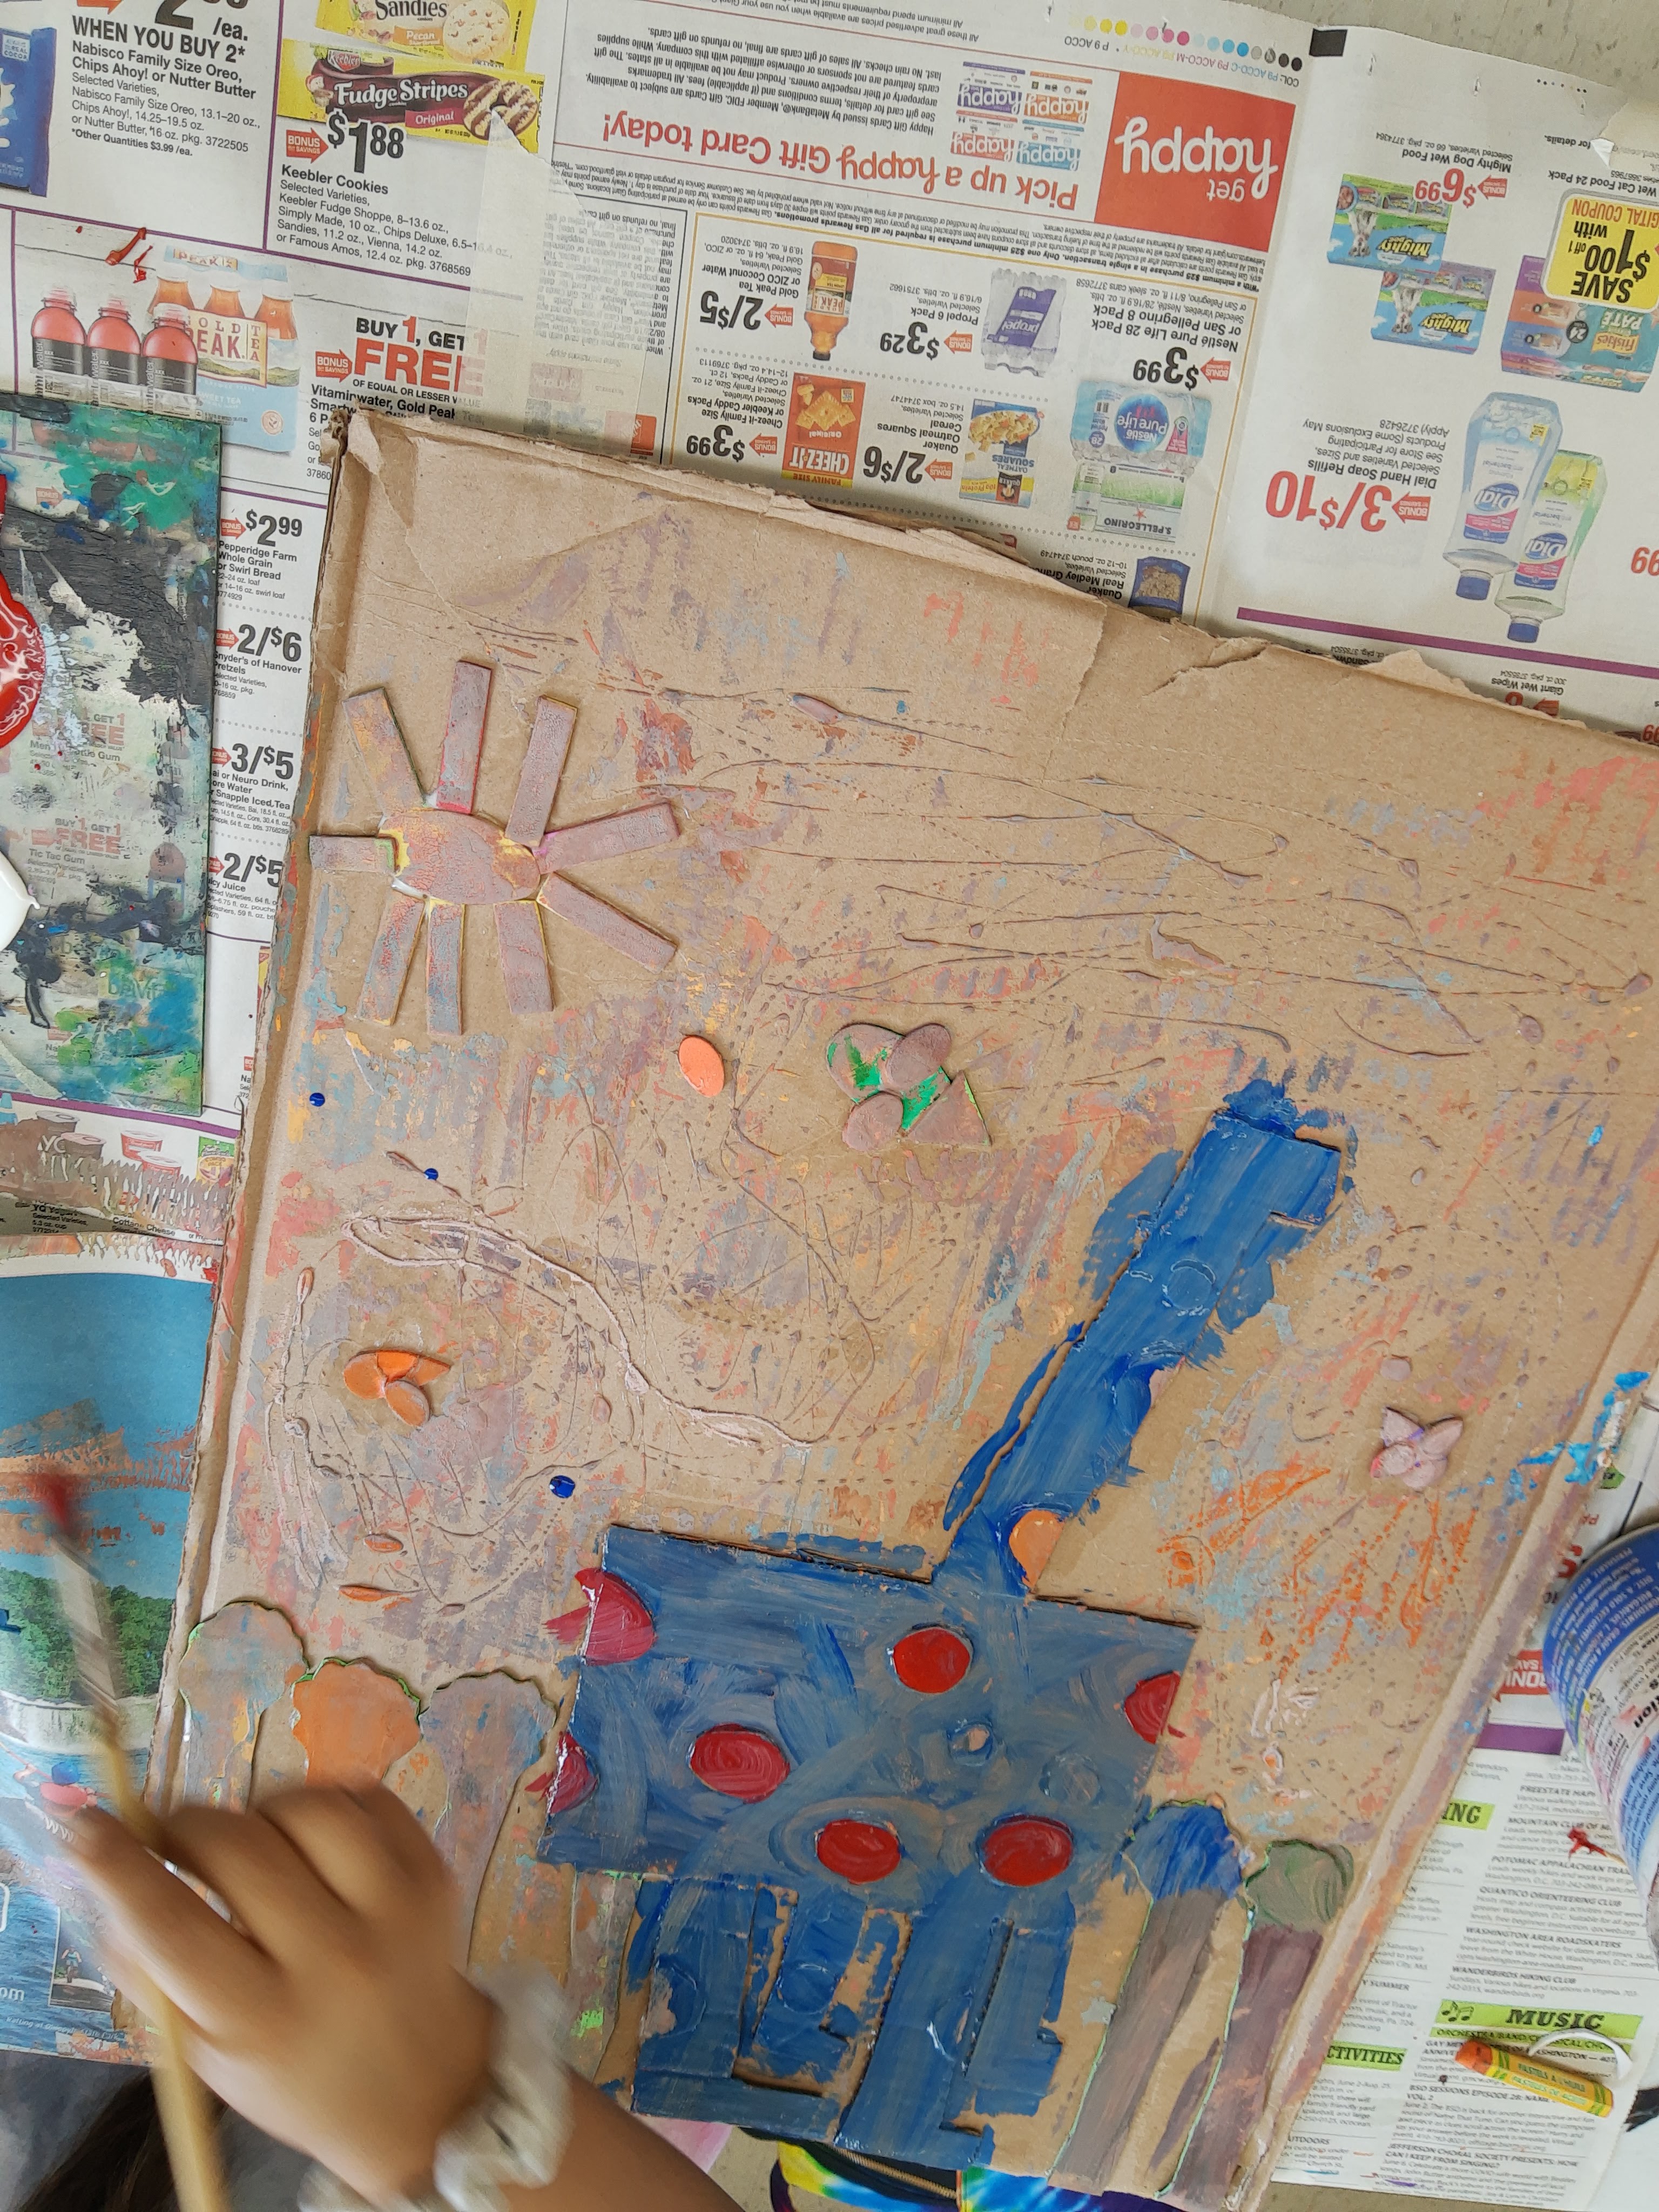
Once we were done printing, I set out tempera paint for campers to create a more finished, detailed collagraph plate. Only a few campers decided to add paint because many of them really liked all the ink colors from printing and did not want to cover it up.

I had so much fun teaching this printmaking camp and I am excited to bring some of the ideas/projects into my art classroom next school year!
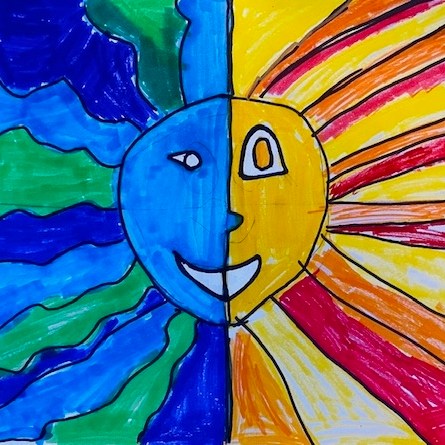
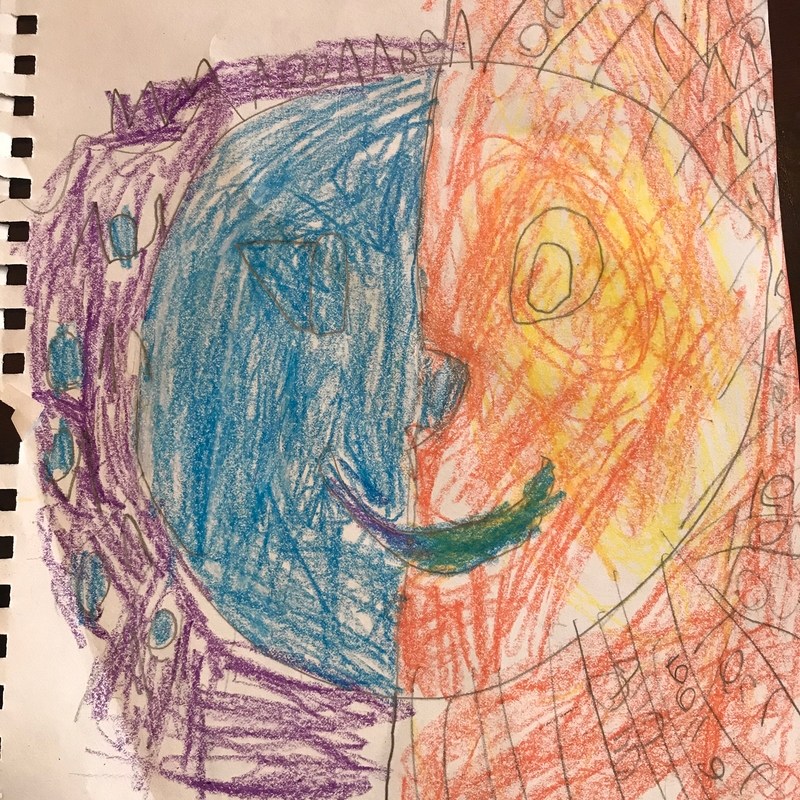
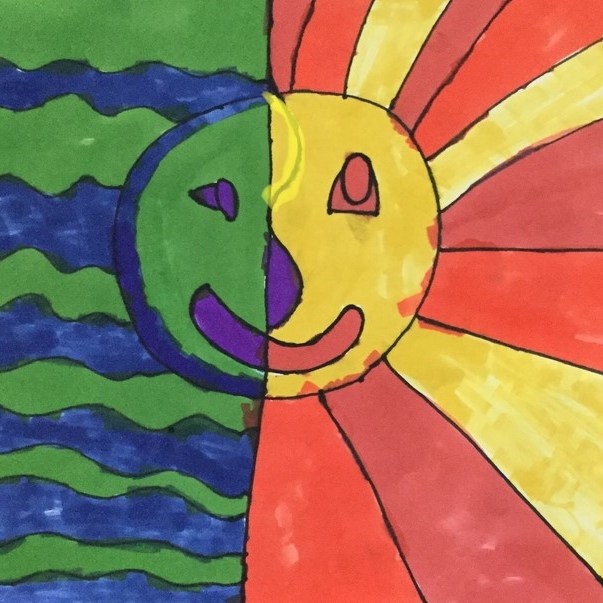
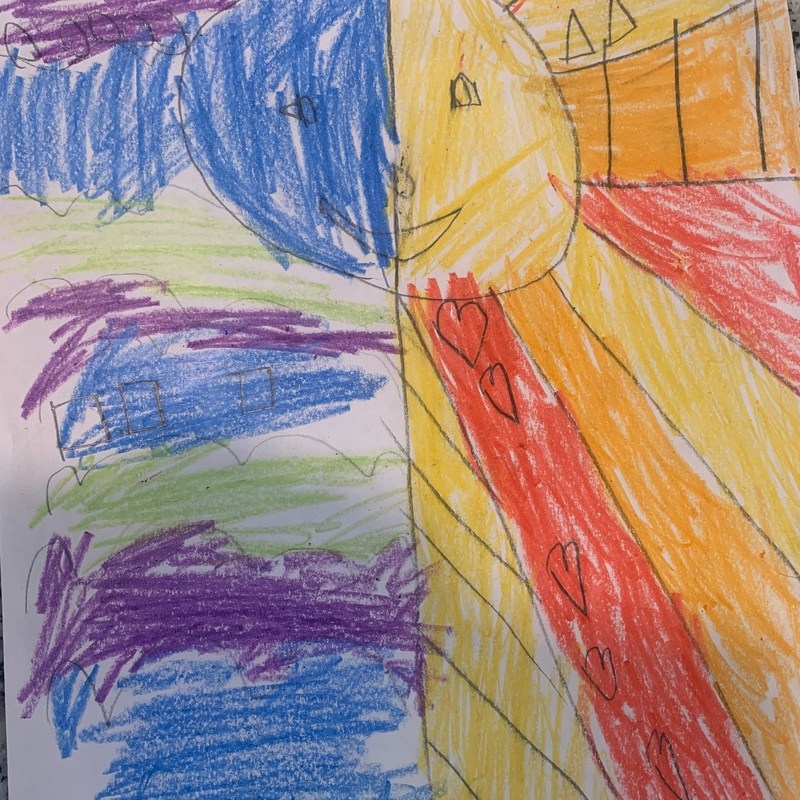
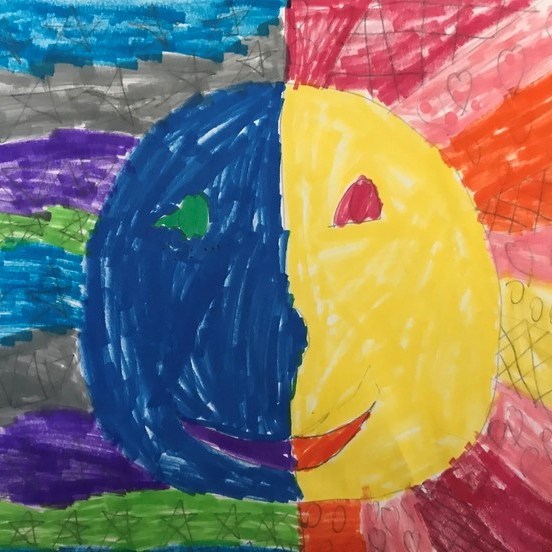
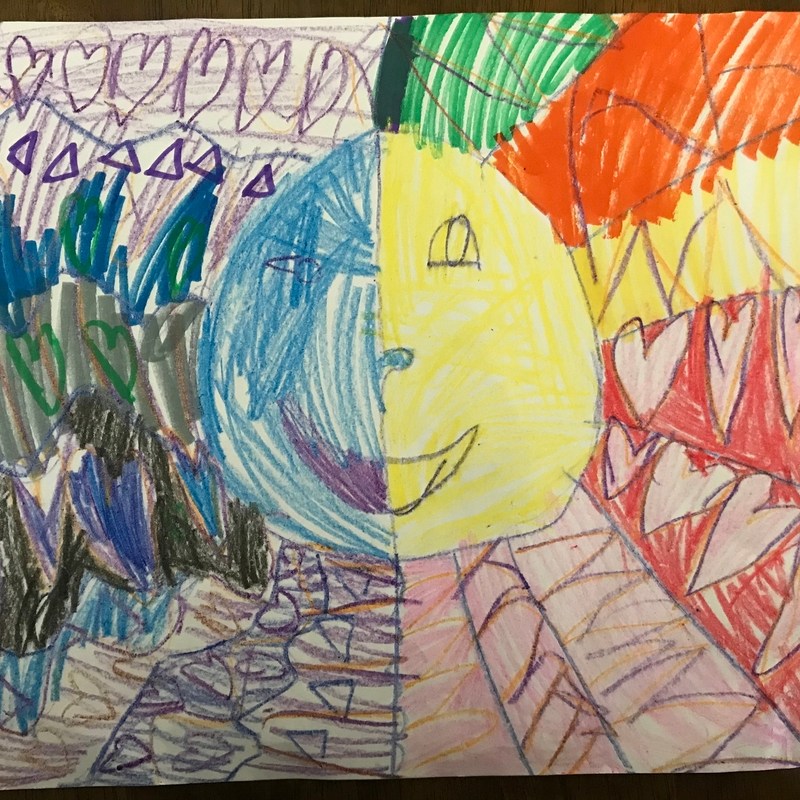
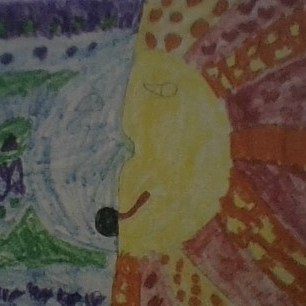
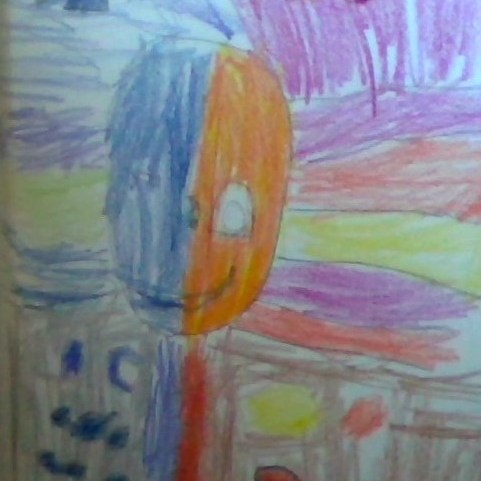
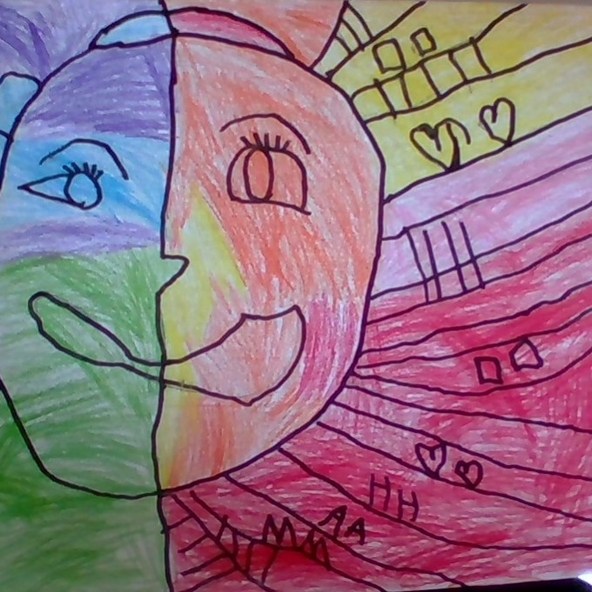
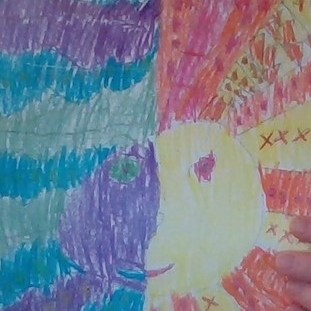
Warm & Cool Sun & Moons: I taught this lesson during my student teaching and I taught it again when I first started teaching. Students learn about warm and cool colors and draw a warm sun and cool moon. The moon side is drawn in profile view (to the side) and the sun is facing forward. We also reviewed patterns and students added different repeating shapes and lines into the background of their drawings.


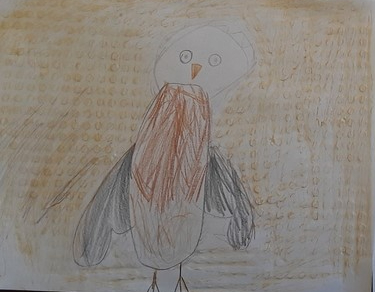
To continue with learning about colors, we also did a neutral colors and texture drawing of an animal (some students did a scene). I showed students how to draw a few different animals, and then students used fabric, bark, and other textured items to create a textured rubbing. I also let them use a few warm or cool colors as well to complement the neutral colors.


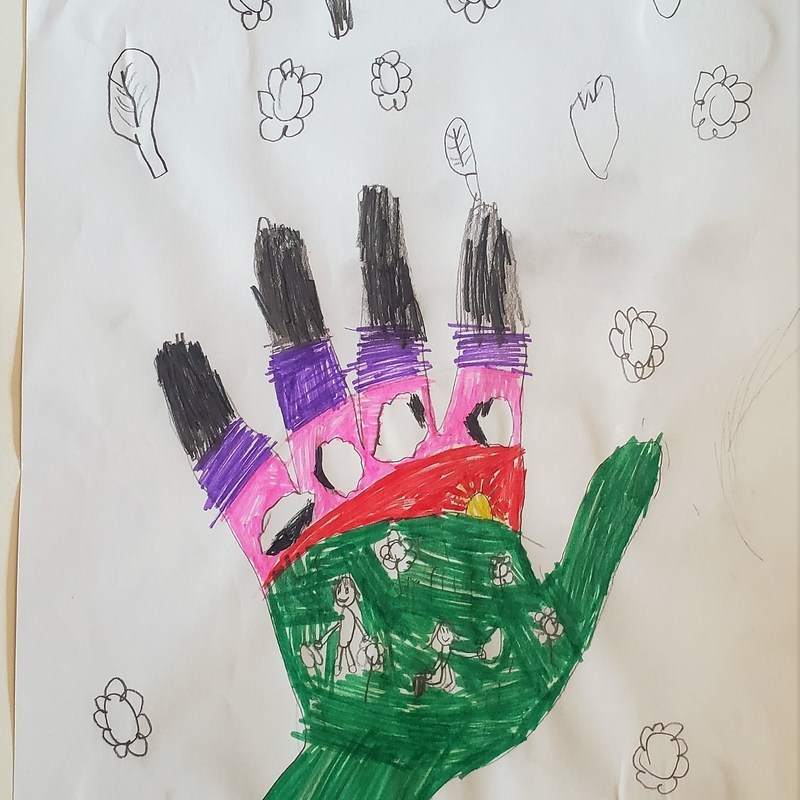
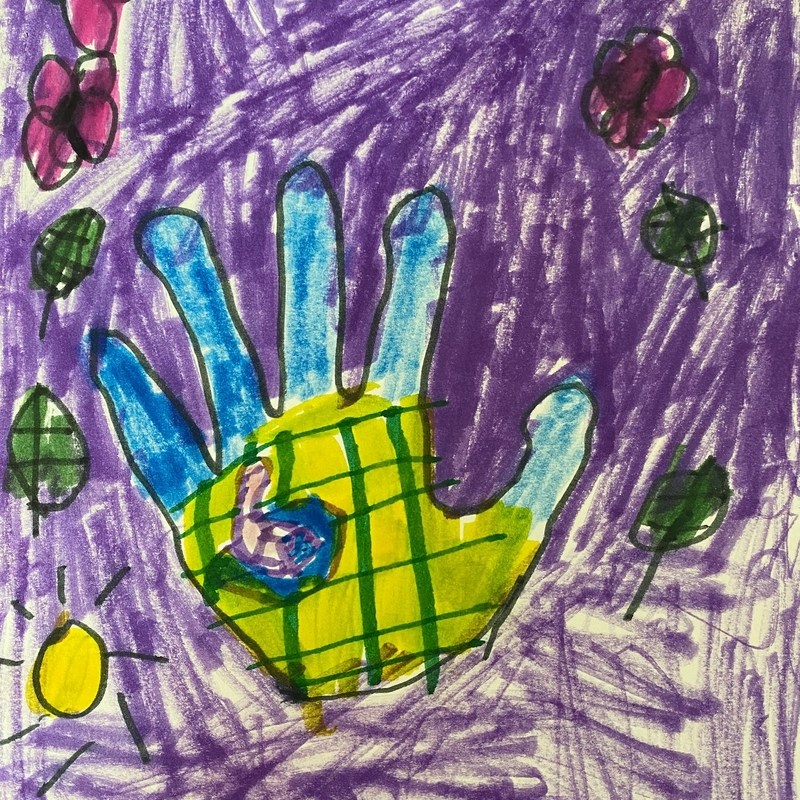
For Earth Day with lower elementary and kindergarten, we read the book Earth Day by Todd Parr, which is about different ways people can help the Earth. Then, we brainstormed different ways we can help and honor the Earth (turning off the lights, planting flowers, recycling, walking, etc.). Students traced their hand onto their paper and drew a picture of themselves helping the environment inside the hand, and in the background, students drew their favorite place in nature or other things they appreciate about nature.
In the spring, we were still mostly doing virtual school, so short, one-day lessons worked the best, because otherwise, many students misplaced their art and would have to start over in the next class.


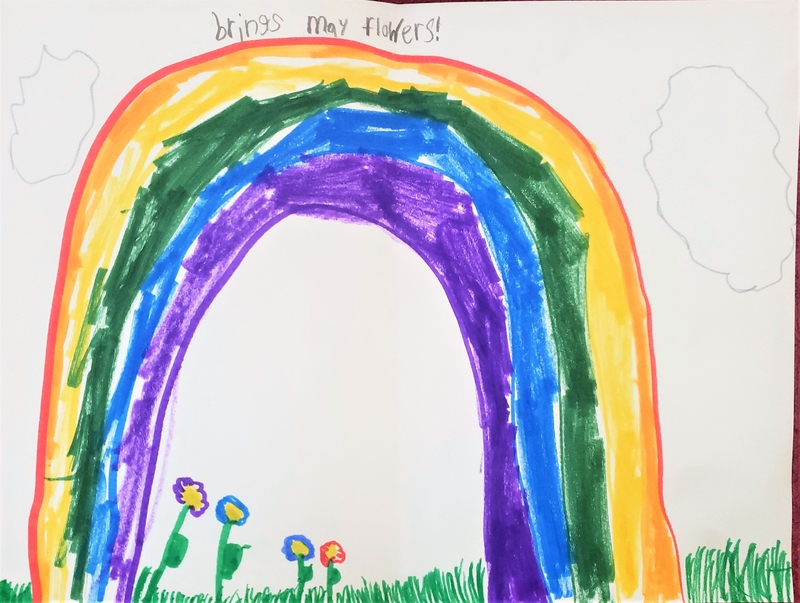
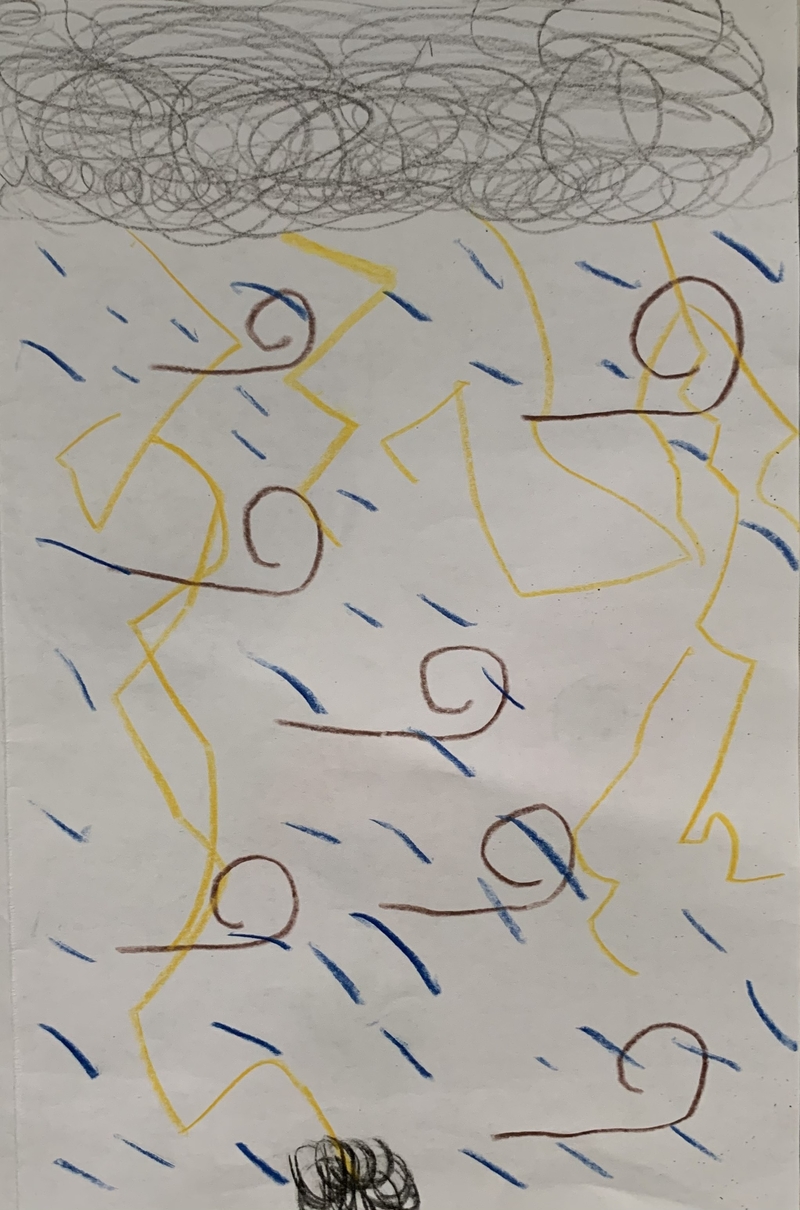
Another one-day lesson I did was this “April Showers Bring May Flowers” card. On the outside, students used cool and neutral colors for April Showers, and on the inside, students used bright colors and the rainbow to show “May flowers”. We also reviewed the colors of the rainbow (can’t forget about indigo!).


These three lesson ideas are related to looking at cells and microbes up close and under microscopes.
Students will observe images of cells and create a three-dimensional model of the image of their choice. Students will construct their model on a cardboard base, but the materials for the actual cell are left open to interpretation.
Vocabulary: low-relief sculpture, cells/microbes, photomicrograph

Research – First, have students look up images of cells/ microbes using these websites:
Students should pick out 4-6 images and make thumbnail sketches of each image and jot down ideas about possible materials that could be used for each part of the cell/microbe. A sample sketch is below, but allow students to sketch out their ideas in the way that works best for them.

Once students have completed their thumbnail sketches, they should pick one sketch that they want to do the most, and then they can make one more sketch of their final idea, colors, and material choices.
Materials:
Next, students can begin to assemble their cell models. First, they need to create a circular base out of cardboard for their relief sculpture. Students can paint the base if they would like to (helpful hint – spray water on the back of the cardboard after painting to reduce warping). Next, students can choose whatever materials they want to construct the cell/microbe. Let students experiment with the materials and figure out what works best to create their cell model. Have a table with all the materials laid out so that students can visualize the possibilities for all the materials. Allow ample time for students to construct their models and add paint/ finishing touches.
In this variation, students create an in the round sculpture of a cell. This project is similar to the previous project, yet it is not a relief sculpture. Depending on the materials you have on hand, pick one of the projects to best fit what you have. First, have students create a base/cell body using either clay, newspaper/ paper mache, plaster, wires to create an armature, or aluminum foil. Next, students can paint the base, adding designs and surface texture with different materials (glitter, sequins, beads, etc.). To create raised areas of lines, hot glue, elmer’s glue, or fabric paint can be applied to the surface as well. Once the paint is dry, students can attach pipecleaners, toothpicks, pompoms, and other materials to form the areas that come off of the body of the cell.


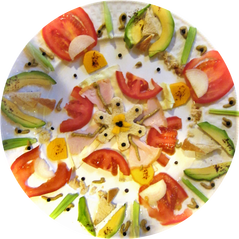

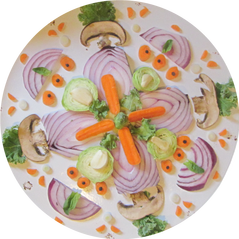
When I was in high school, I took a summer 3D art course at my local community college. One of the projects we did was making mandalas out of food using ingredients to a recipe. I really enjoyed this project and I think it would be a fun lesson to teach students.
Students can create a mandala using ingredients of a recipe, or as an alternative, students can use school supplies, cosmetics, or other non-perishable materials.

Vocabulary: Radial Balance, Symmetry
Photography/Sculpture Homework Assignment: Think about a food you eat. It can be as simple as a peanut butter and jelly sandwich or more complex, like vegetable soup or a rice bowl. Gather the ingredients you use to make your favorite meal and arrange them in a mandala shape. Think about layering the ingredients, using cookie cutters to create interesting shapes, and how to arrange the materials on a plate. When you’re finished, document your creation by taking pictures in a well-lit setting or by a window (natural light is best). Write down the recipe that goes with your creation – it does not have to be complex or precise, just write down the ingredients/materials you used and the food that it can make.
