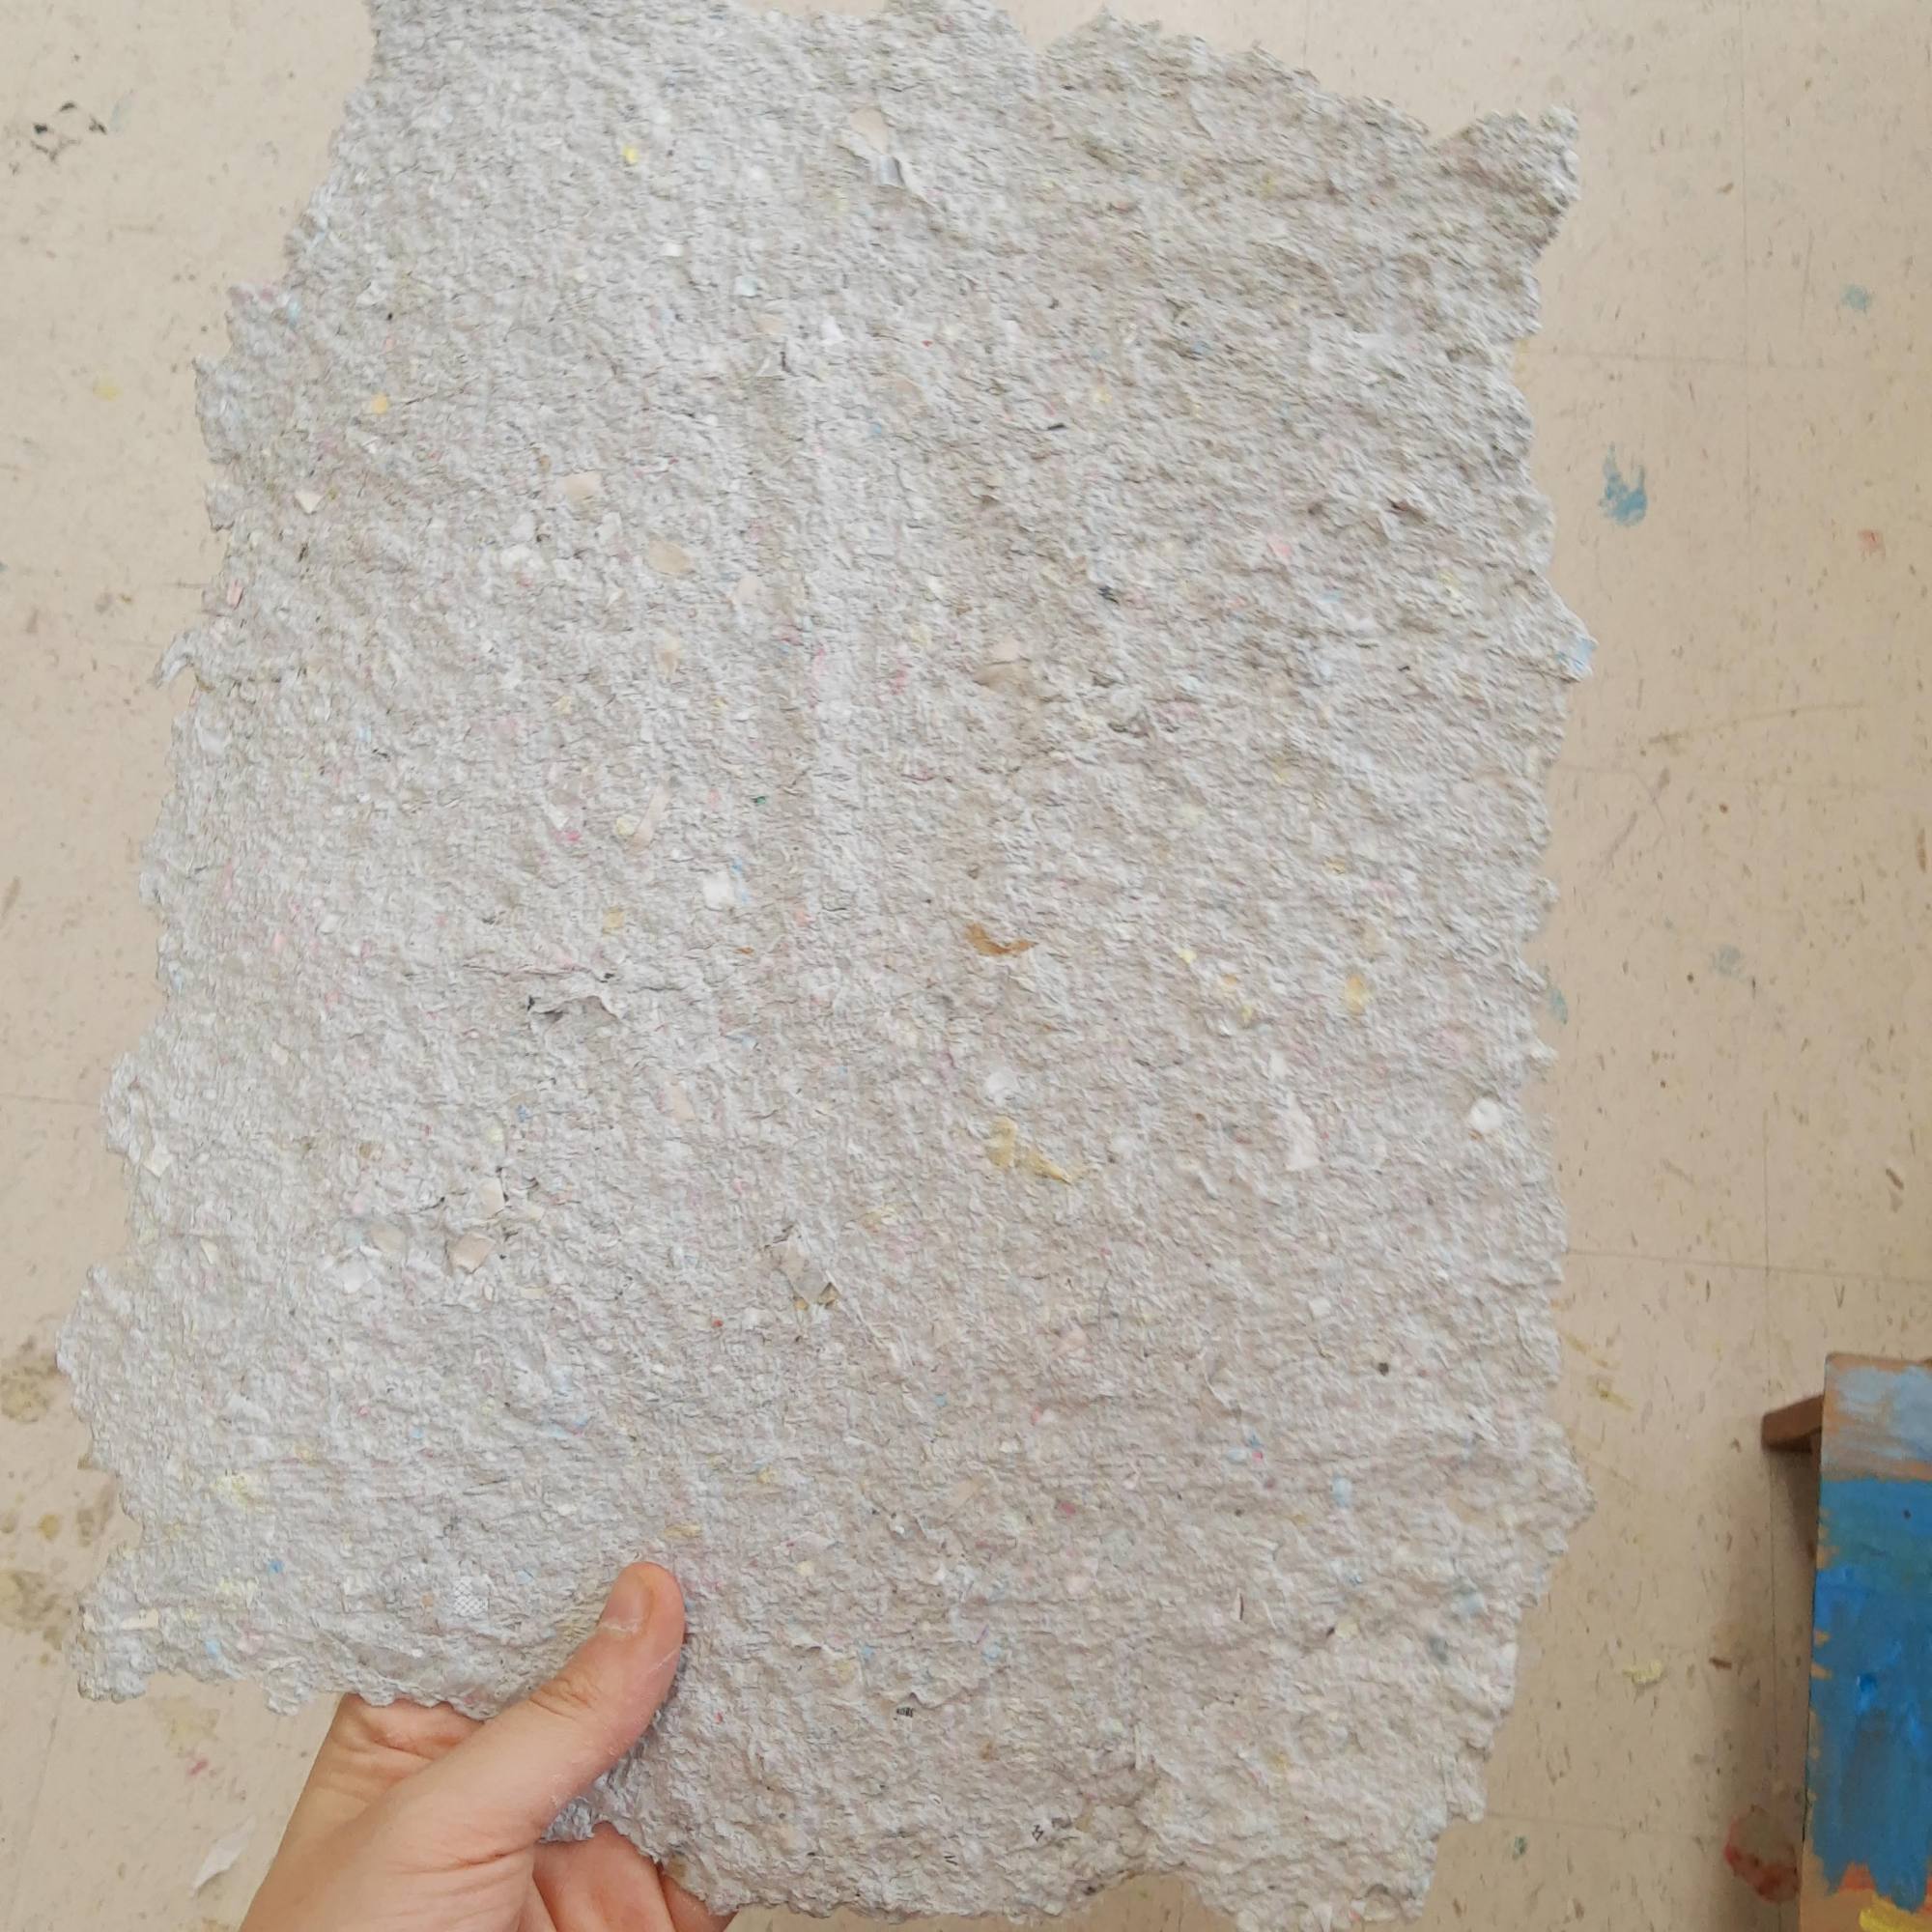
This fall, I taught a weekend art class at my local arts center. Since the classes were smaller, I really wanted to make paper with my students. It was a lot of prep work and my blender started smoking at one point, but it was really fun and a great way to introduce students to the paper-making process.
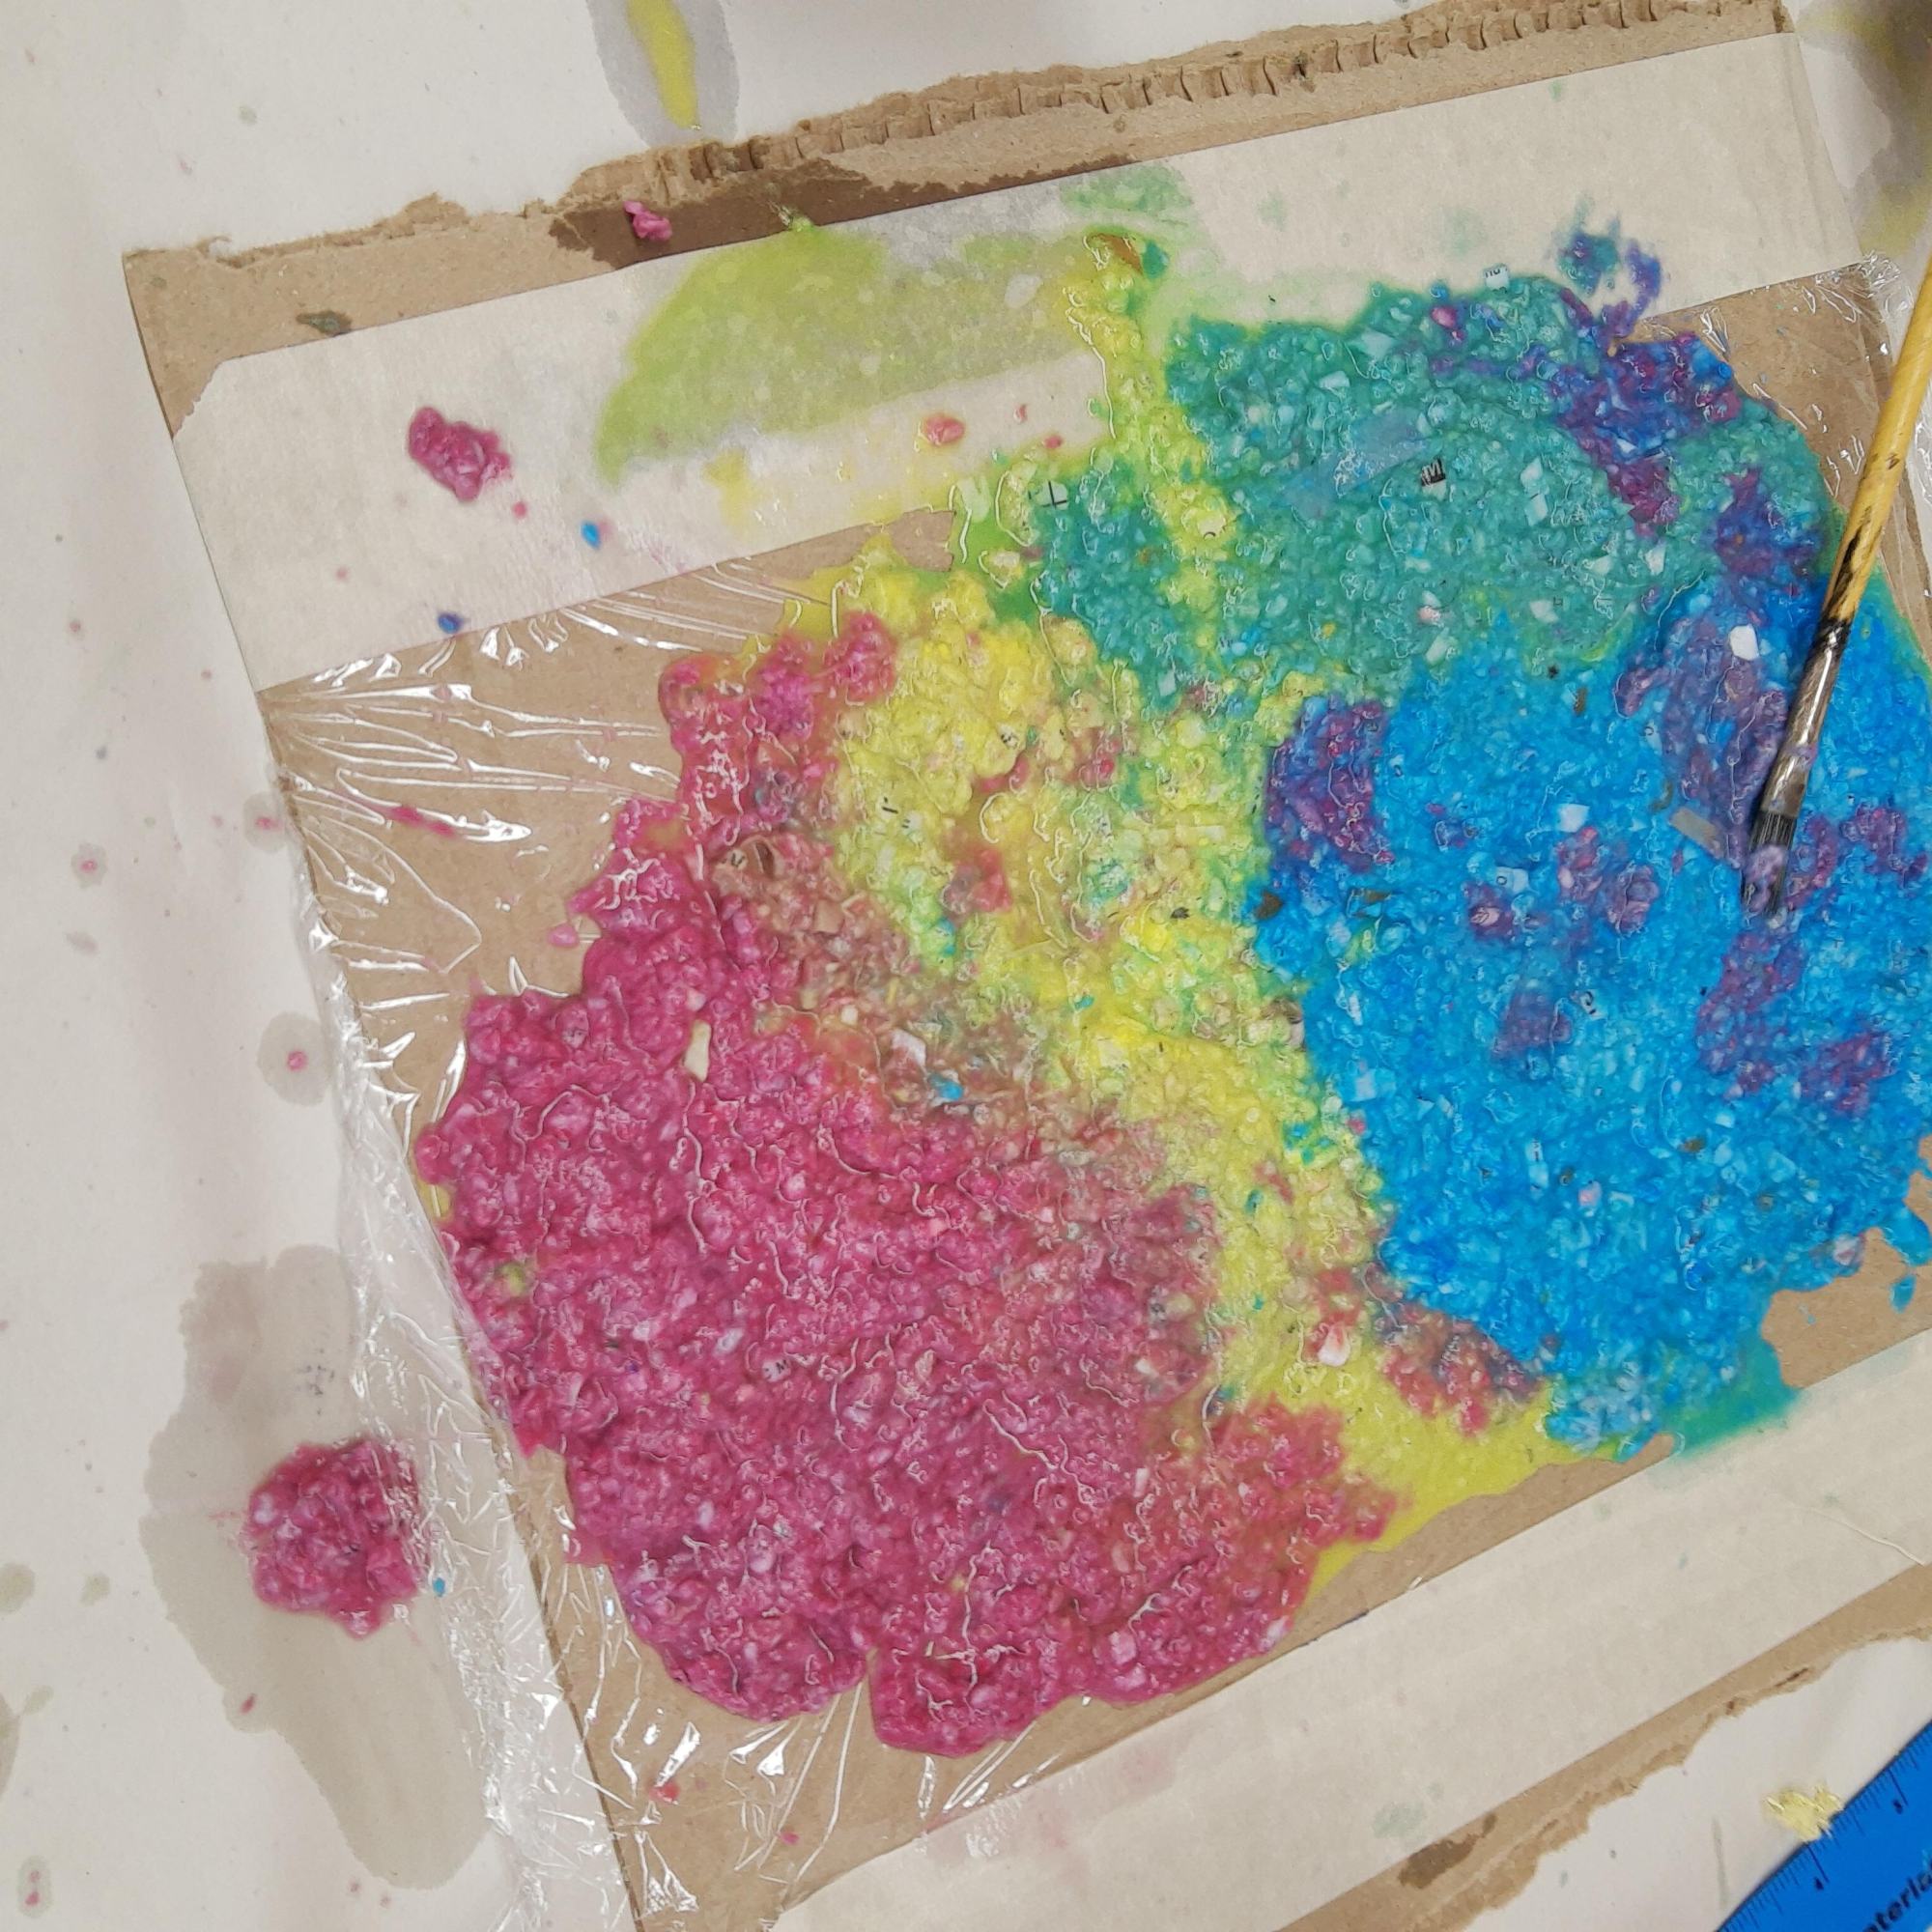
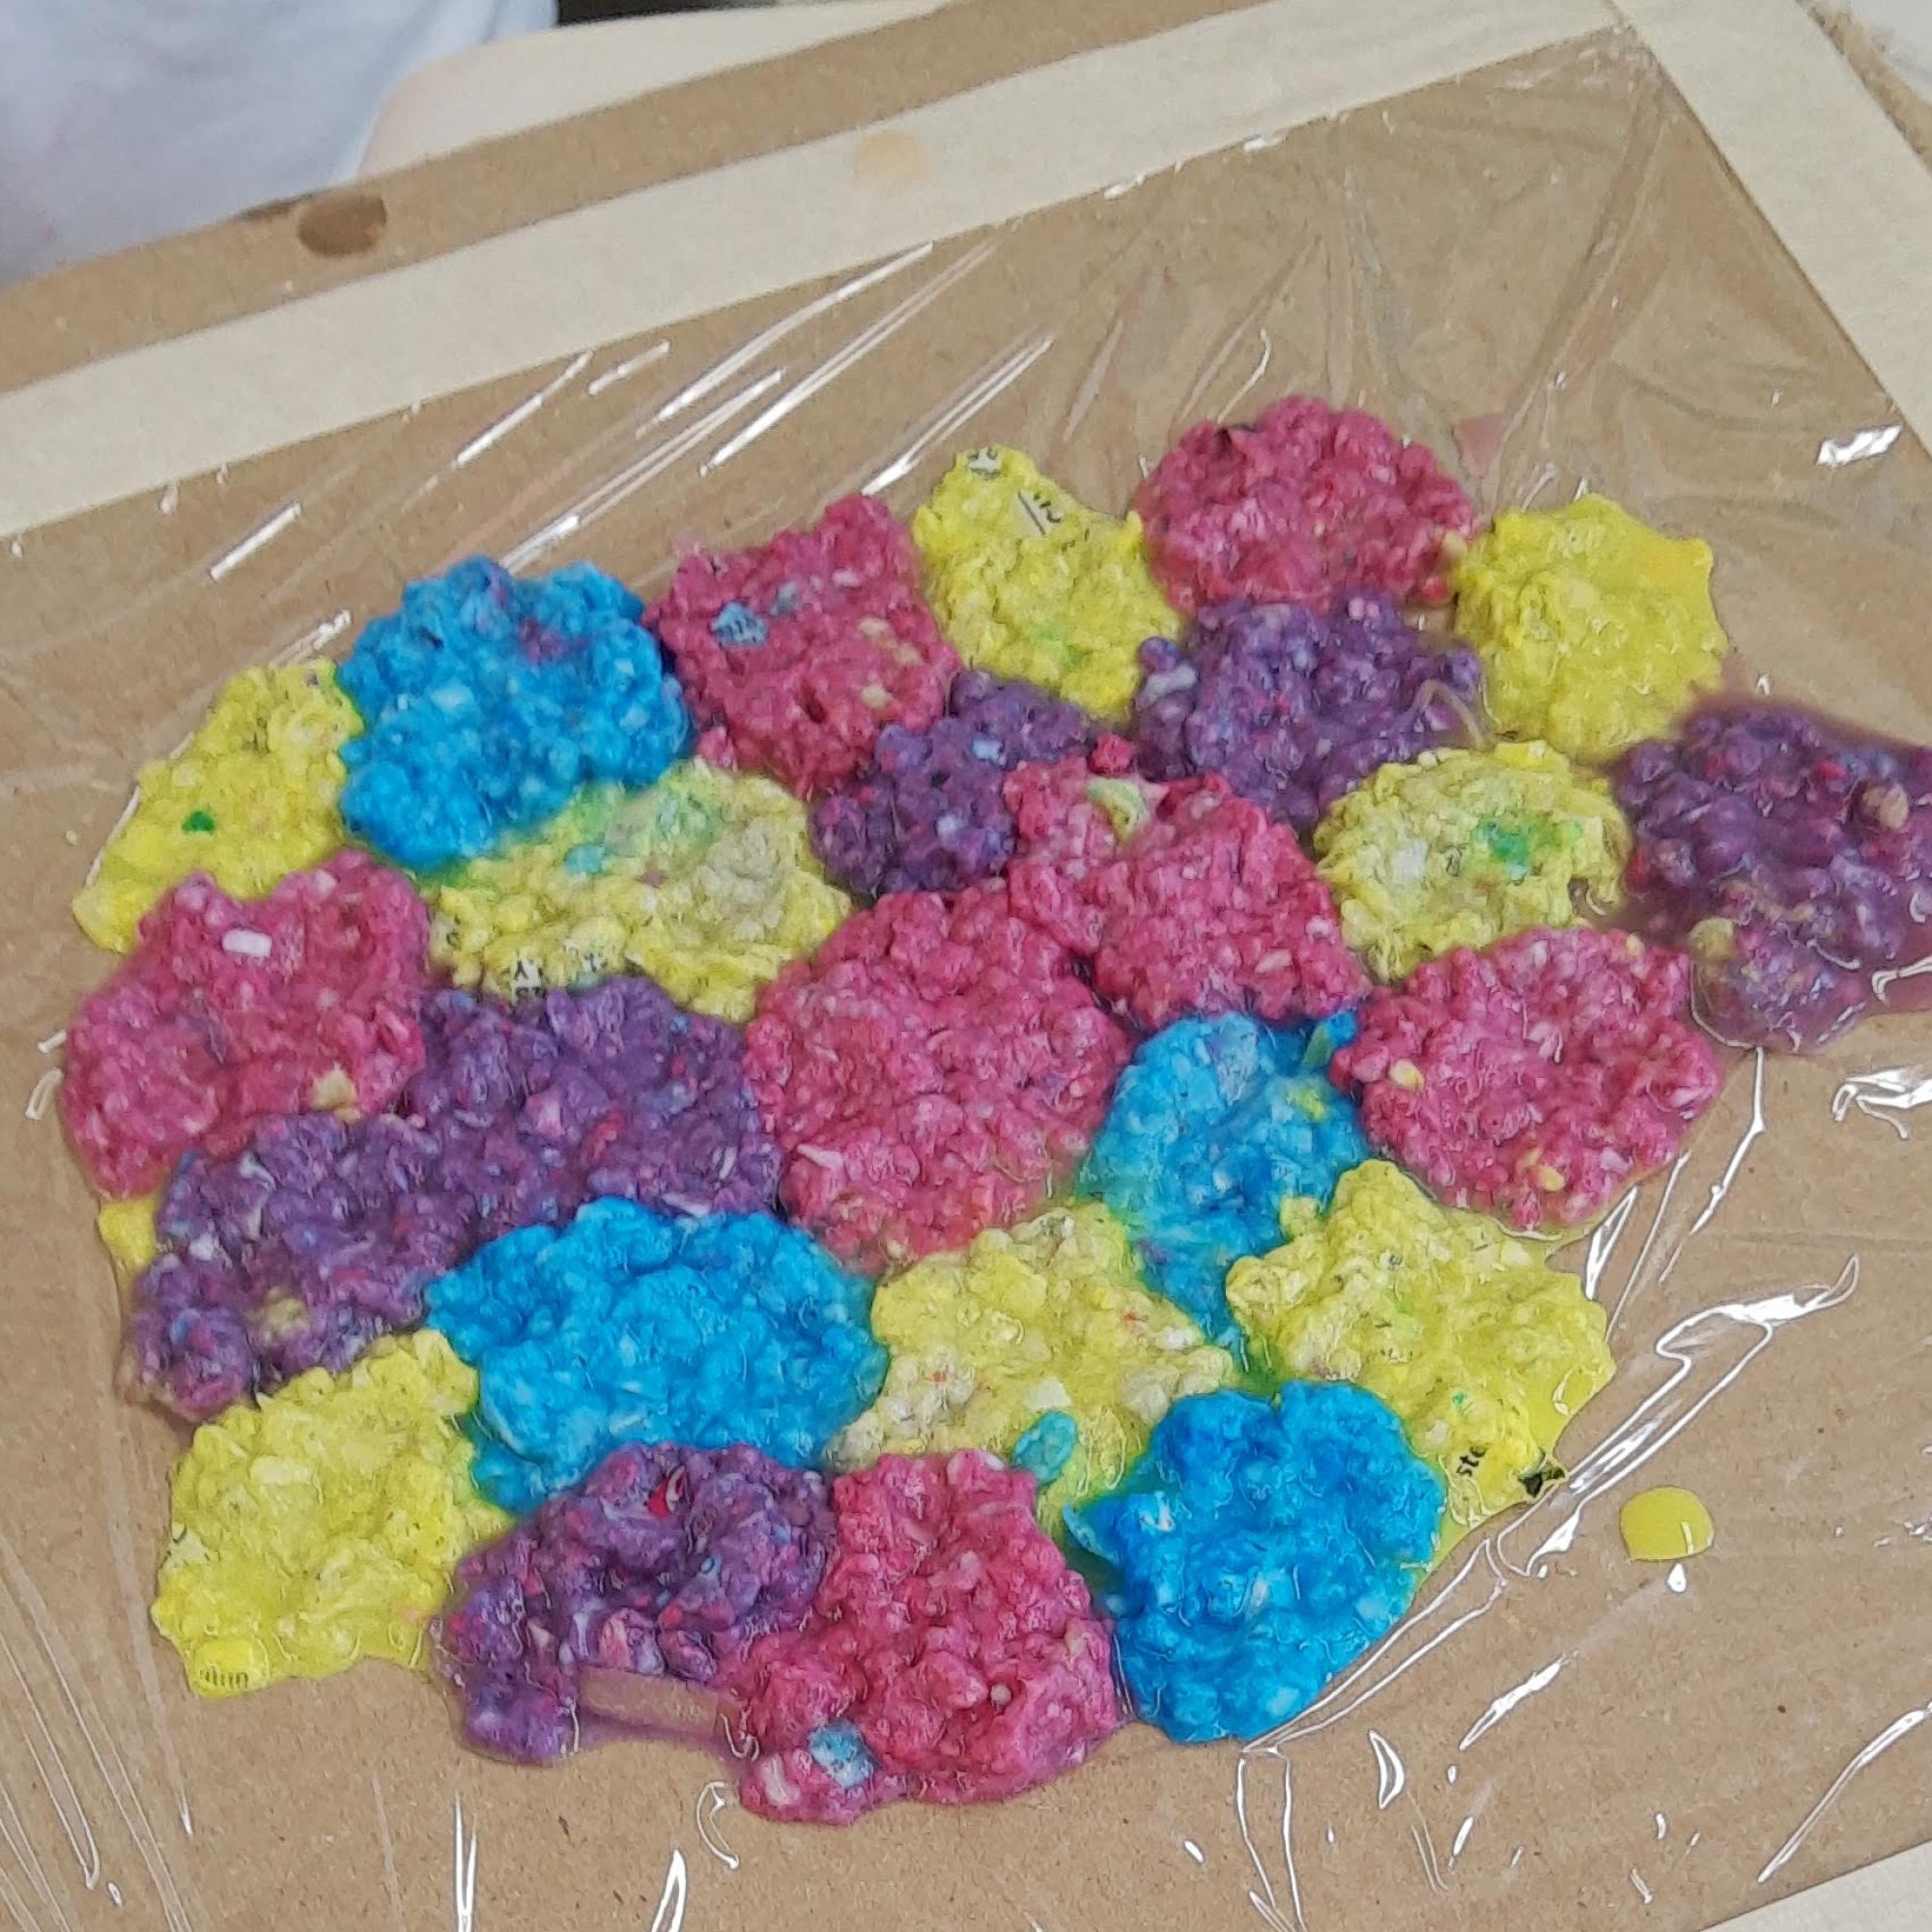
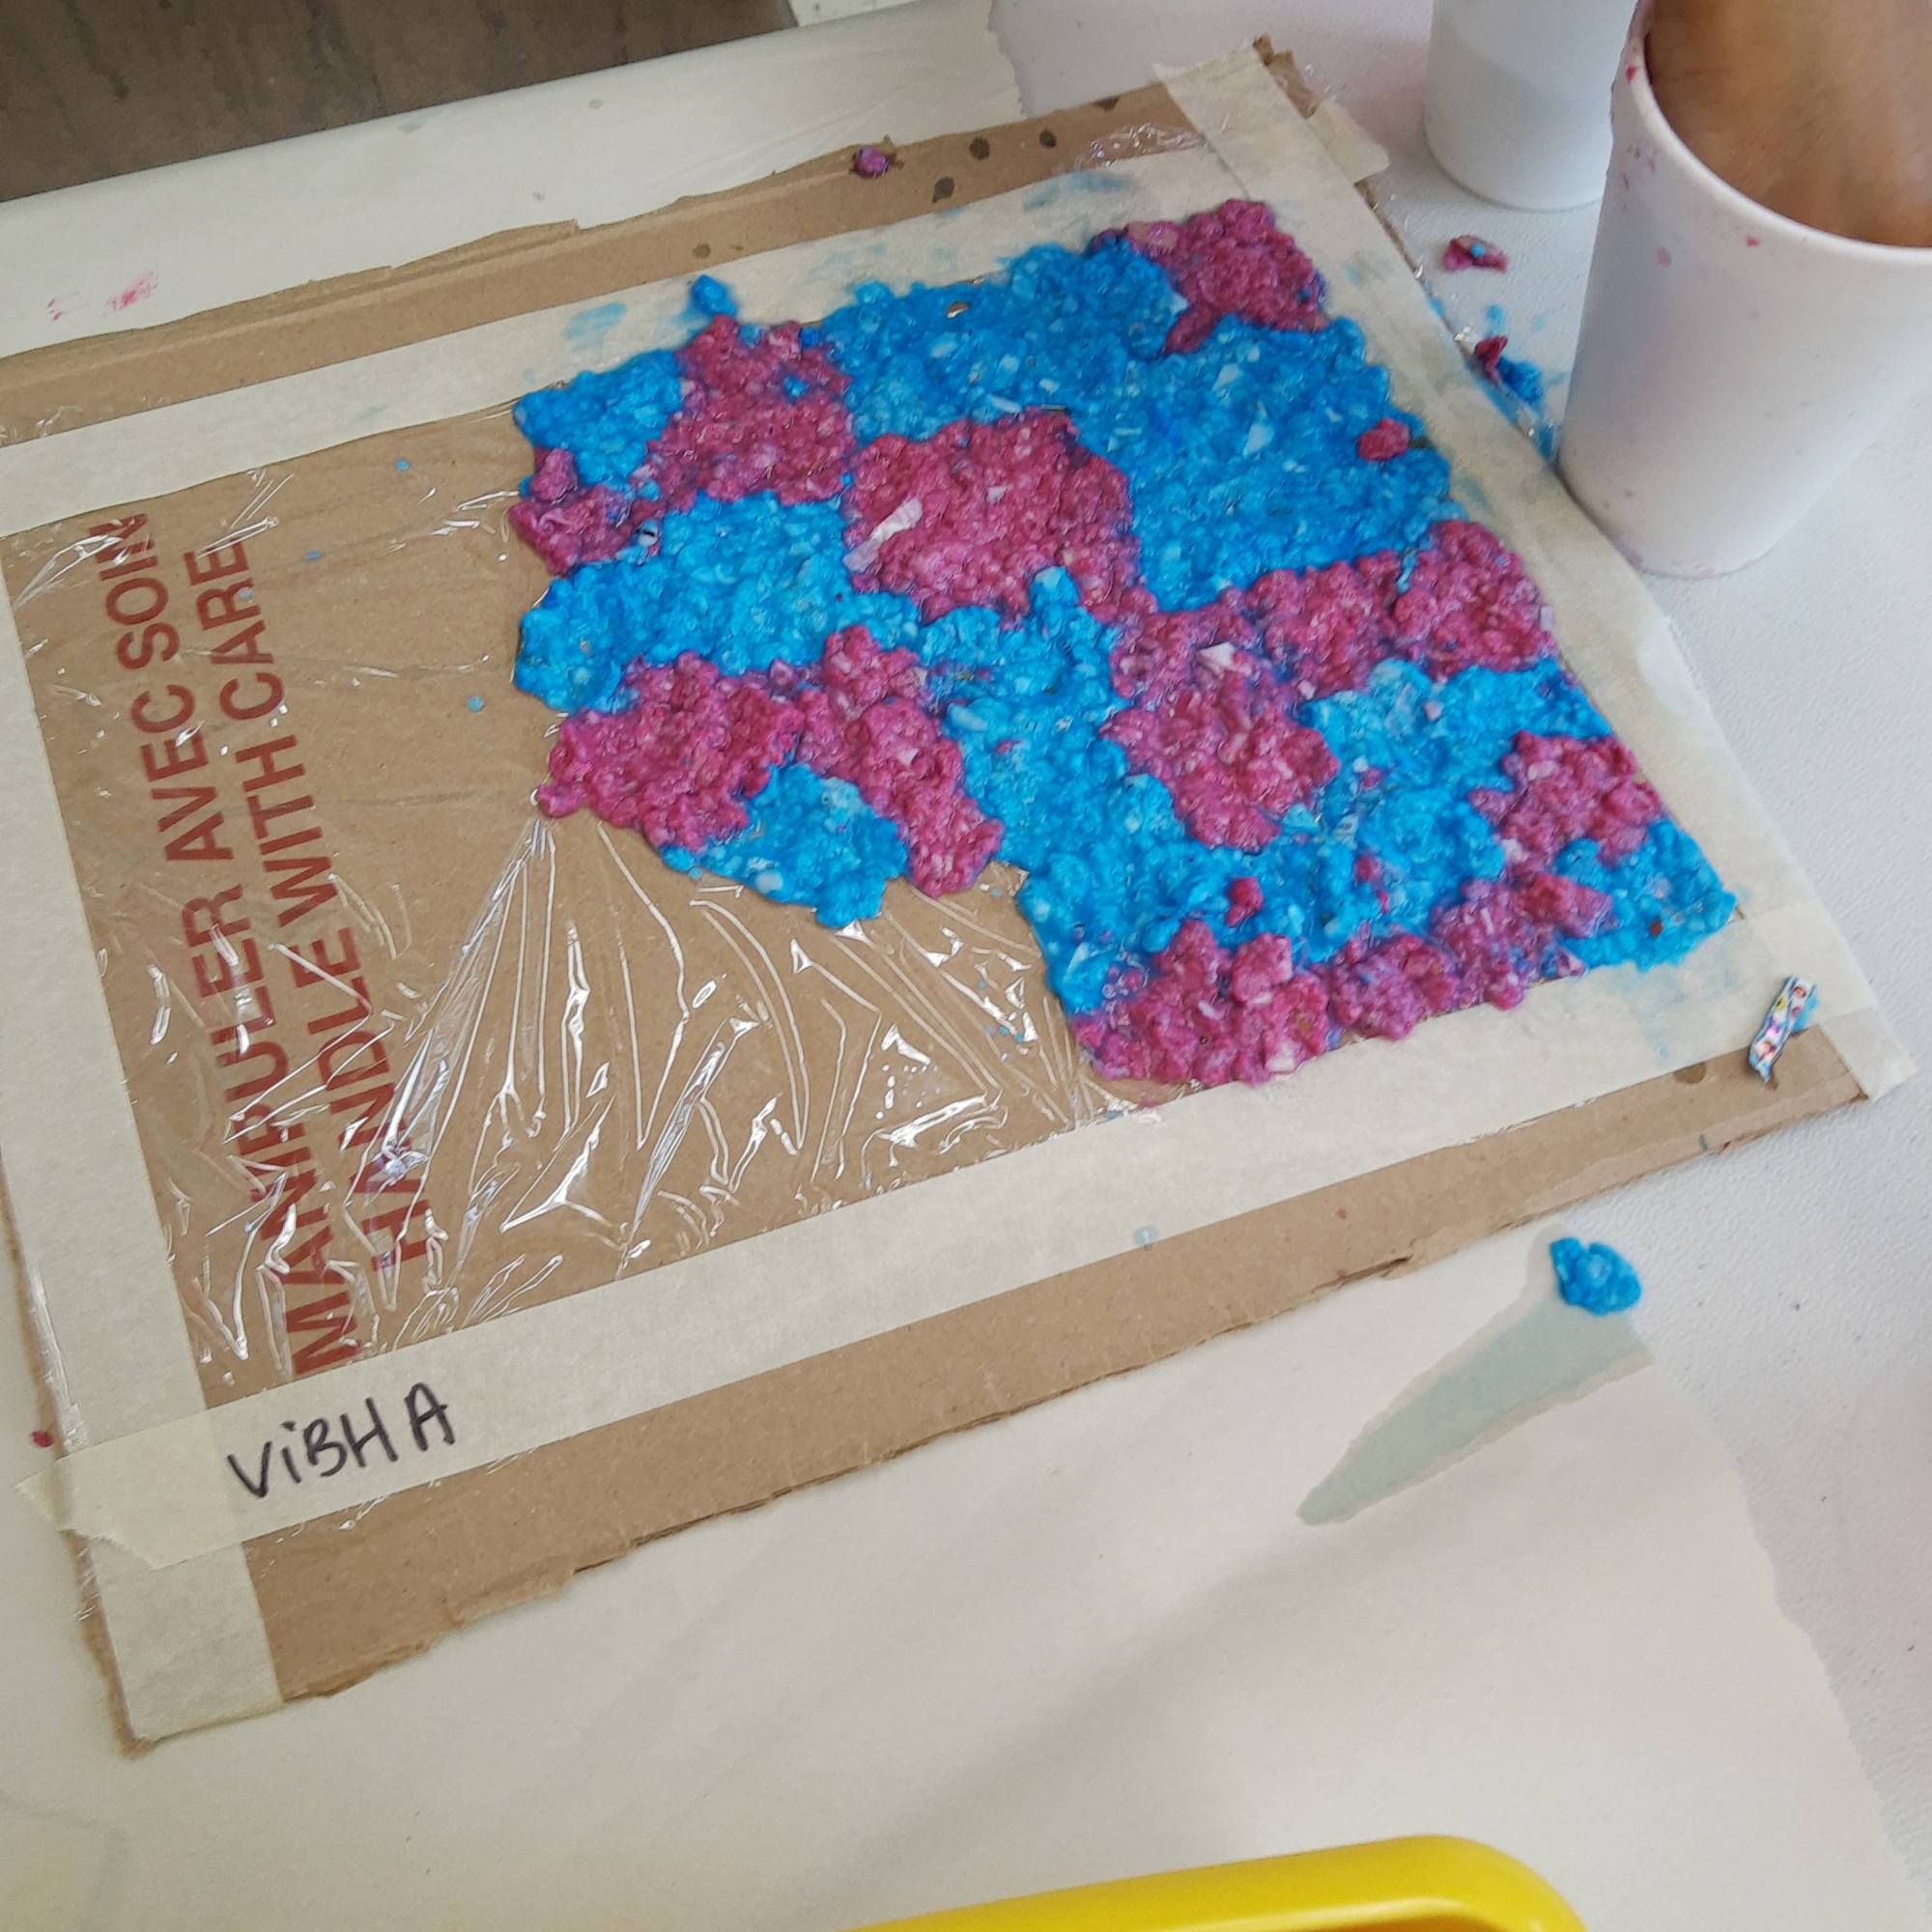
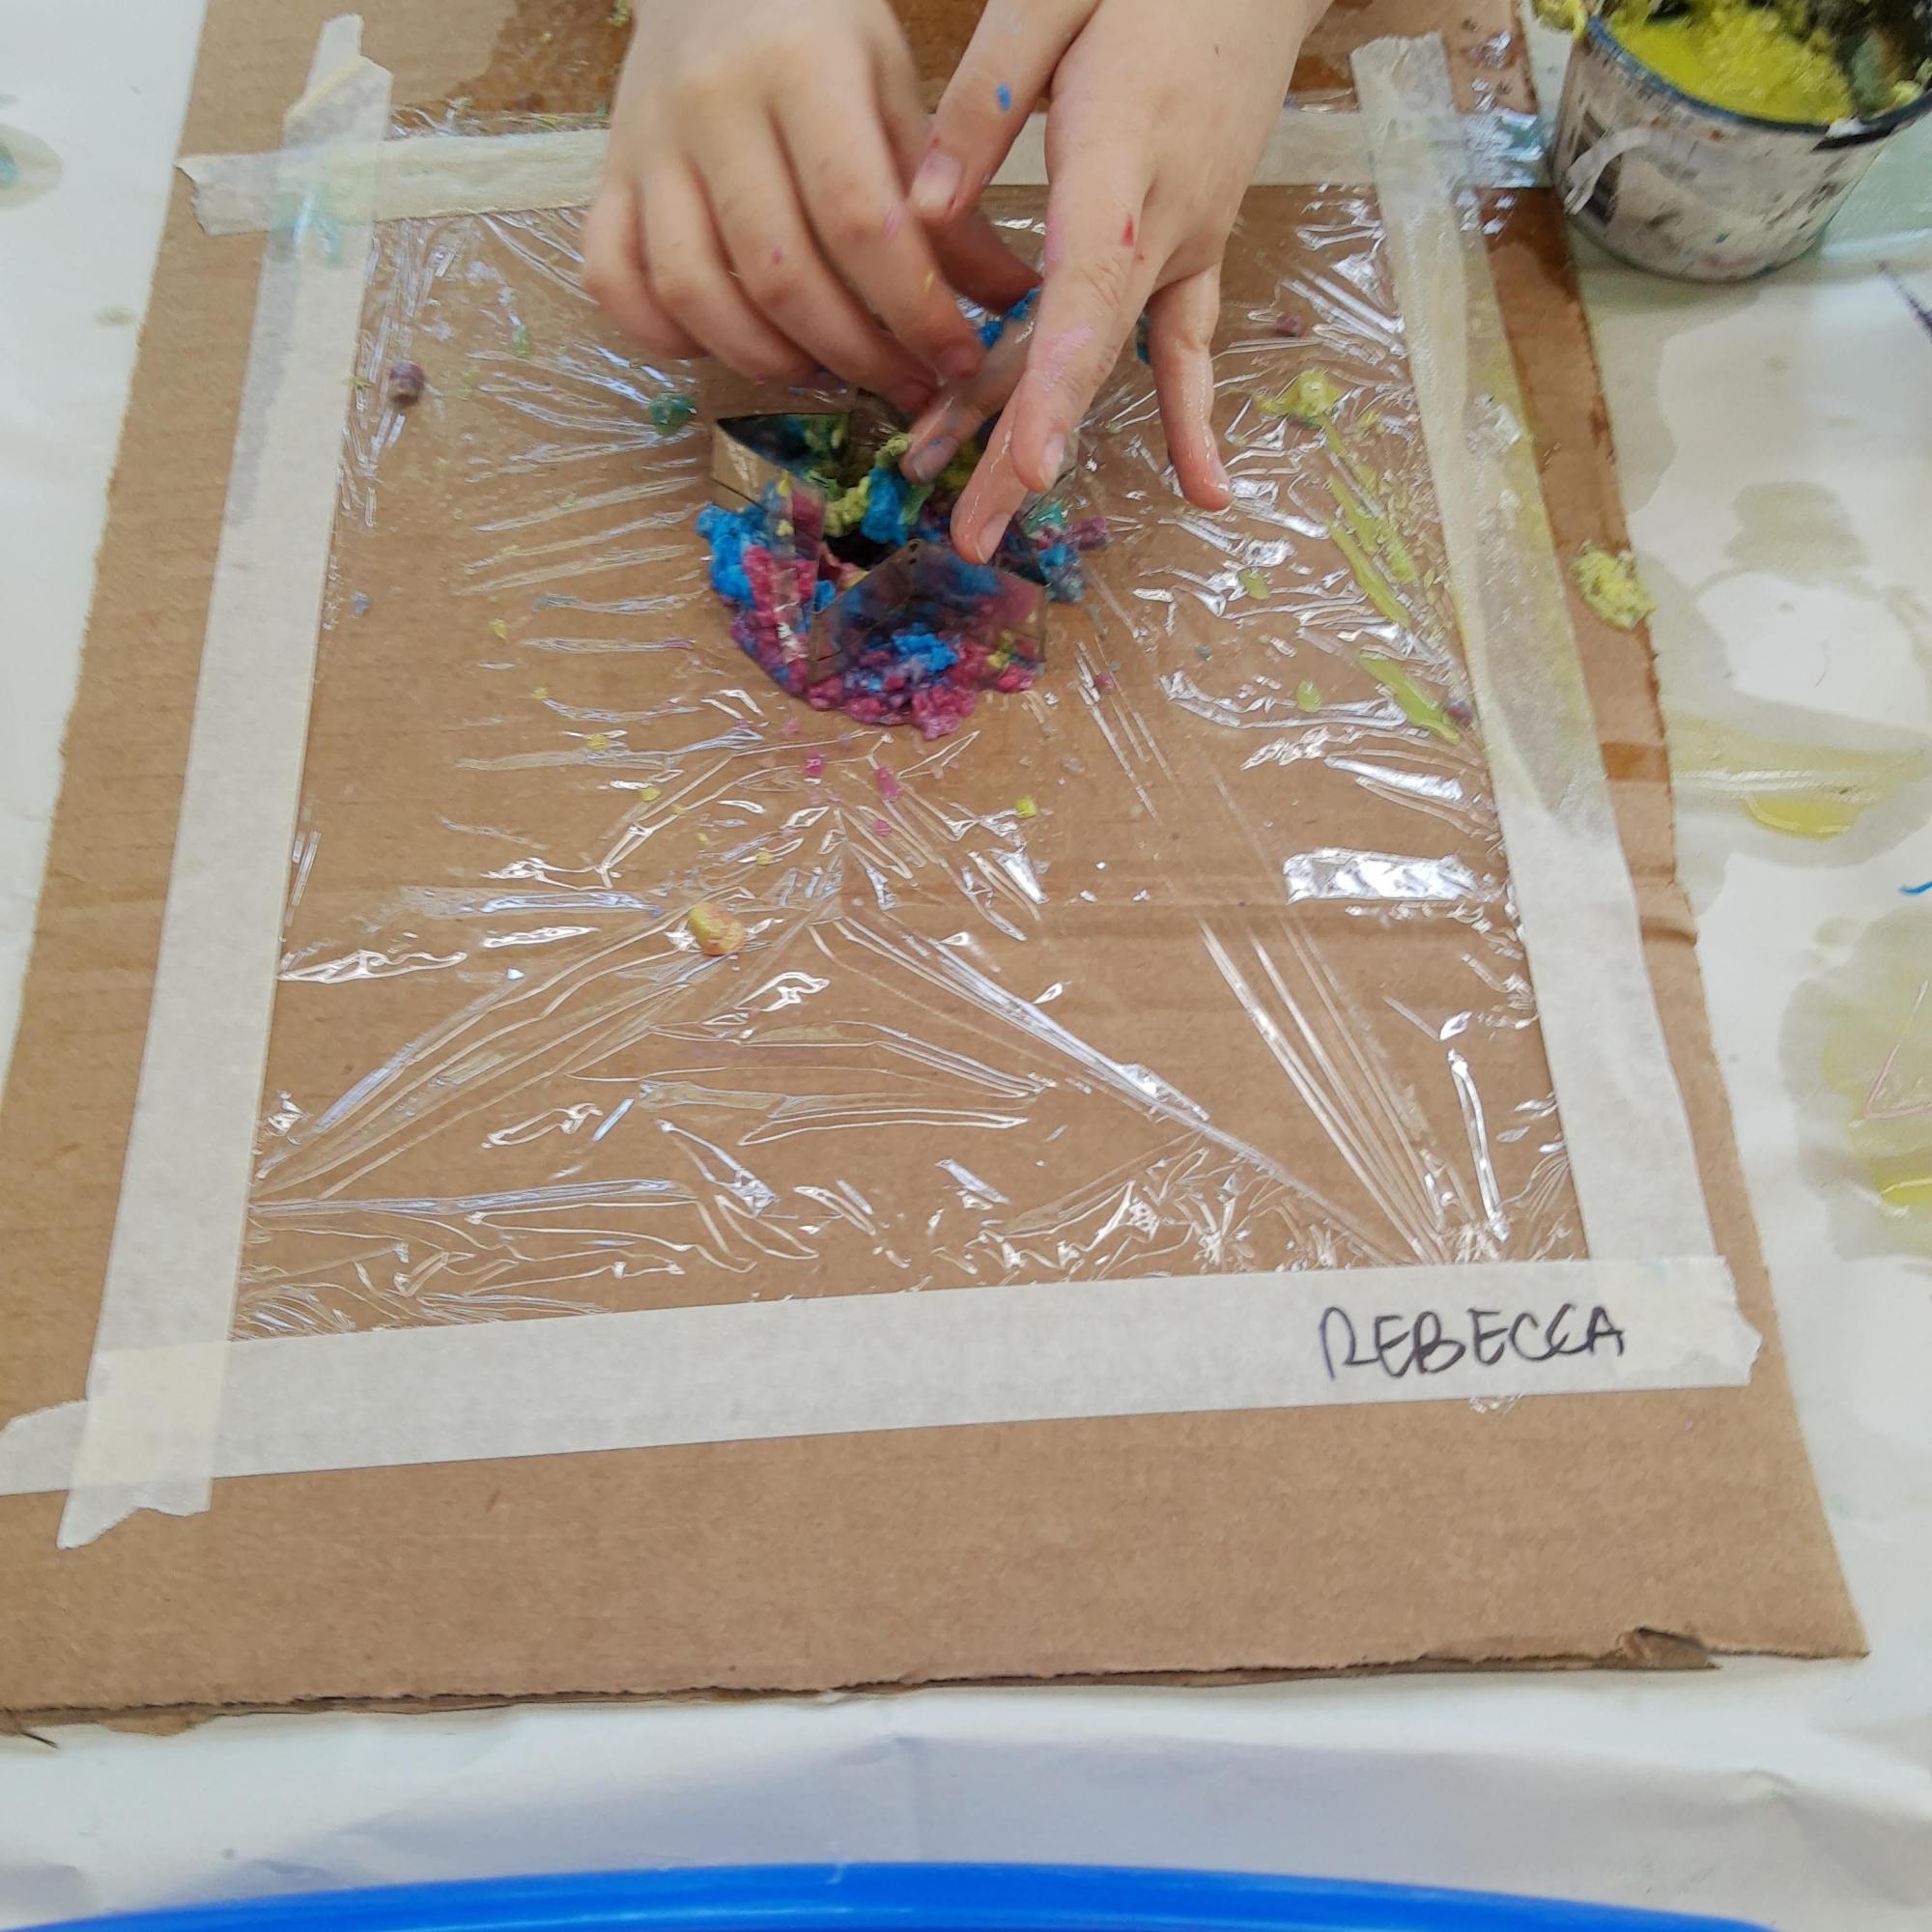
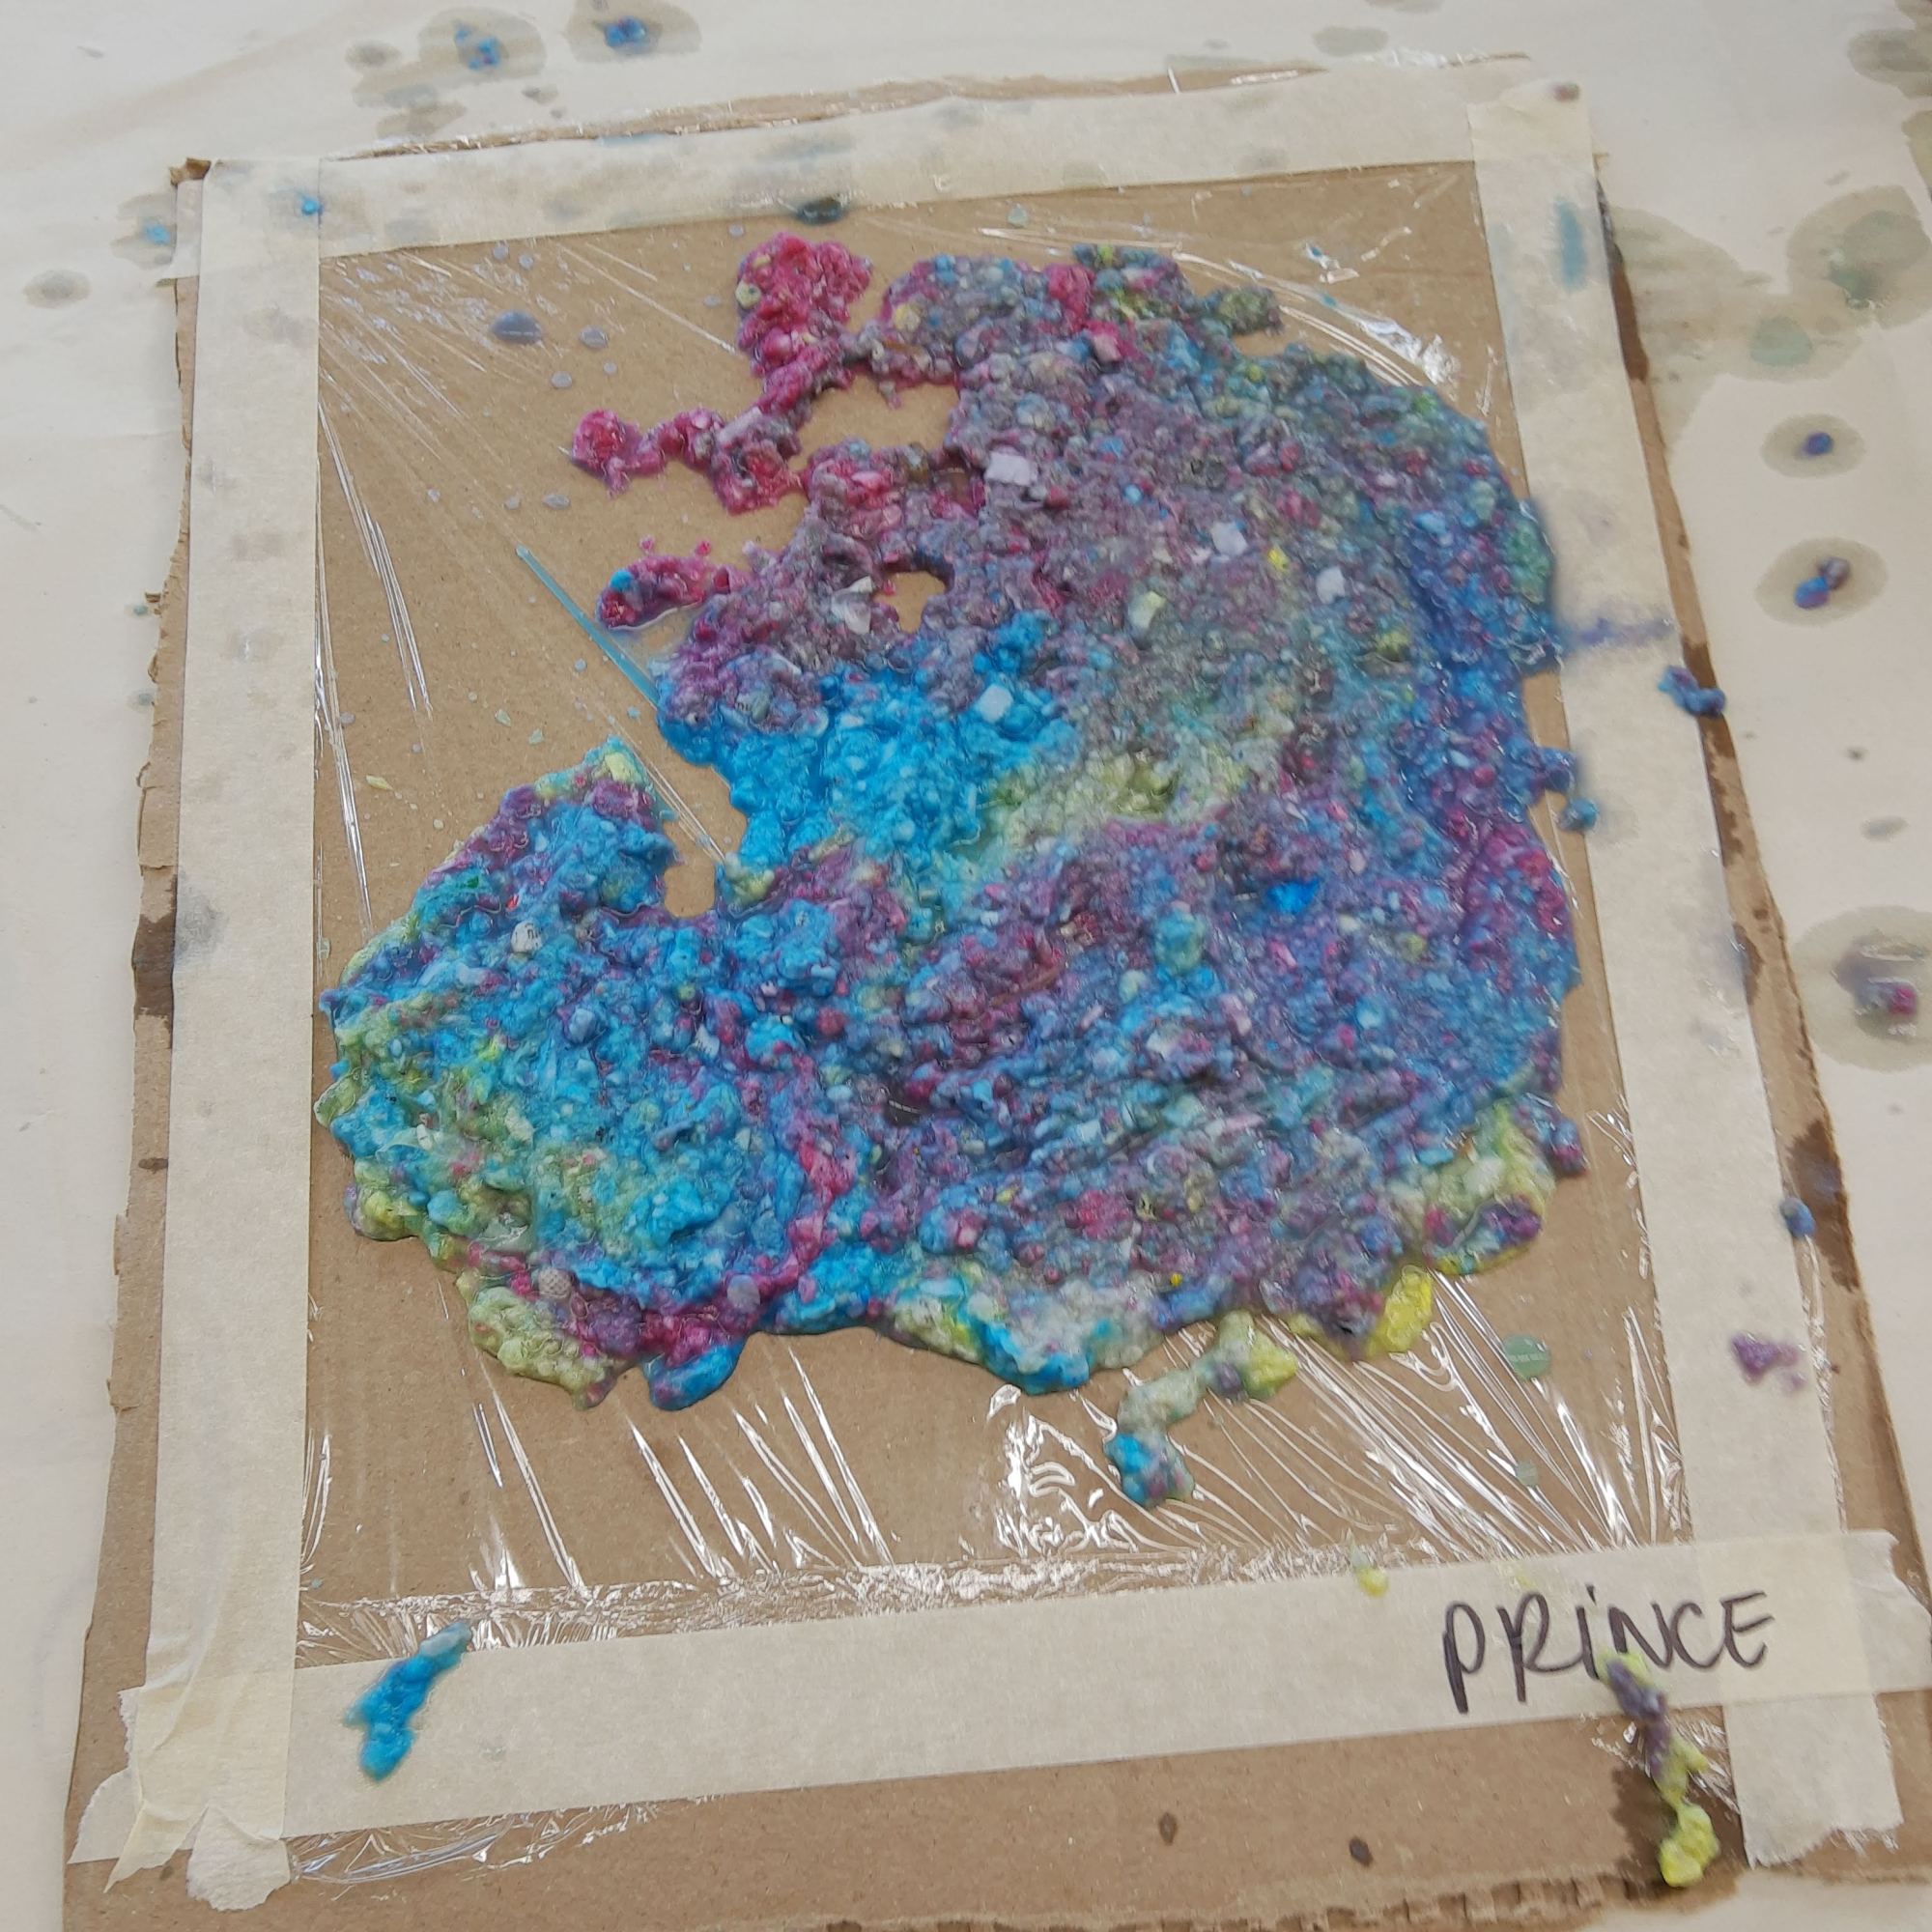
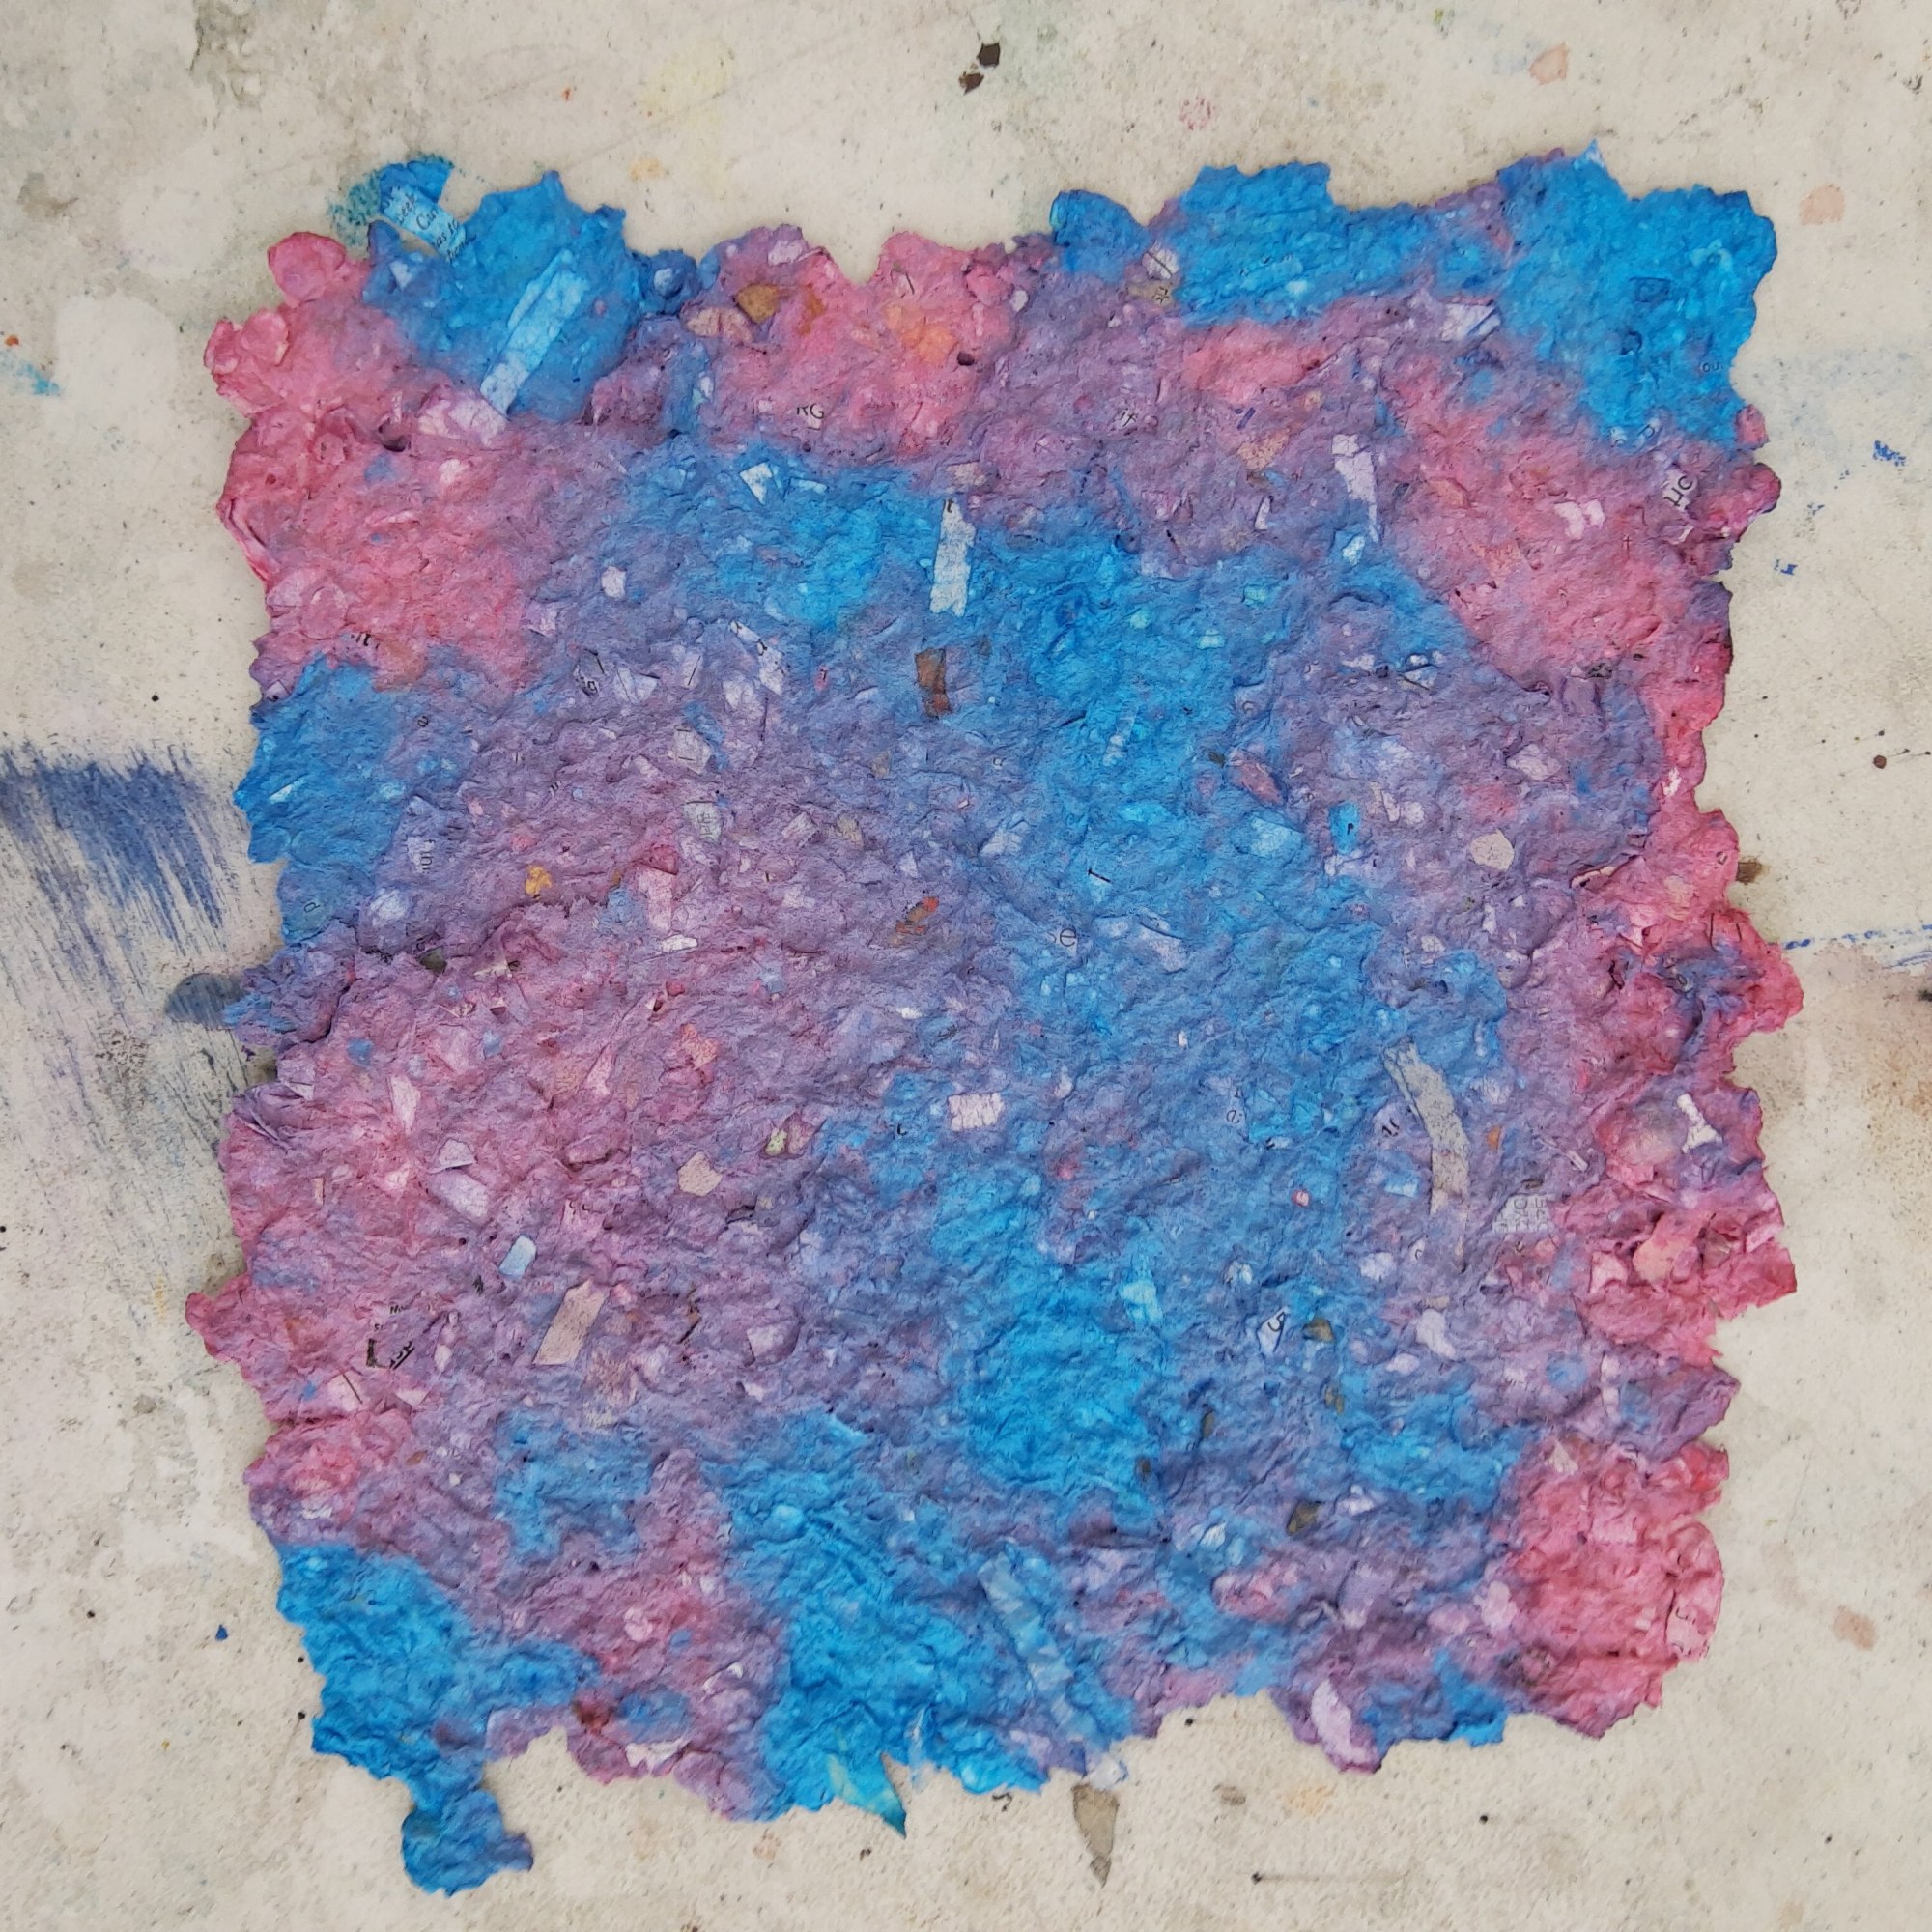
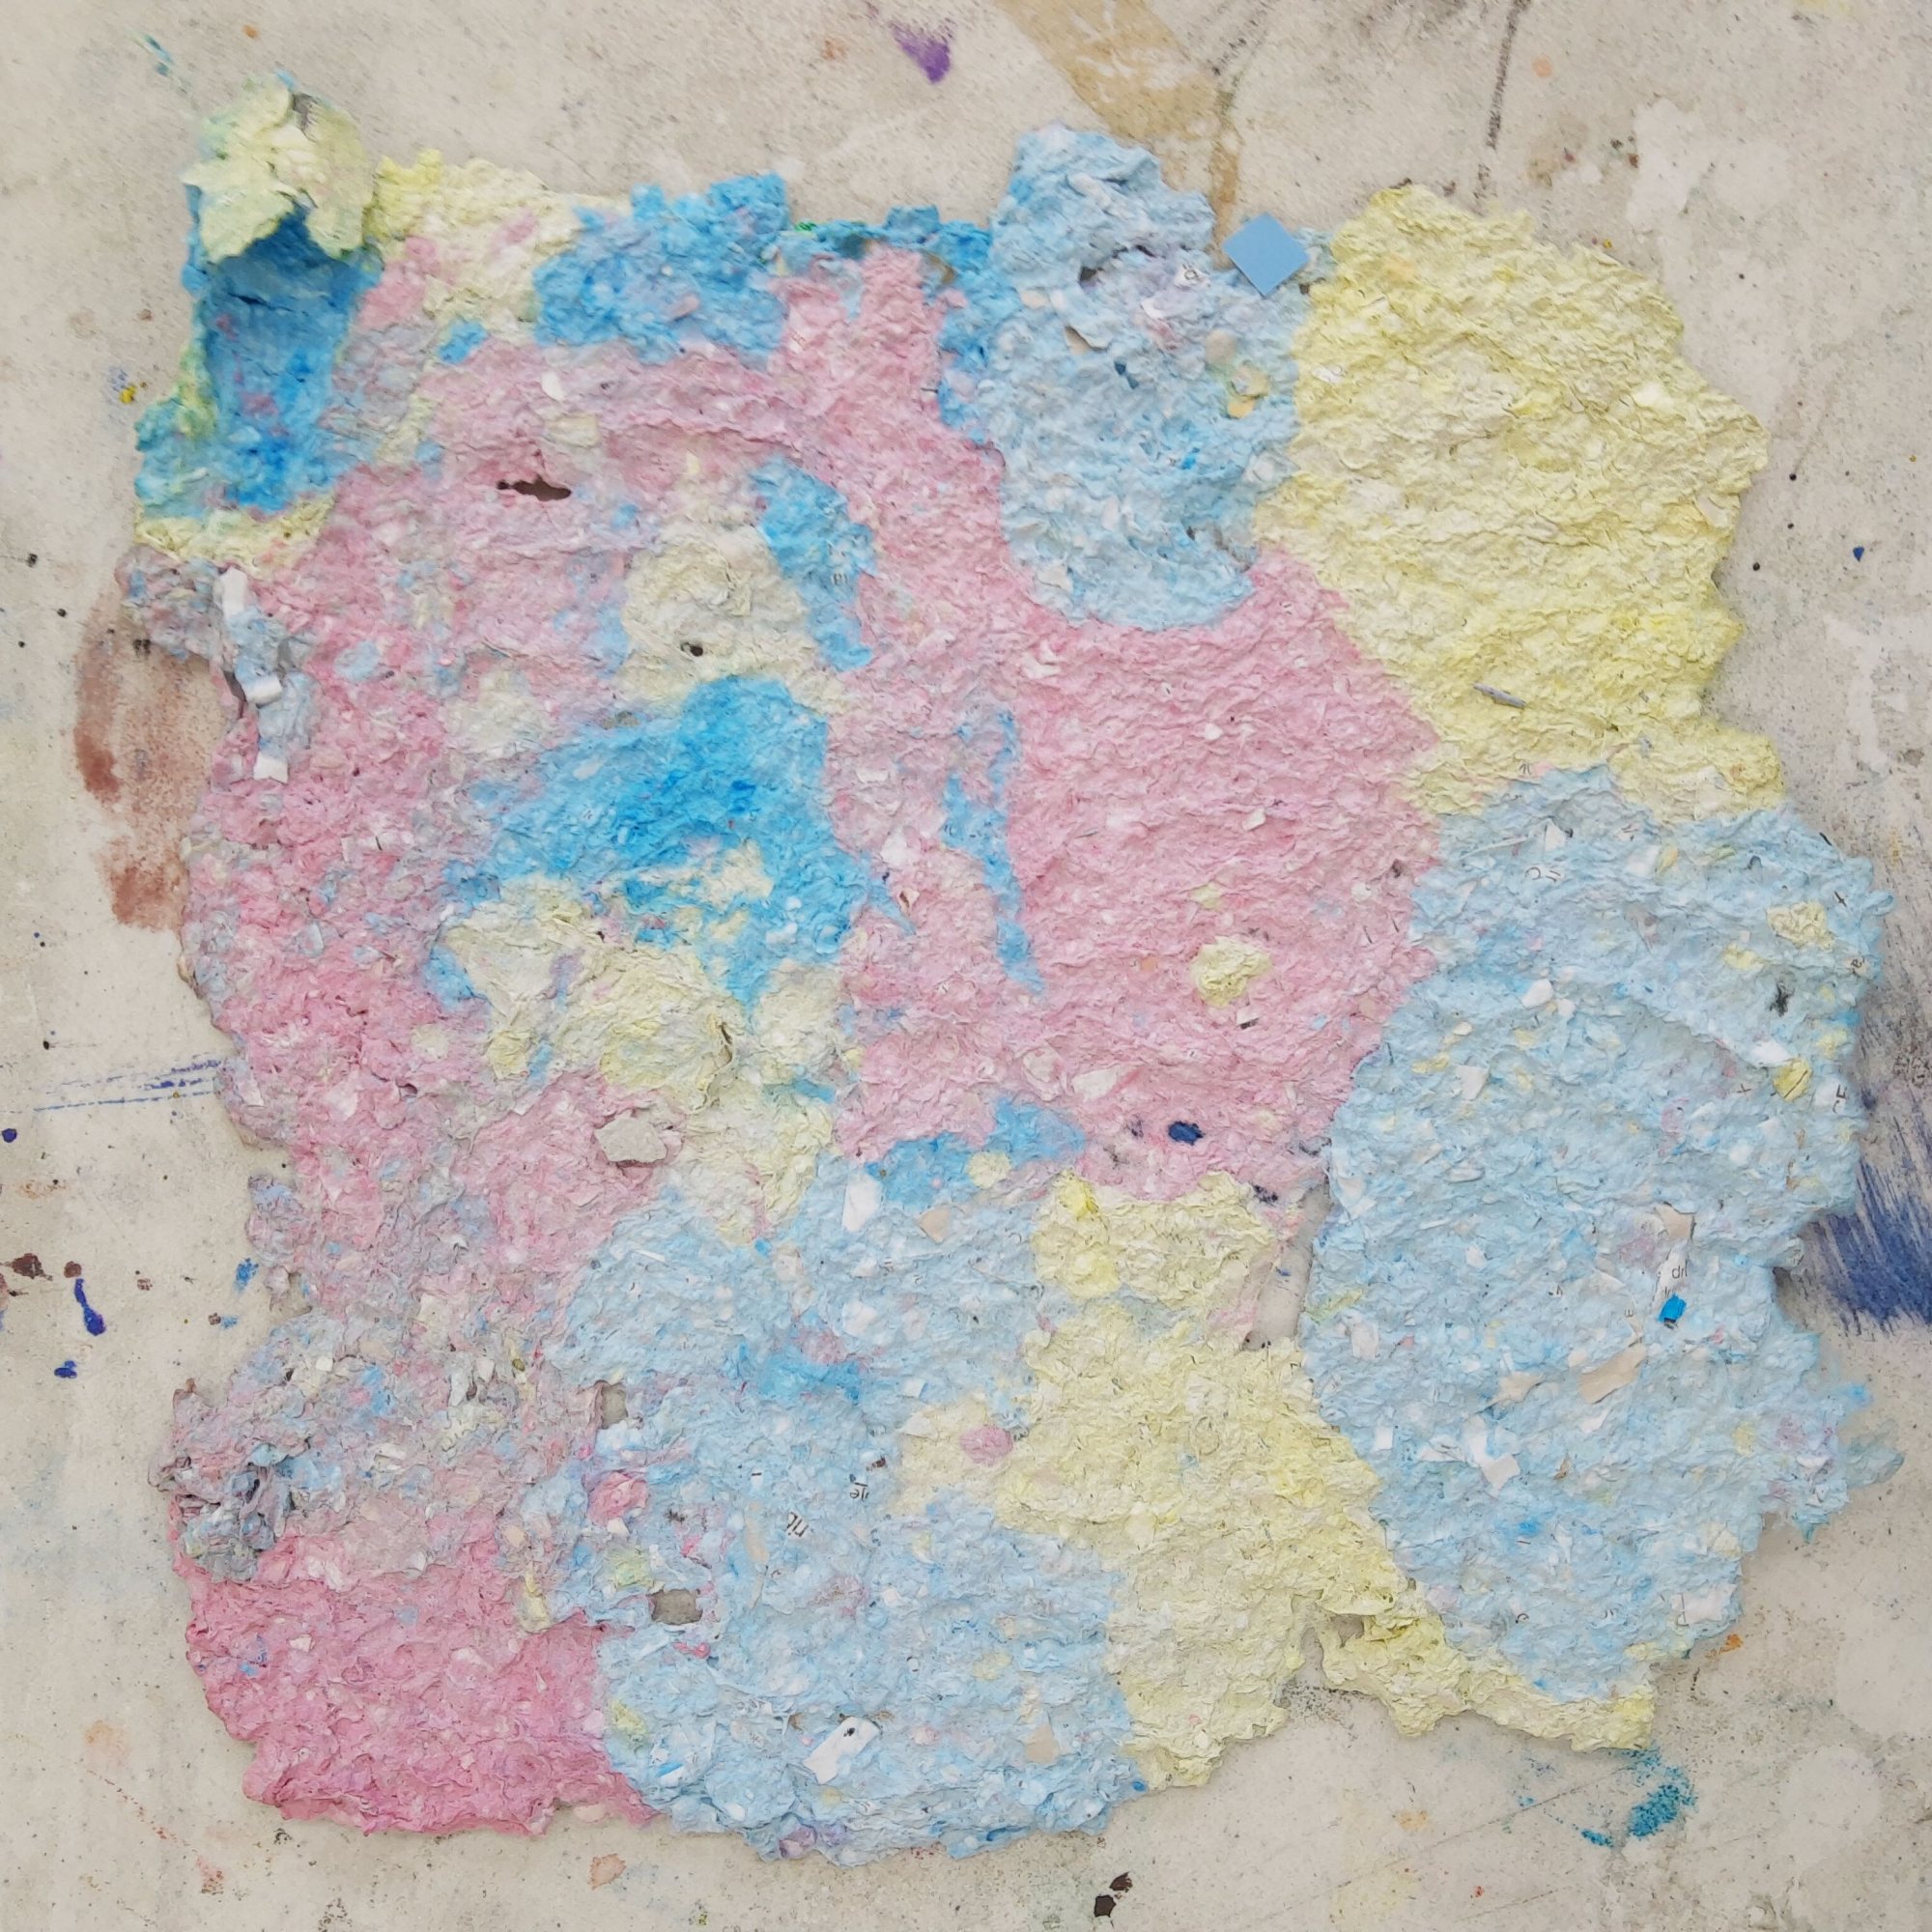
I prepped red, yellow, and blue paper pulp by blending soaked paper scraps and adding acrylic paint to the blender. The main paper pulp was in big tubs and students used smaller cups to scoop up paper pulp to take to their seats. Students created paper pulp designs on top of a piece of cardboard covered in plastic wrap.
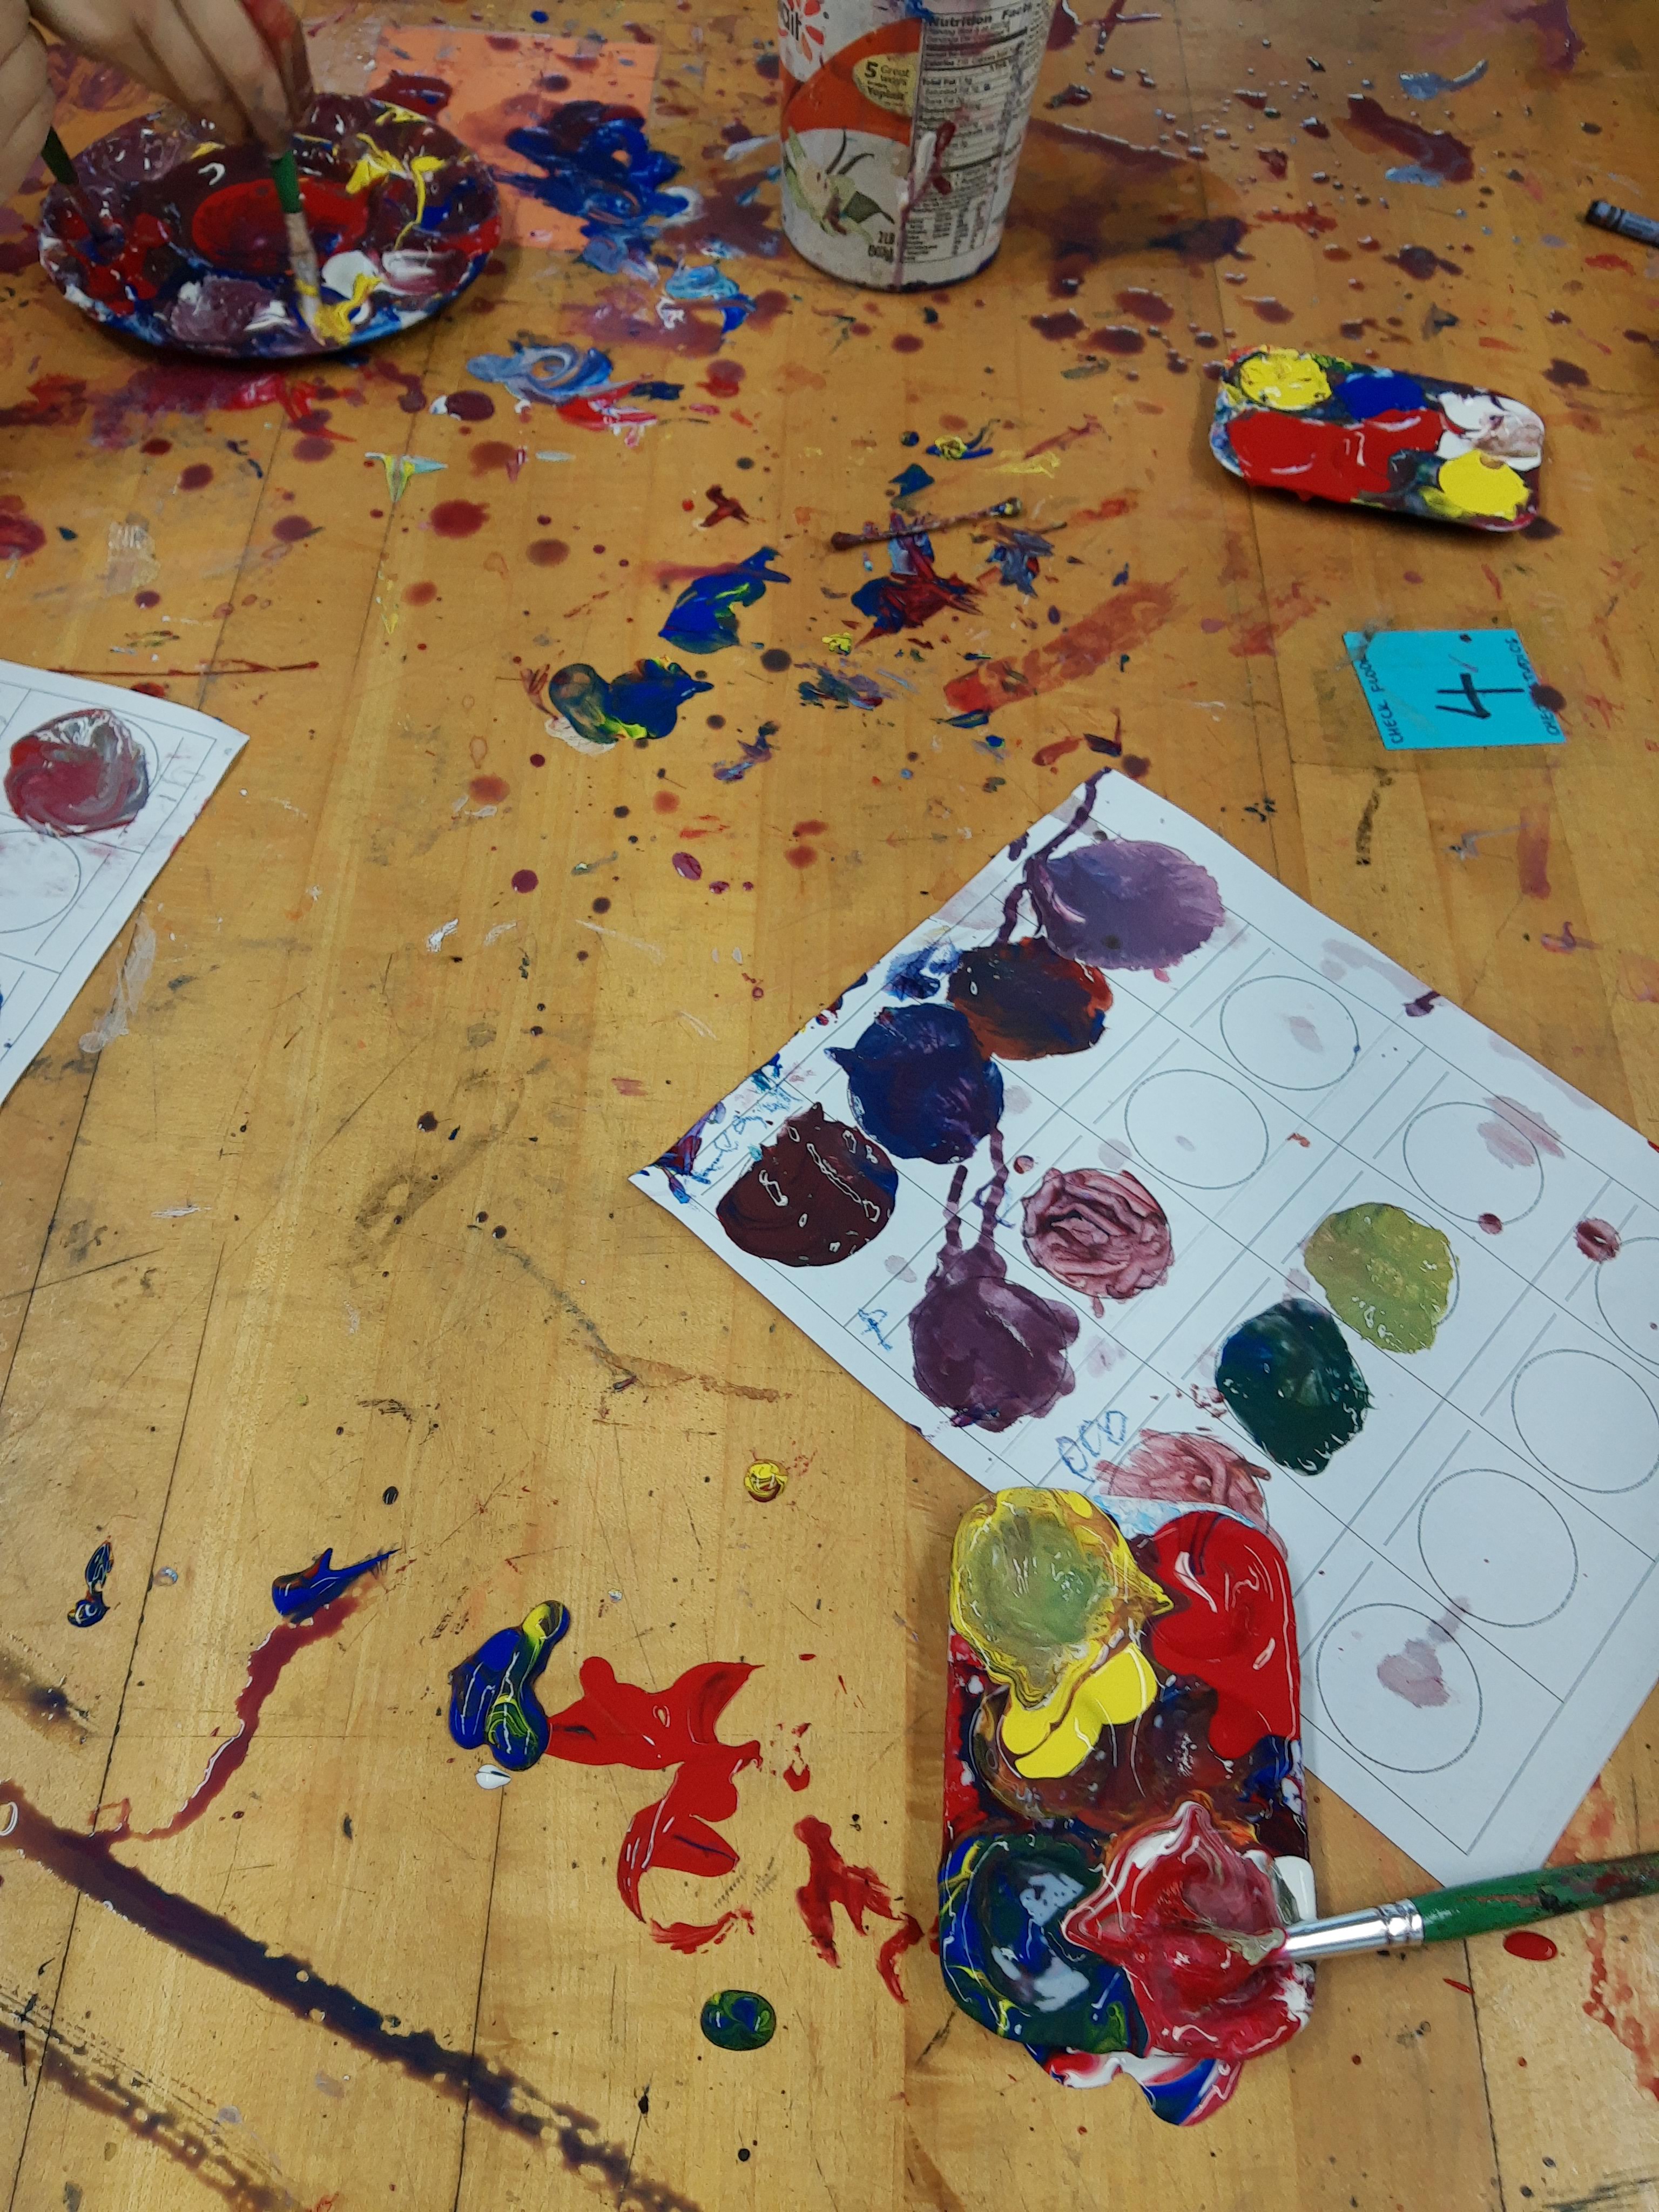
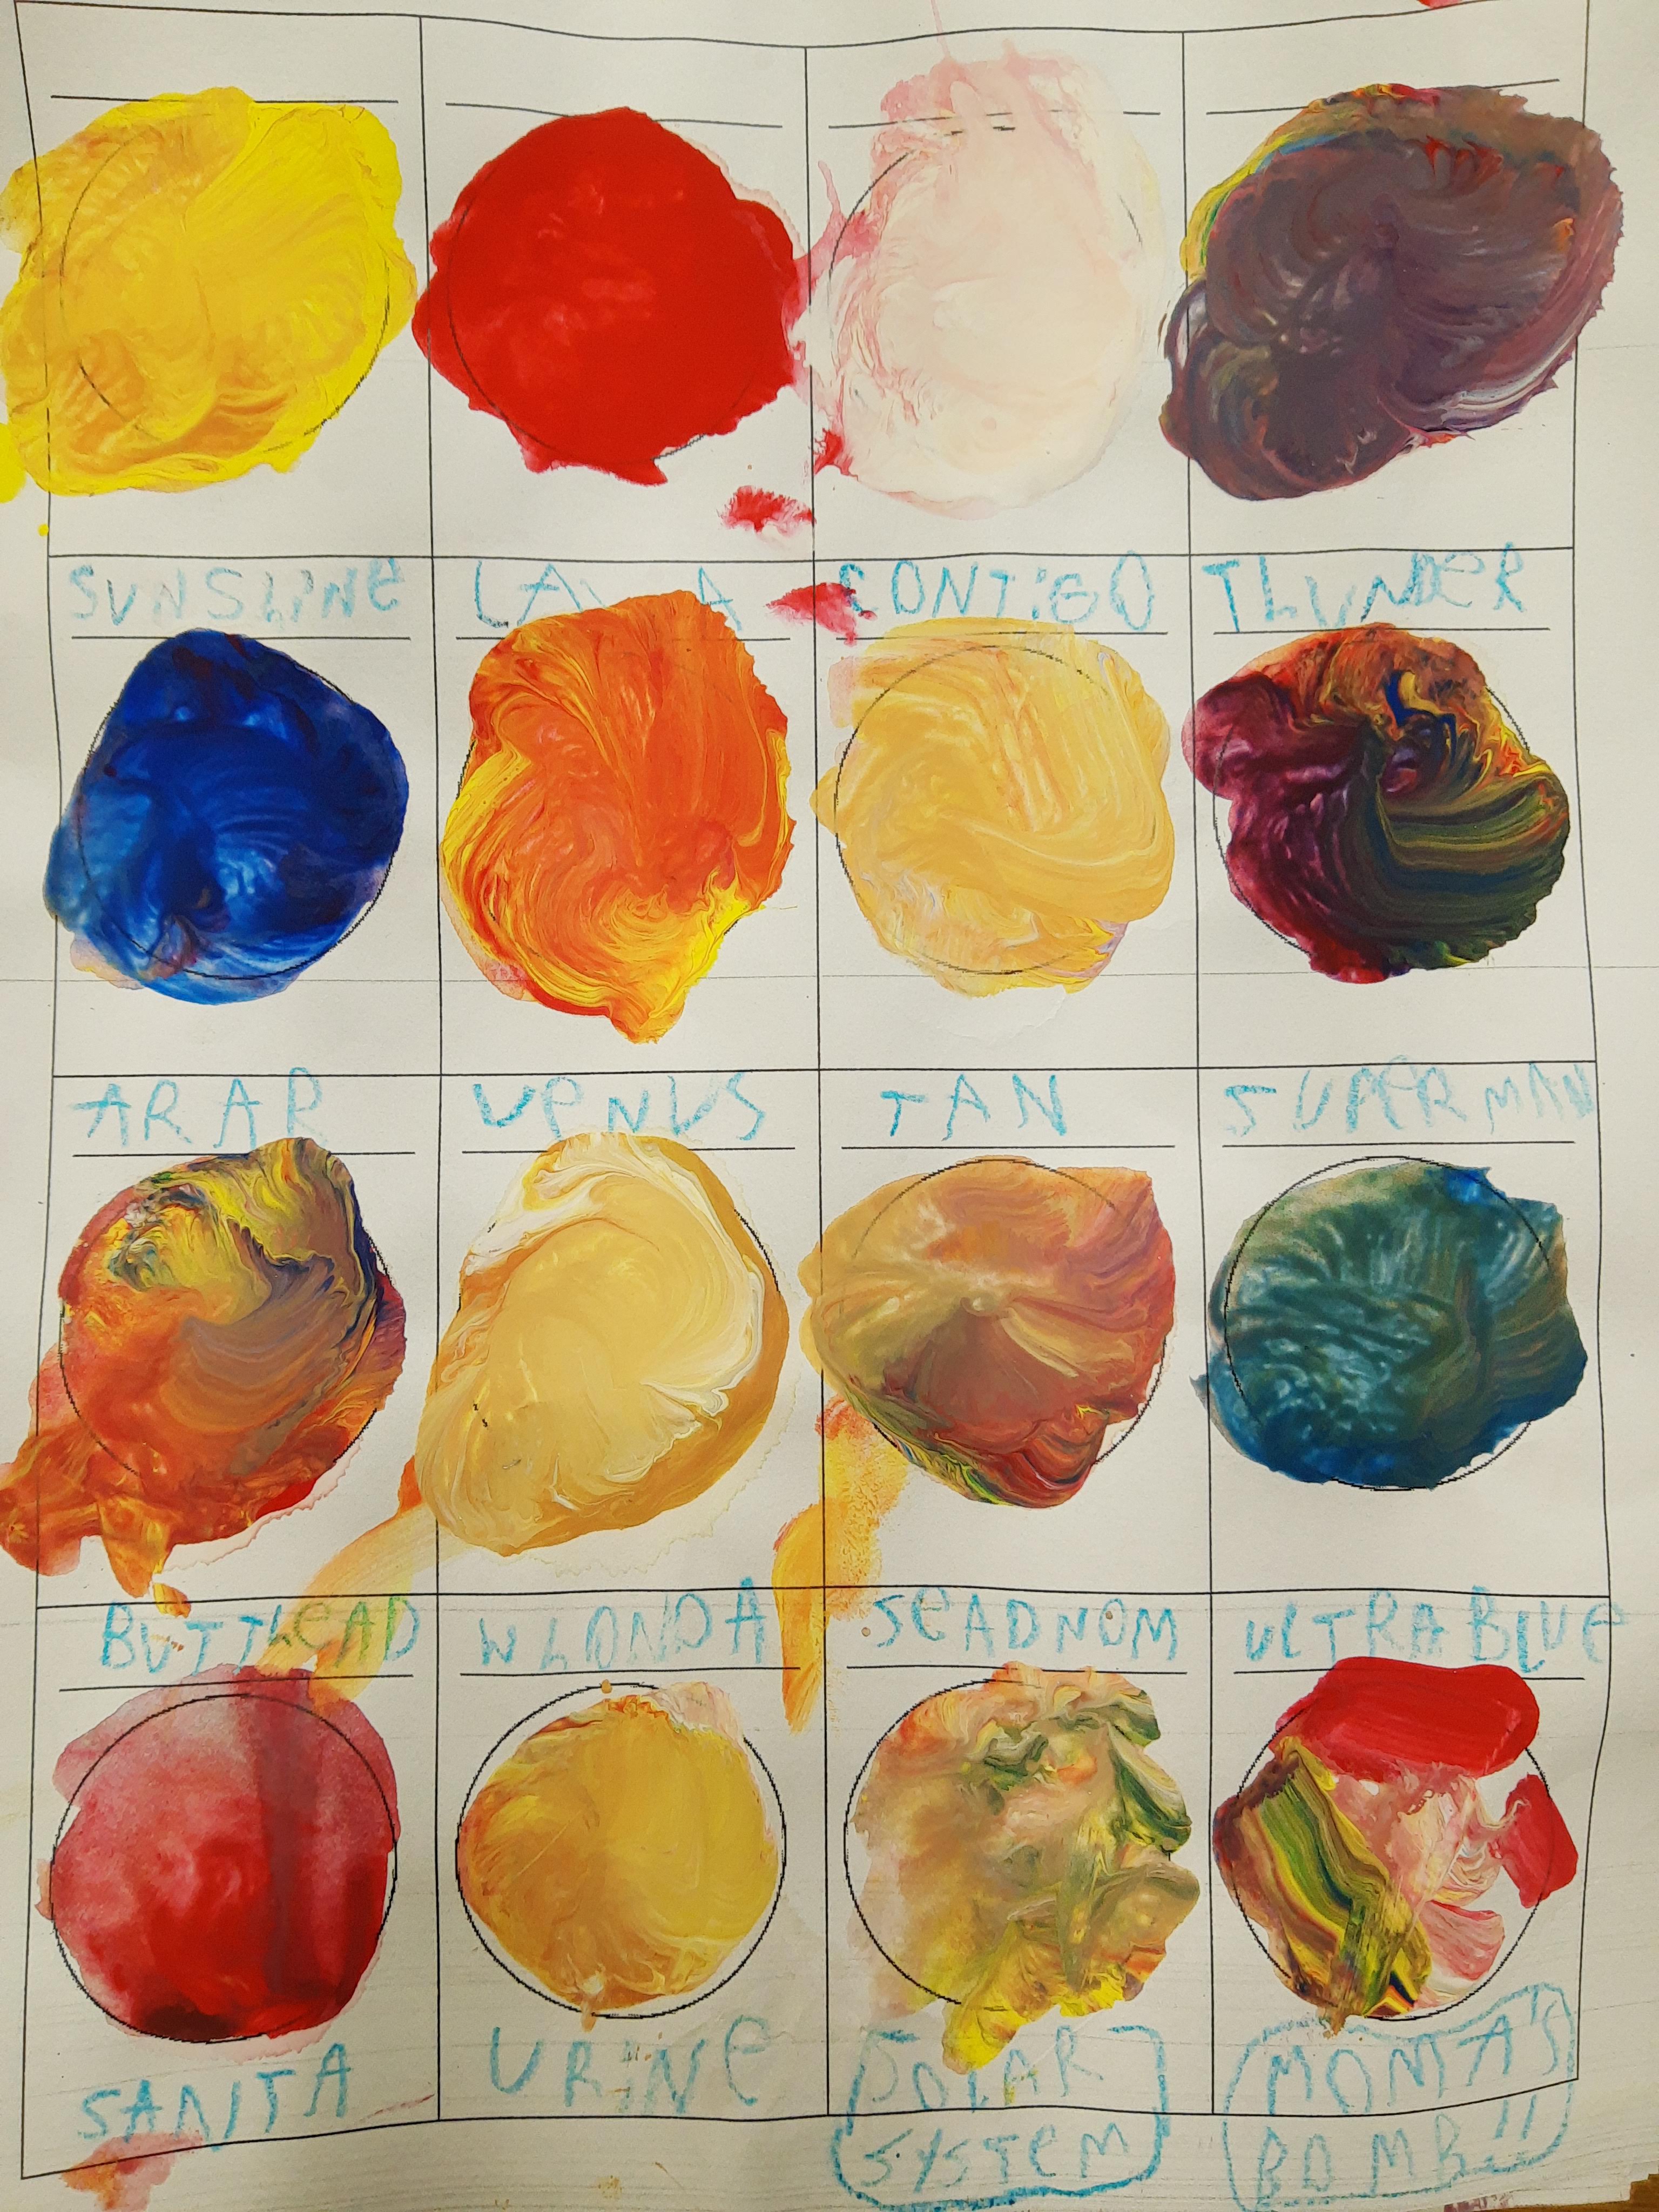
I taught this lesson with lower elementary a few weeks ago. We talked about primary colors and how they are super special colors because you can’t create them with any other colors. And primary colors can create a ton of new colors when mixed together.
To practice mixing colors, each table got red, yellow, blue, and white paint and students created and named as many colors as they wanted. I love how creatively students named their colors. Some of my favorite color names were “blainbow”, “stinckpot”, “peace” and “thunder”.
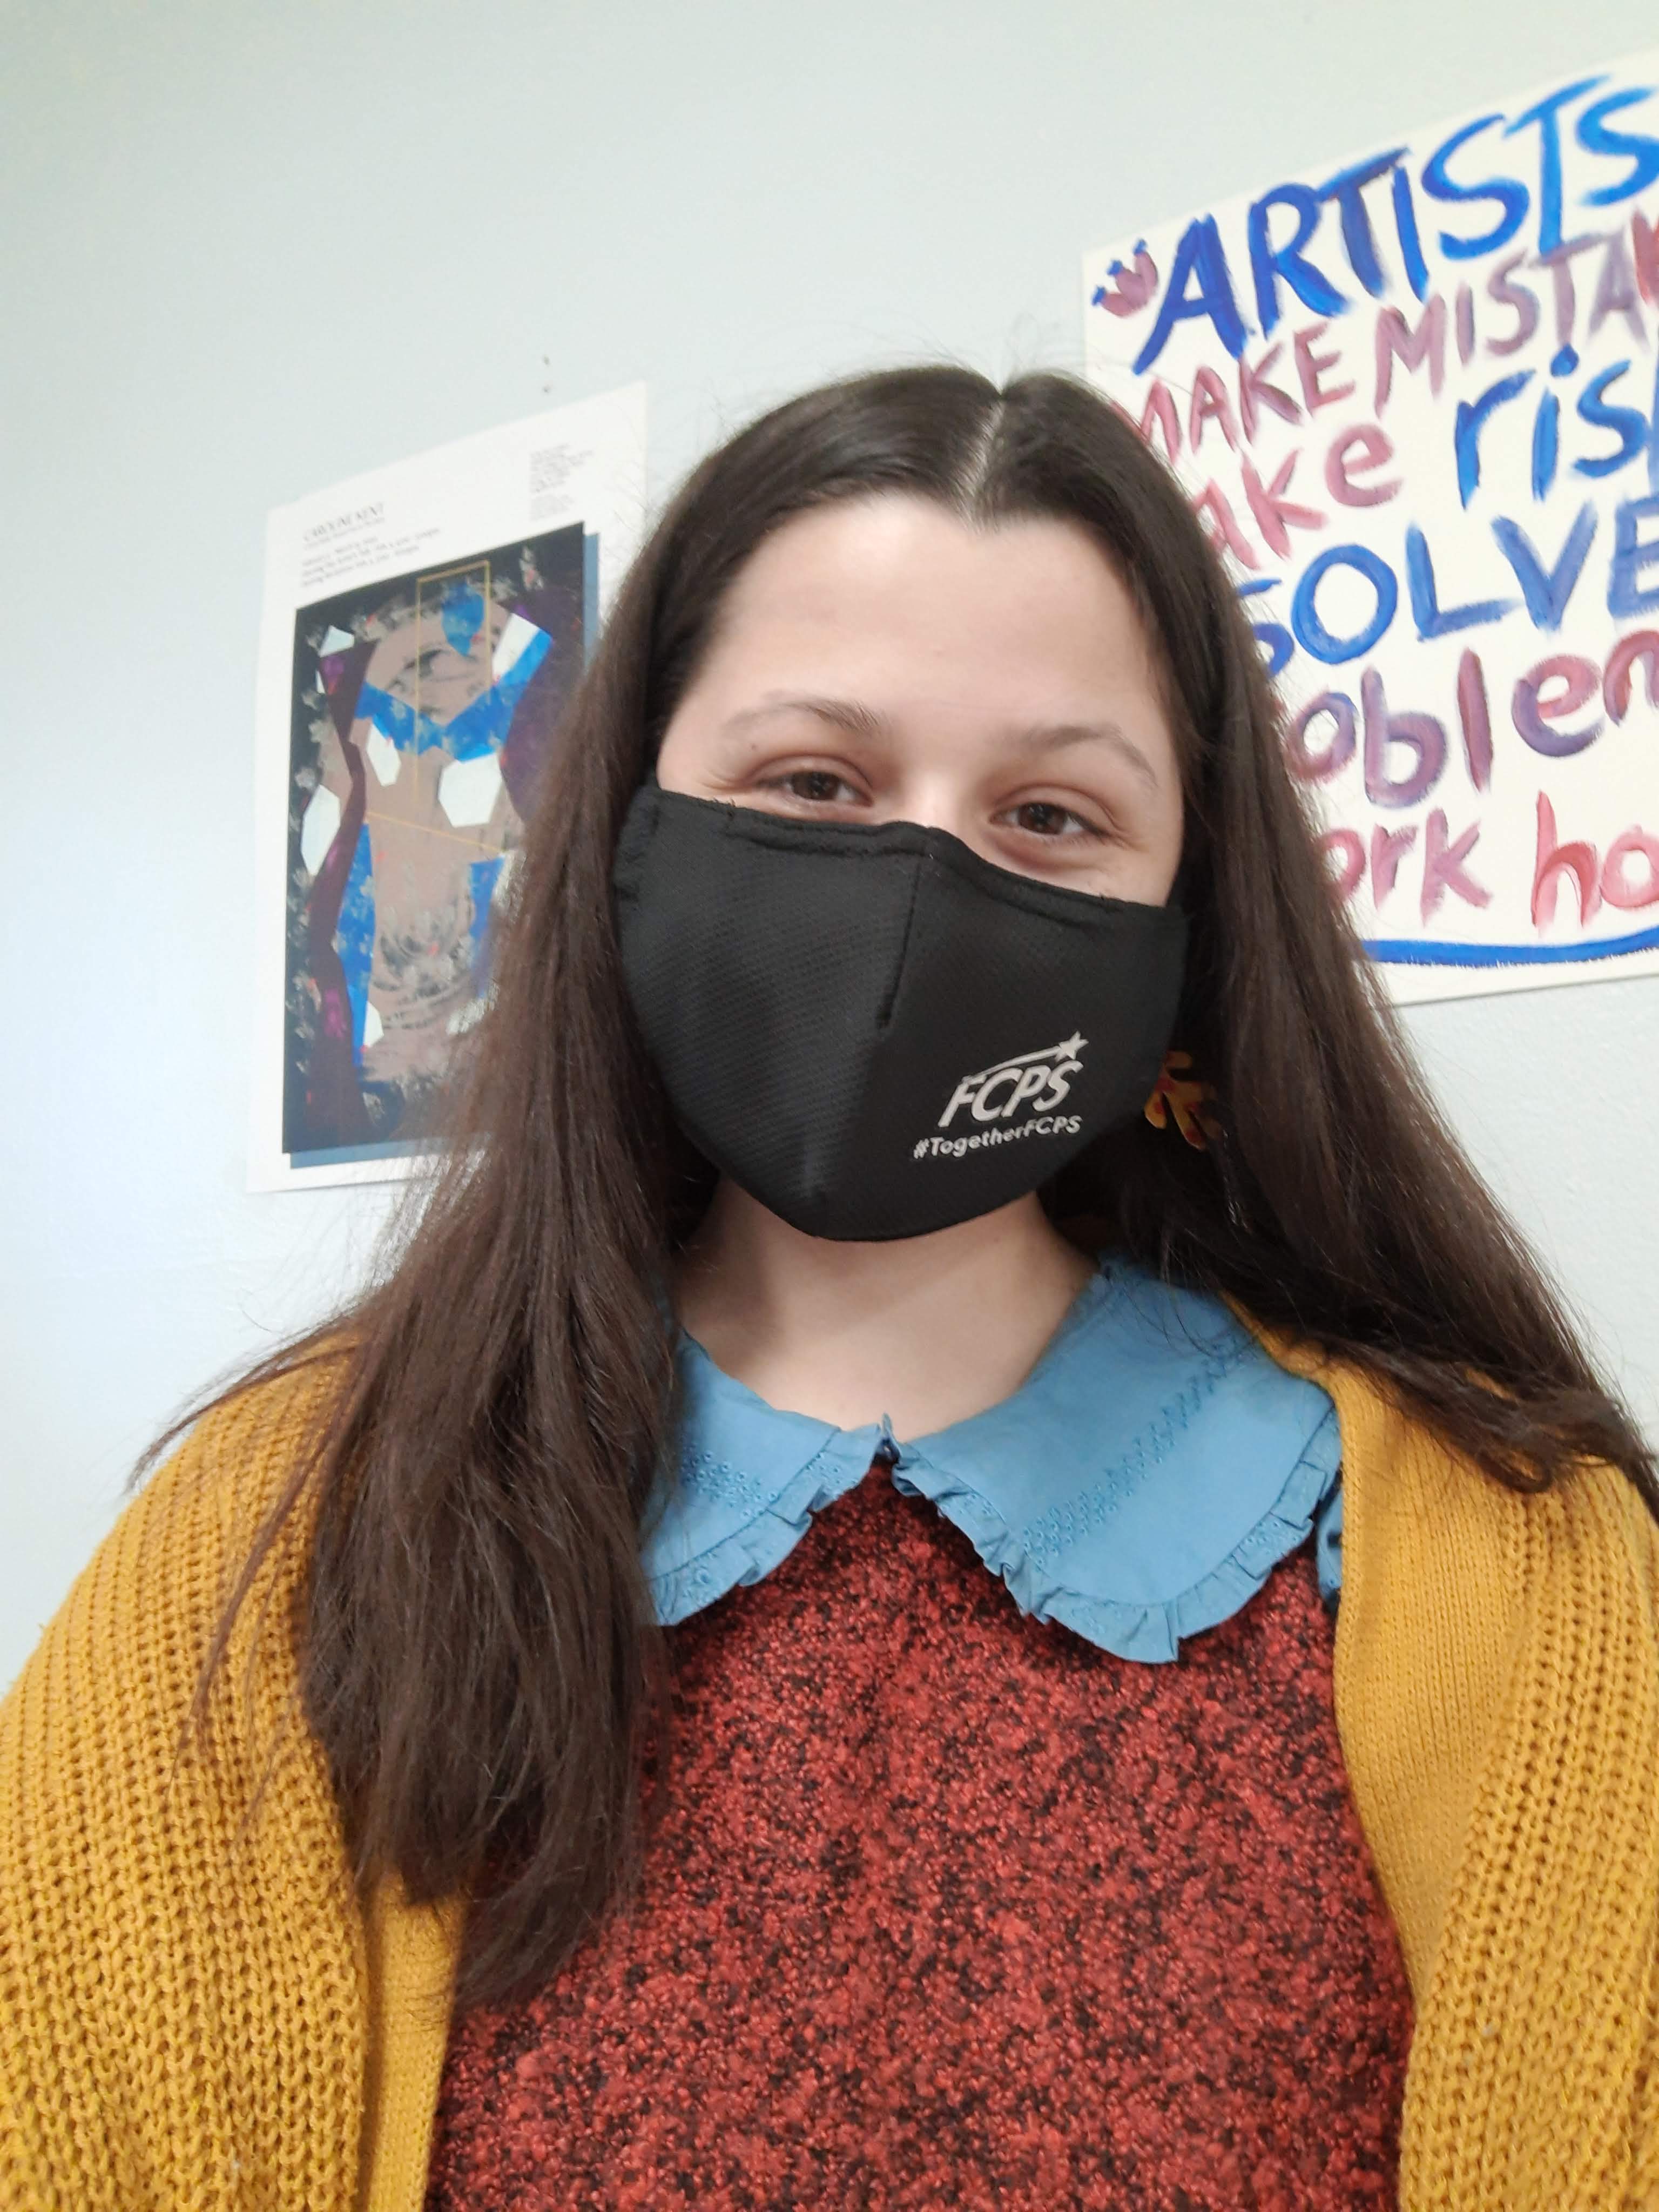
I even wore red, yellow, and blue to match my primary color lesson (and to achieve my goal of being like Ms. Frizzle). My hand was very messy at the end of the day which I love because a messy hand is the mark of an artist 🙂
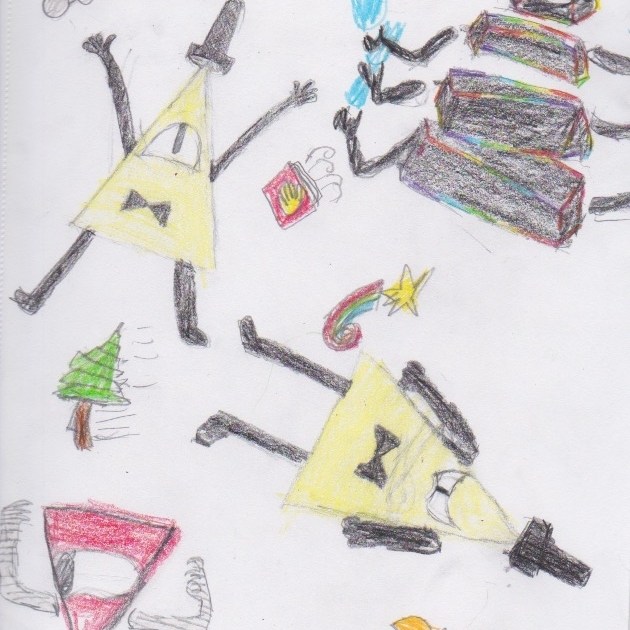
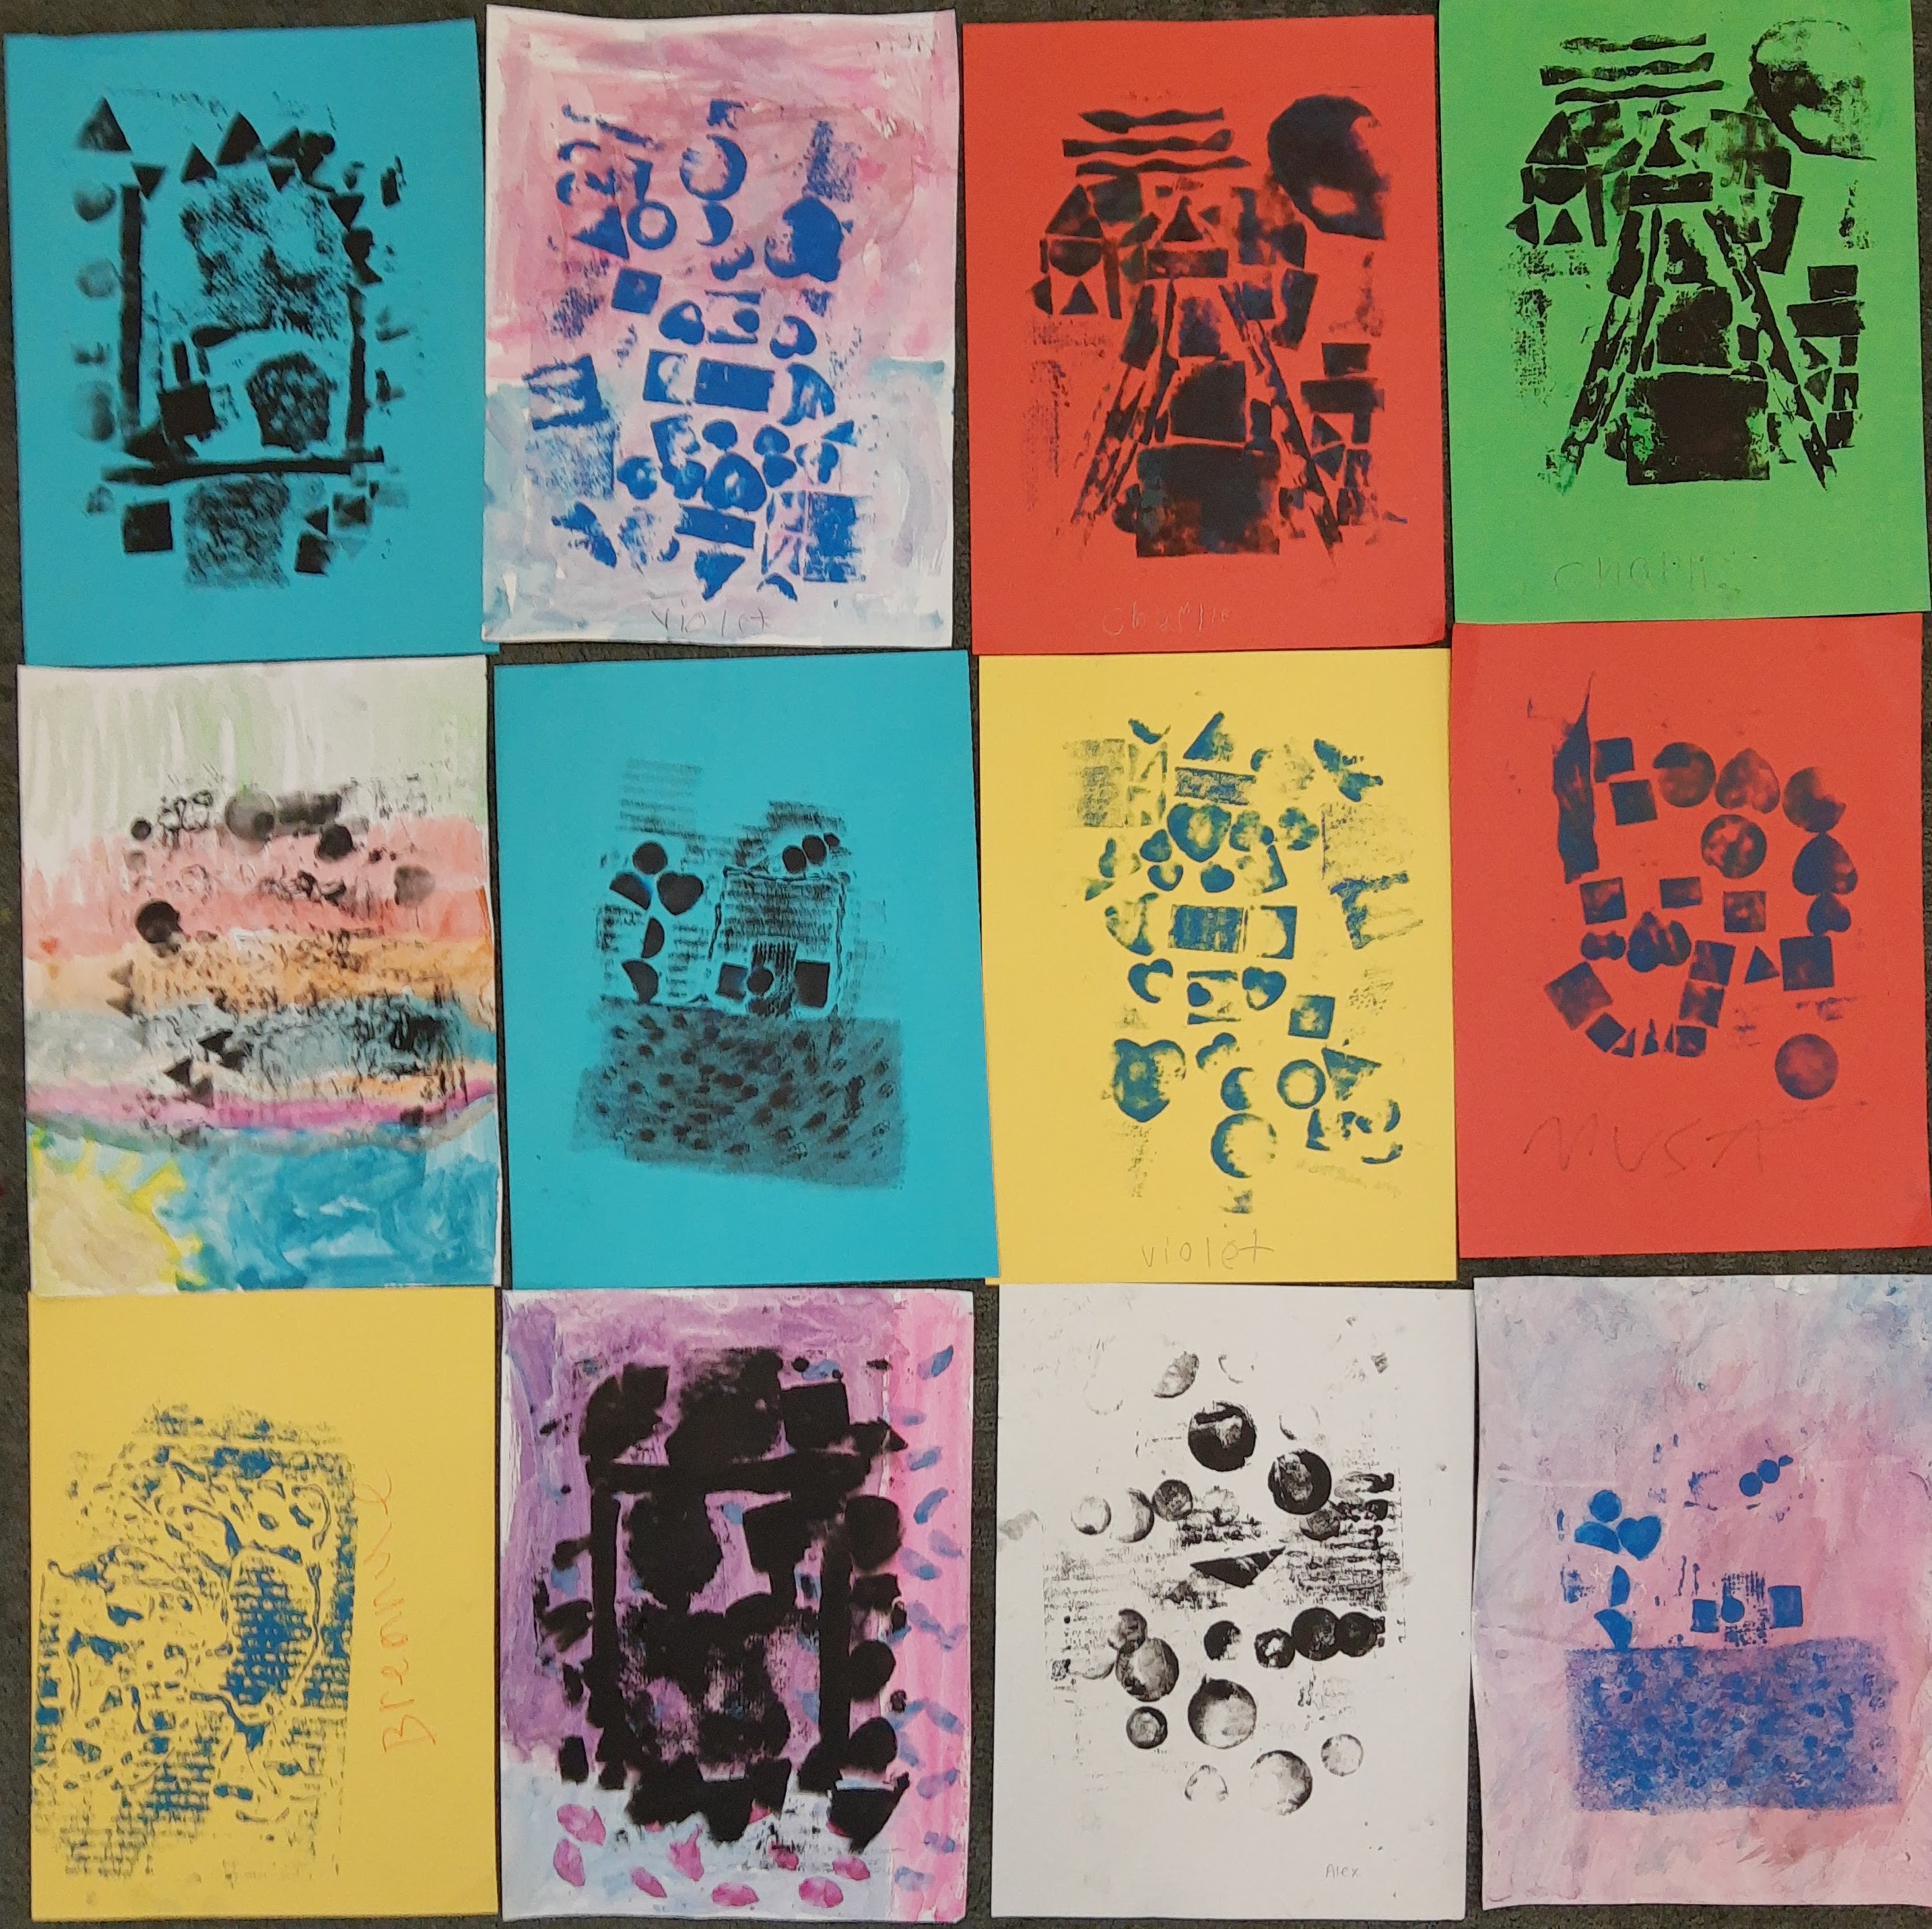
Last school year, one of the lessons I taught was about creating rhythm using repetition and movement (moving the eye around the page). The lesson was taught virtually and these are some of the artworks my students came up with:
These are some of my favorite ideas for the end of class that I came up with/learned about in college. Honestly, so far in my teaching career, we usually only have enough time to get cleaned up and maybe do some quick reflection questions about the concepts/skills discussed/learned from that class. My classes are super short and I typically want my students to have as much time as possible to create and experiment with their art.
Gallery Walk – Take a quick gallery walk around the classroom and see other people’s artworks in progress.
Sketchbook Assignment – Students can get started on a weekly sketchbook assignment or free draw in their sketchbooks.
Automatic Drawing/Art Meditation – Ask students to think about why they make art and what kind of an experience art can be (is it emotional? freeing? difficult?). Have students loosen up and let go by drawing and creating without a purpose/end goal in mind. Play calming music and encourage students to close their eyes yet continue to keep their hands moving and drawing across the page. Students can create mandalas, abstract blobs, lines, and whatever else “flows” out of them. If there is more time to prepare, you can also give students small pieces of cardboard which they can paint on using just a brush dipped in water. The images they draw on the cardboard are transient which eases the pressure of creating something perfect with permanent marks.
Art Trivia – Ask questions about concepts that were taught that day or have a list already prepared with possible art trivia questions. Or, pull up art related quizzes from sporcle.com.
Make a List (best for 3-5 minutes left of class) – Have the students take out a piece of paper or use a page in their sketchbook and list as many artists as they can think of before the bell rings.
Thorough Clean-up – Assign students jobs to wash brushes, clean out palettes, wipe table and counters, and tidy up the classroom thoroughly.
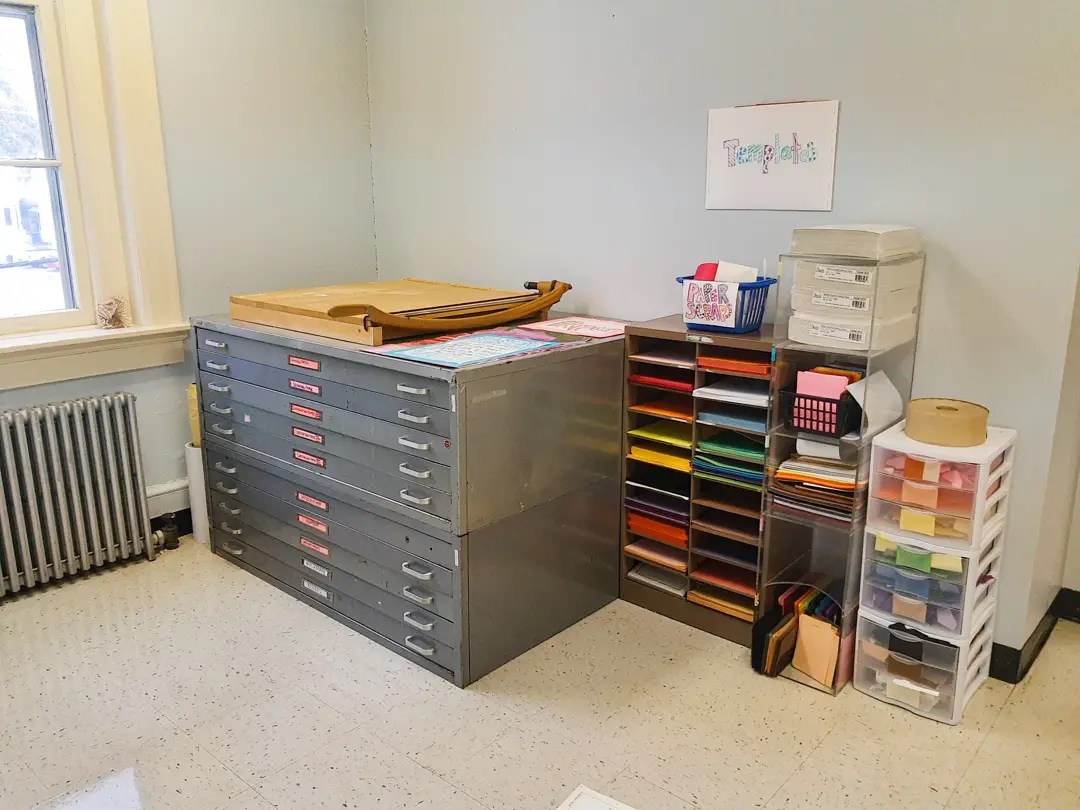
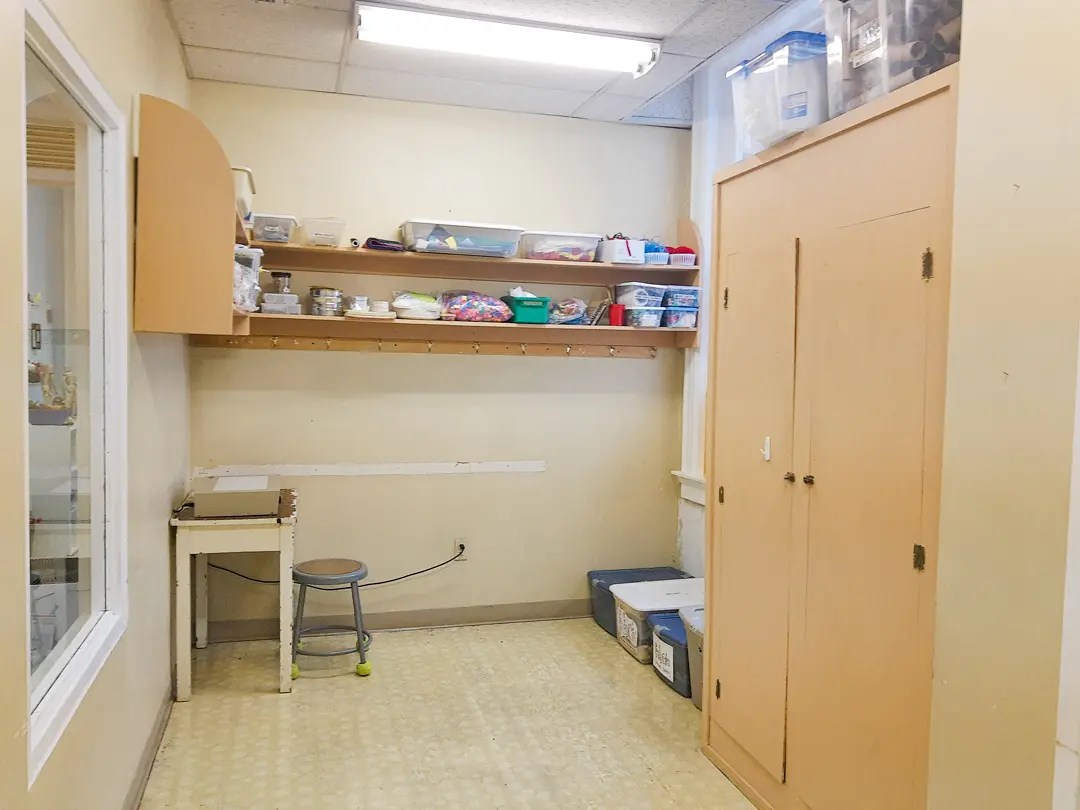
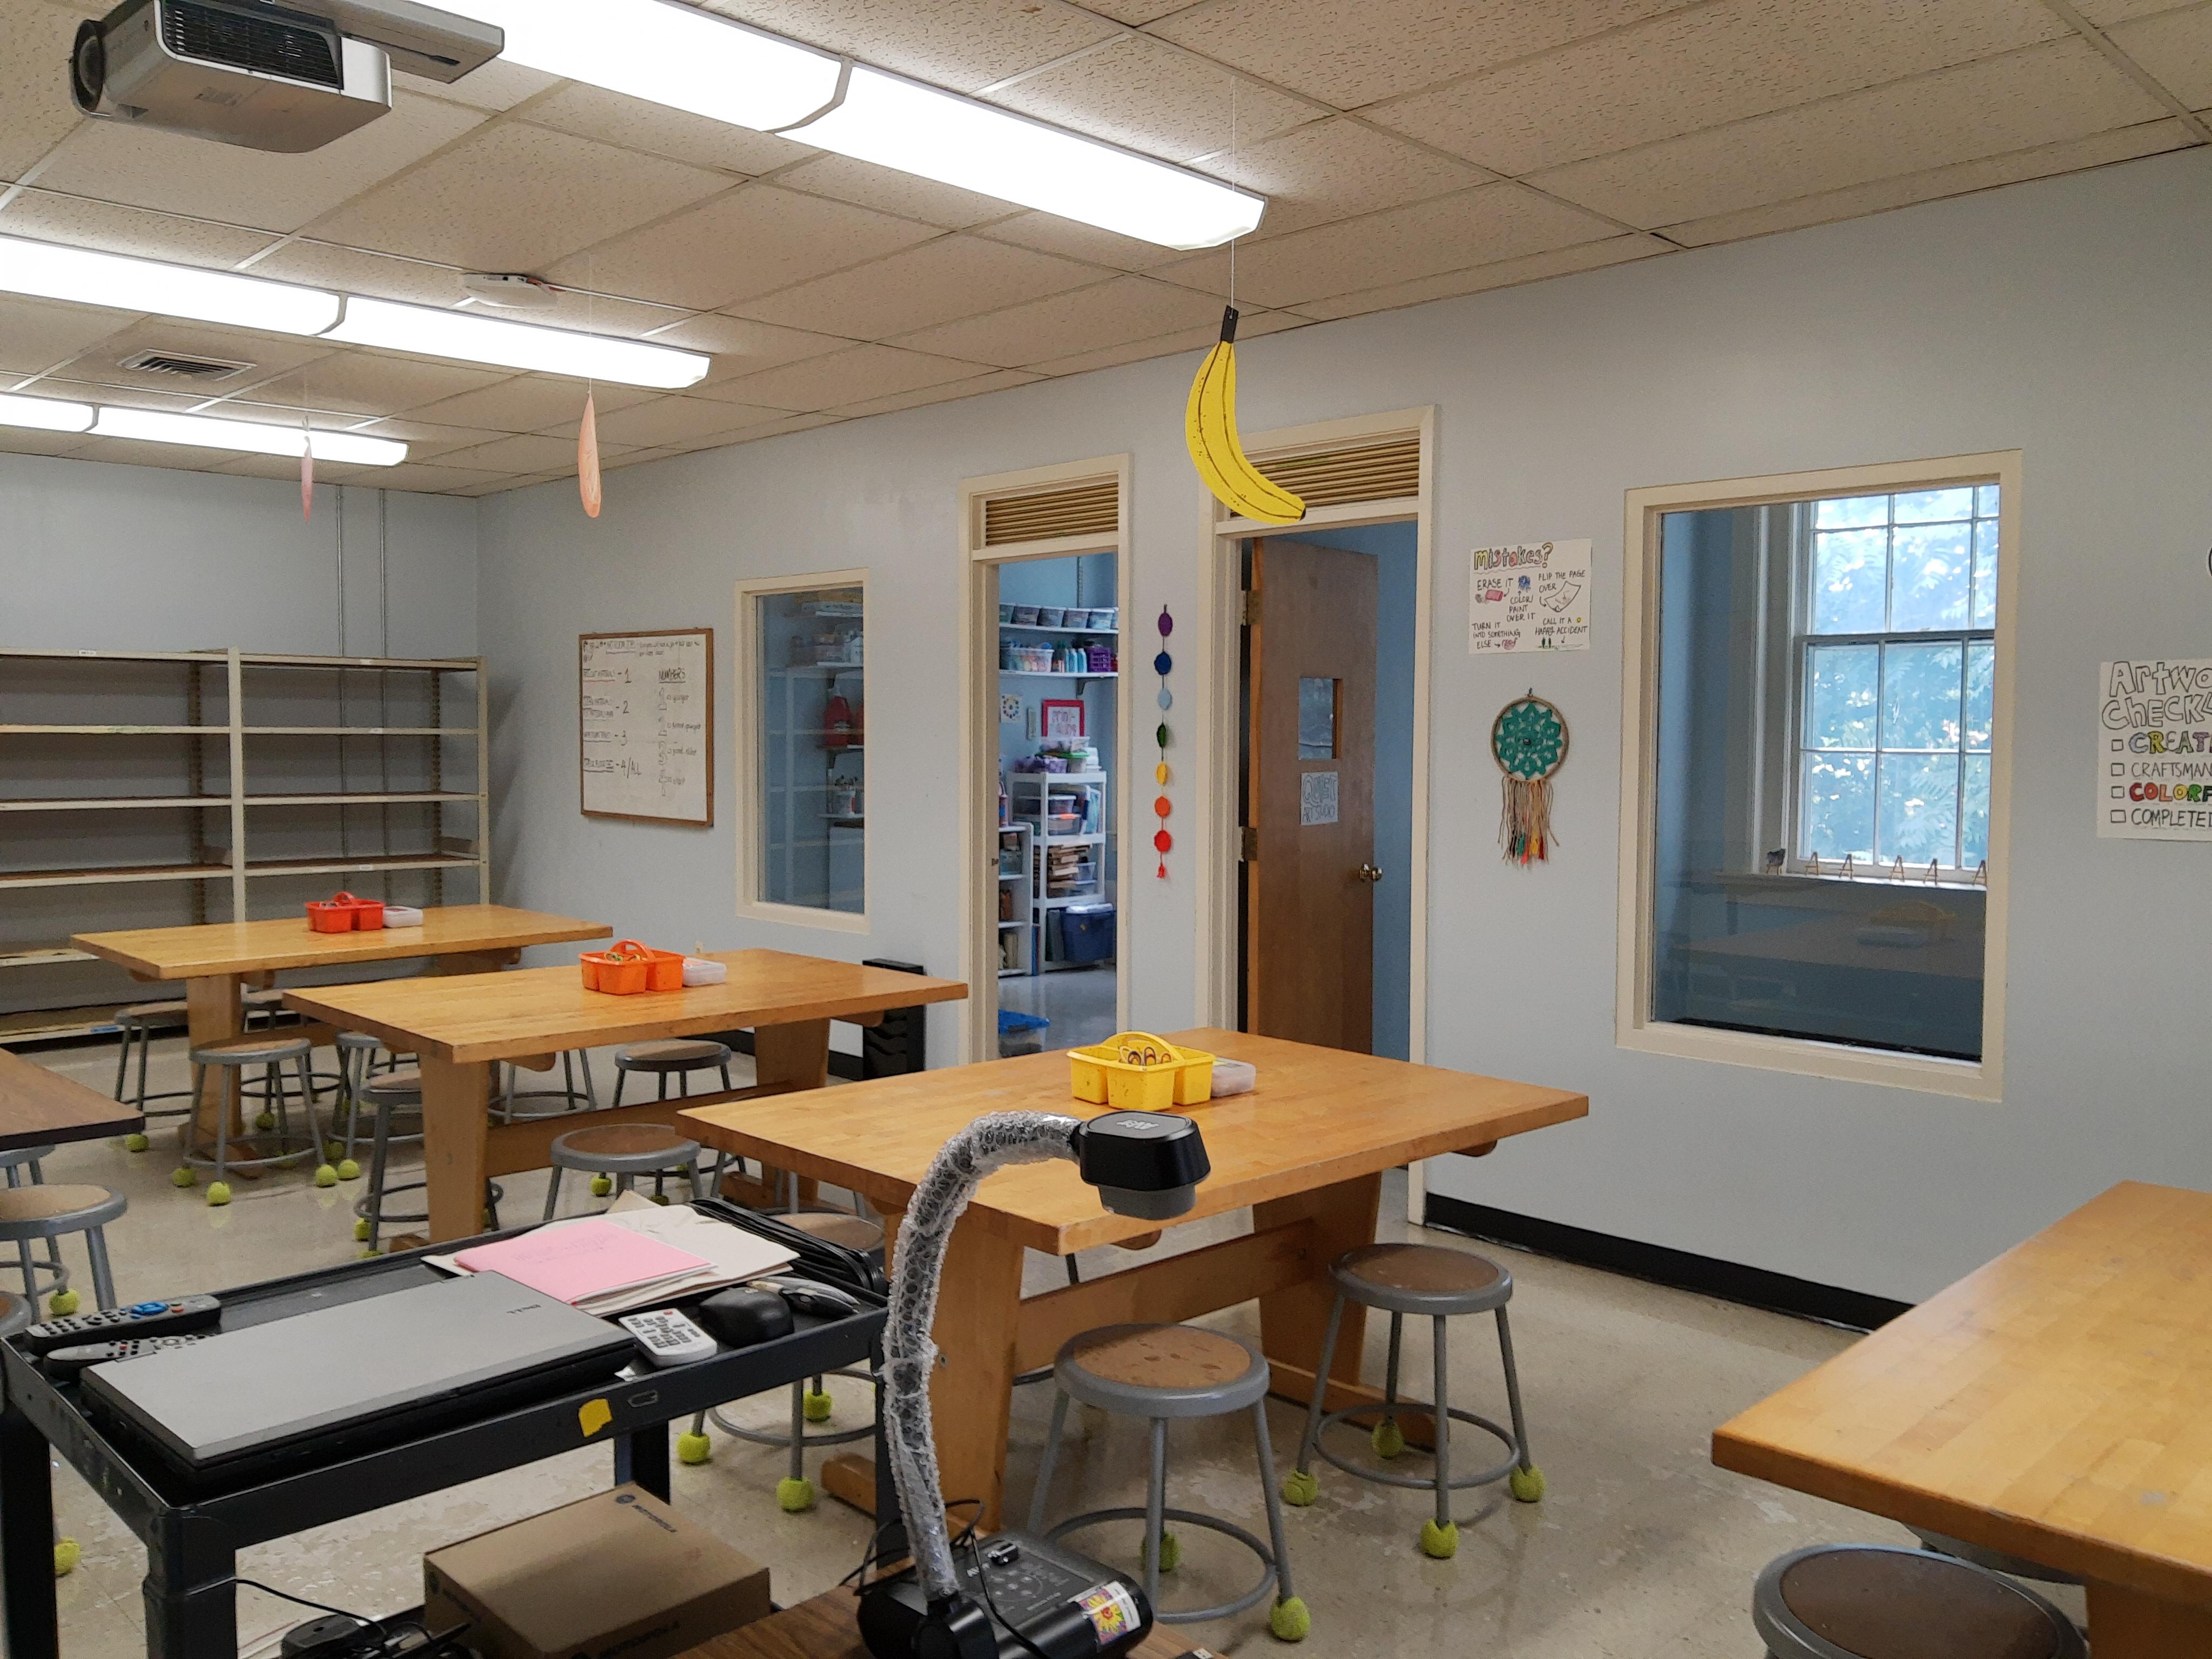
I was moved to a different classroom this year and at first I was disappointed because my classroom last year was awesome, but this classroom is also amazing! I spent a week unpacking materials, organizing, and setting up different art studios within my room.
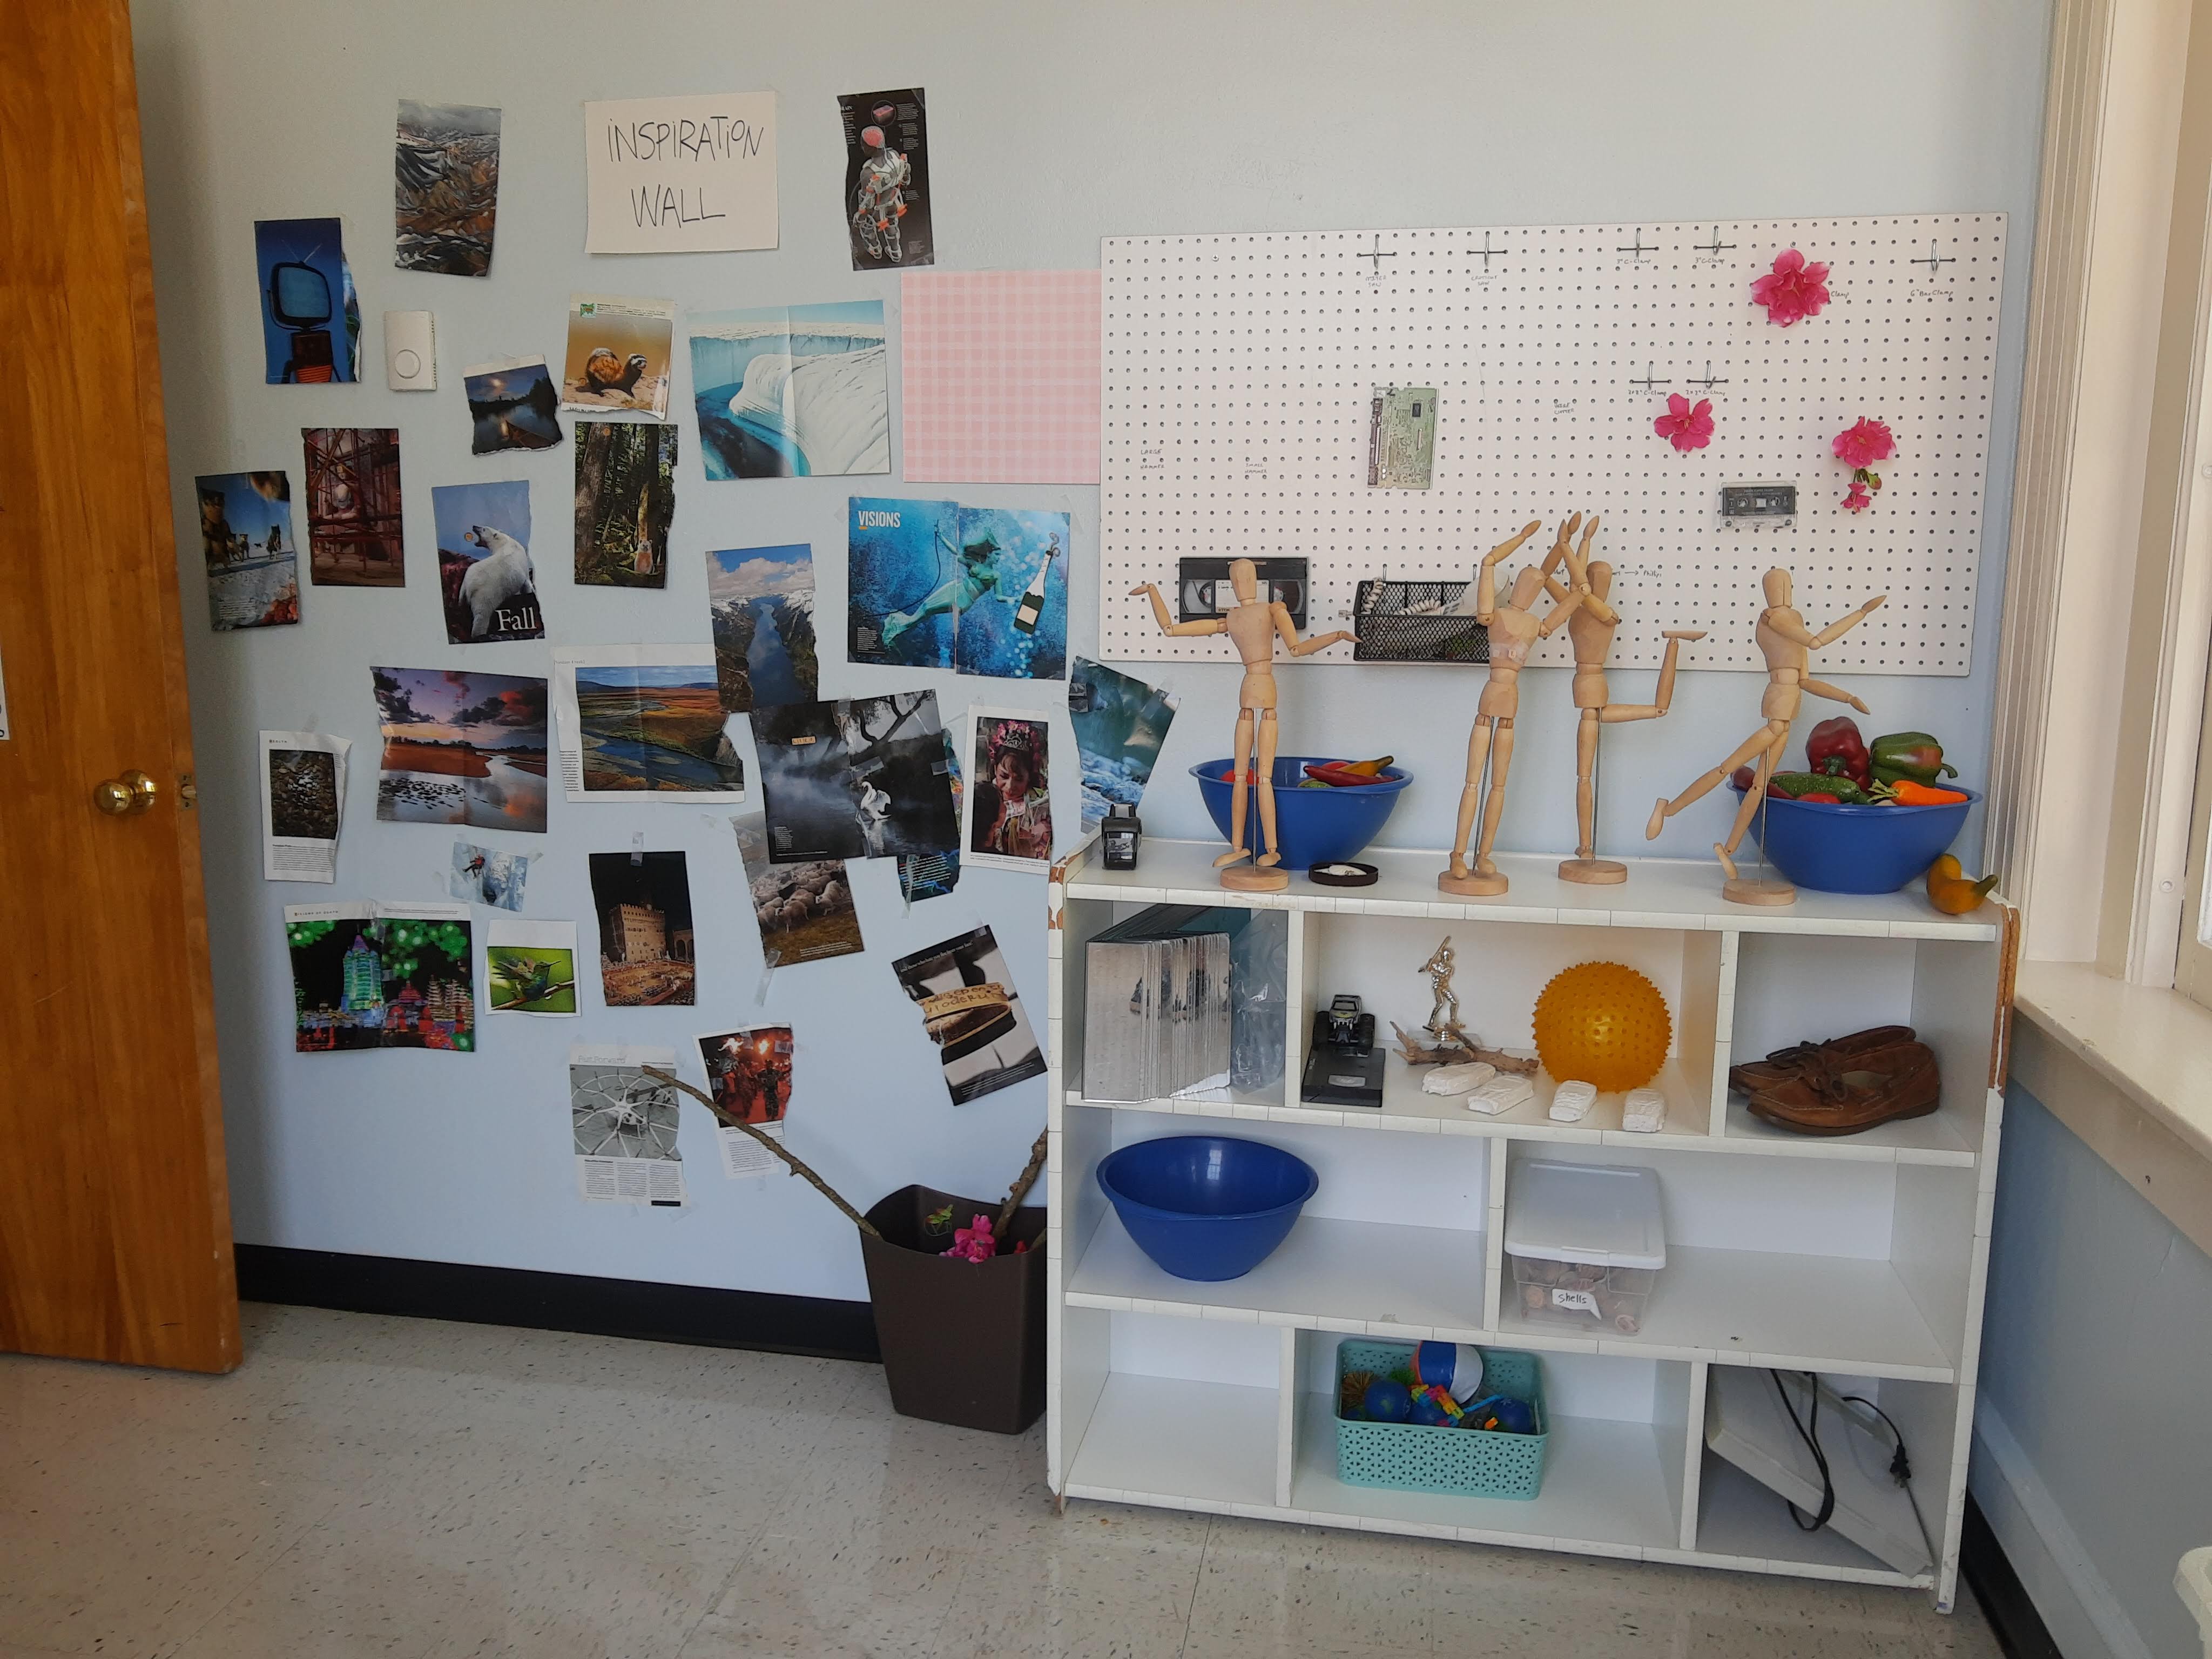
My classroom is comprised of one main room and 4 smaller rooms which I’ve separated into studios (painting/printmaking studio, drawing/early finishers studio, paper/inspiration studio, and 3D/textile studio).
Before organizing/decorating:
After organizing/decorating:
Studio Rotations:
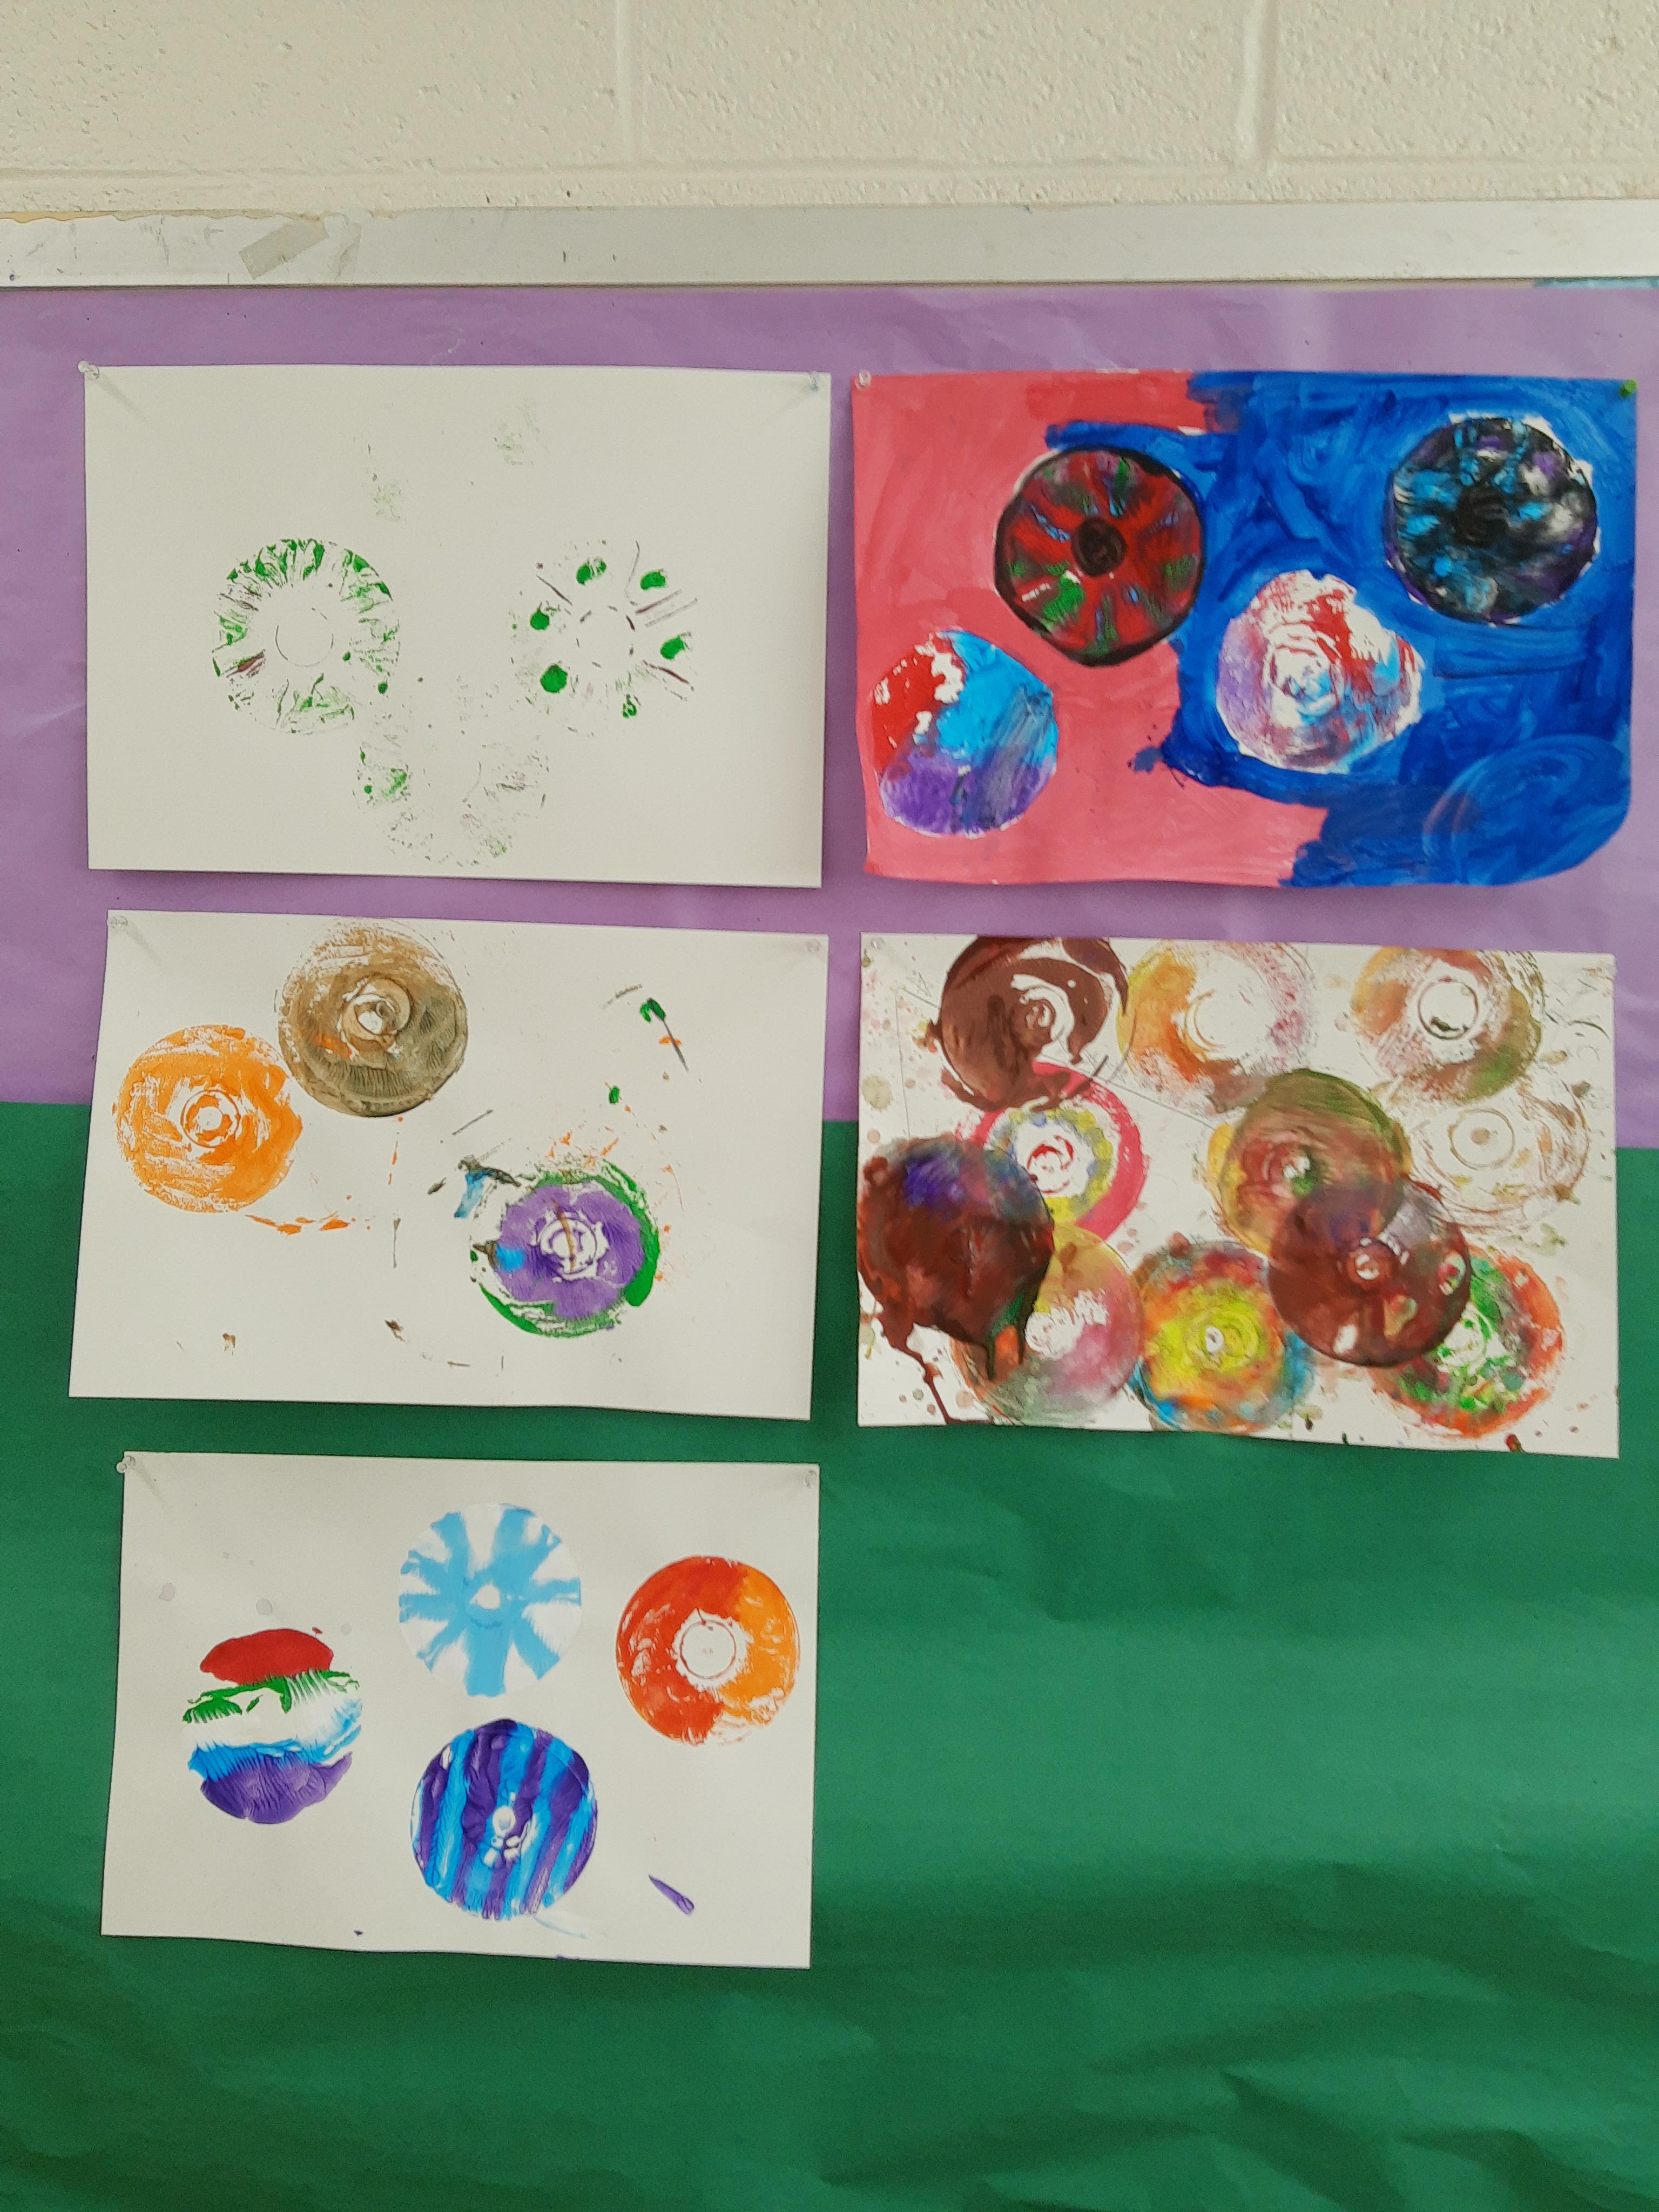
This past week was my second week with my classes, so to introduce my students to each of the studios, we did materials explorations by rotating groups through each studio. There were 4 tables of students, and each group of students spent about 5-6 minutes in each studio, exploring the materials that were laid out.
PAINTING STUDIO
In the painting studio, students painted on a large piece of paper and also experimented with painting marks on smaller papers.
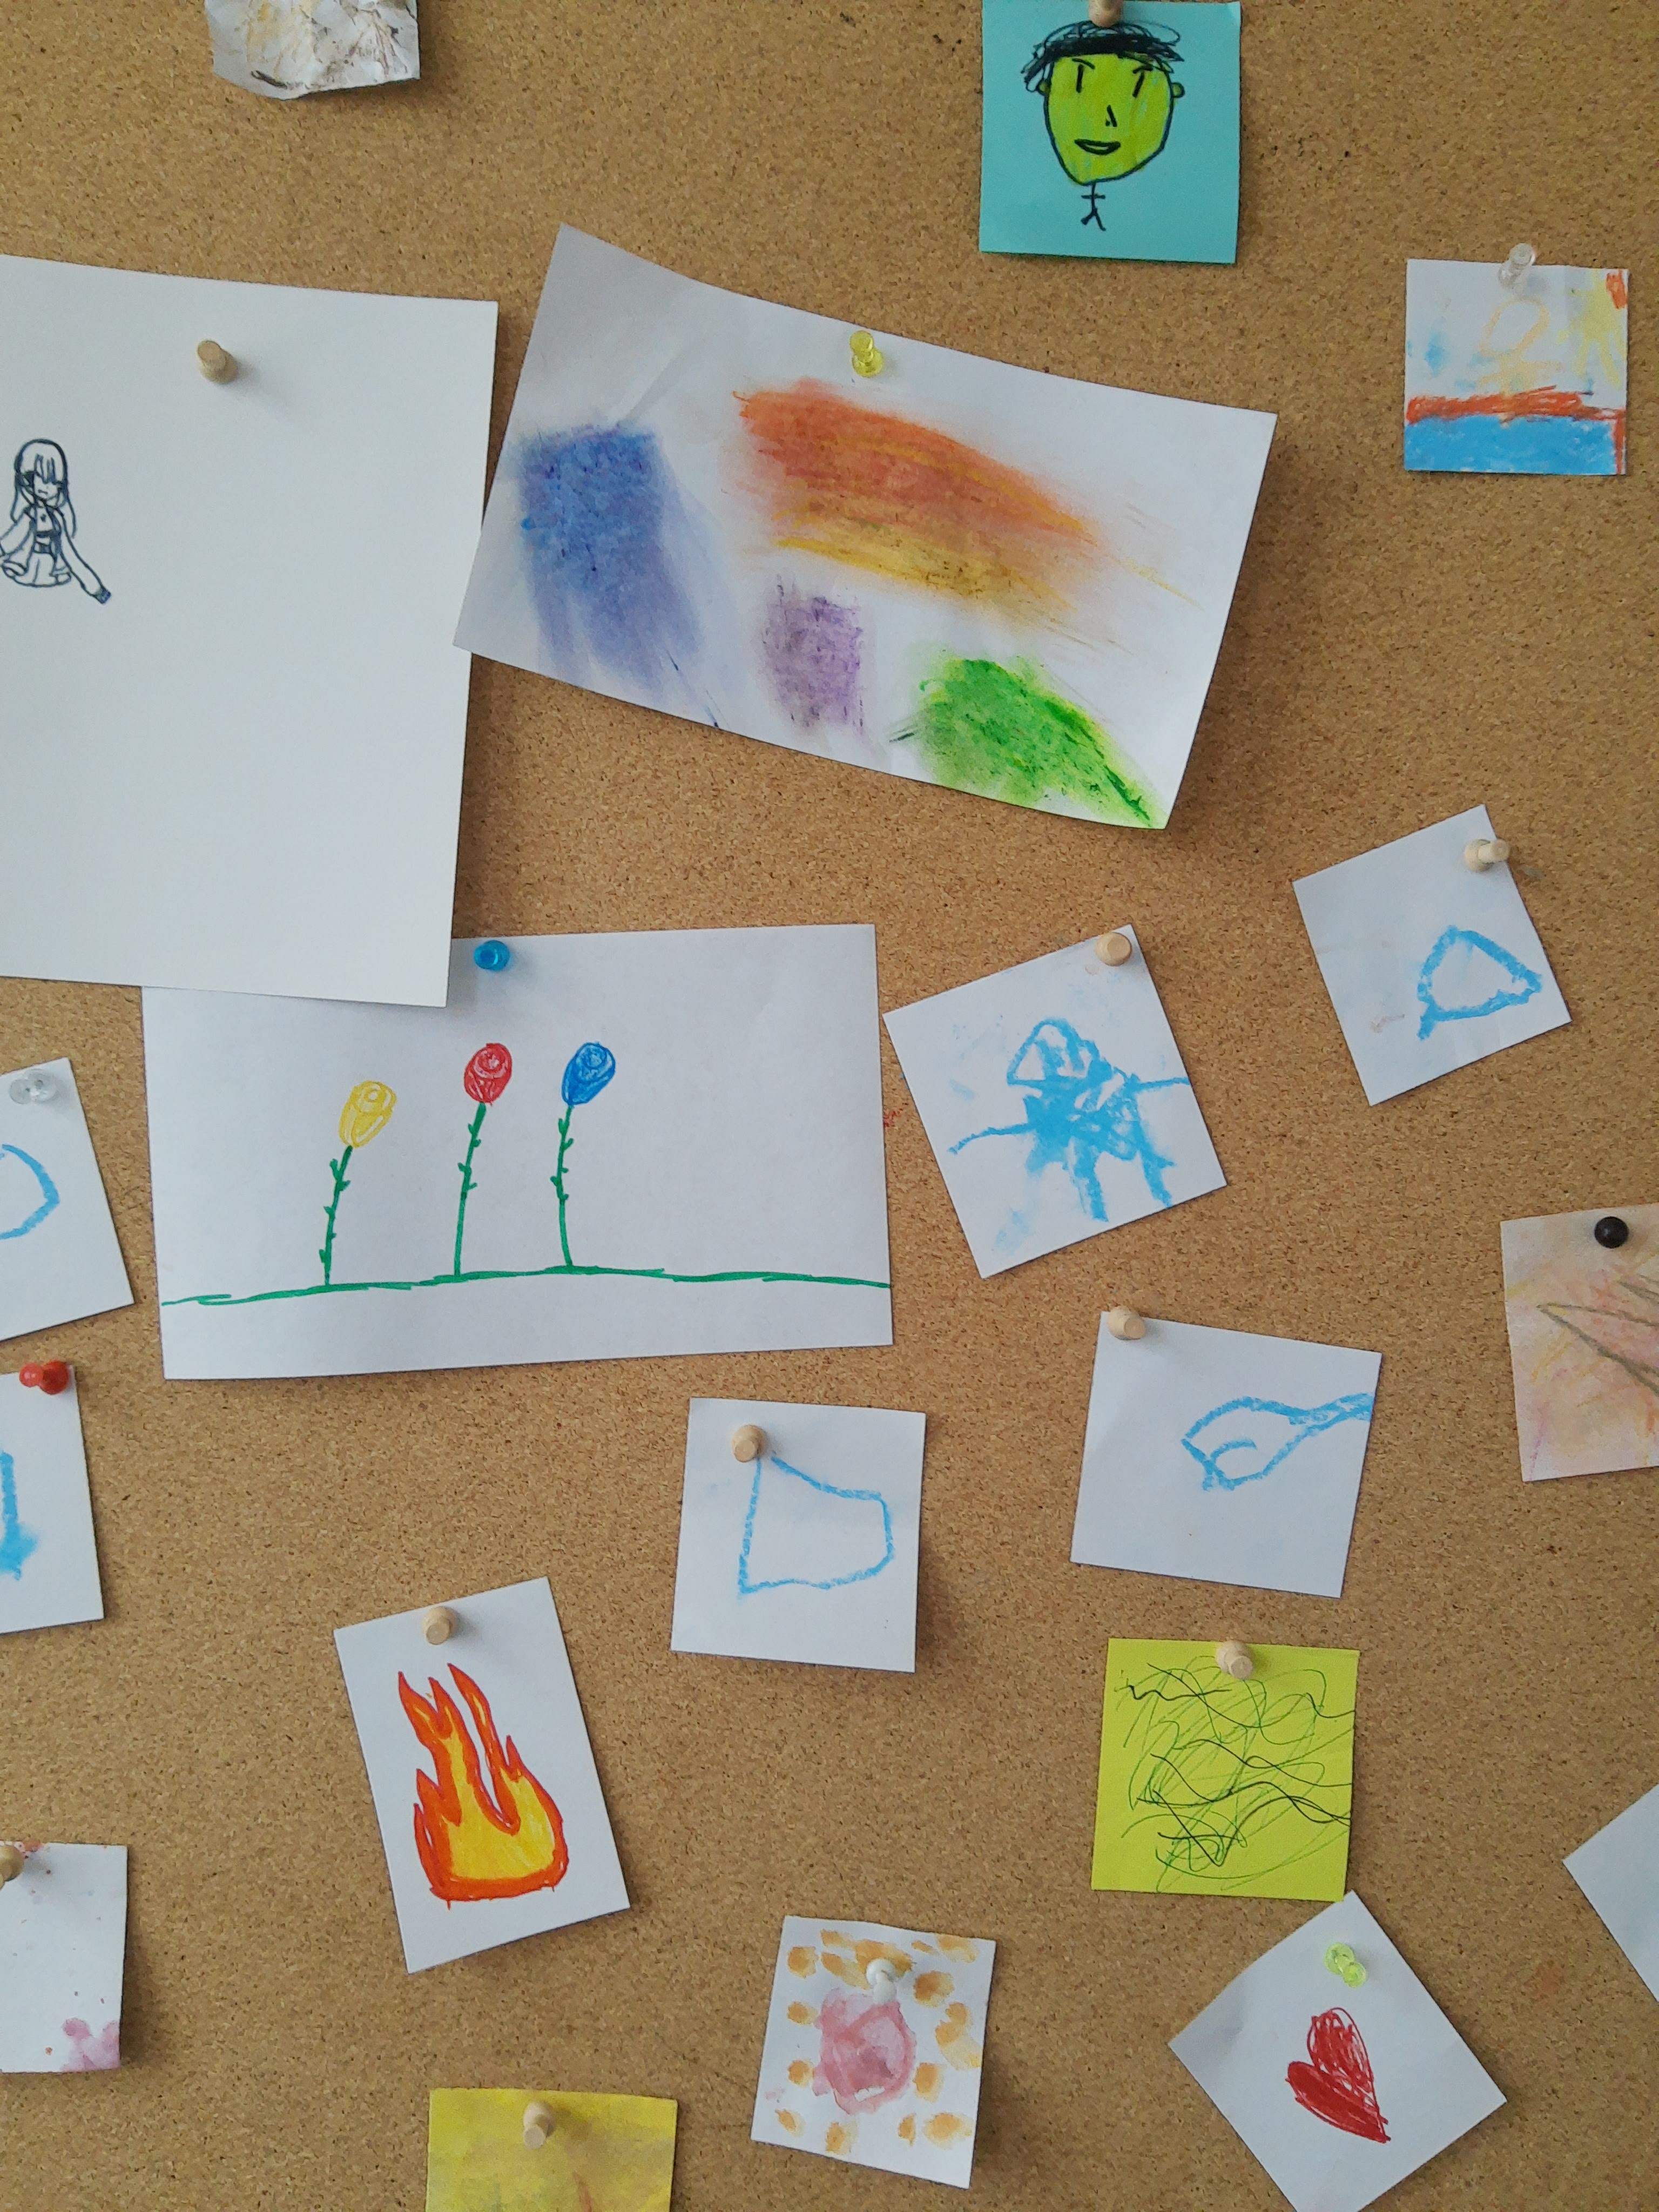
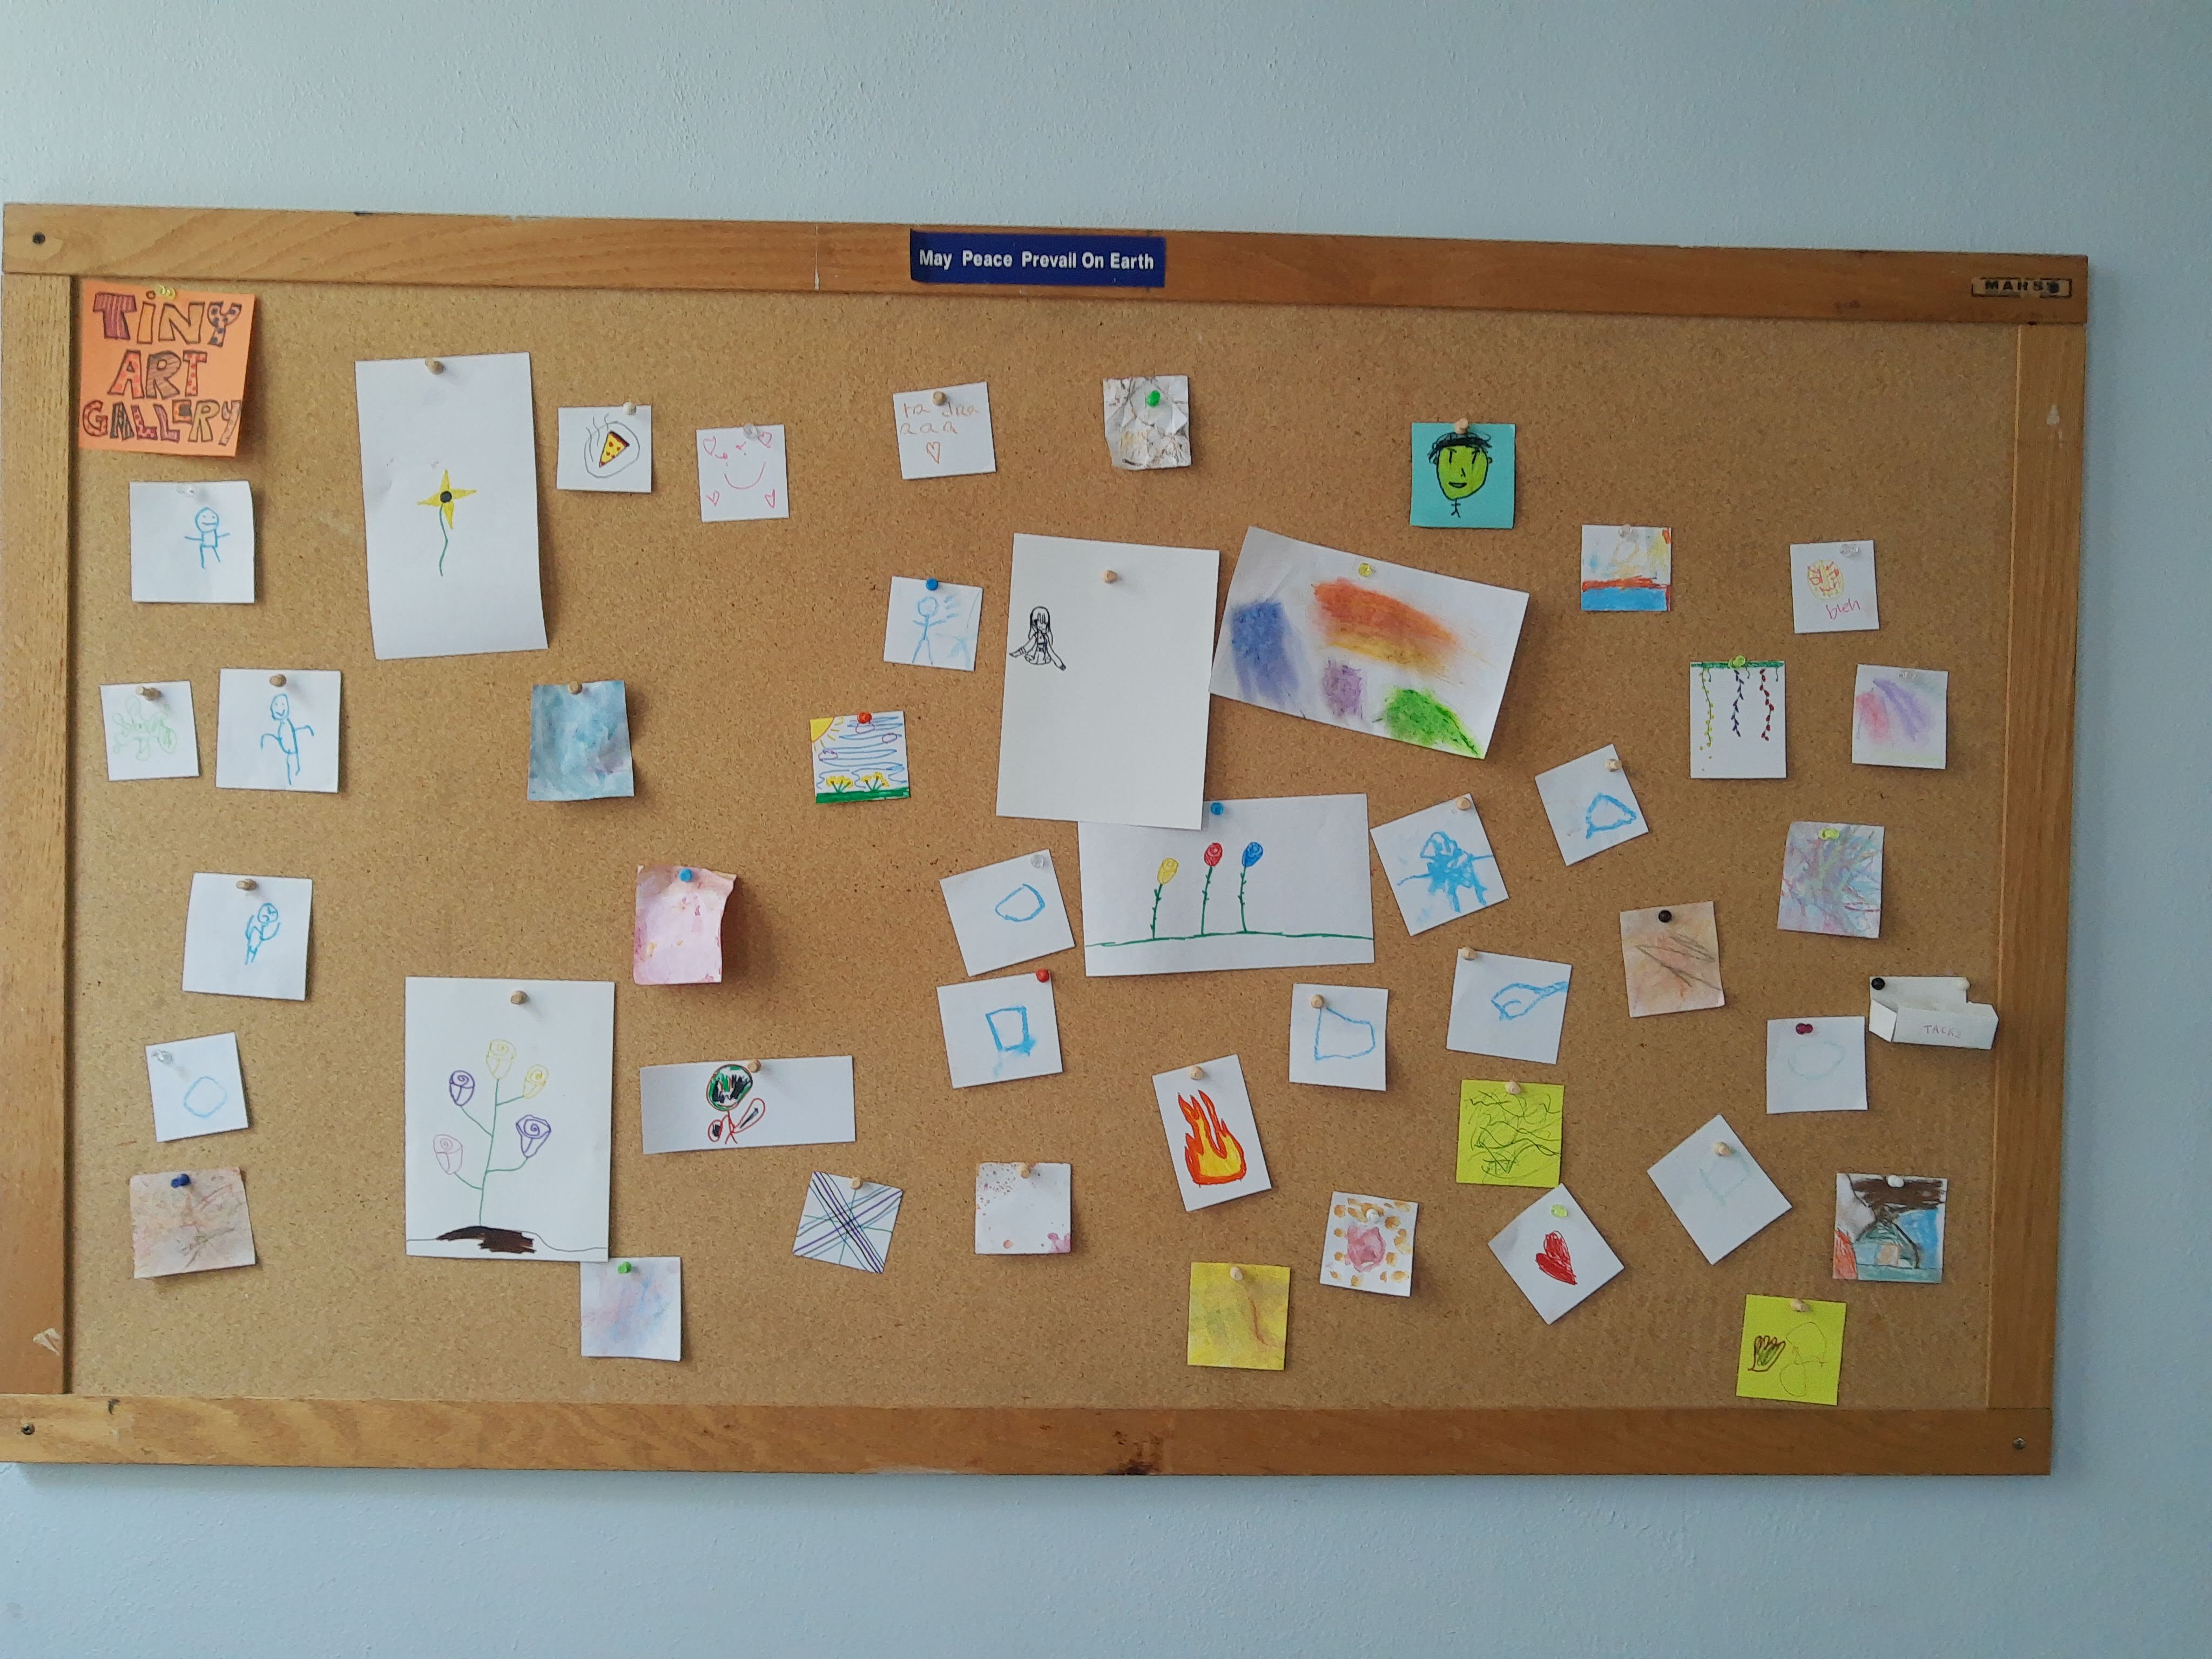
DRAWING STUDIO
In the drawing studio, students used chalk pastels and oil pastels and experimented with smudging and drawing different things. When they finished their tiny artwork, they pinned it up on the board.
PAPER & INSPIRATION STUDIO
In the paper and inspiration studio, students flipped through magazines to find inspiring images and then taped them on the wall. They also could experiment with making a mini collage.
3D & TEXTILE STUDIO
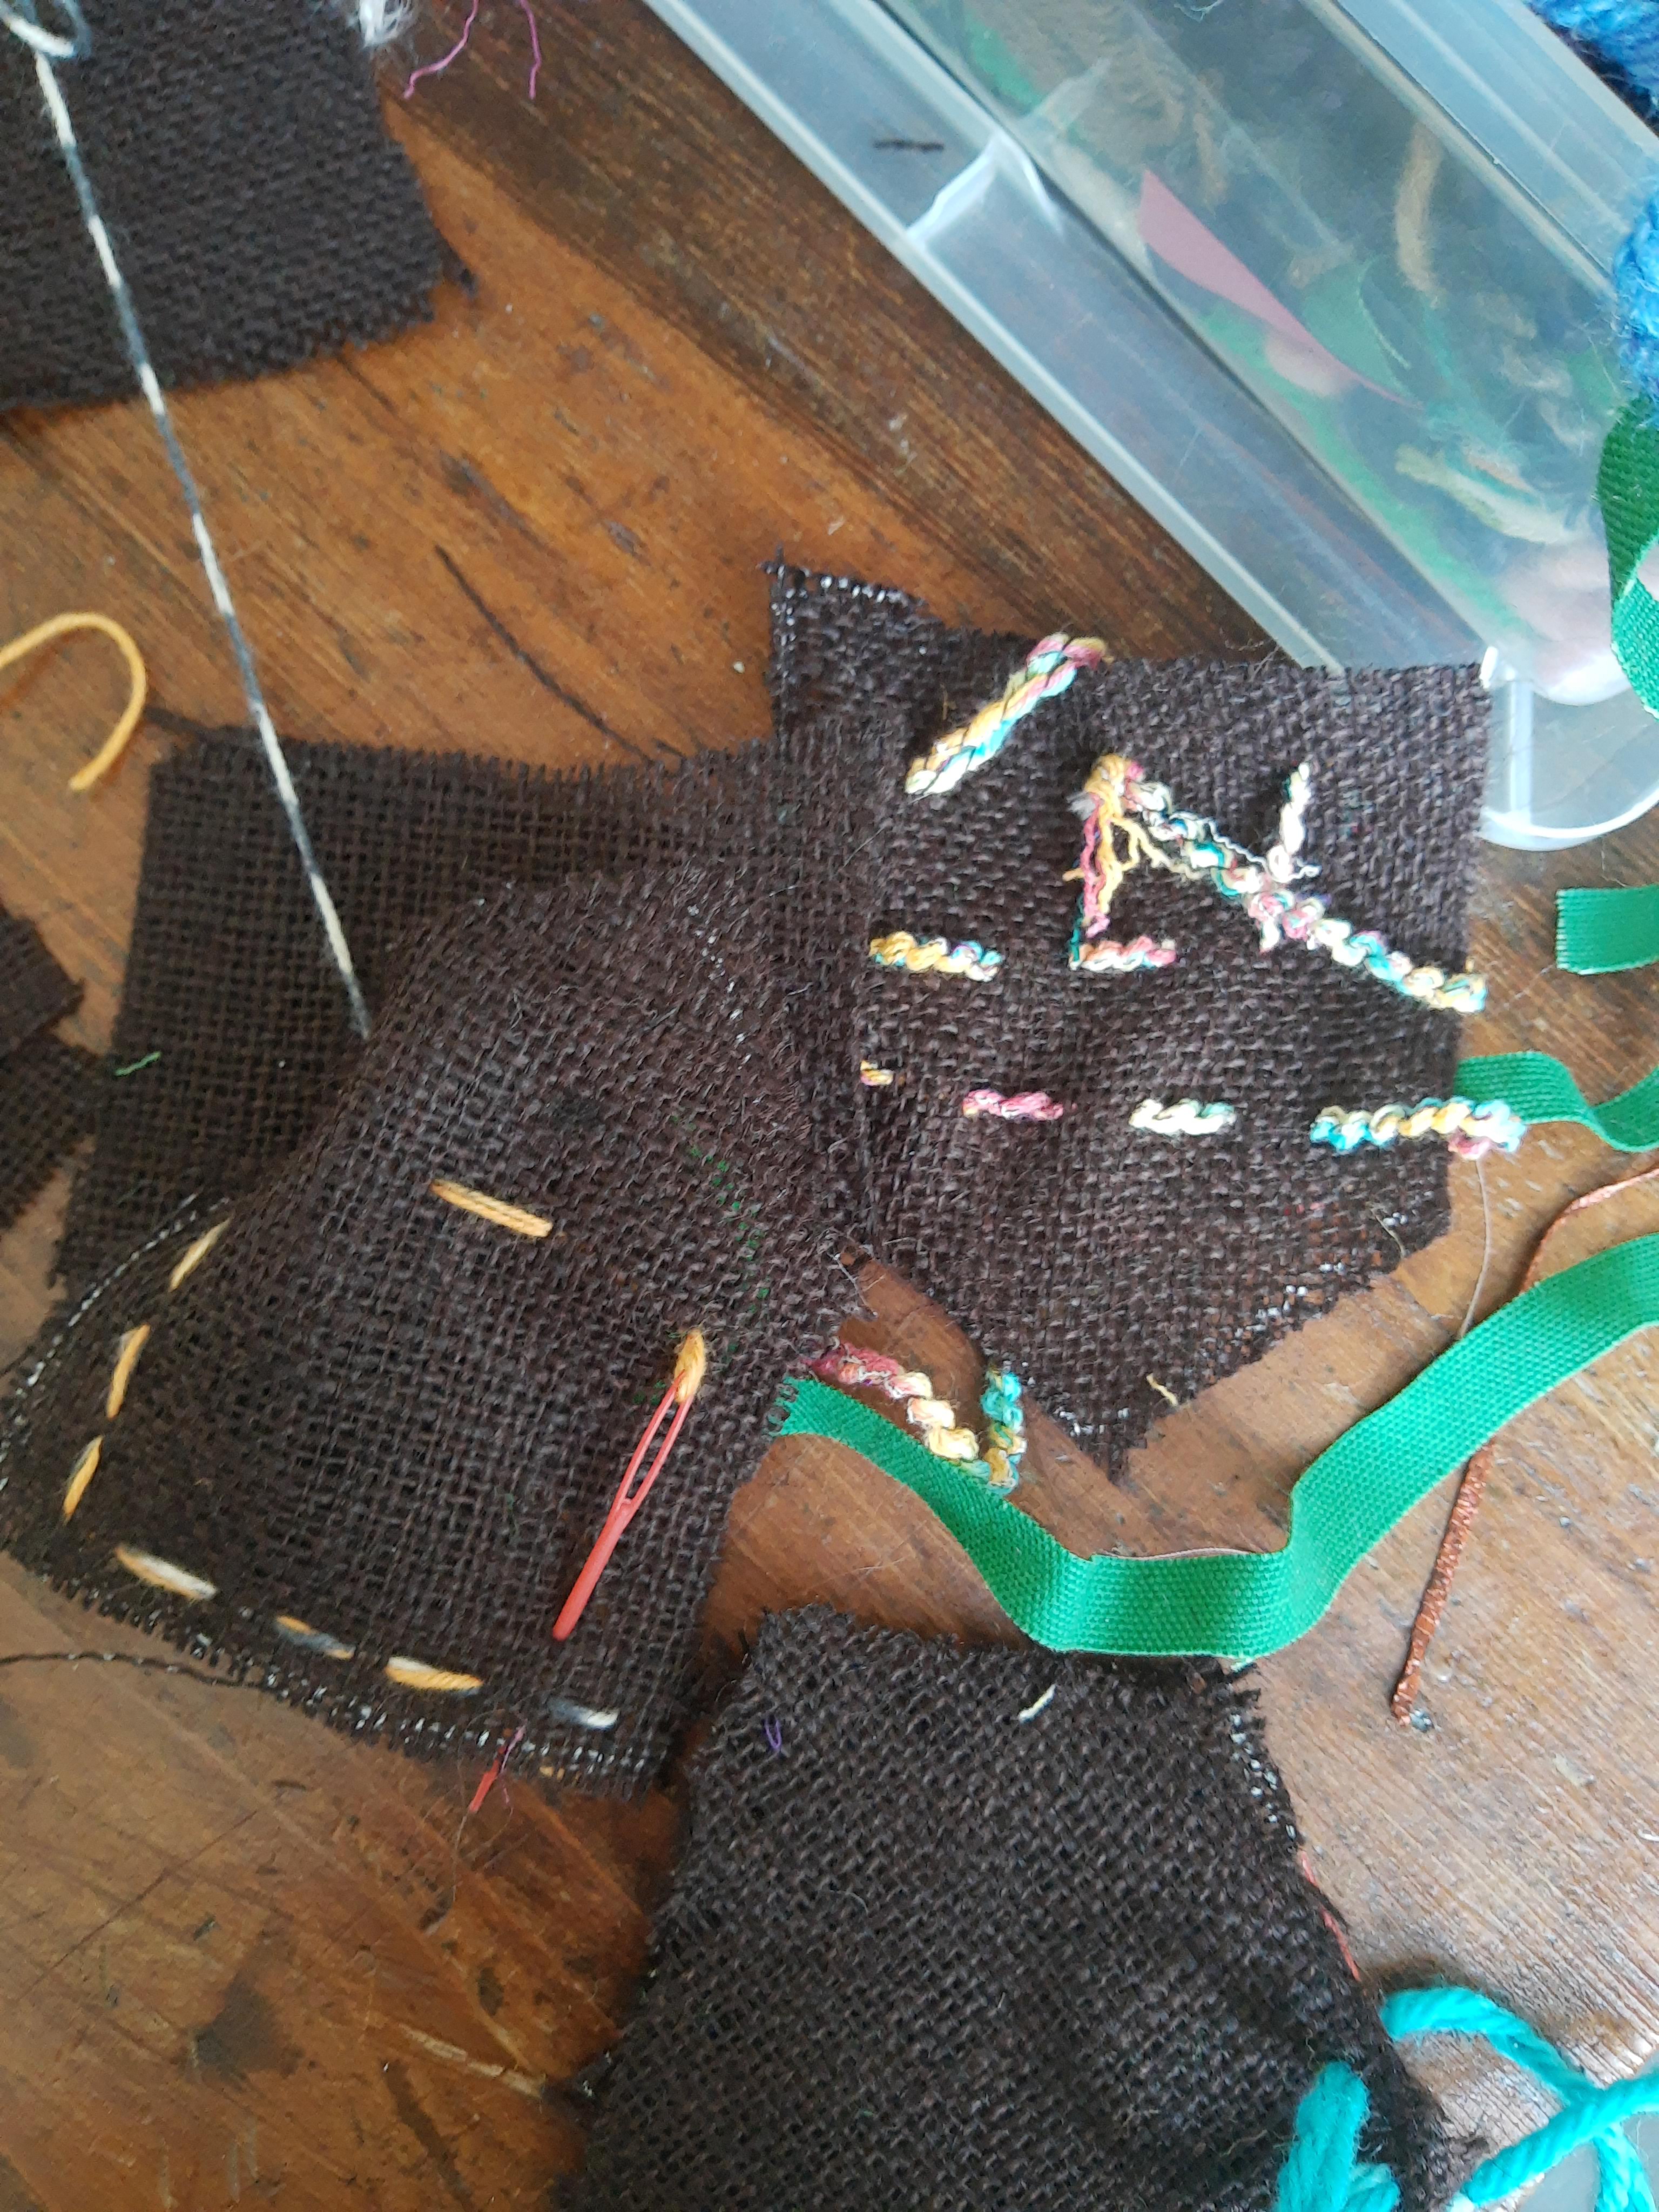
In the 3D/textile studio, students experimented with sewing lines into fabric and sculpting with modeling clay.
At the end of class, I asked students to share their favorite studio and why they liked it the best. This was a great way to introduce students to different art media and see which studios they enjoyed the most.
Last week, I taught a printmaking camp. I was subbing in for another teacher, and even though I had her lesson plan, I ended up changing a lot of things to account for the materials already available. For the first day, I wanted campers to make something really large using recycled materials. I remembered making collagraphs in my college printmaking class and it was really fun, so I went with it. I also love the textural aspect of collagraphs.
Image above: my art teaching sketchbook where I keep track of my ideas and lessons I’ve taught
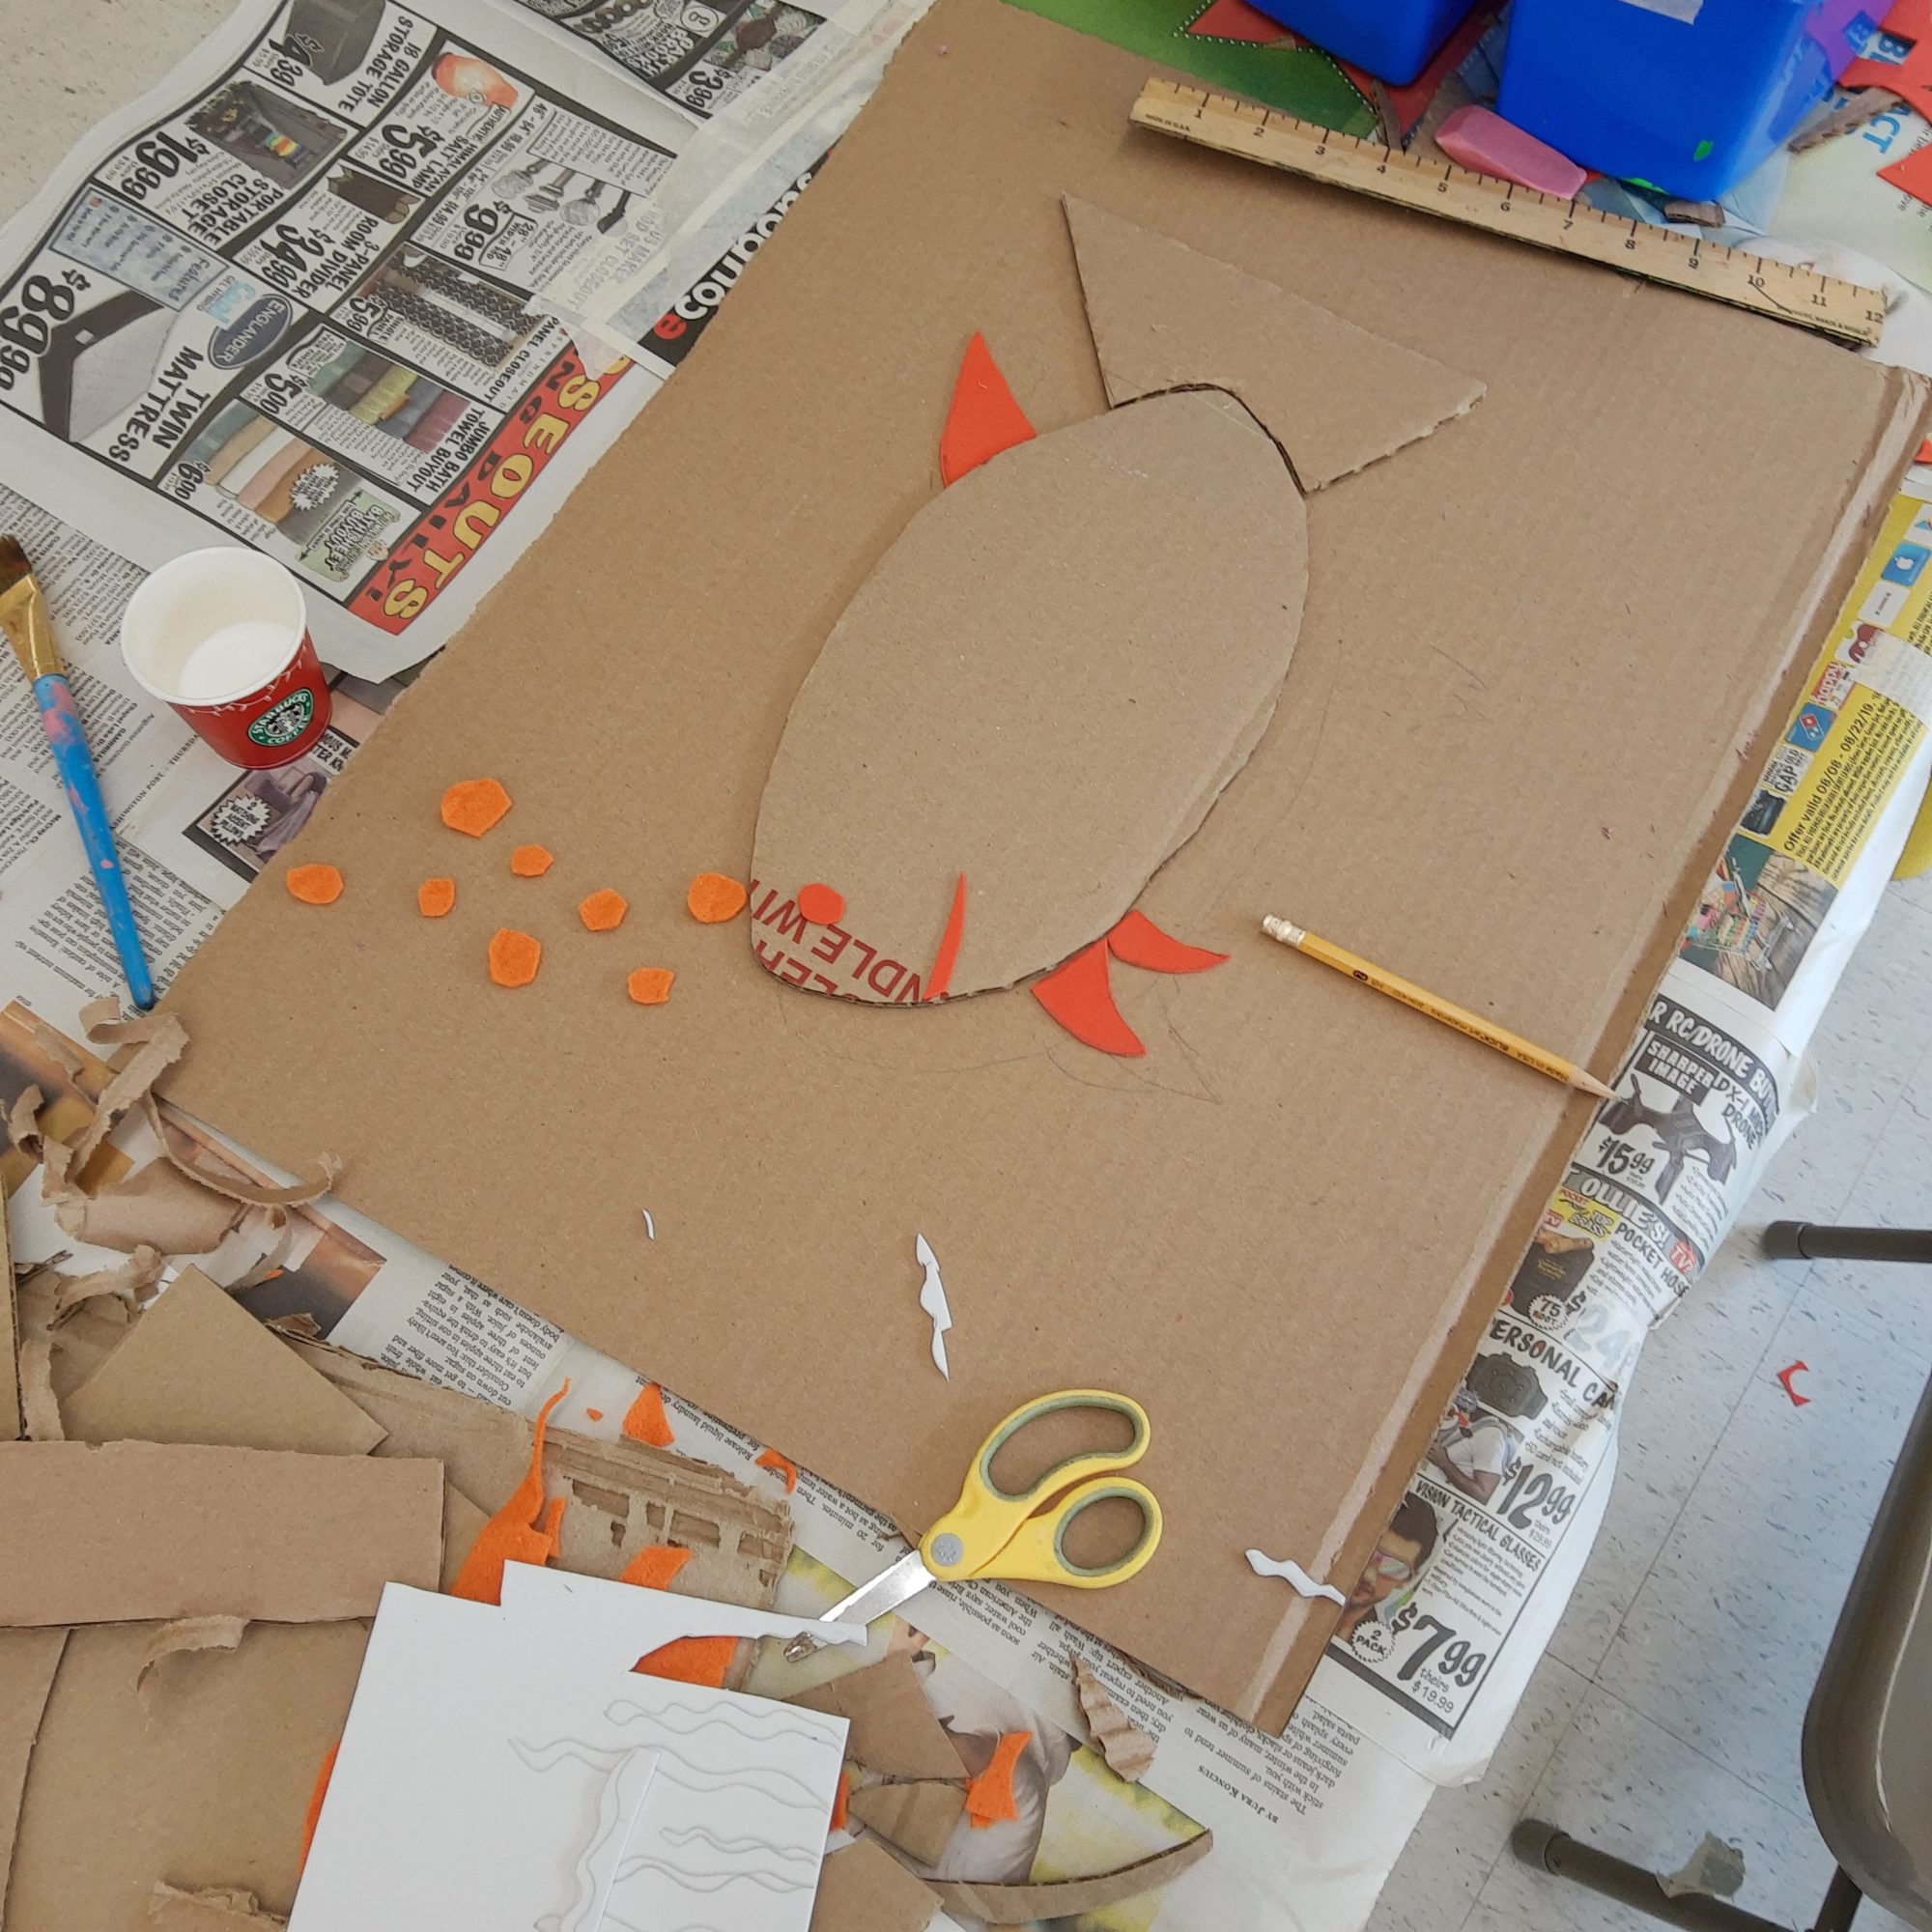
Collagraphs – On the first day of camp, campers learned about collagraphs and made BIG printing plates. I cut out cardboard that is about 22 x 16″ to fit on 24 x 18″ paper.
Before creating their plates, I gave campers the theme of animals and had them sketch out and brainstorm at least 4 different ideas. They all came up with different animals which was awesome!
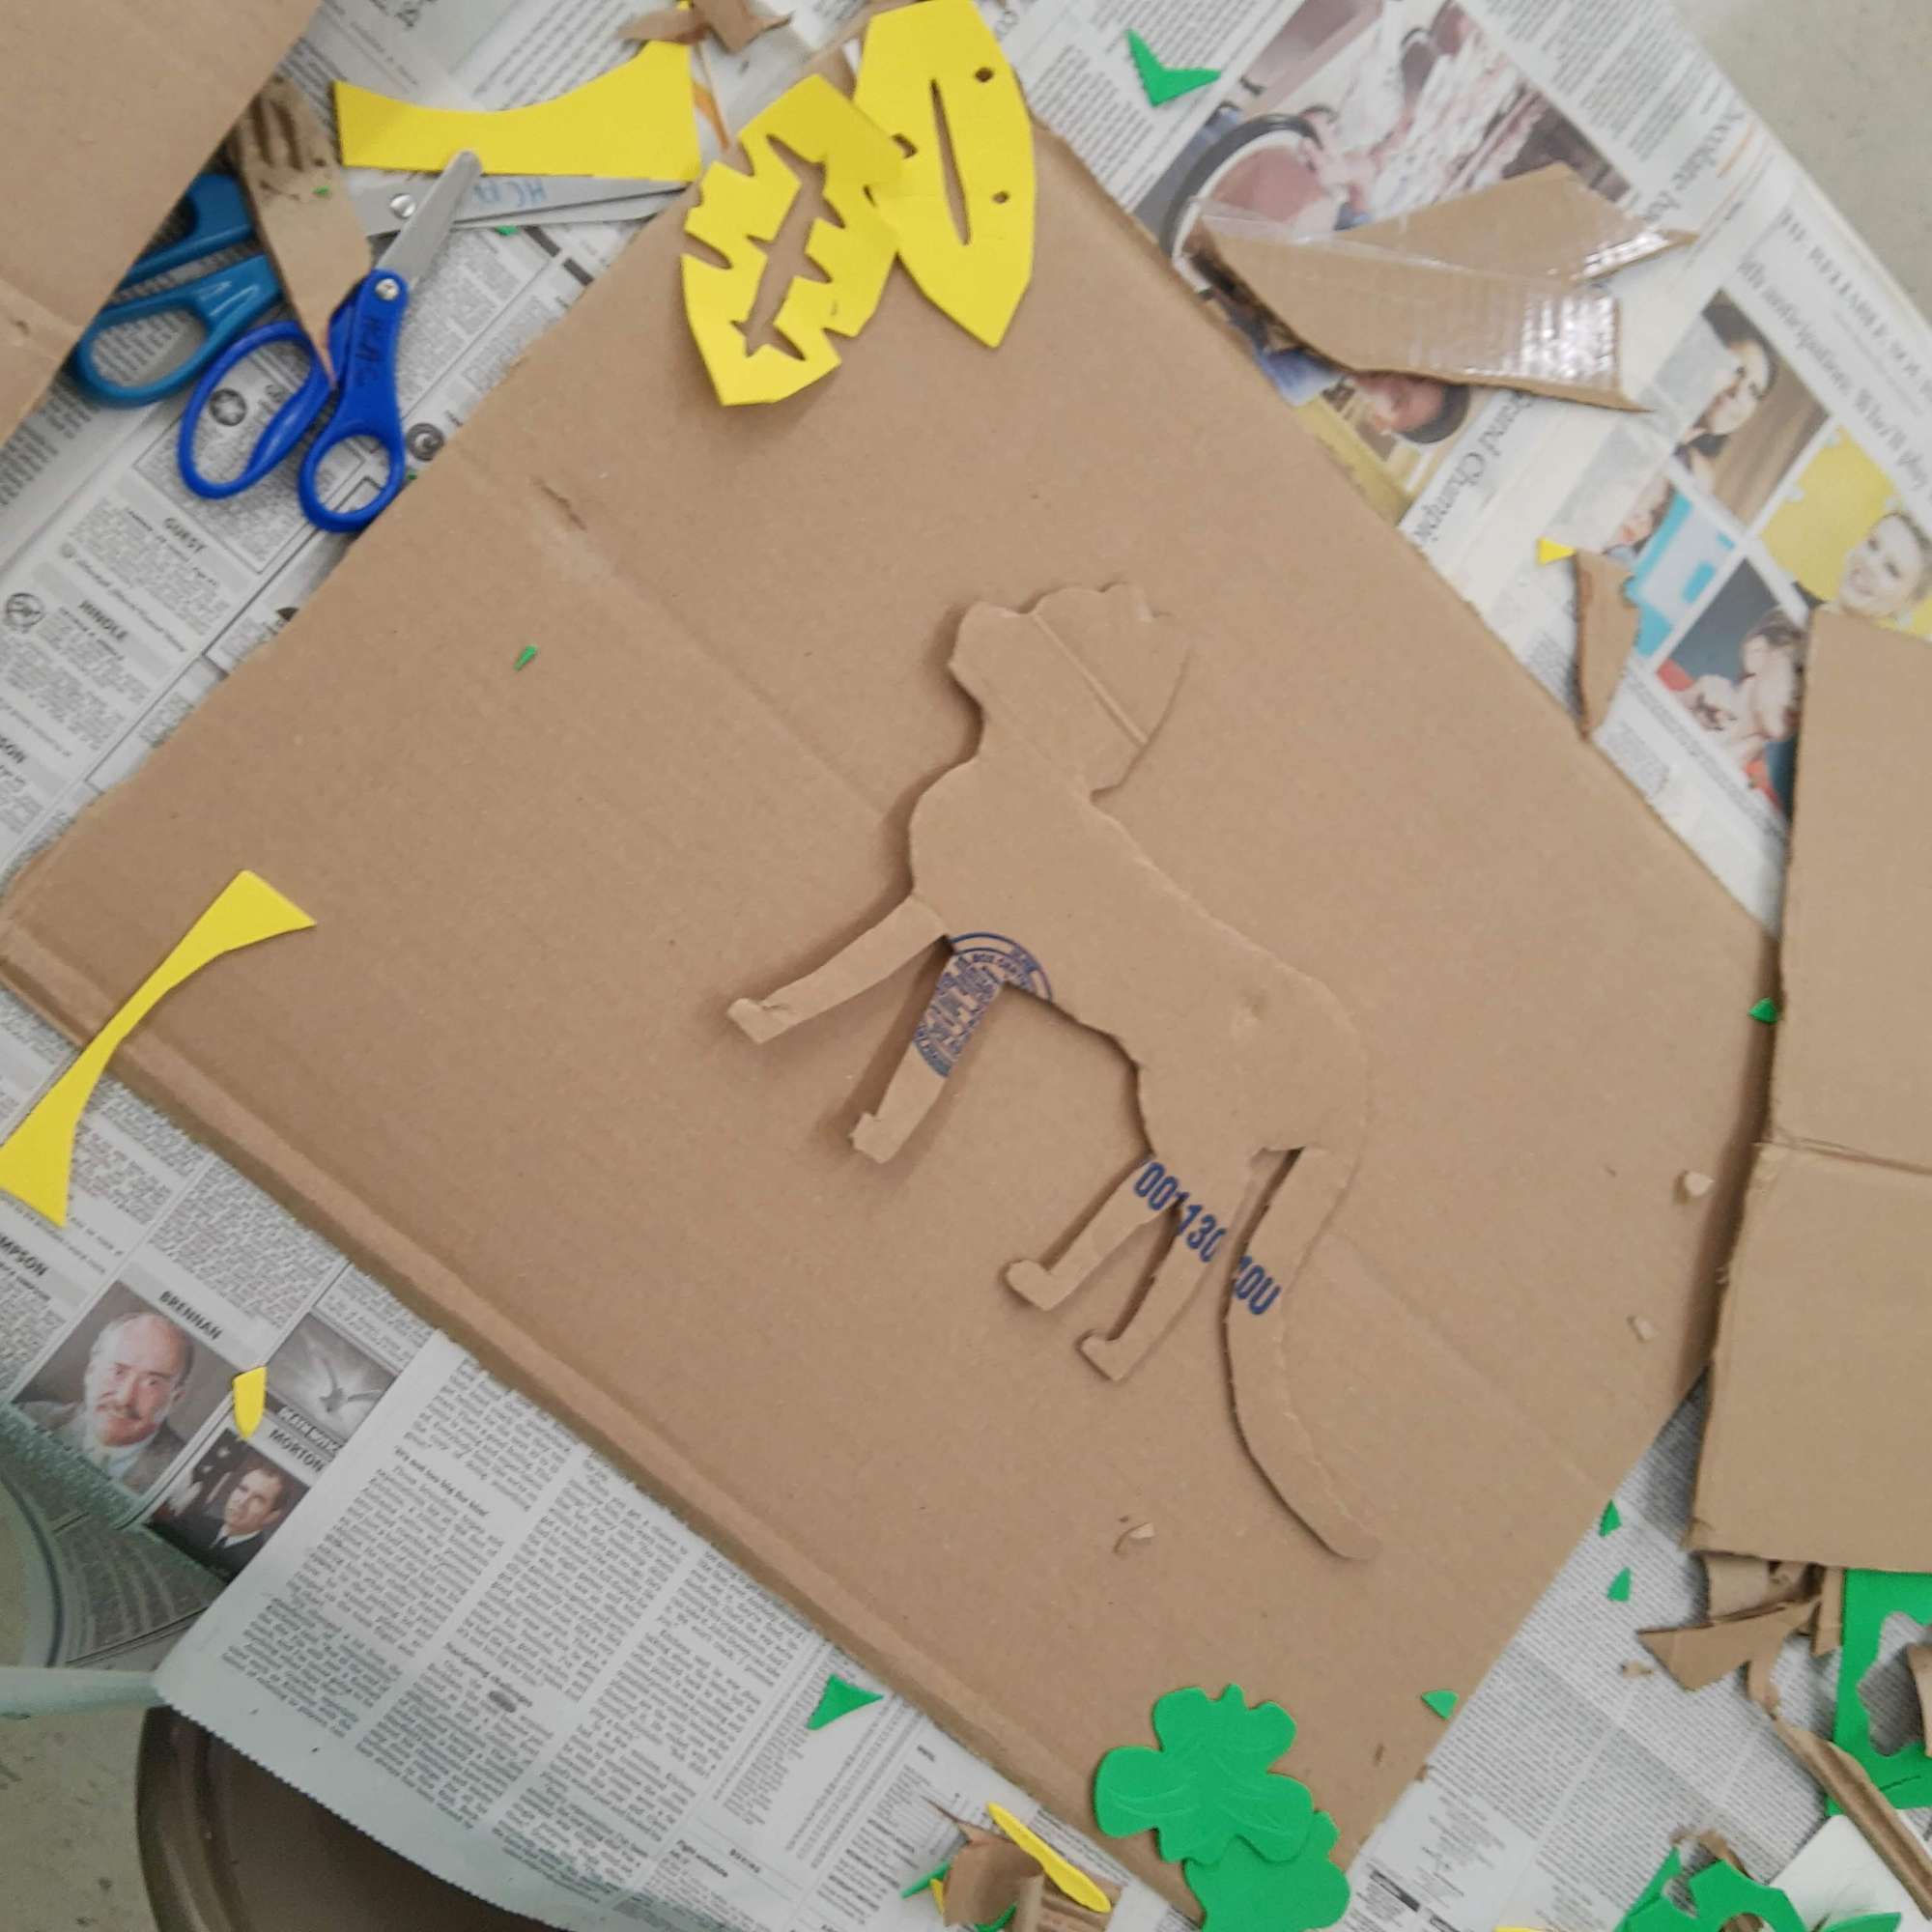
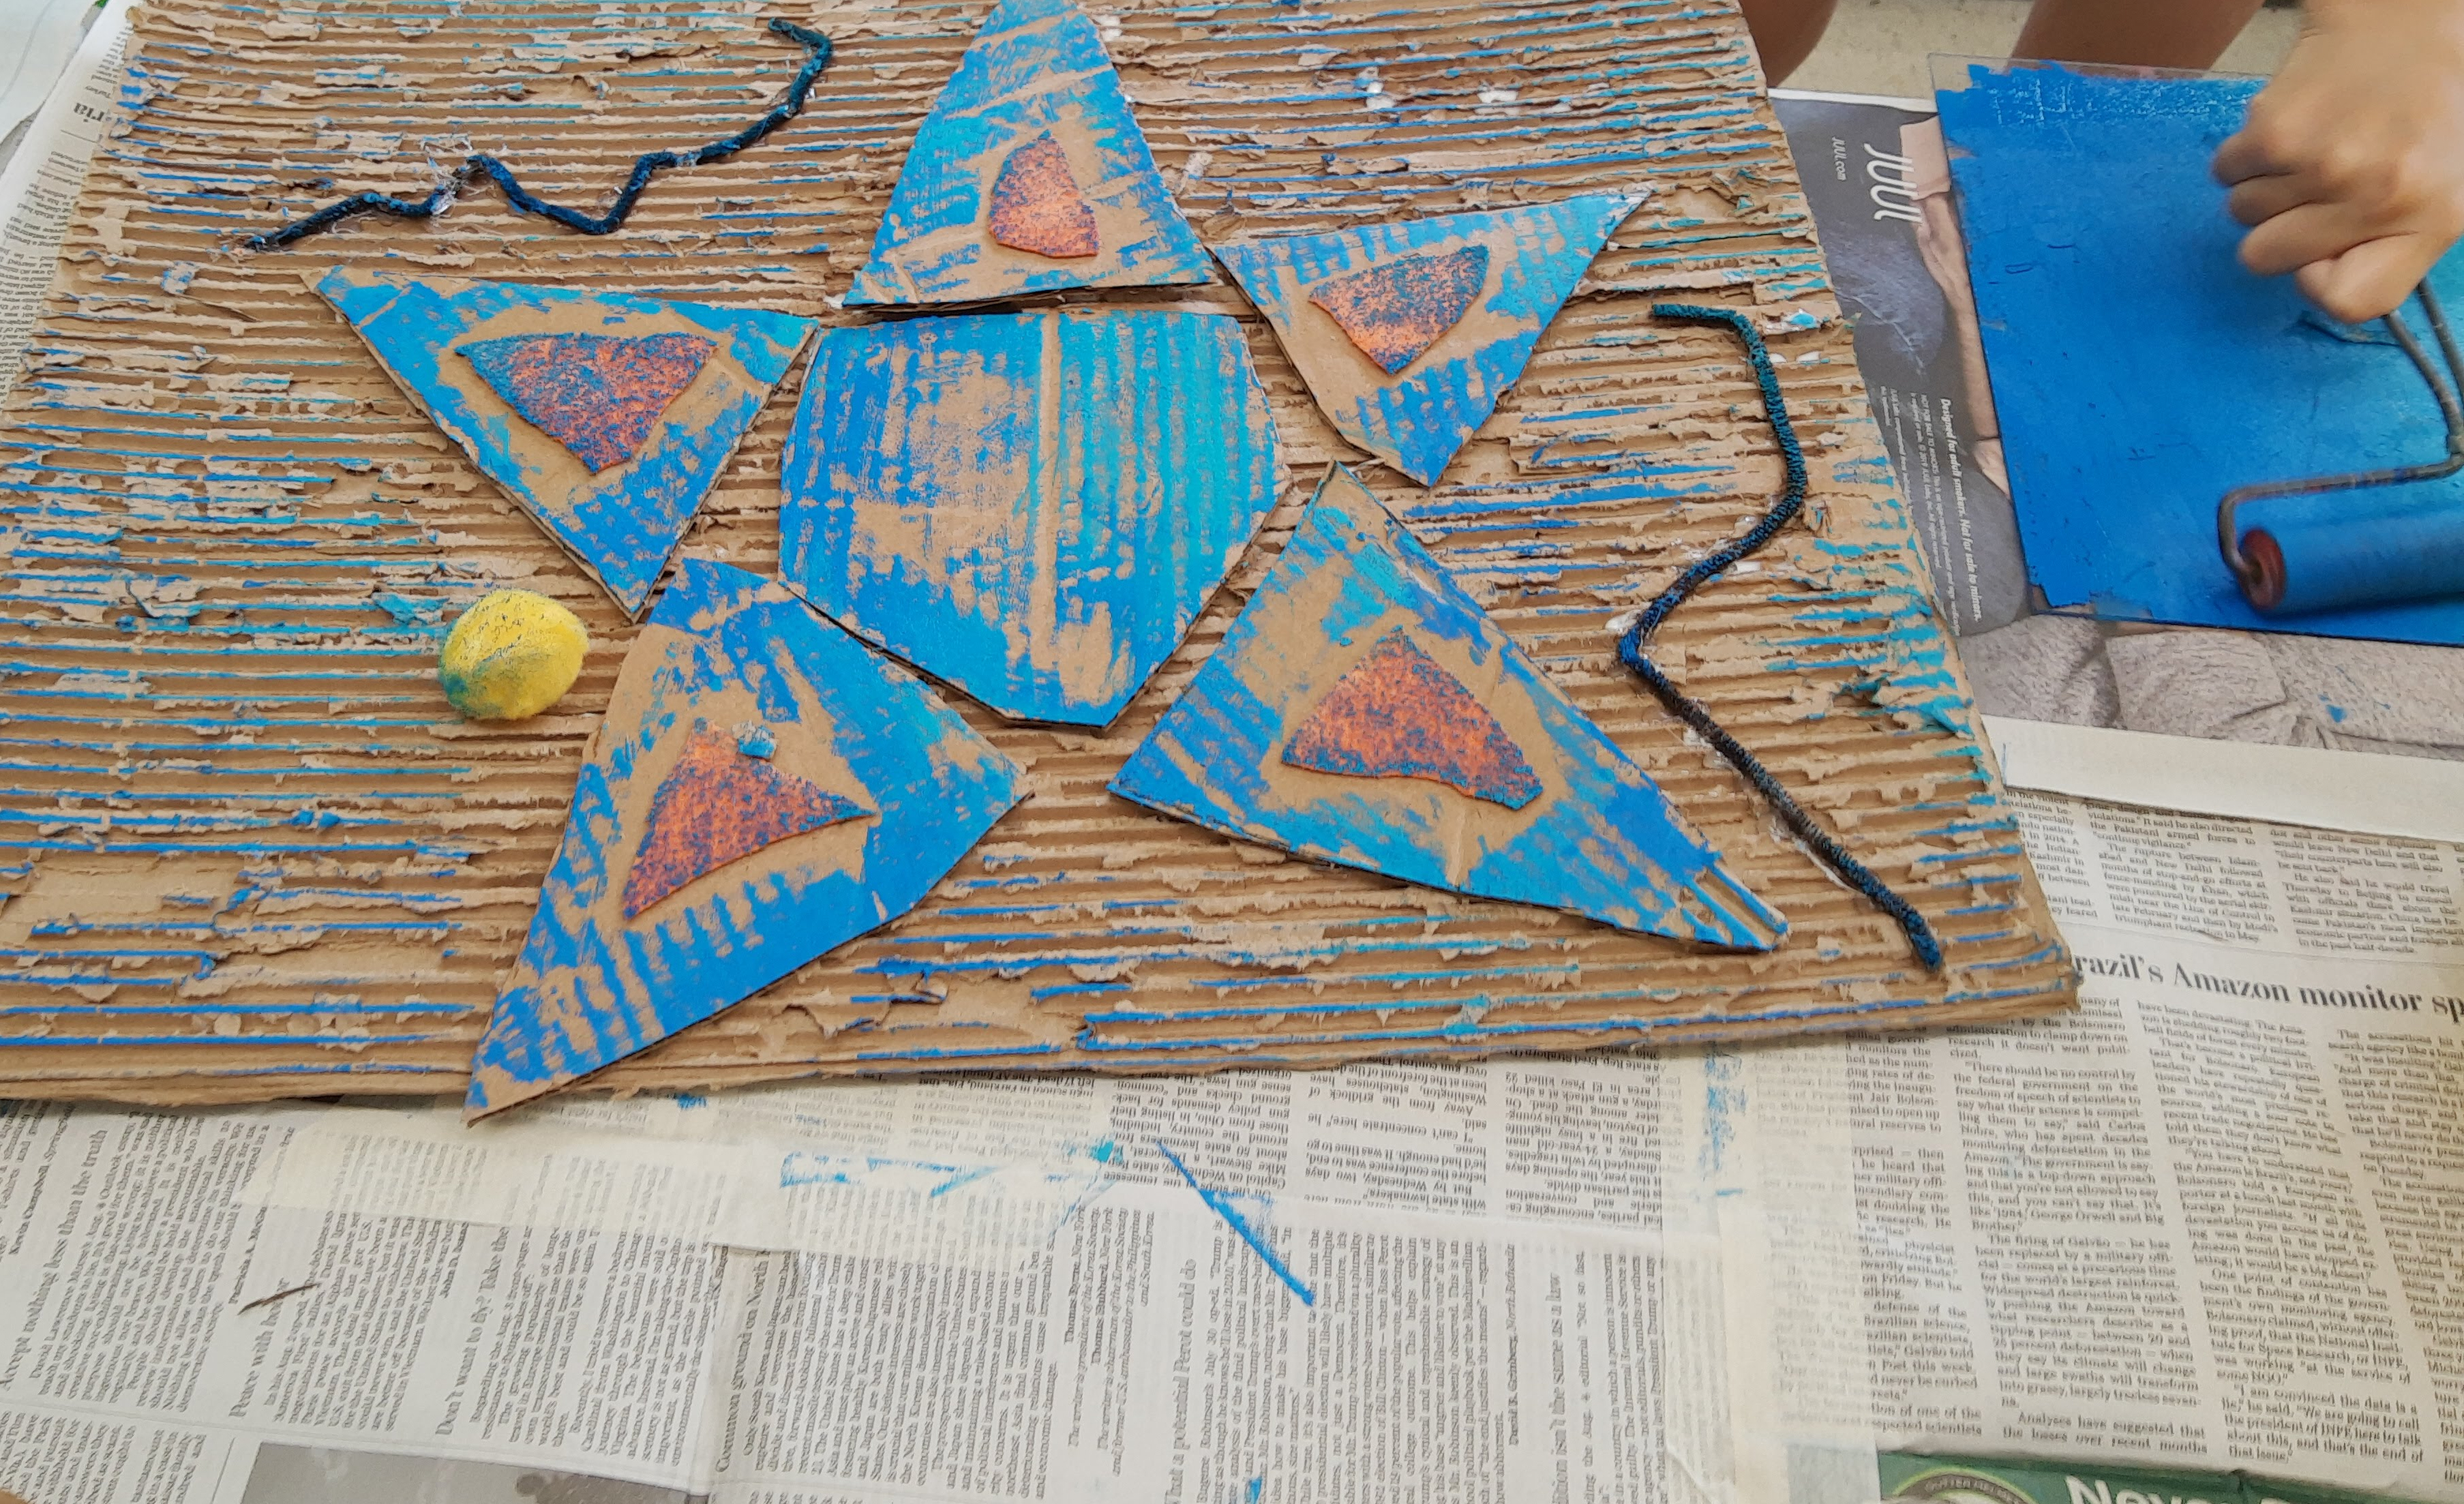
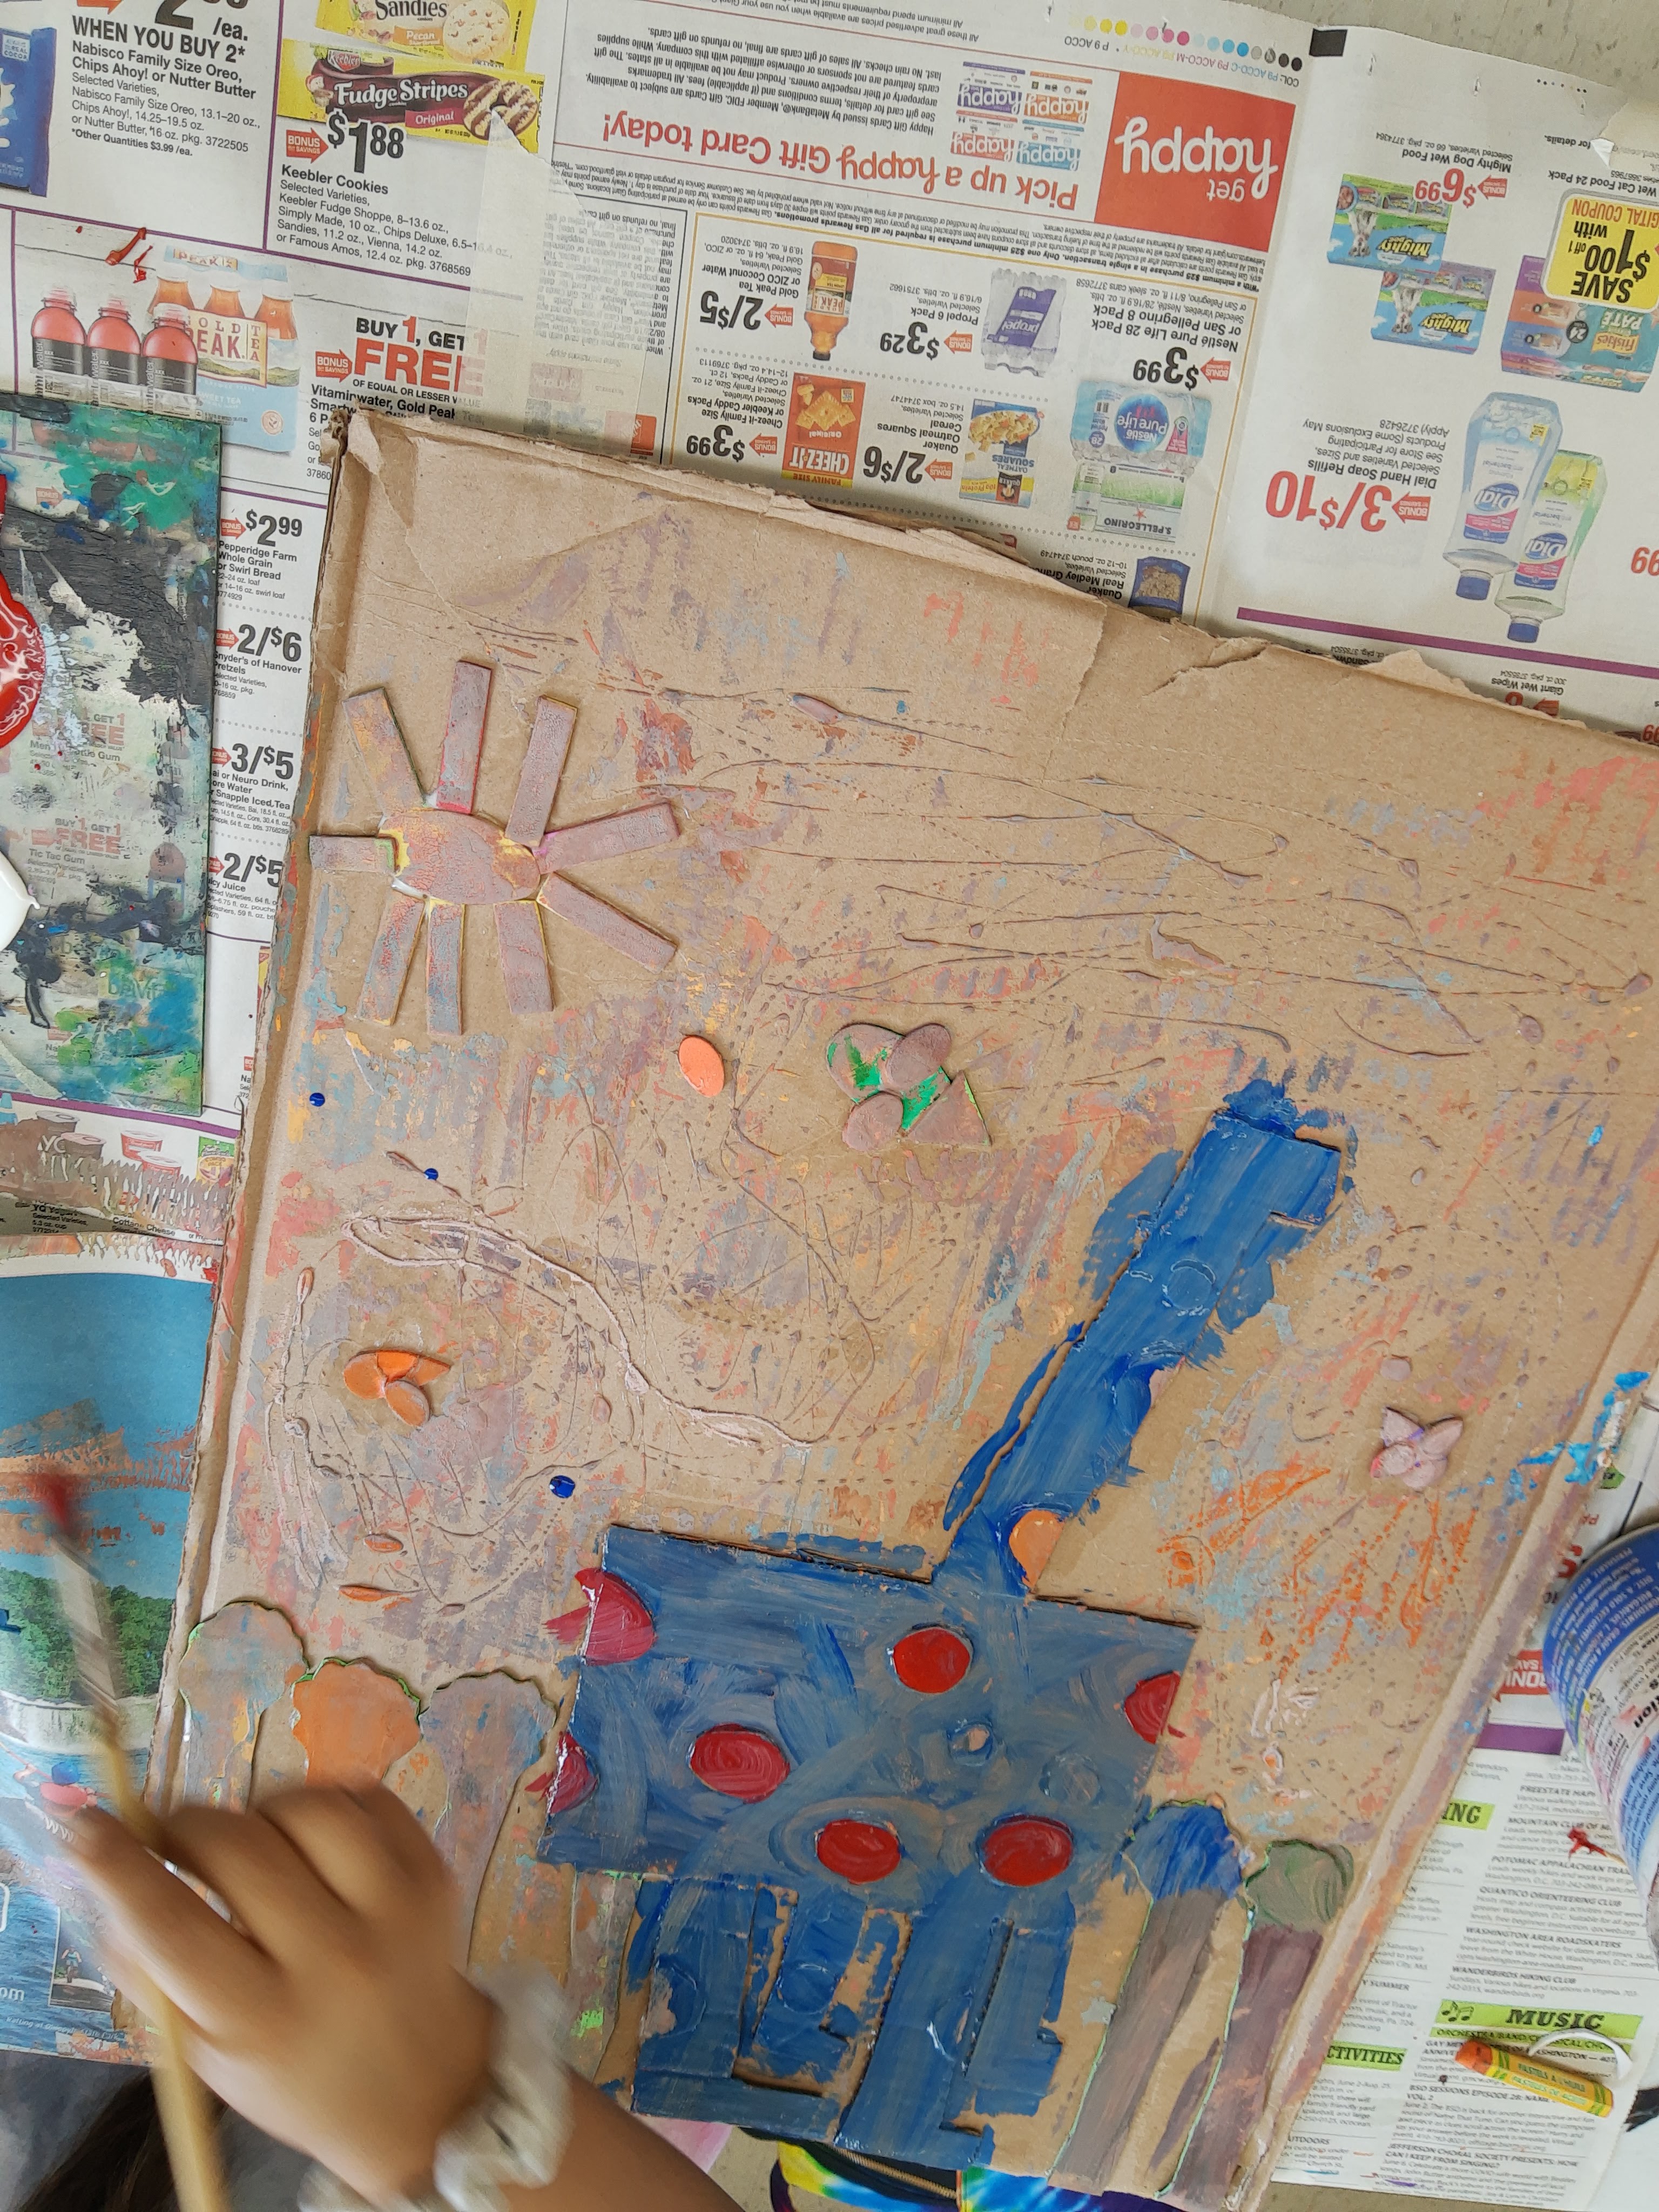
Once their ideas were set, they began assembling their collagraphs. I had different sizes of scrap cardboard laid out for campers to use as well as foam, felt, pipe-cleaners, and other crafty materials to attach to their cardboard plate. One camper even decided to remove the top layer of the cardboard to reveal the corrugation underneath to create texture. We also discussed how different materials will create different textures (fabric creates a fuzzy texture, cardboard appears rough).
Once everything had been glued down to the plate, I handed out cups of mod podge and brushes and campers applied mod podge all over the top surface of their plates so everything was sealed and ready for printing.
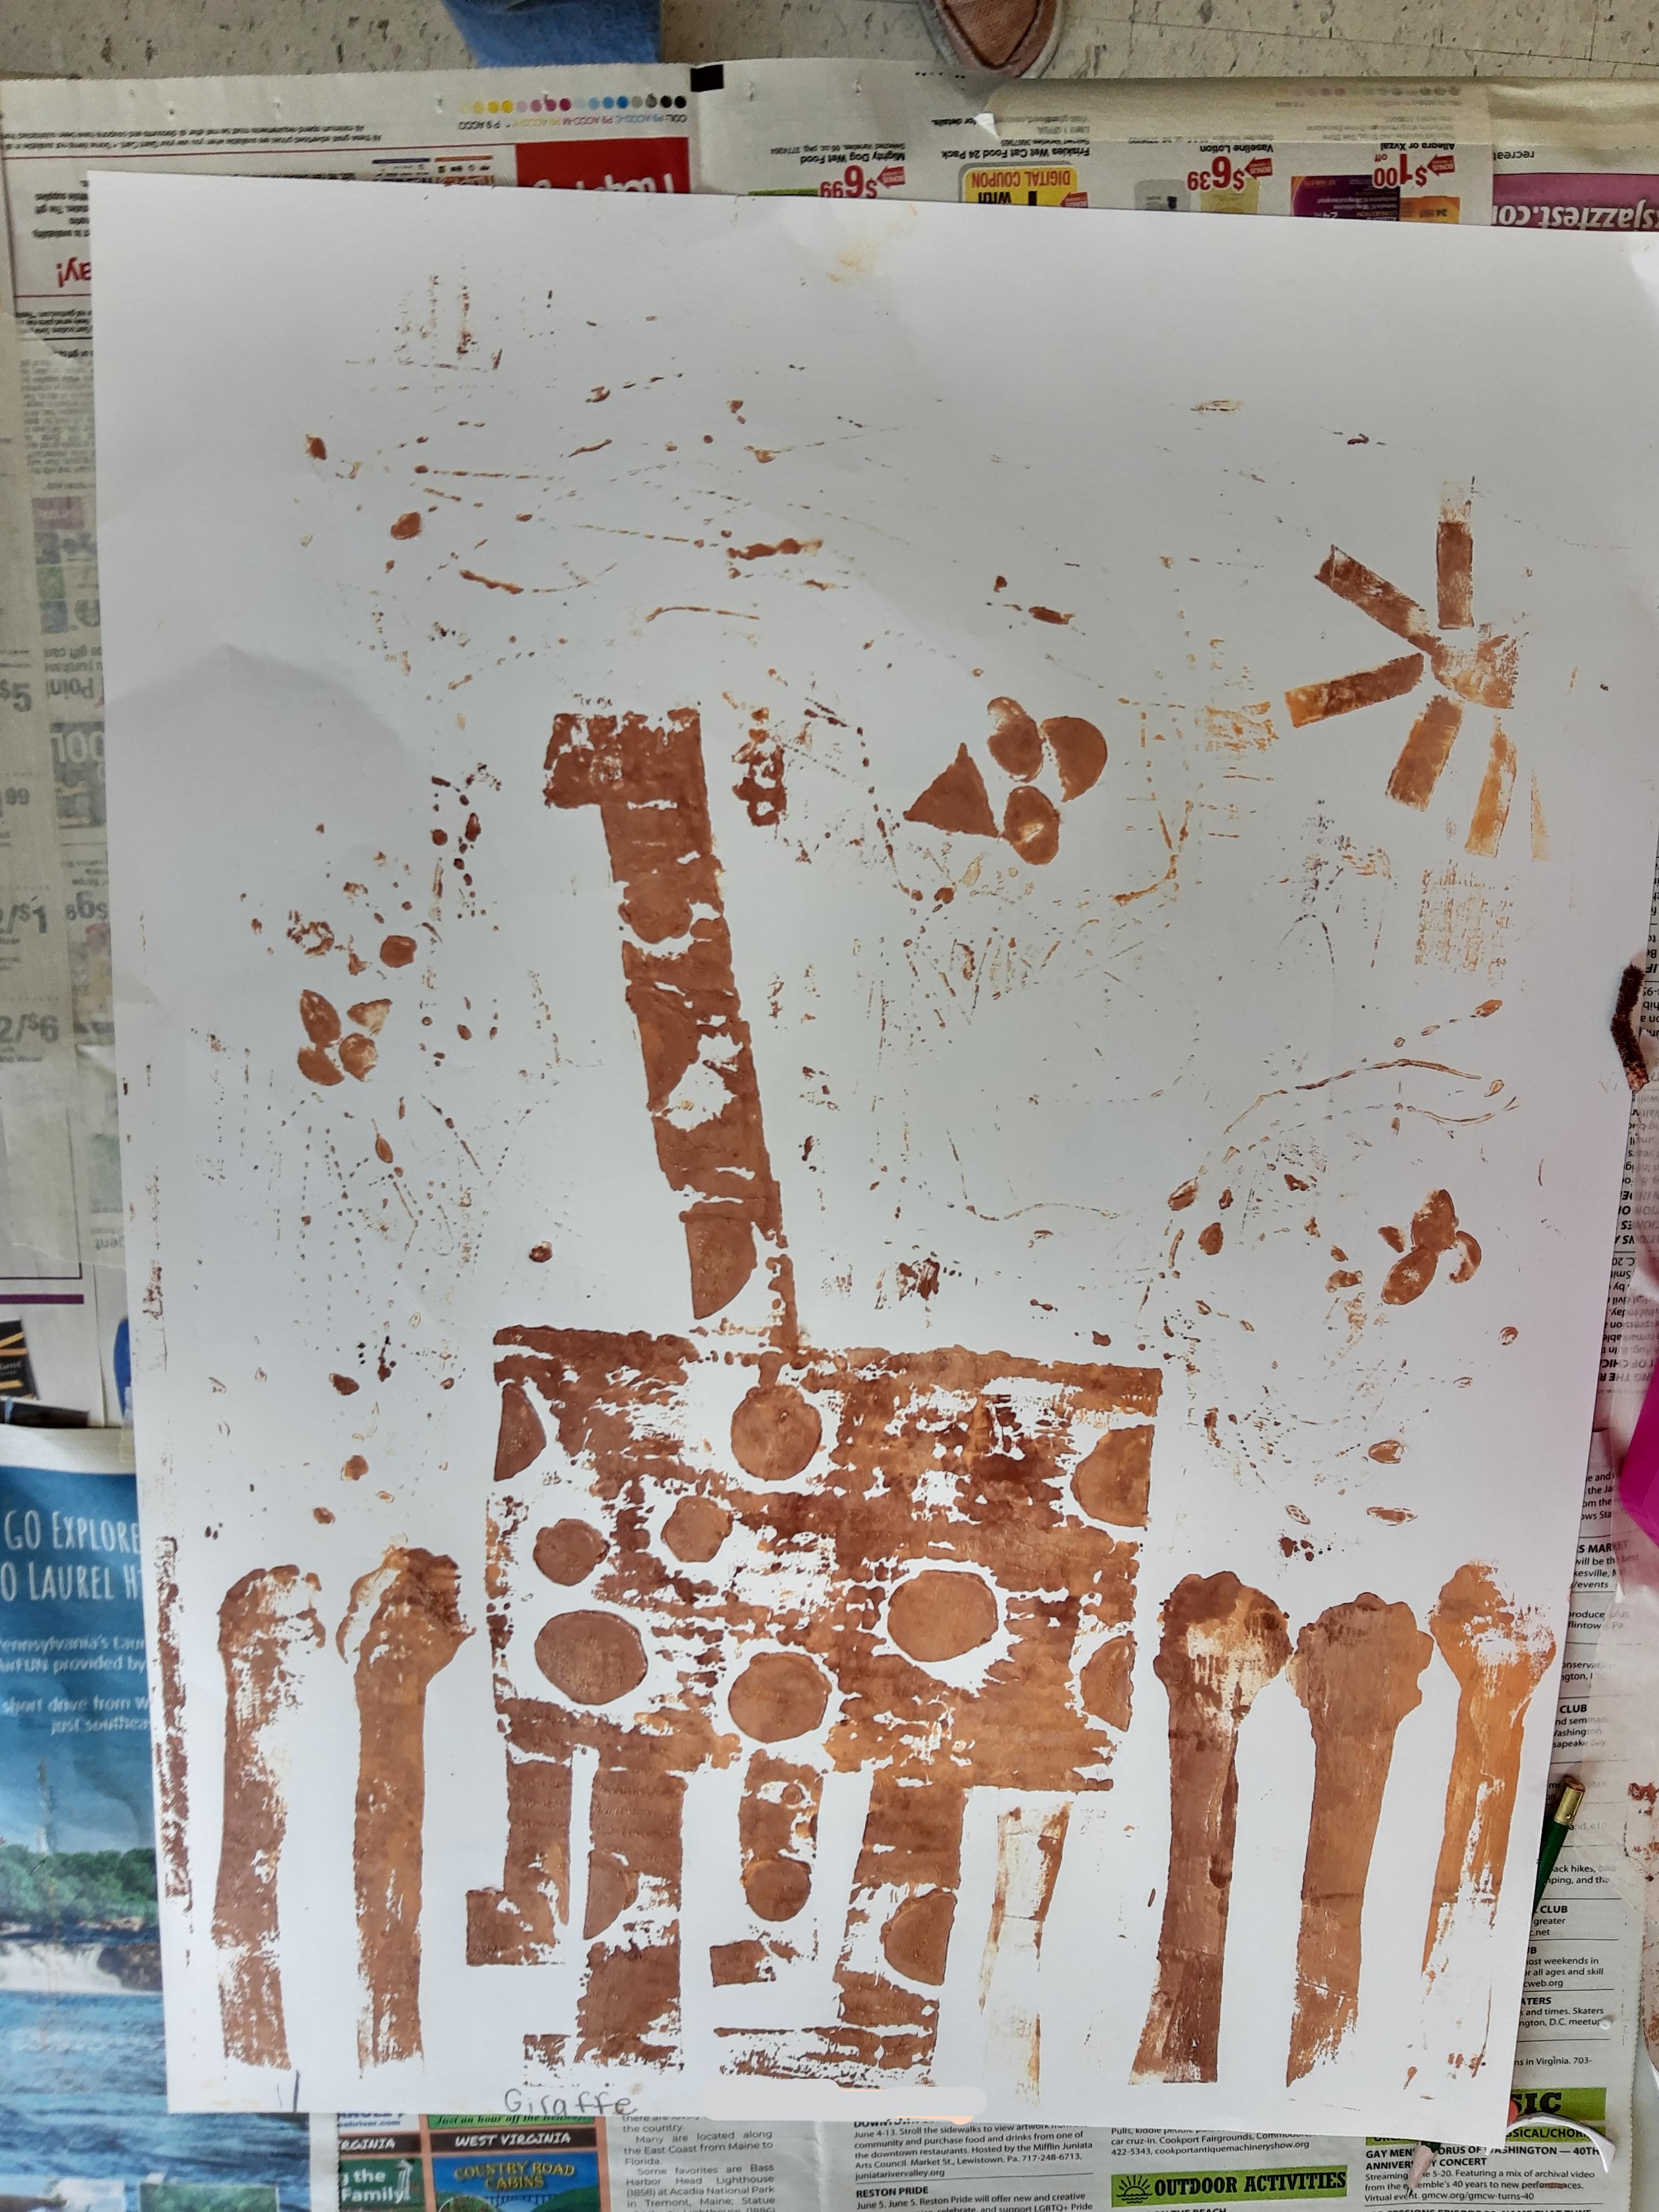
Some of the collagraph plates from campers:
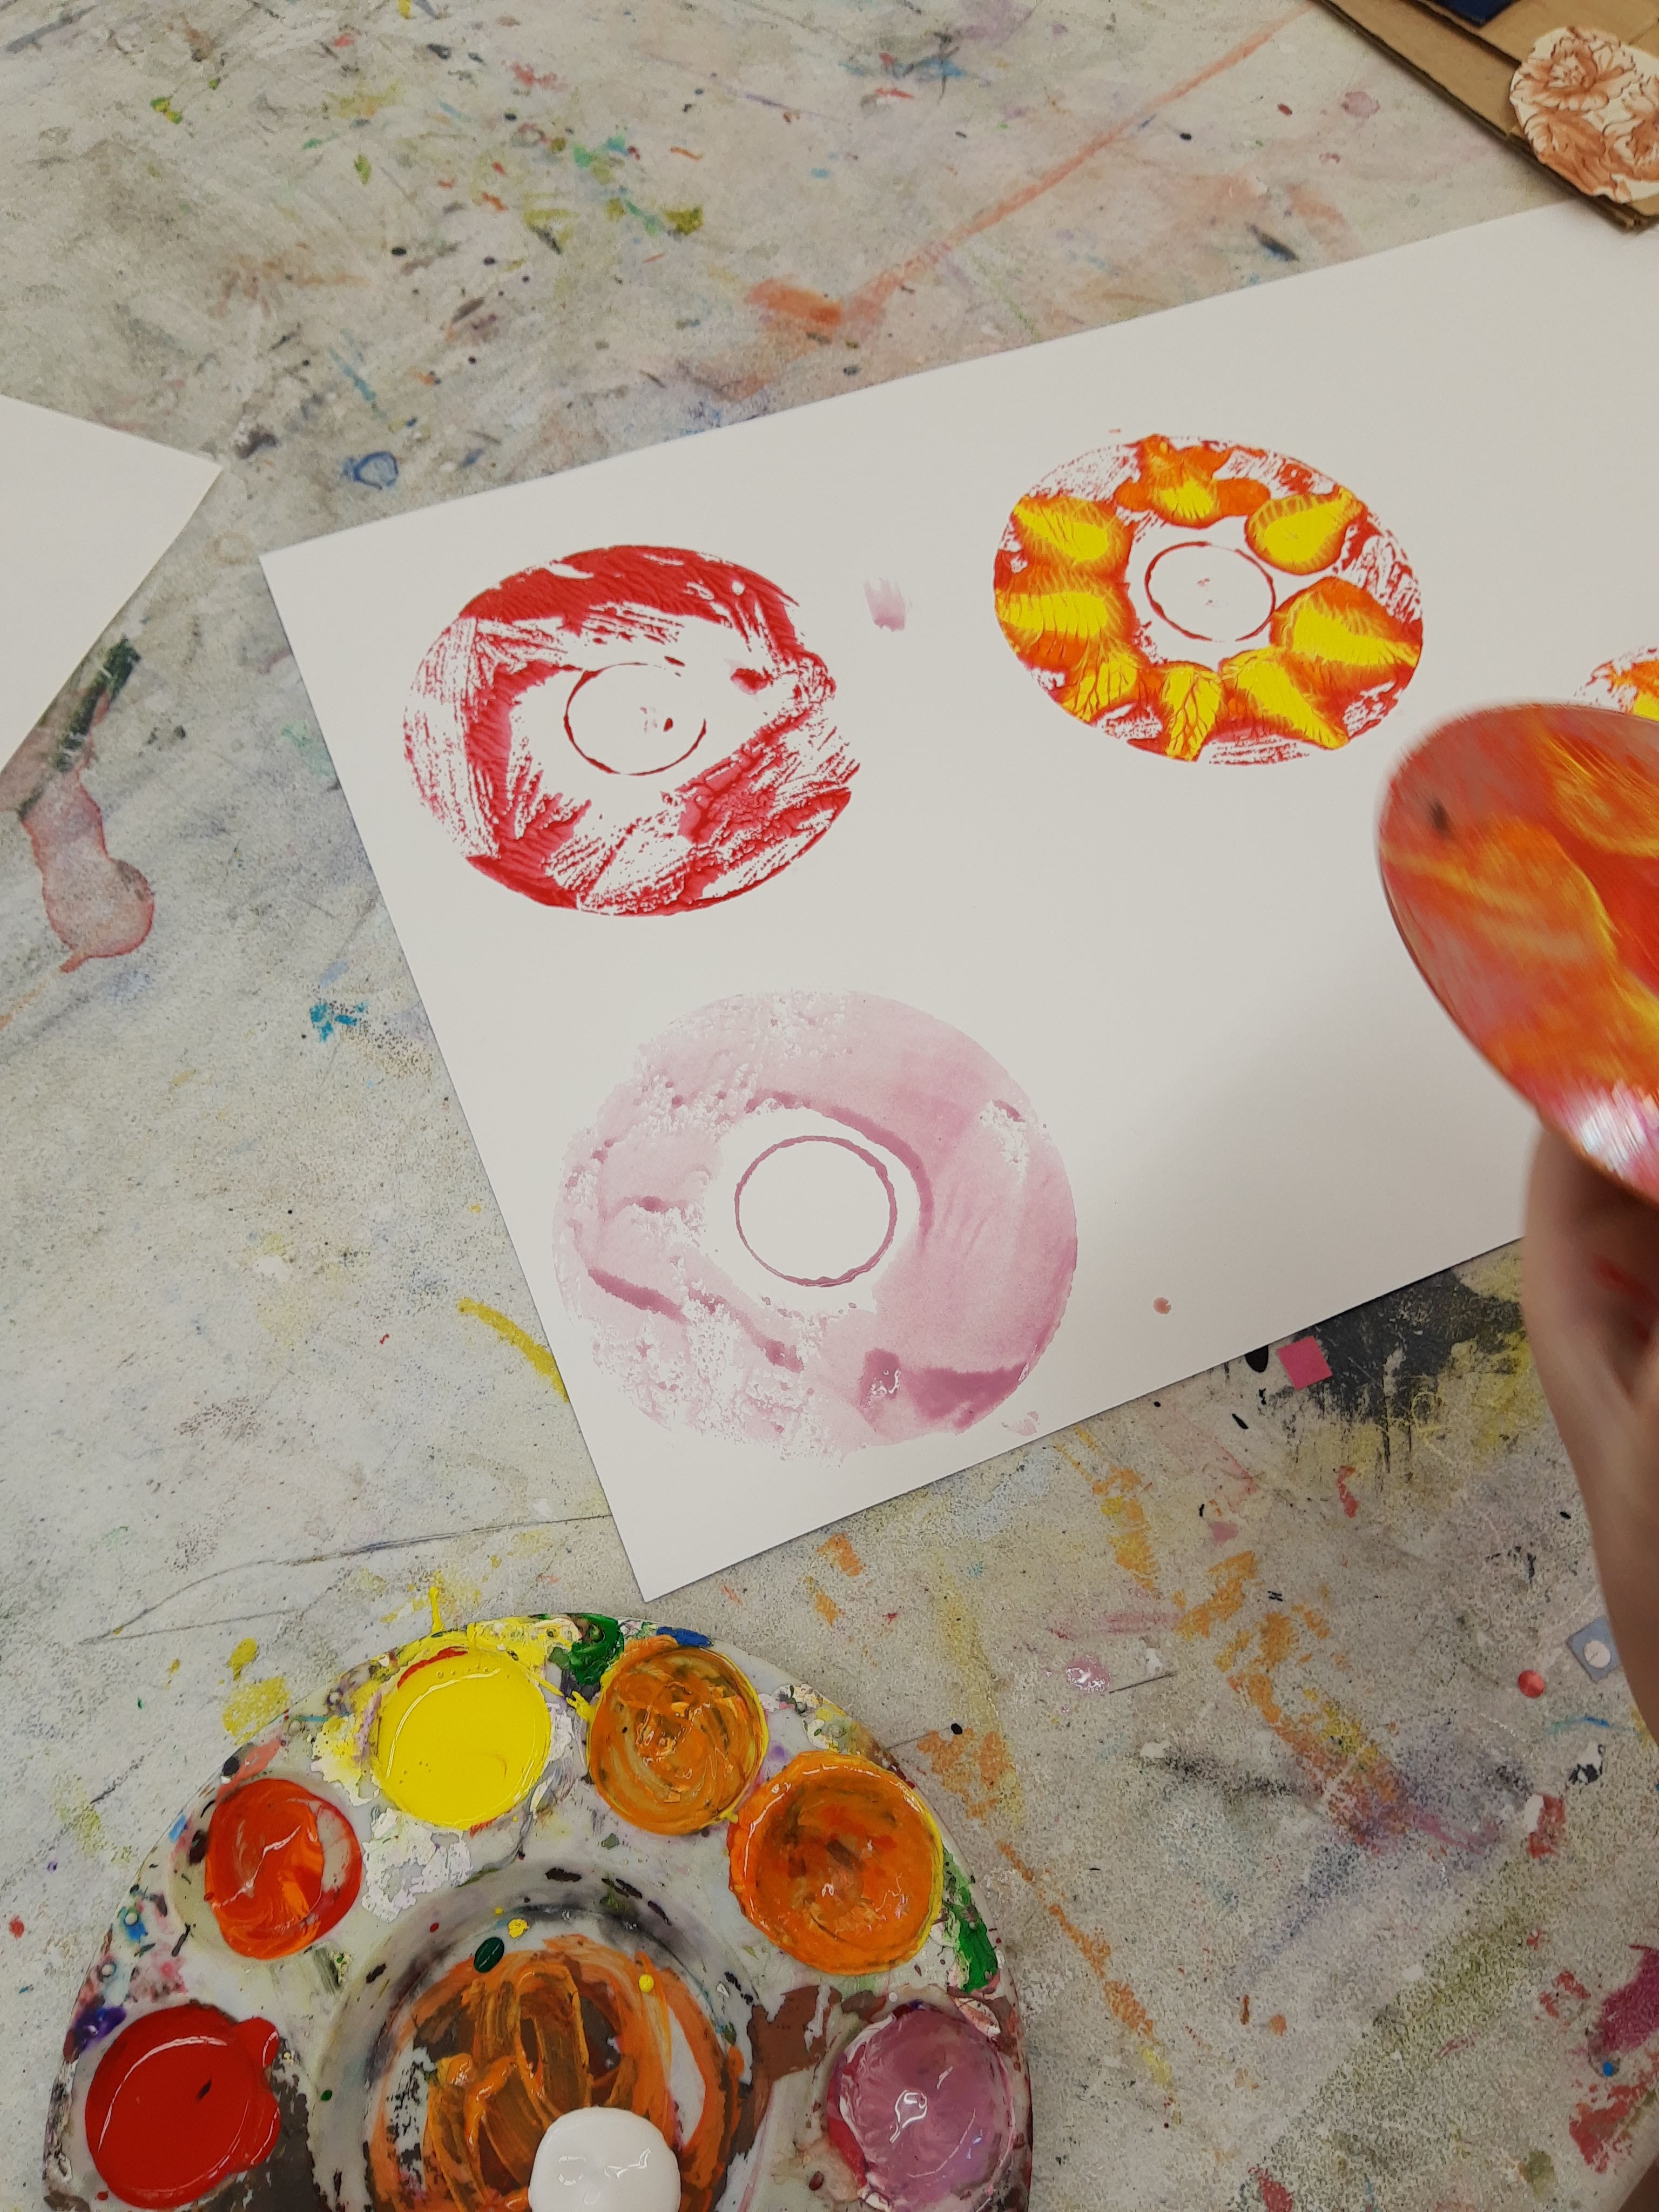
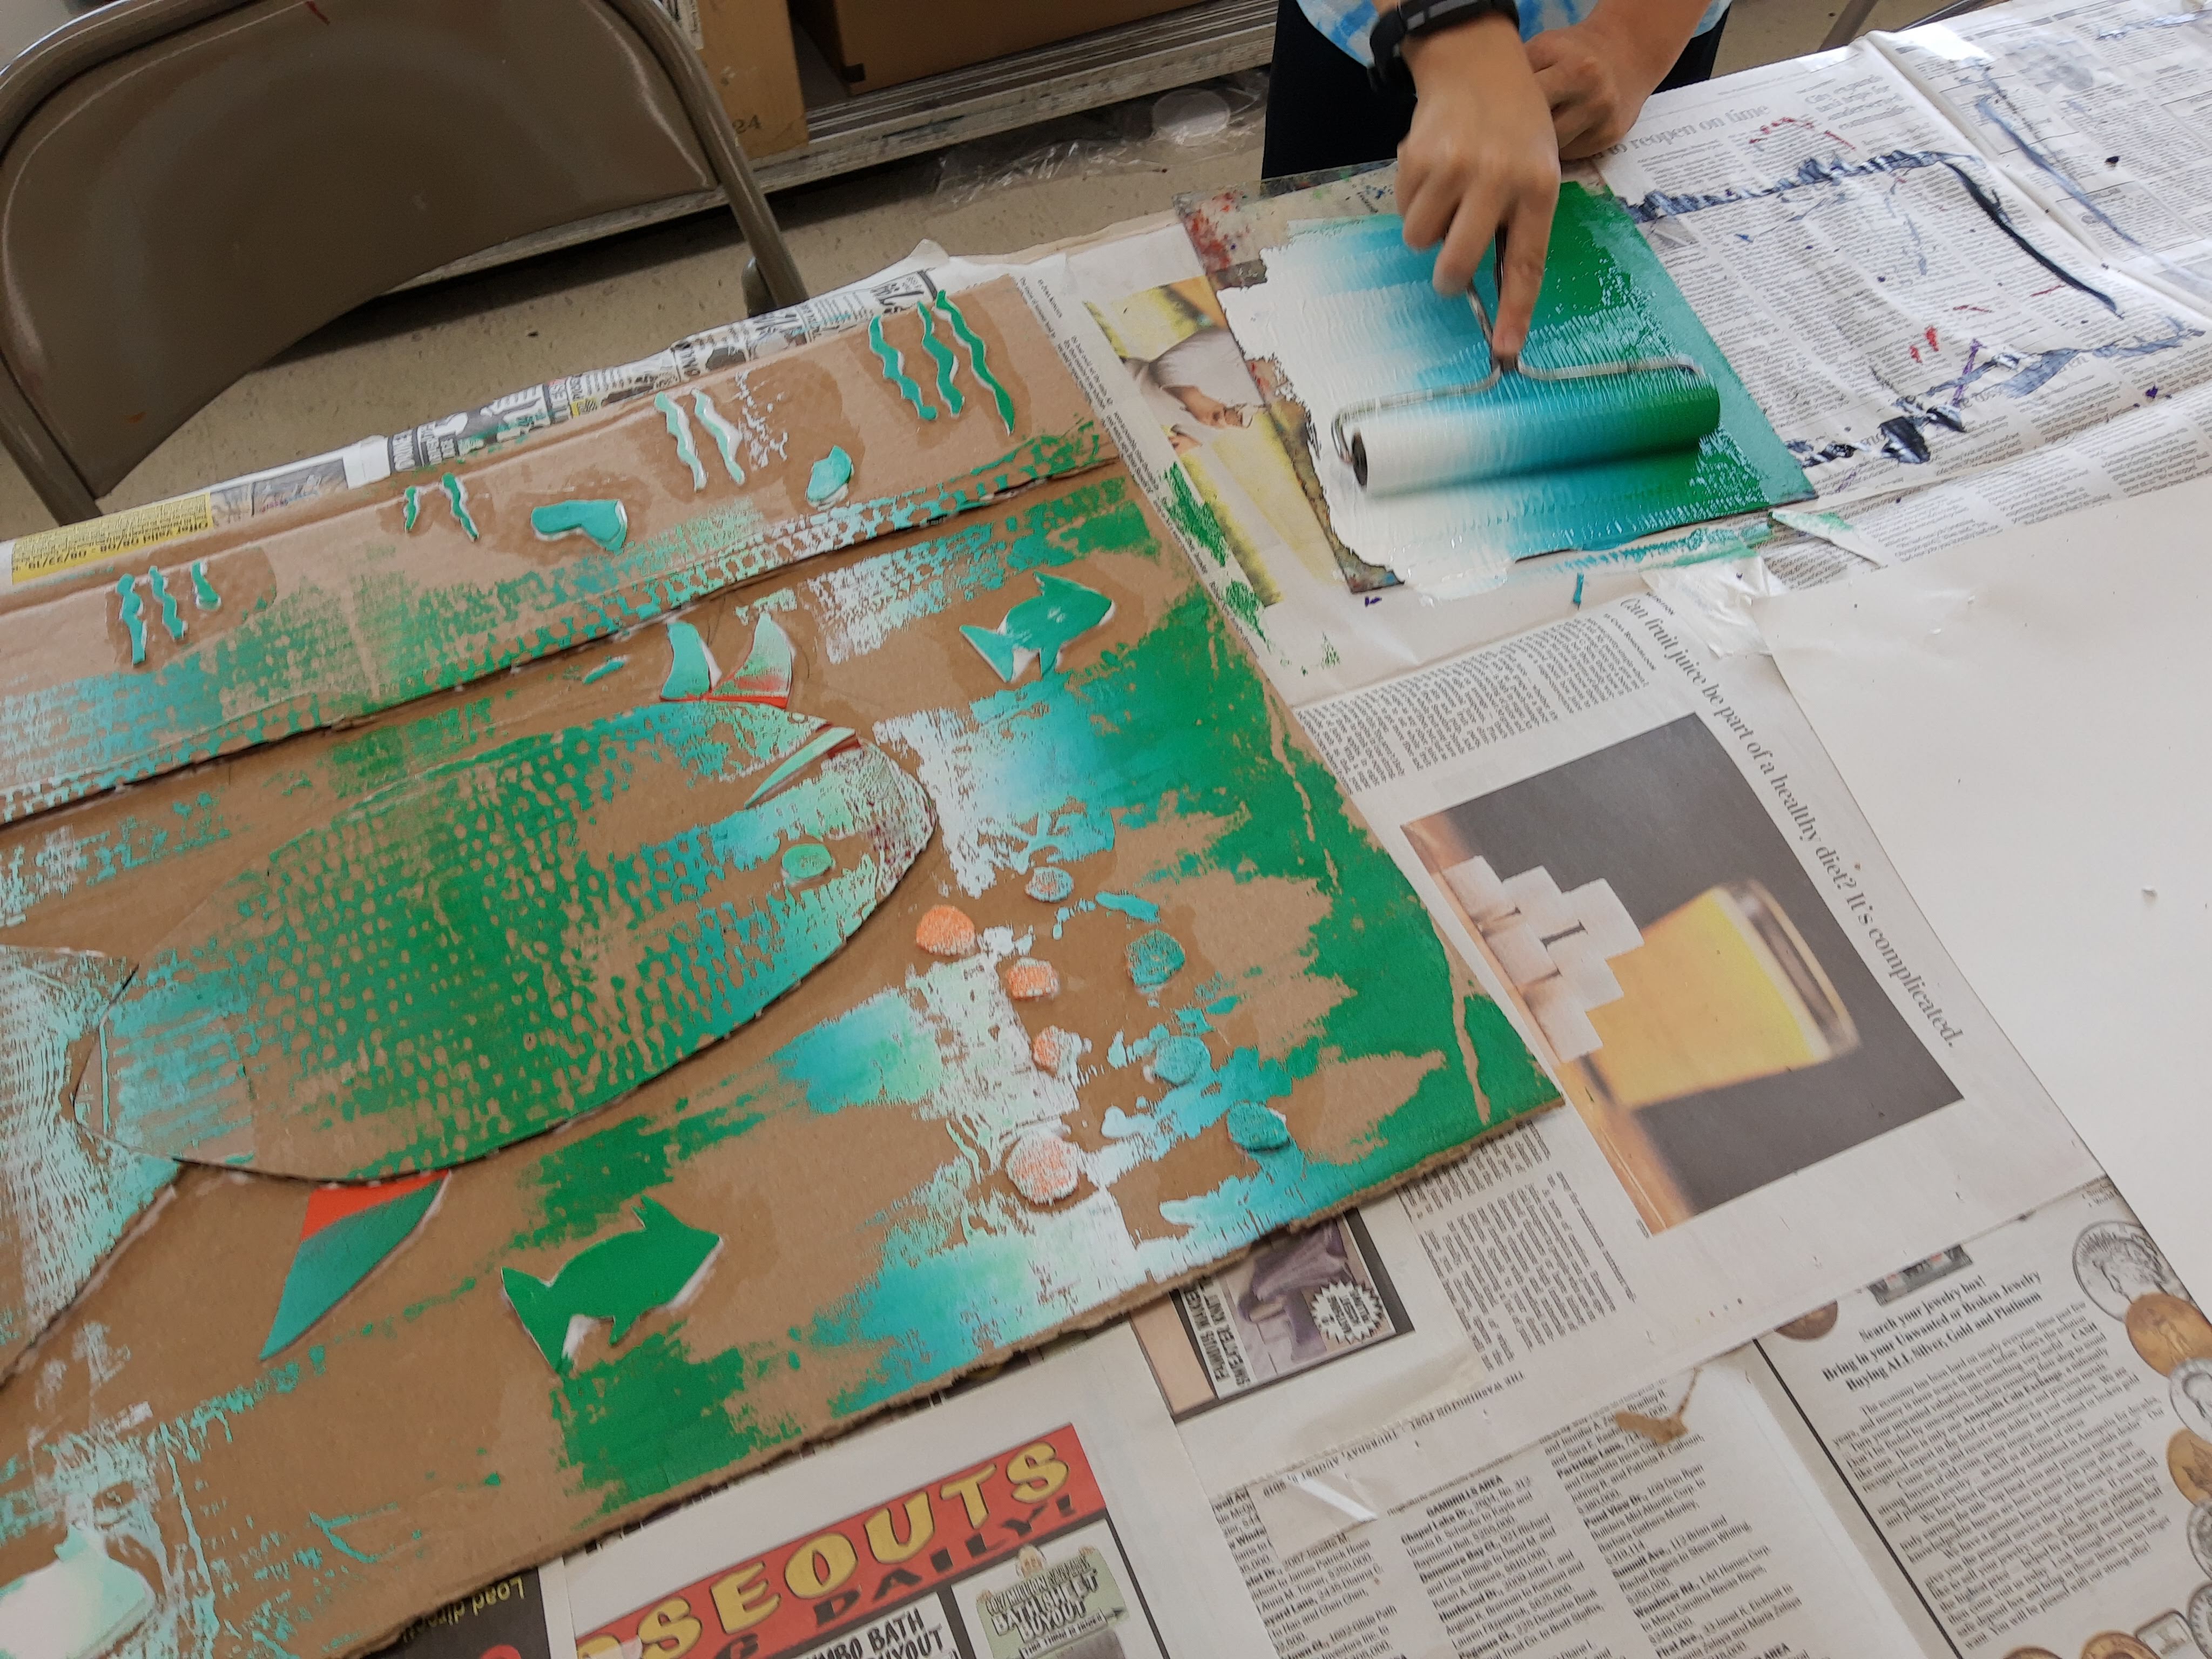
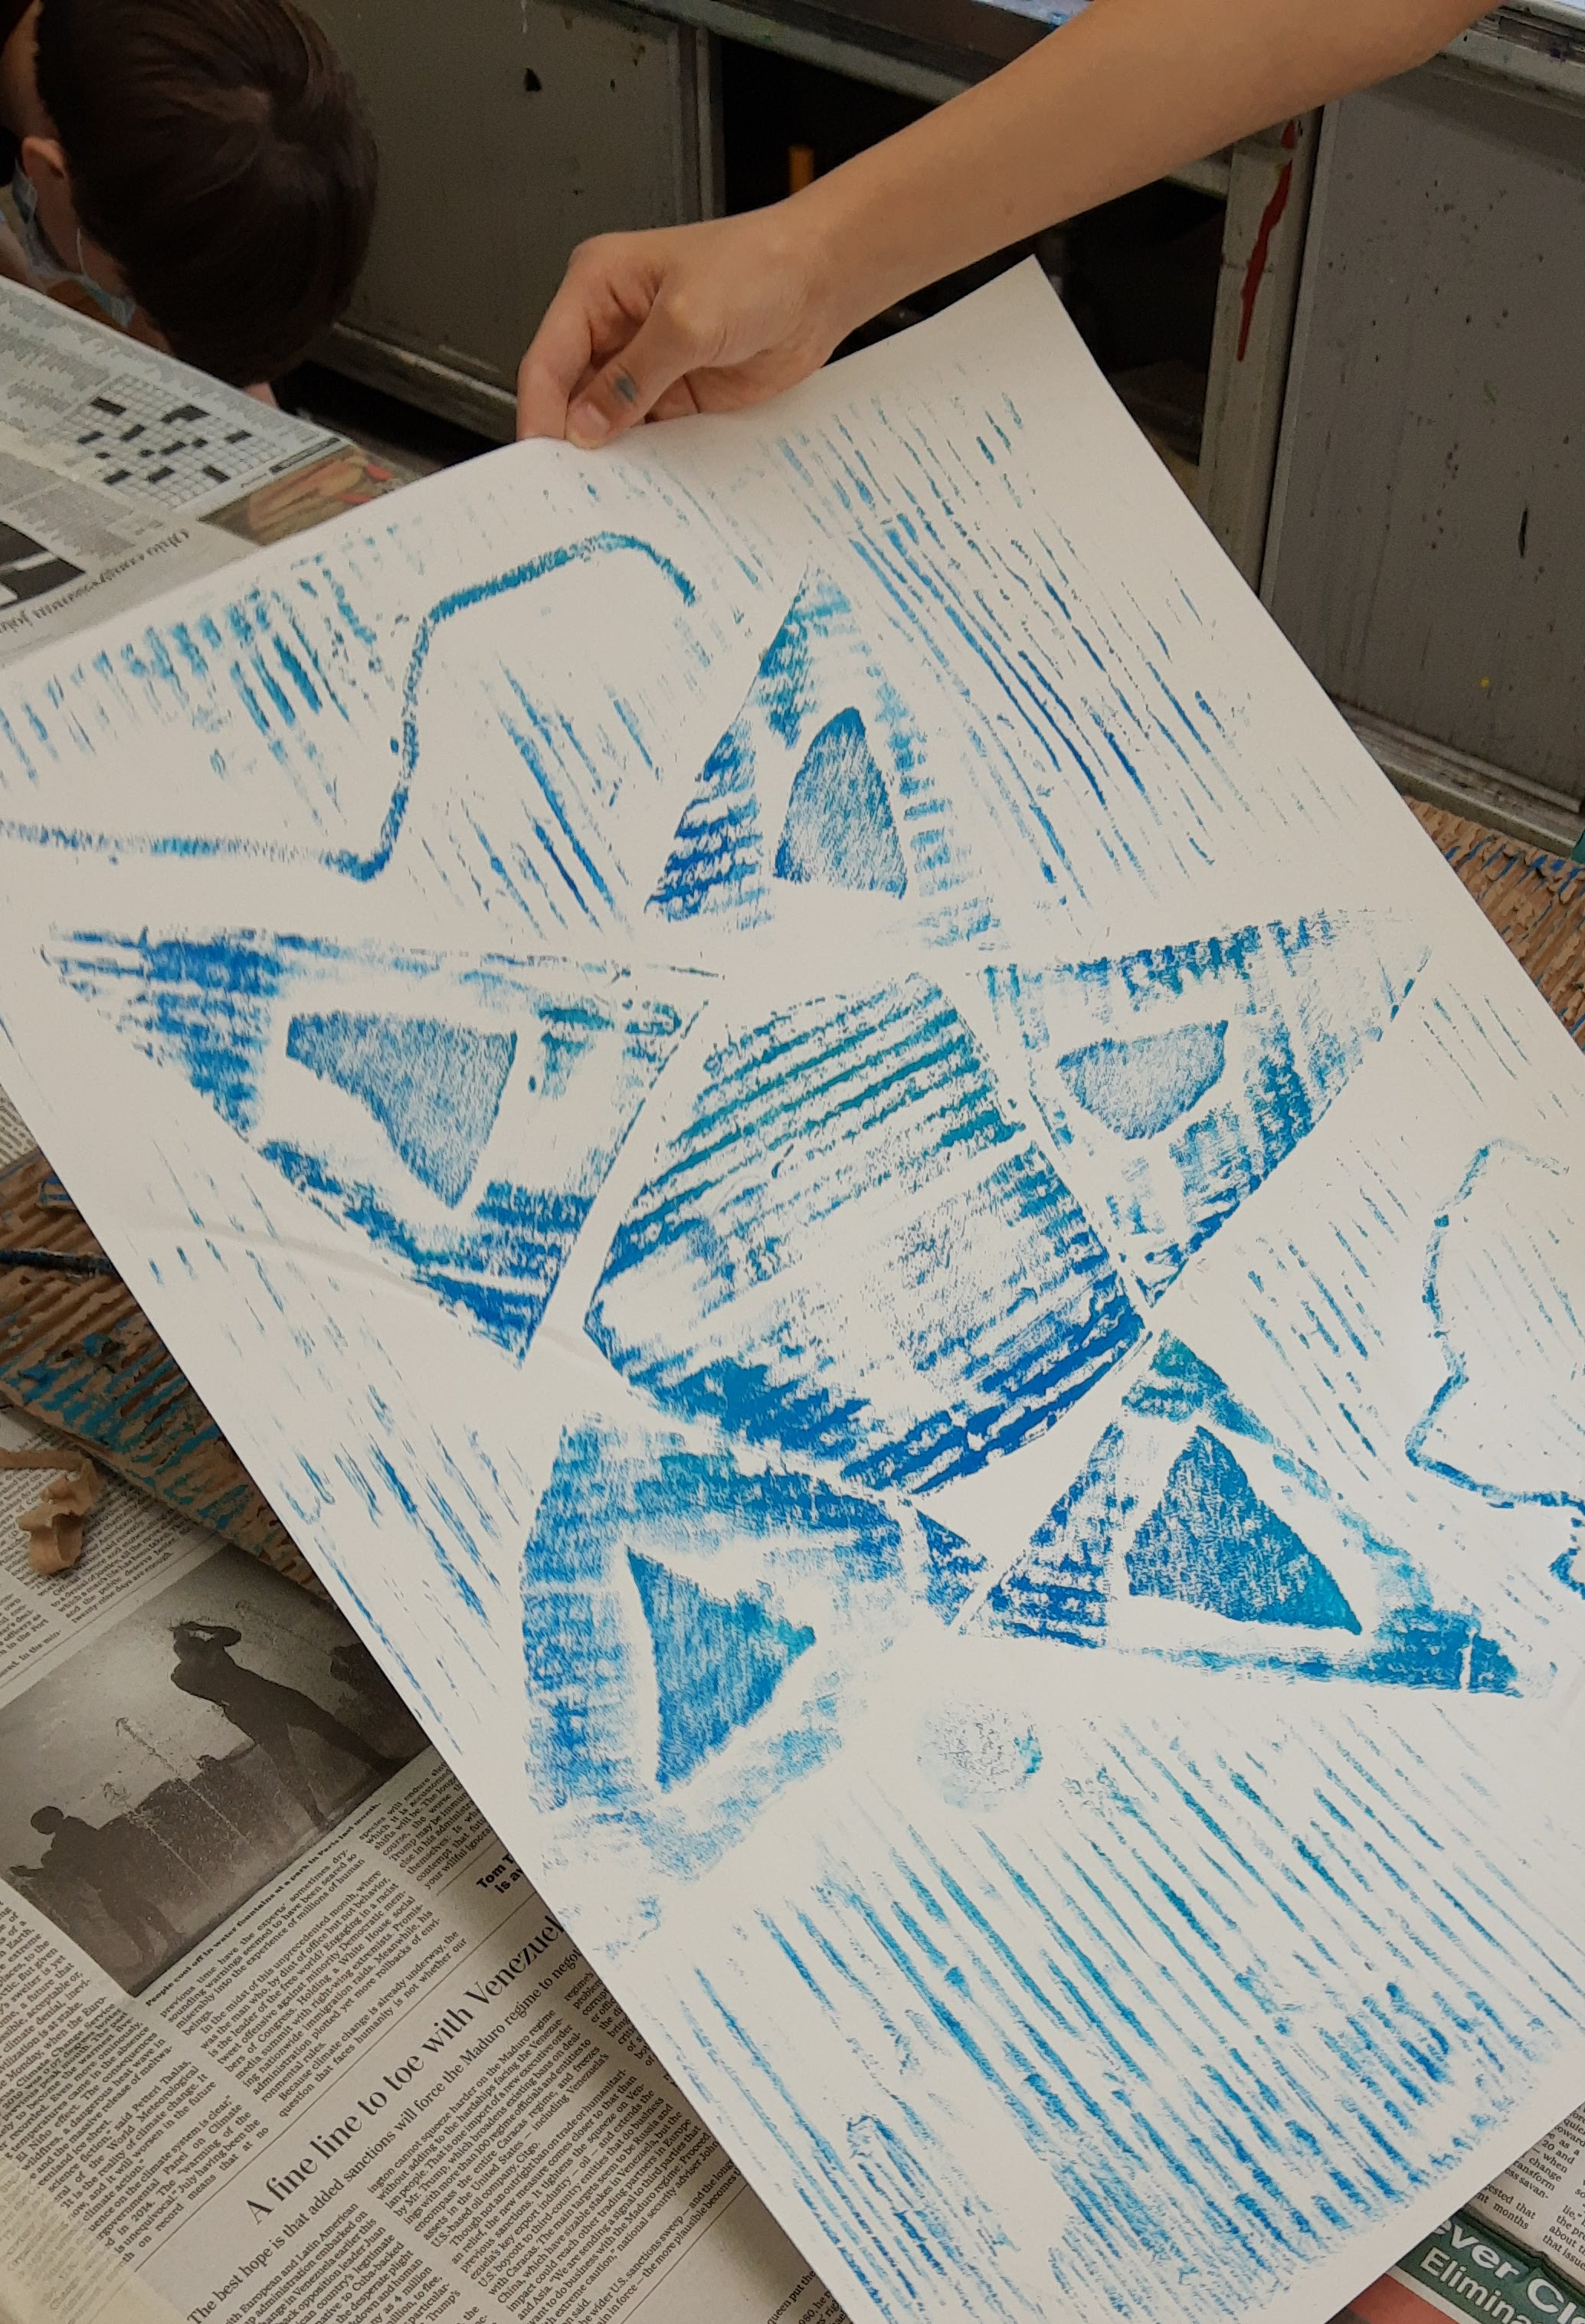
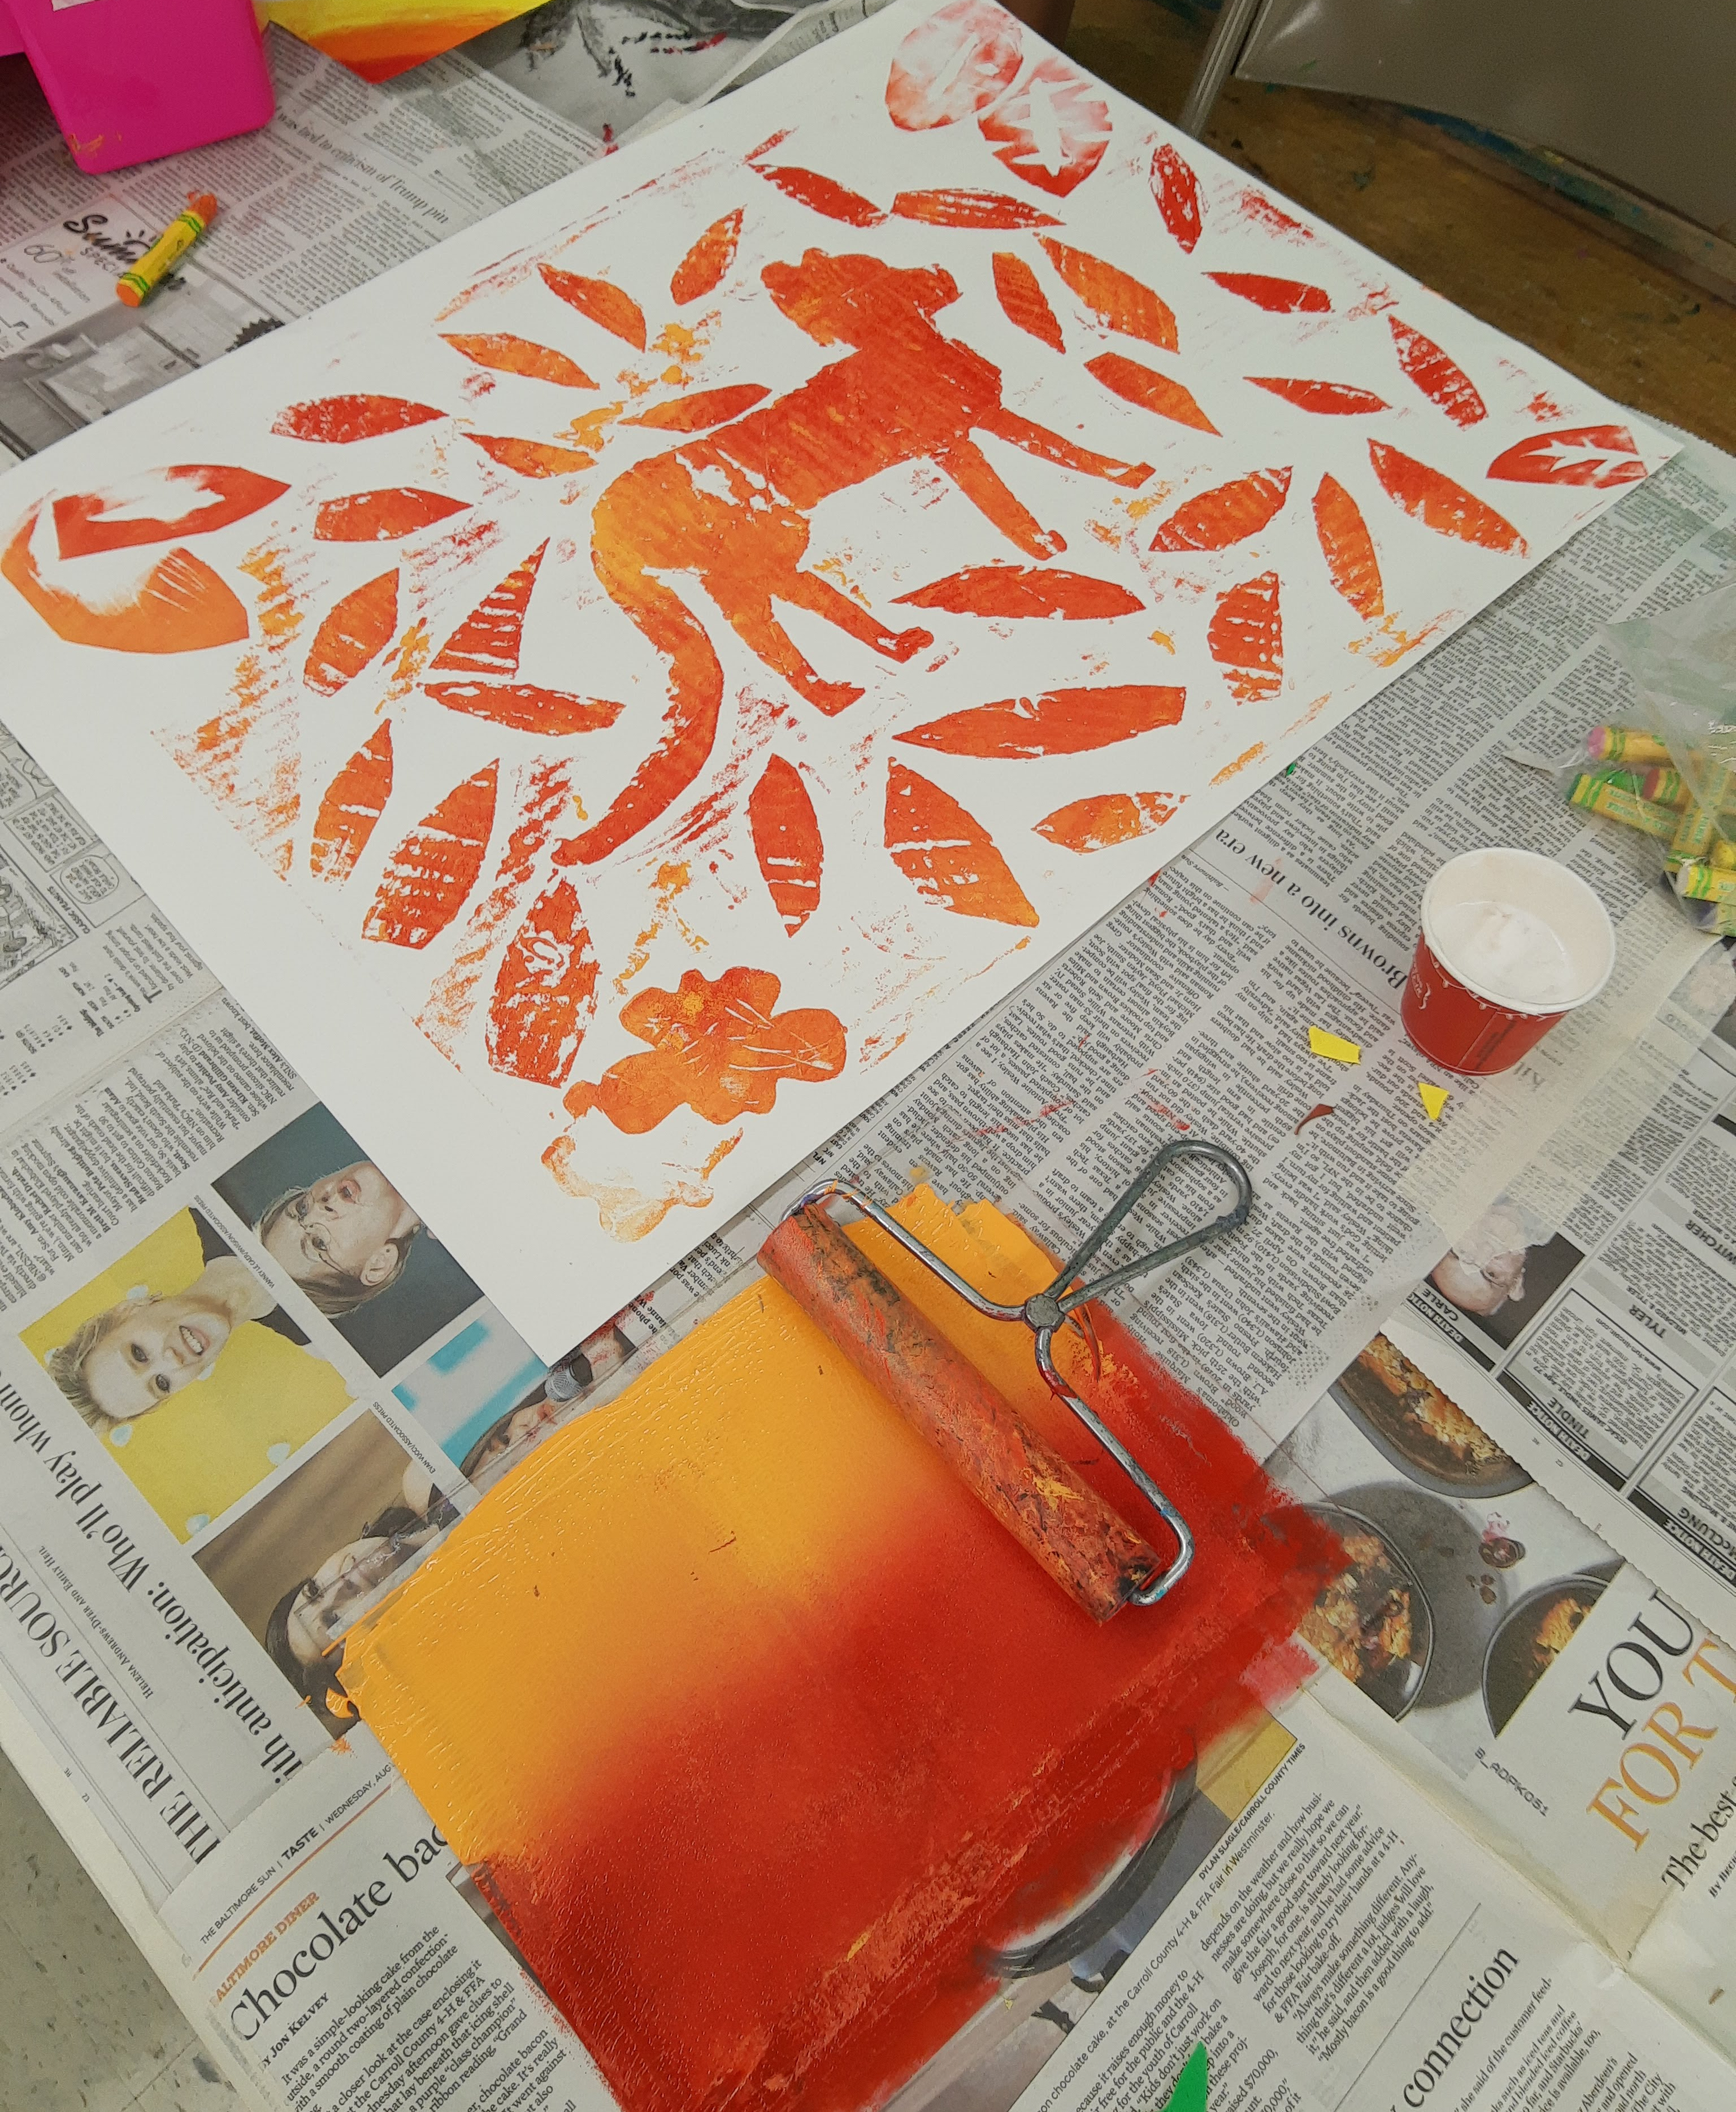
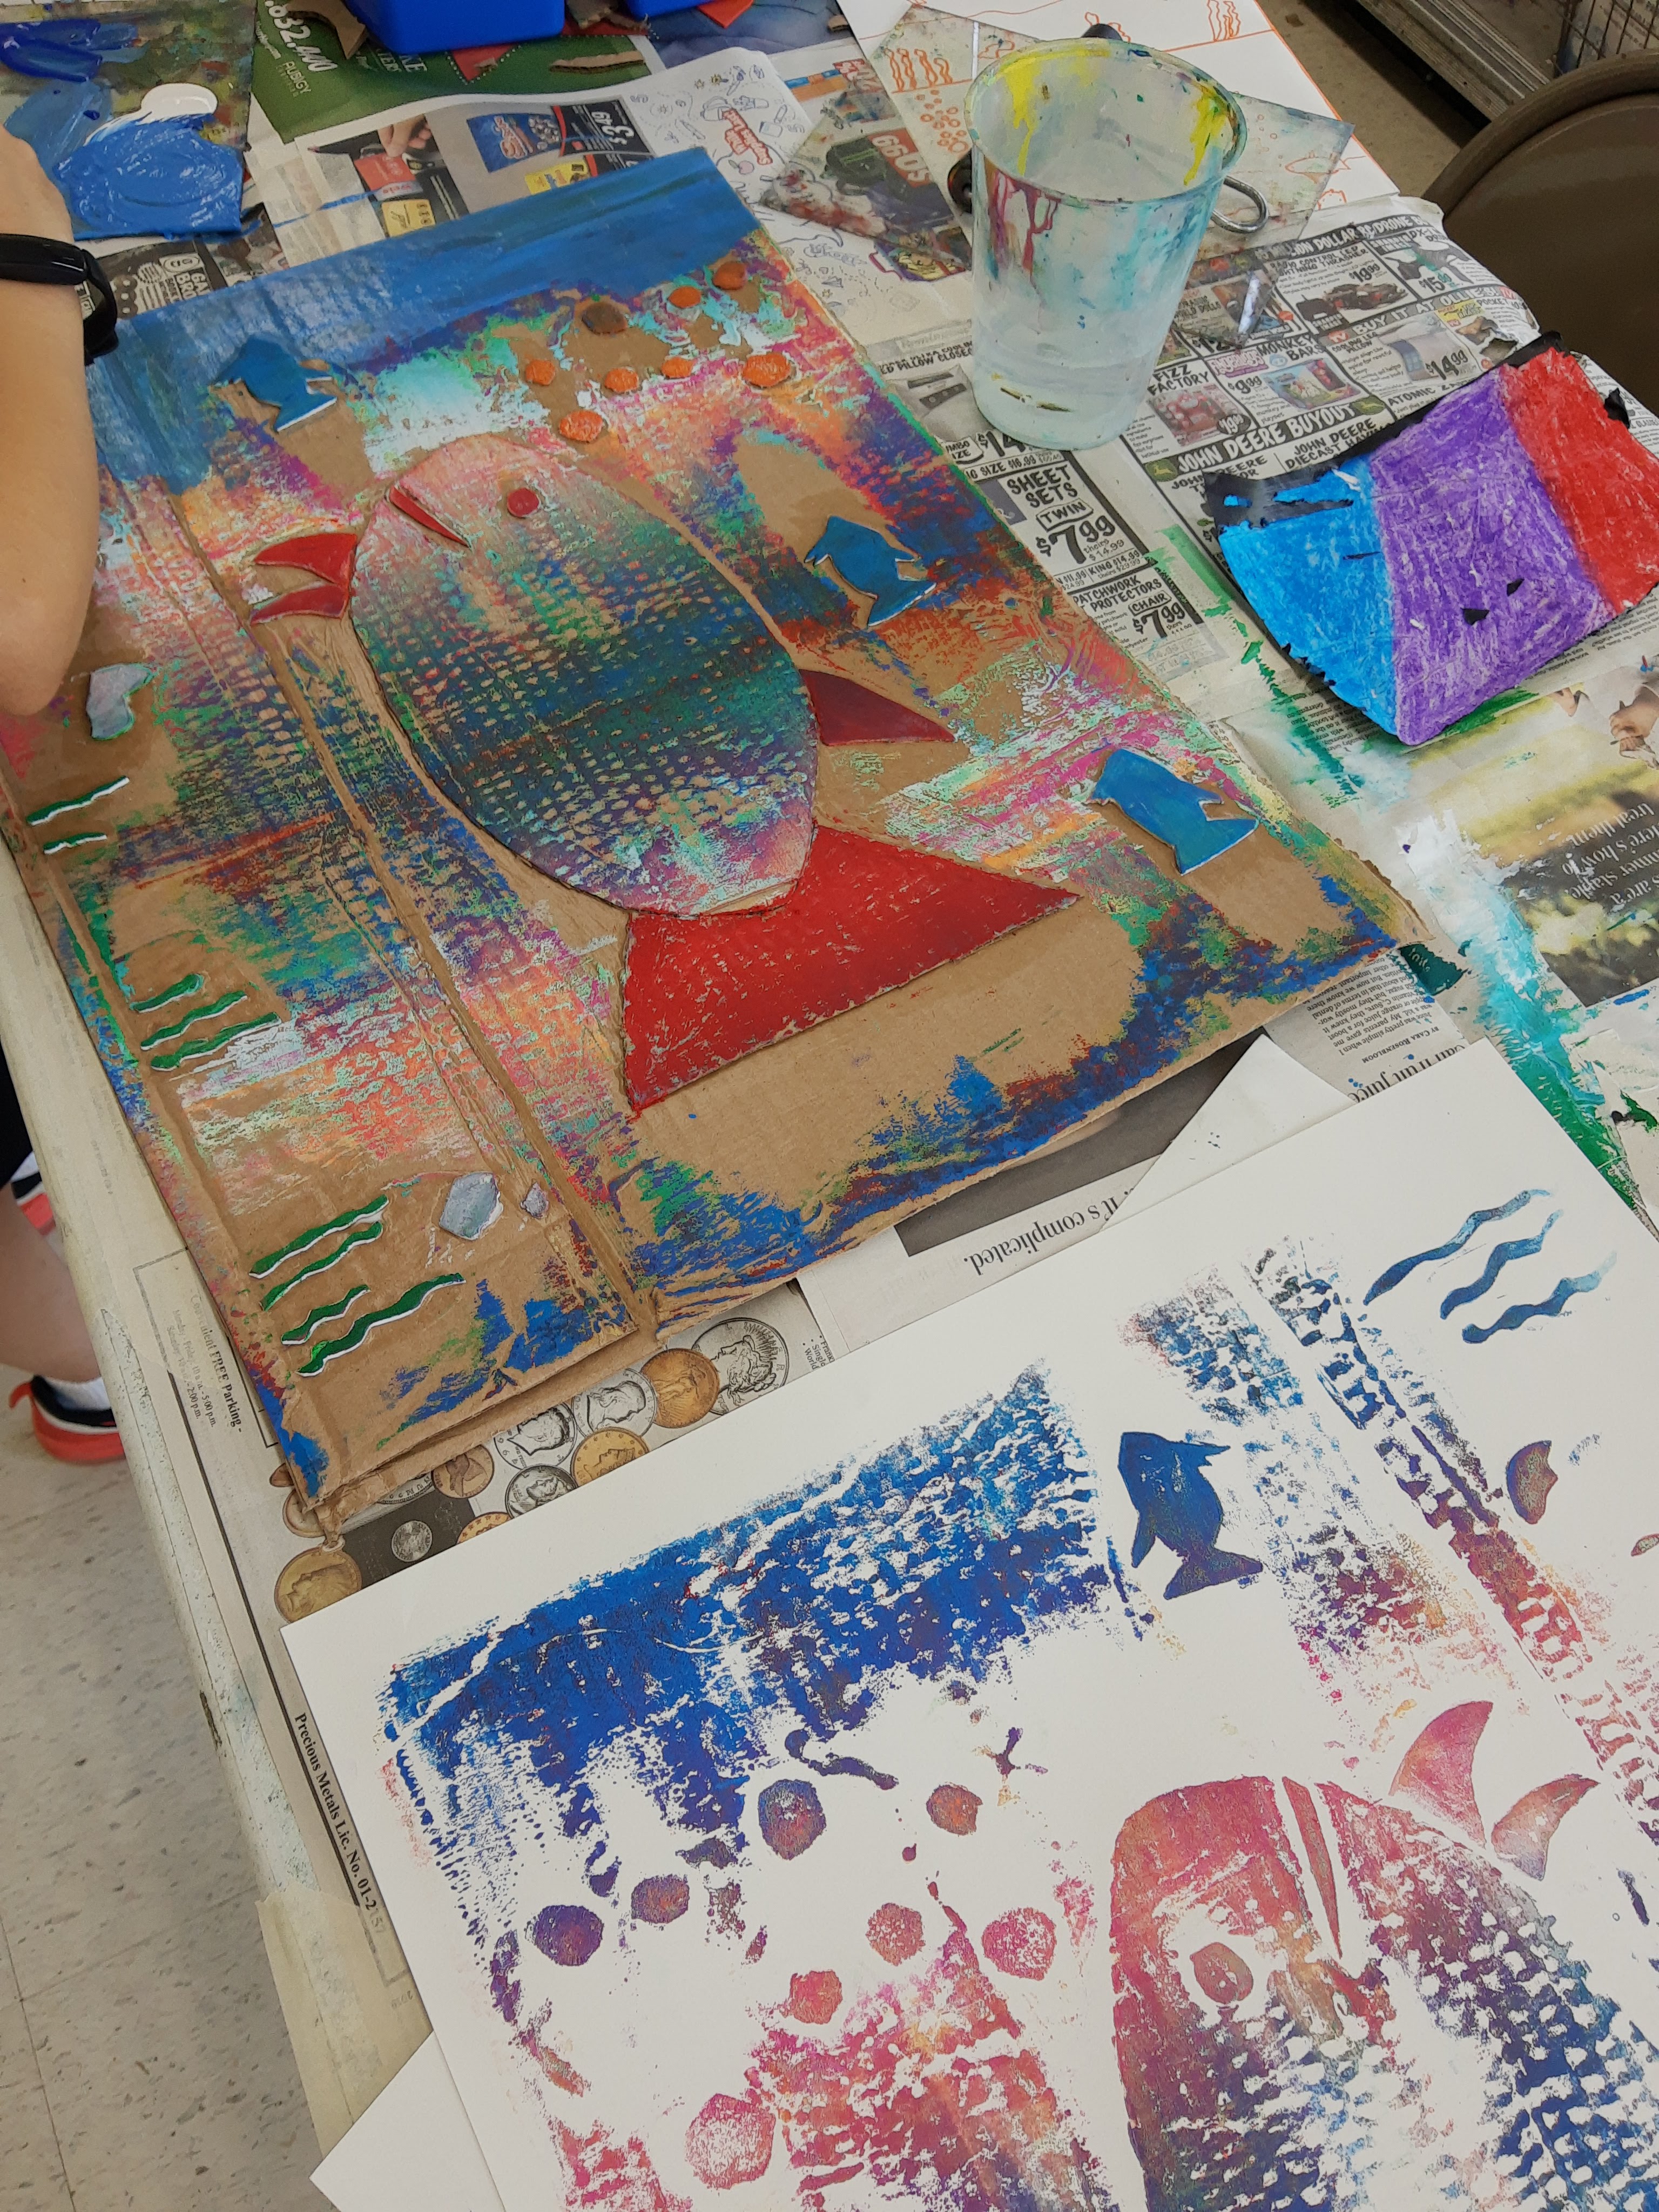
Once the plates were ready, we started printing! I showed the campers how to roll a gradient ink using two colors which they really enjoyed. A lot of them experimented with combining even more colors (some even did 10+ colors at once!). Then comes the fun part – the campers placed their plates face up on the floor with their papers on top and jumped on top to create a strong print. Once they printed, I showed them how to sign the print with the edition, title, and their name.
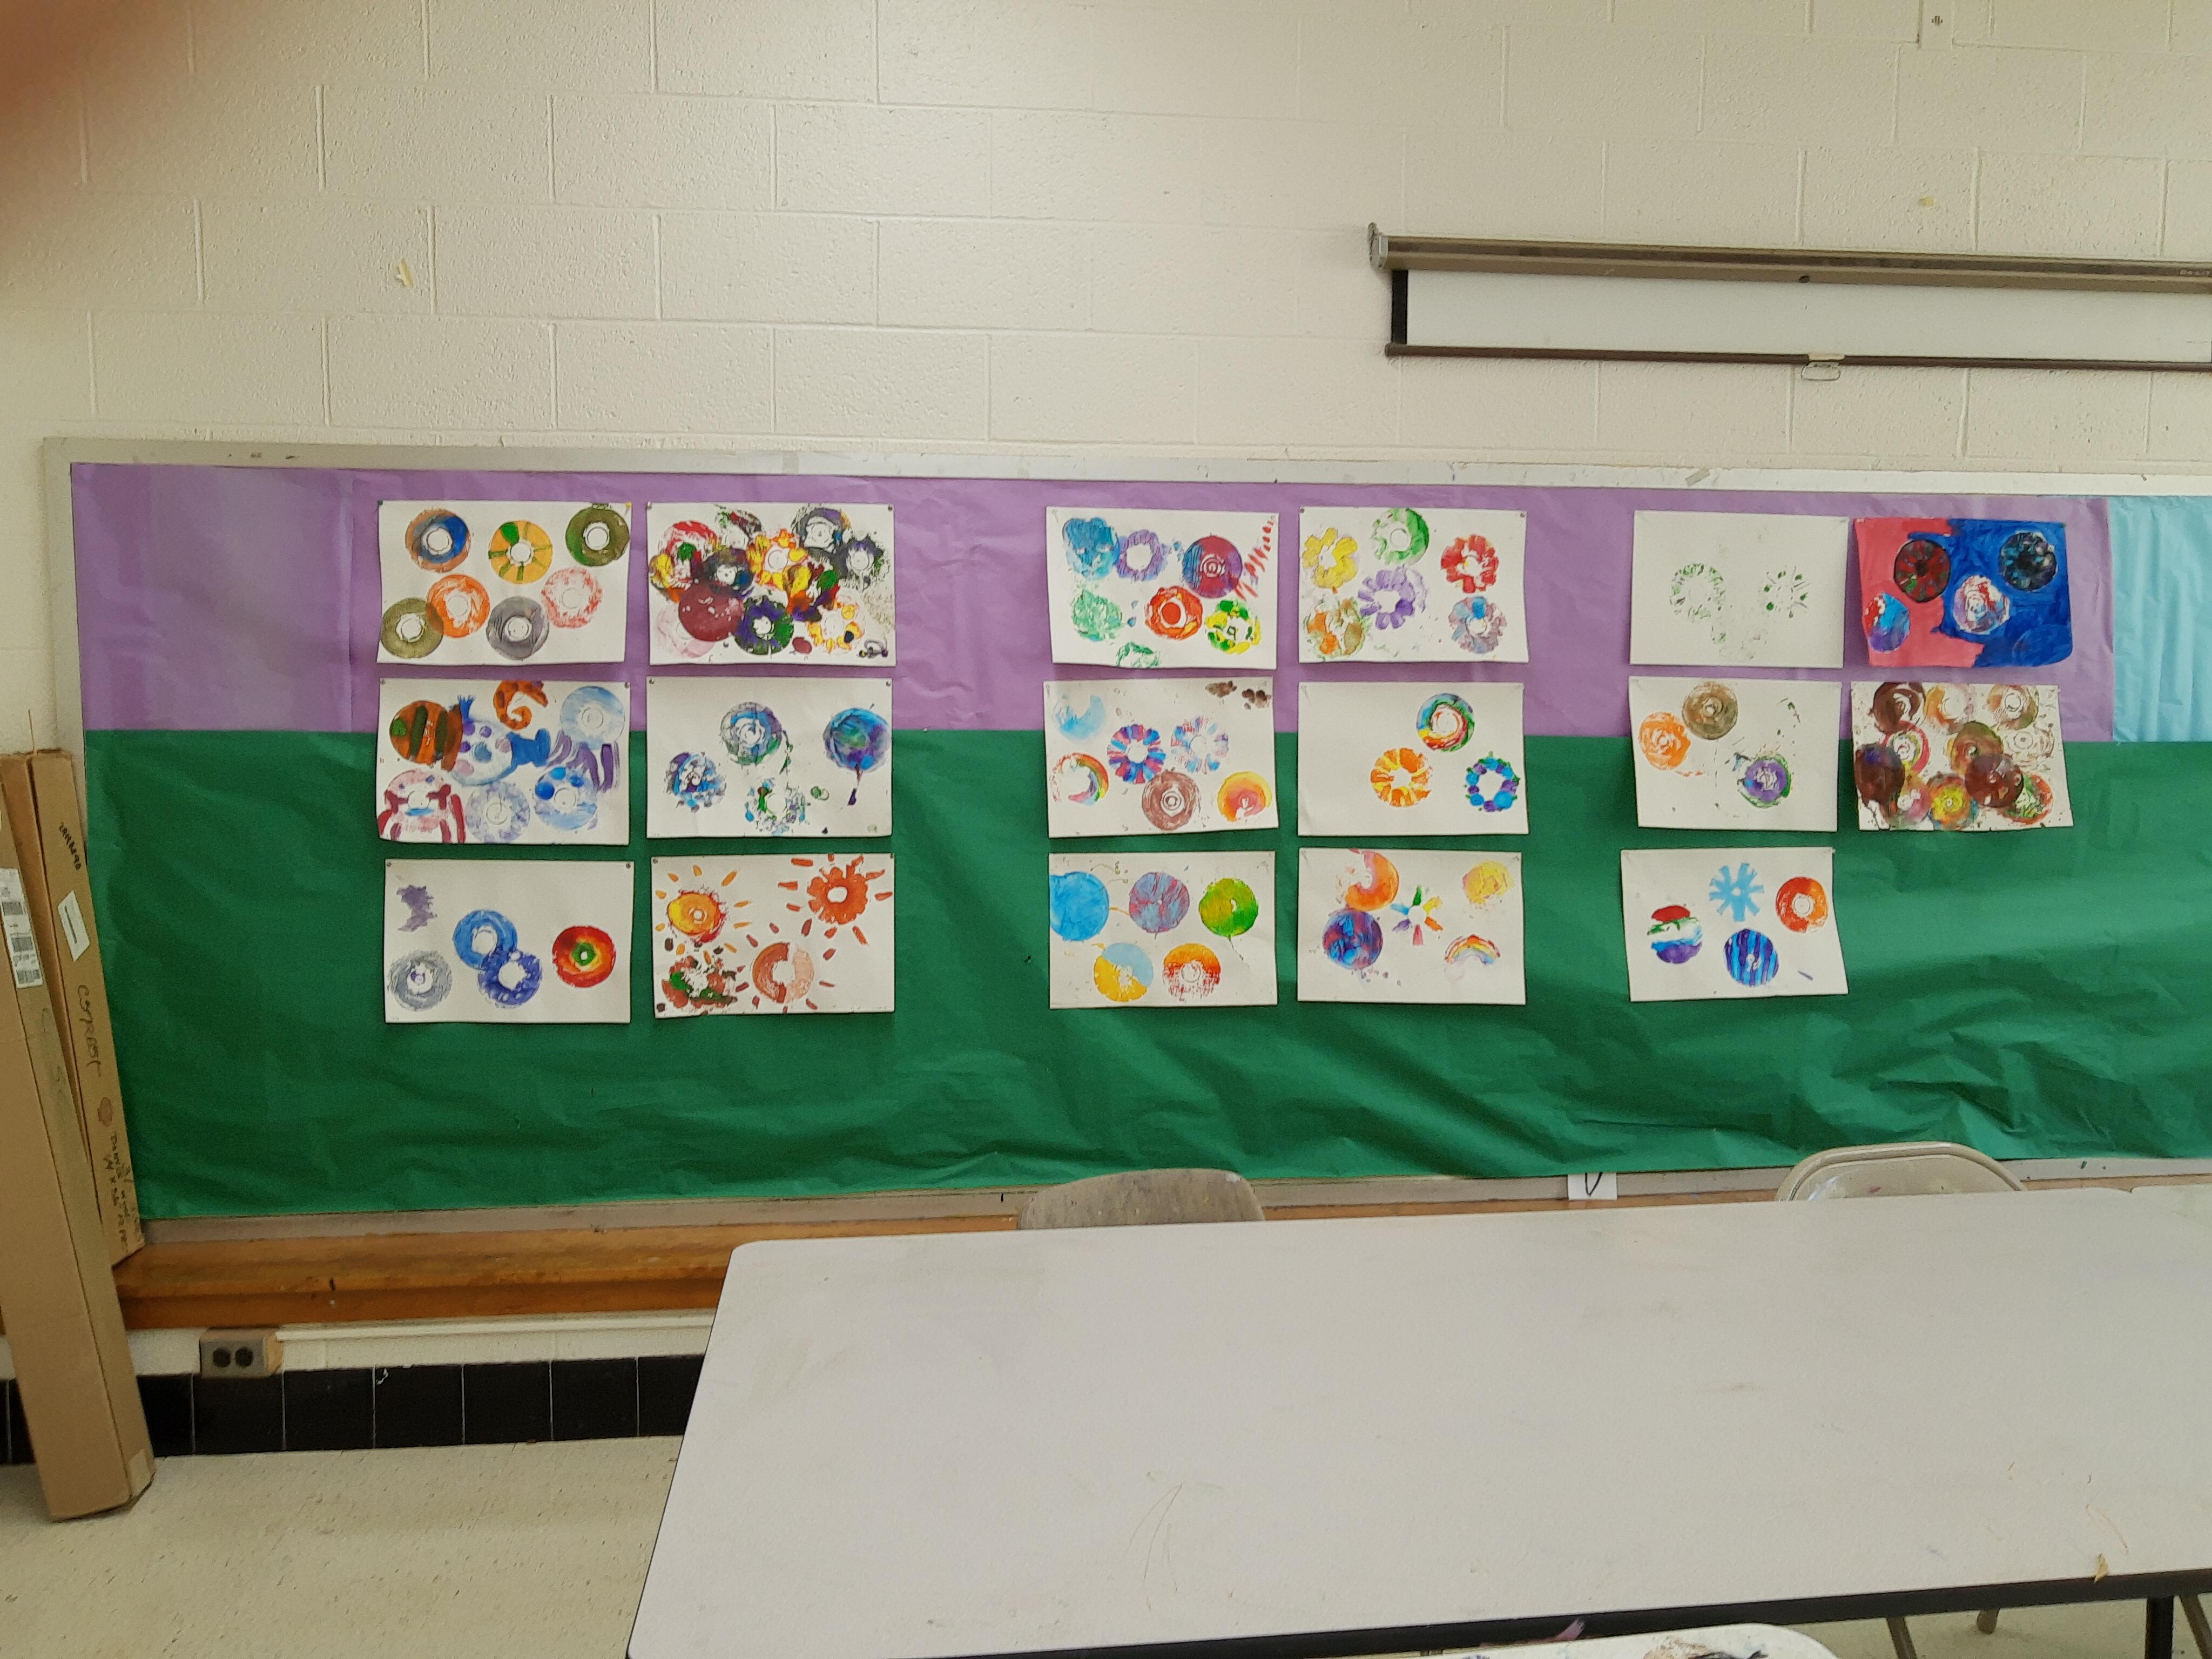
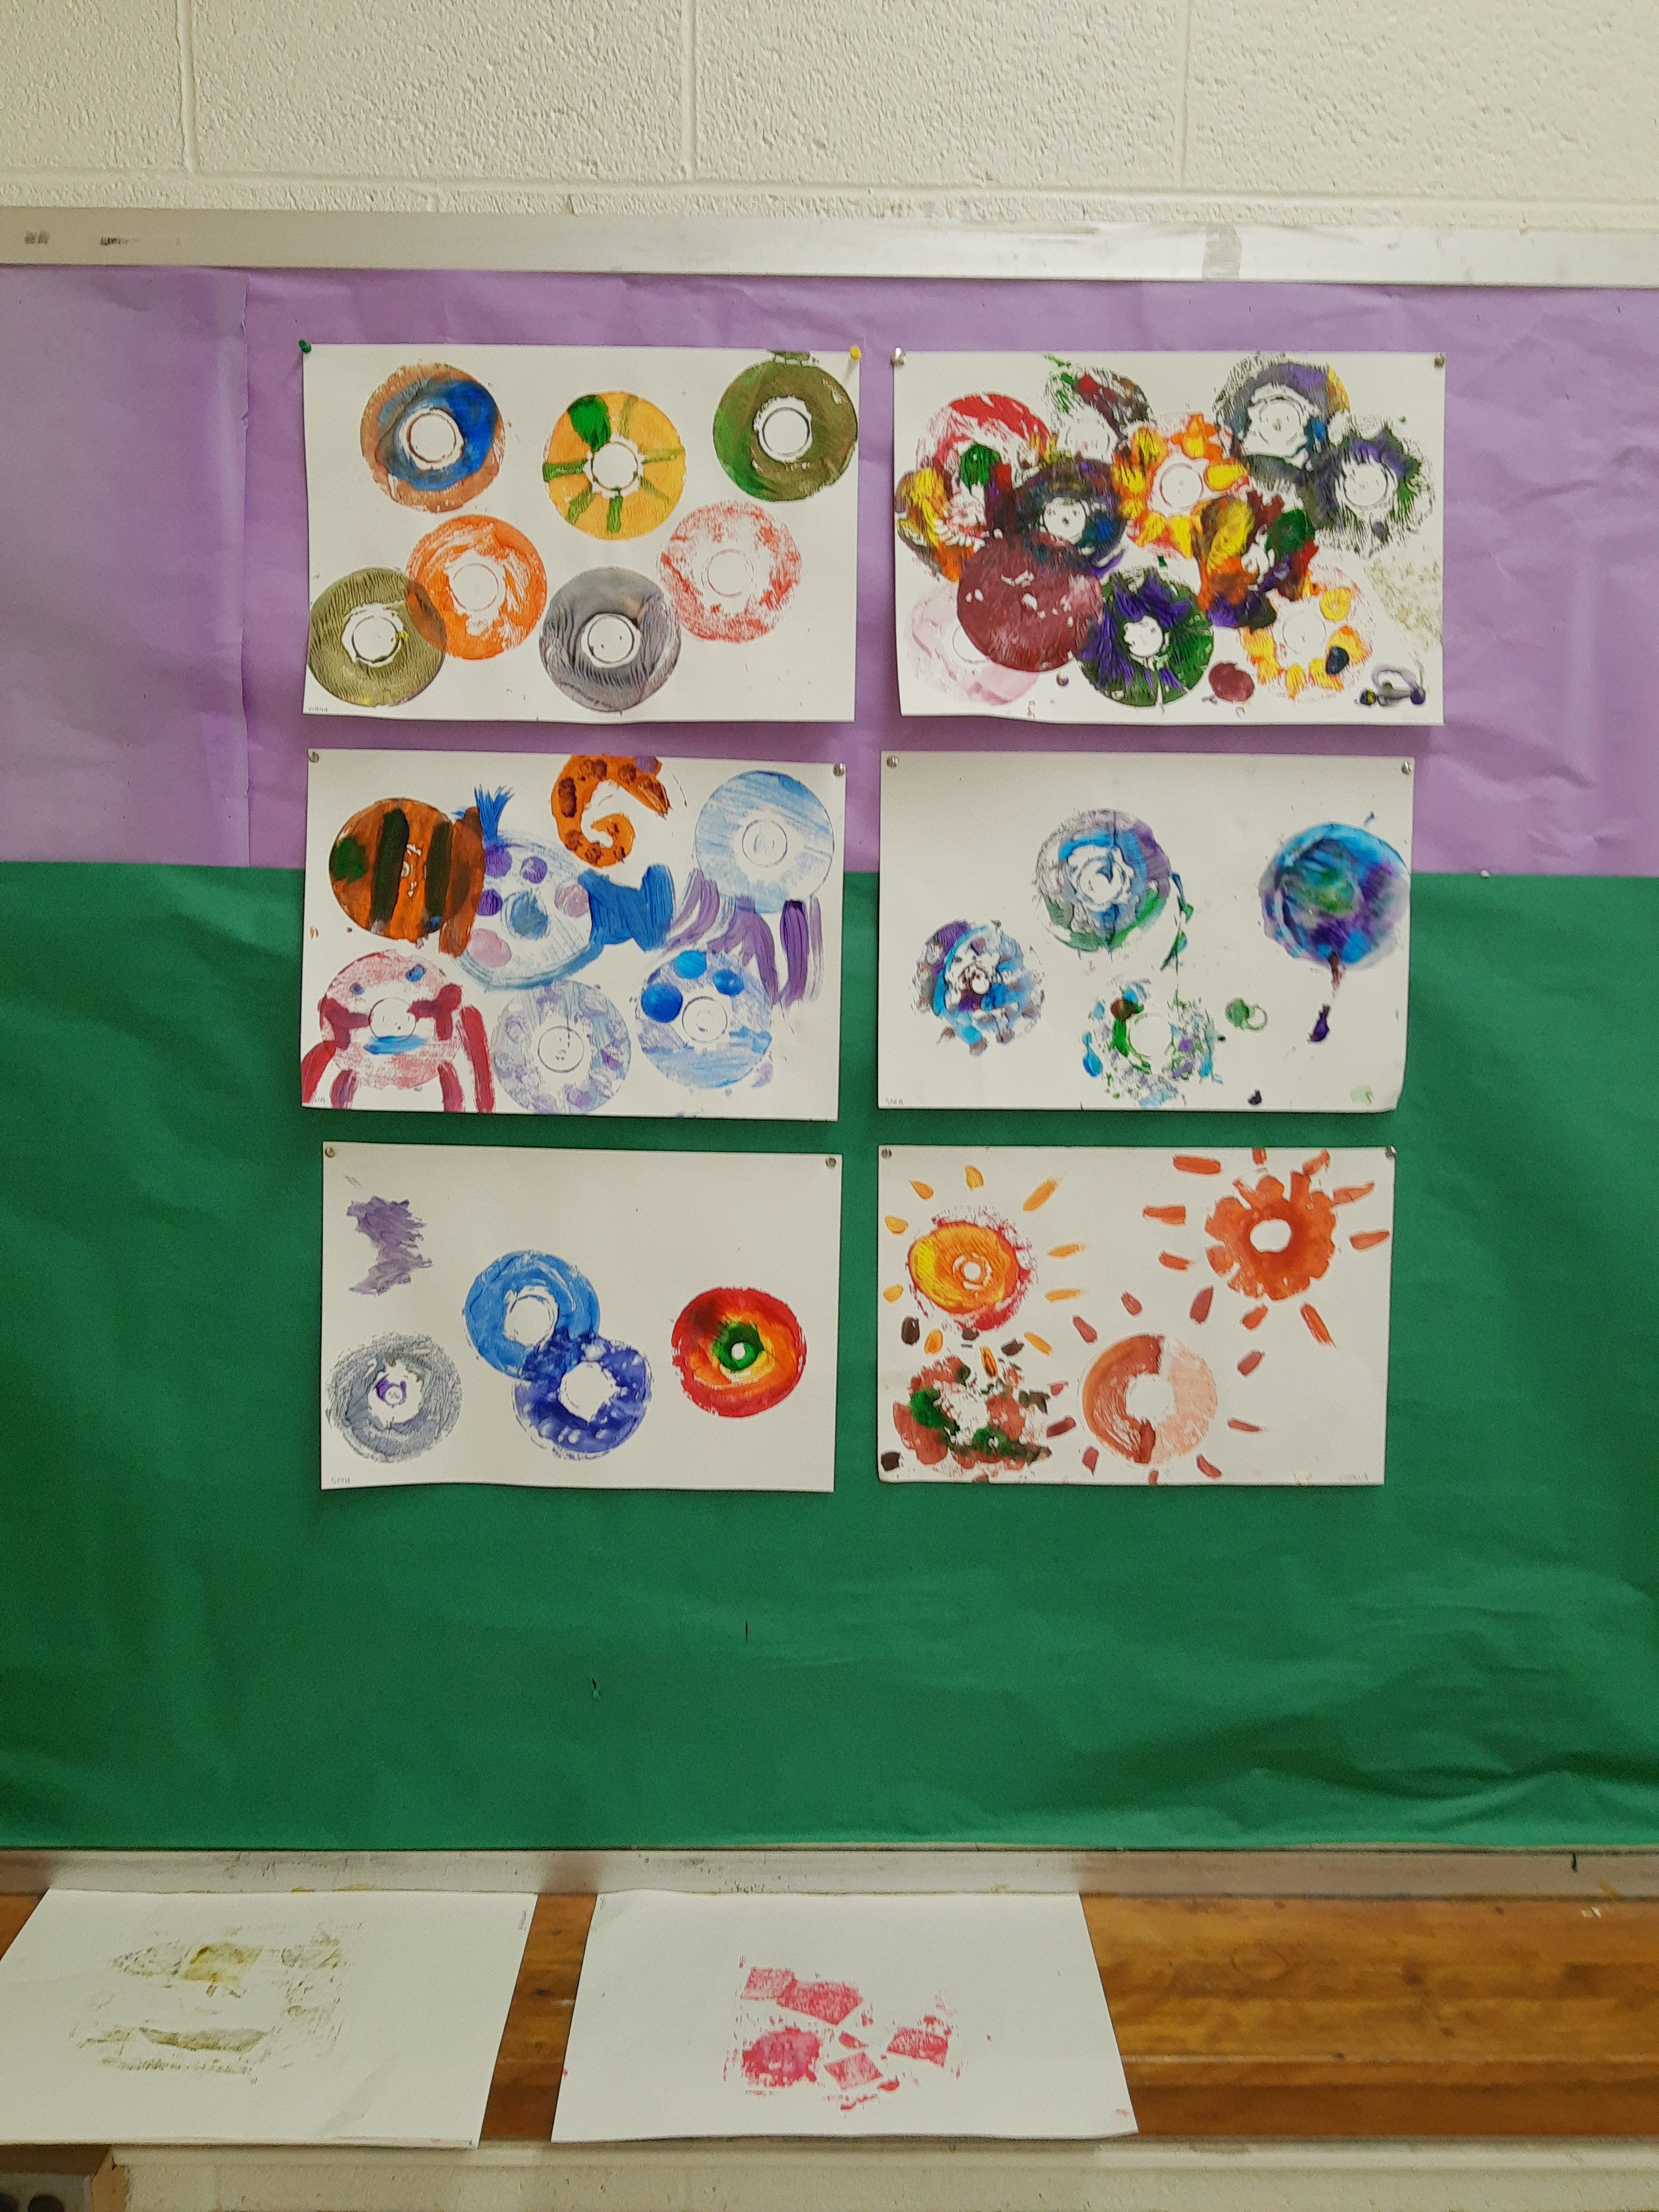
Some prints made by campers:
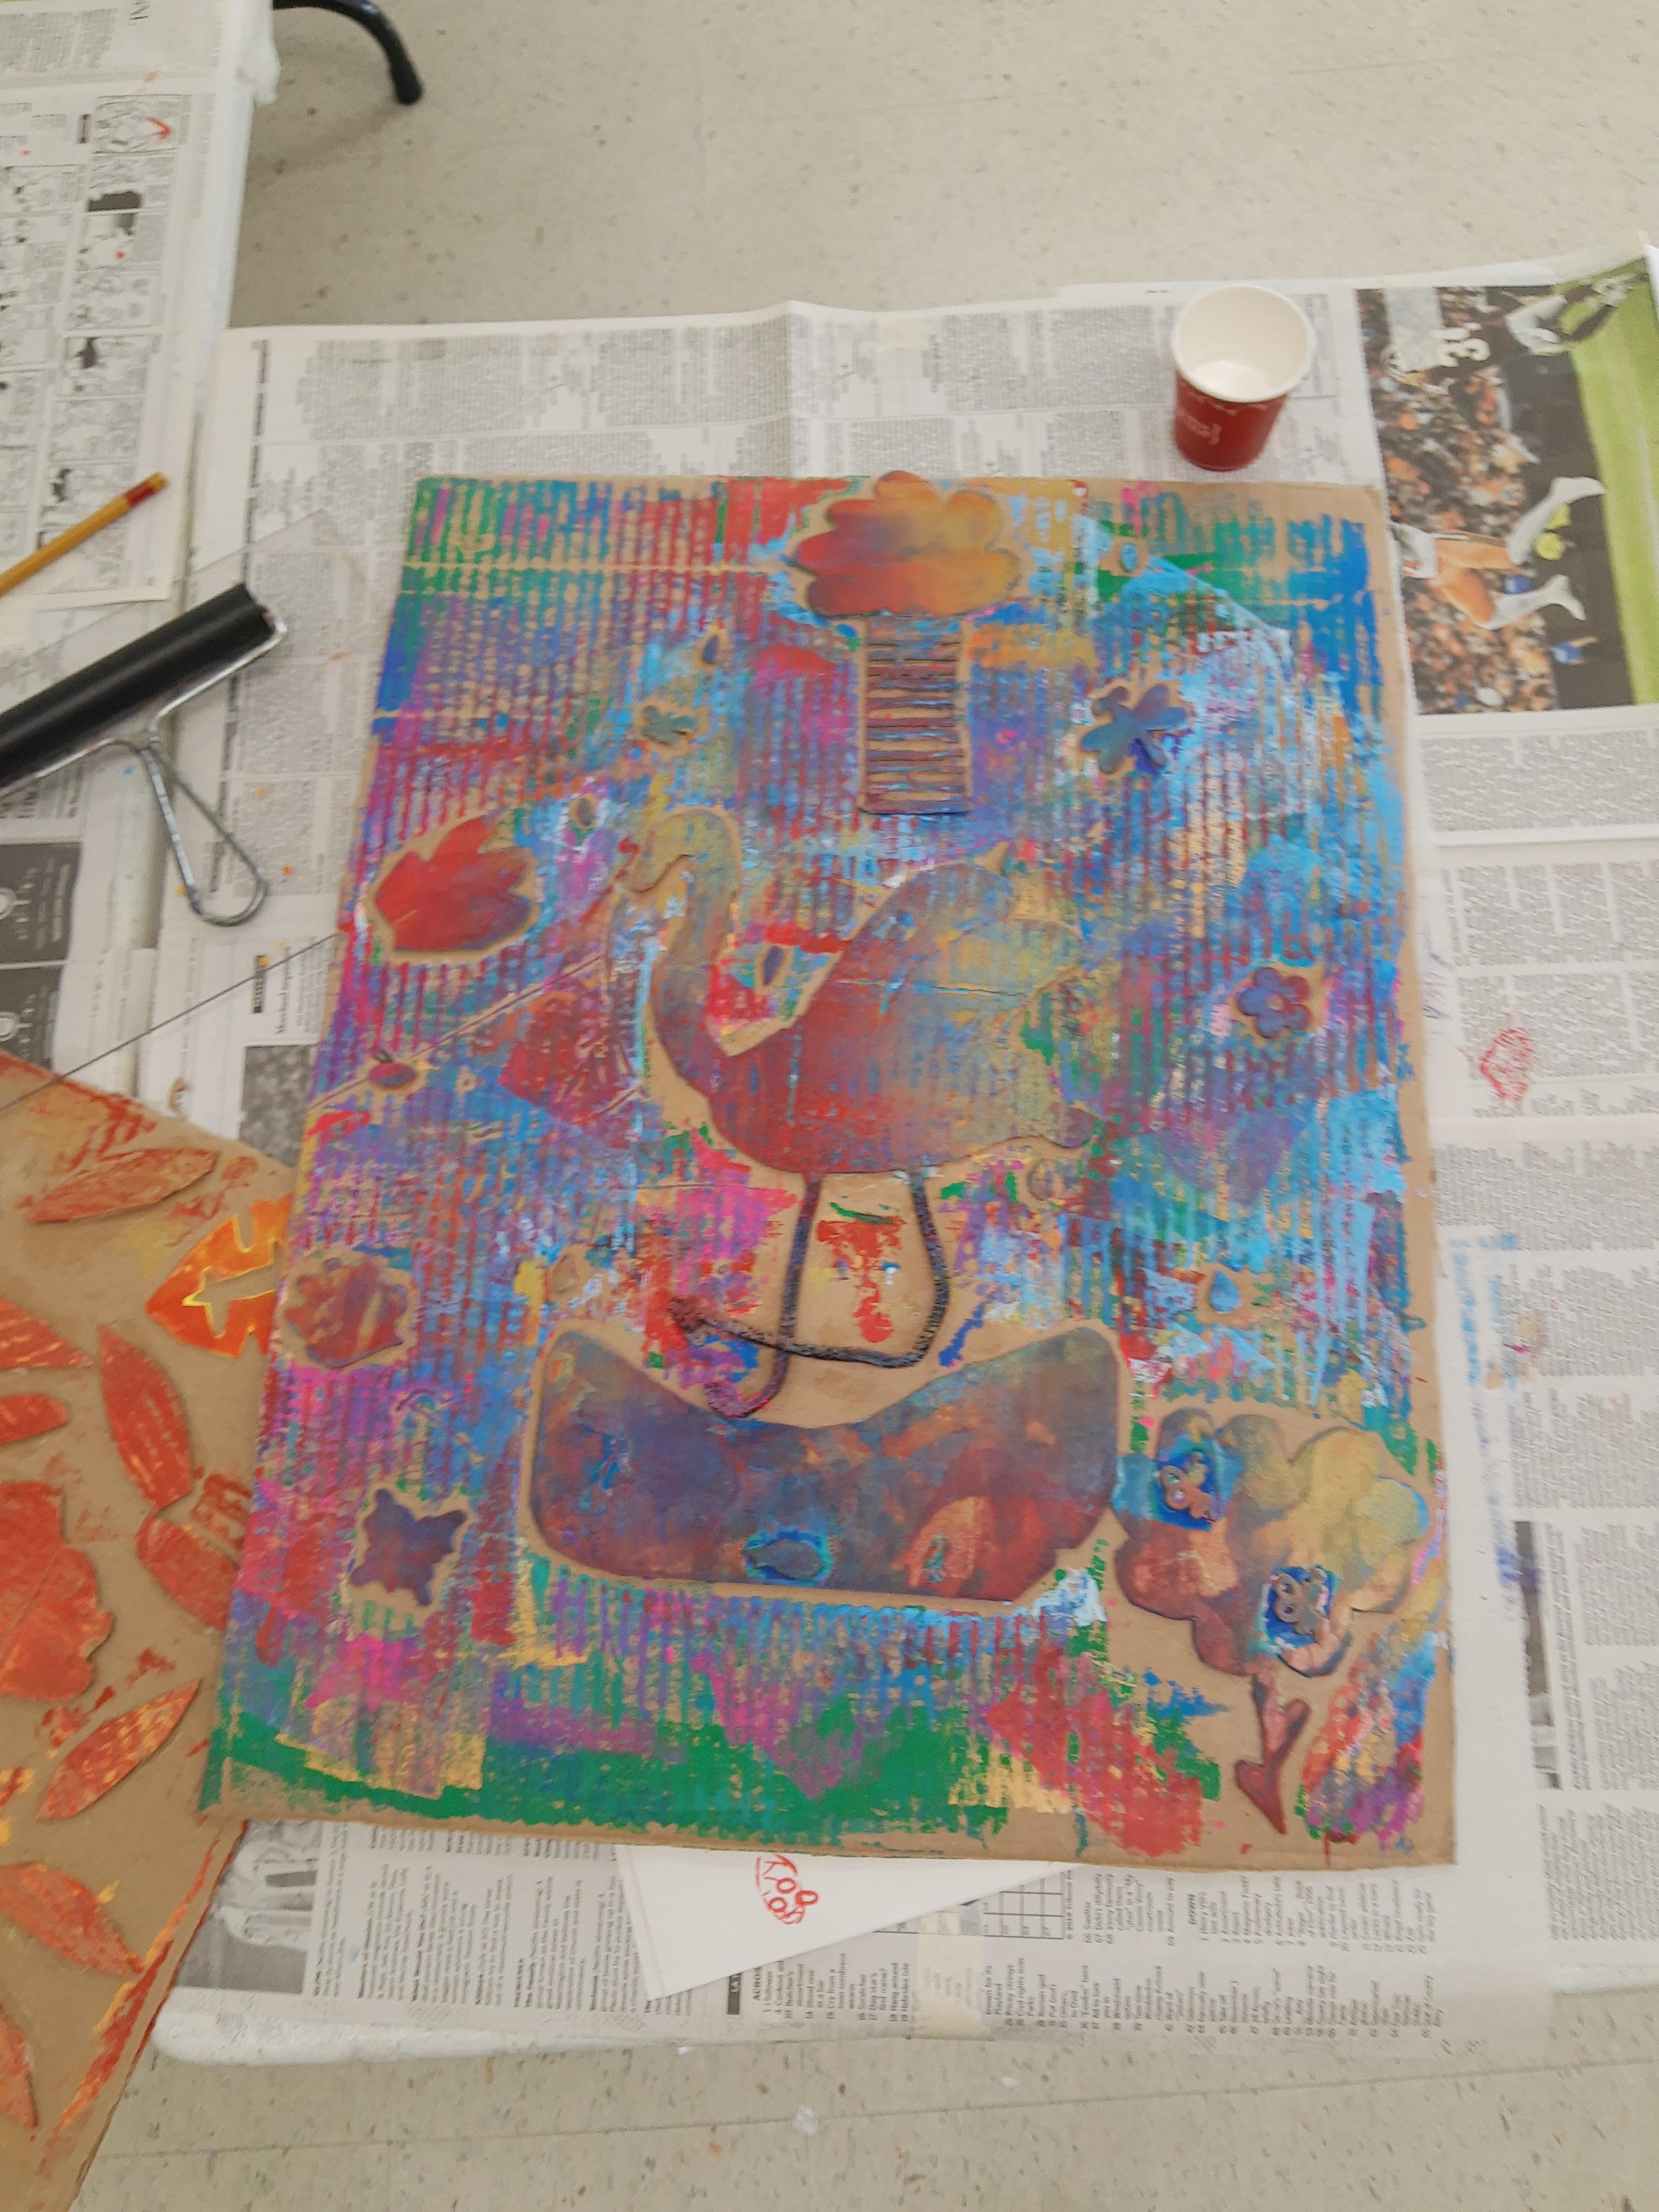
Once we were done printing, I set out tempera paint for campers to create a more finished, detailed collagraph plate. Only a few campers decided to add paint because many of them really liked all the ink colors from printing and did not want to cover it up.
I had so much fun teaching this printmaking camp and I am excited to bring some of the ideas/projects into my art classroom next school year!
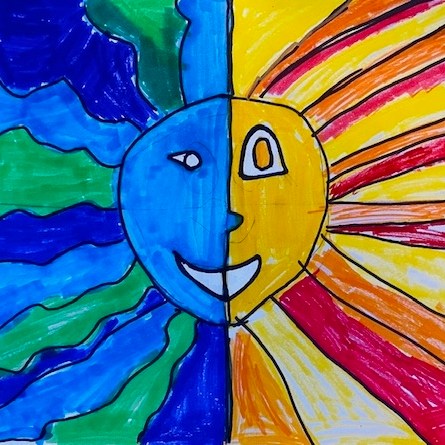
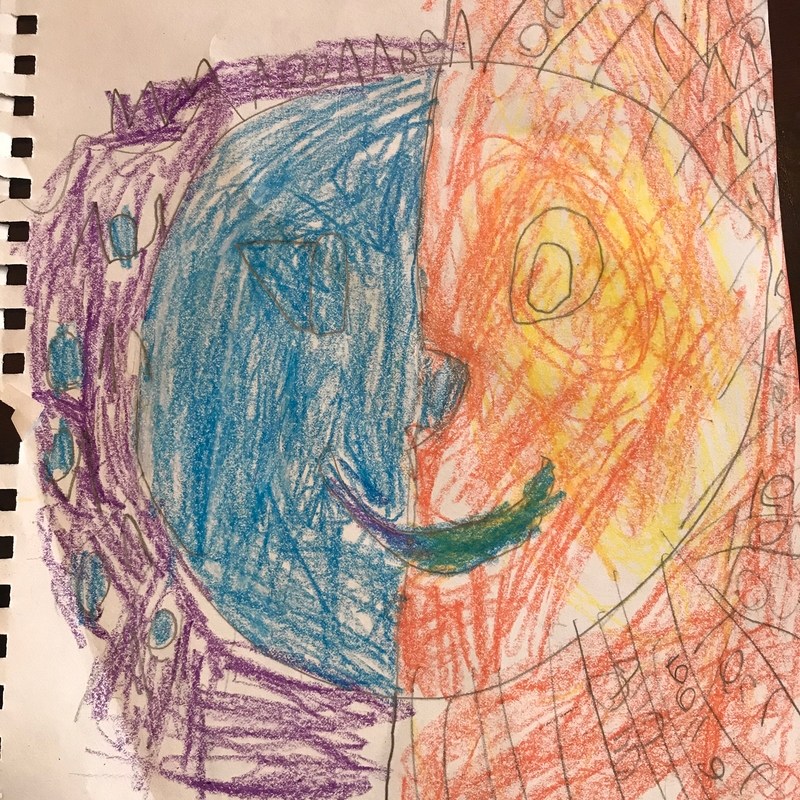
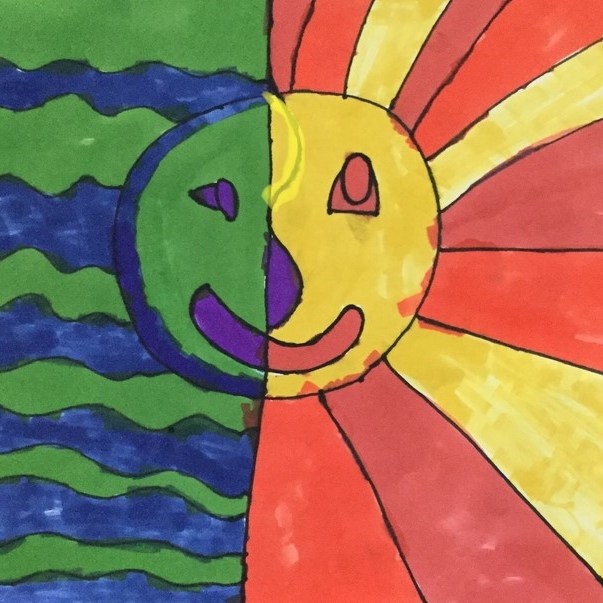
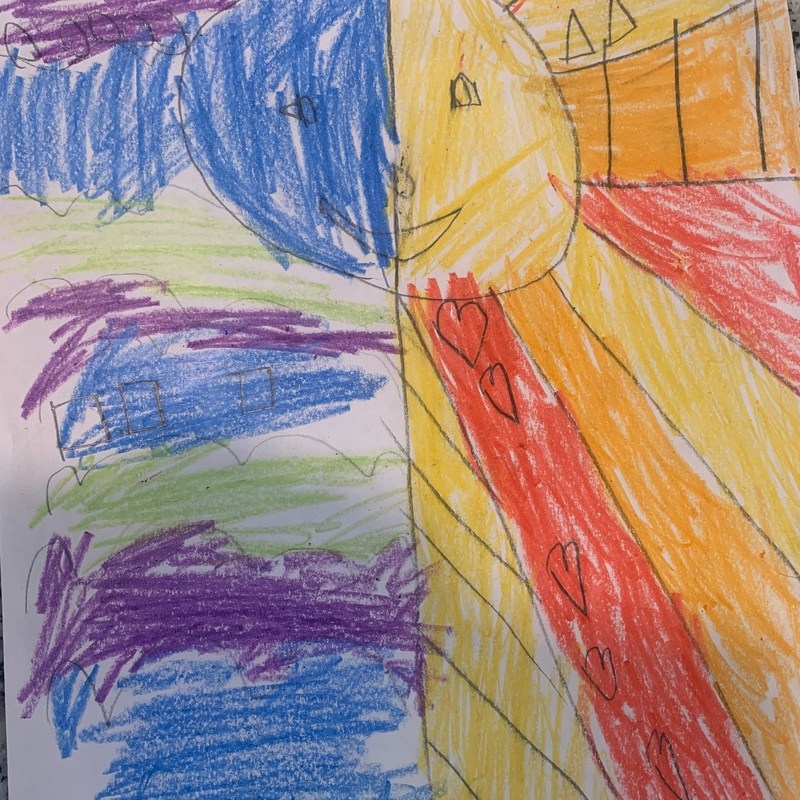
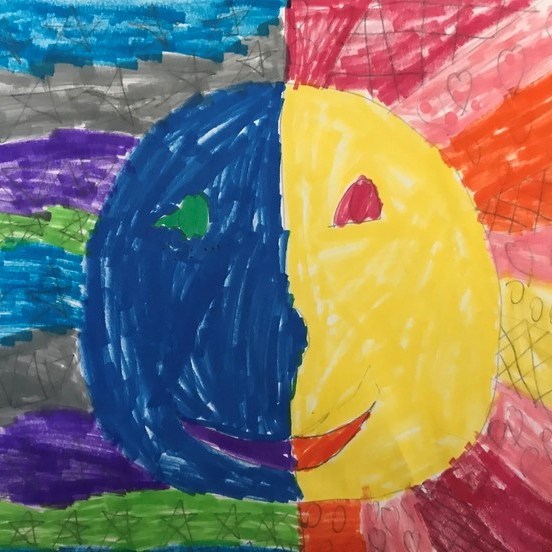
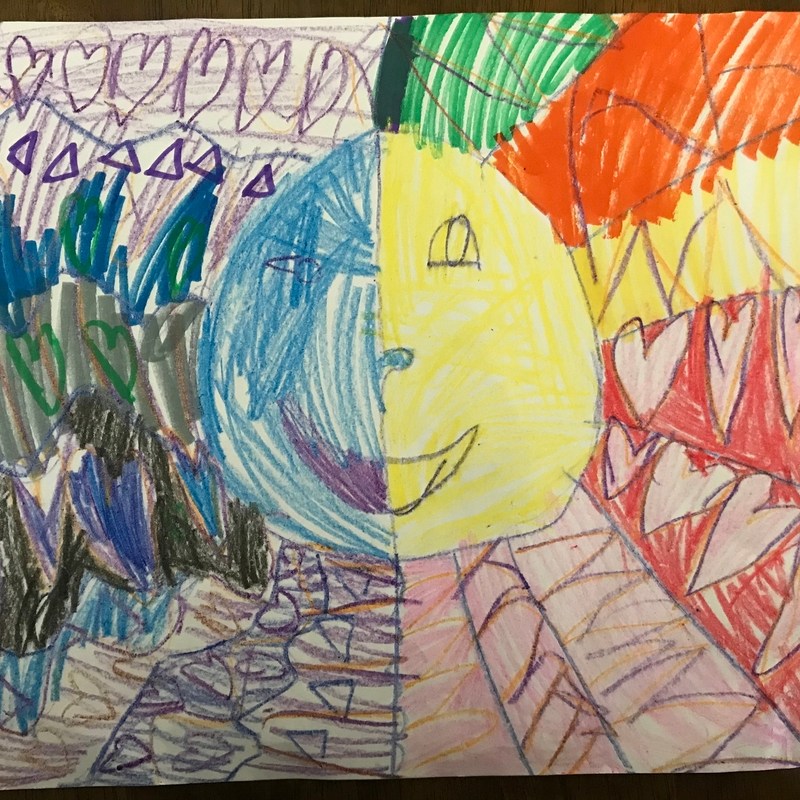
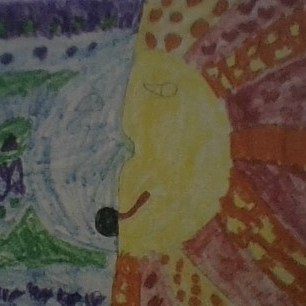
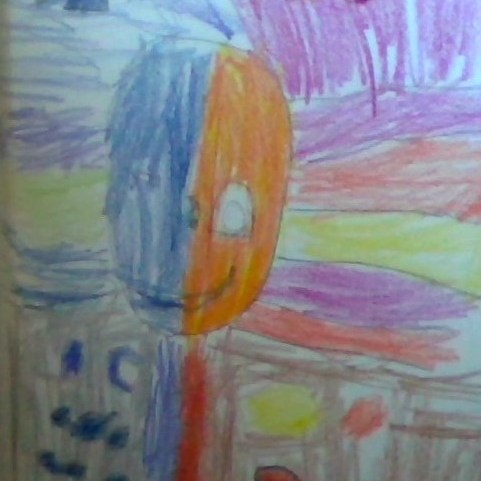
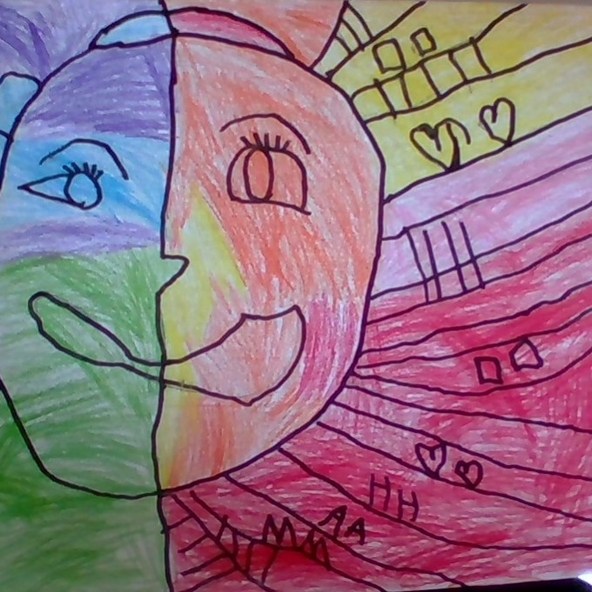
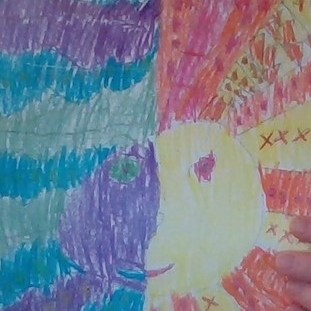
Warm & Cool Sun & Moons: I taught this lesson during my student teaching and I taught it again when I first started teaching. Students learn about warm and cool colors and draw a warm sun and cool moon. The moon side is drawn in profile view (to the side) and the sun is facing forward. We also reviewed patterns and students added different repeating shapes and lines into the background of their drawings.
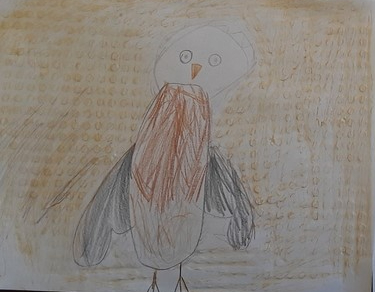
To continue with learning about colors, we also did a neutral colors and texture drawing of an animal (some students did a scene). I showed students how to draw a few different animals, and then students used fabric, bark, and other textured items to create a textured rubbing. I also let them use a few warm or cool colors as well to complement the neutral colors.
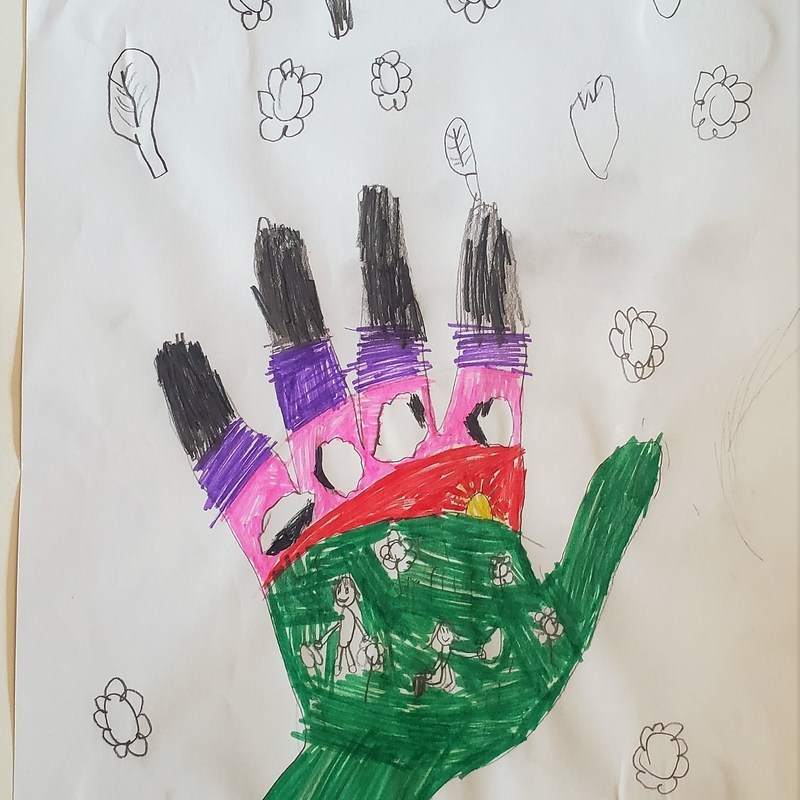
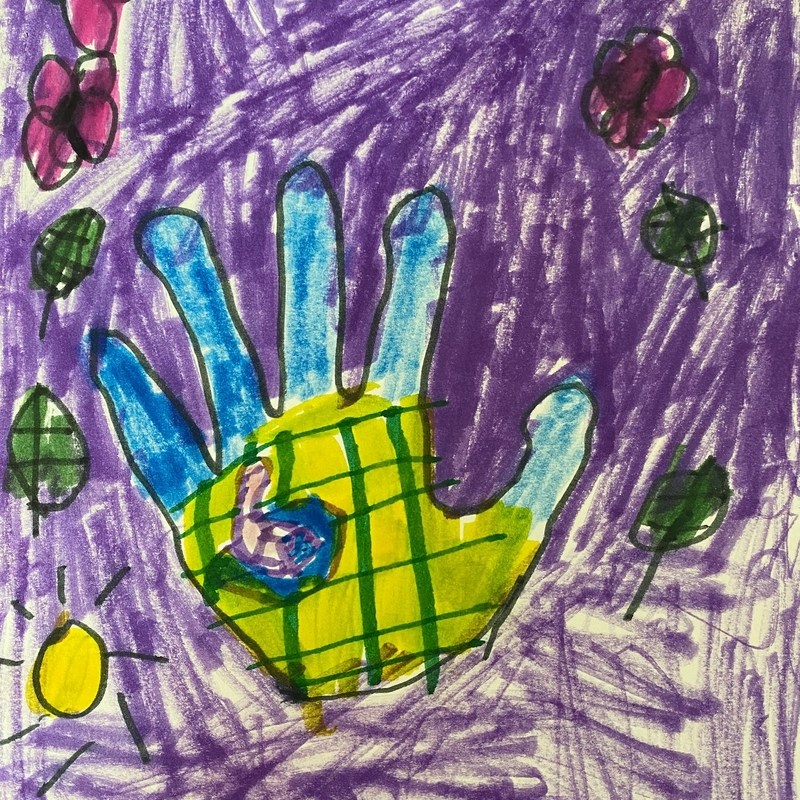
For Earth Day with lower elementary and kindergarten, we read the book Earth Day by Todd Parr, which is about different ways people can help the Earth. Then, we brainstormed different ways we can help and honor the Earth (turning off the lights, planting flowers, recycling, walking, etc.). Students traced their hand onto their paper and drew a picture of themselves helping the environment inside the hand, and in the background, students drew their favorite place in nature or other things they appreciate about nature.
In the spring, we were still mostly doing virtual school, so short, one-day lessons worked the best, because otherwise, many students misplaced their art and would have to start over in the next class.
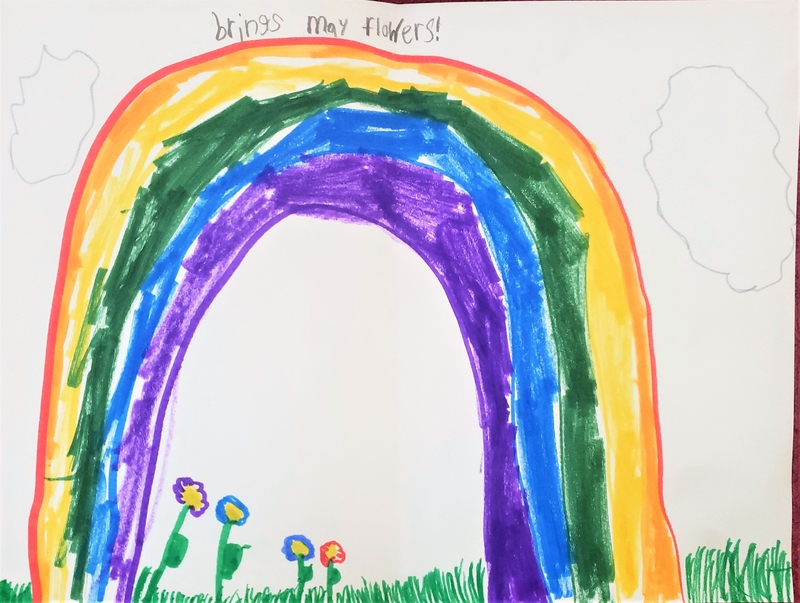
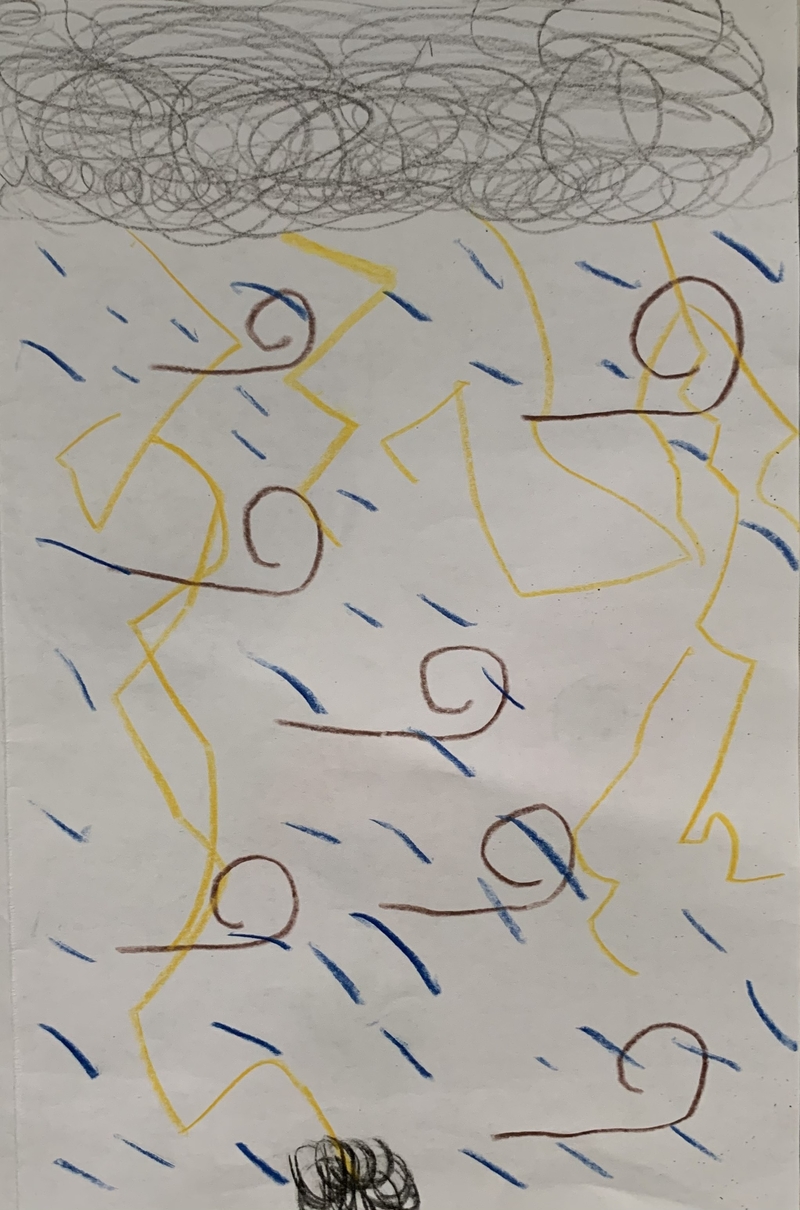
April Showers Bring May Flowers
Another one-day lesson I did was this “April Showers Bring May Flowers” card. On the outside, students used cool and neutral colors for April Showers, and on the inside, students used bright colors and the rainbow to show “May flowers”. We also reviewed the colors of the rainbow (can’t forget about indigo!).
These three lesson ideas are related to looking at cells and microbes up close and under microscopes.
Low-Relief Cell Models
Students will observe images of cells and create a three-dimensional model of the image of their choice. Students will construct their model on a cardboard base, but the materials for the actual cell are left open to interpretation.
Students should pick out 4-6 images and make thumbnail sketches of each image and jot down ideas about possible materials that could be used for each part of the cell/microbe. A sample sketch is below, but allow students to sketch out their ideas in the way that works best for them.
Once students have completed their thumbnail sketches, they should pick one sketch that they want to do the most, and then they can make one more sketch of their final idea, colors, and material choices.
Materials:
cardboard
pipecleaners
glue
thread/yarn/string
fabric
toothpicks
cotton balls
sequins
beads
glitter
pom poms
feathers
buttons
popsicle sticks
tissue paper
aluminum foil
wire
clay
felt
paint
Next, students can begin to assemble their cell models. First, they need to create a circular base out of cardboard for their relief sculpture. Students can paint the base if they would like to (helpful hint – spray water on the back of the cardboard after painting to reduce warping). Next, students can choose whatever materials they want to construct the cell/microbe. Let students experiment with the materials and figure out what works best to create their cell model. Have a table with all the materials laid out so that students can visualize the possibilities for all the materials. Allow ample time for students to construct their models and add paint/ finishing touches.
Cell Models Sculpture
In this variation, students create an in the round sculpture of a cell. This project is similar to the previous project, yet it is not a relief sculpture. Depending on the materials you have on hand, pick one of the projects to best fit what you have. First, have students create a base/cell body using either clay, newspaper/ paper mache, plaster, wires to create an armature, or aluminum foil. Next, students can paint the base, adding designs and surface texture with different materials (glitter, sequins, beads, etc.). To create raised areas of lines, hot glue, elmer’s glue, or fabric paint can be applied to the surface as well. Once the paint is dry, students can attach pipecleaners, toothpicks, pompoms, and other materials to form the areas that come off of the body of the cell.
Picture Guessing Game – Show students close up images/ macro photography and have students guess what the images are.
Making a sketchbook to record observations – Show students how to fold and create their own sketchbook from one sheet of paper. Use an 18 x 24″ piece of paper if possible, or the largest paper that you have. Here is a video about how to create the sketchbook: https://www.youtube.com/watch?v=XZ9Jw4HnJpw
Cell Observation Stations
Set up 3 stations – one with a microscope, one with cell books, and one with a video of cells under a microscope. Give students about 5 minutes at each station to make observations and make sketches/take notes in their sketchbooks of what they see. Once each group of students has gone to each station, regroup as a class and discuss what the students saw and the drawings they made at each station.
The Project: Students will create their collagraph plate using a variety of materials, such as: glue, found objects, tape, rubber bands, string, foam shapes, felt/fabric. First, students glue the materials onto their cardboard plate in a design inspired by their observations of cells. While the plates are drying, students can prepare their paper for printing. Students can cut out the papers to the right size, write their names on the back of each, and apply a wash of watercolor to each paper. If there is still extra time, students can decorate the cover of their observation sketchbook.
The next class, once the plate is dried, students can begin the printmaking process. Before students begin the process, do a demonstration of how to make prints. Then, at one table (where no students are sitting), set up brayers and plates of ink. Set up an assembly line process where students ink up their plates, then print the plates, and then place their print on the drying rack. After students make a print, have them label the print with their name, the number of the print, and the date.